Associated RC10 Masami Project
Page 1: Assembly
I've built the RC10 Classic previously and documented it in
excruciating detail. I've also built the Team Car and documented
the differences. This one is an evolution of those so I've only
written about the differences here. Please
see my RC10 Classic and RC10 Team Car pages for full build details.
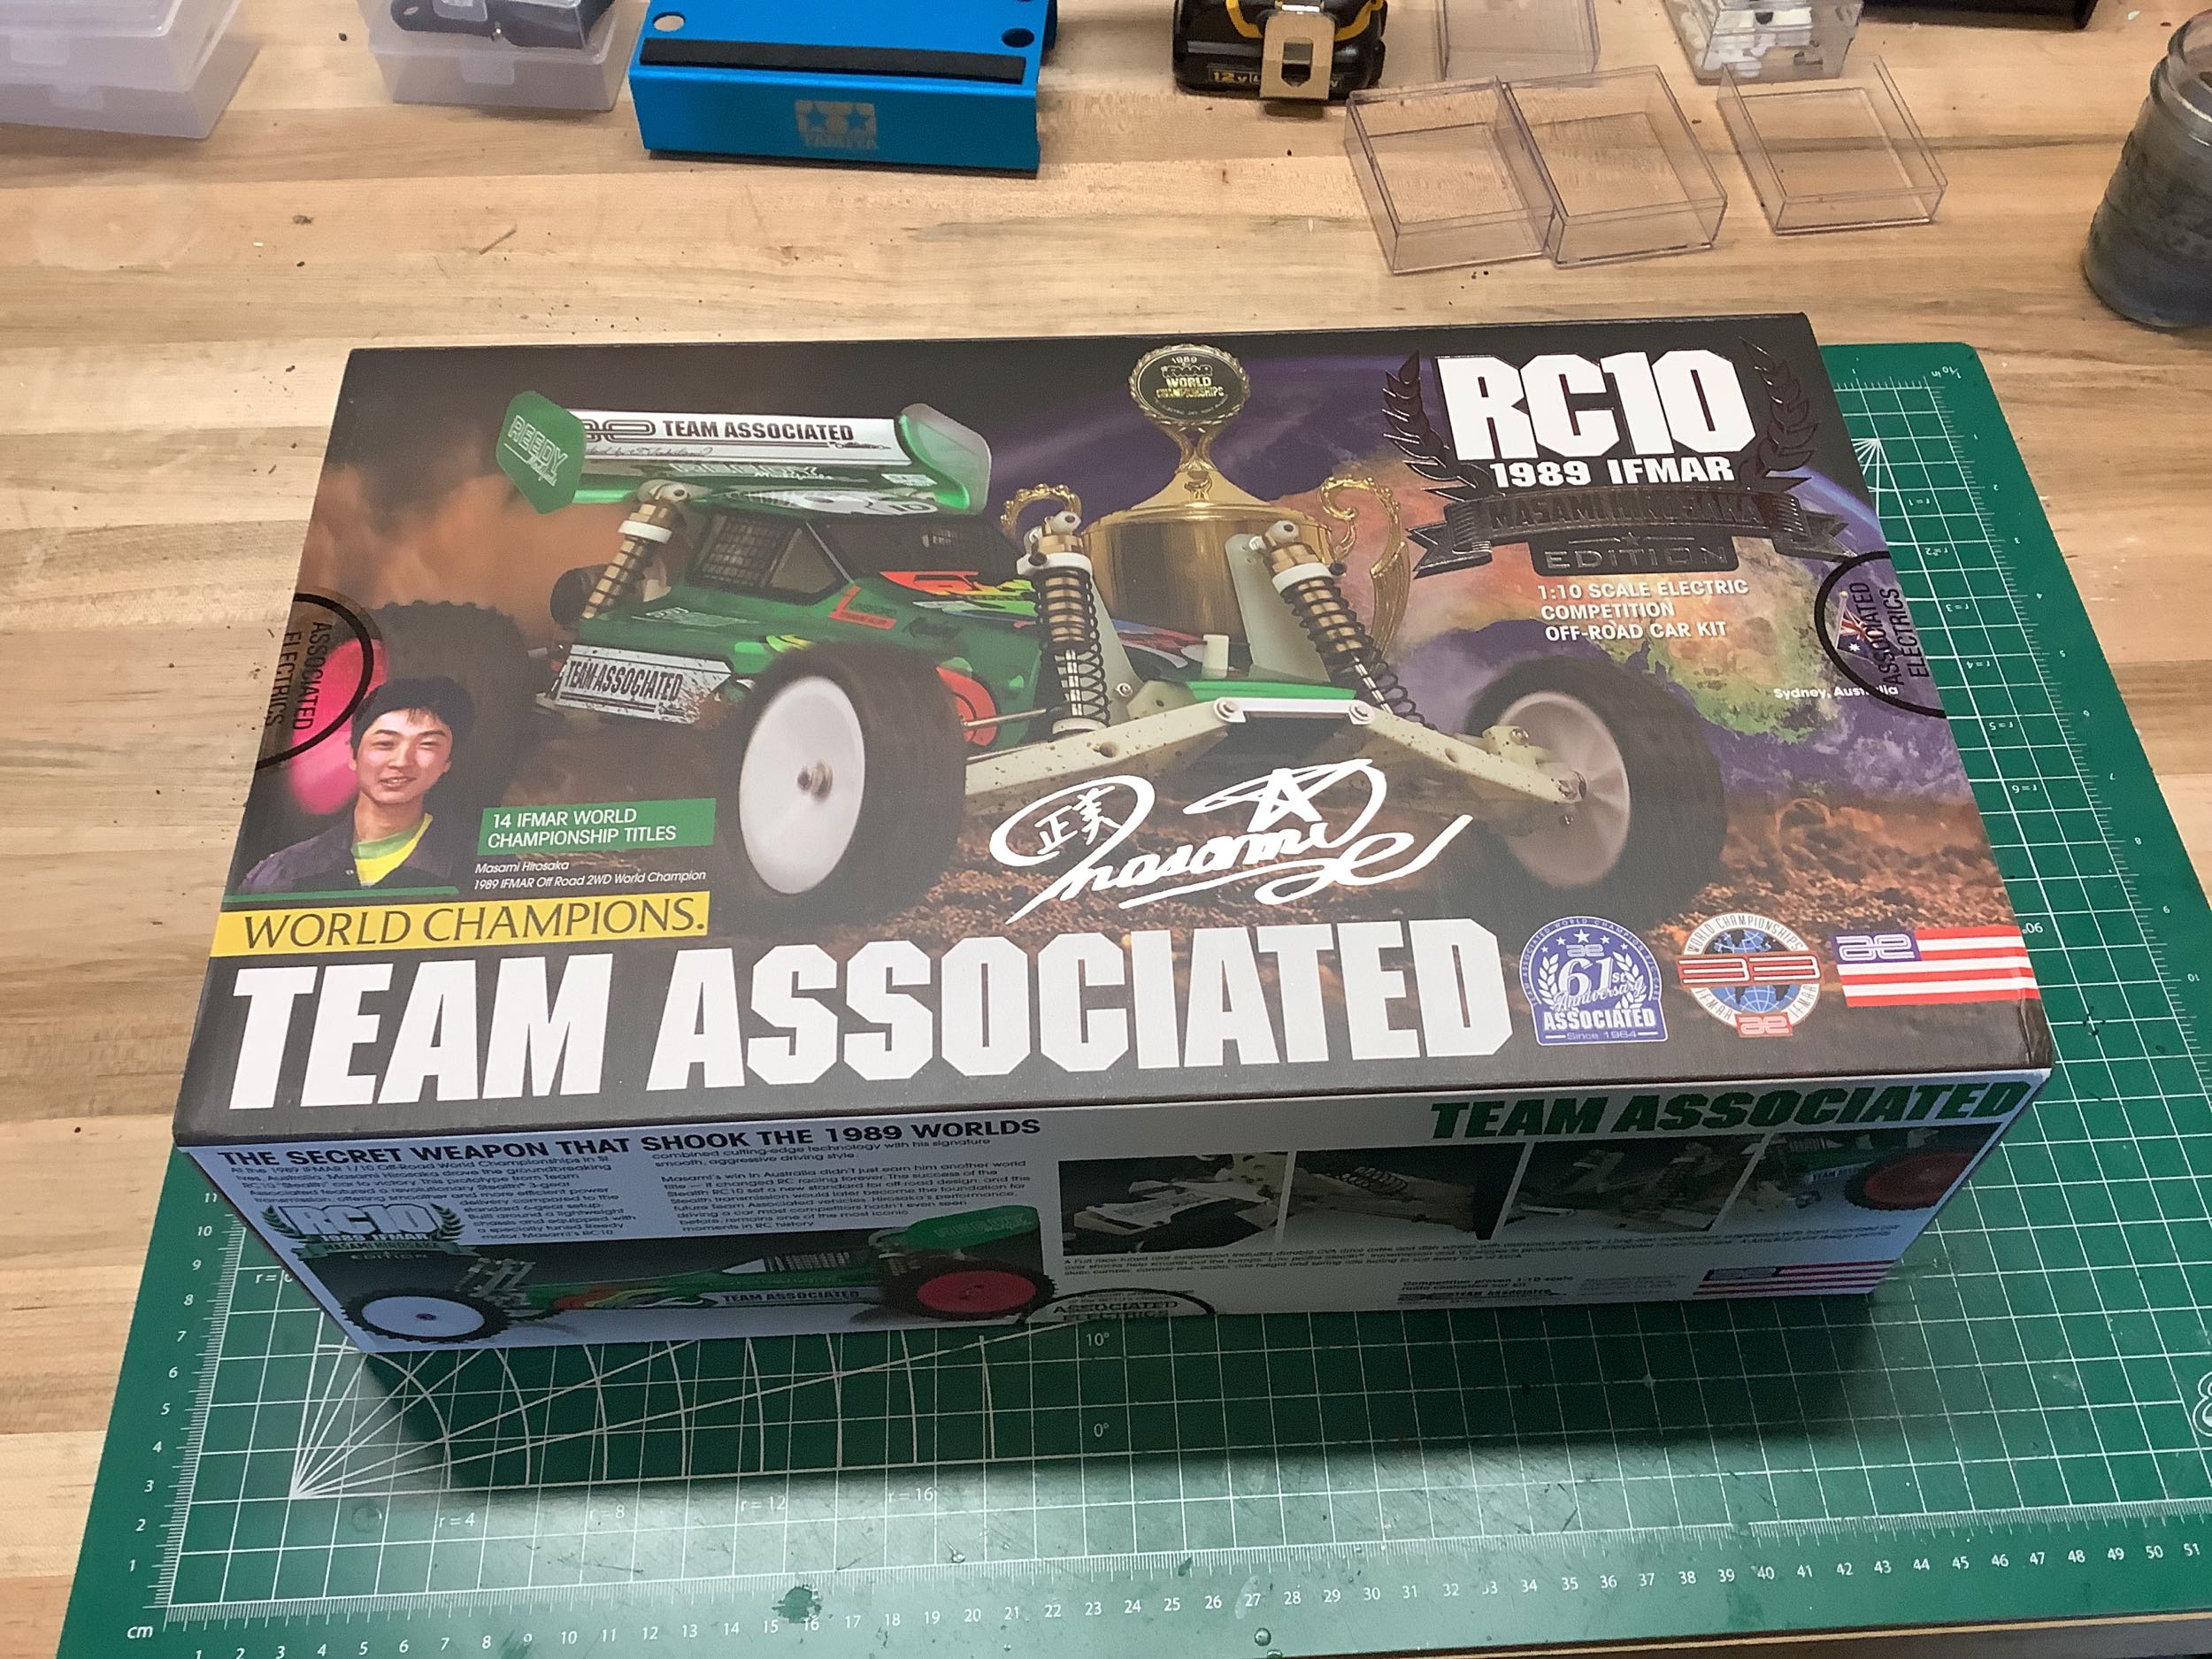
The rectangular box is exactly the same size and the other cars in the
RC10 series, but with a lot of additional information about Masami's
original car and the races it won.
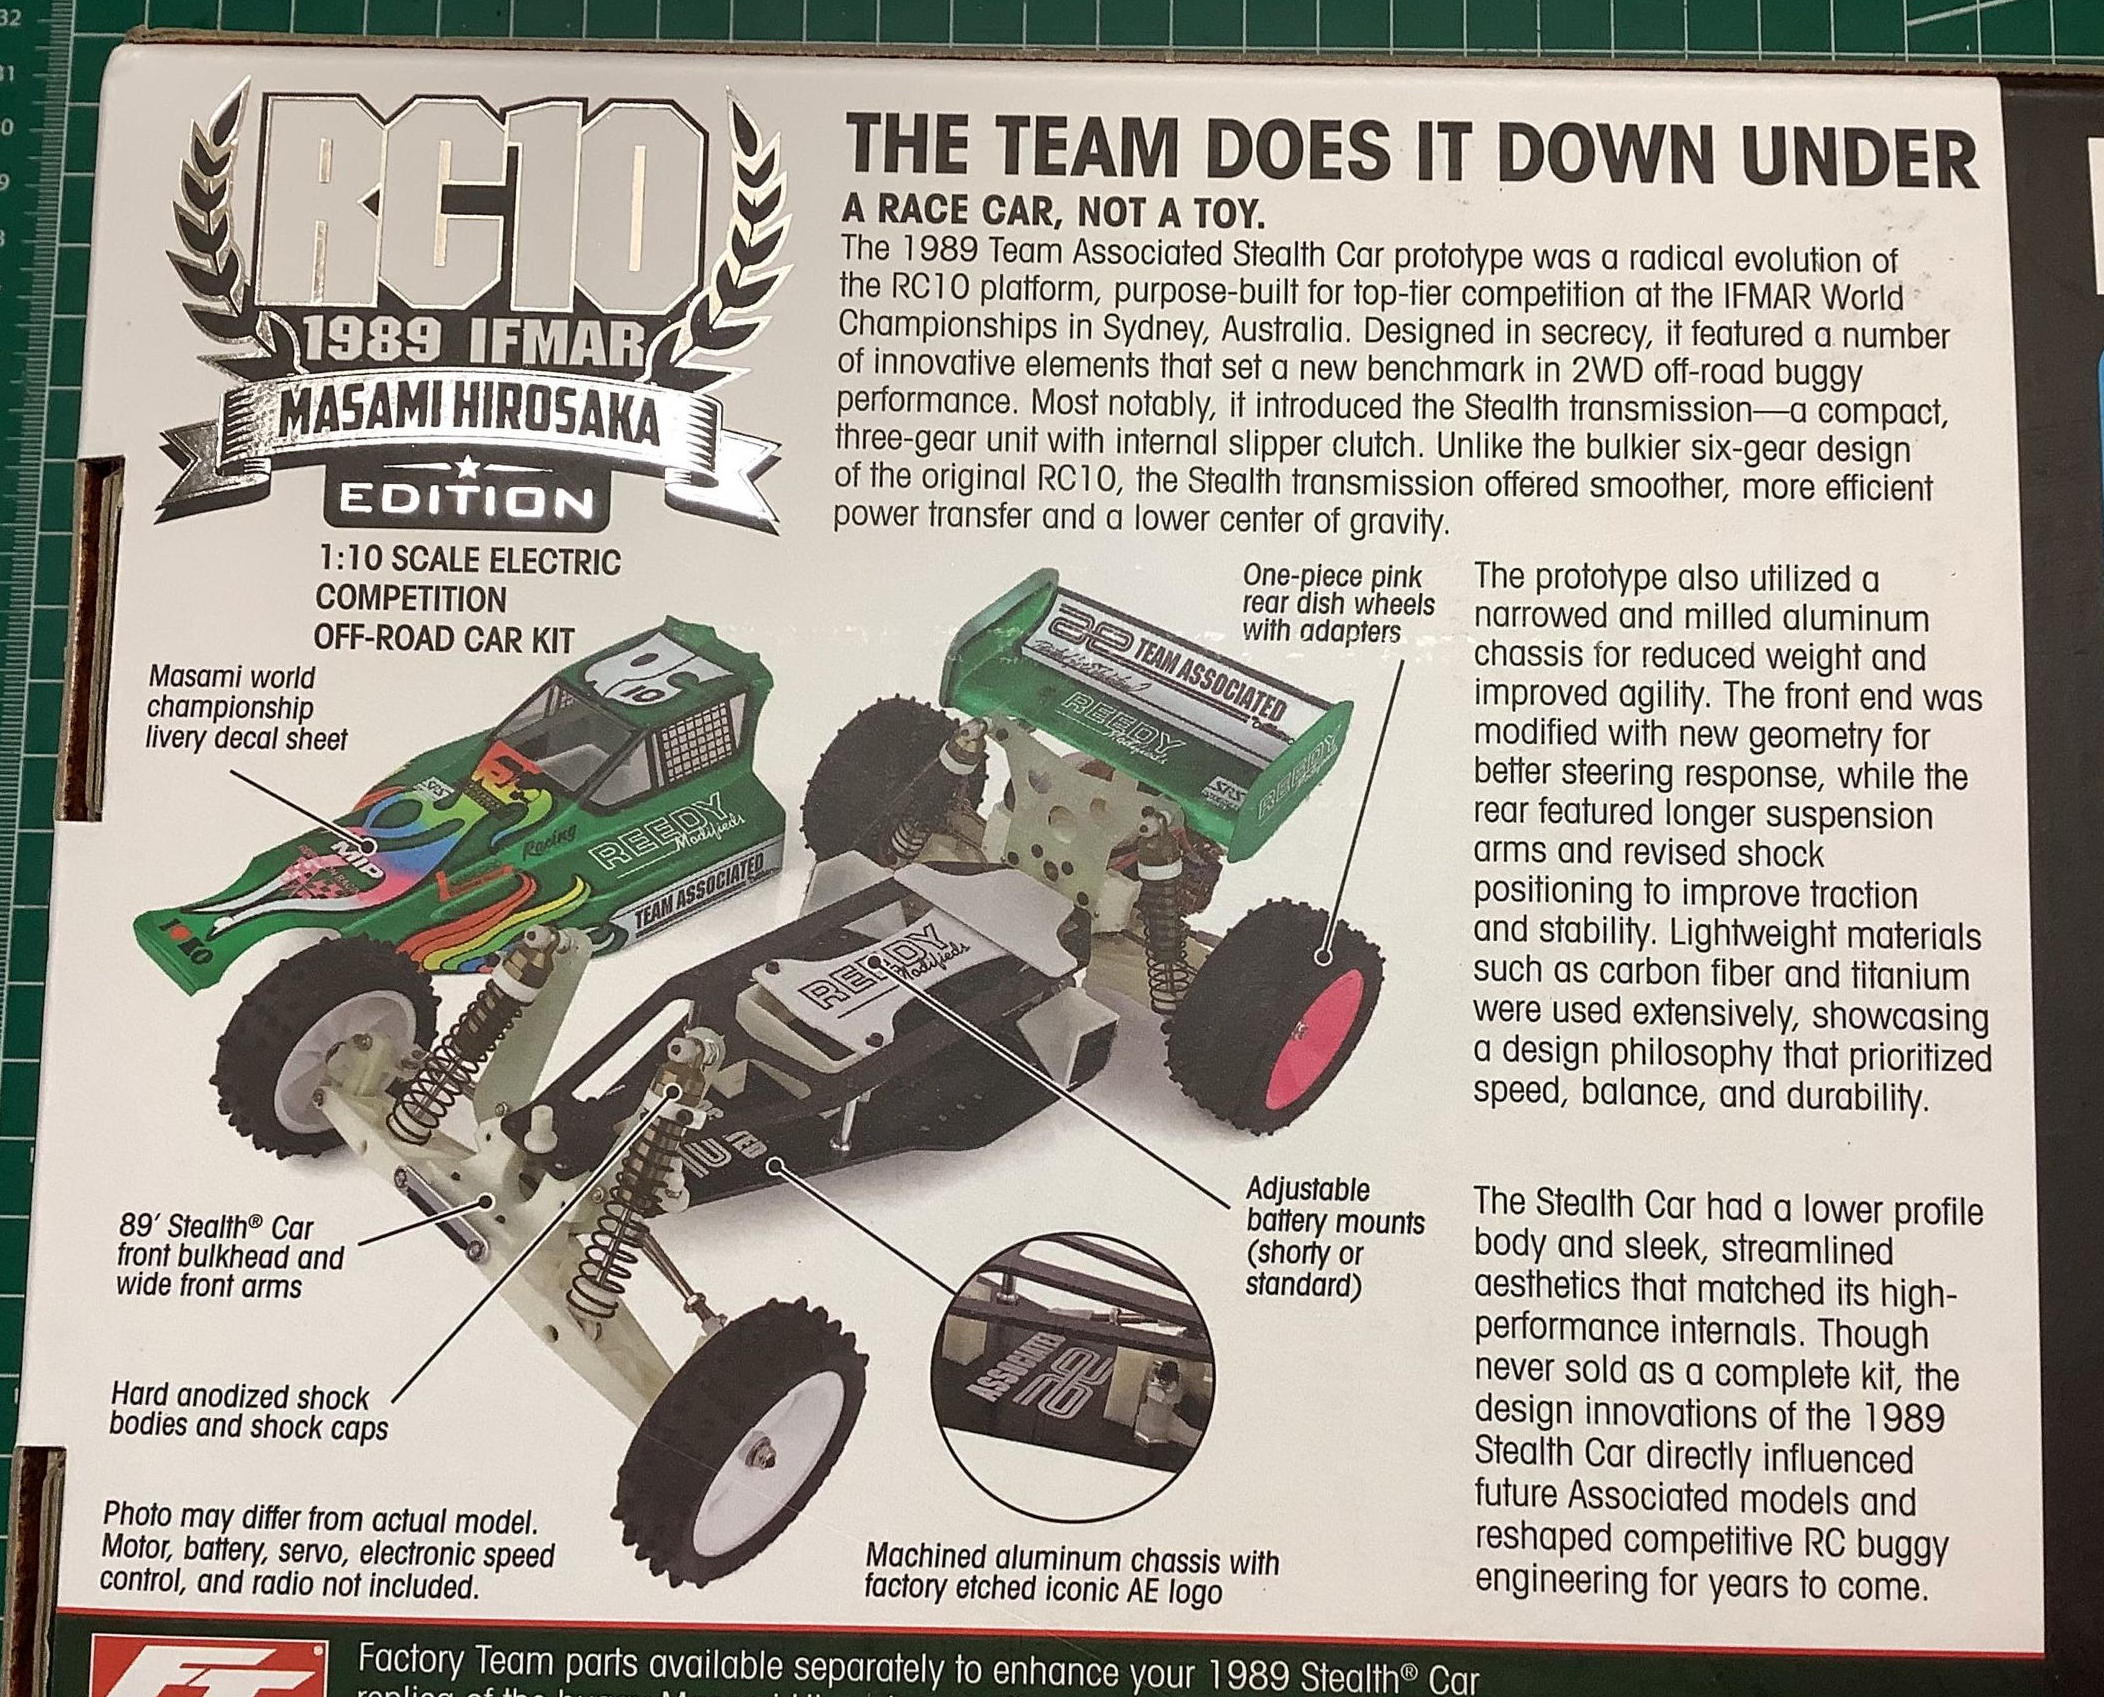
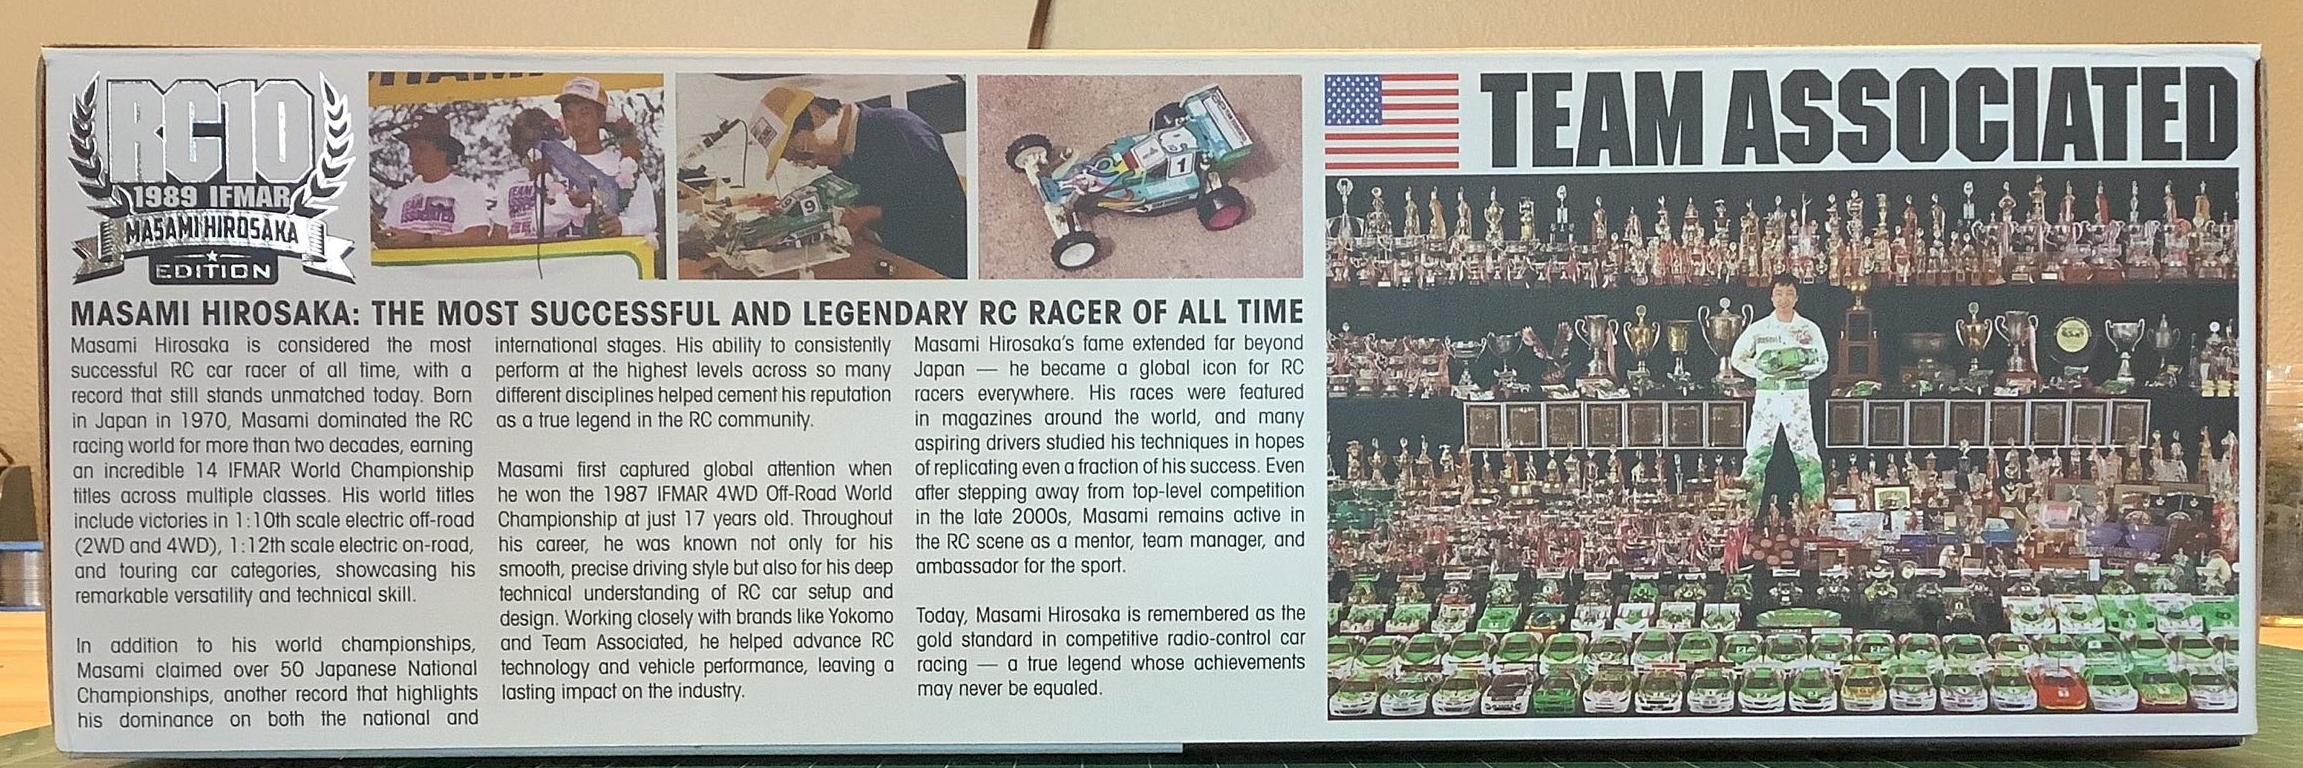
Here is a lot more information from the box about the specific design
details of this car and a short biography of Masami-san. That's a
lot of trophies!
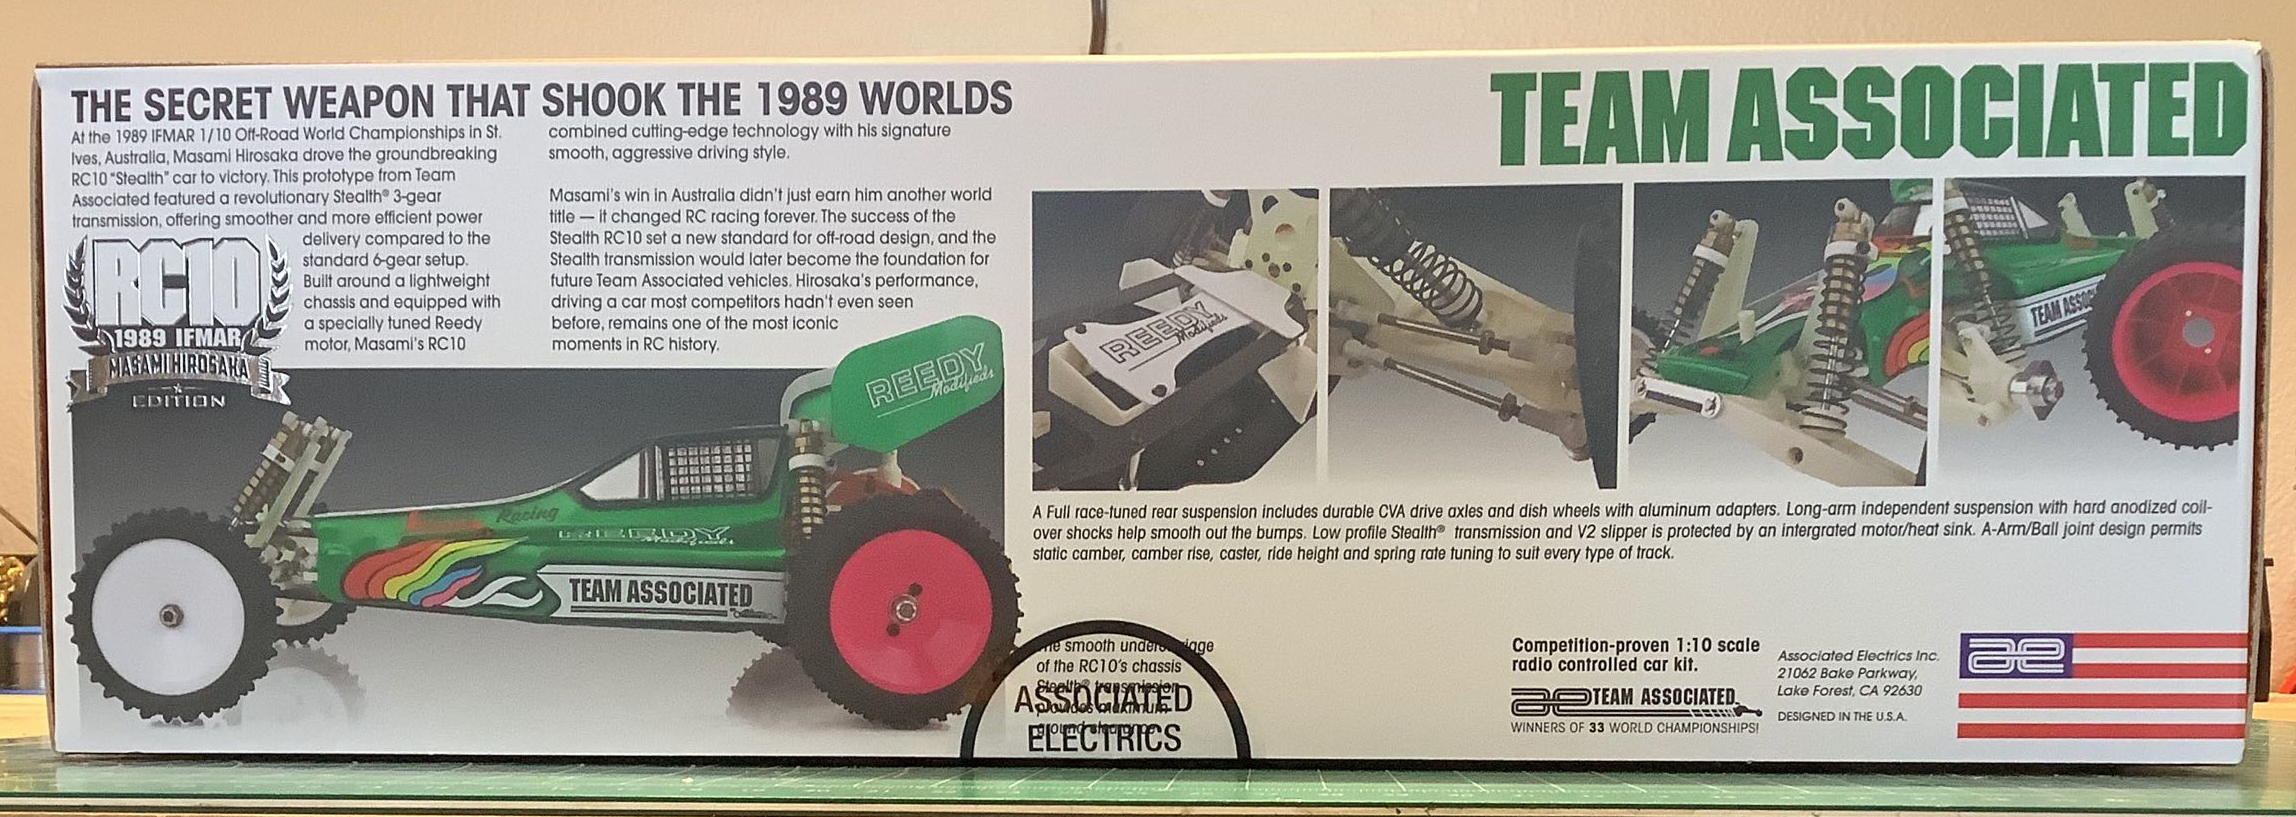
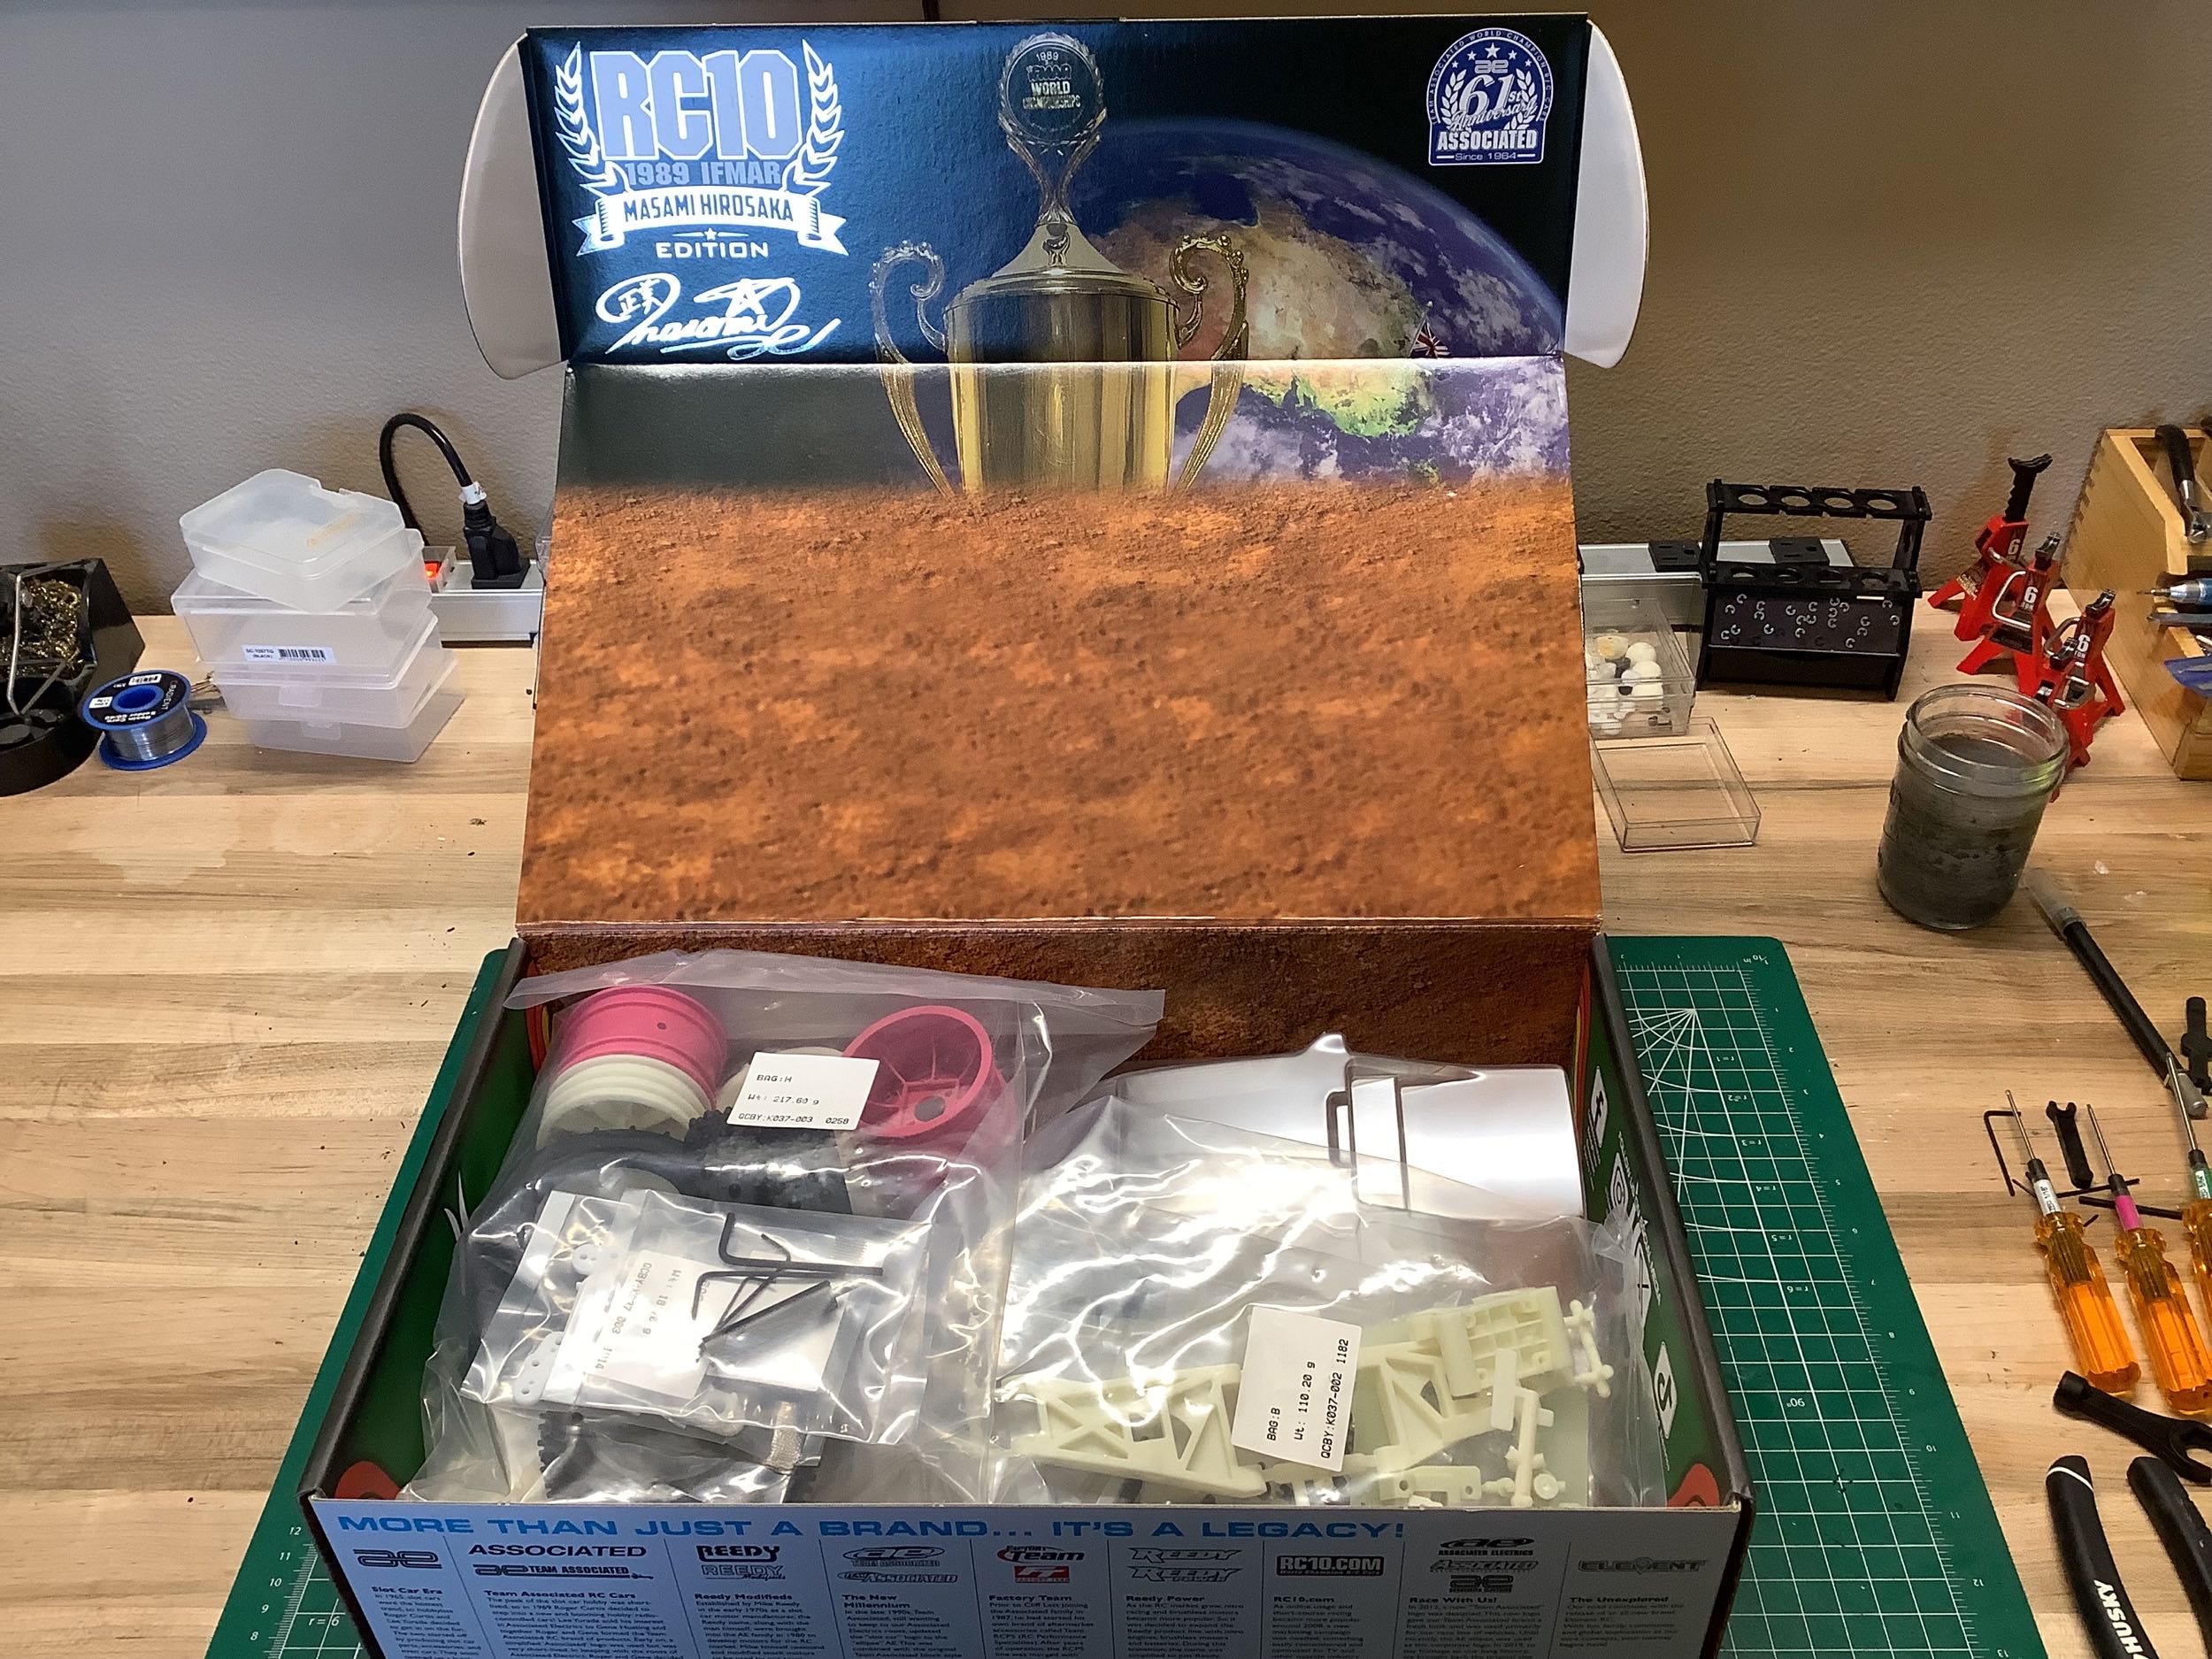
The box is even printed in full color on the inside which gives it a
premium feel (the stealth Team car did not have this). Inside, the
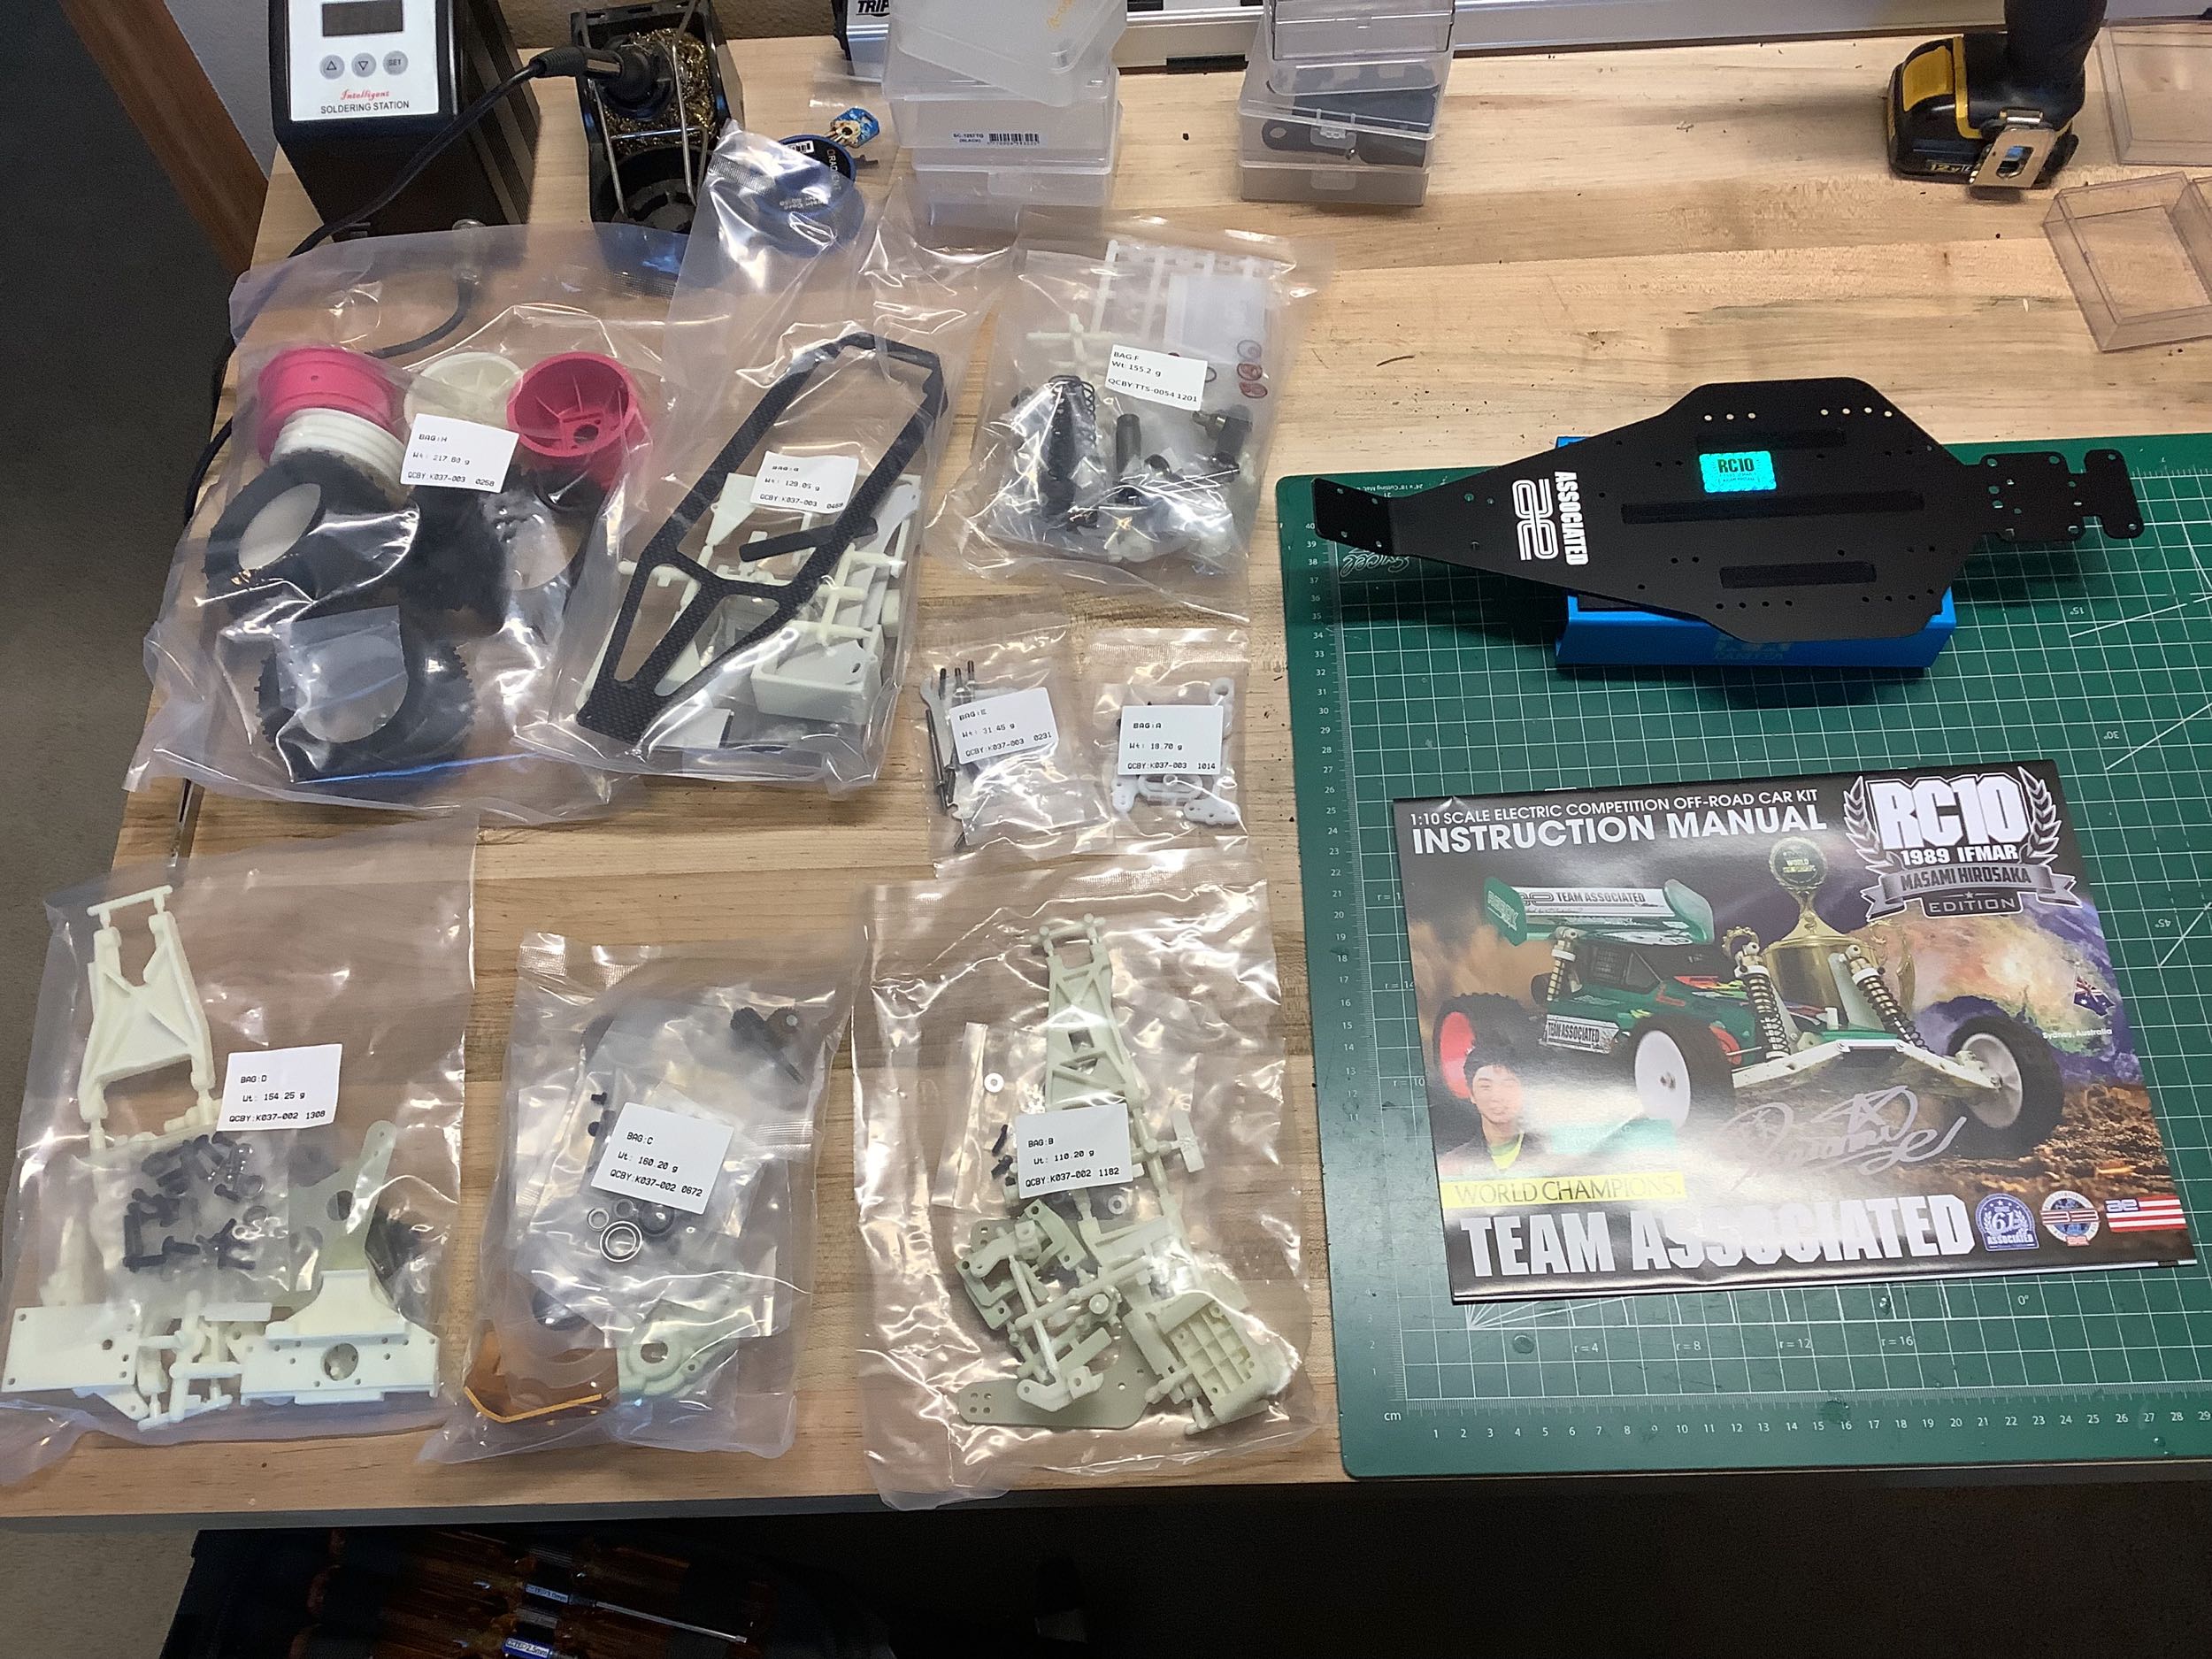
box is quite full of goodness. On the right I've laid out the
sequentially labelled parts bags and the full color manual (only the
cover is in color).
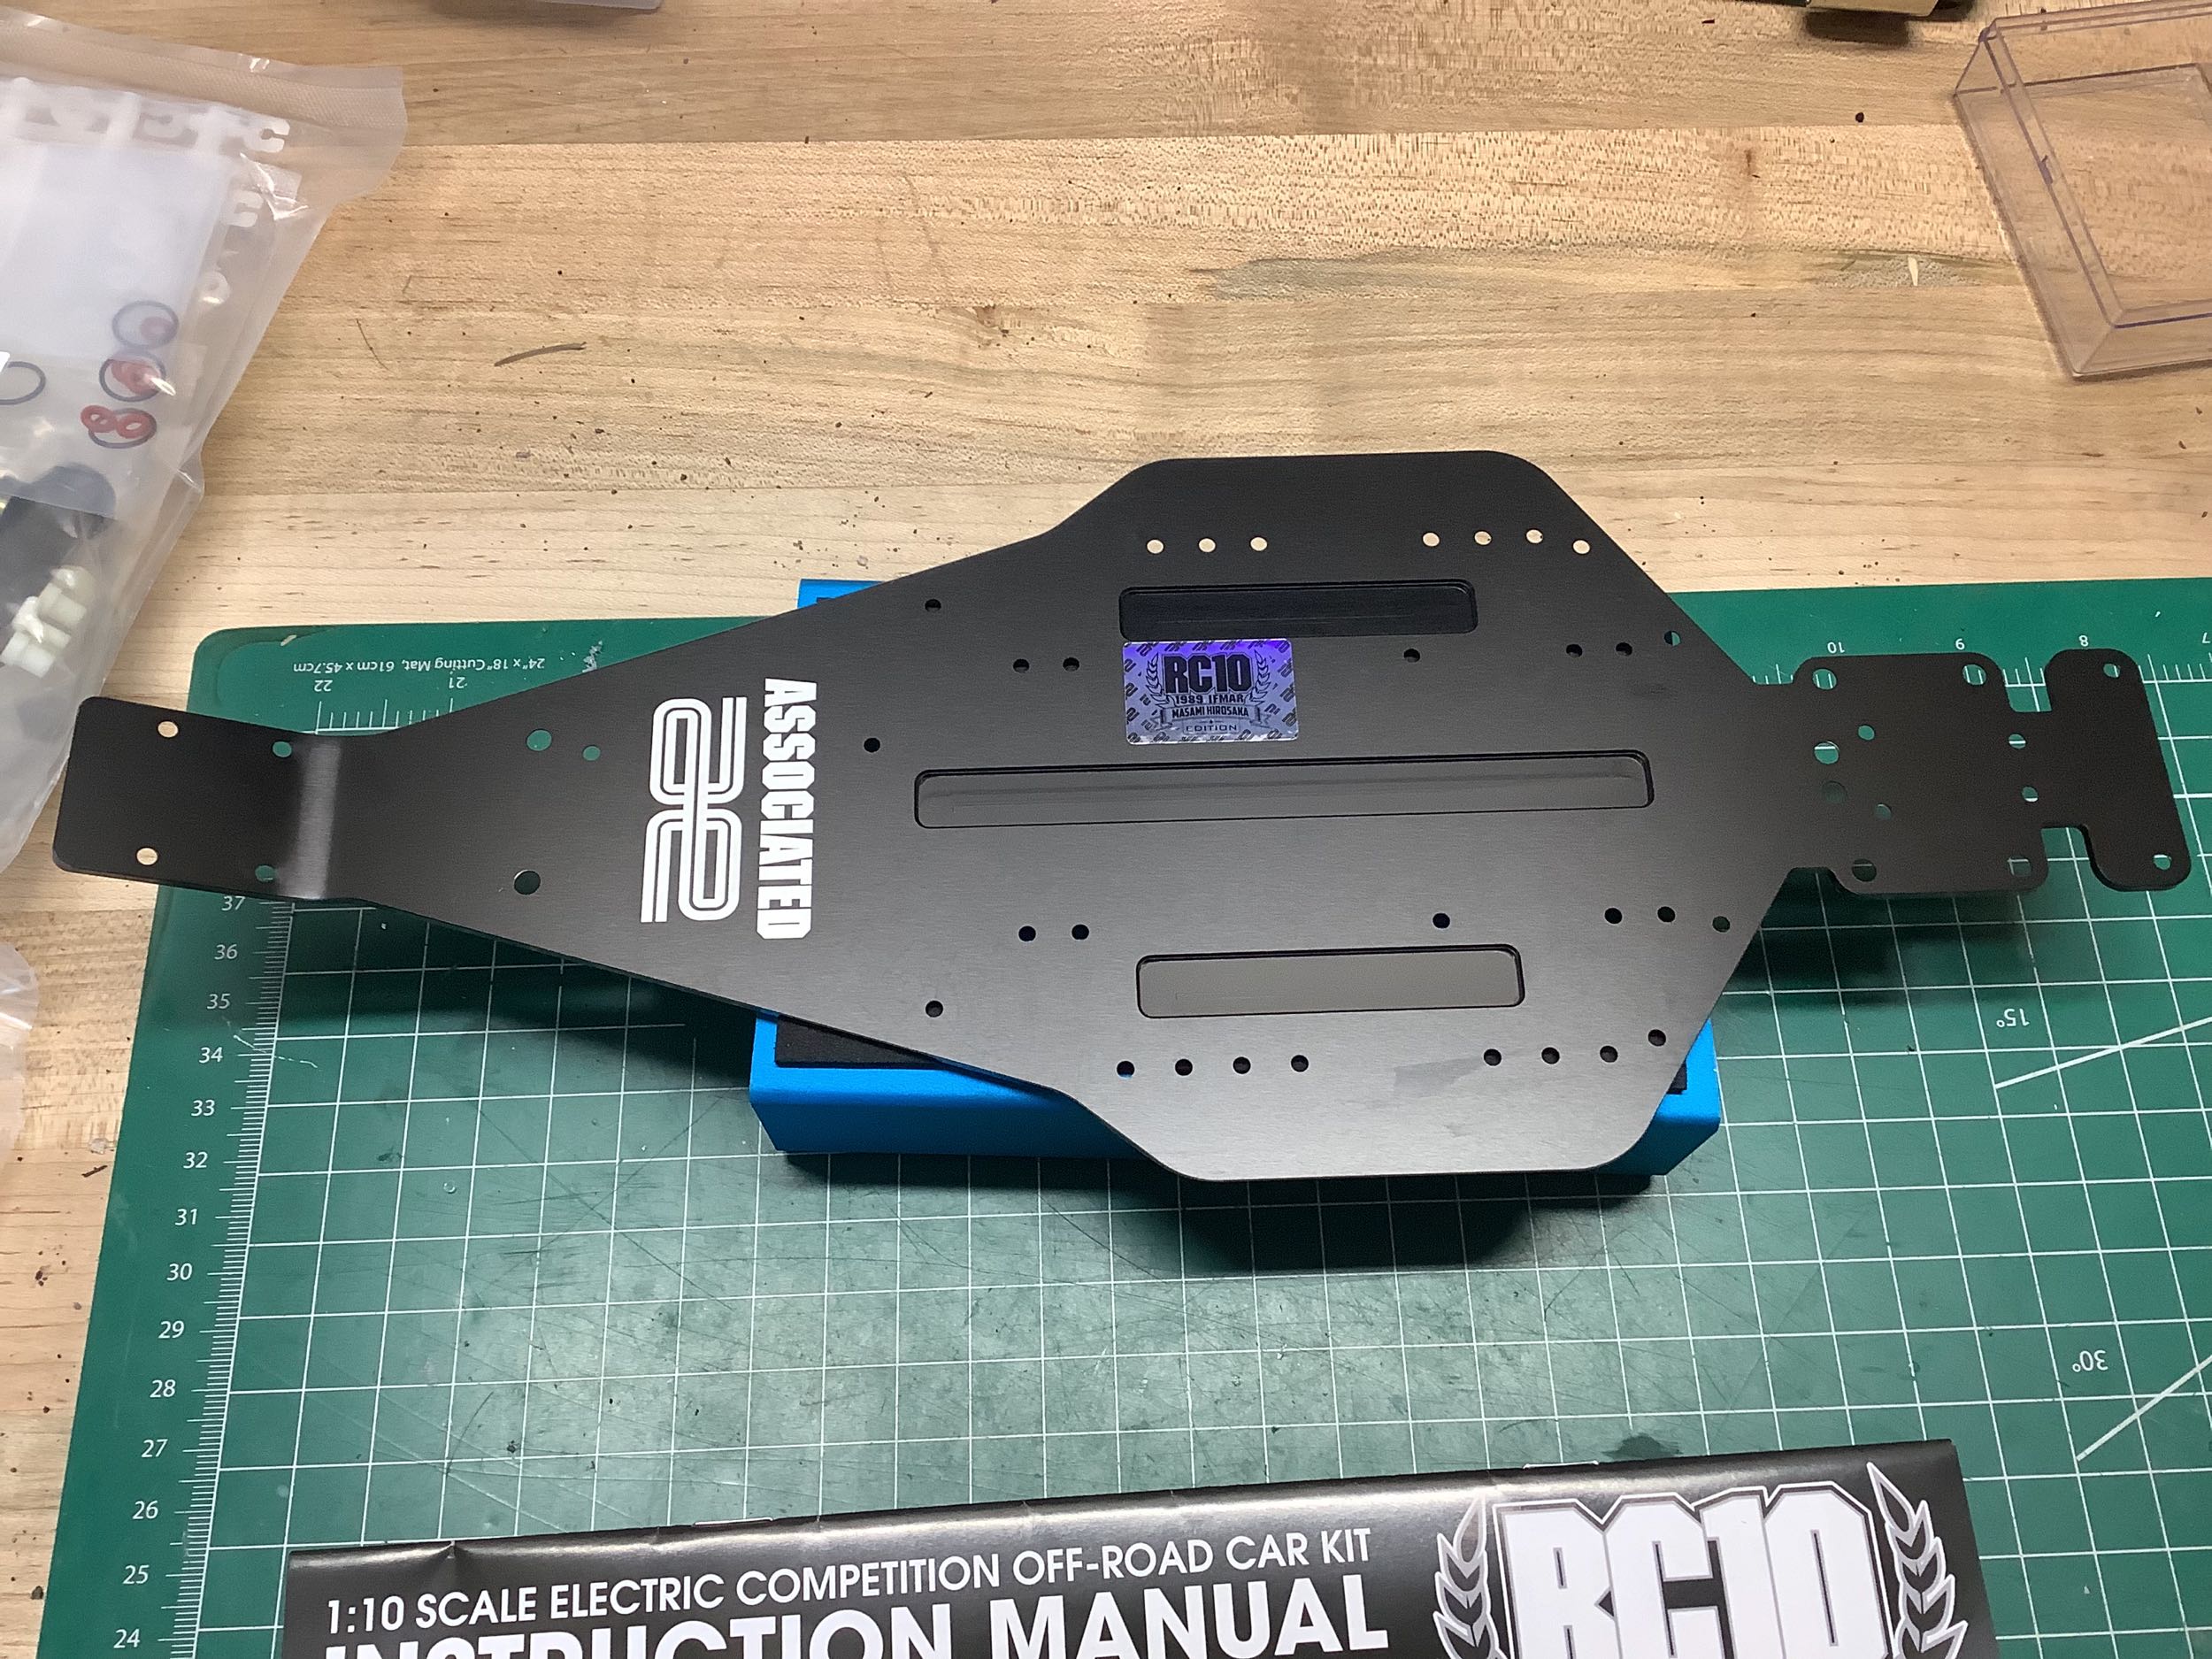
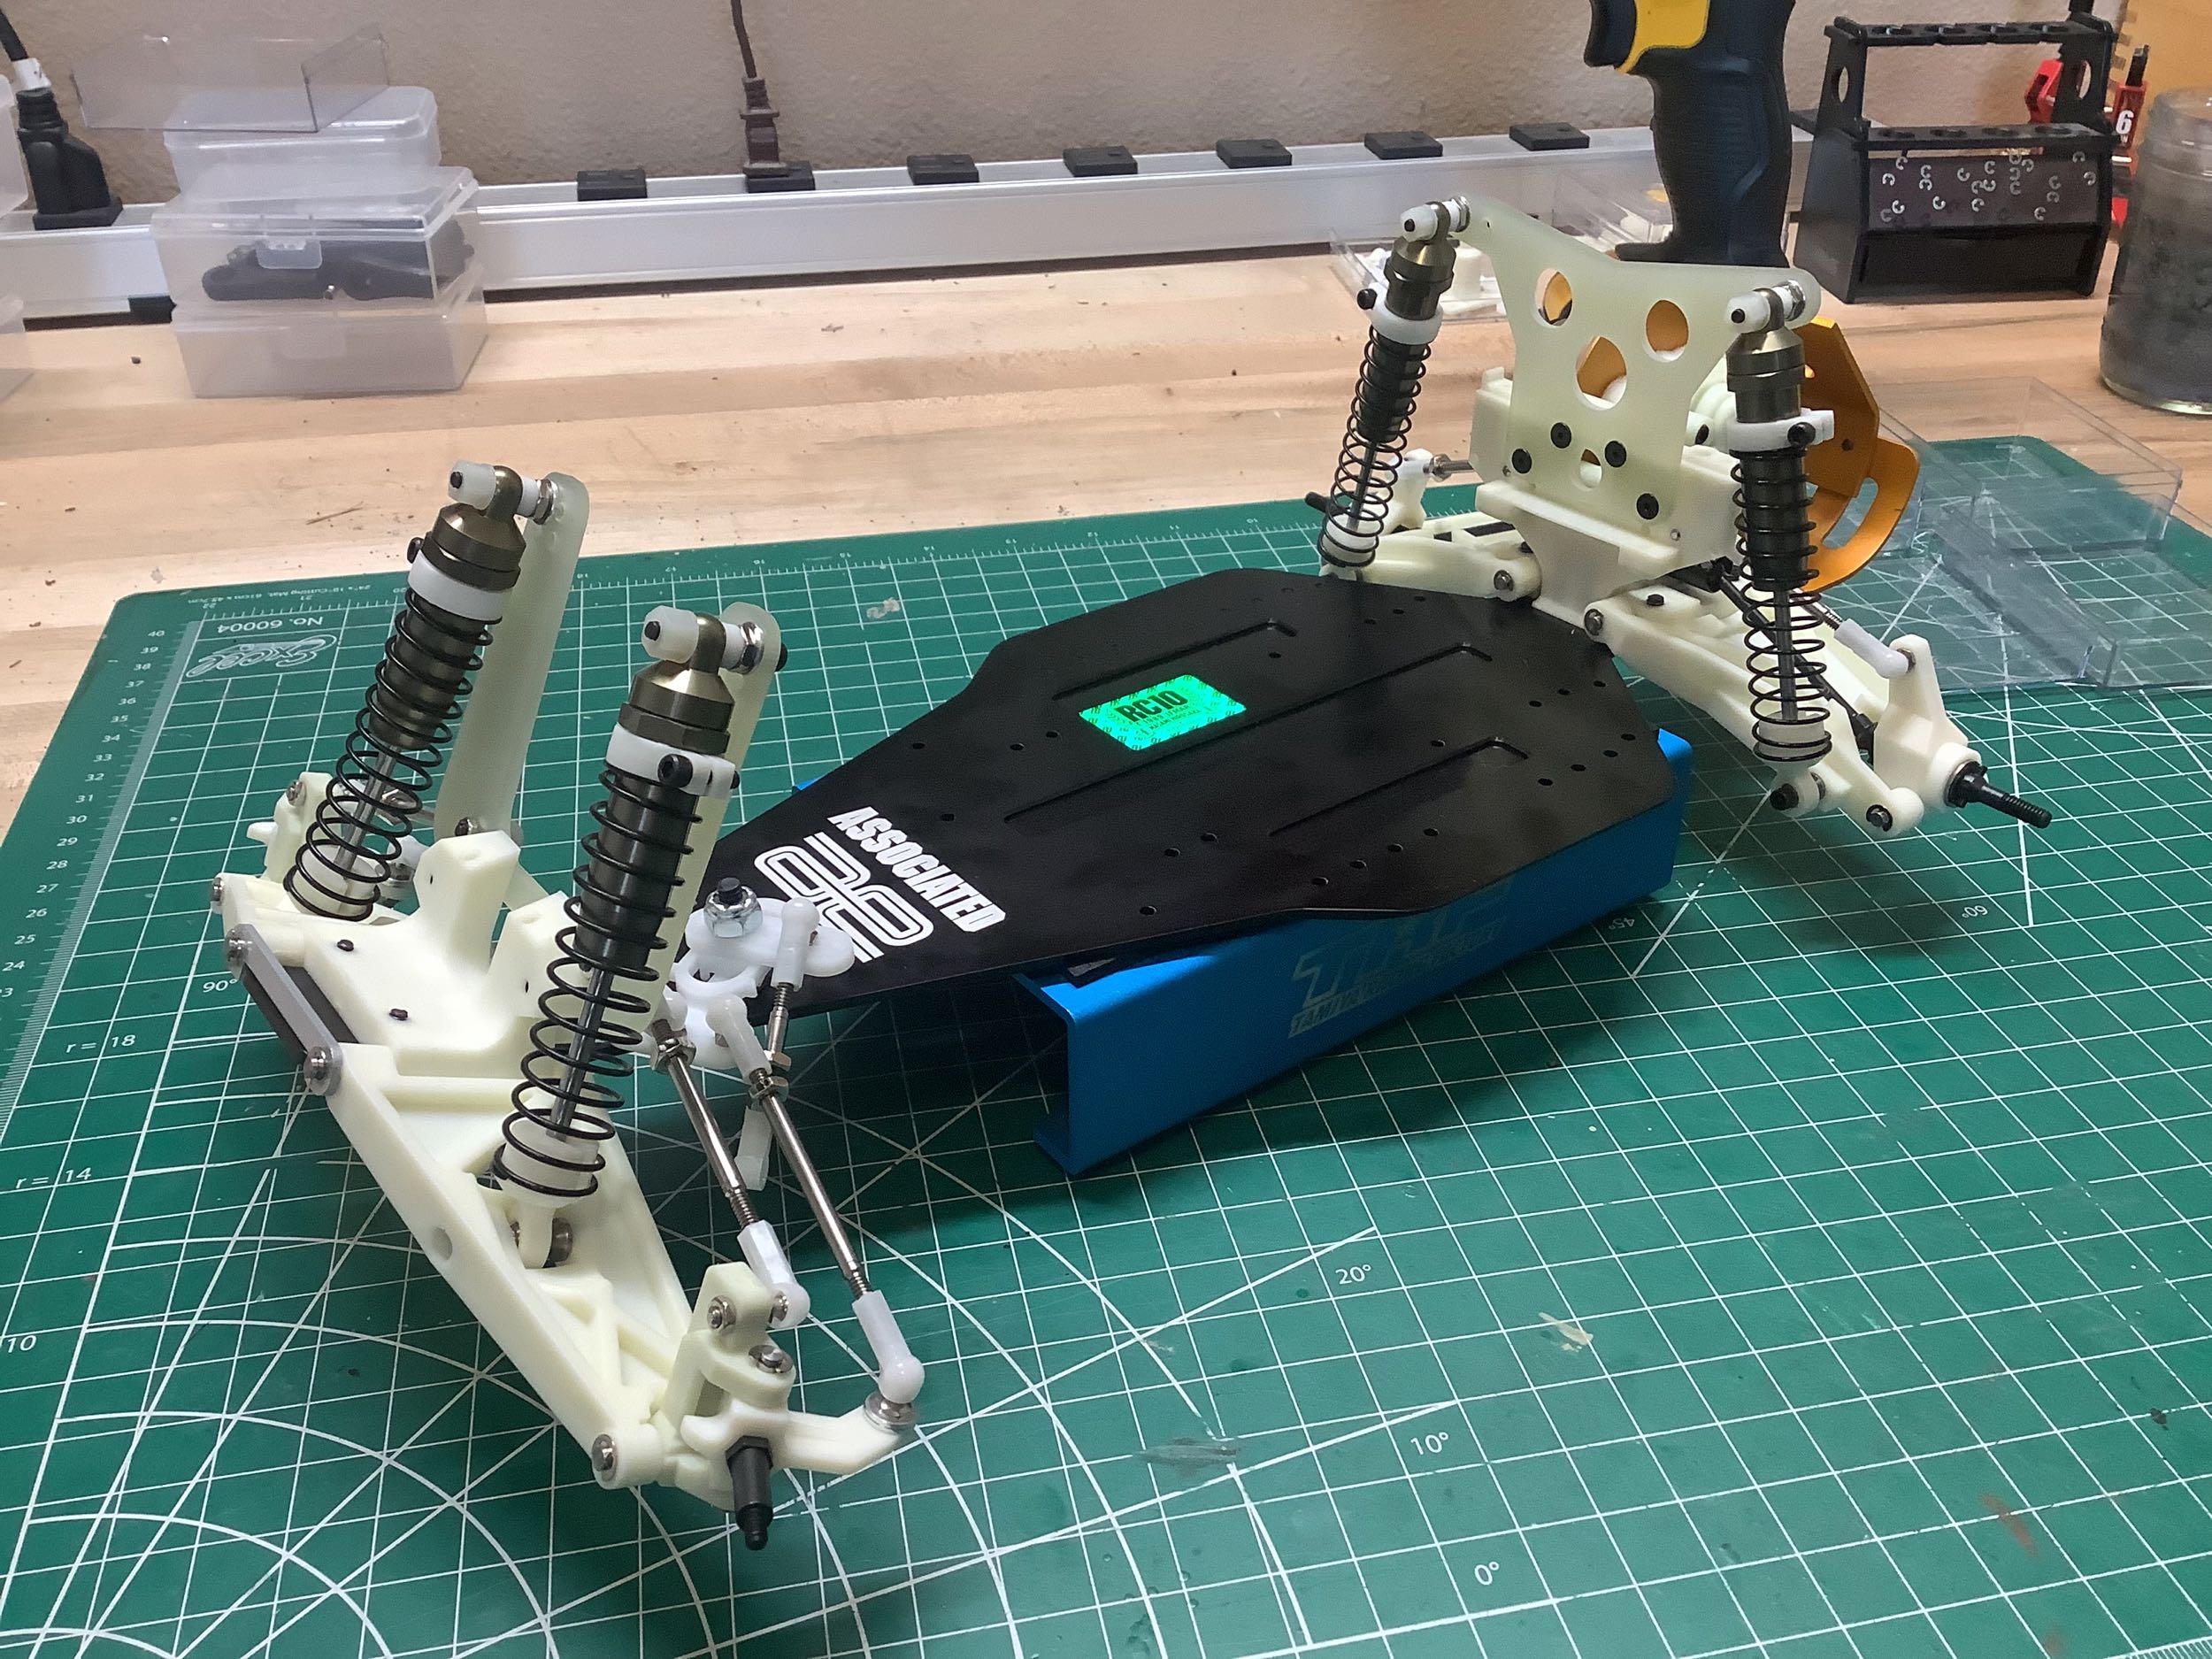
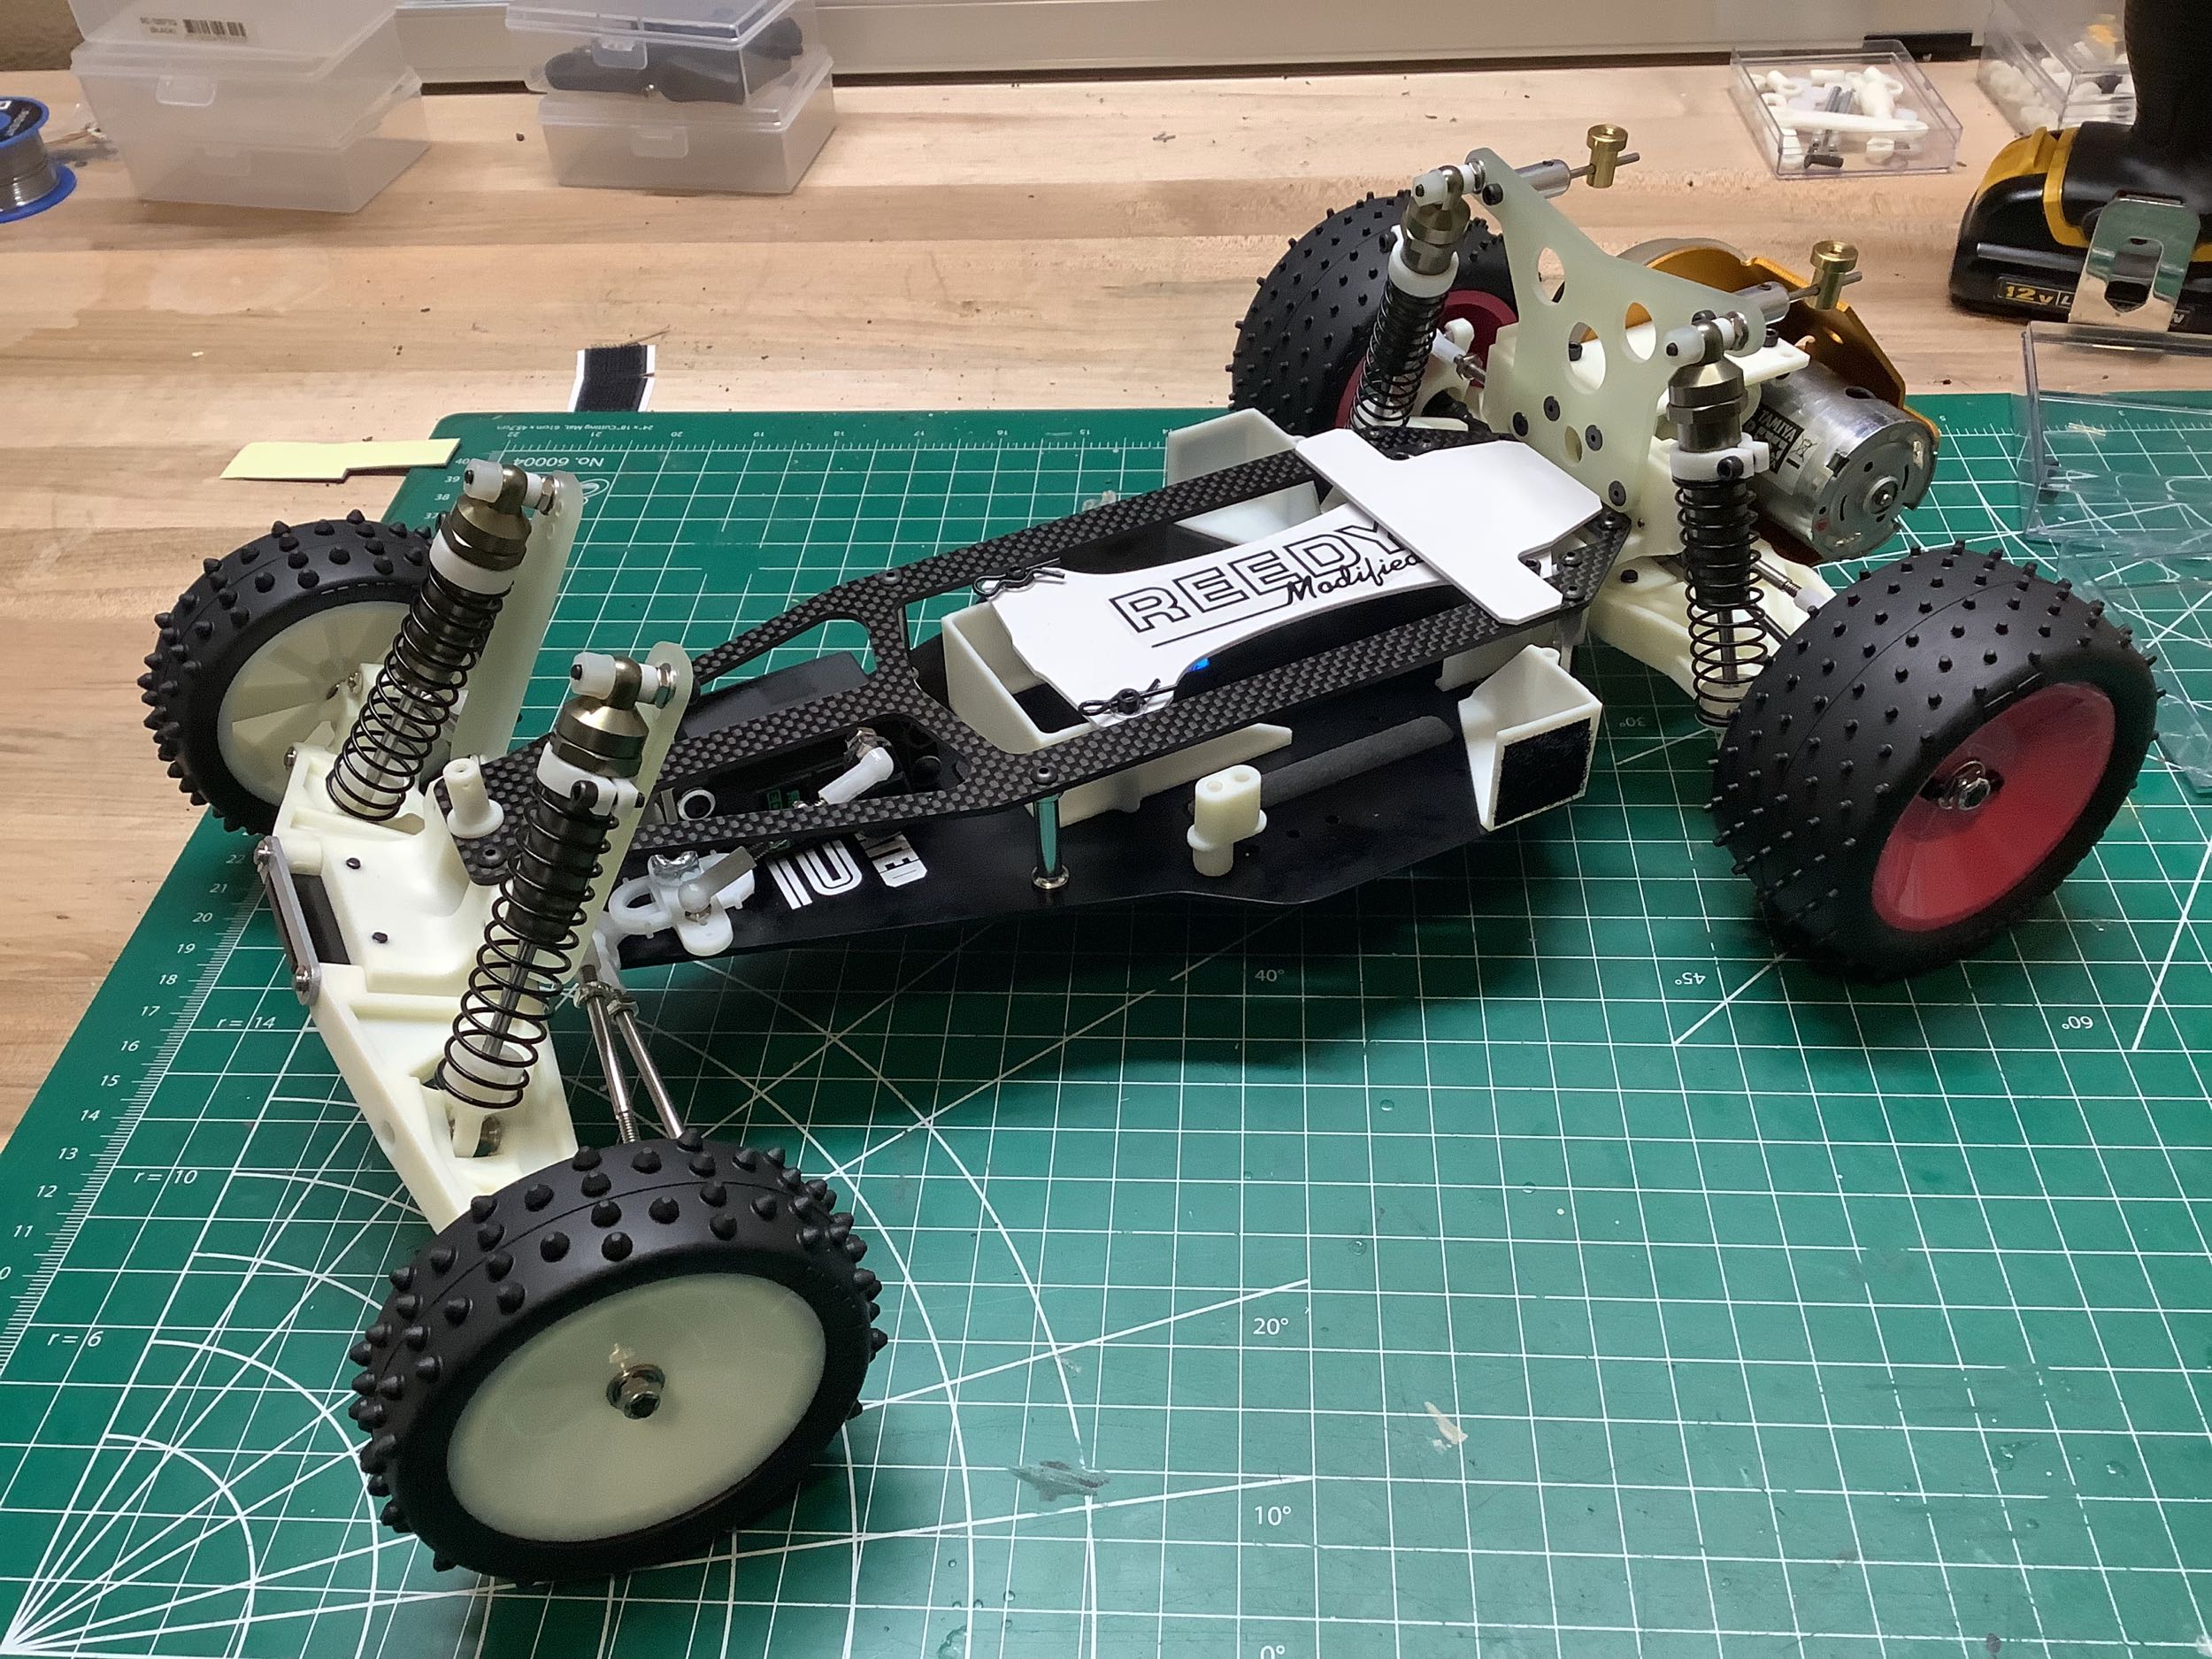
The most obvious change from other versions of the RC10 and the first
thing to jump out at you when you open the box is the chassis.
This is a black aluminum plate which has been formed for the front
kick-up and slightly milled to have a chamfer along the bottom outer
edges. There is even a custom holographic sticker. This is
thicker than the gold pan chassis which got much of its stiffness from
the tub shape. There is an optional carbon fiber chassis deck
available.
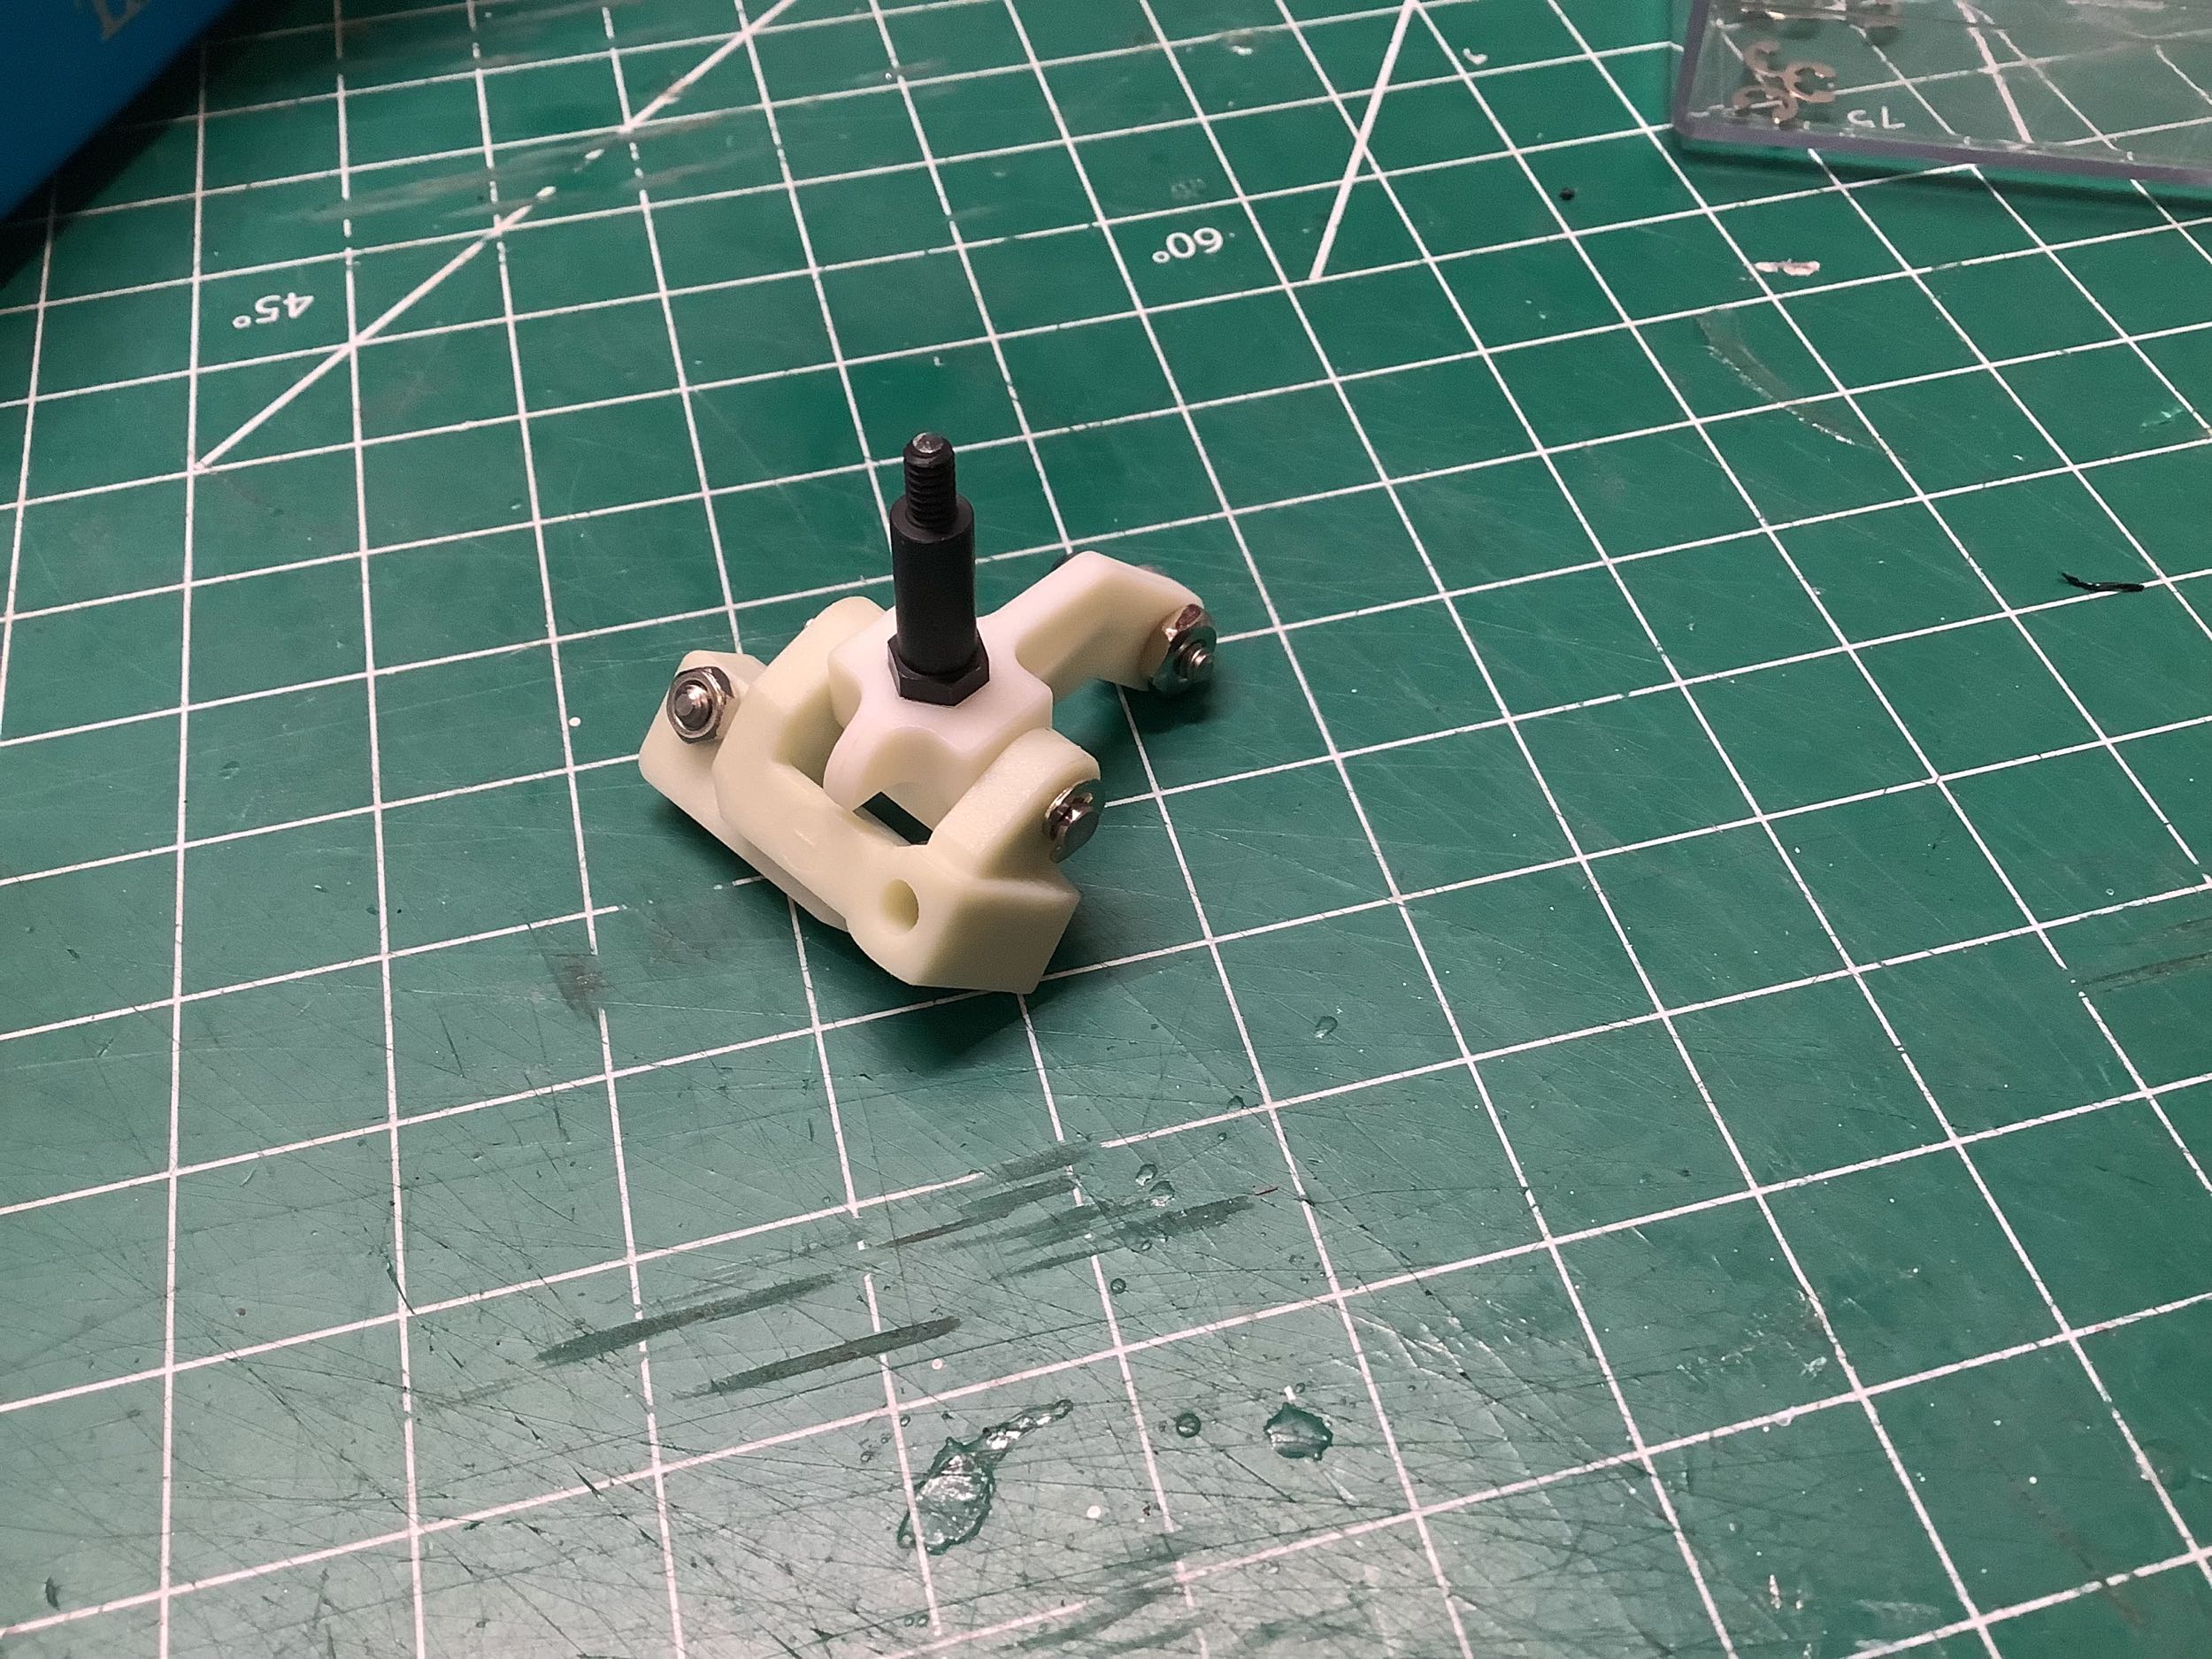
The Masami edition uses similar plastic steering cranks as the other
versions. The right had crank has had the tang which was
previously hanging out the back removed, and the left crank has had the
servo saver reversed.
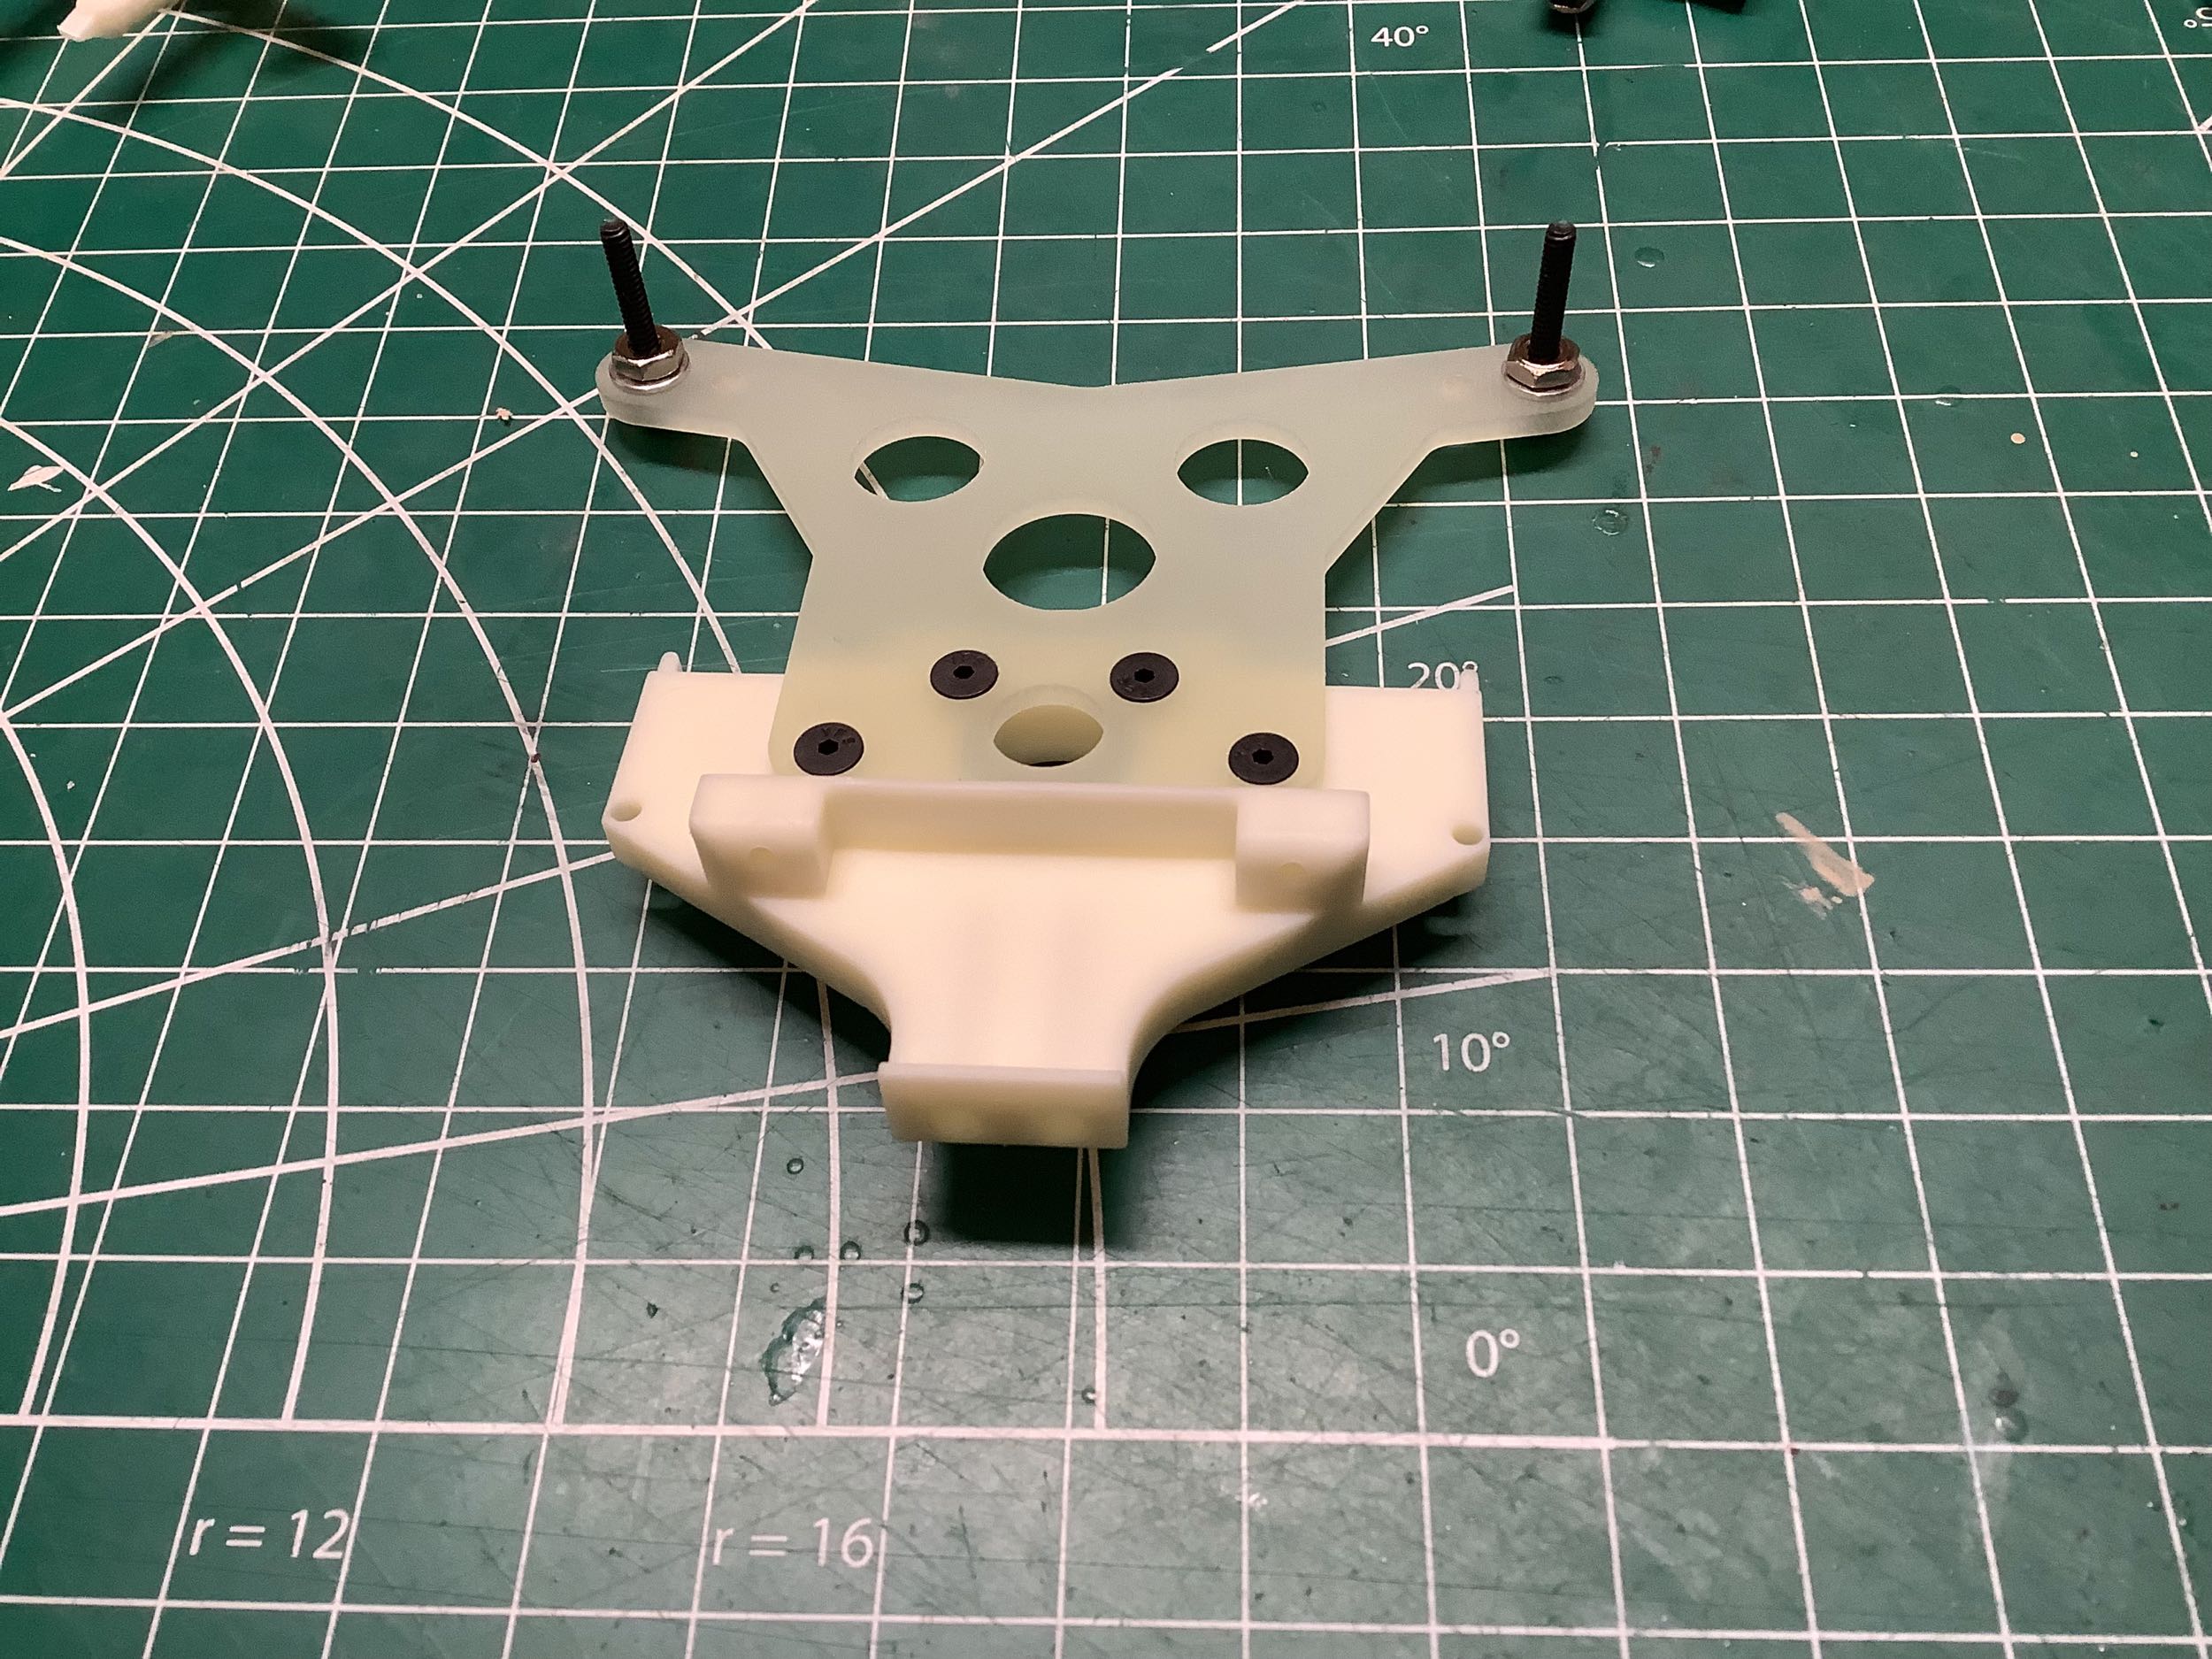
The front bulkhead is unique to the stealth car and is one piece instead
of two. An optional machined aluminum version is available.
Where the Team car used a horseshoe shaped front shock tower, this
version is taller and straight. It appears to be made from G10
fiberglass (FRP).
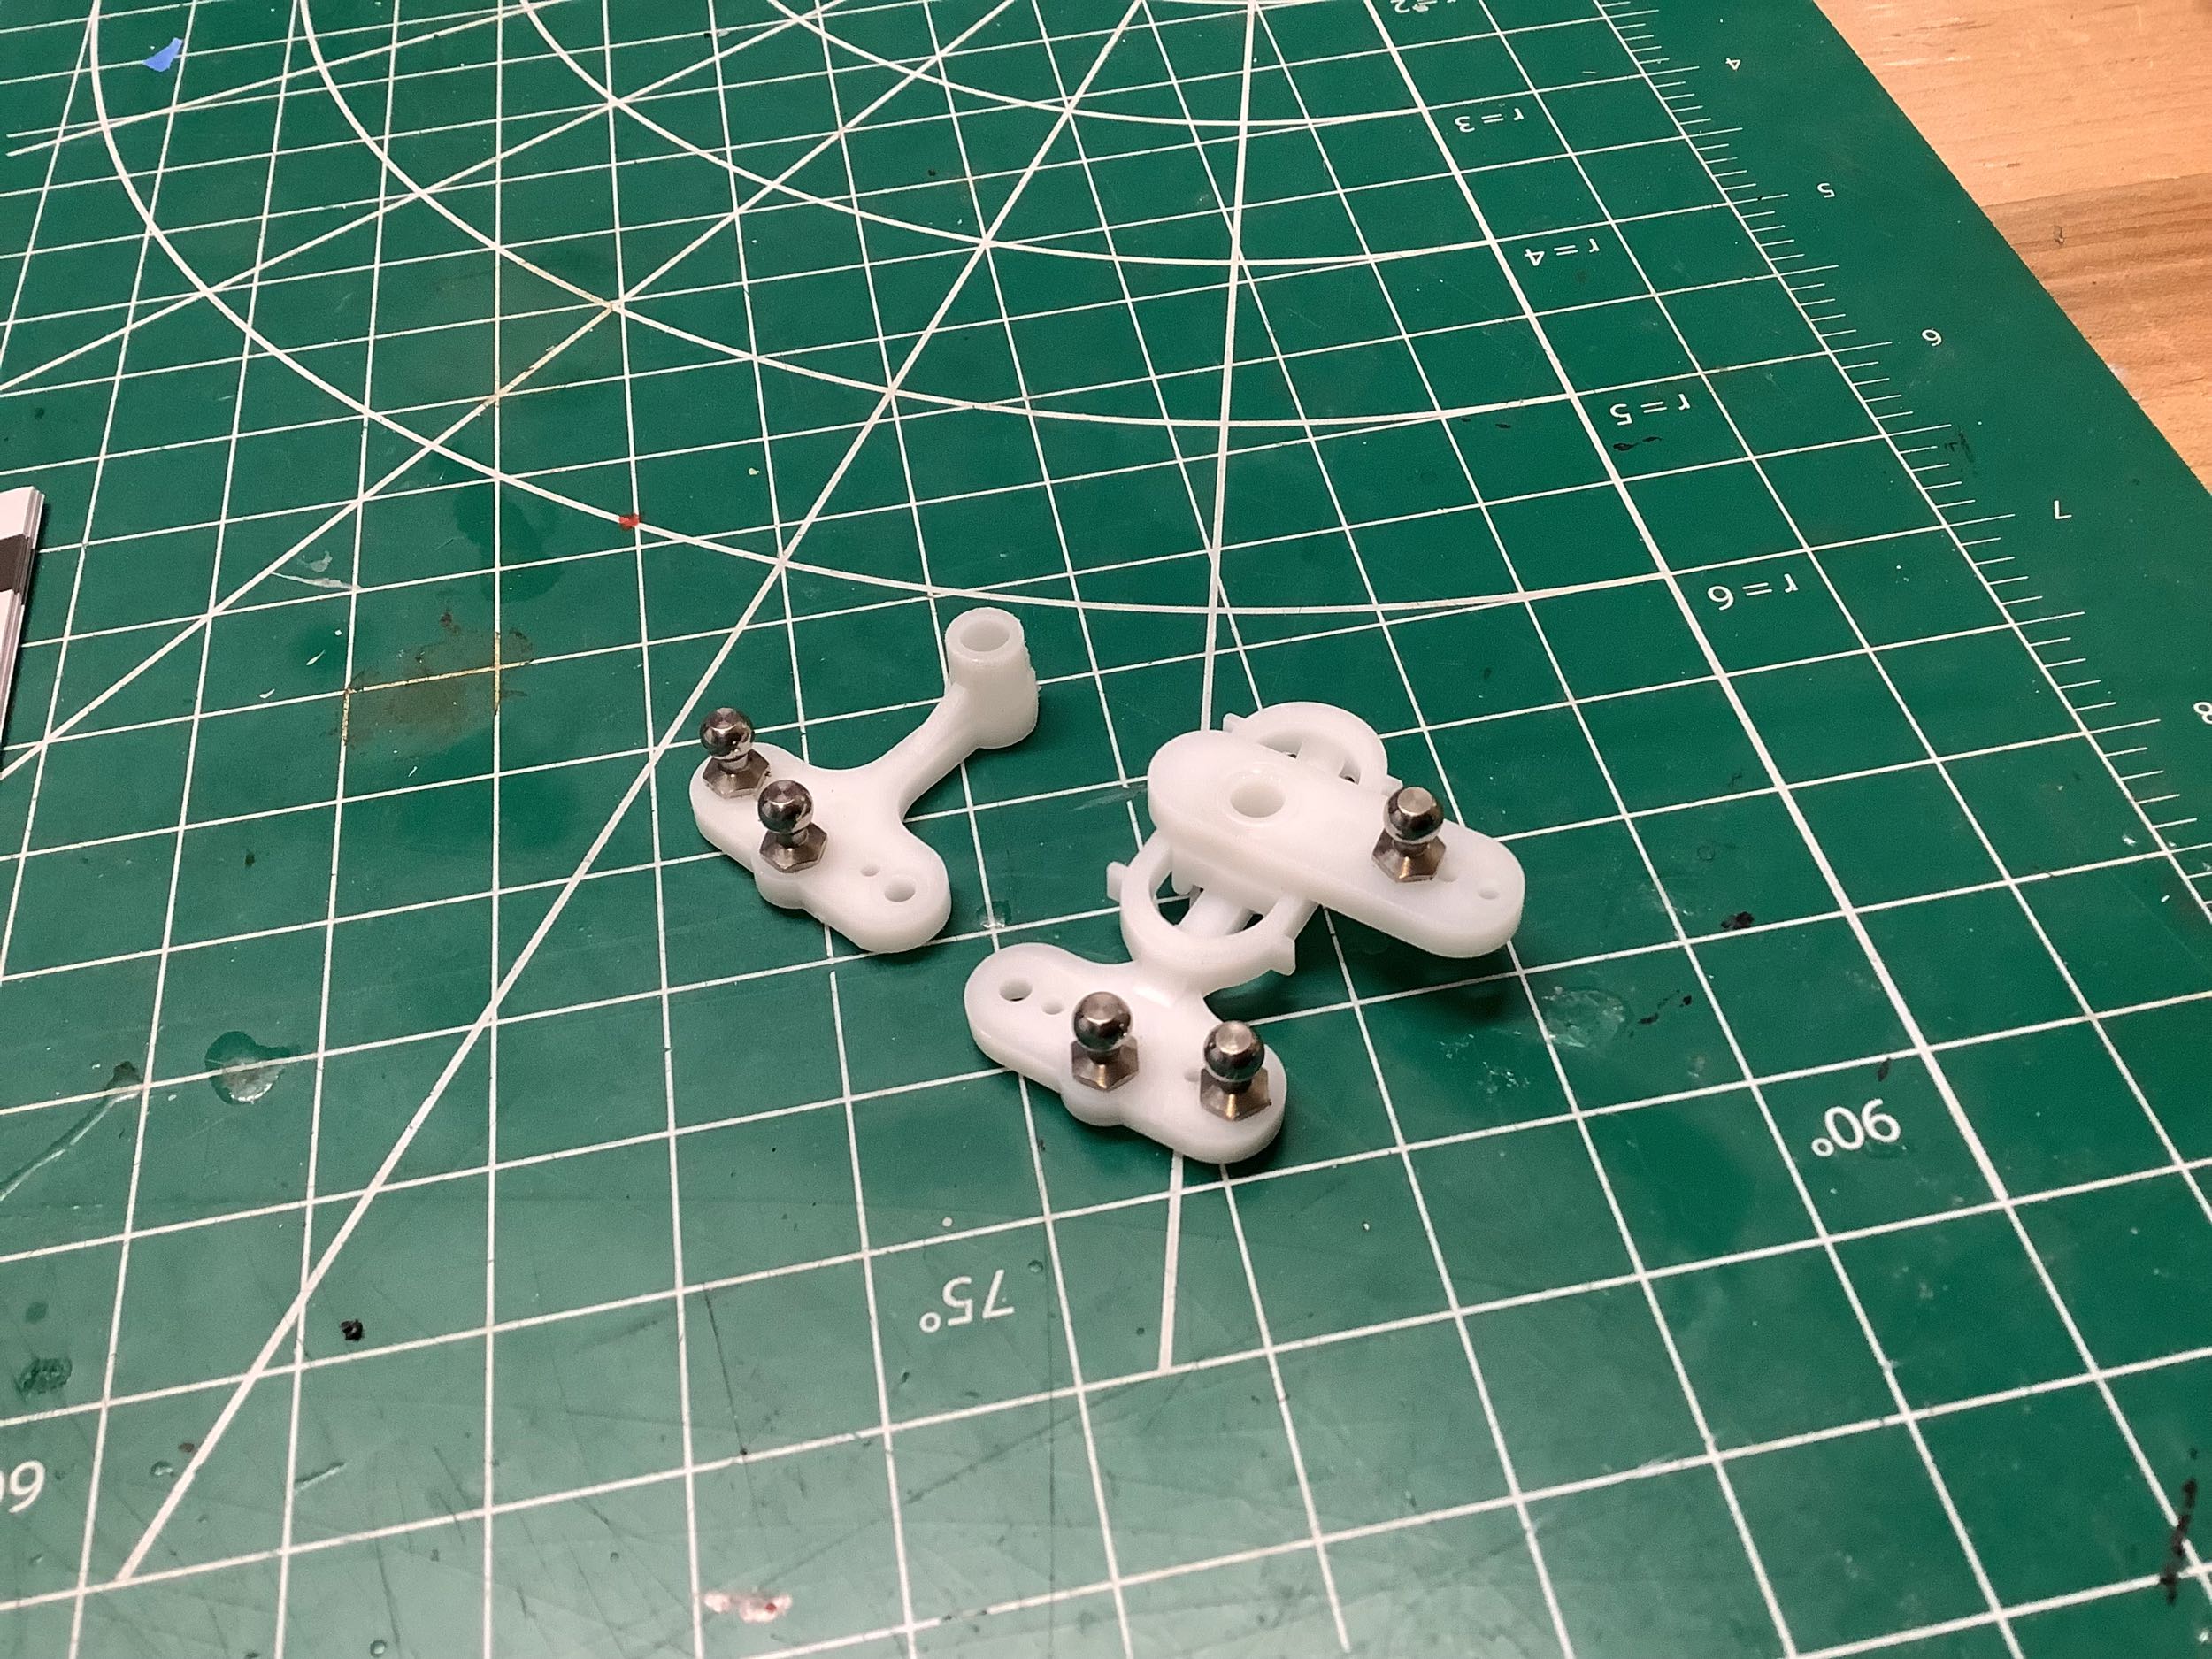
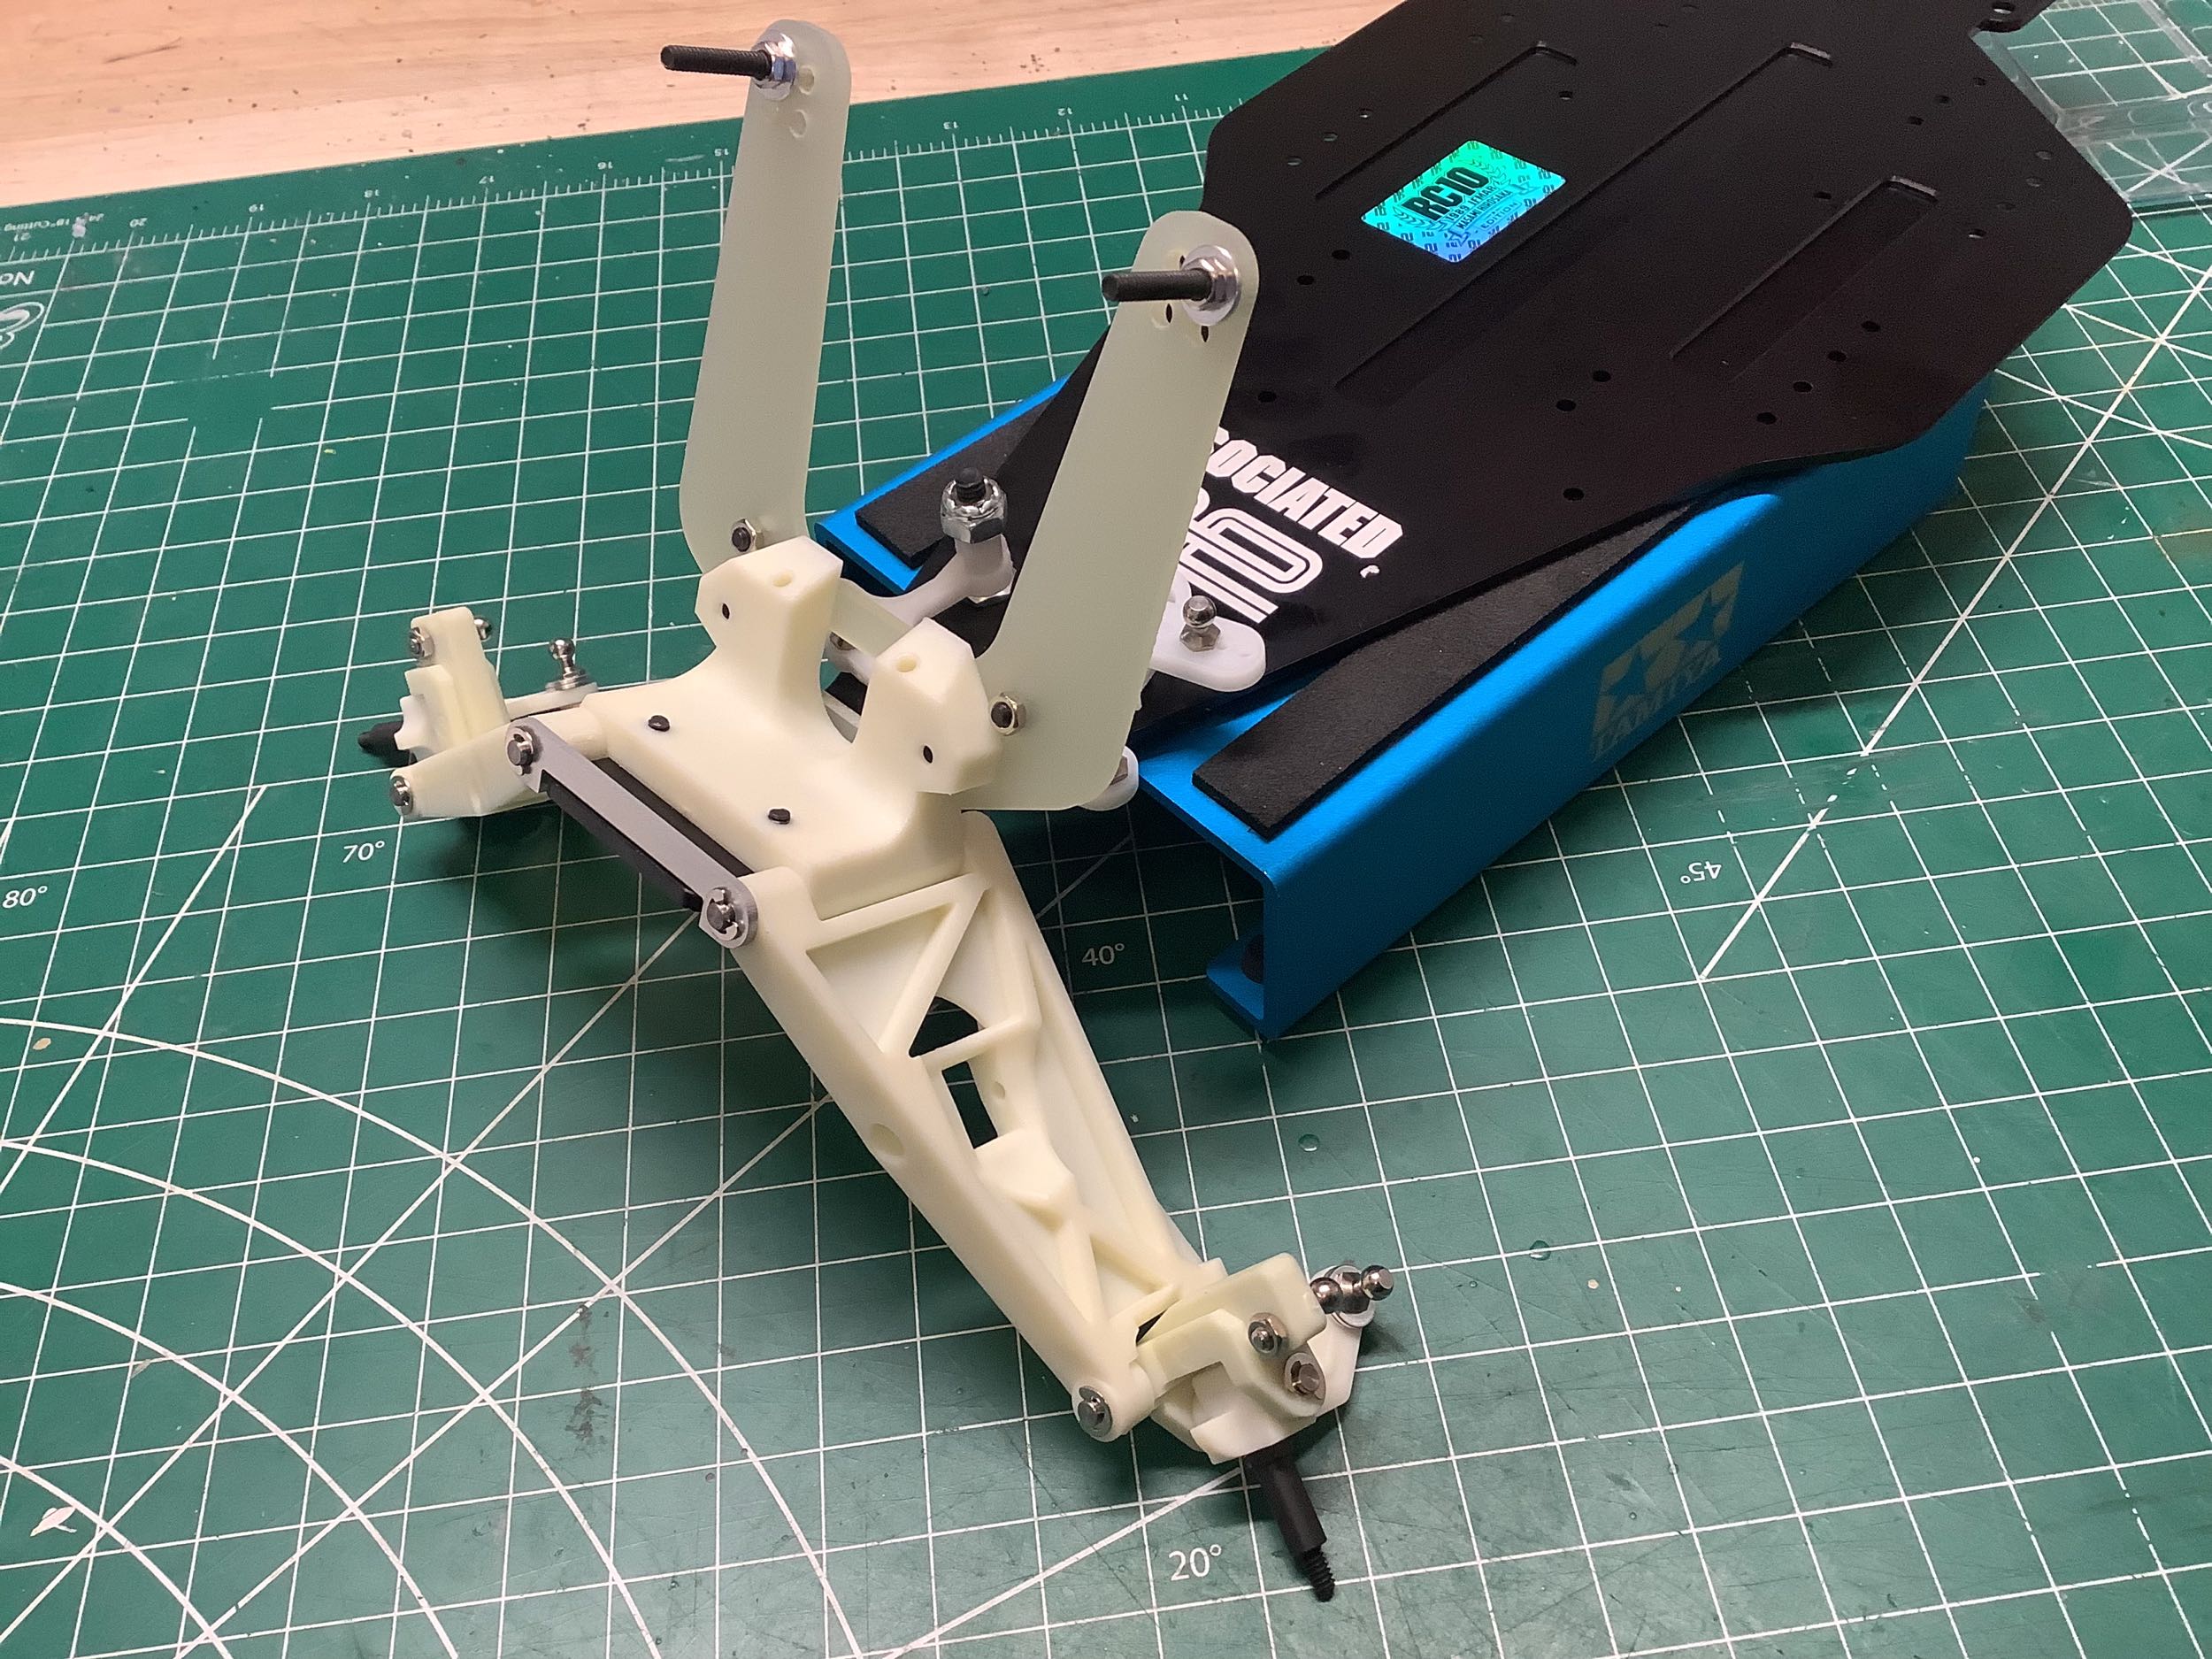
The steering knuckles are the same inline versions from the Team car,
but the caster blocks now have a 25º angle instead of 15º and the ball
studs now have a nut on the back instead of threading directly into the
blocks. This is presumably for more strength. The lower
suspension arms arm much longer than the Team car arms. The track
width is the same, but since the chassis is so much narrower the arms
have to be longer to compensate. The inner hinge pins and front
hinge pin brace are also new for this model. There no front bumper
and the chassis no longer wraps around the front suspension, so the
front suspension is quite exposed in the event of a collision.
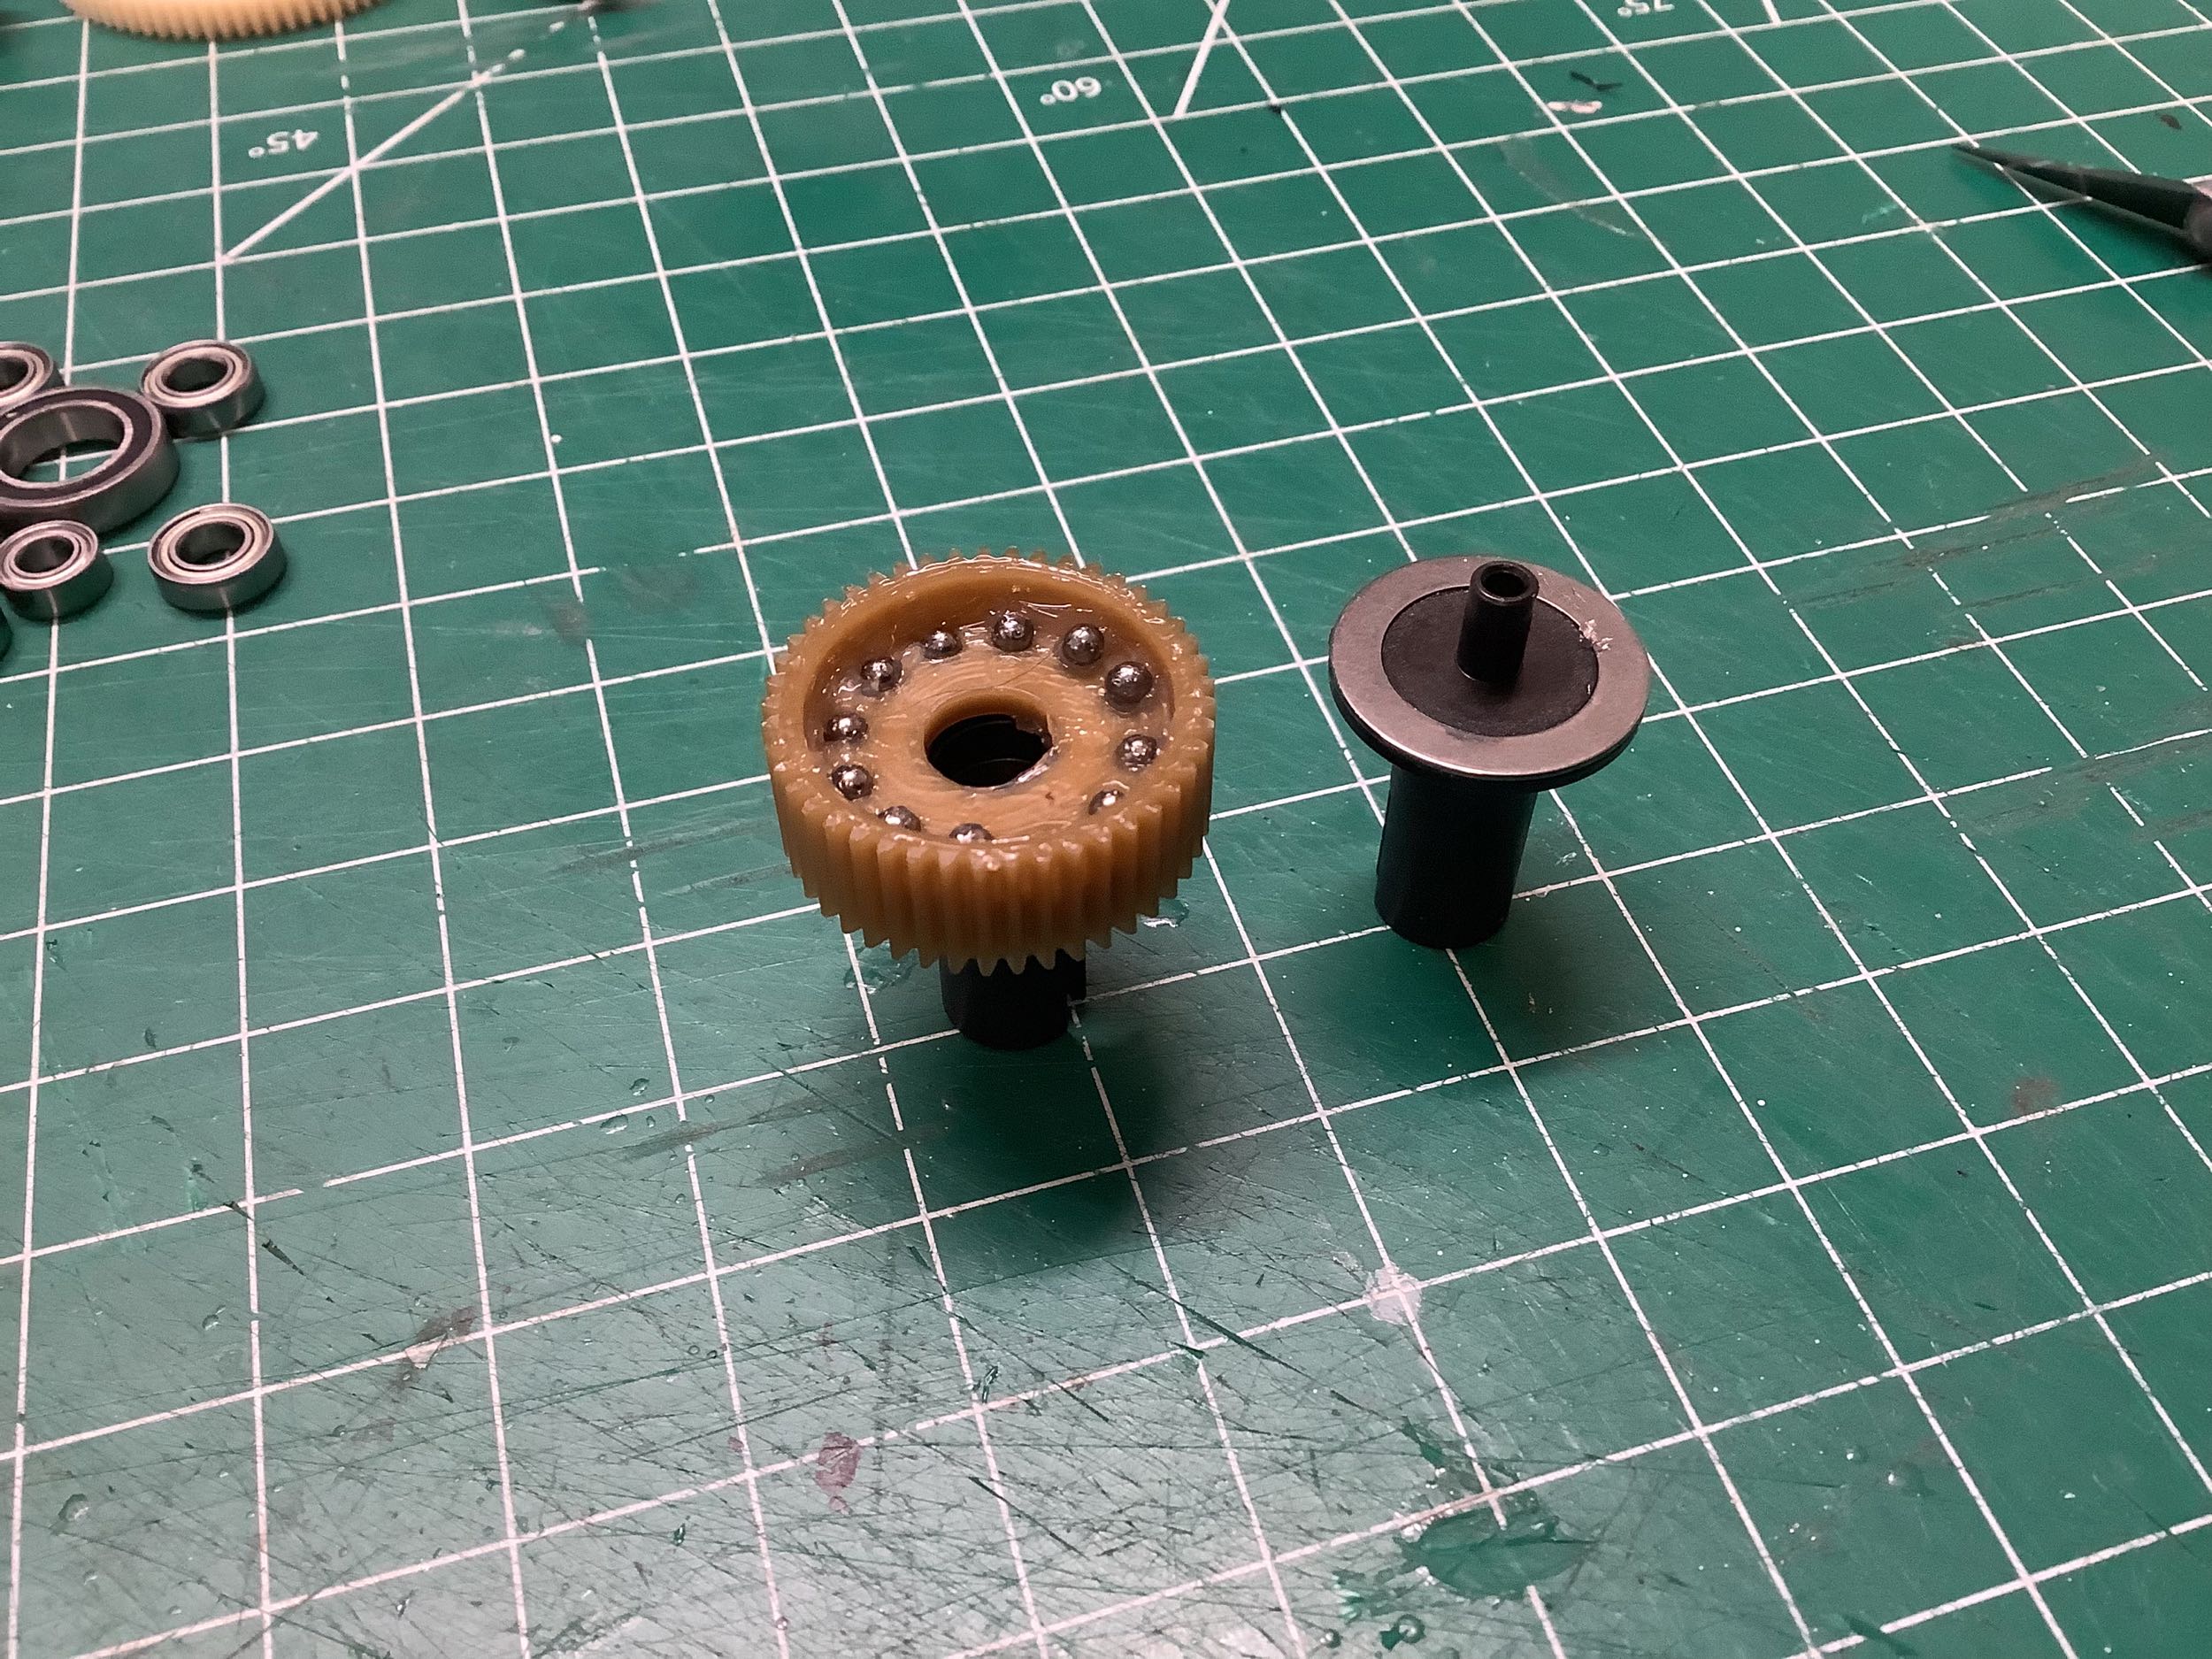
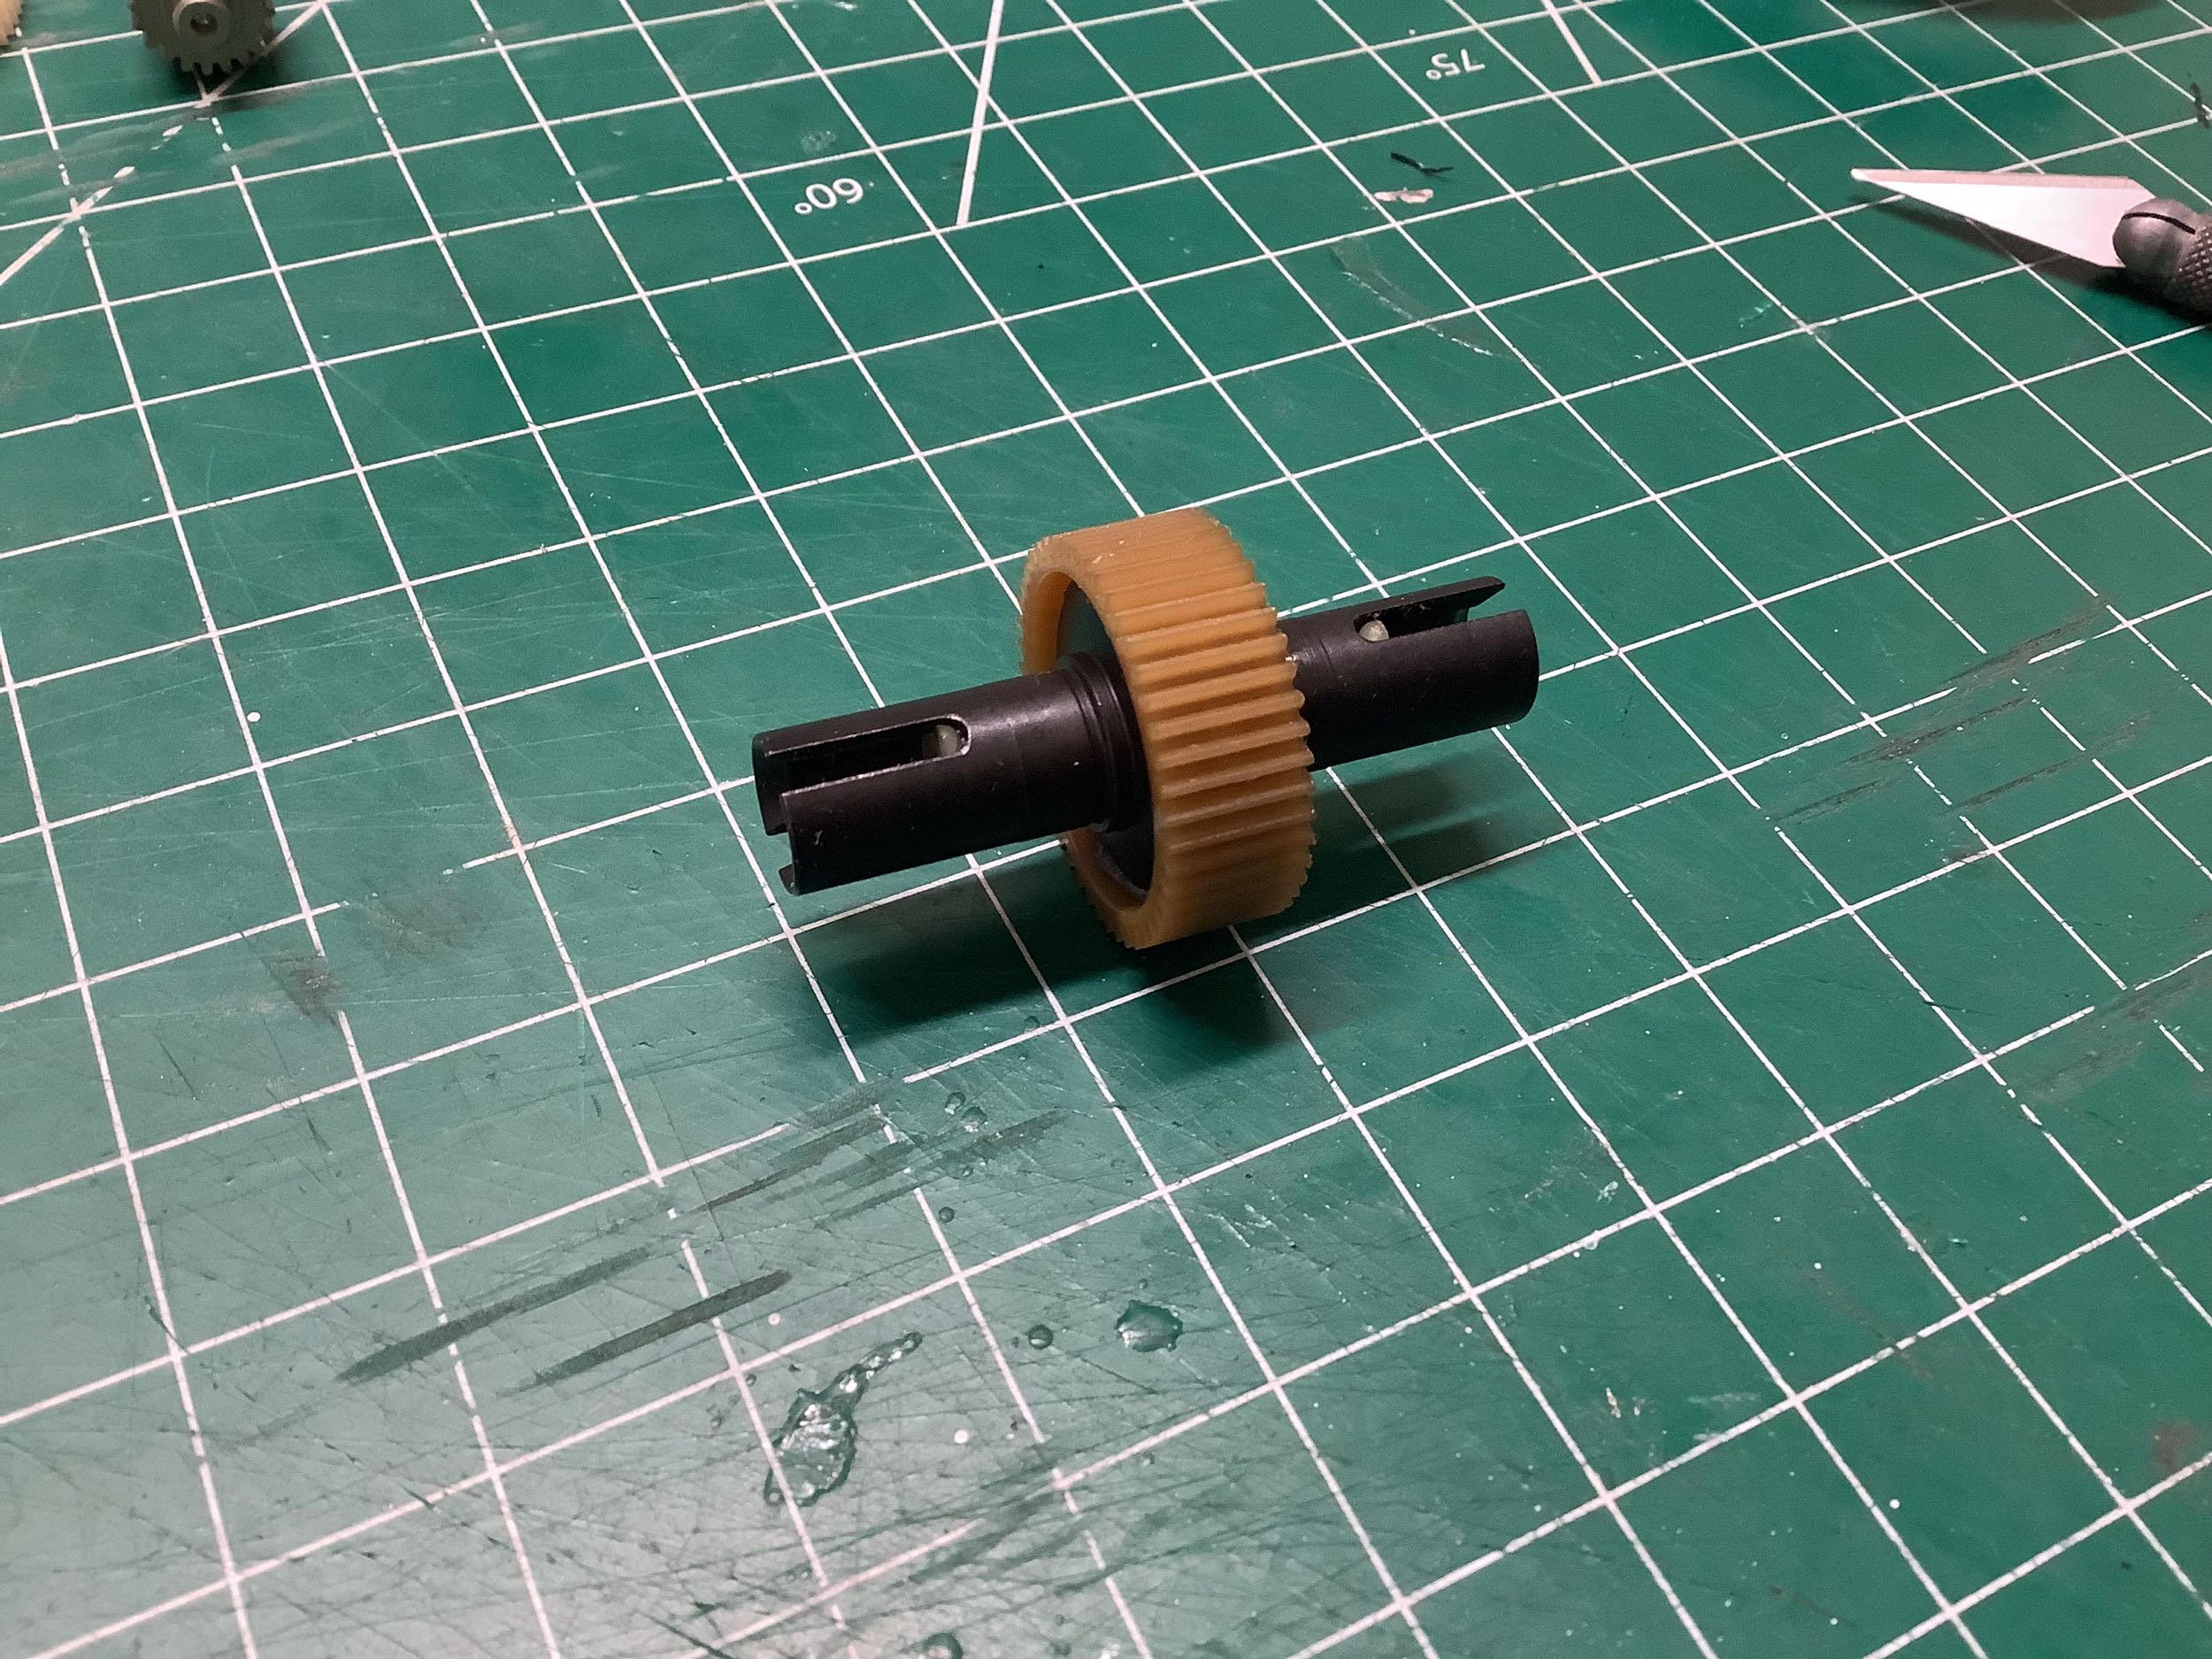
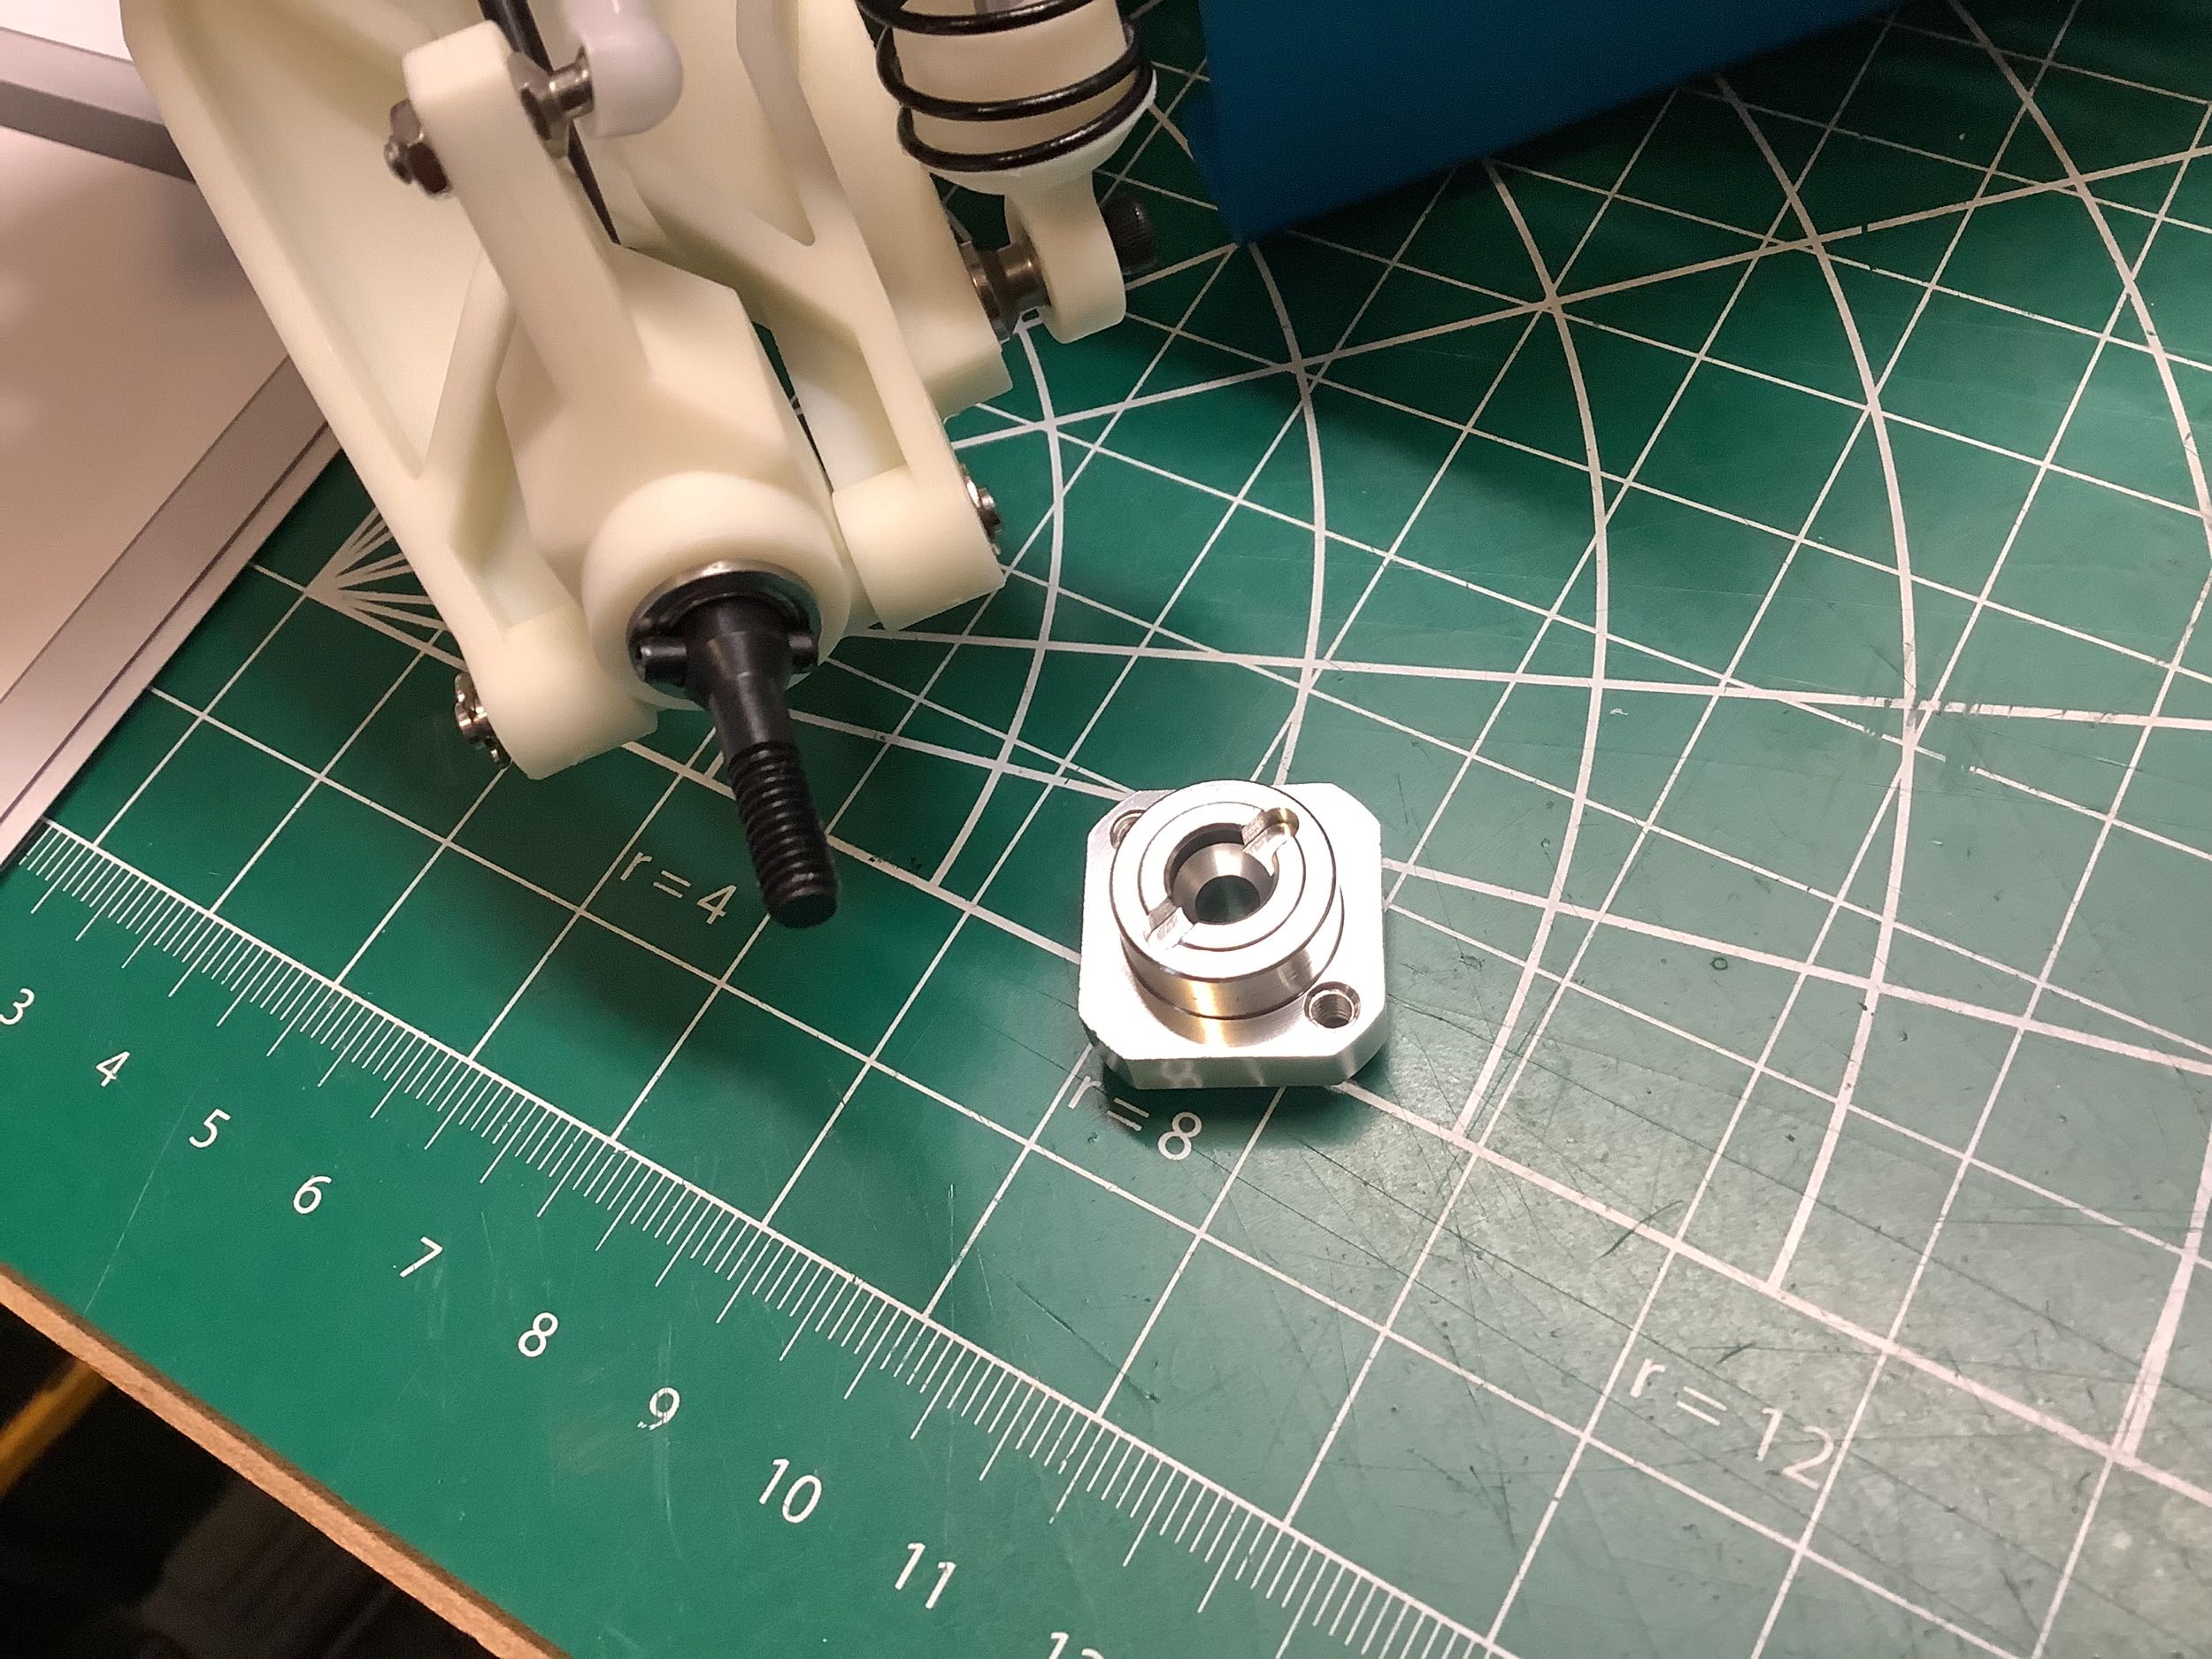
This chassis uses the stealth transmission just like the Team car and
starts with the same ball differential using 12ea 3/32" balls.
Details of the stealth transmission can be found on my Team car build
page. Here I'm just showing the completed assembly on the
left. The gold motor mount plate shown on the right is just about
all that remains of the original RC10 chassis. The 81 tooth, 48p
spur gear has an integral slipper clutch and is the same as the one on
the Team car.
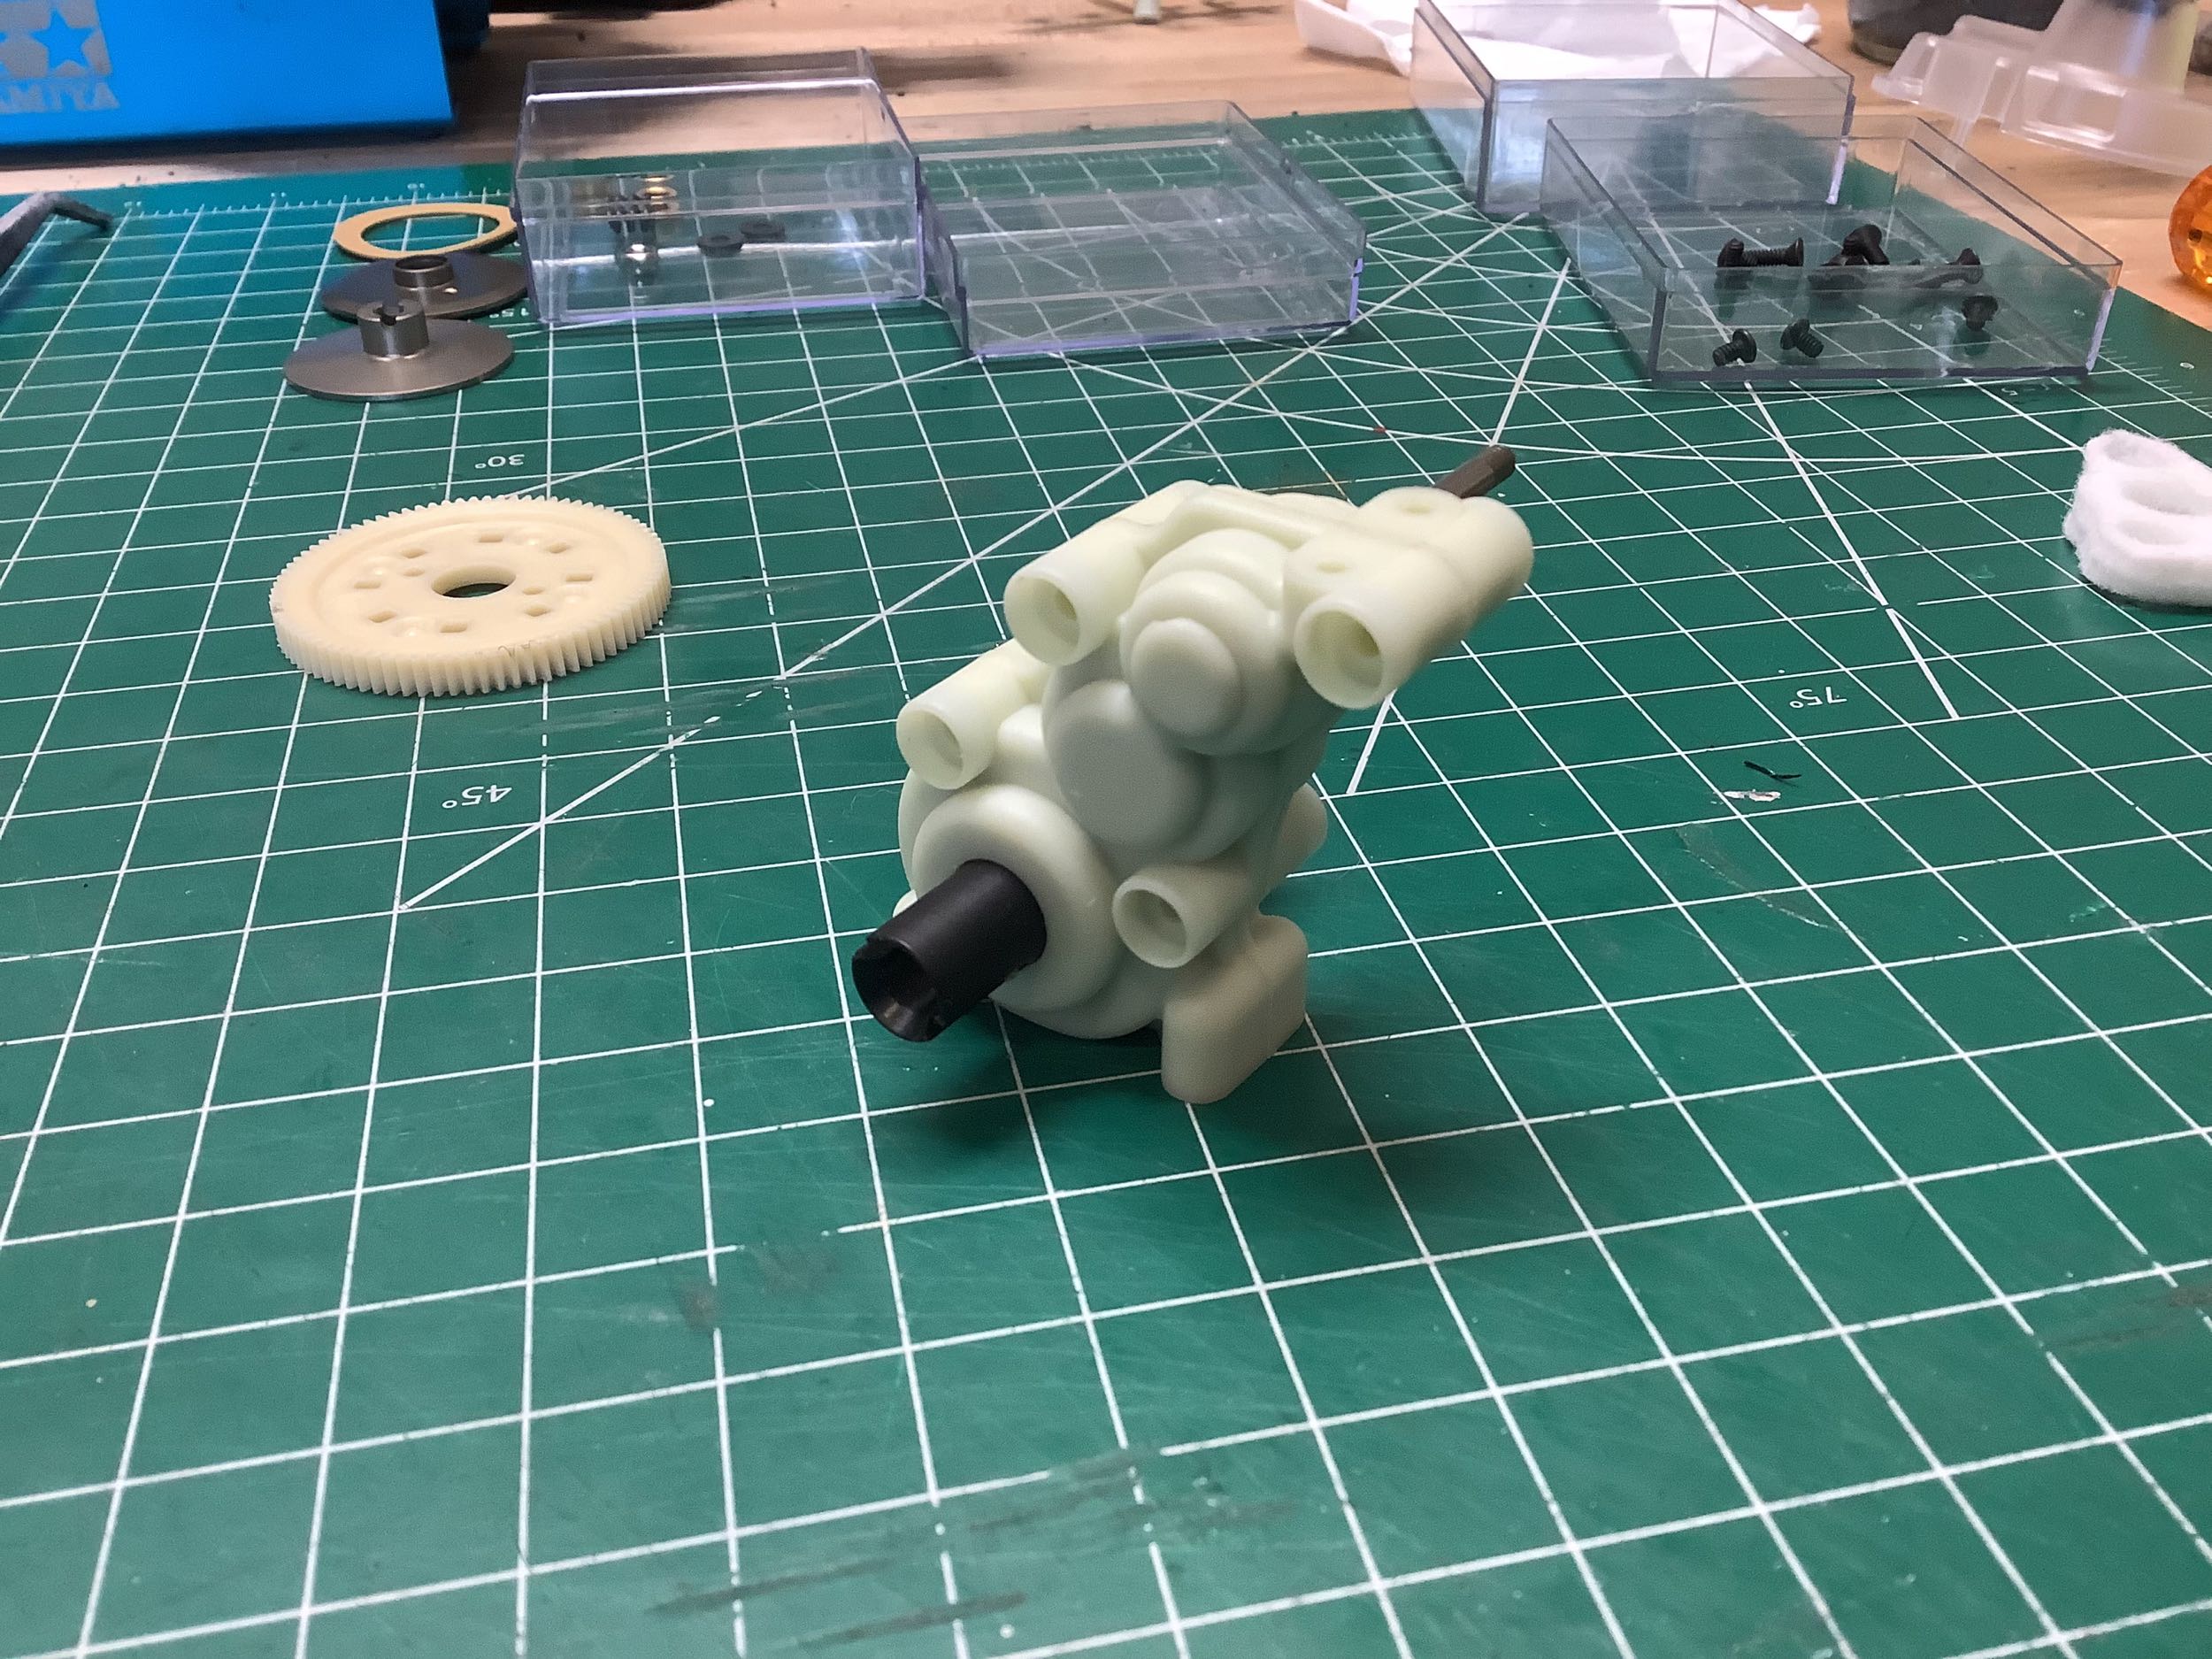
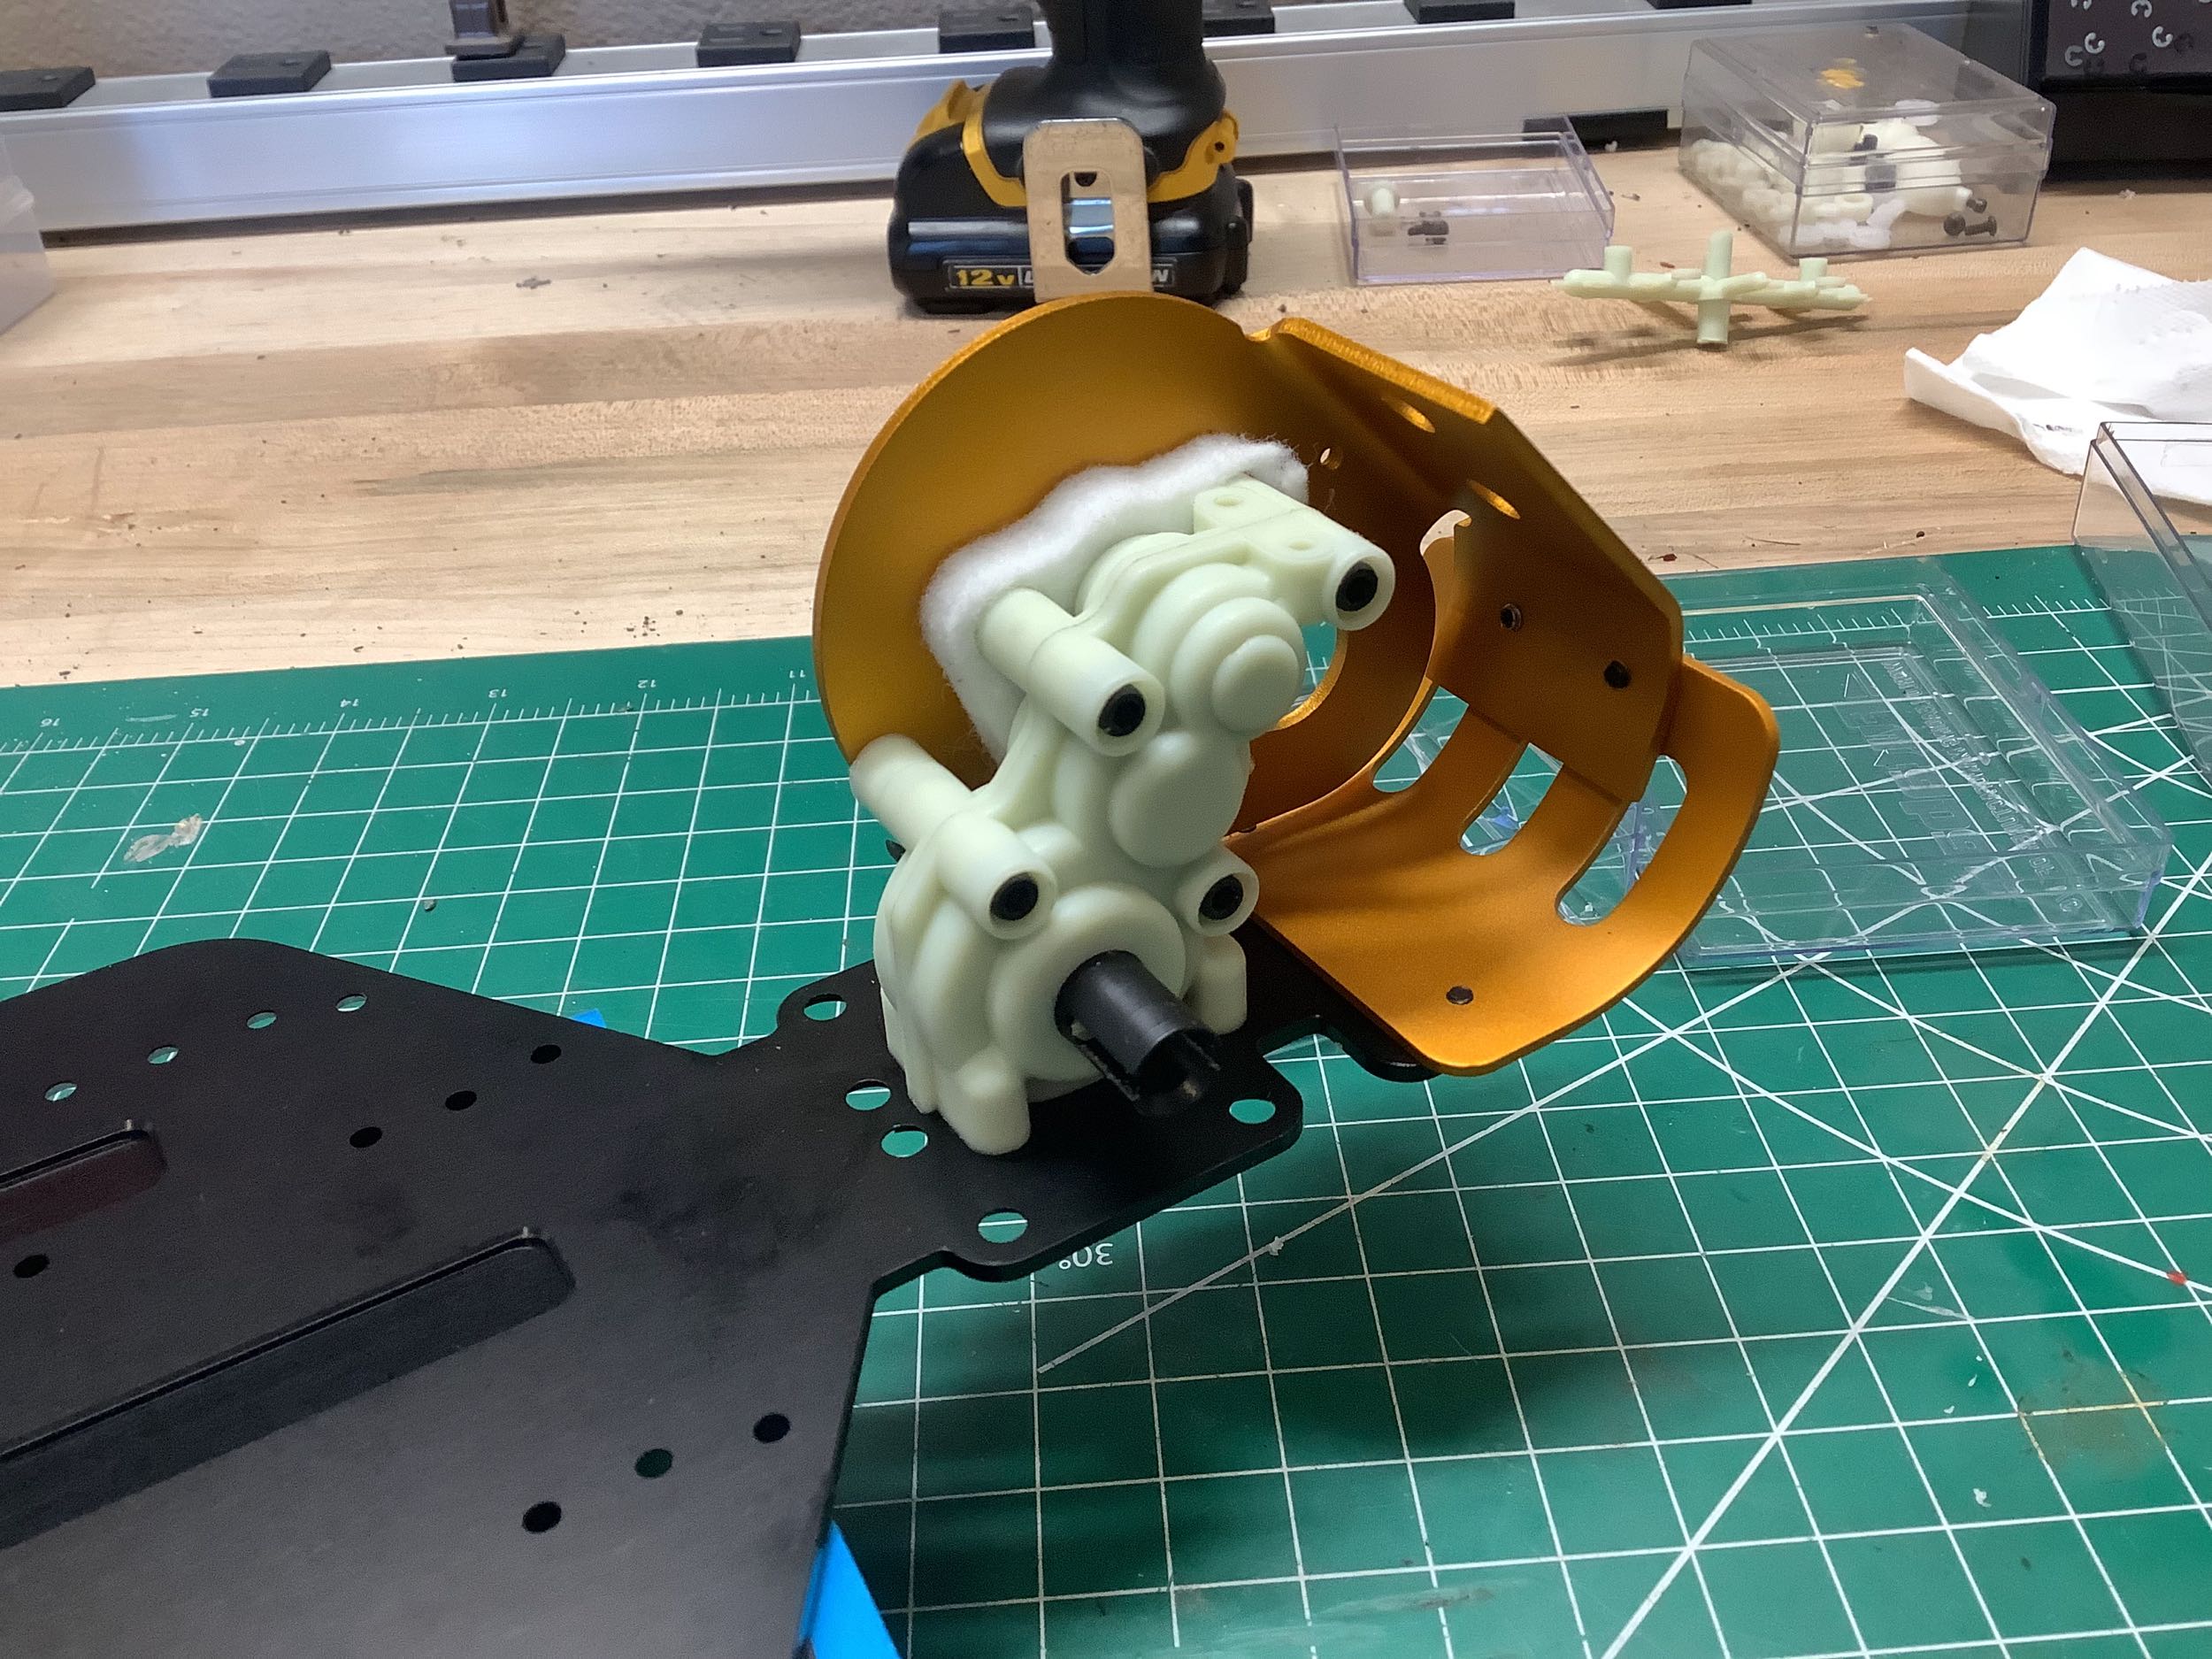
The gold motor mount looks a little out of place on the black
chassis. I would actually have preferred that it be anodized in
black for this application, but perhaps this was done to match Masami's
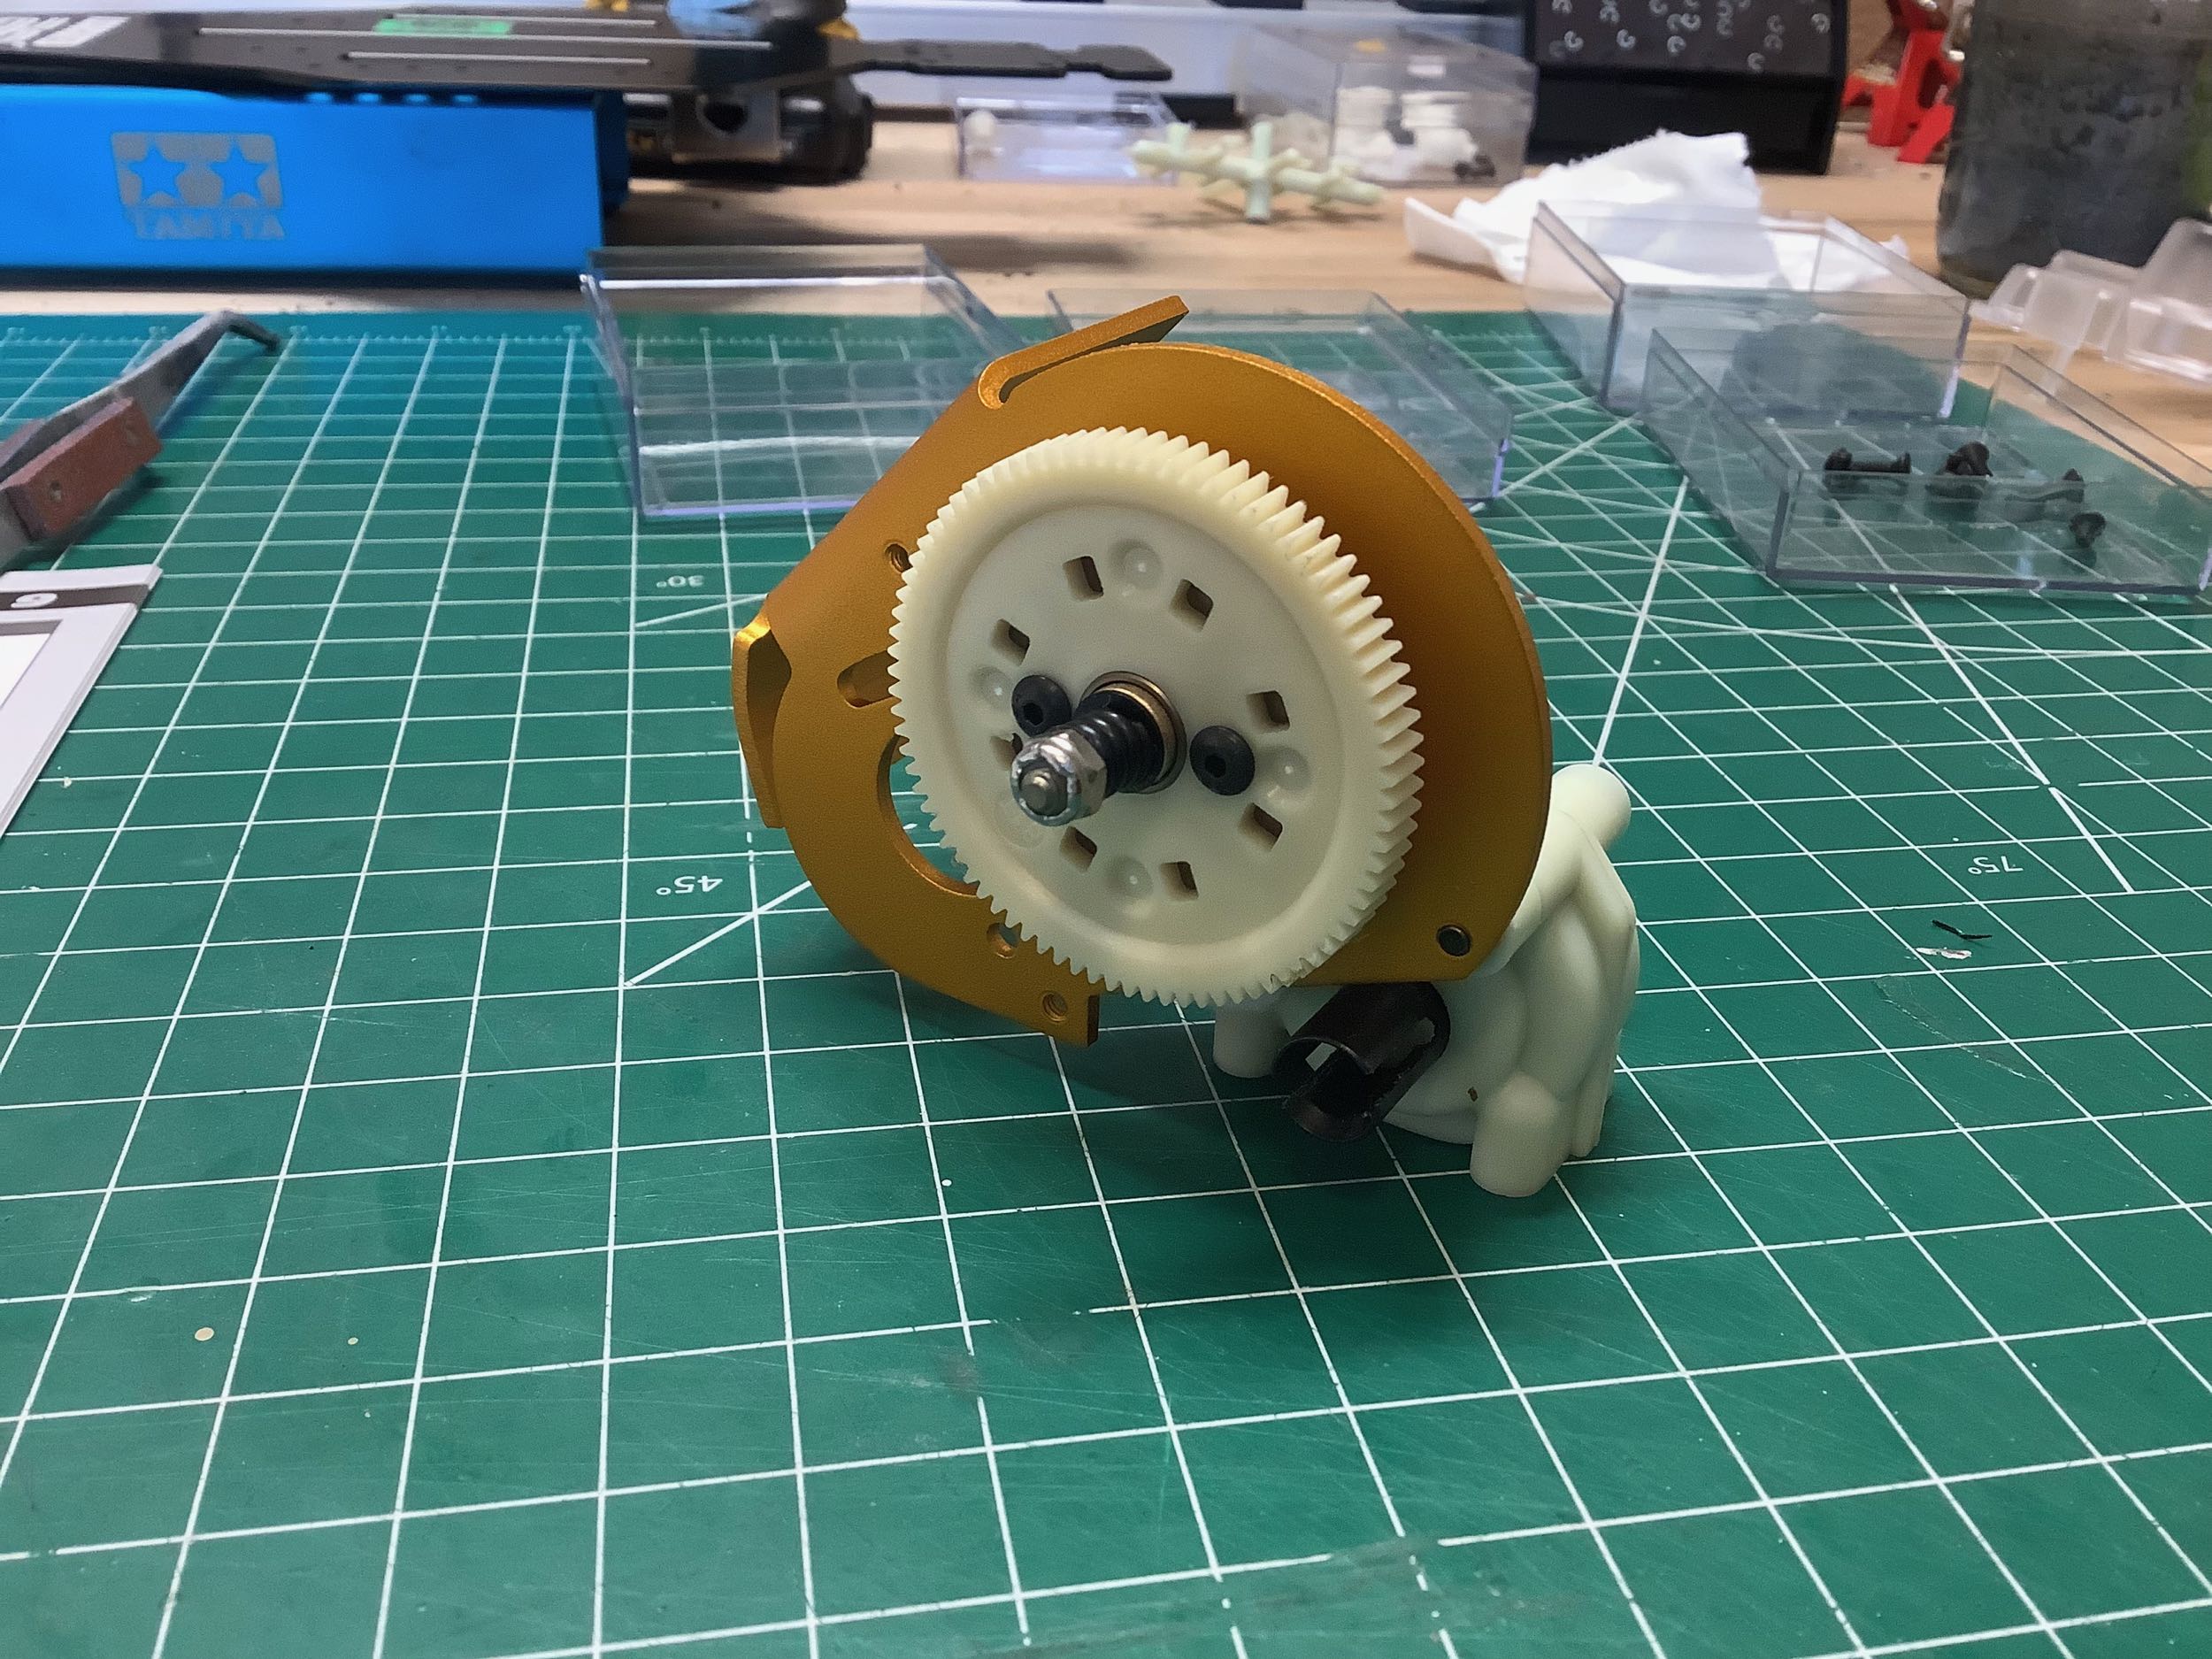
original car. The regular gold pan chassis has two sets of holes:
one to mount the standard transmission and one to mount the stealth
transmission. This chassis only supports the stealth
transmission. The rear shock tower shown on the right is nearly
the same as the old one but has an additional set of holes for the new
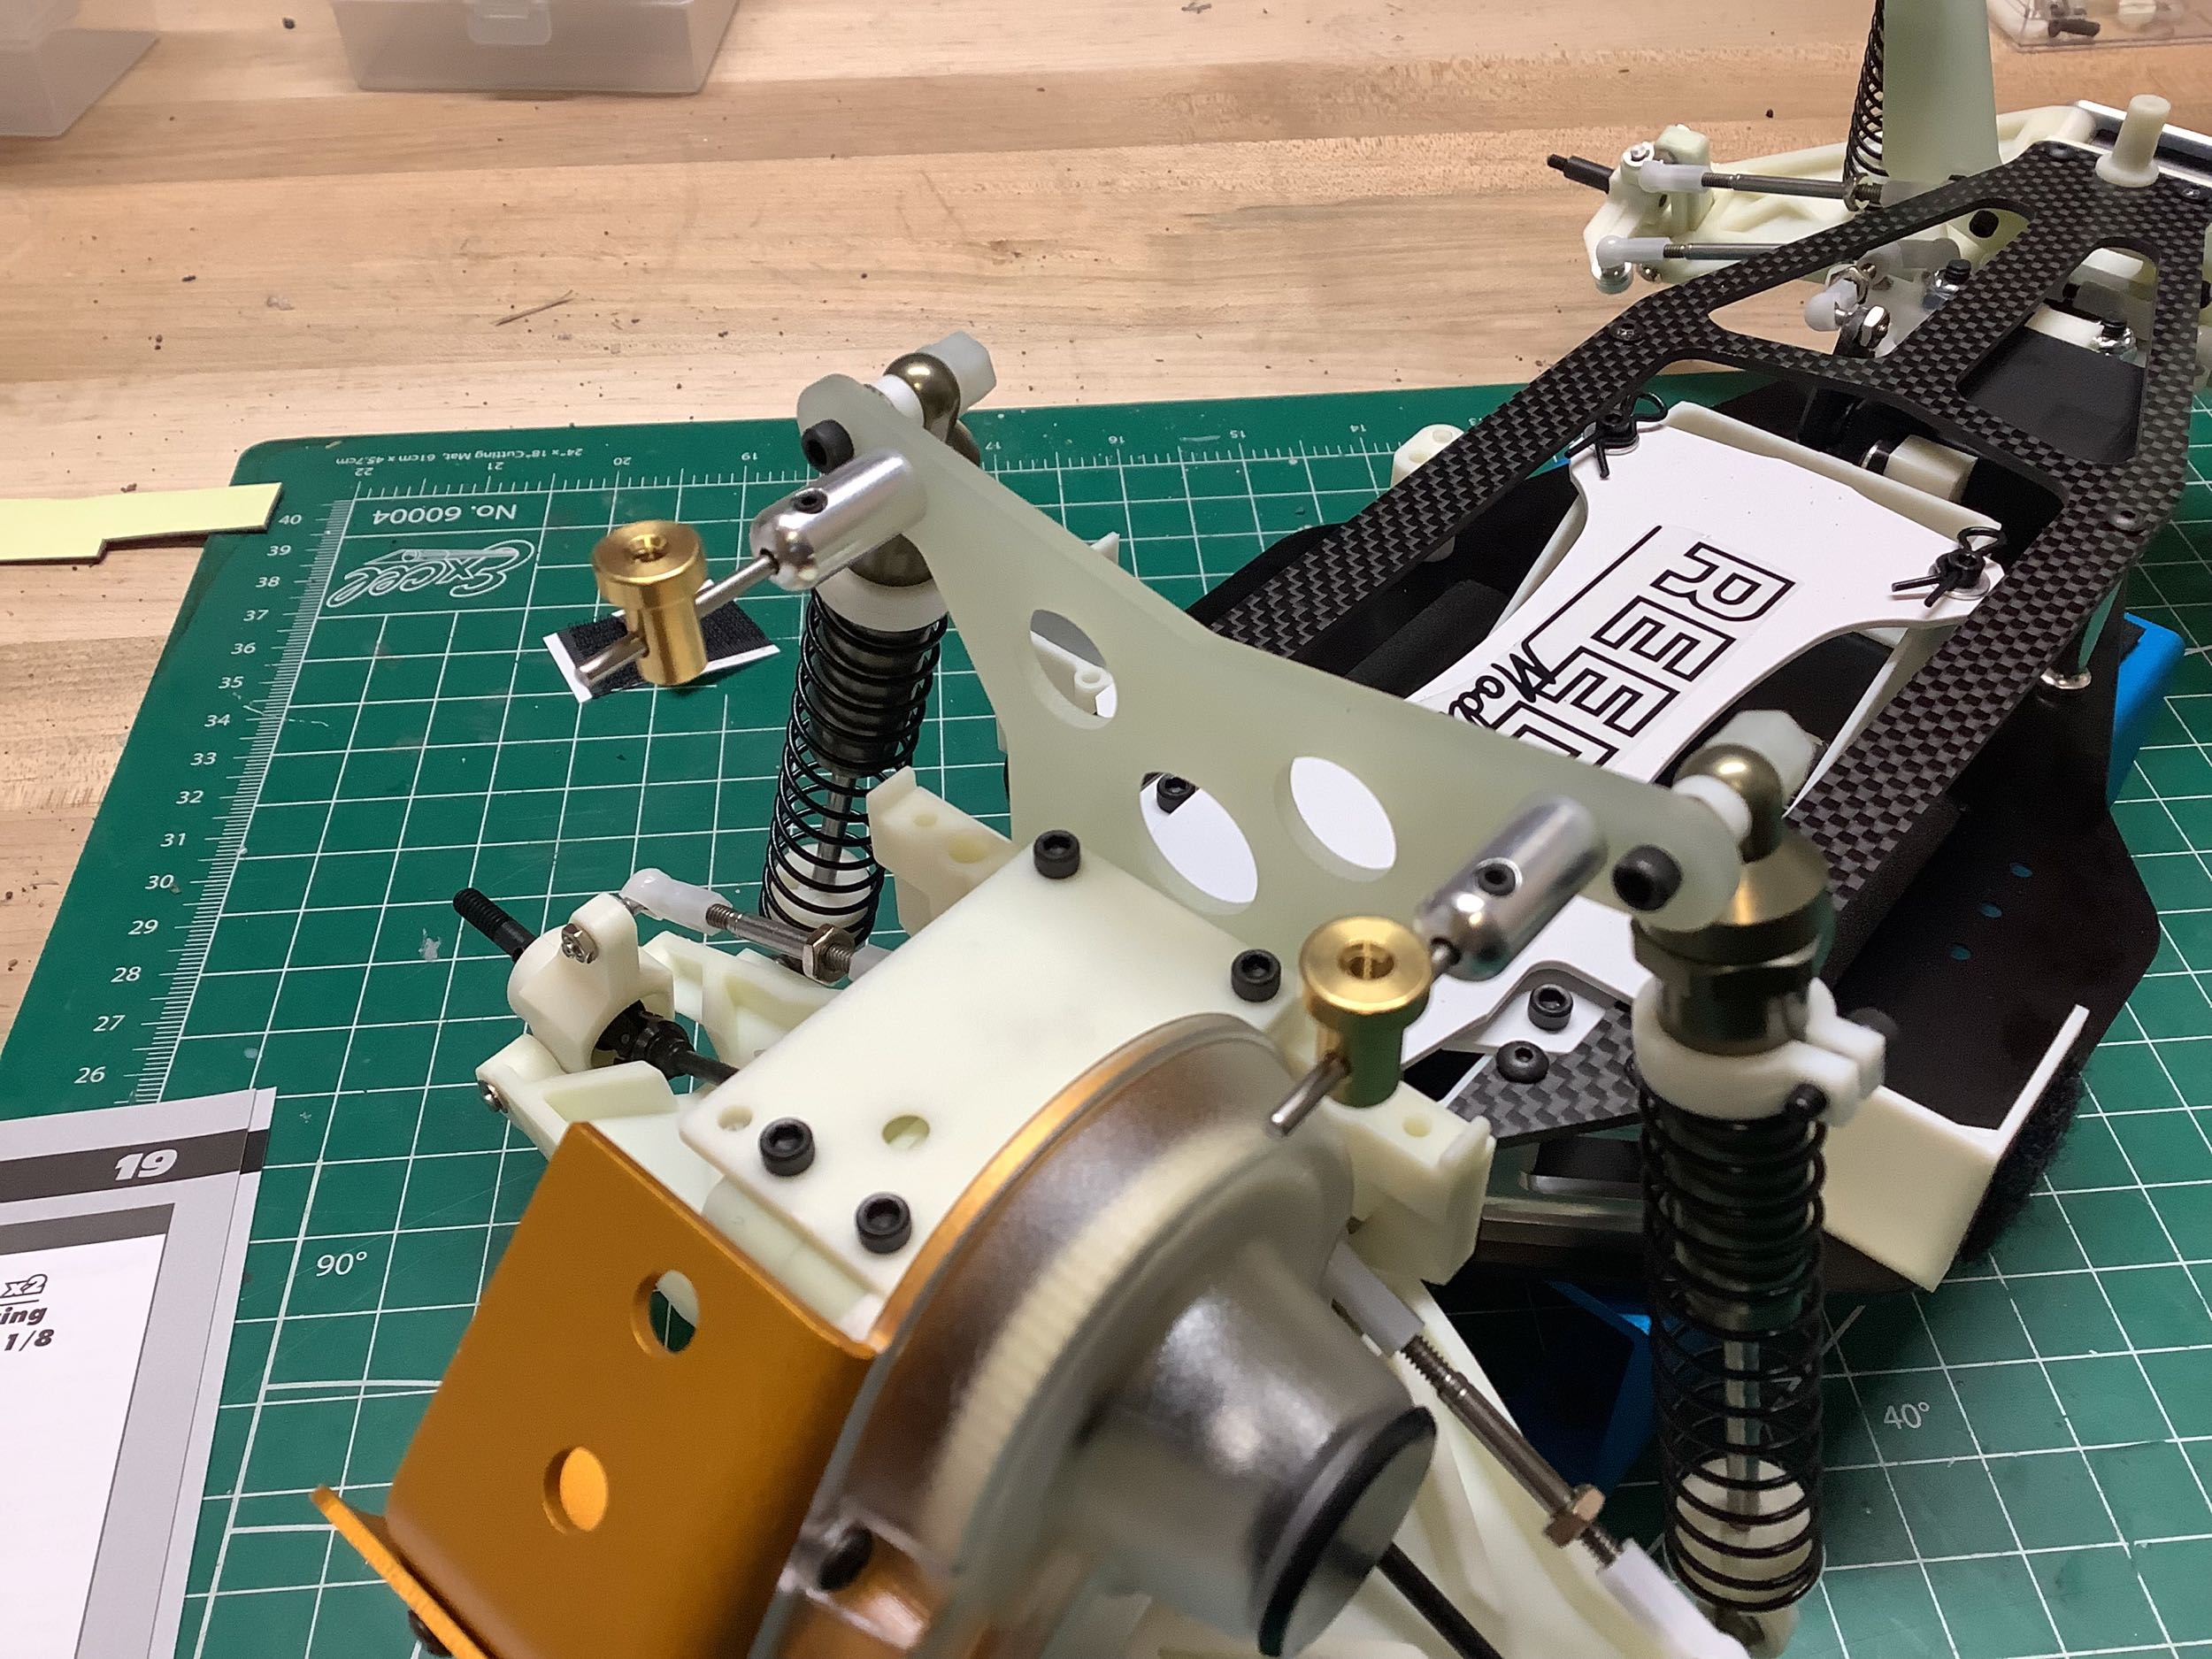
spoiler mount. The rear bulkhead has been changed
considerably. The bottom edge is much narrower and the 3x3 grid of
holes for the camber link attachment have been removed.
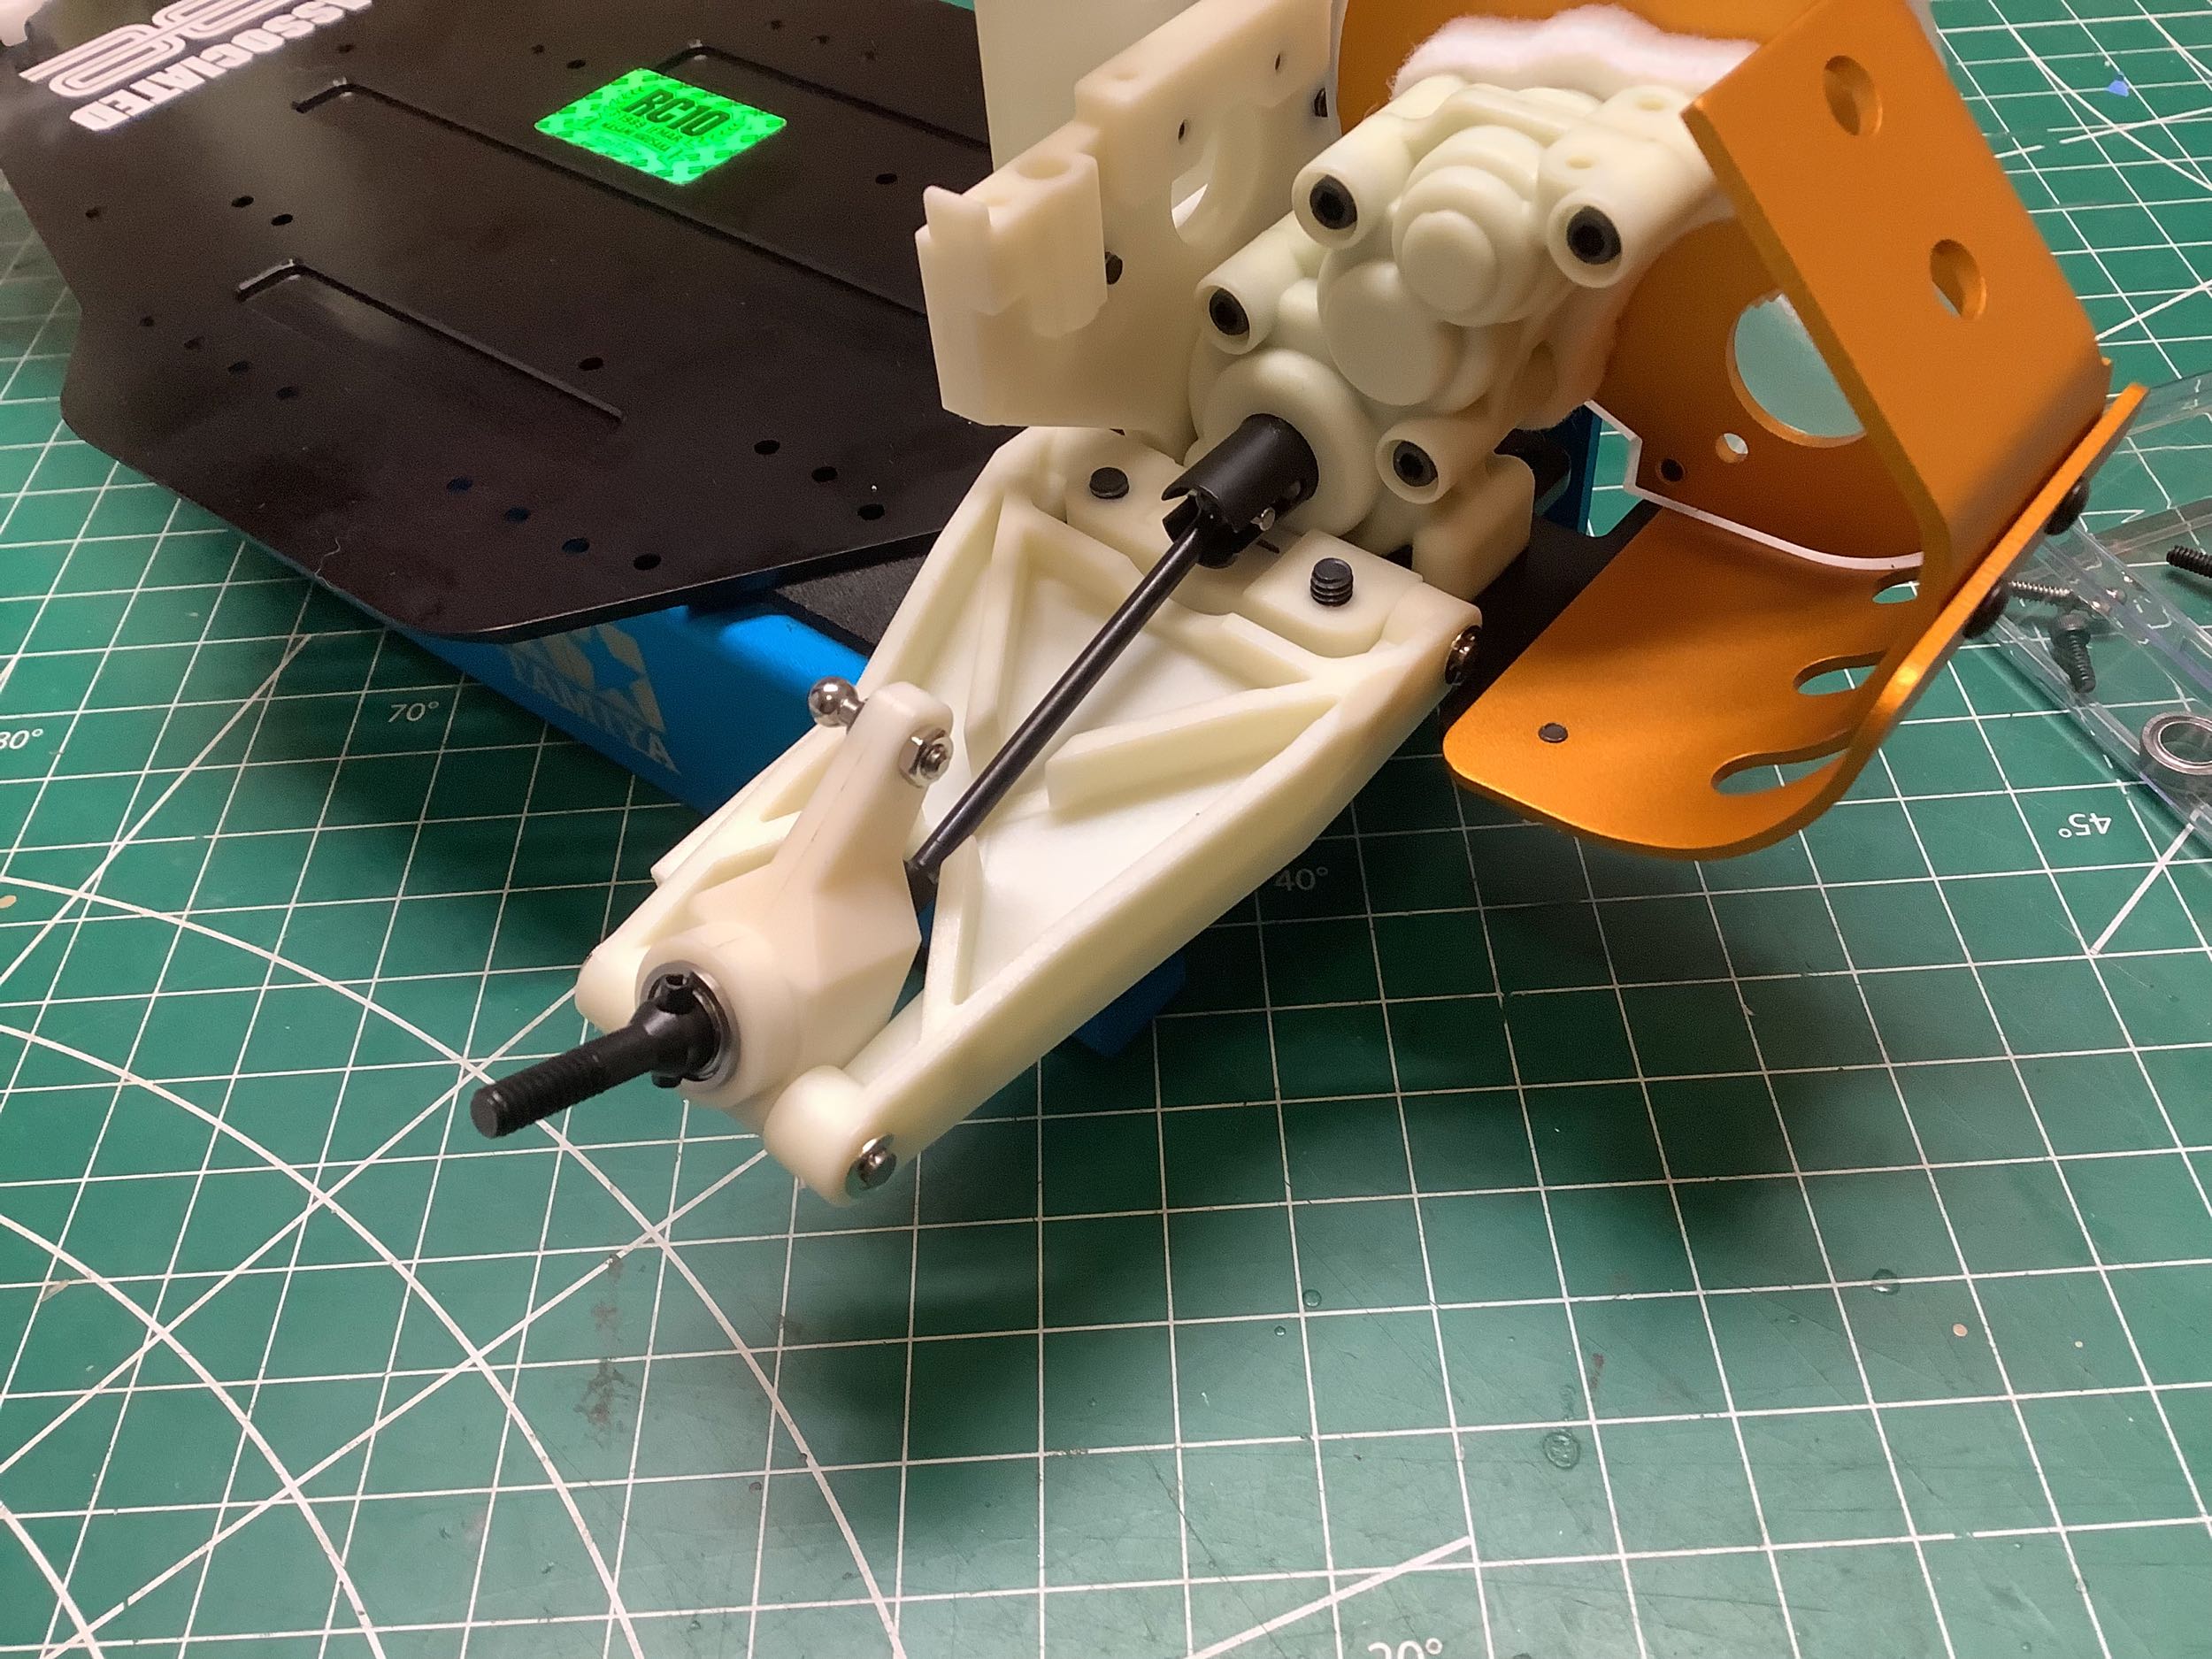
The rear uprights are the same as always, but since the chassis is about
5mm narrower than the gold pan chassis, the lower suspension arms and
axles have had to get longer to compensate.
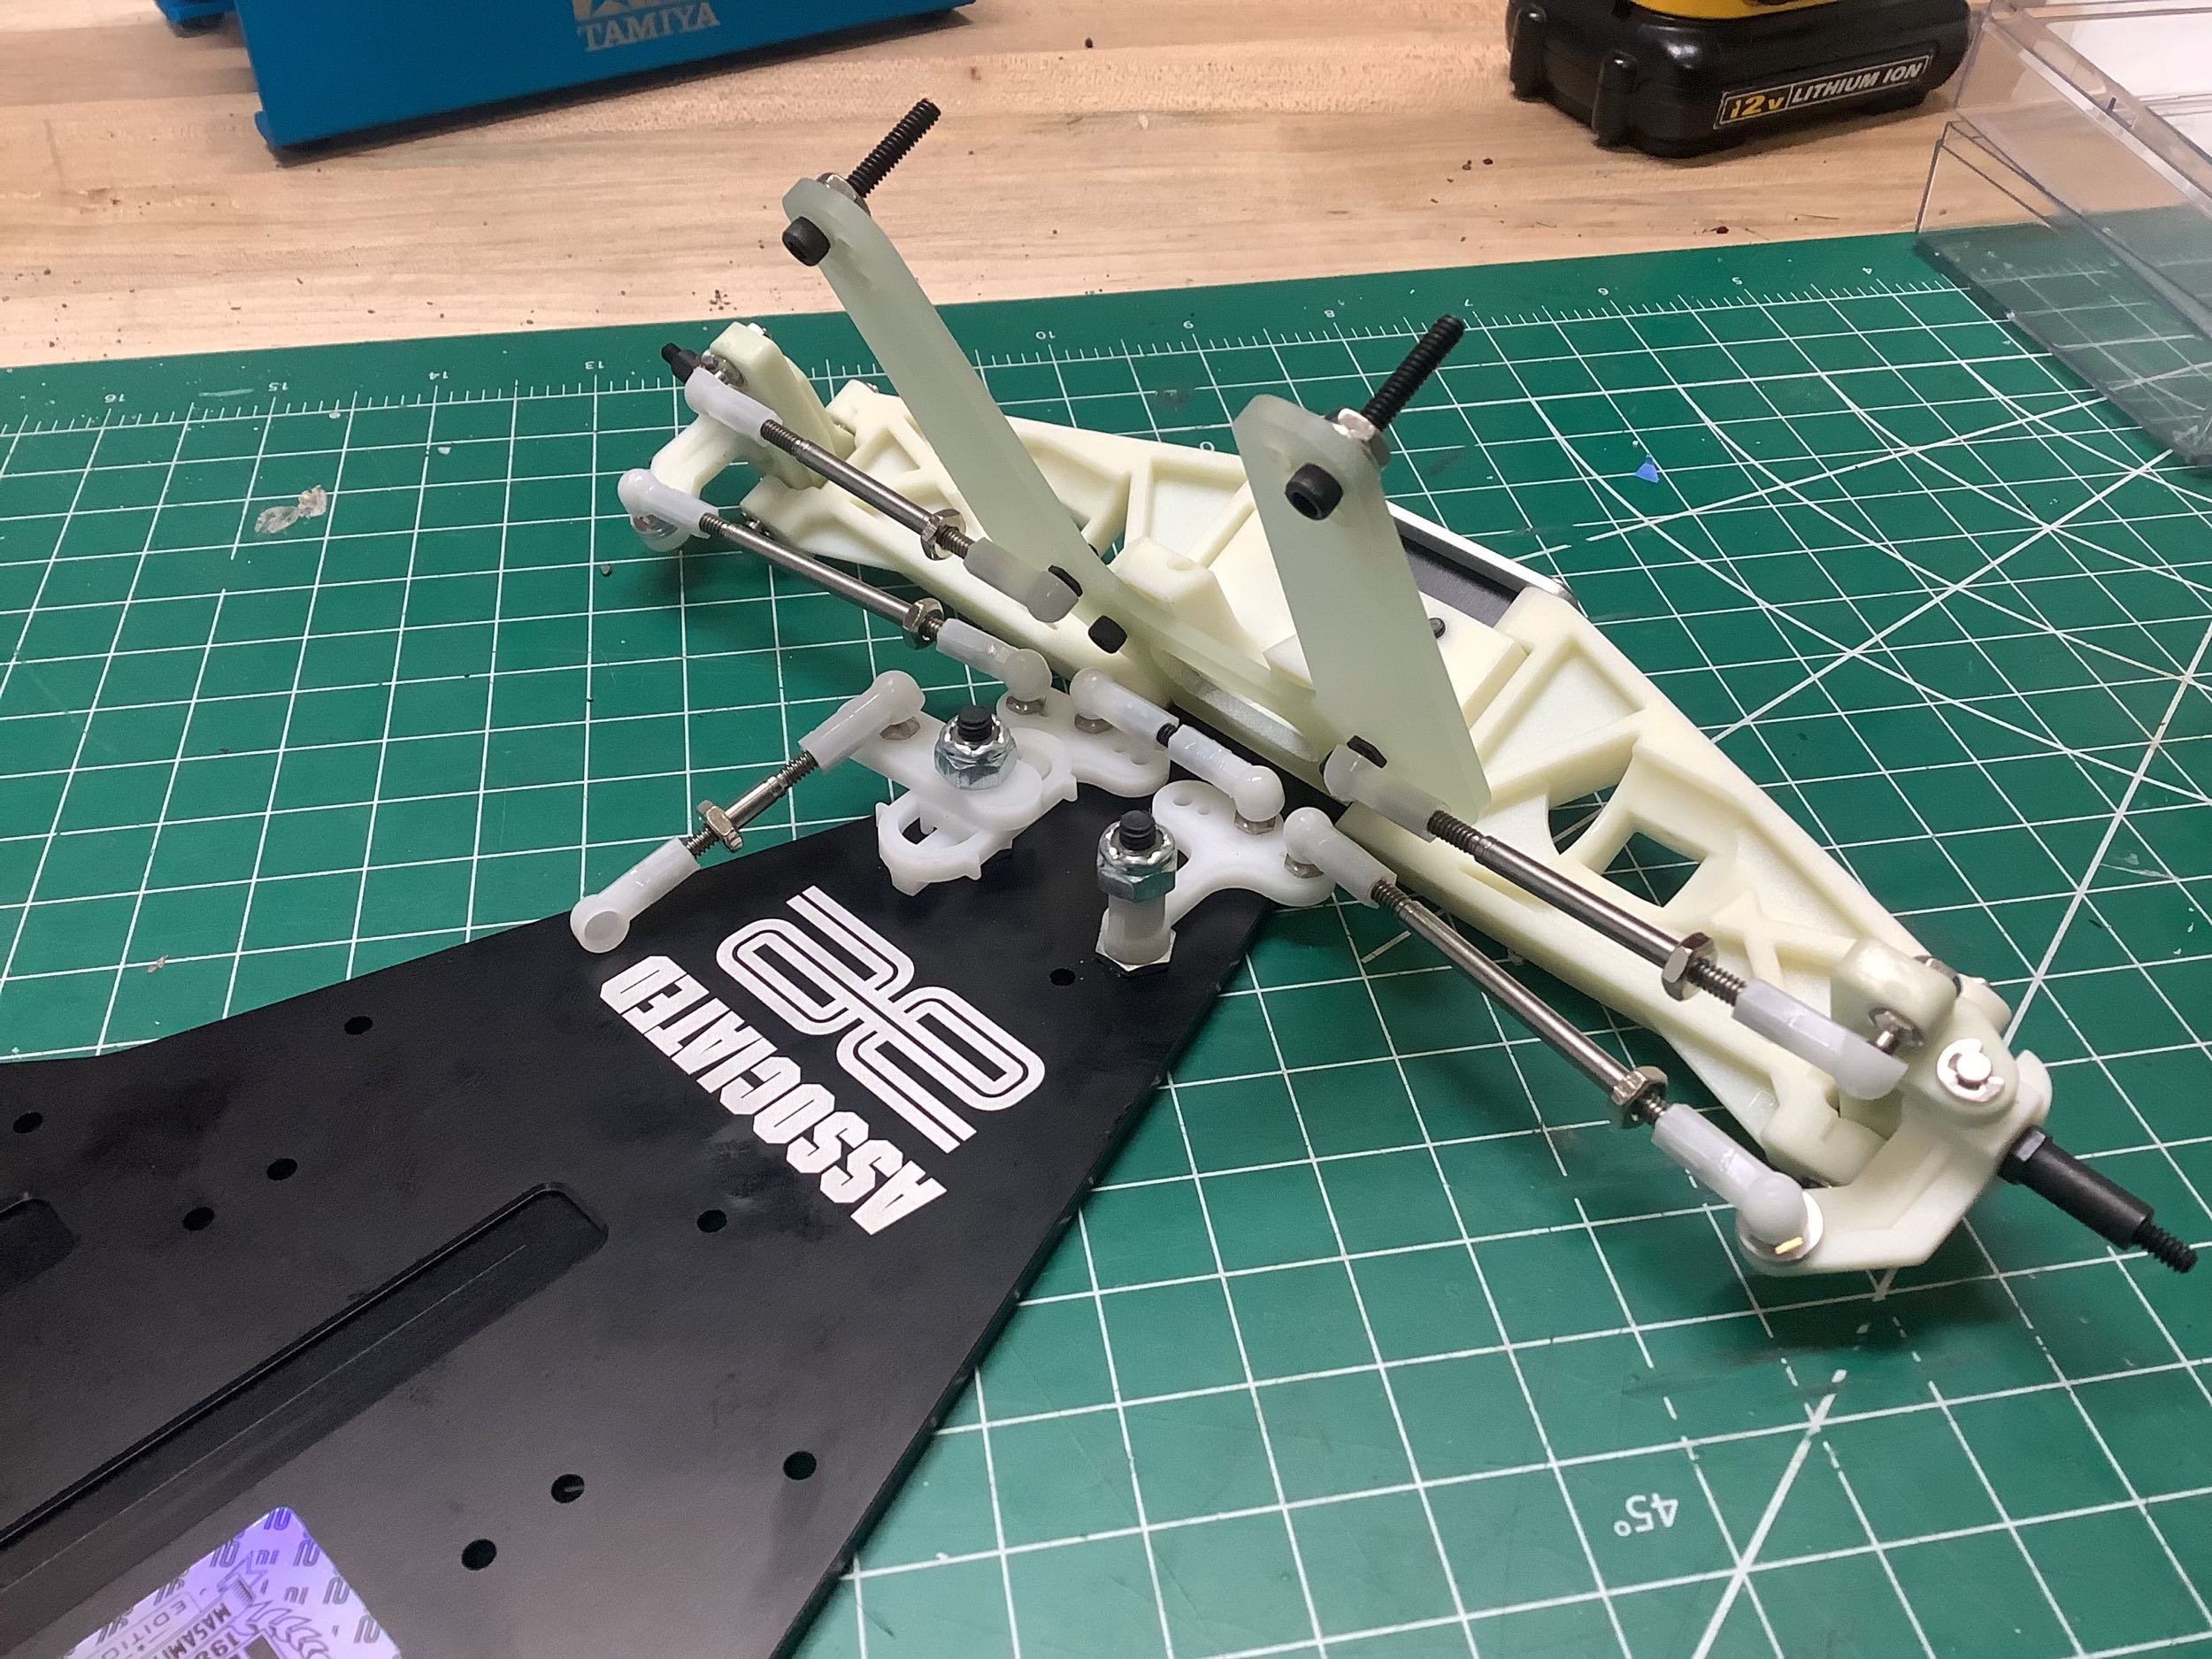
This model uses titanium turnbuckles instead of the steel ones used on
the Team car or the horrible threaded rods used on the original.
The tiny ball cups are just as hard to install as always though.
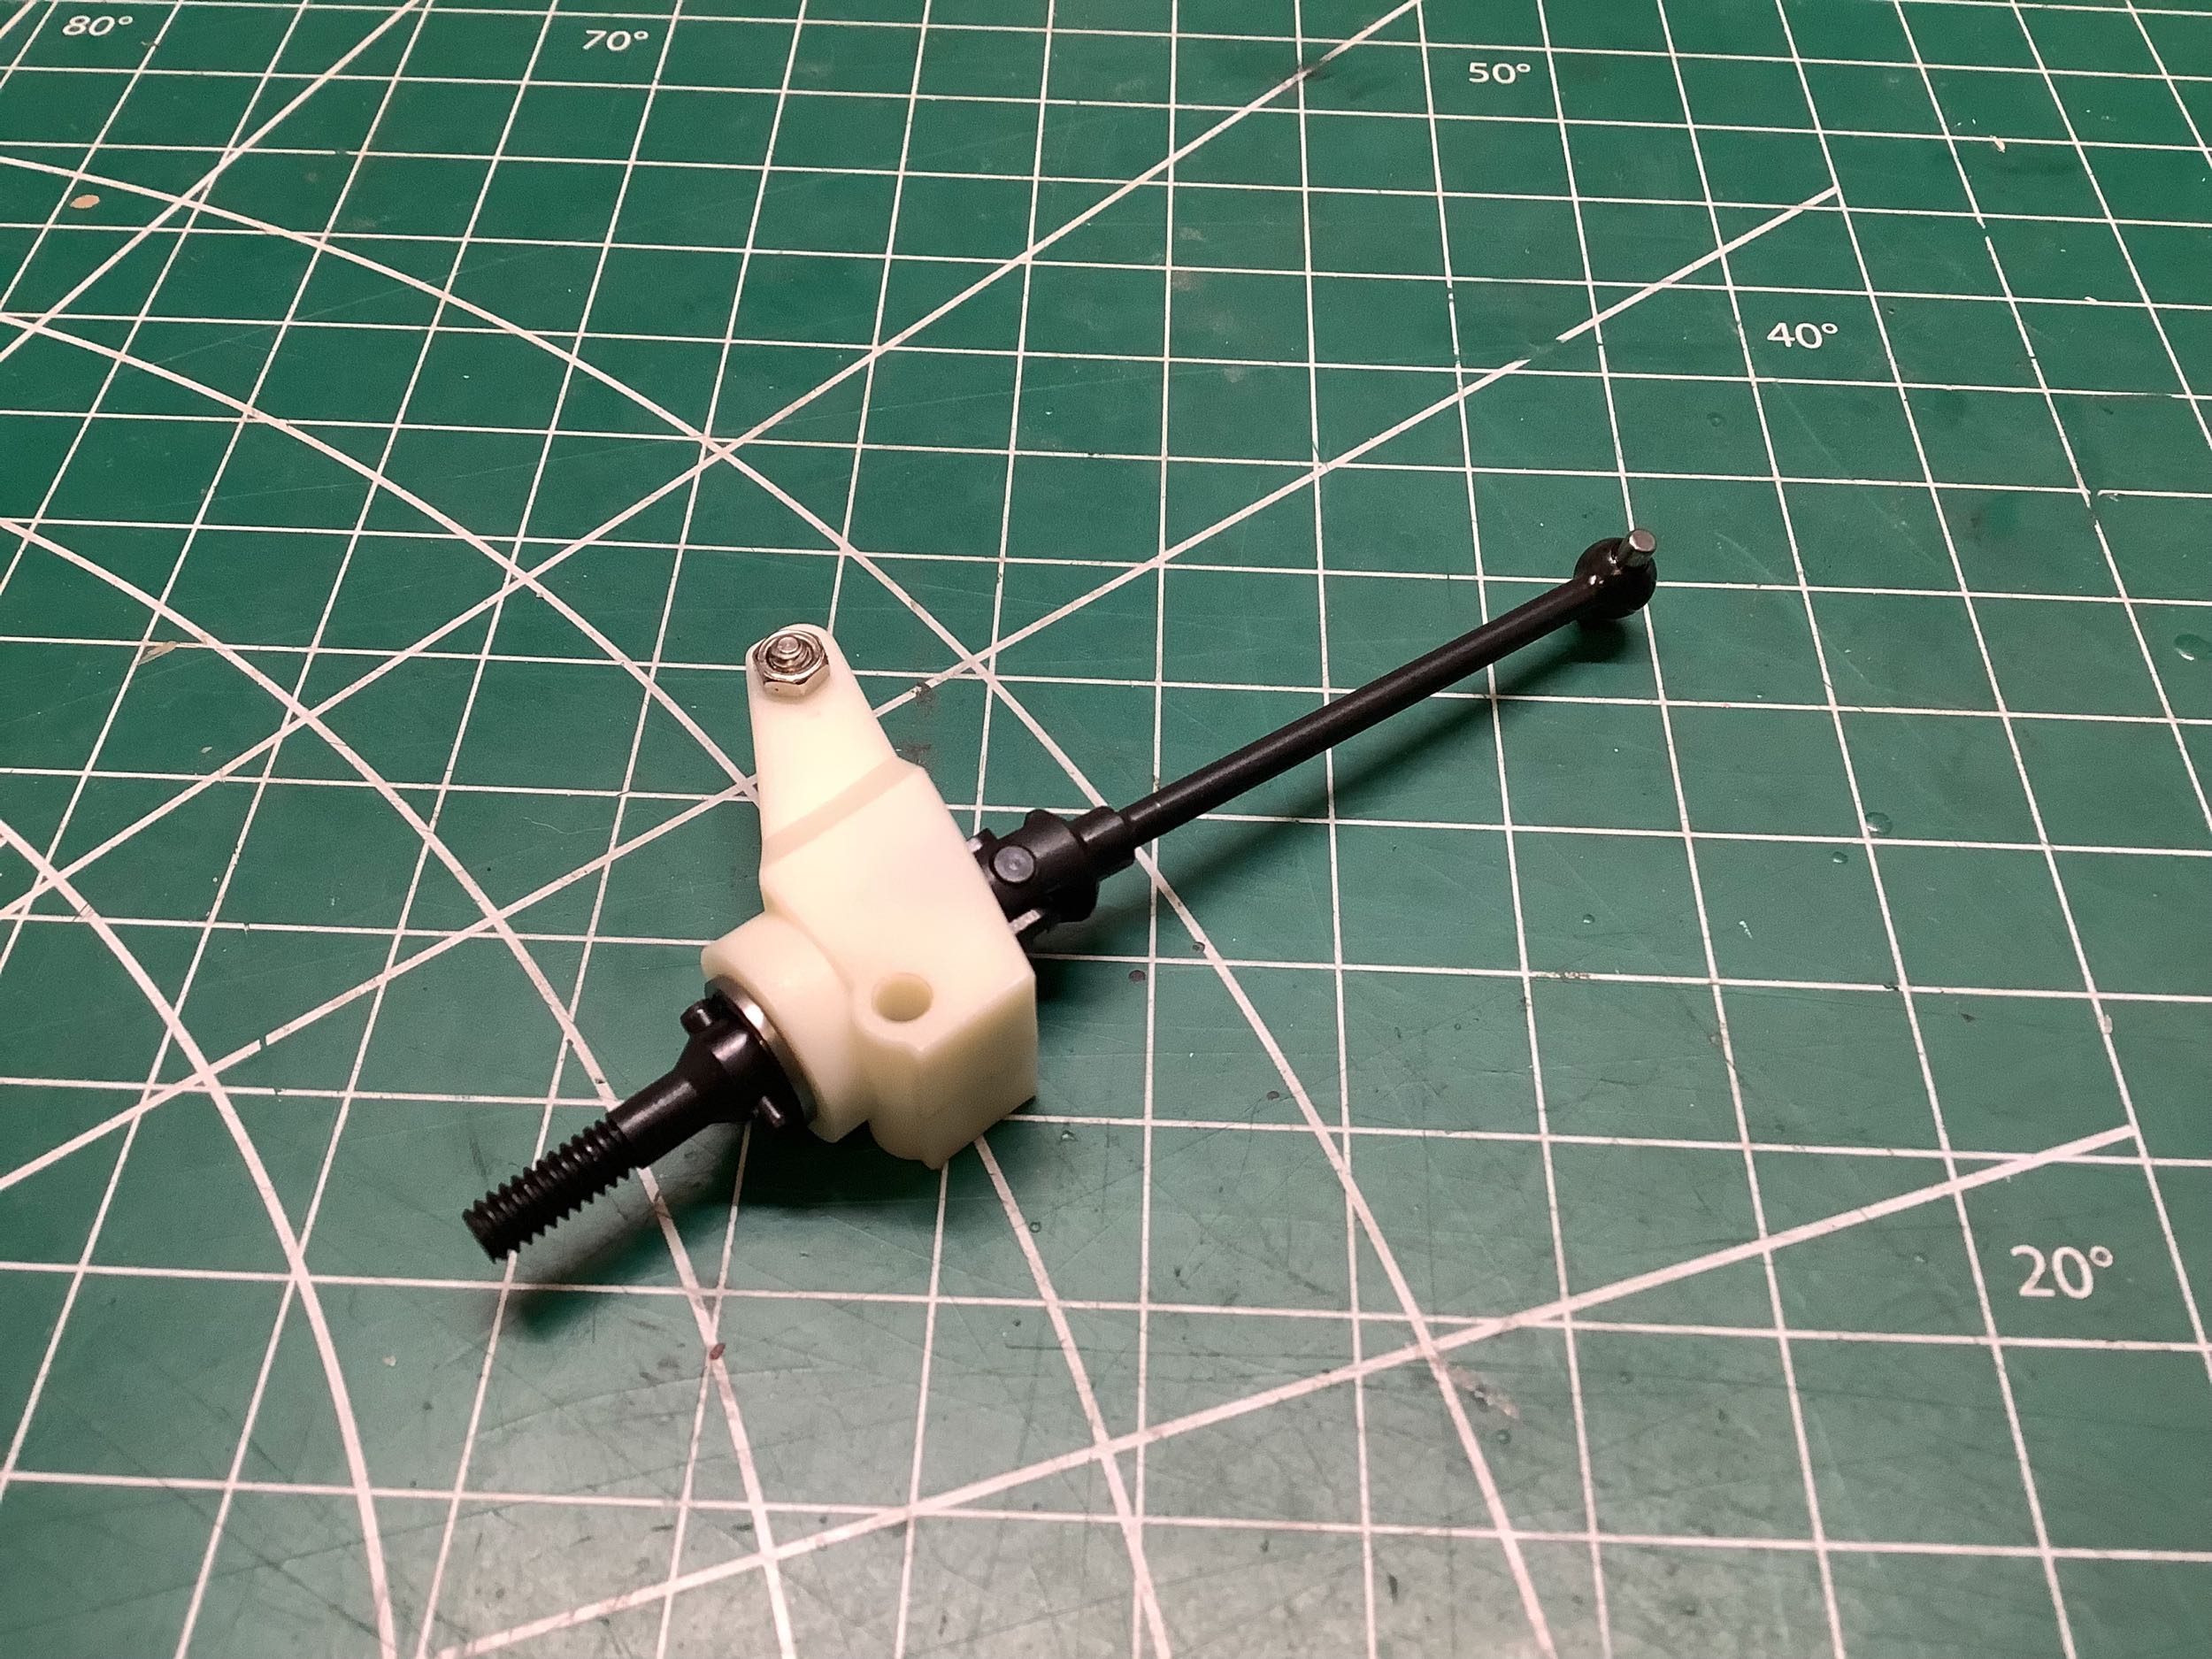
One massive improvement is the use of a turnbuckle for the steering
servo instead of the old fashioned wire with a Z-bend in it used
before. I didn't show the build of the shocks since they go
together the same as before using custom Team Associated tools that come
with the kit. Like the Team car, these use hard anodized shock
bodies instead of the gold versions from the original. The front
shocks have gotten 0.31" longer than the Team car (and 0.46" longer than
the original) while the rear shocks have stayed the same. The
completed suspension is shown on the right.
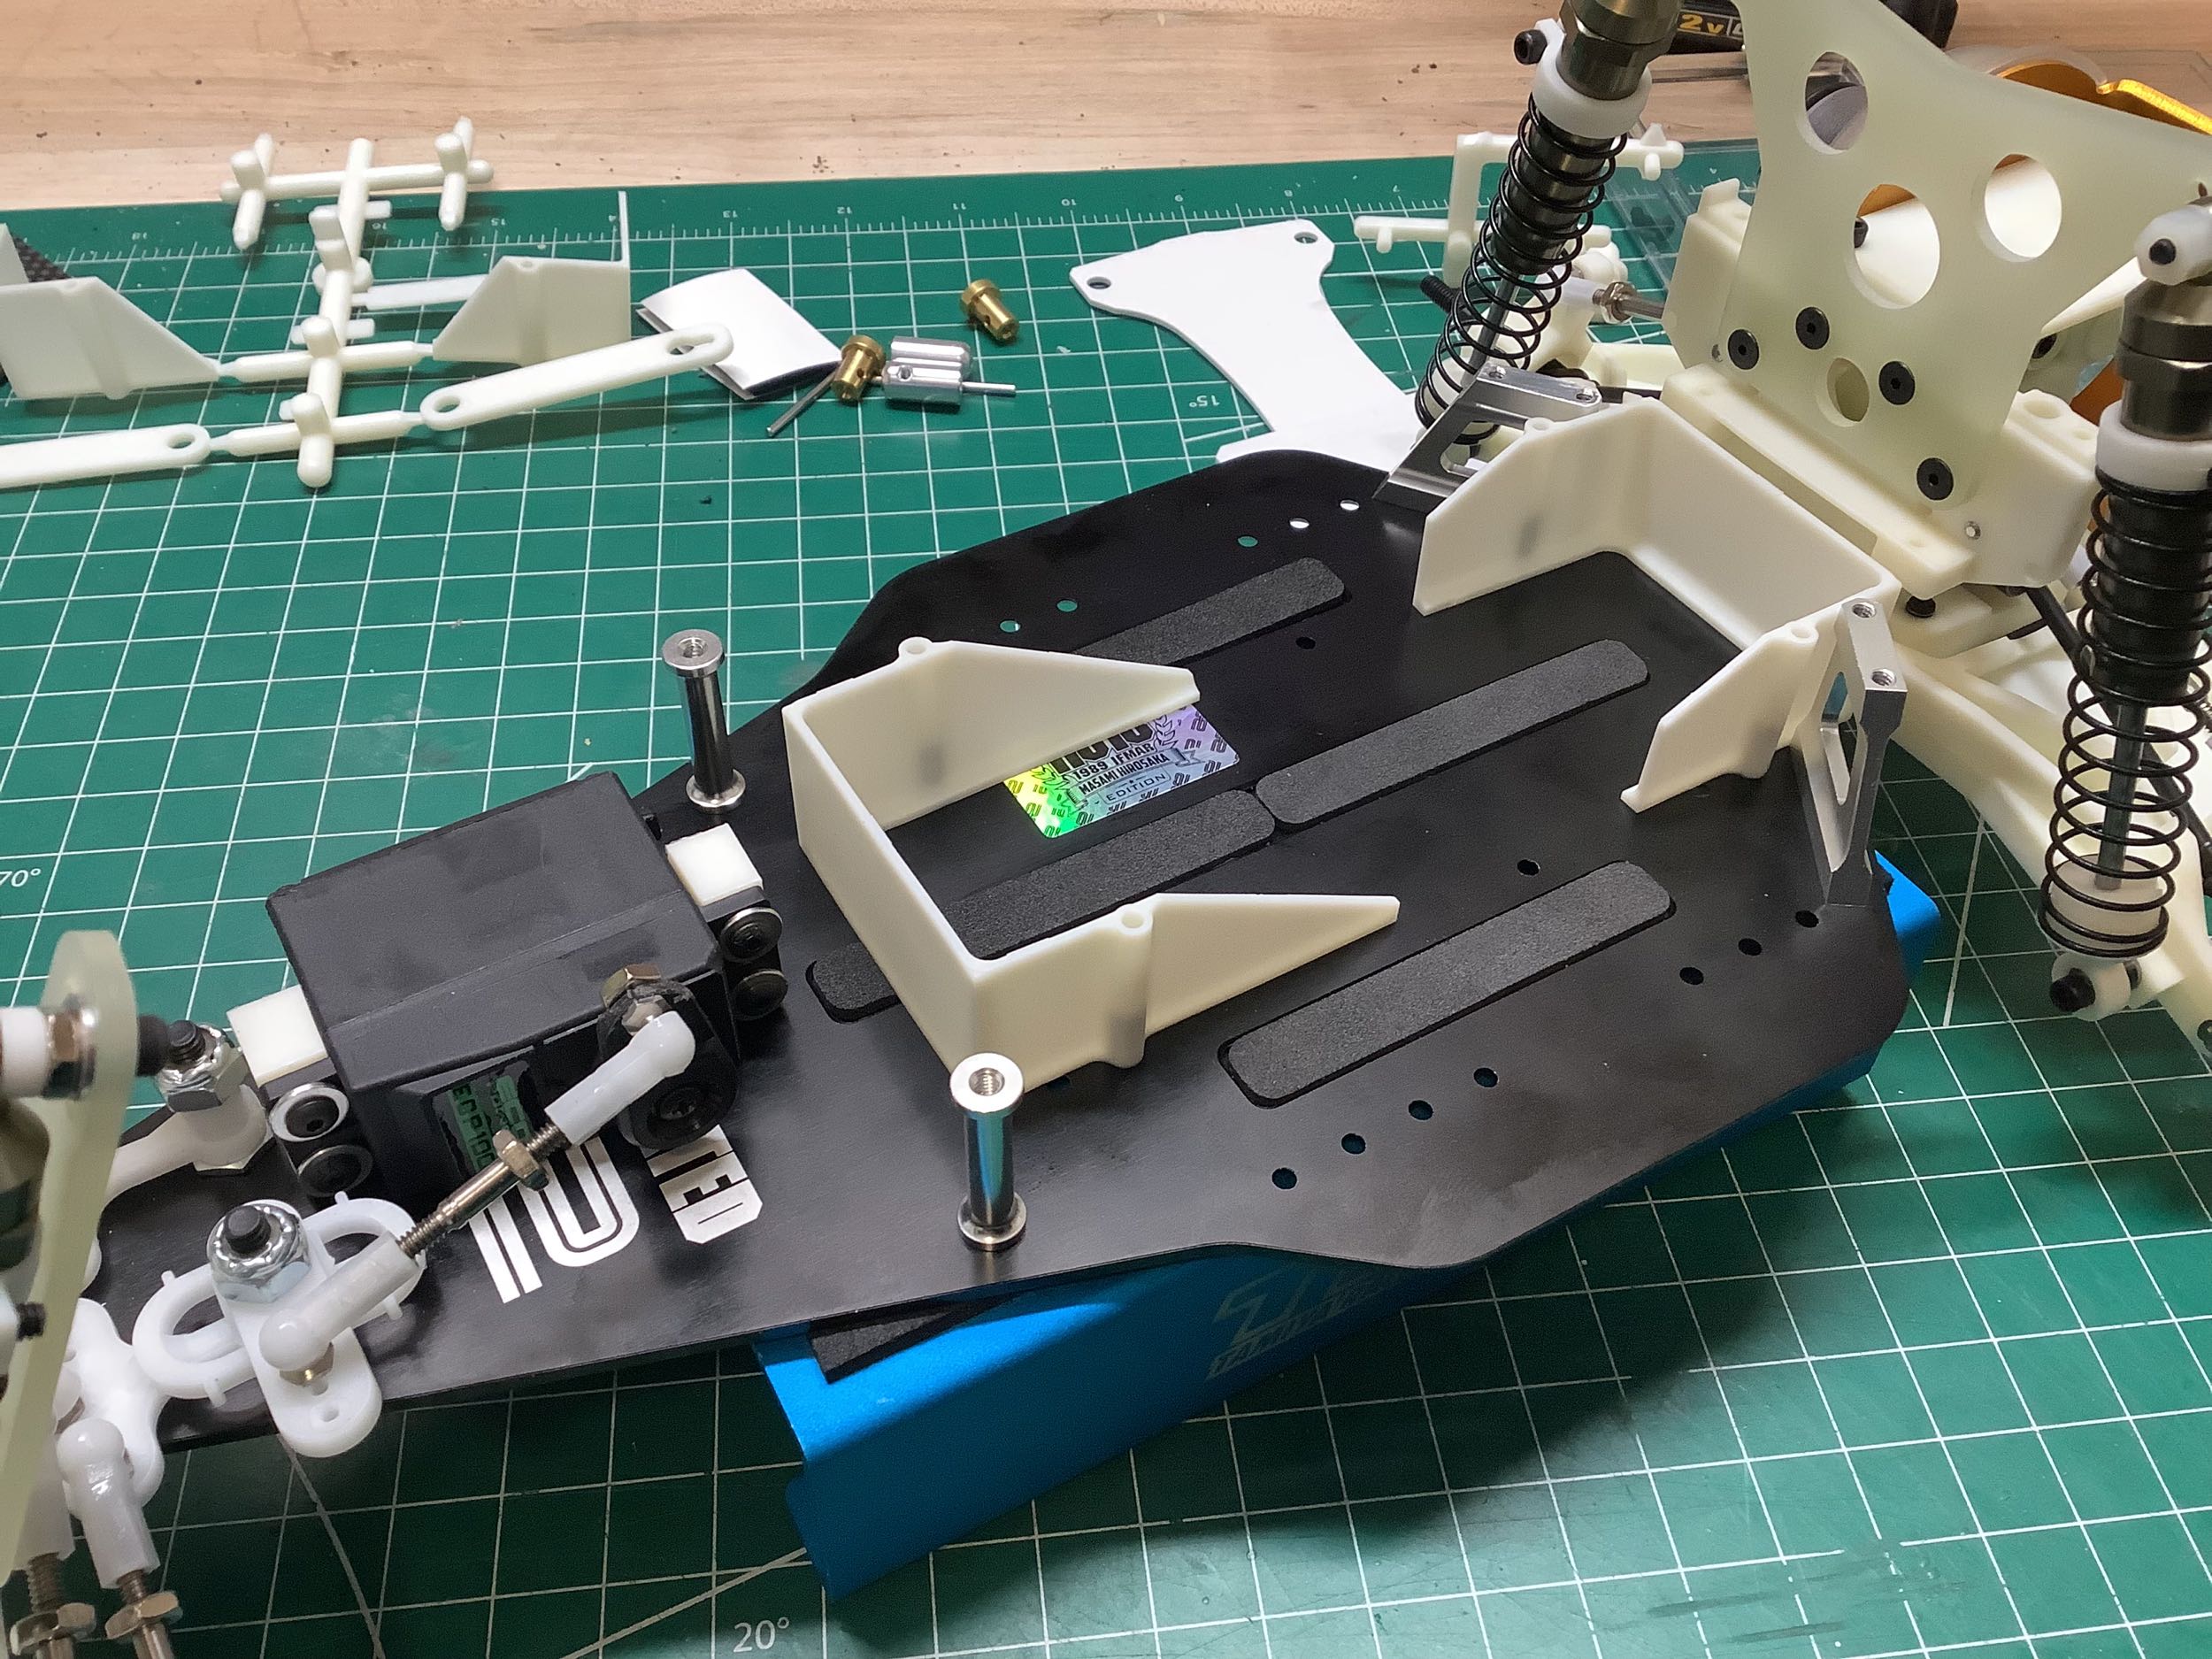
Note the new and improved servo placement and linkage as shown on the
left. Some adhesive backed foam strips have been added to the
chassis to support the battery. Masami's car installed the battery
laterally, but this new version uses new battery cups for a modern hard
pack LiPo (adjustable for short or long). On the right you can
see the old rear battery cups for the original lateral battery
installation. These wouldn't be needed here except they are used
as support for the Velcro used to attach the body. There would
have another forward set of cups originally, and all those extra holes
in the chassis were used to adjust the position of the battery for
weight distribution. On the left you can see the aluminum
standoffs for the upper deck which has been installed on the
right. The stretches all the way from the rear bulkhead to the
front bulkhead to stiffen the entire car. The front body post sits
atop it.
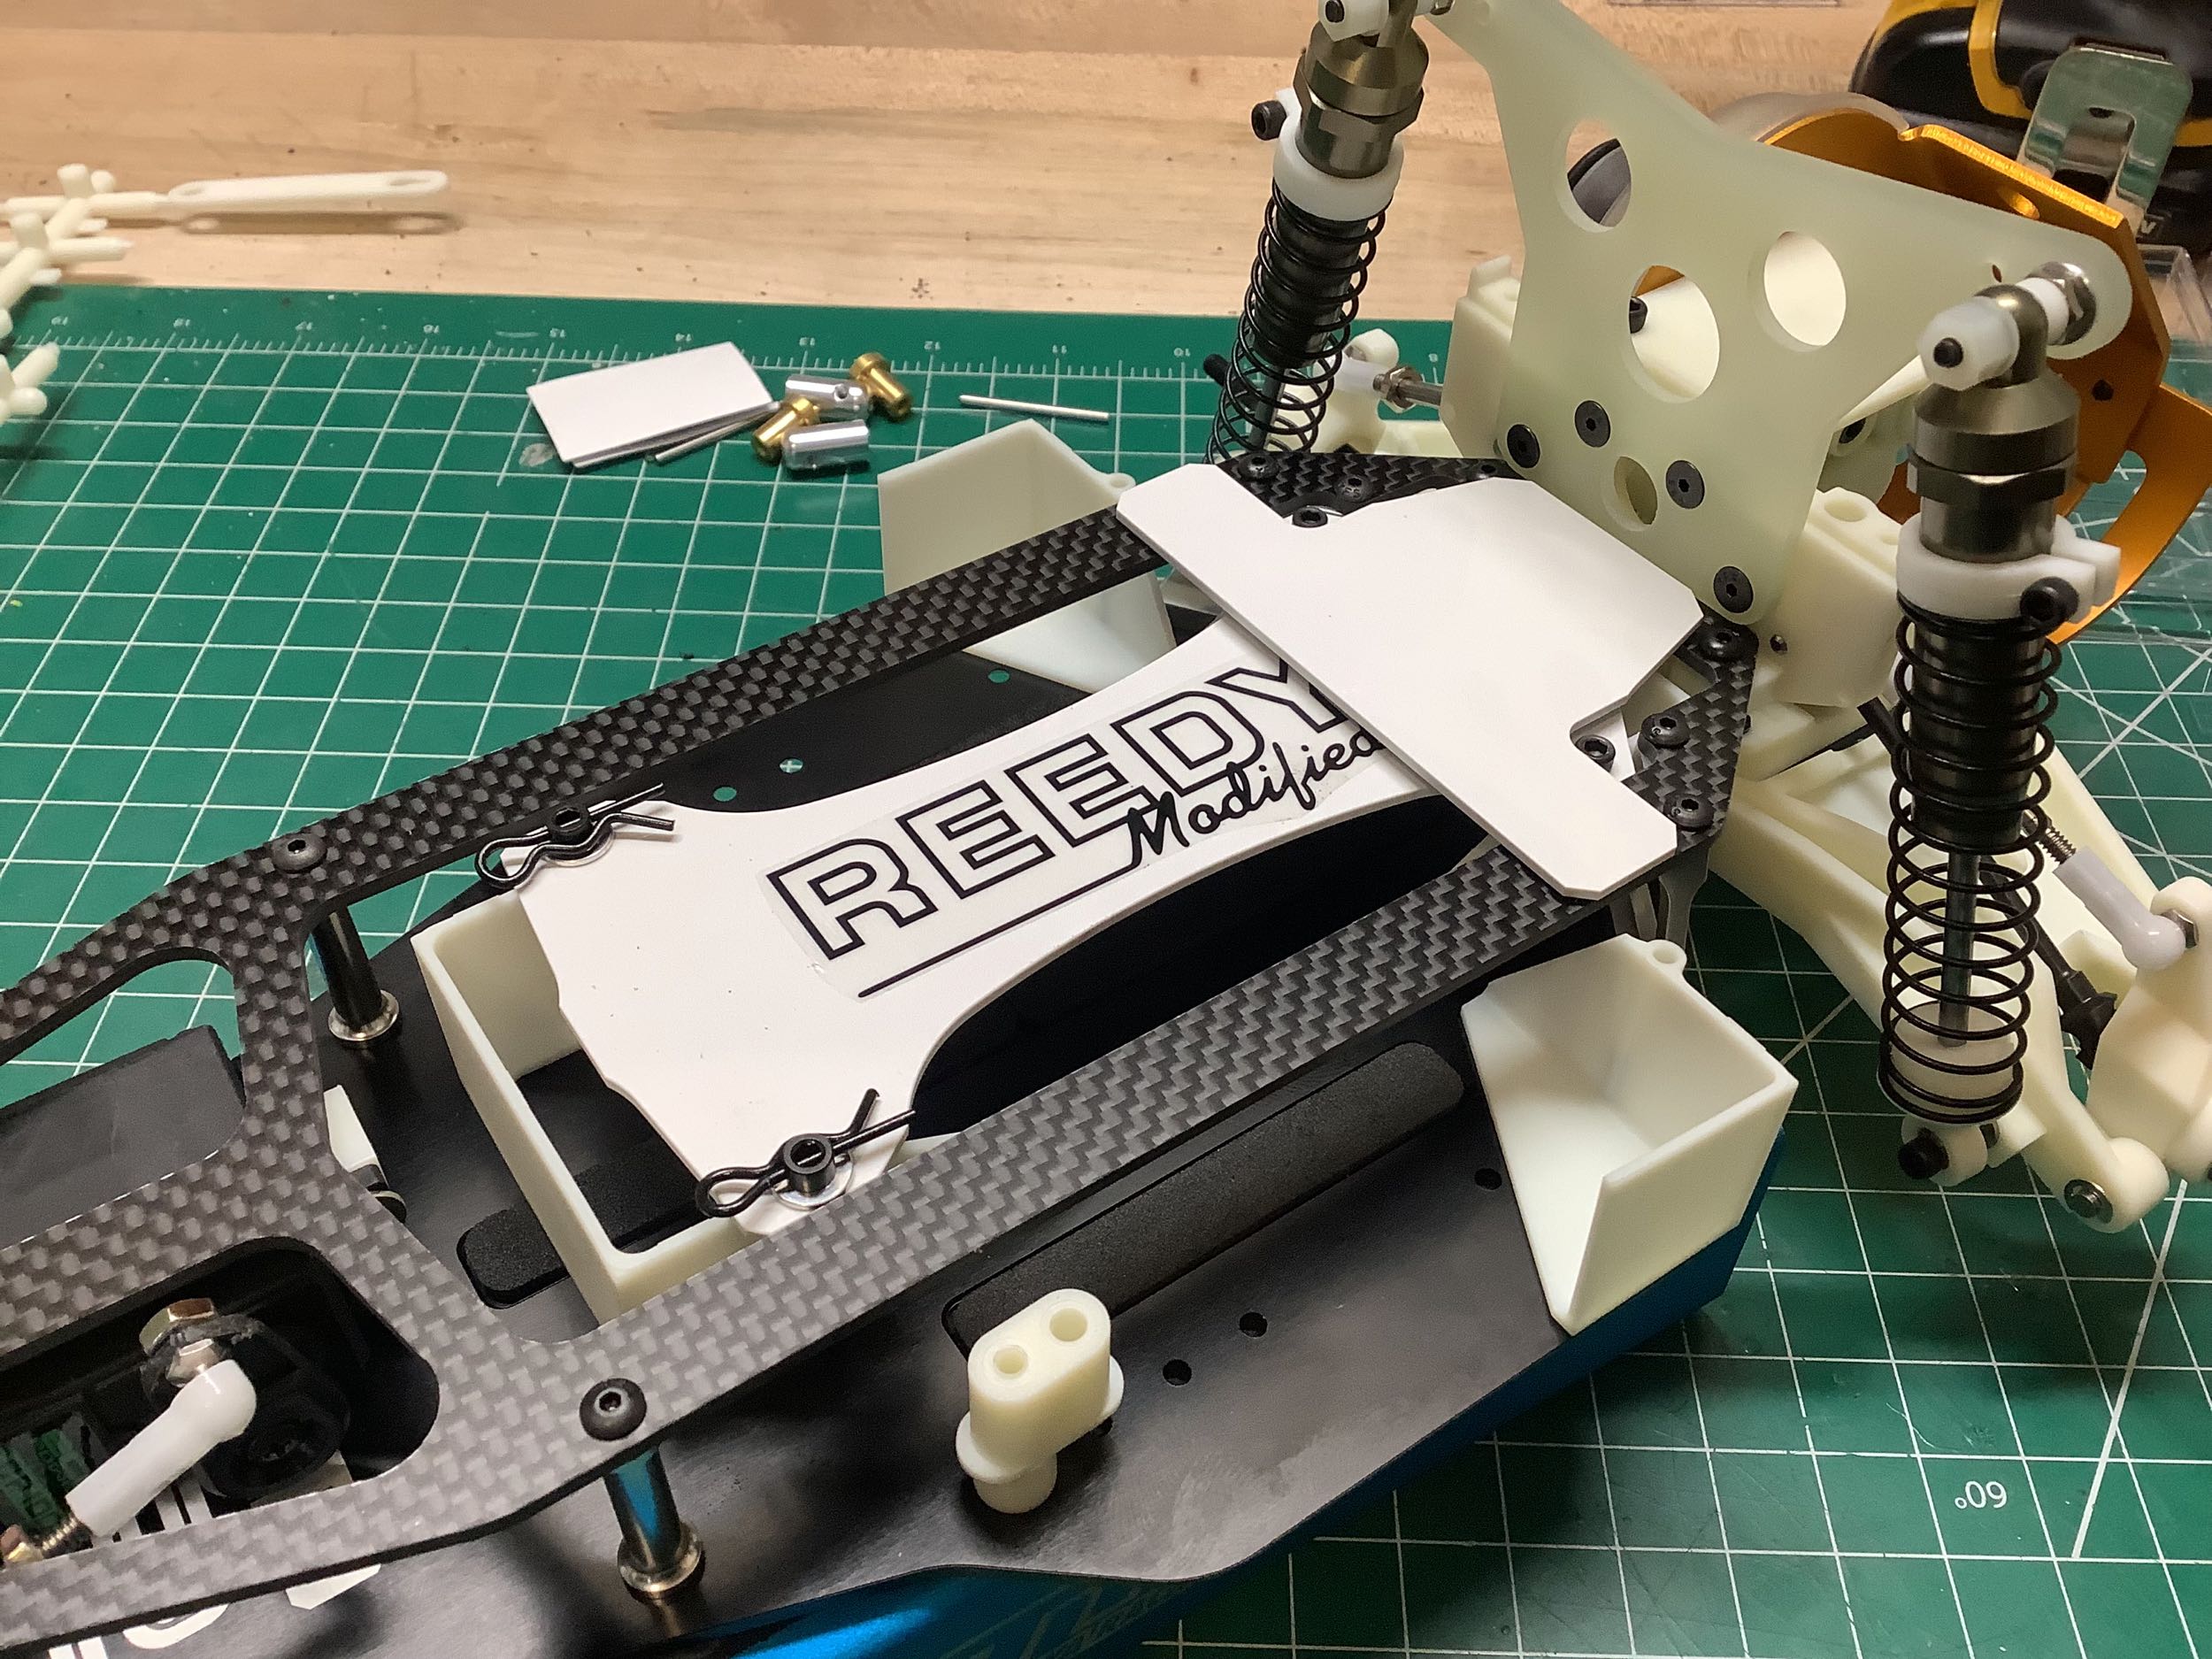
There is a cover that retains the battery which can be used as an ESC
mount, but also a thicker plate in the rear which can be used for the
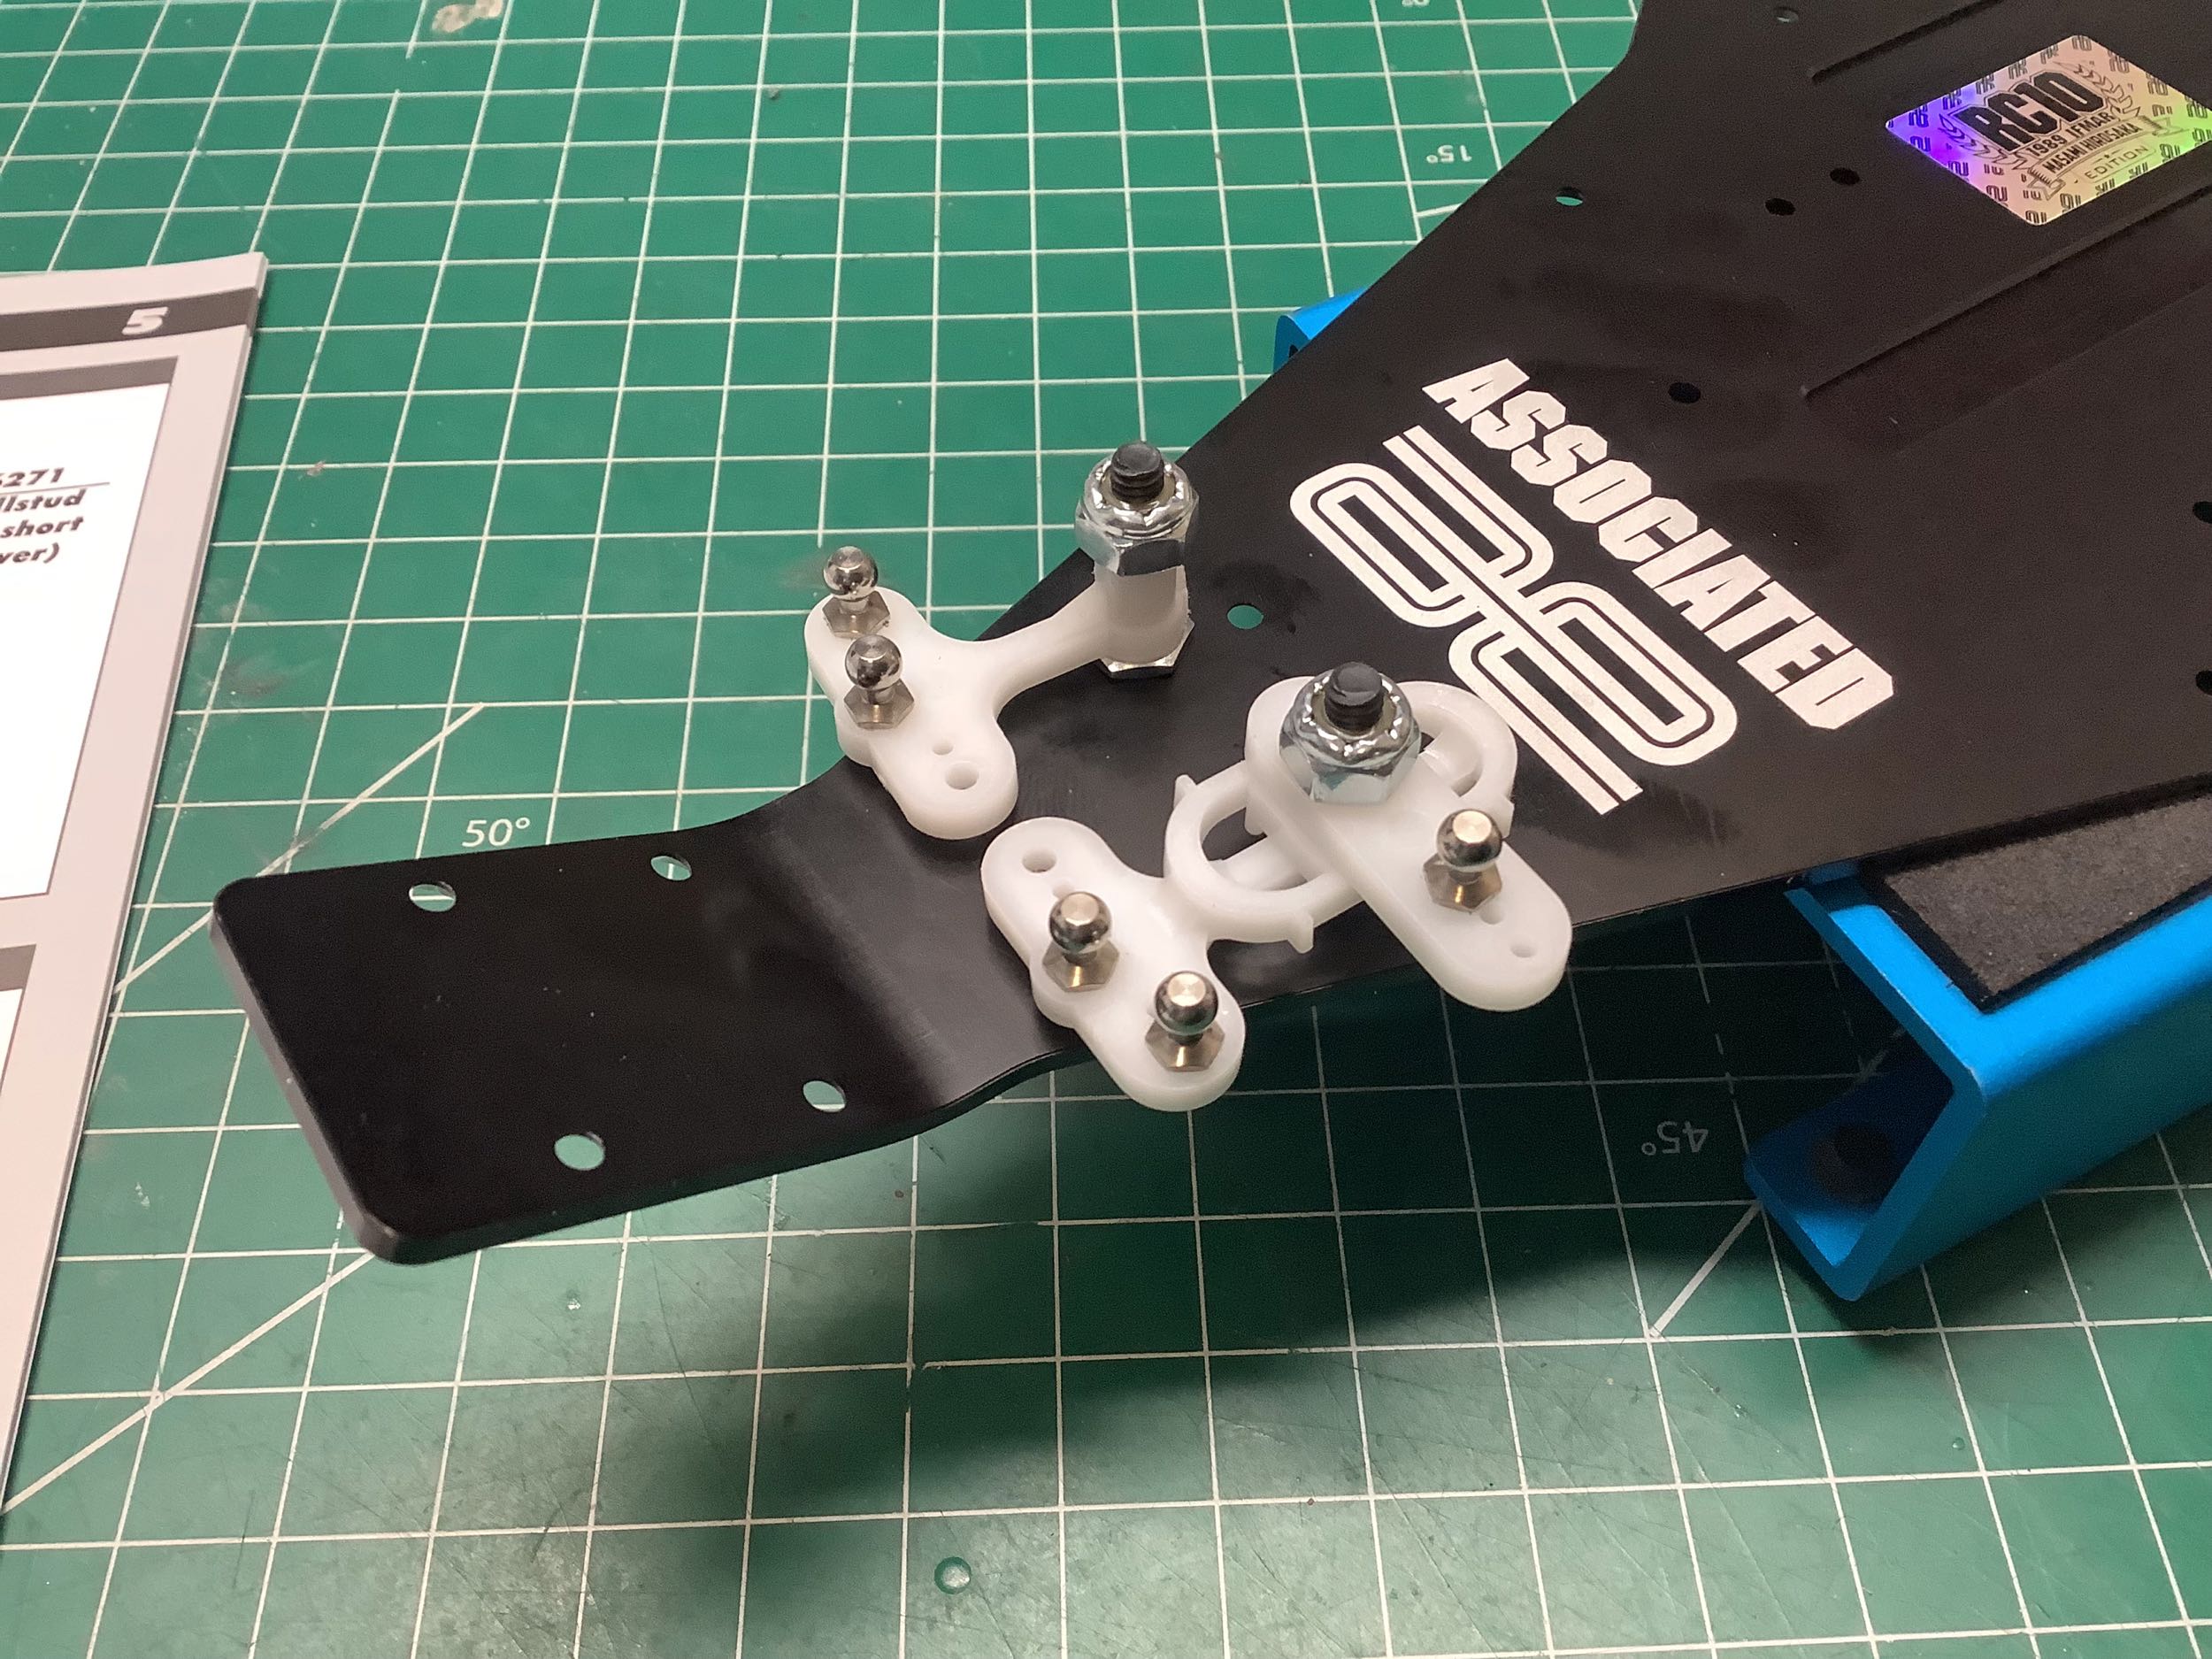
same purpose. The picture on the right shows the new wing
mount. The original wing mount just used wires which could freely
slide up and down in tubes and was therefore almost useless in
transmitting and down force. The new wing mount is locked
vertically but can be adjusted forward and aft.
The original and Team car wheels were driven directly by a roll pin on
the axle without any hub. You might expect that this edition would
use a standard 12mm hex instead. Nope. It uses a custom
square drive hub as shown on the left. This hub actually screws to
the wheels. The front wheels are reused from the Team car but
with spiked tires. The rear wheels have increased in diameter from
2.0" to 2.2".
©2026 Eric Albrecht