Tamiya Flakpanzer Gepard Project
Page 2: Building the Tracks
Although the manual doesn't call for the assembly of the tracks until
much later in the build, I decided to start with them. I was very
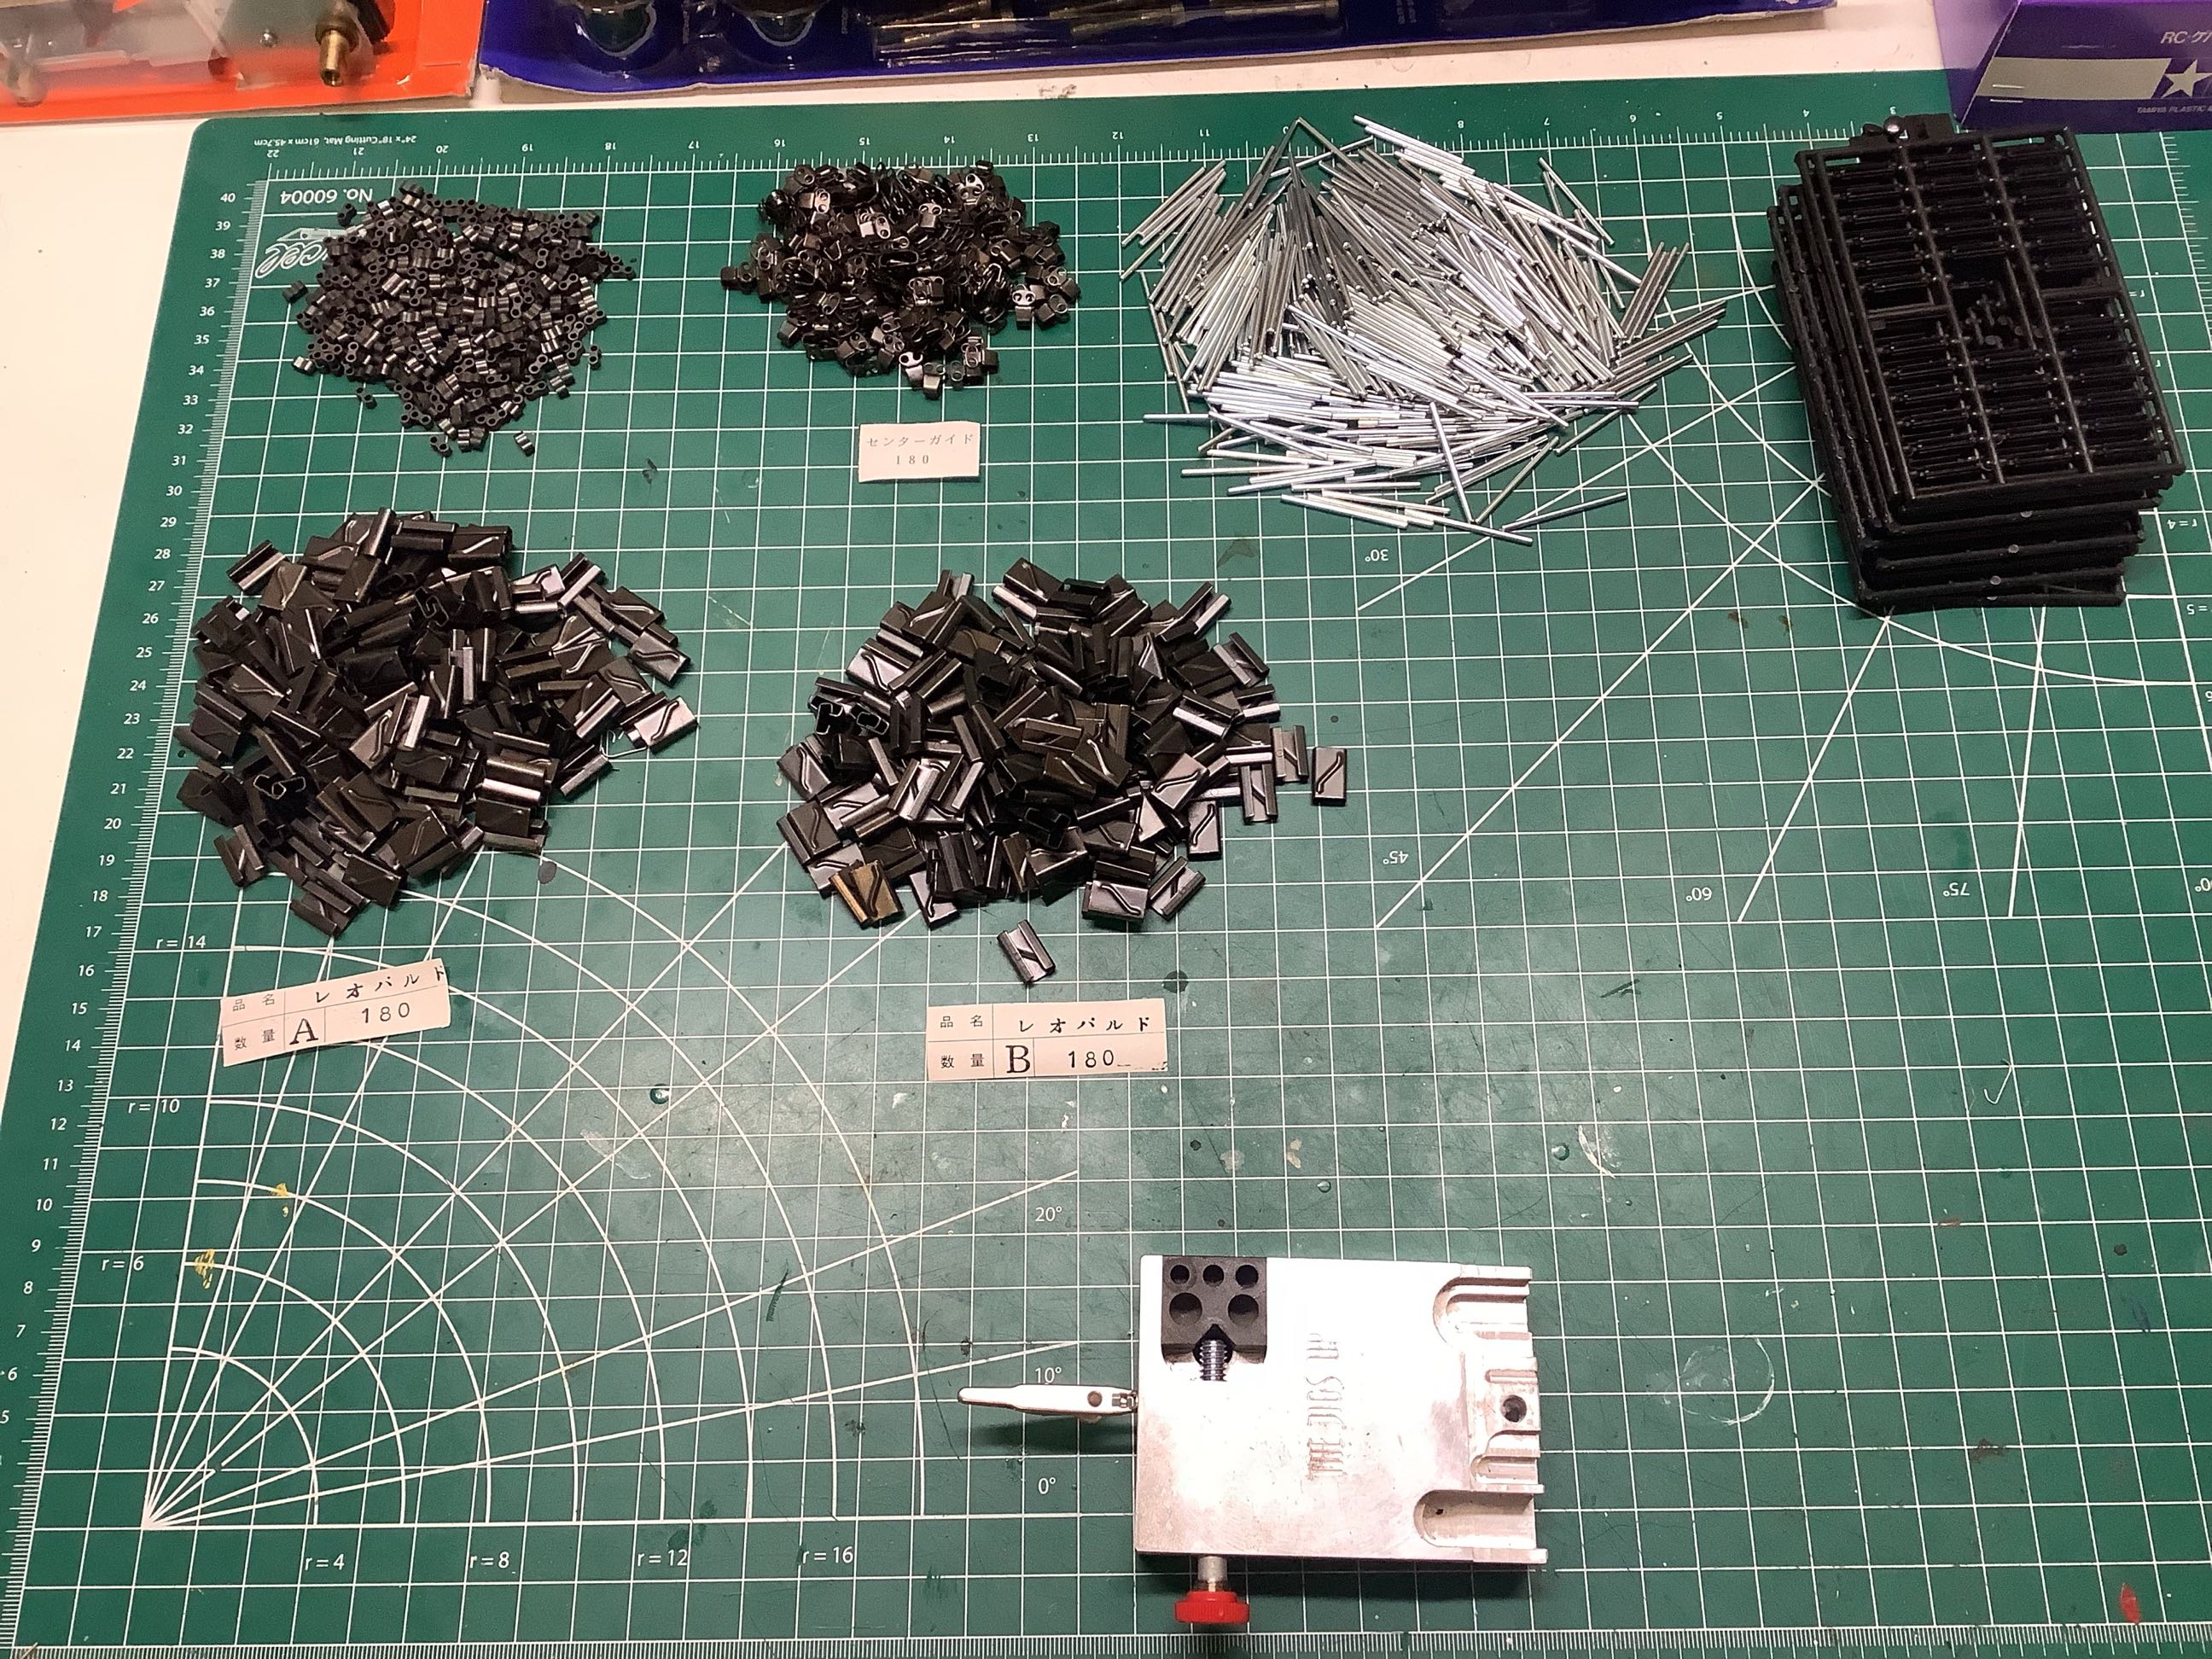
curious to see how the assembly process worked. On the left you
can see the pile of parts which make up the tracks. The track
pads, pins, connectors, and guides are all metal. The pads have an
A and B mirrored tread pattern so they have to be kept separate.
The only plastic parts are the spacers which sit inside the
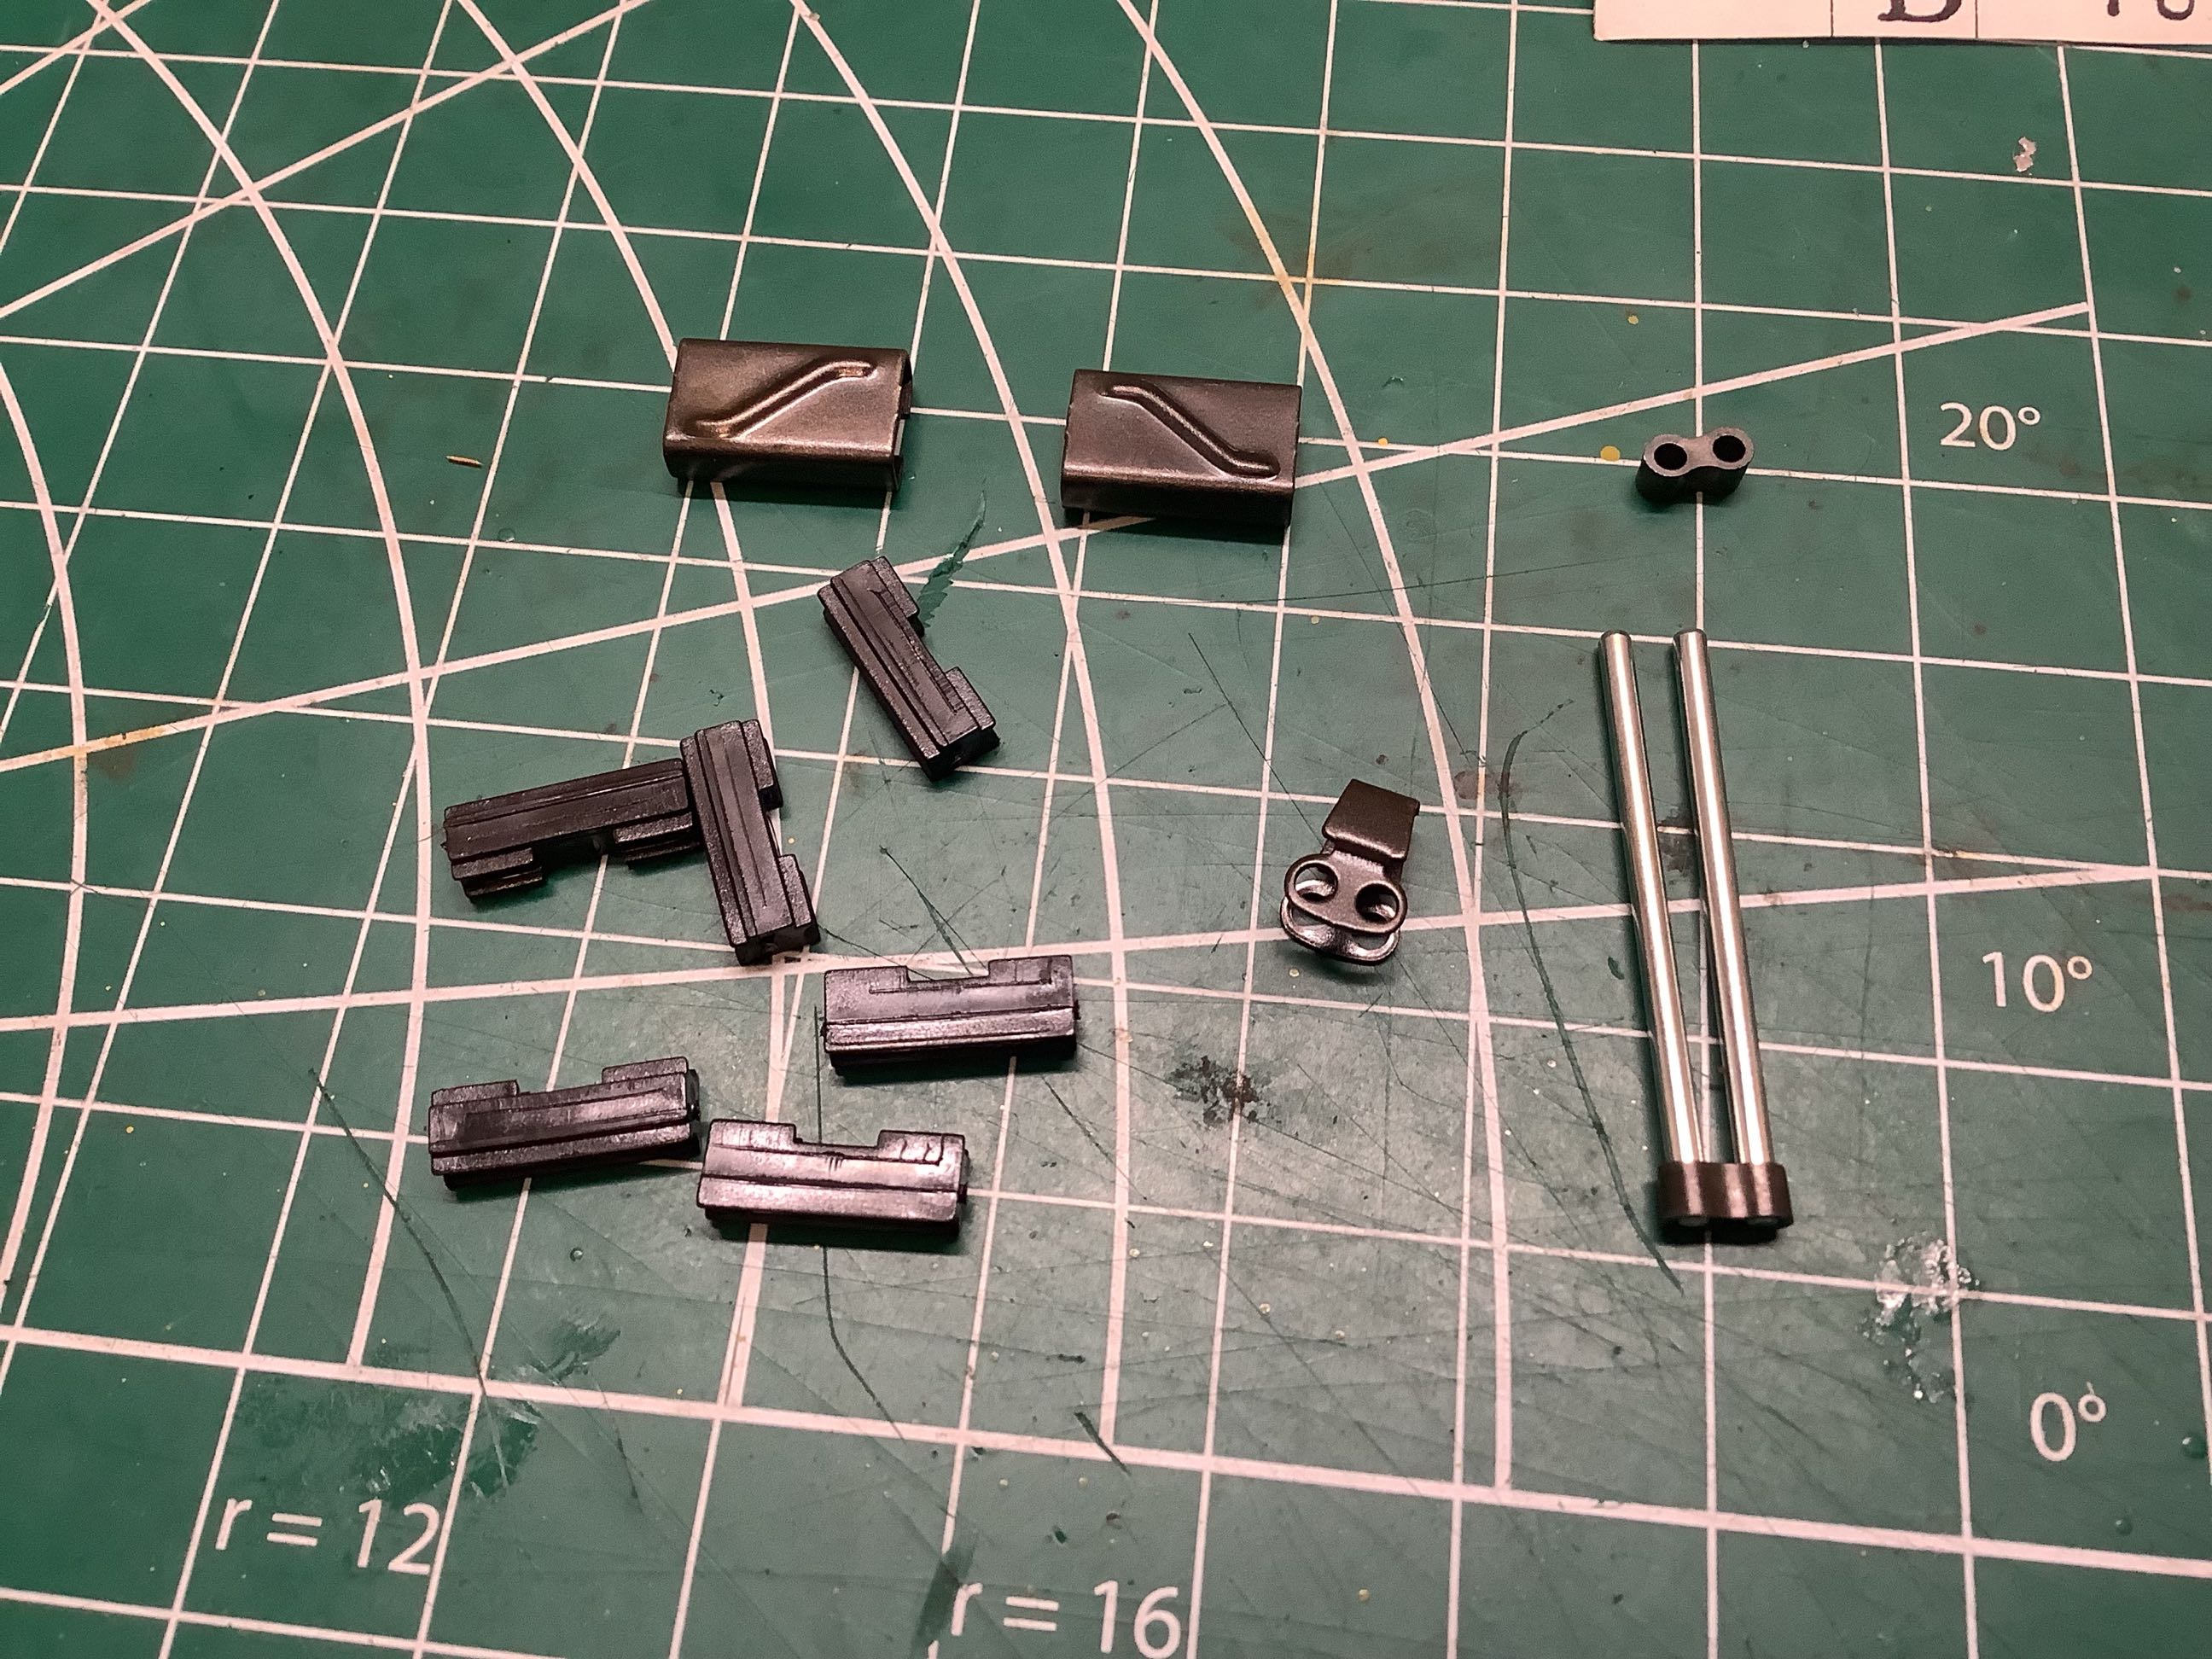
treads. There are therefore 9 parts which make up each link as
shown on the right (a couple of extra plastic spacers are also
shown). With 87 links for each completed track, that's 1566 parts
that need to be assembled.
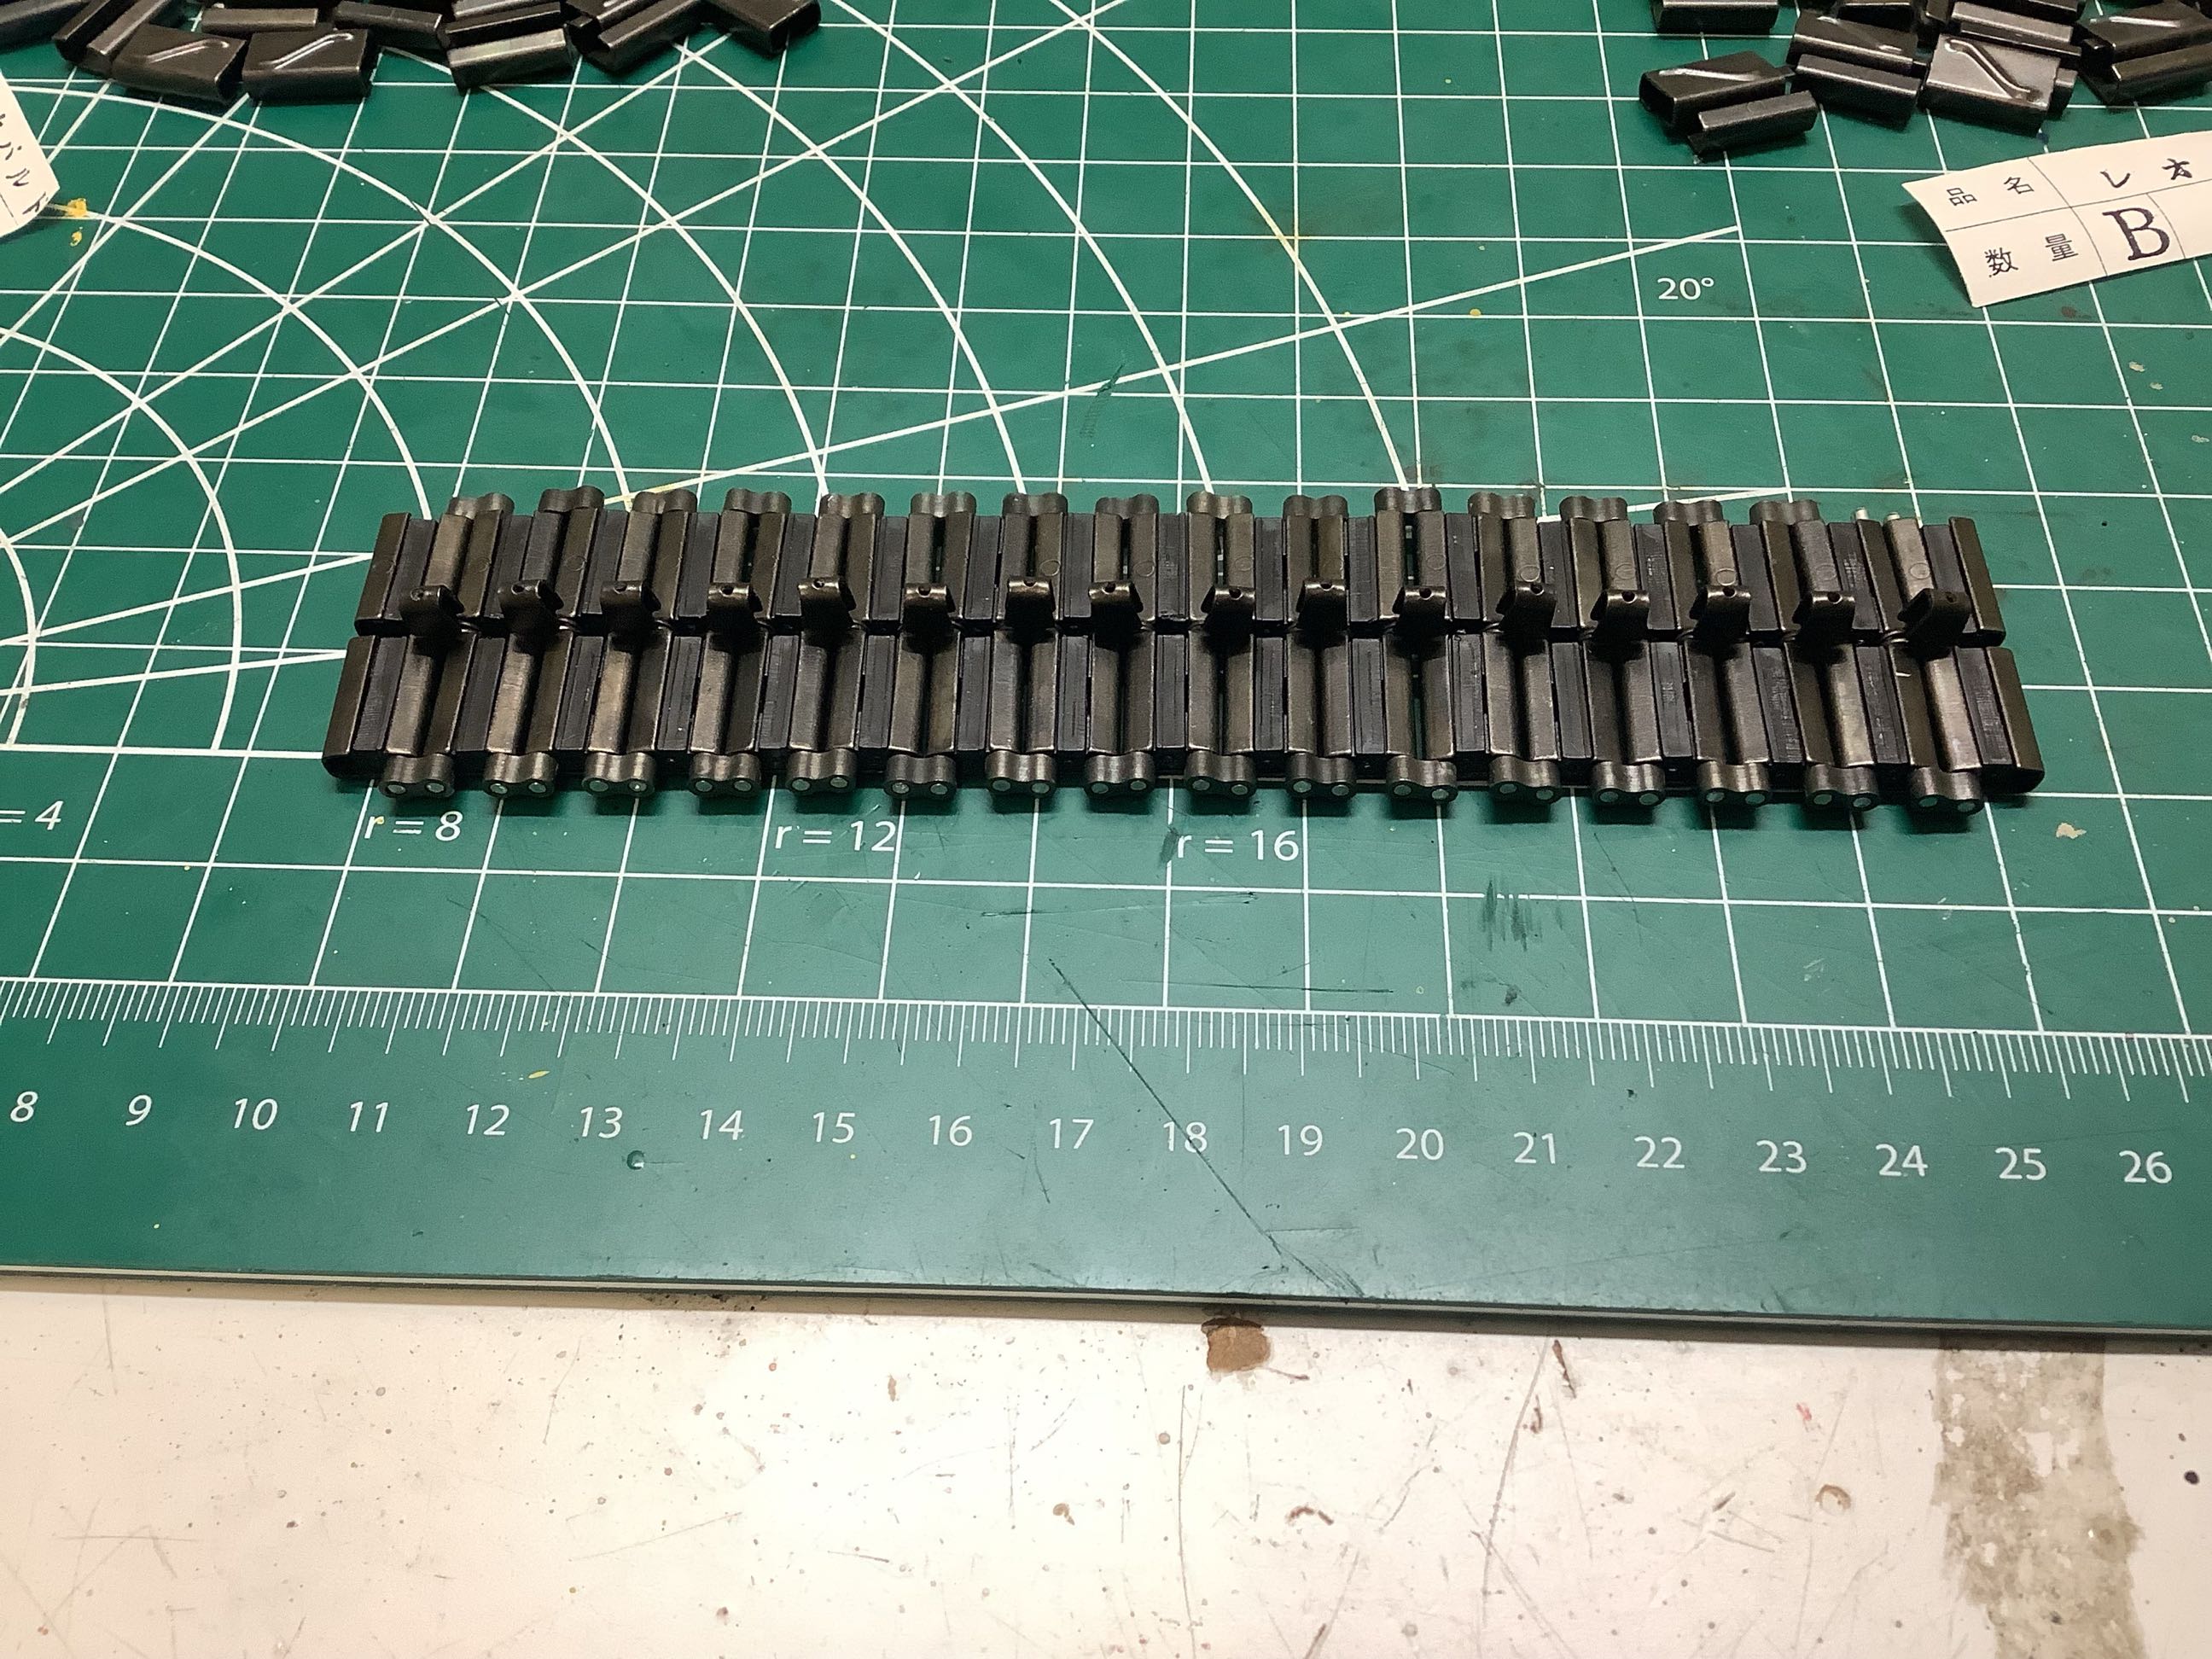
Here are a top and bottom view of a partial track assembly with 17 links
completed. The pins are a slight interference fit into the
connectors, so each needs to be pounded into place with a hammer.
The process is slow and laborious.
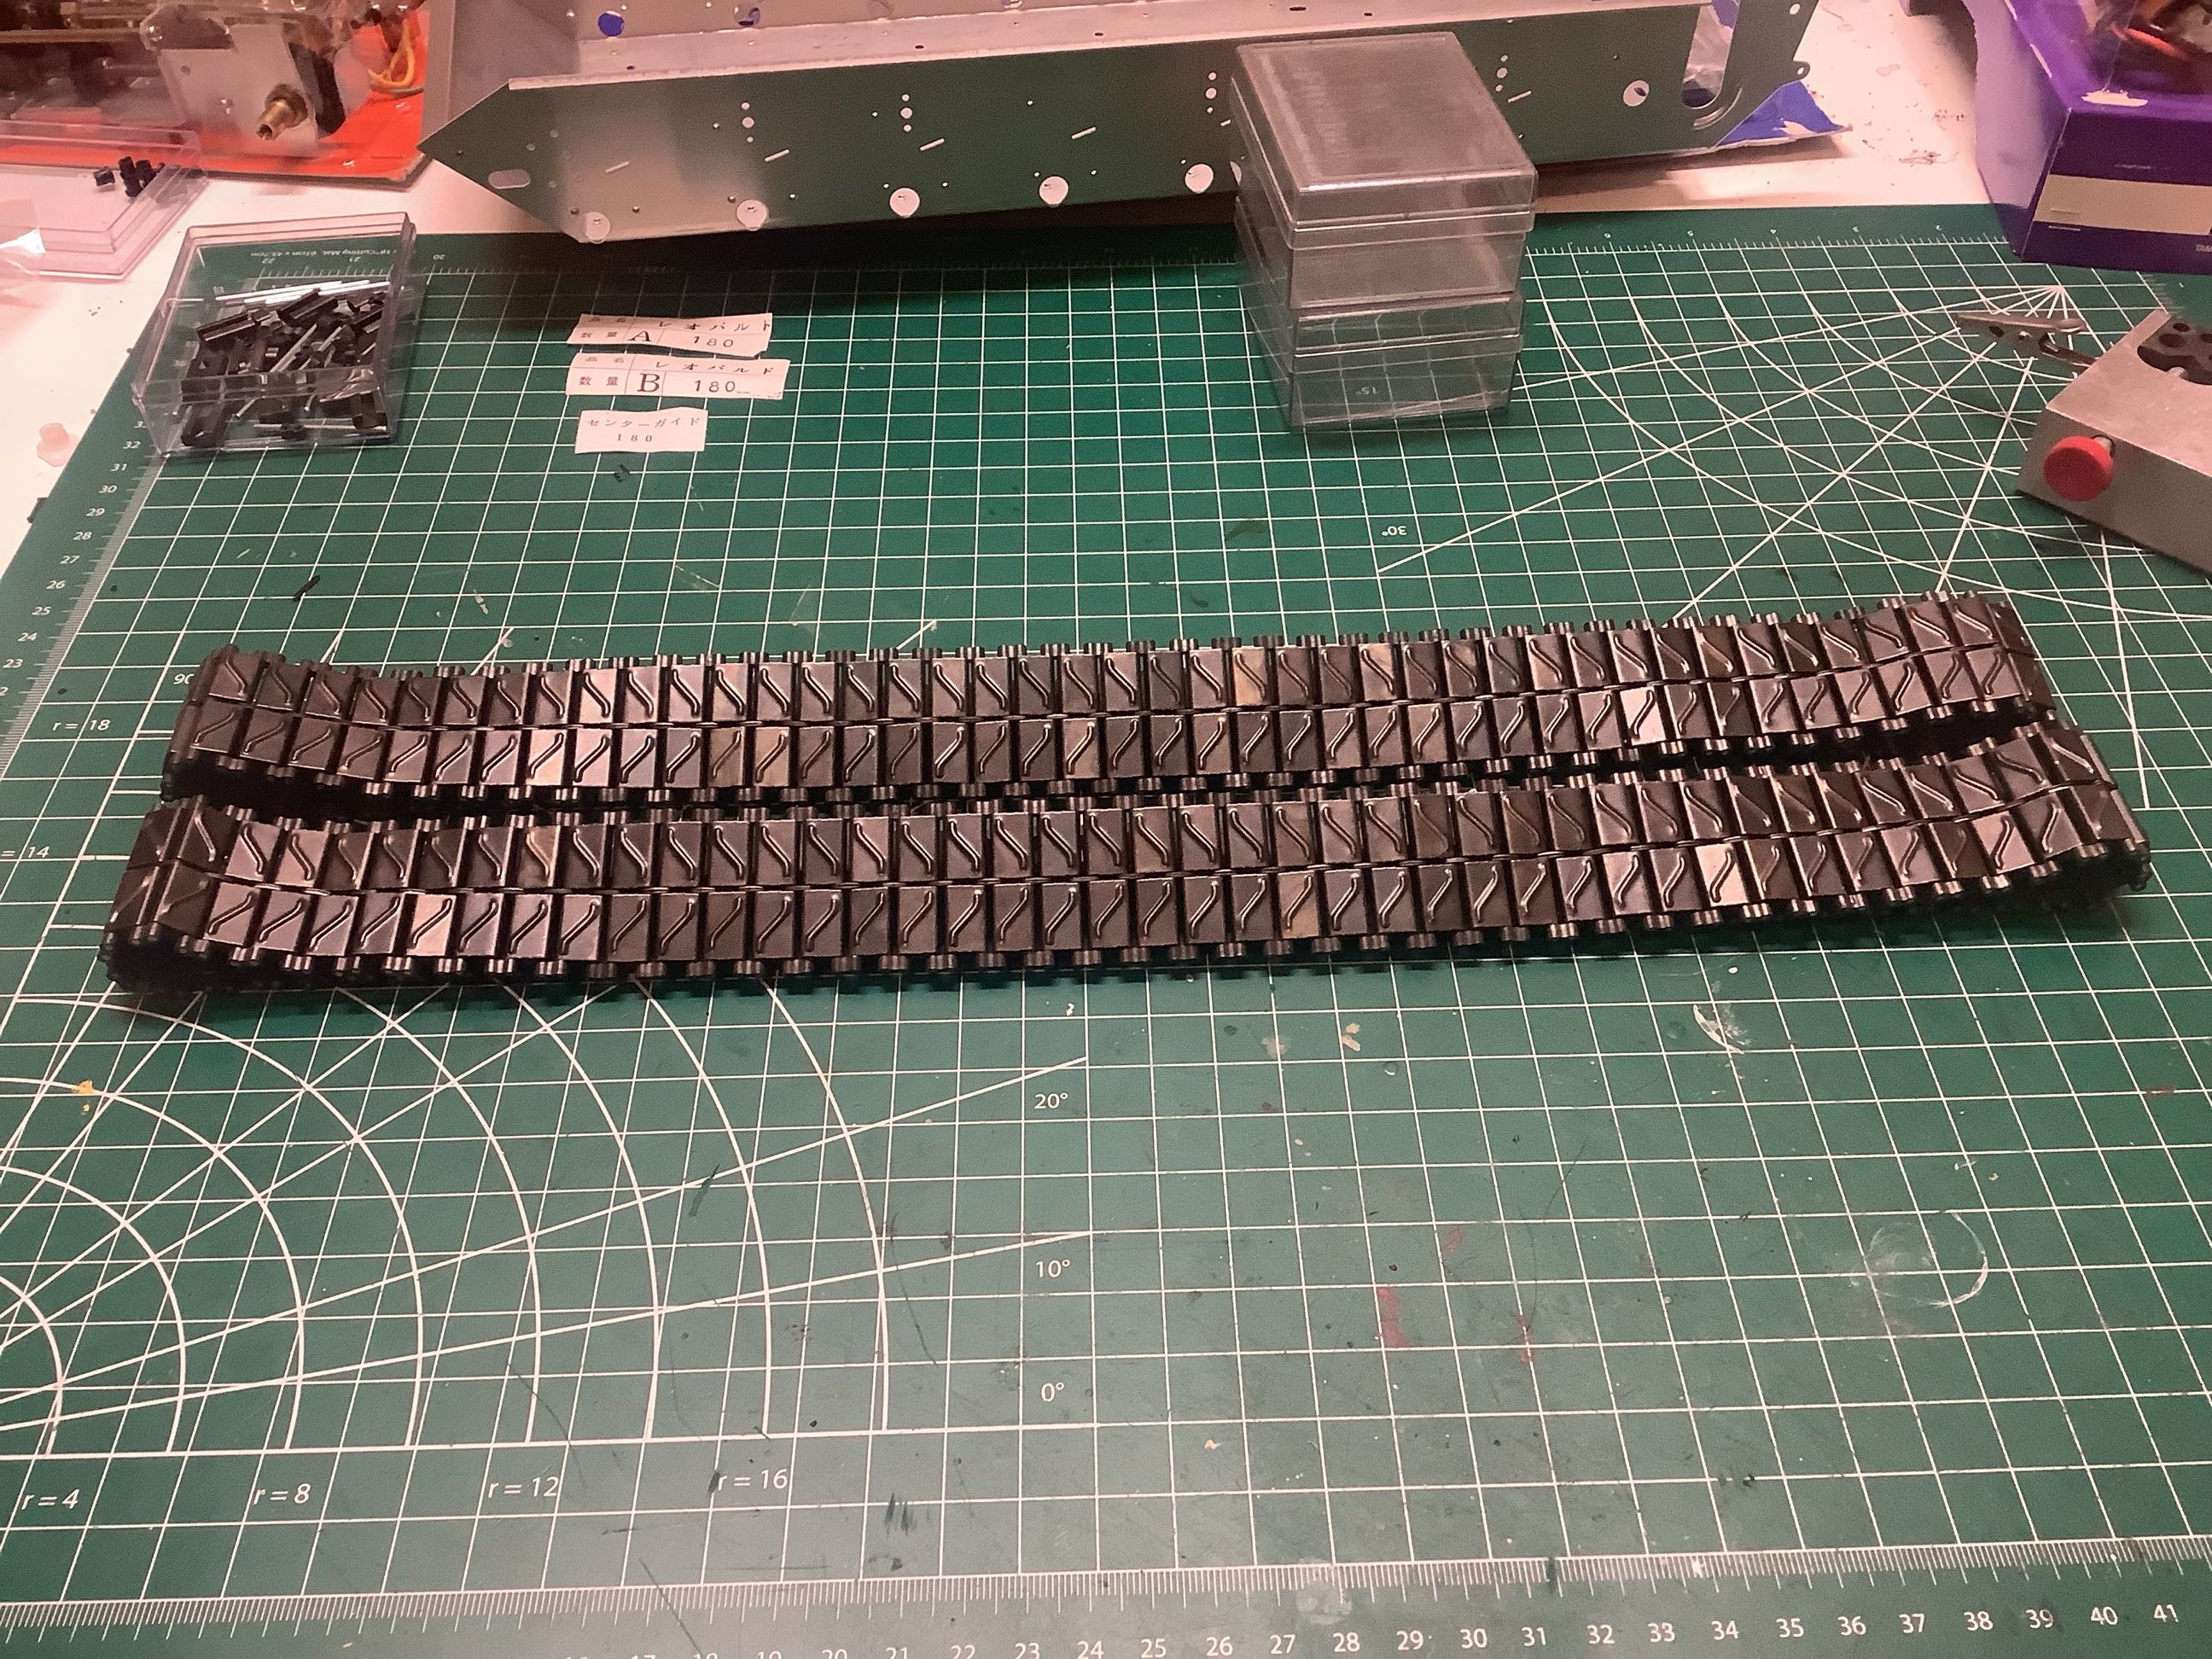
After many many hours of work, here are the completed tracks.
The metal construction really gives them a satisfying weight. I
found that they tended to bind and not rotate very freely on the
pins. I found that the holes in the guides were not perfectly
parallel because the sheet metal ends were not quite folded flush.
I went through every single guide individually and squeezed the ends
with a pliers to flatten them. This completely solved the issue.
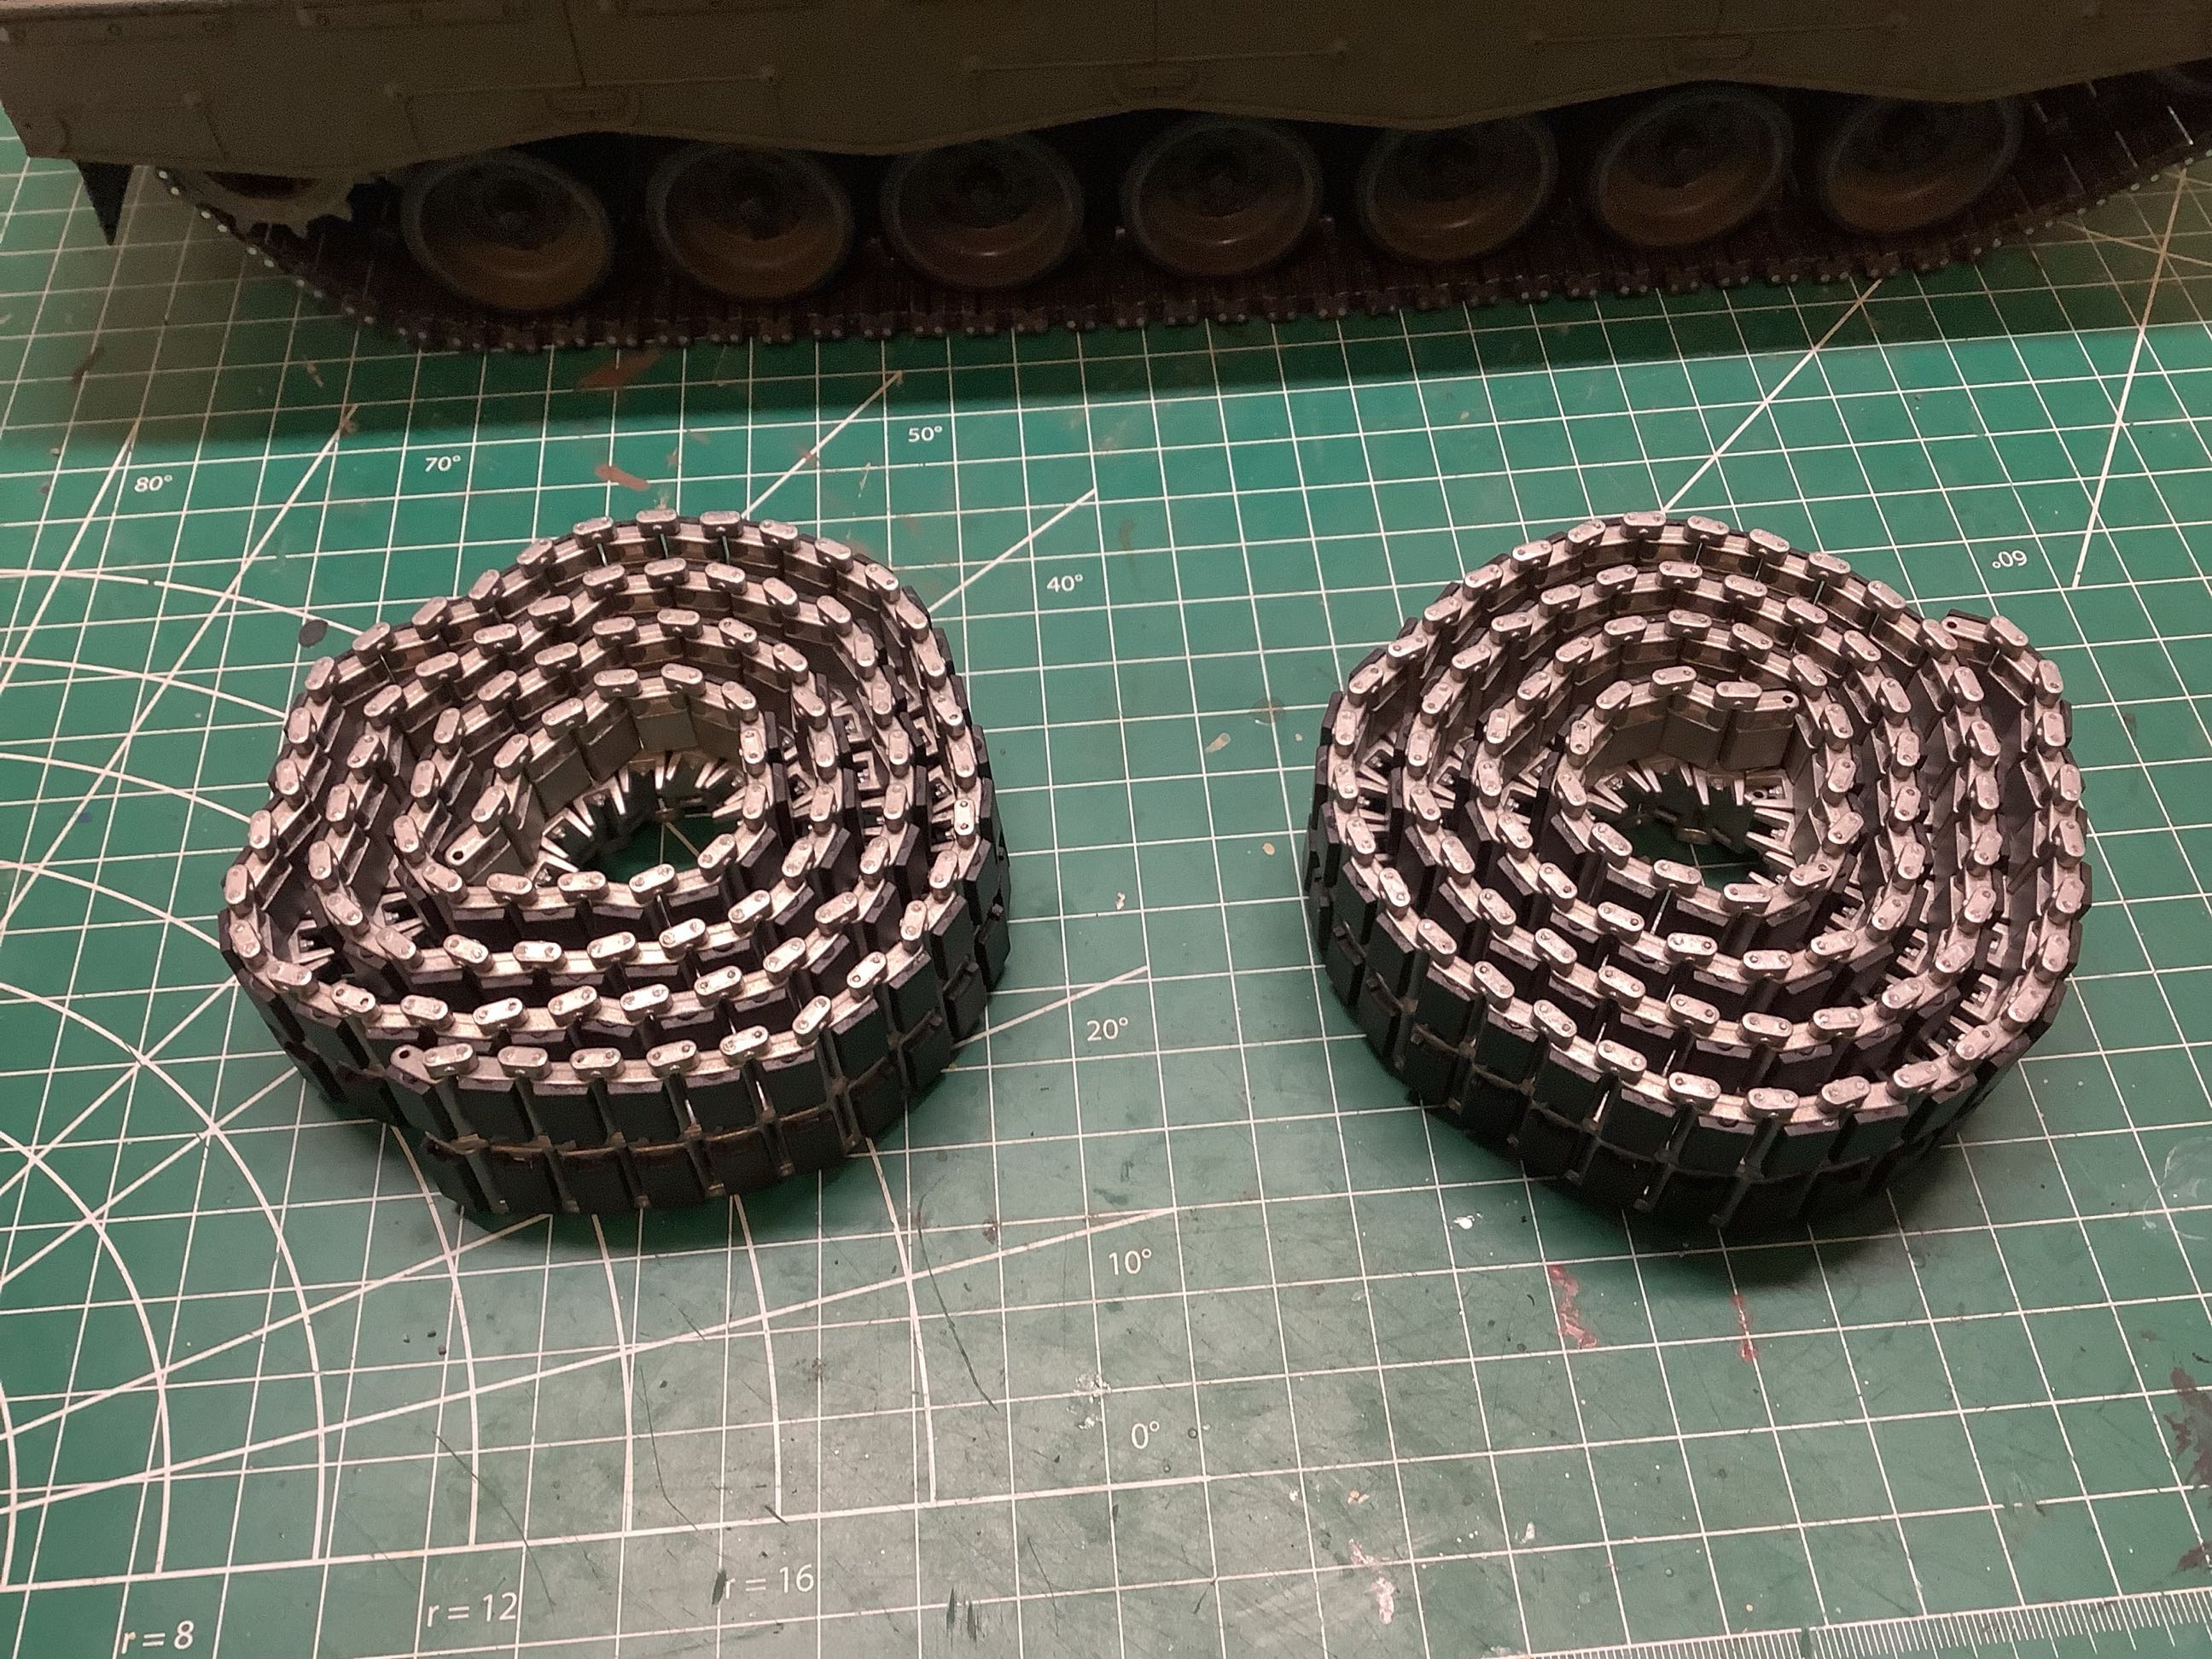
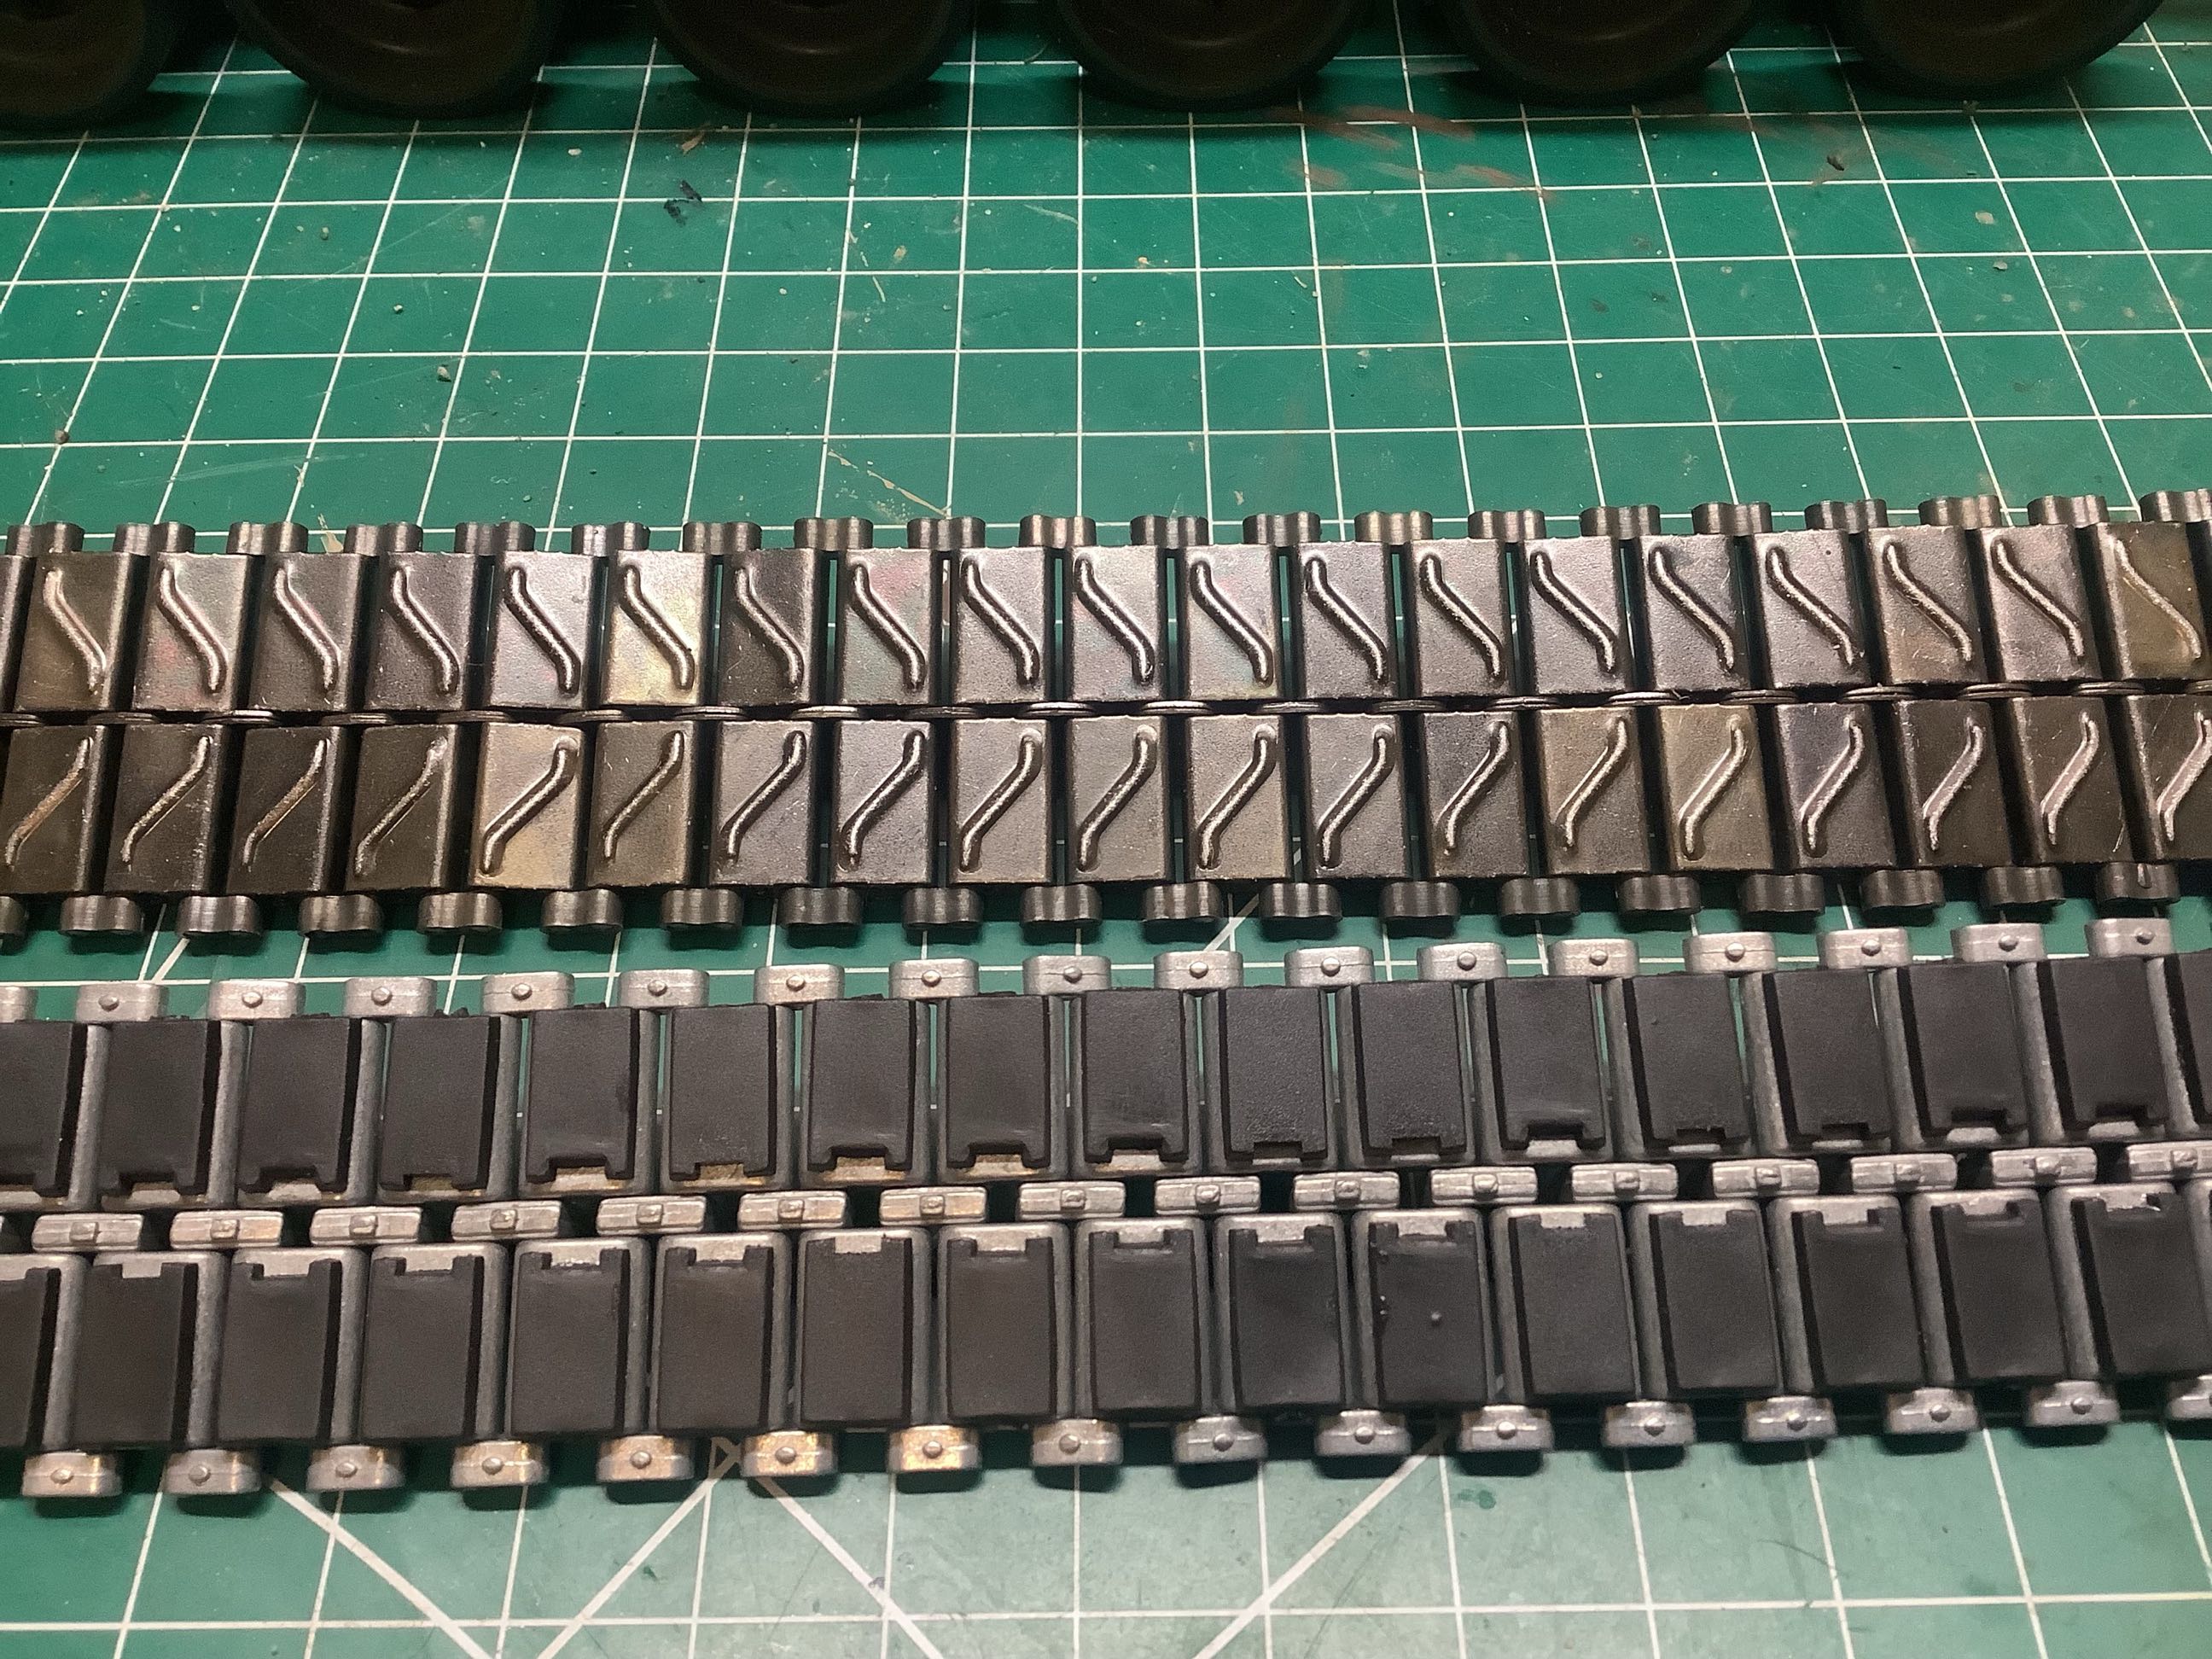
Although the completed metal tracks are lovely, I found out later through some
additional research that they are also completely wrong for this
tank. Apparently Tamiya just recycled the metal track parts from
the earlier M4 Sherman. The Gepard is descended from the Leopard
and should have tracks with rubber pads. I was able to find a set
of such tracks from an aftermarket company. They are shown on the
left coiled as I received them. The picture on the right compares
them with the tracks that came in the box, and you can see that they are
quite different. Since my copy of the Sherman didn't come with
metal tracks, I was able to take the old tracks from the Gepard and
retrofit them onto the Sherman. Everybody wins.
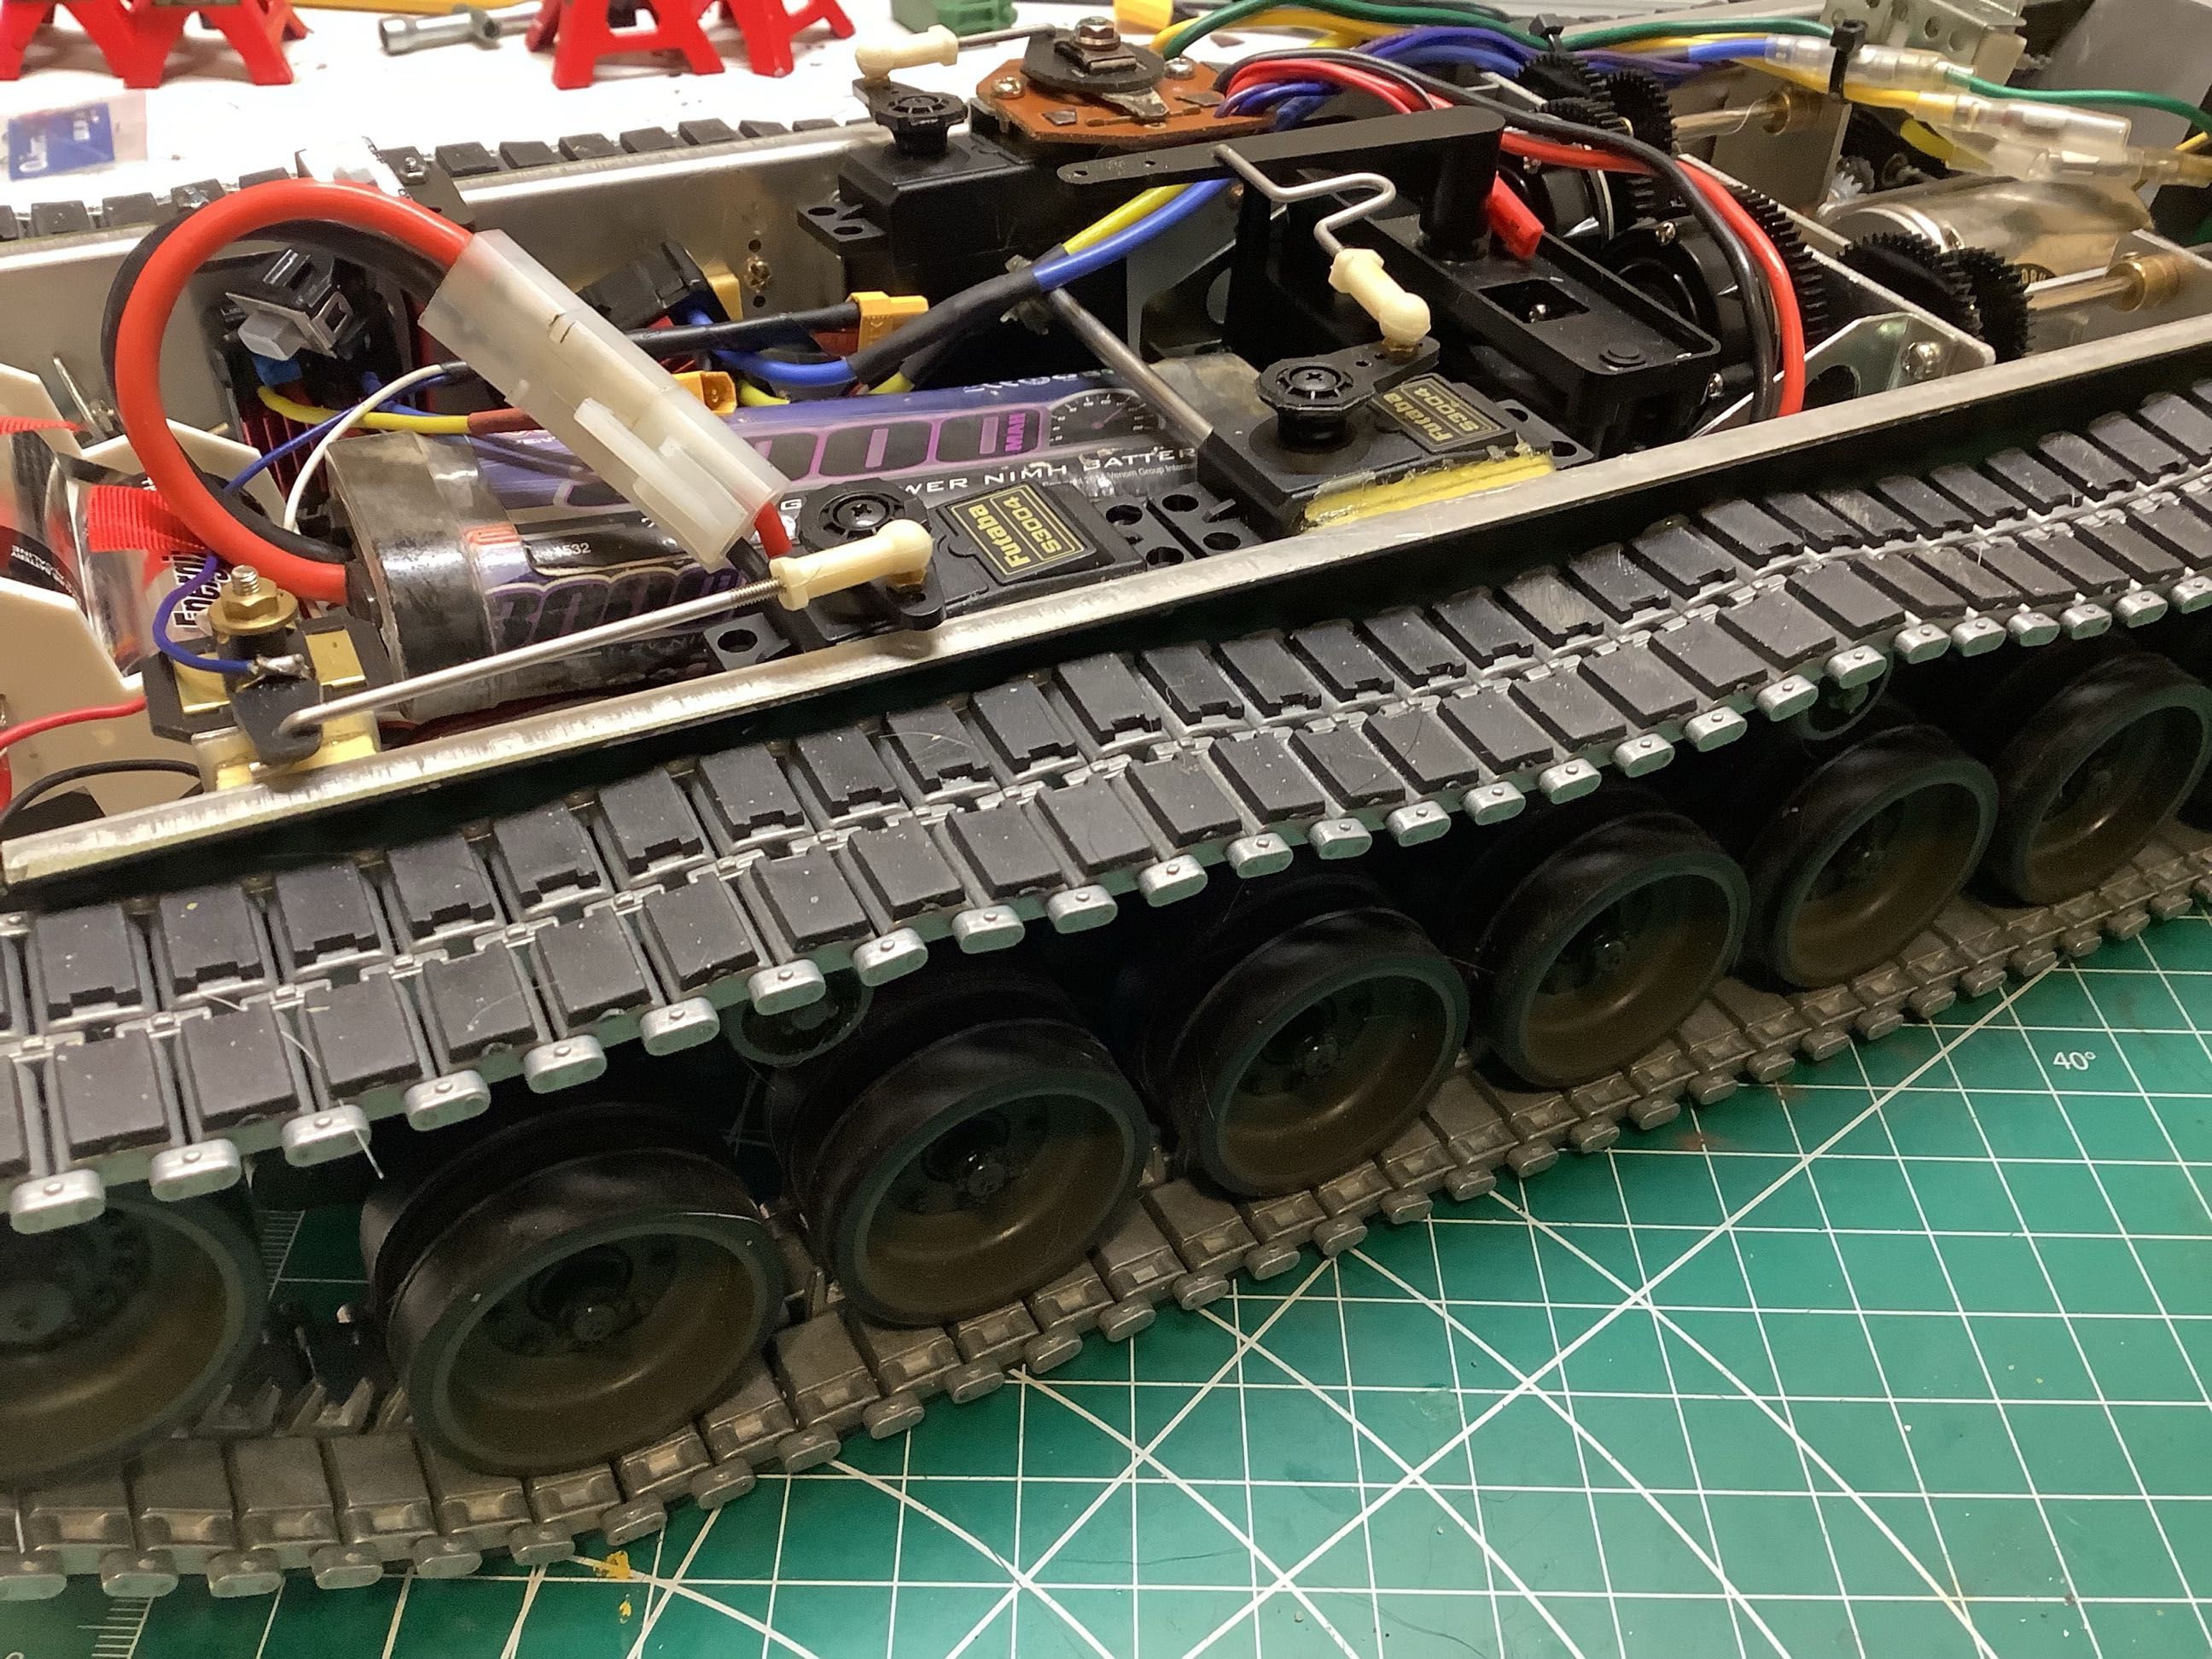
Changing out the tracks after the model is complete is not actually that
easy. It required a significant teardown. This picture
shows the updated and scale accurate tracks installed on the
Gepard. The only issue now is that the color of the metal clearly
identifies them as aluminum, but the real vehicle would obviously use
steel. I can't really paint them since the rubber pads are bonded
on. I guess I should just get them really dirty.
©2021 Eric Albrecht