VS4-10 Project
Page 1: Chassis Assembly
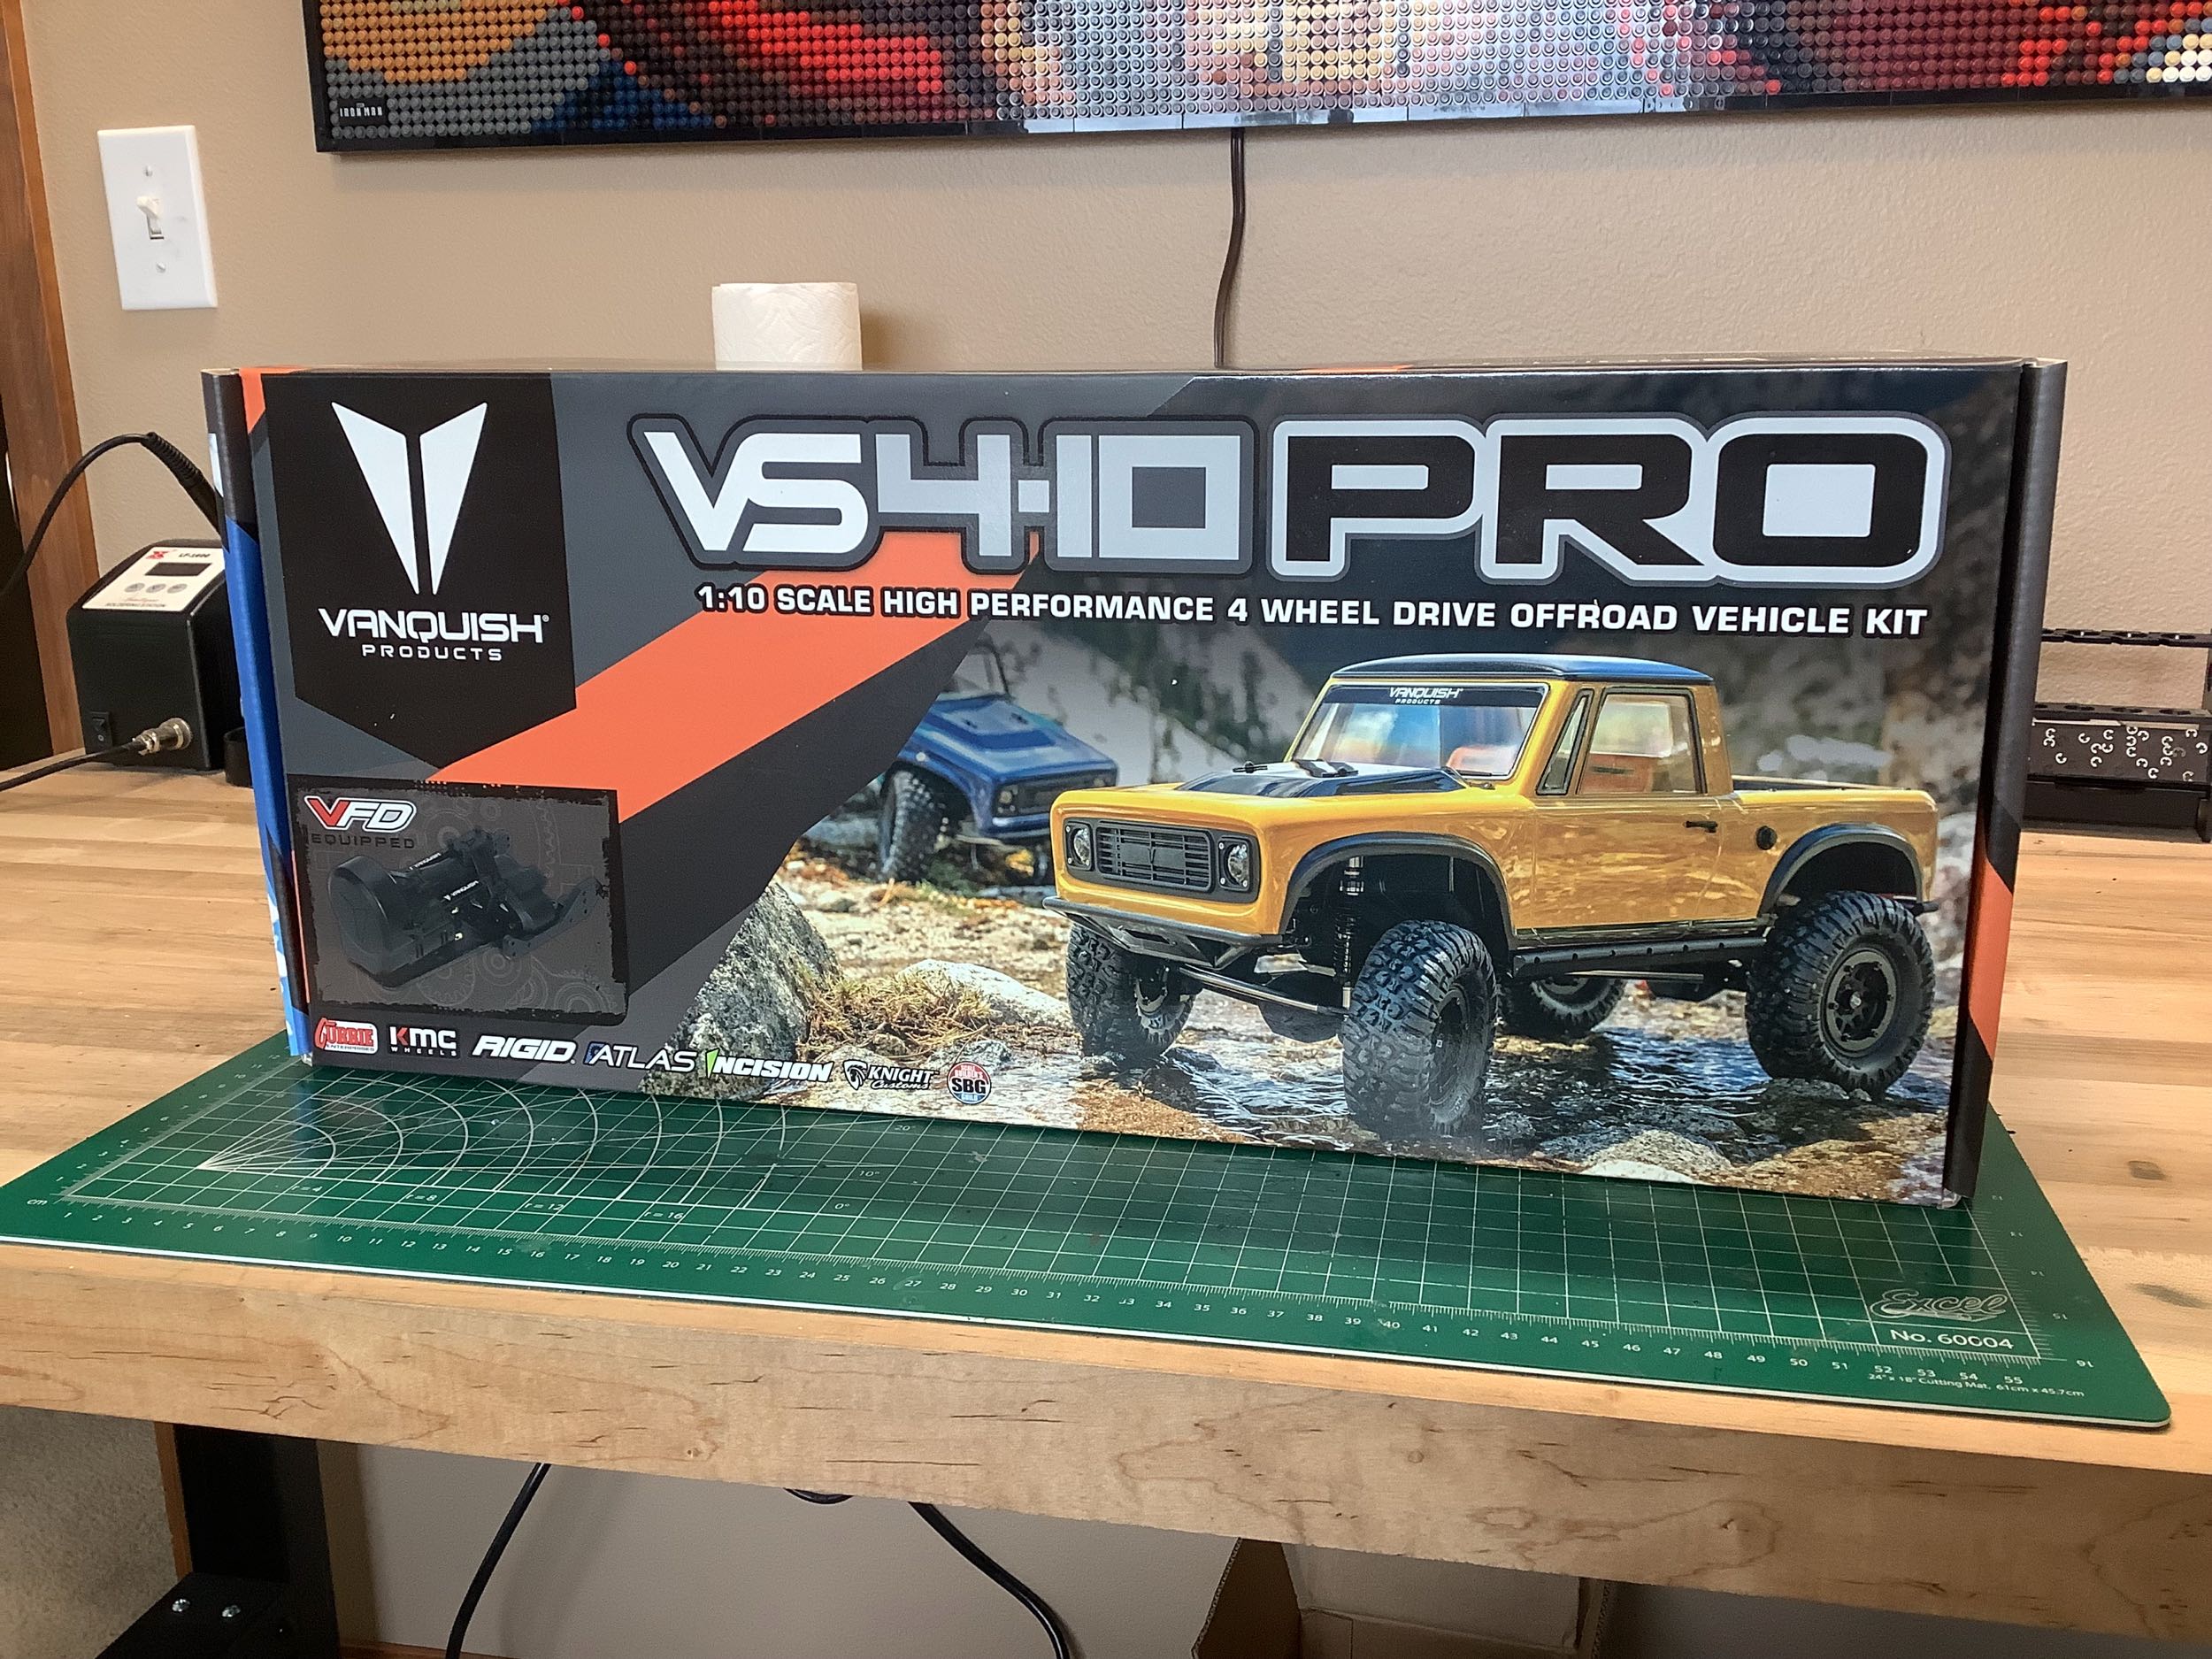
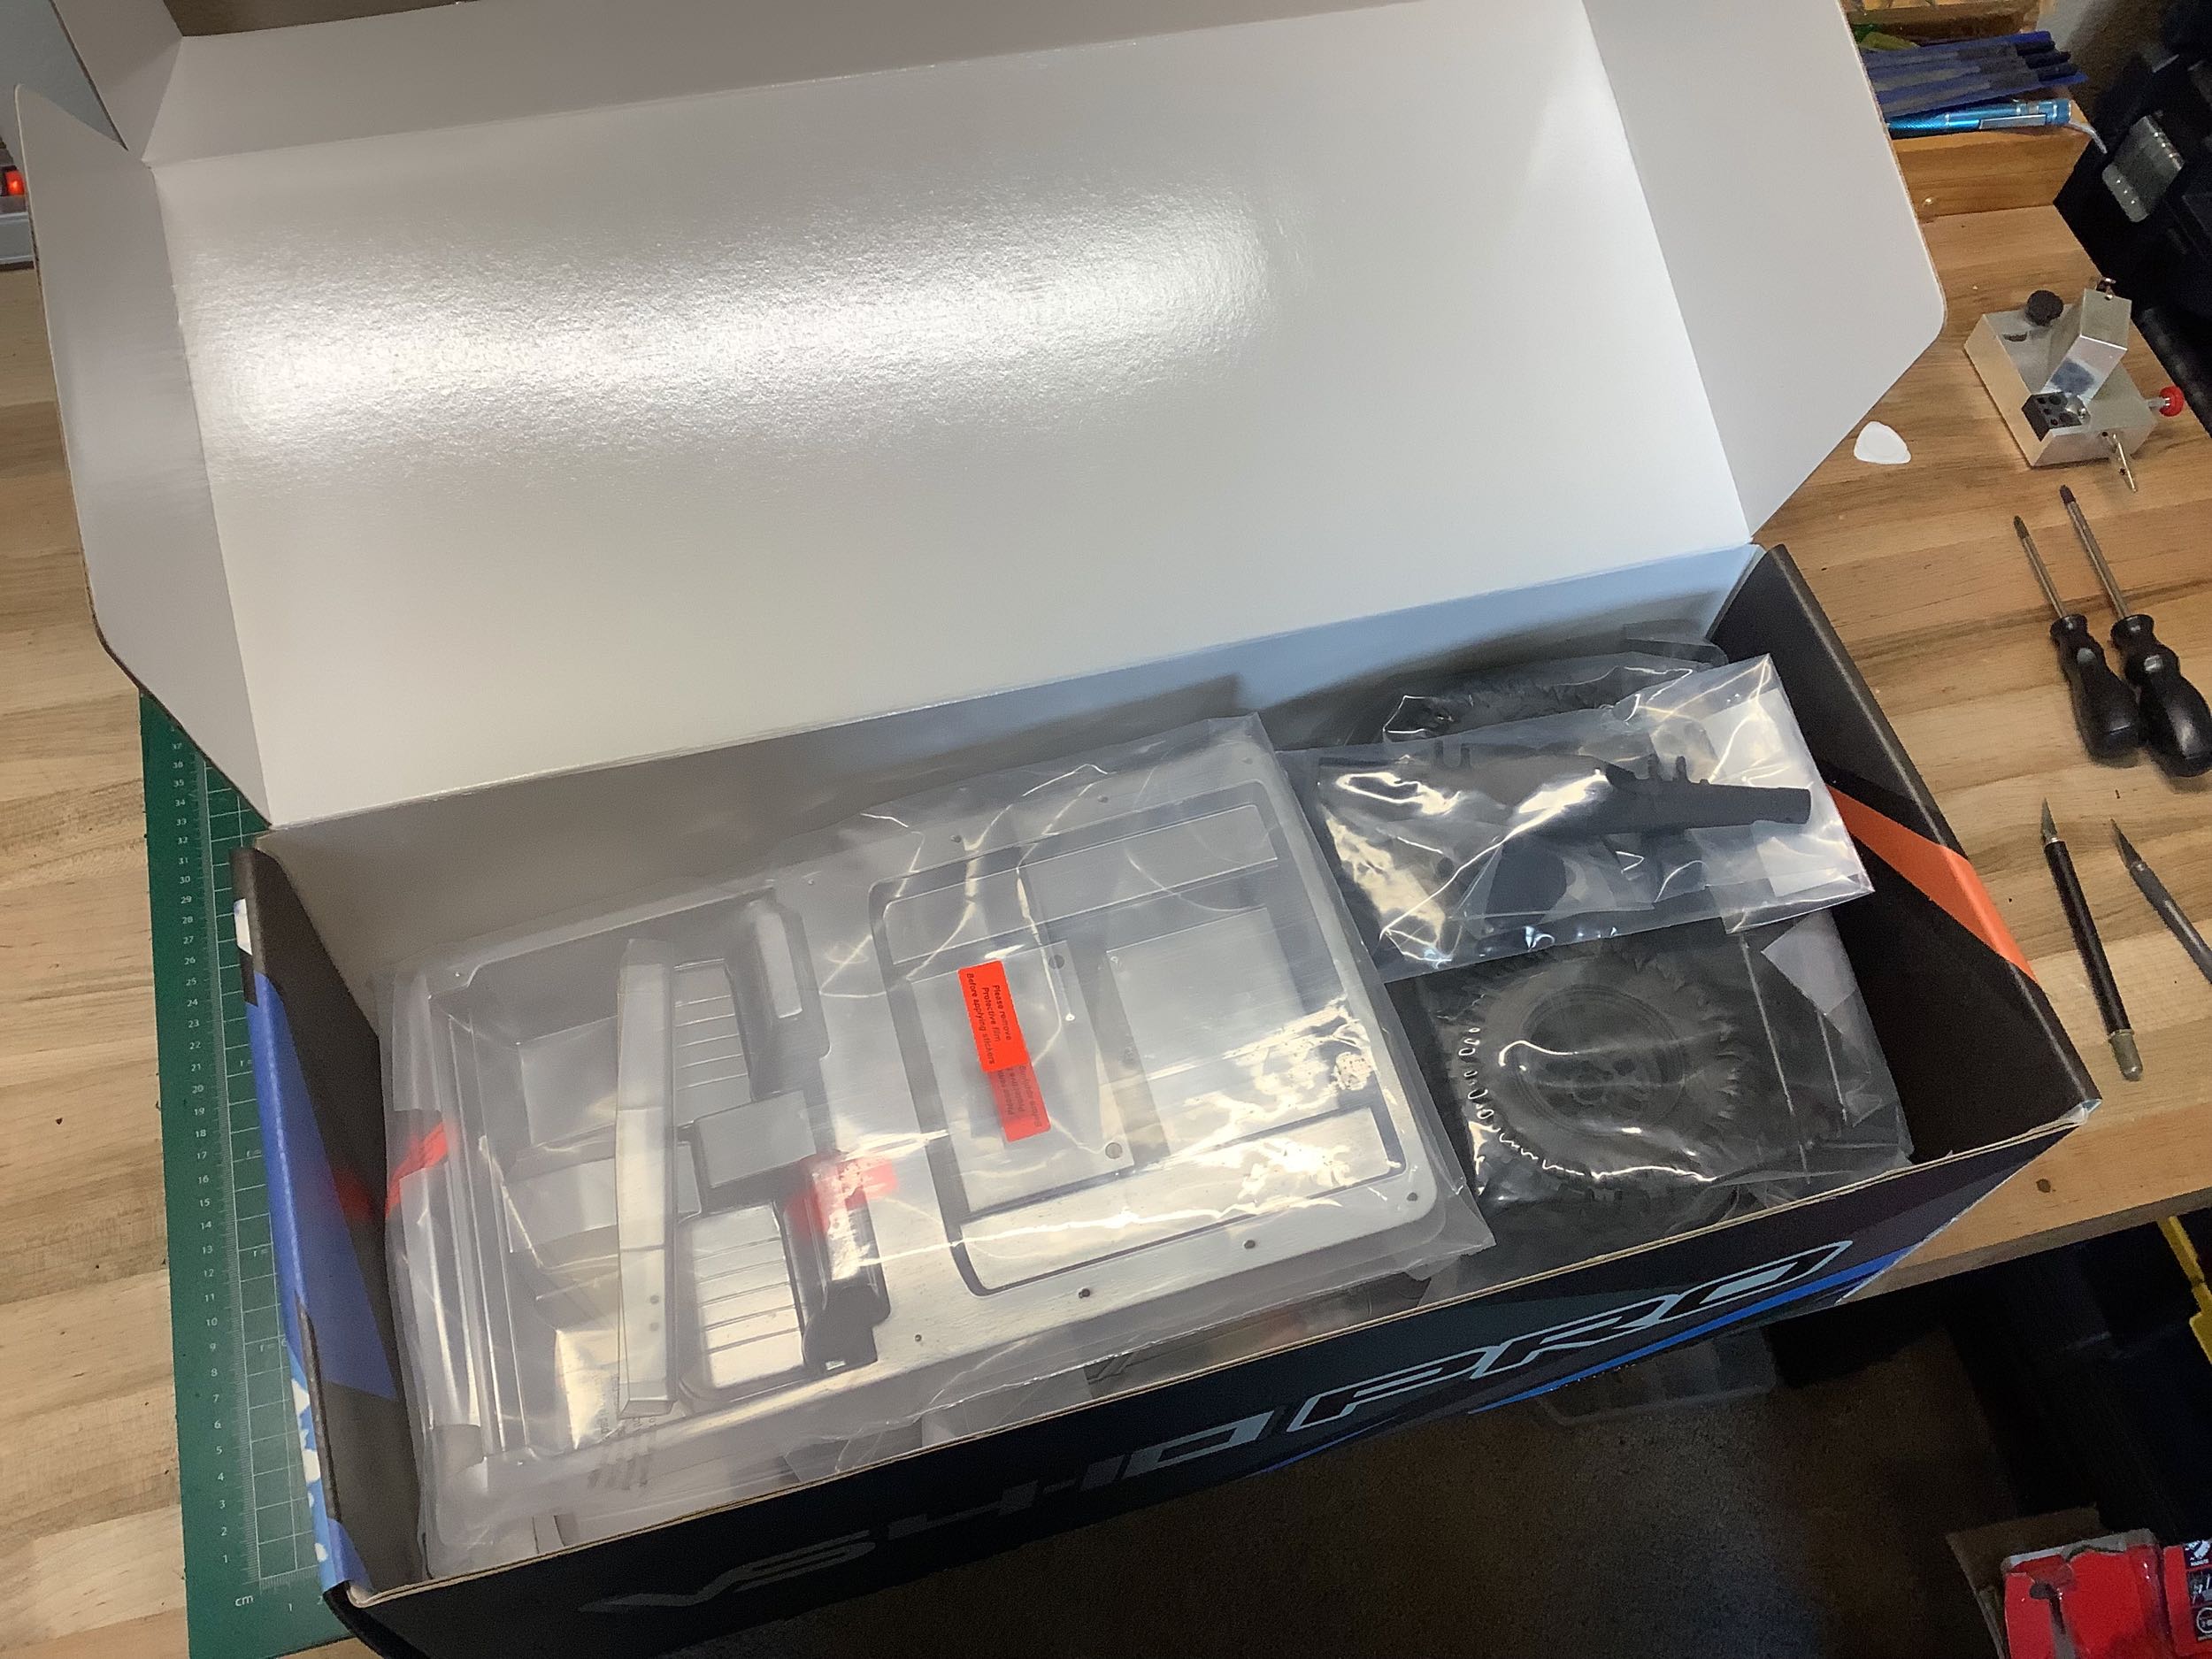
The VS4-10 Pro comes in a modest, full color box which at first glance
seems to be mostly filled with a body and interior. All the other
parts are packed inside. This kit has a lot of metal, so the box
is heavy.
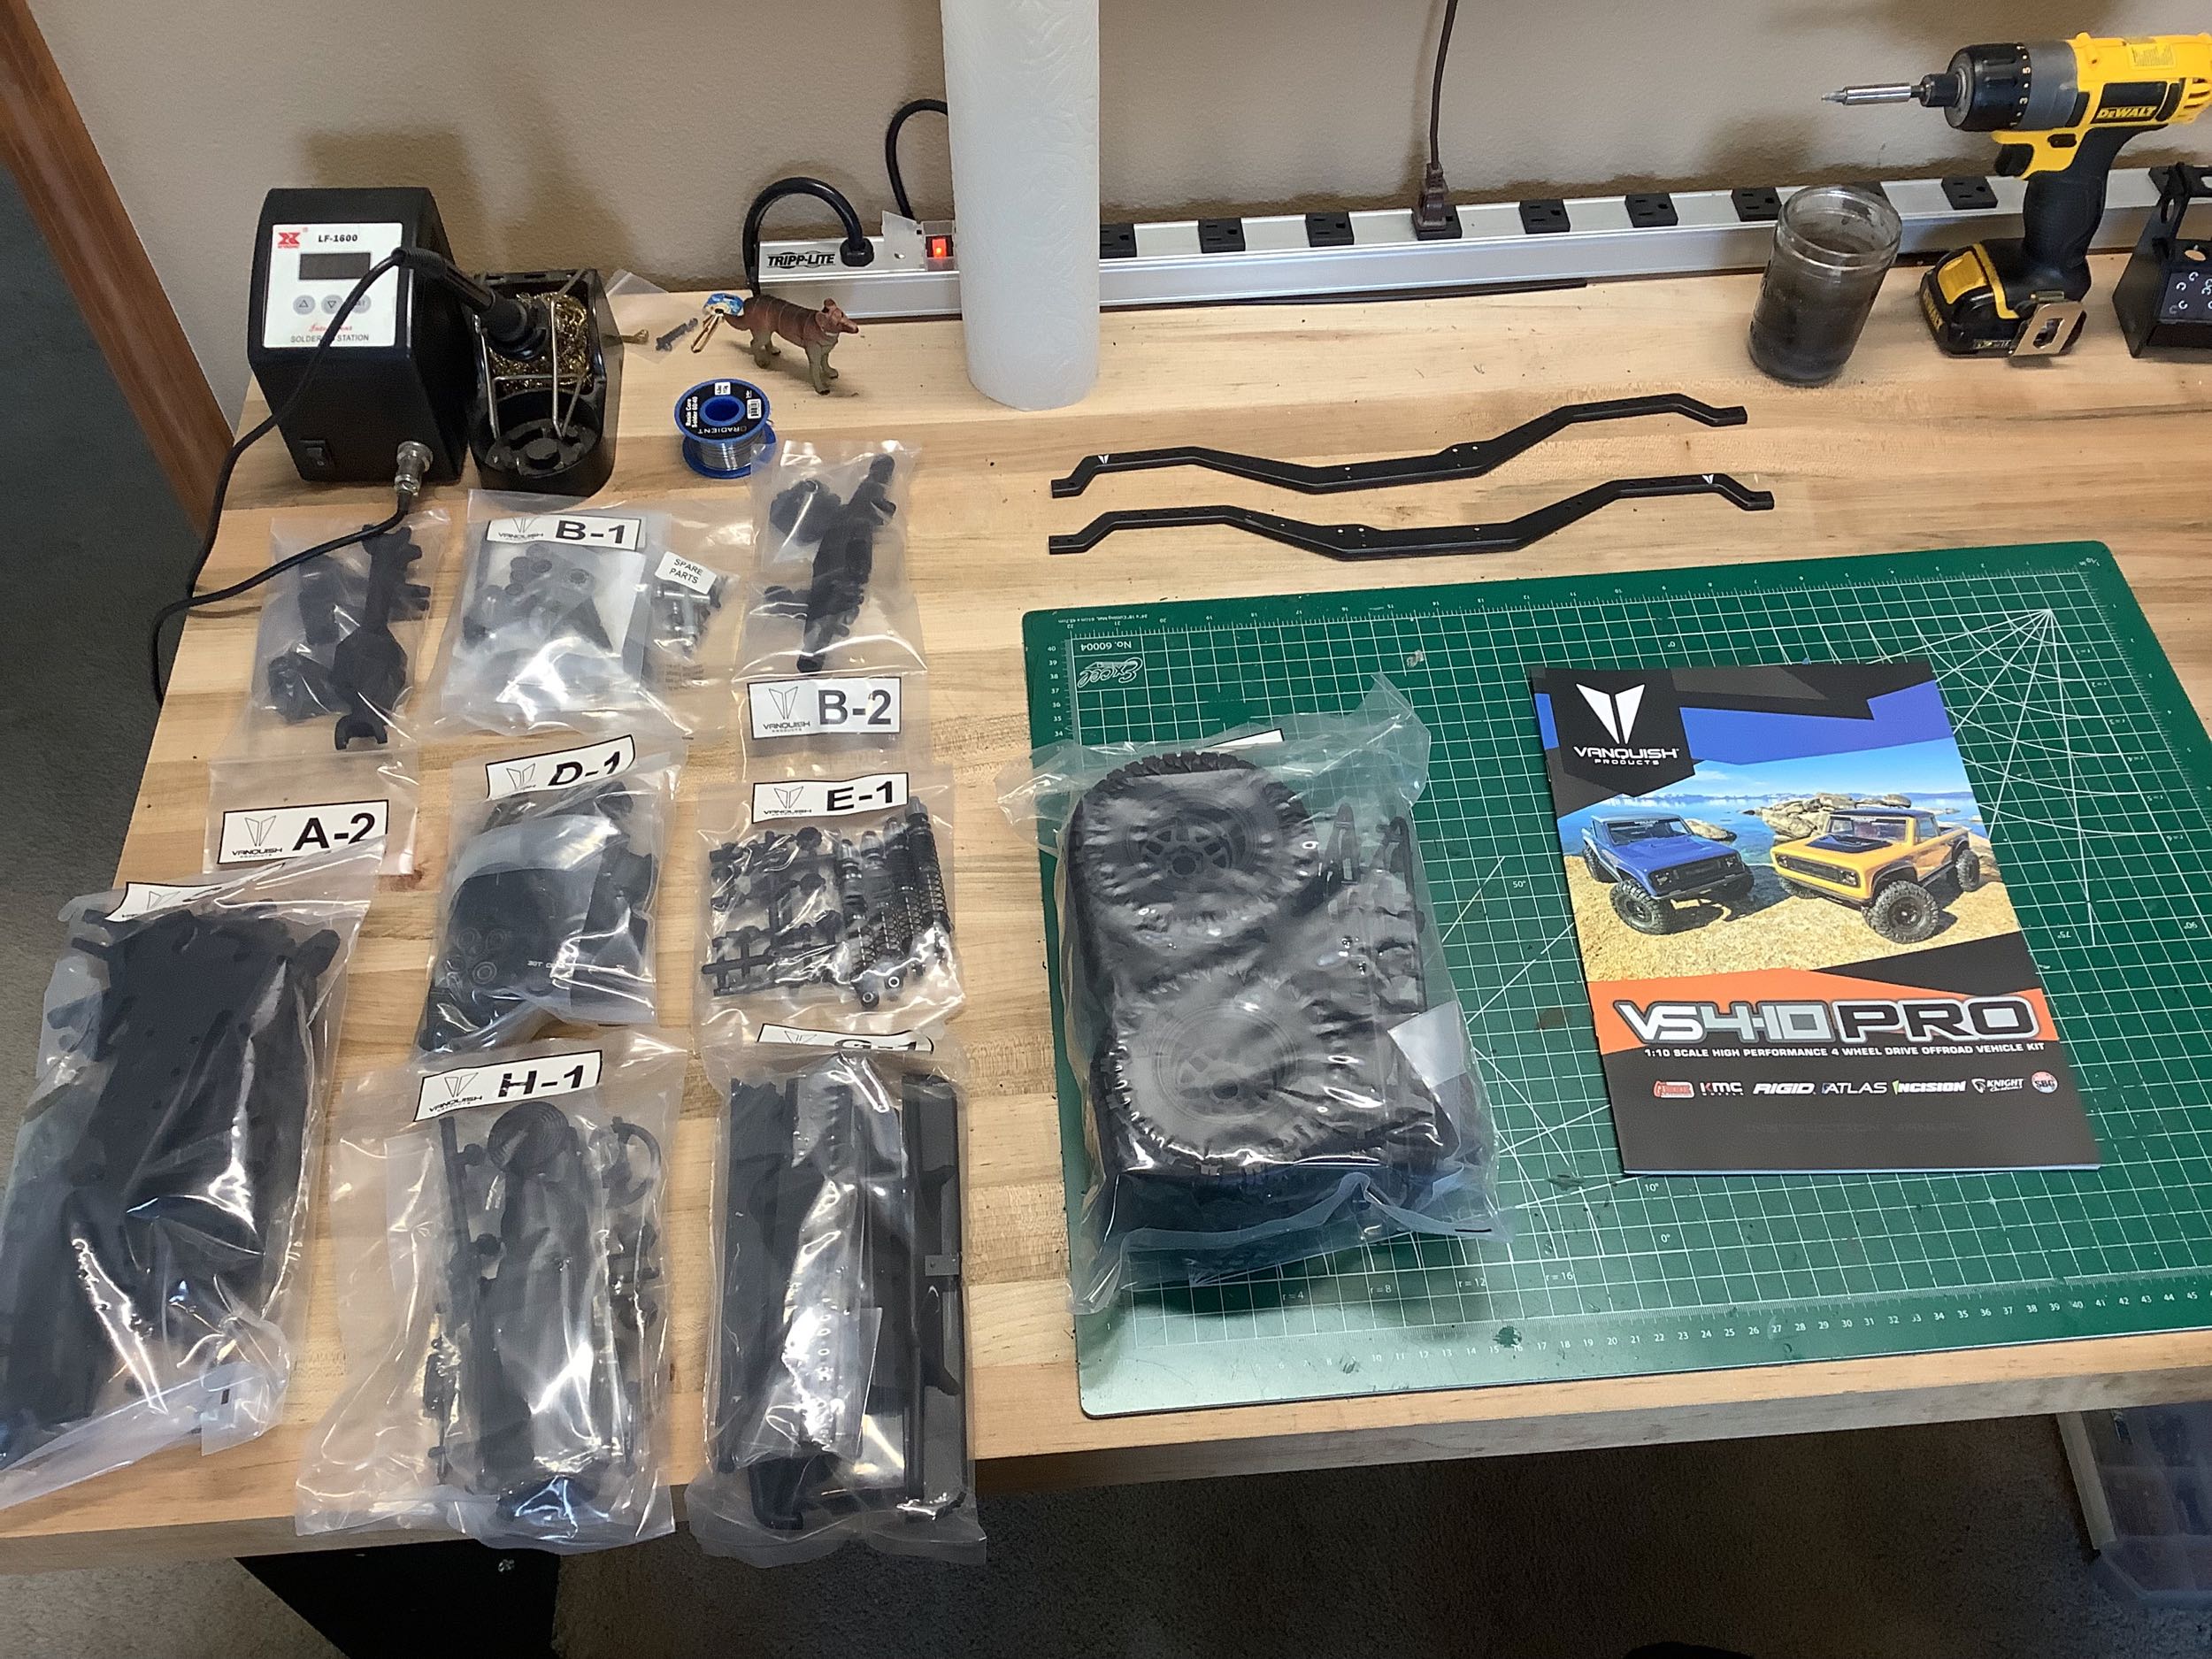
Here the part bags are arranged on my build table. It doesn't look
like there is that much here. The bags are A-H with some
sub-divided into multiples.
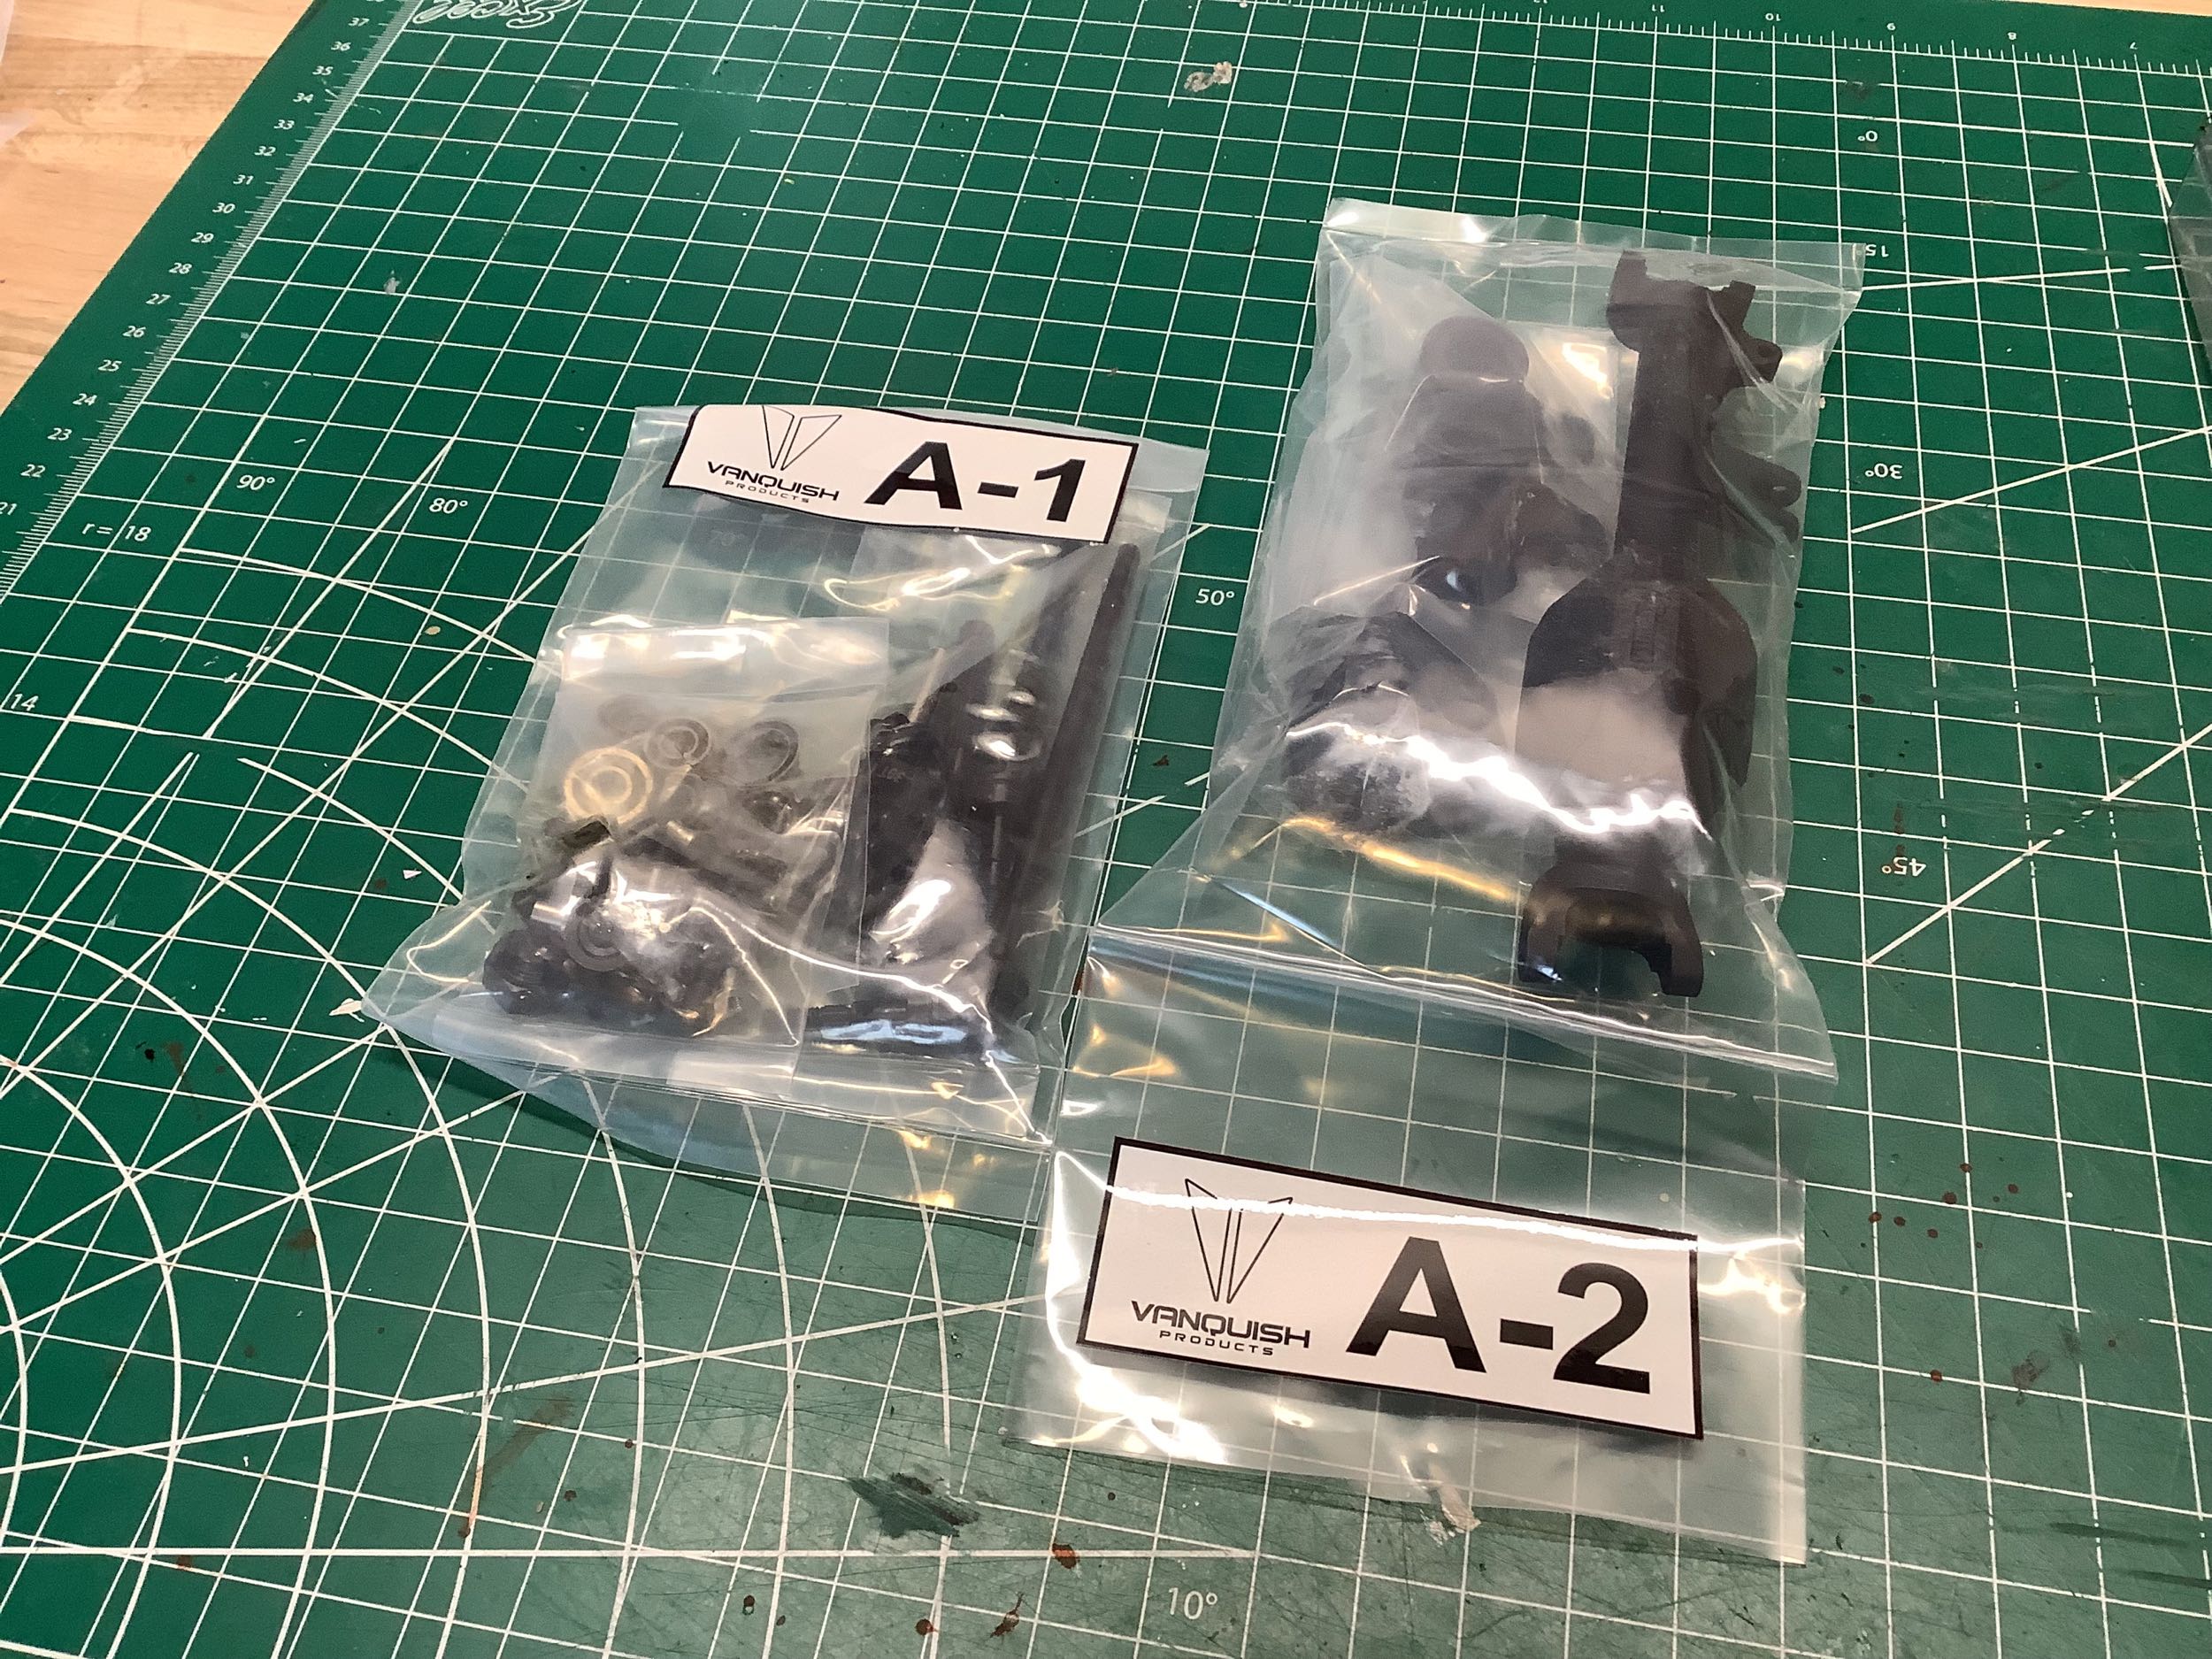
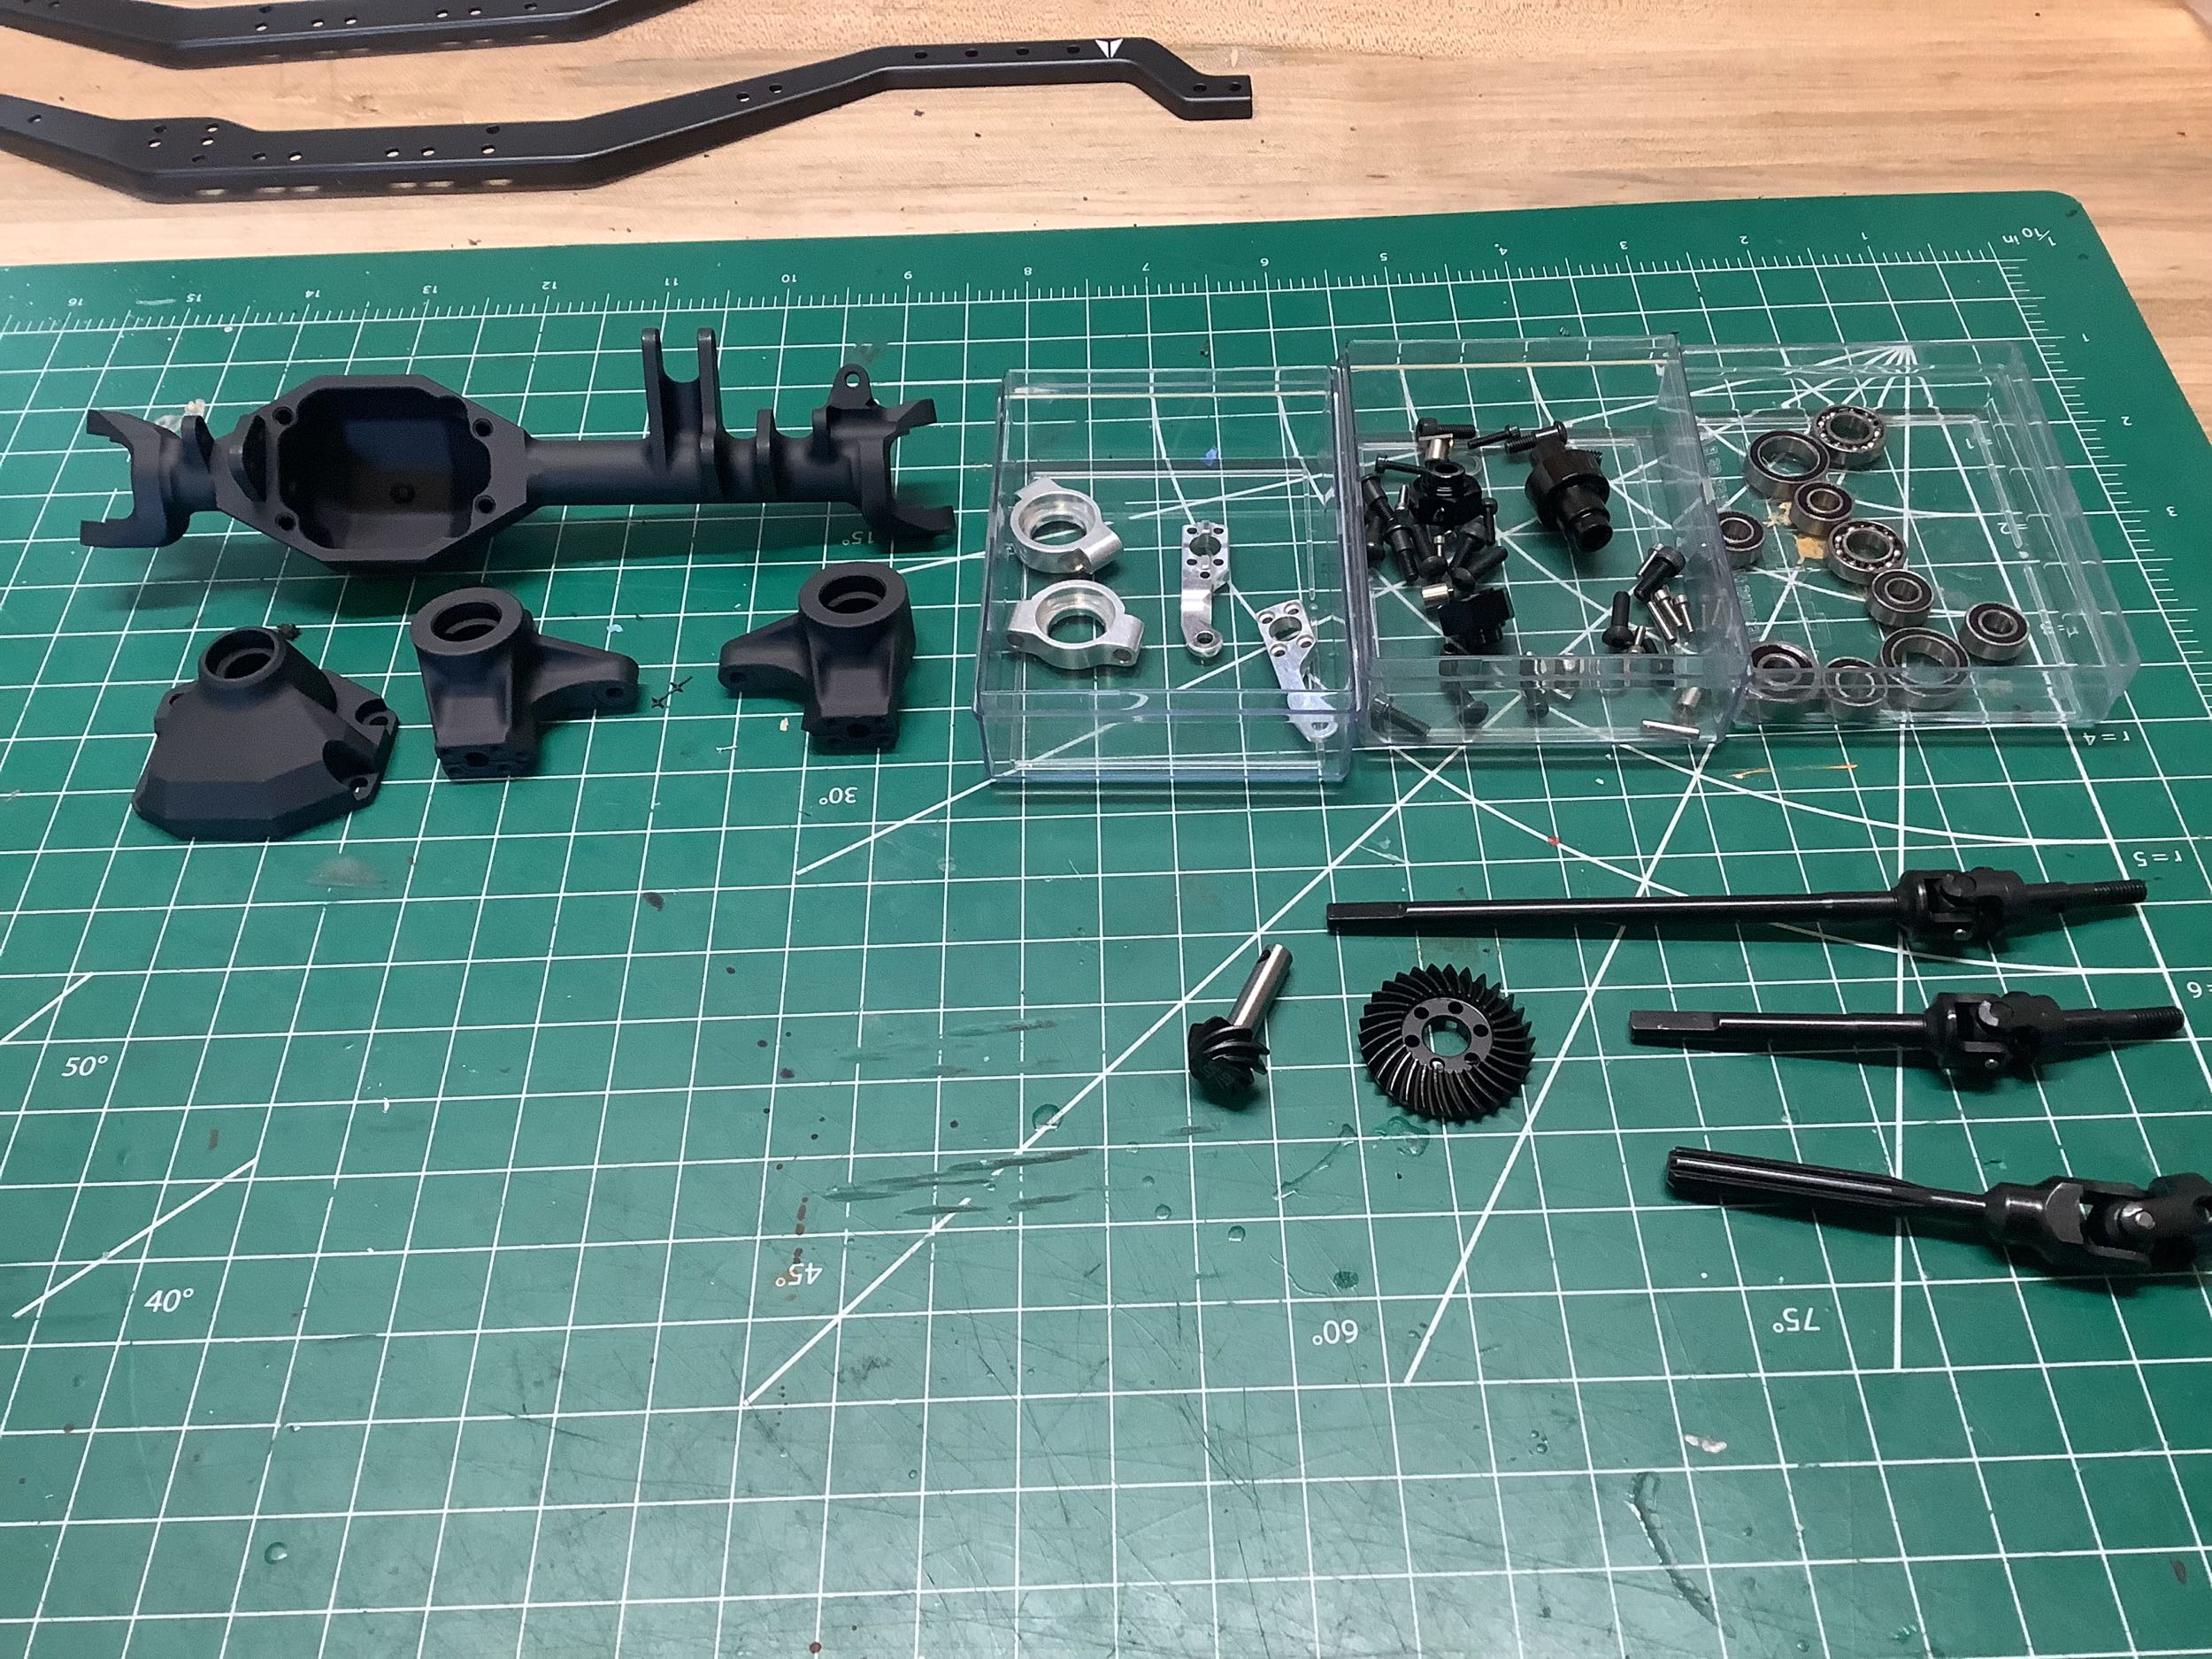
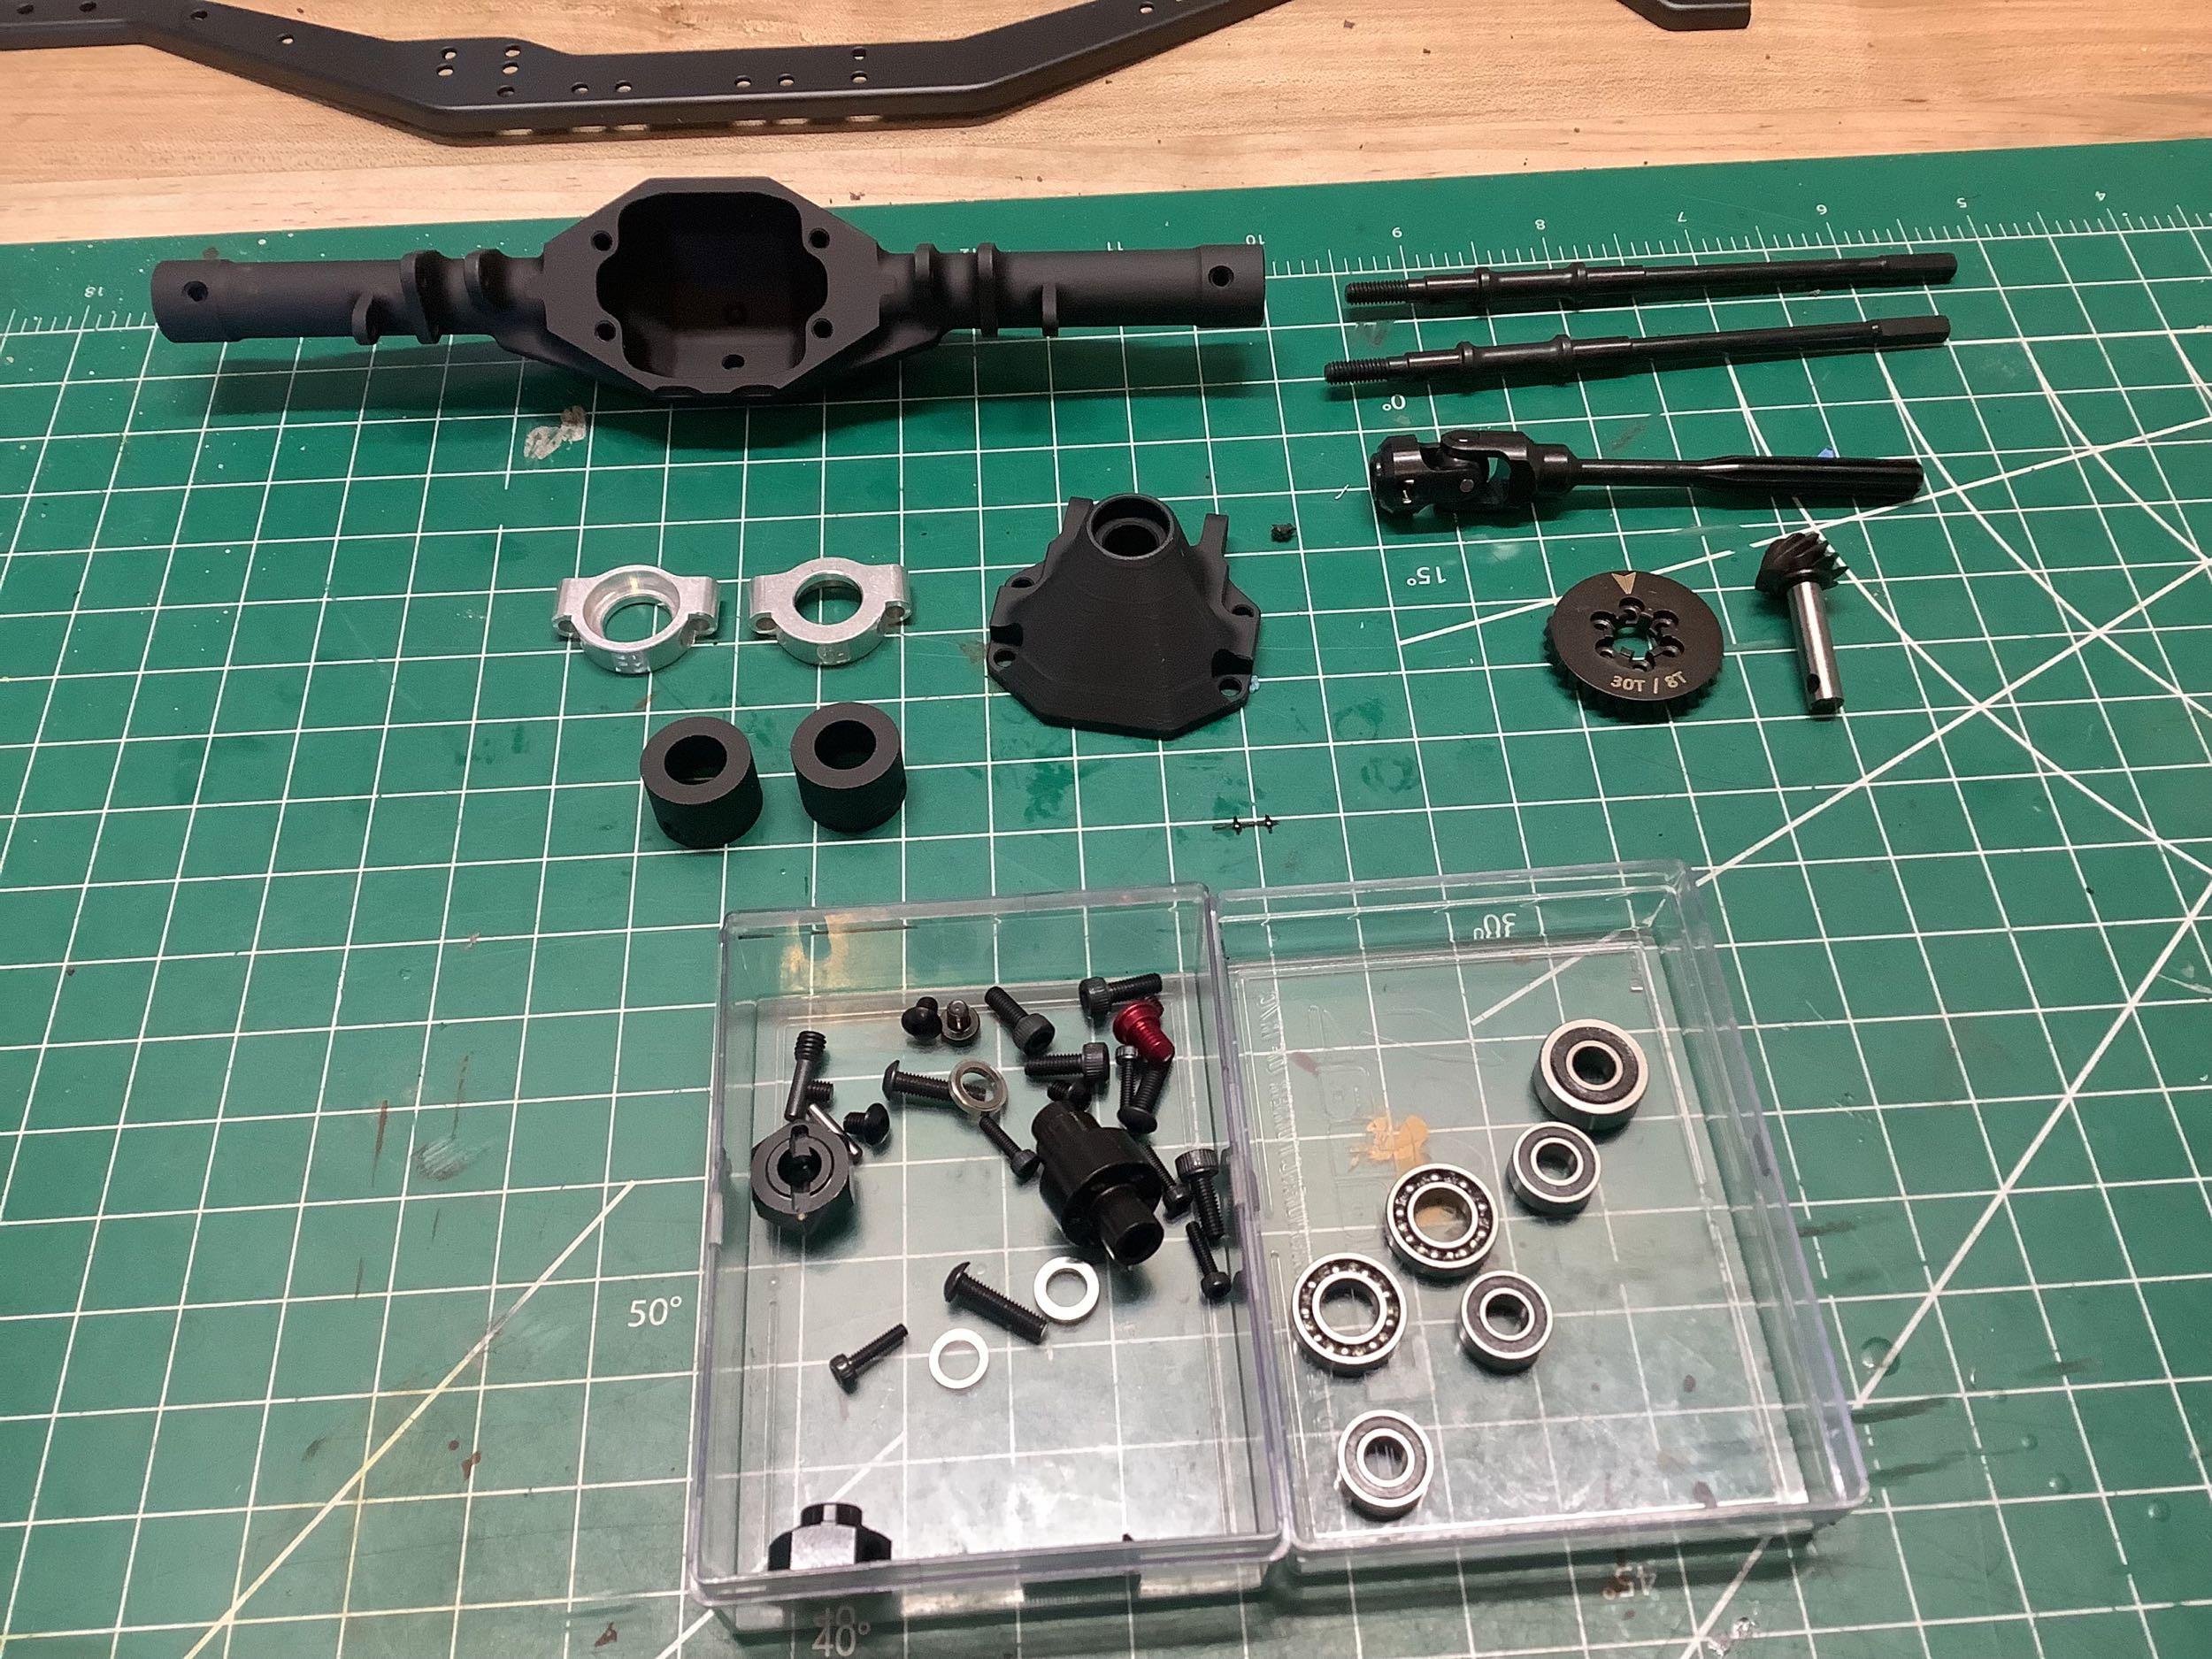
We'll start with bags A-1 and A-2 which constitute the front axle.
Those axle housings may appear to be black plastic at first glance, but
they are actually black anodized machined aluminum. They are very
carefully machined and therefore quite light. The universal axles
and spiral cut gears are hardened steel. The locked spool uses hypoid
gears for clearance.
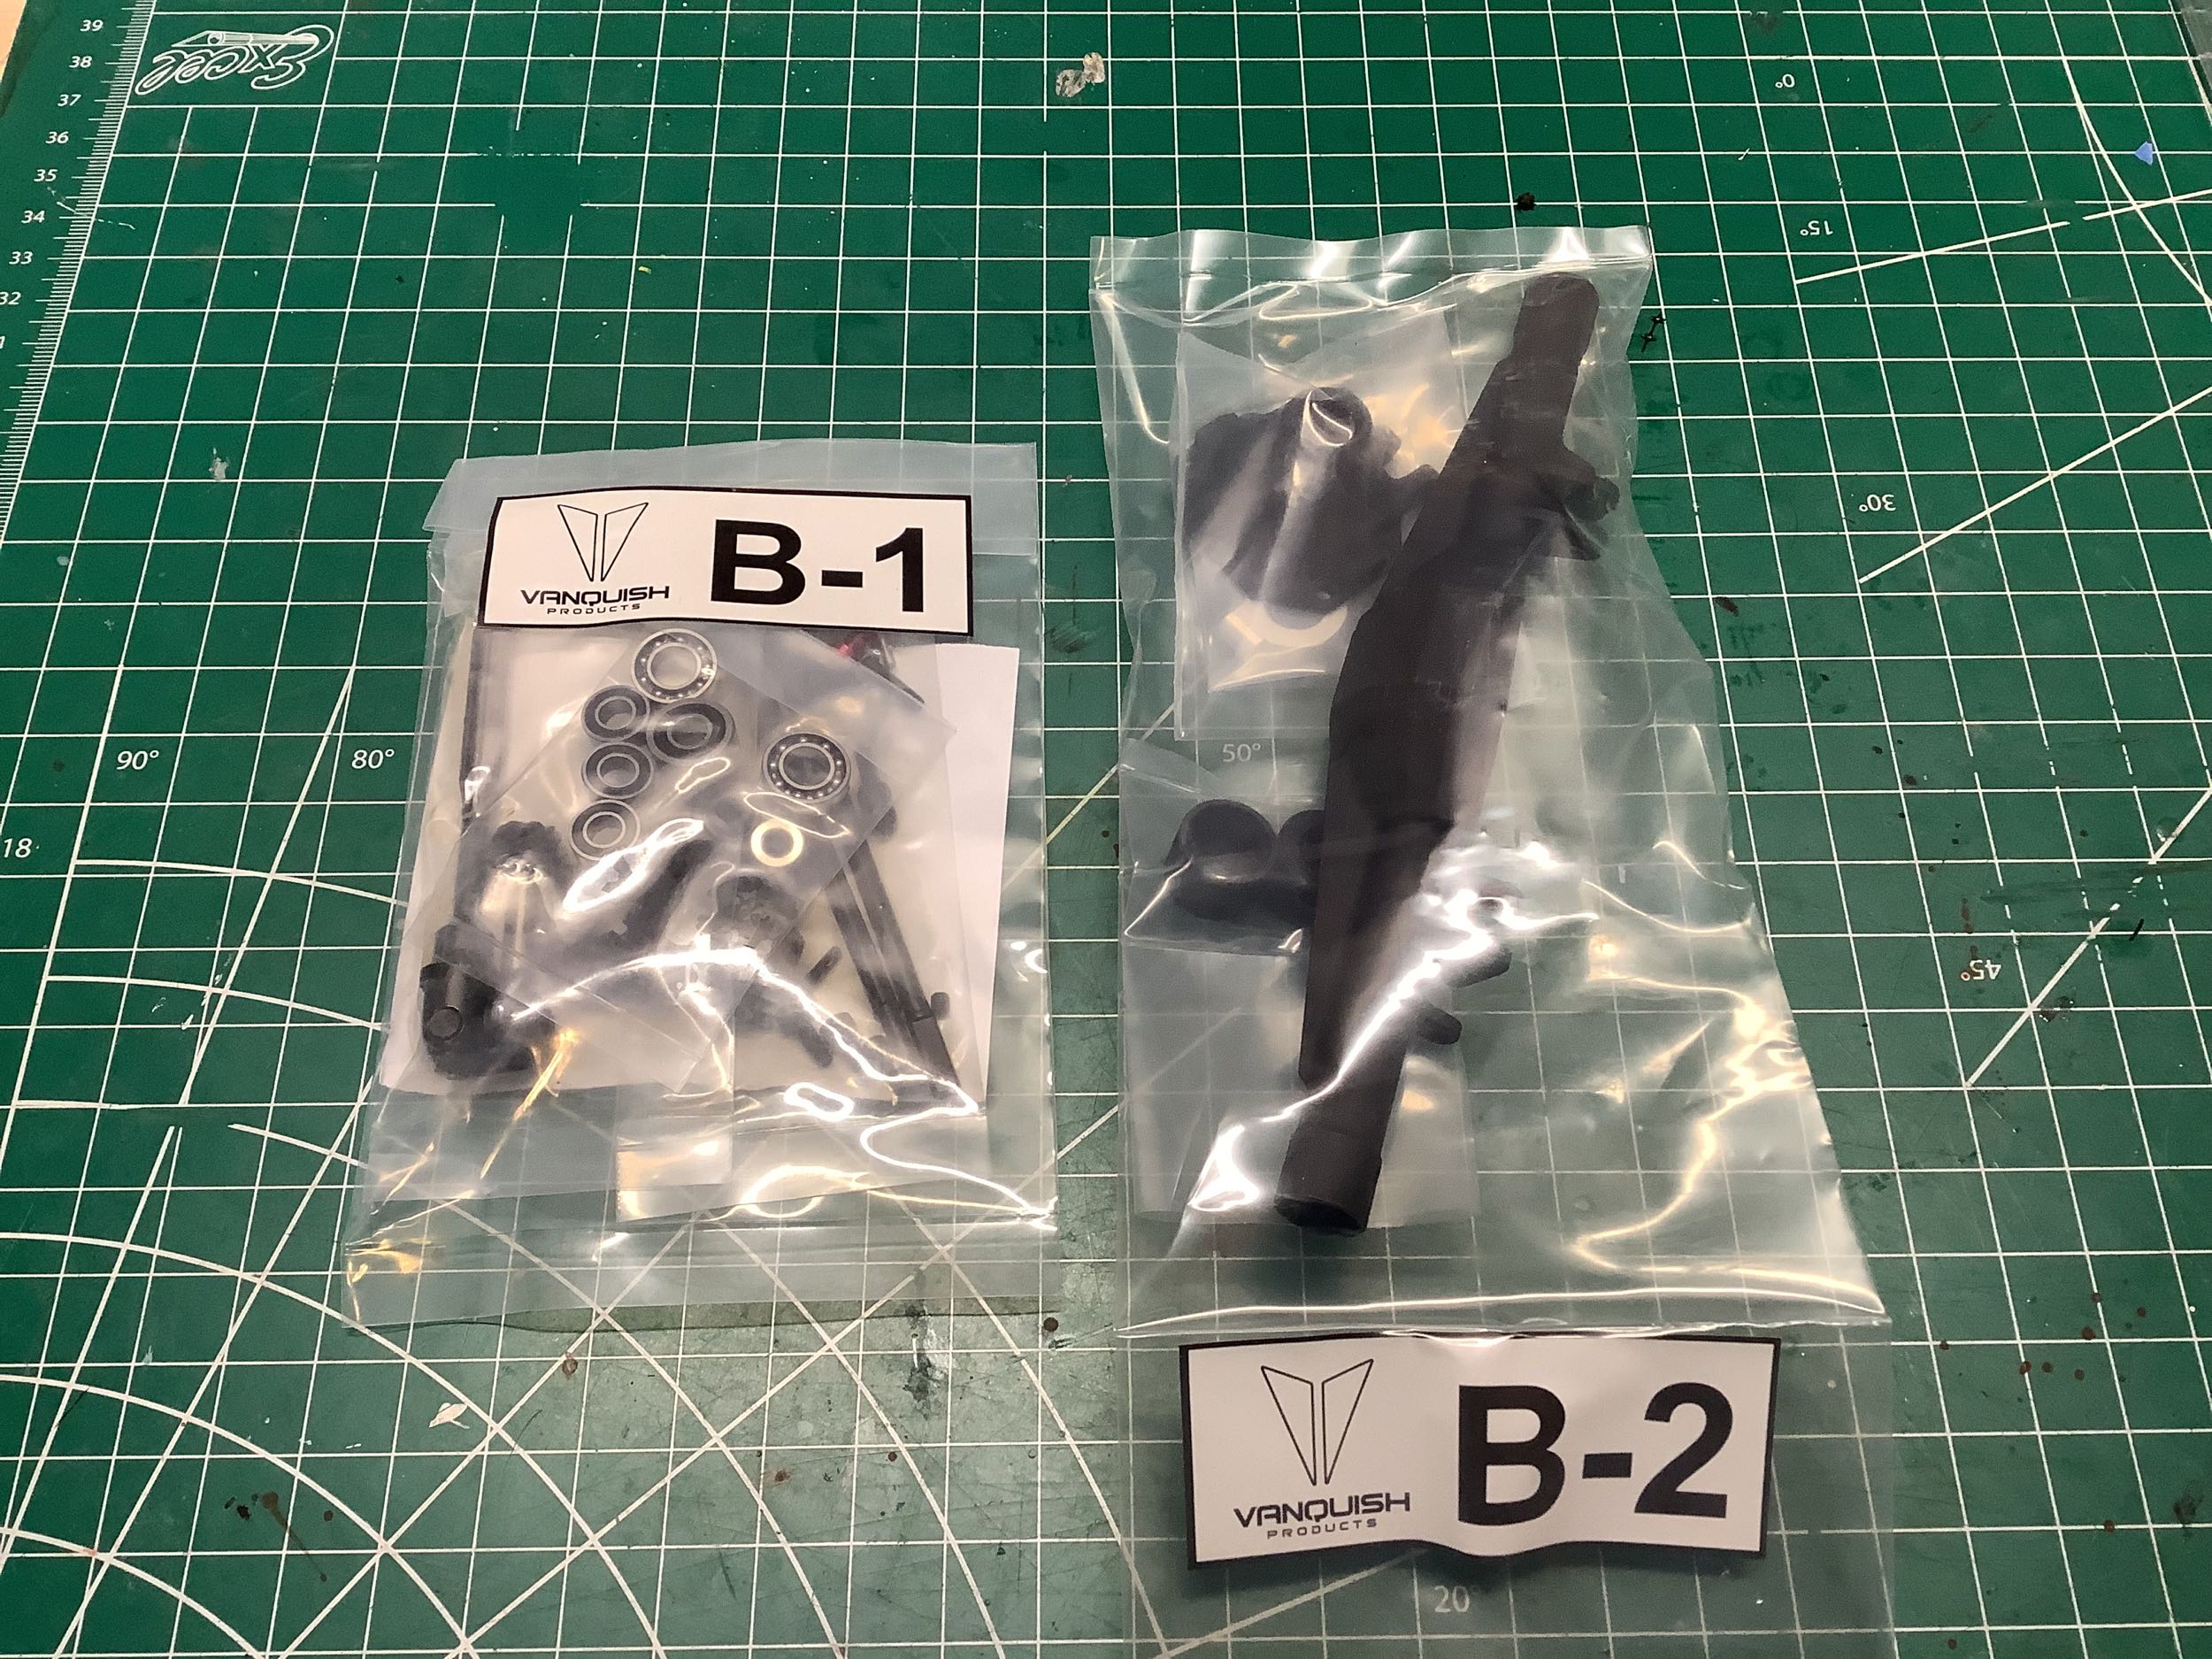
B-1 and B-2 are for the rear axle. Everything is pretty much the
same here apart from the lack of universals because the rear axle
doesn't steer. Note that the VS4-10 is available with portal
axles, but this model doesn't use them. Full ball bearings are
naturally included.
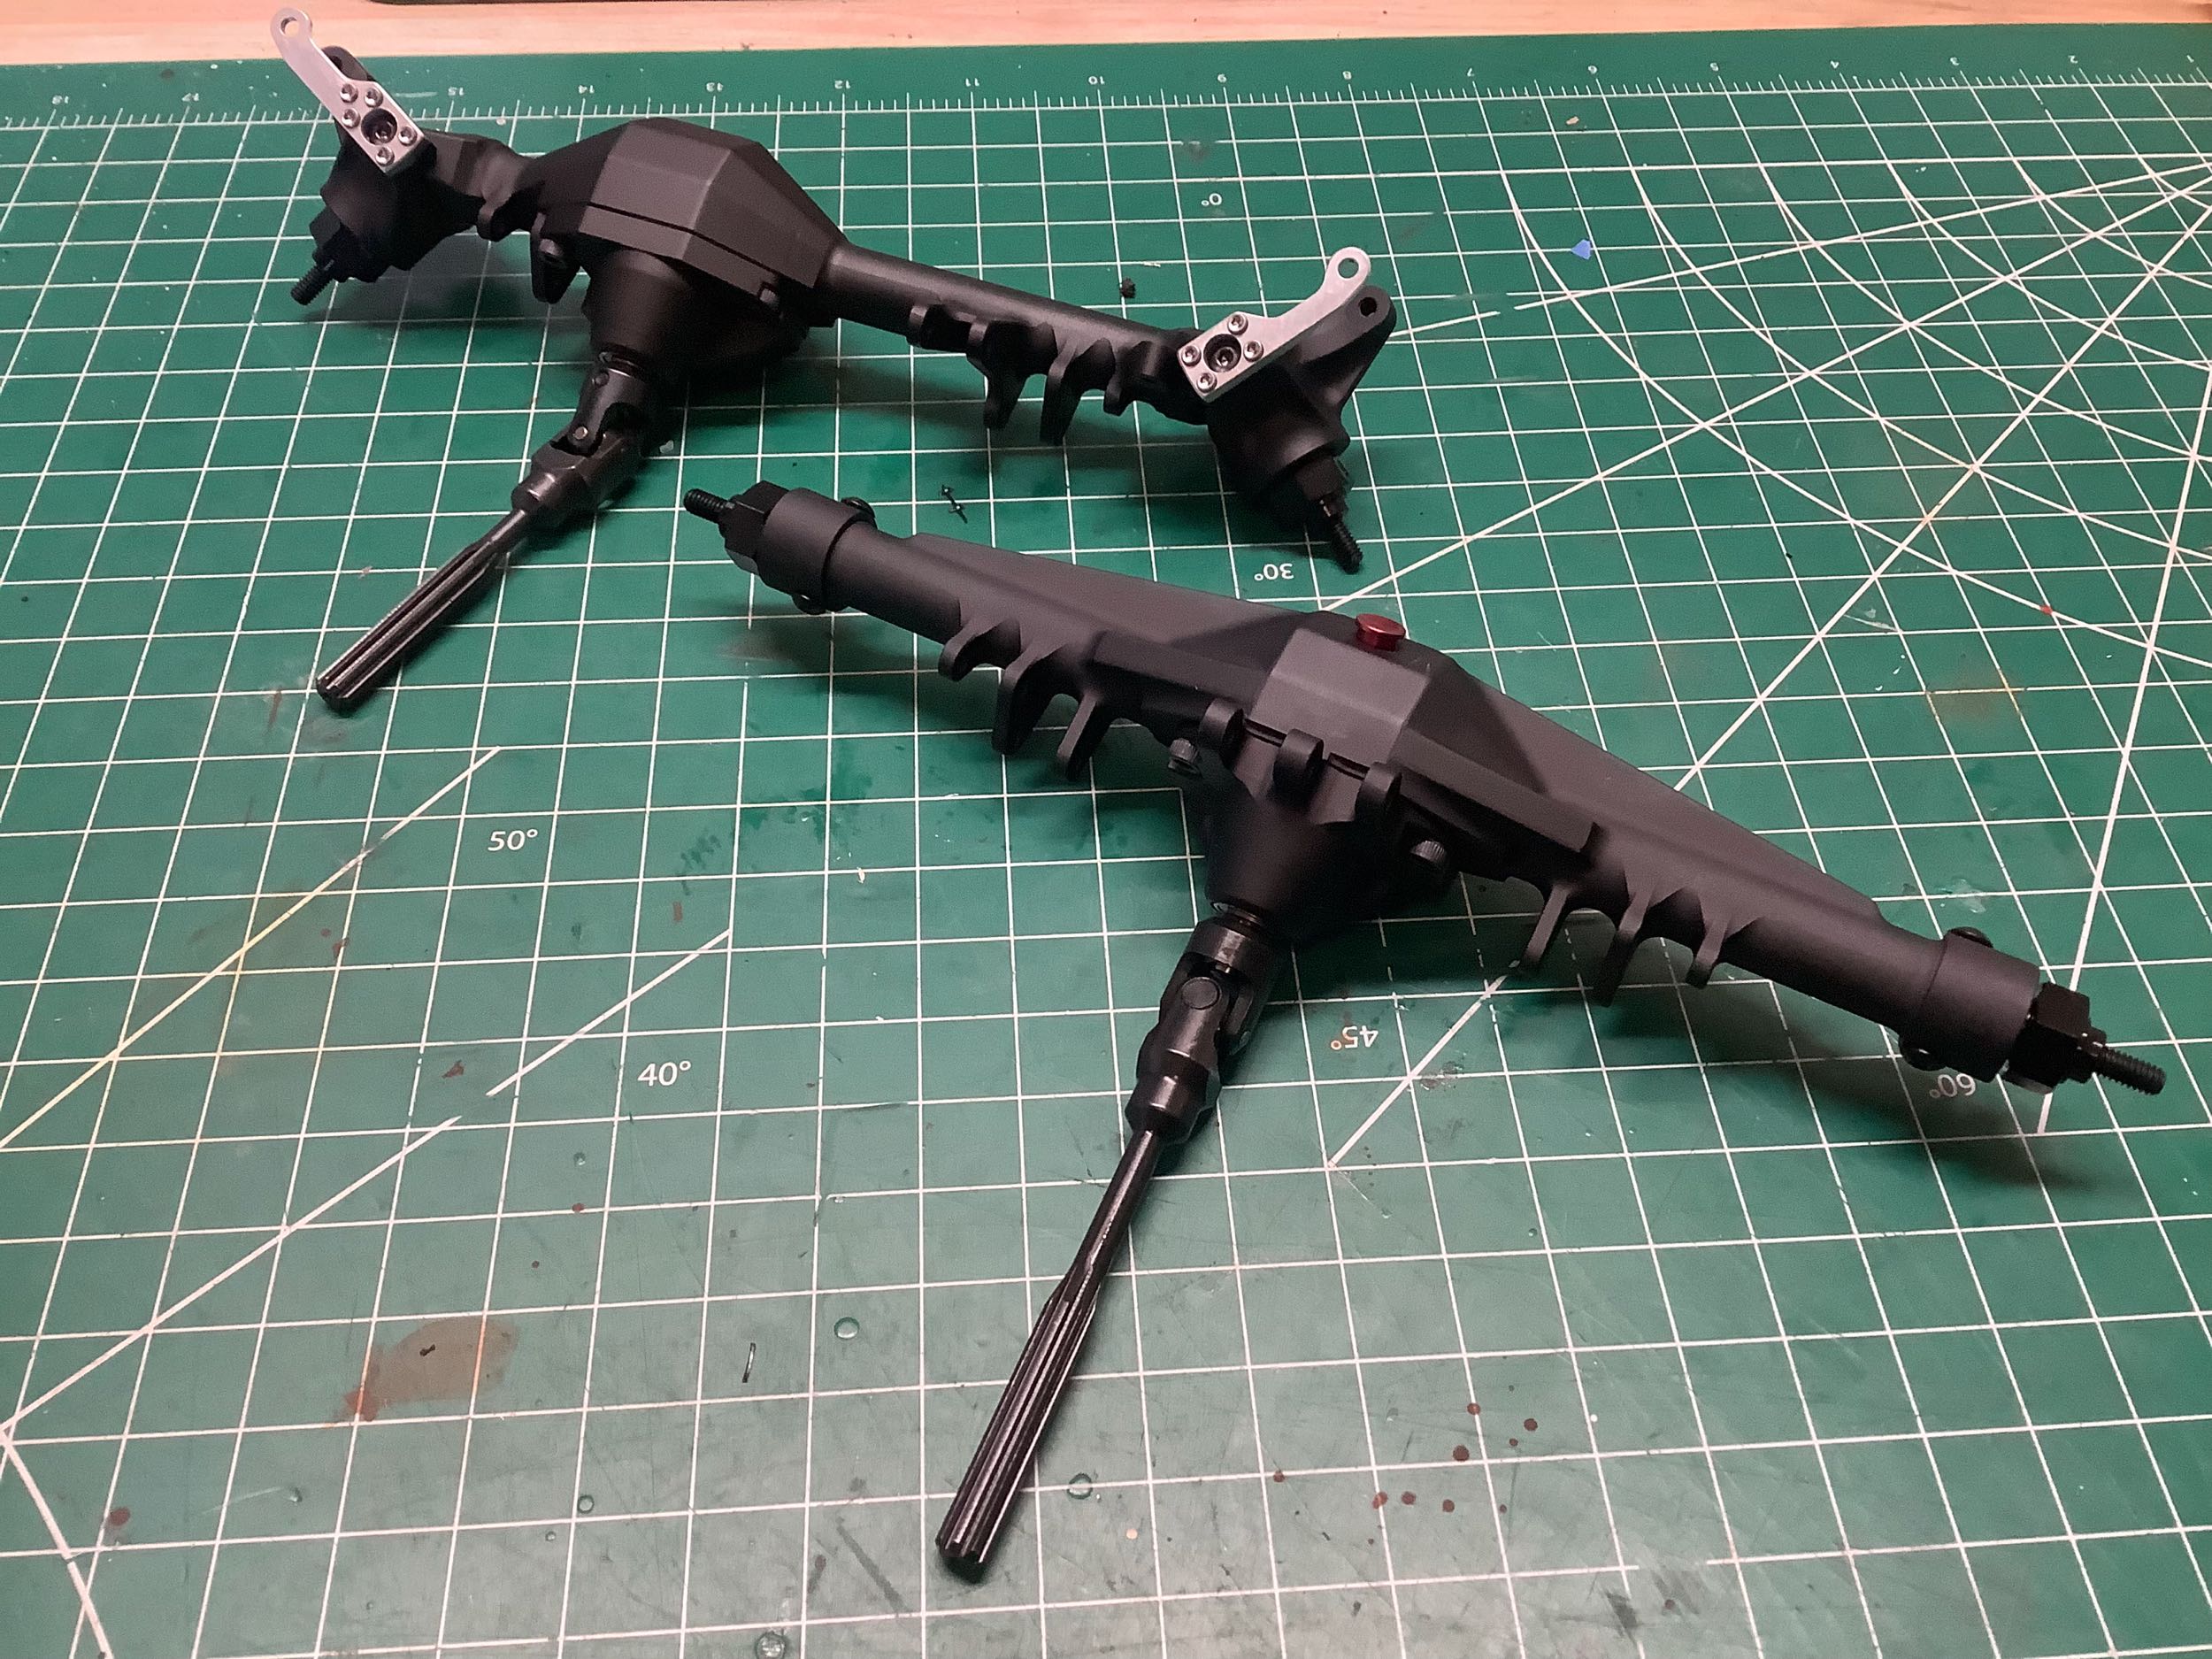
Here are the completed front and rear axles with part of the drive
shafts attached. The drive shafts use splined connections to slide
and adjust length with suspension articulation. There are even
little red scale drain plugs in the pumpkins, and the rear axle has an
integrated back brace. These are licensed, scale Currie axles with
the name embossed in the housings. The drive shafts are Incision
which is Vanquish's own house brand.
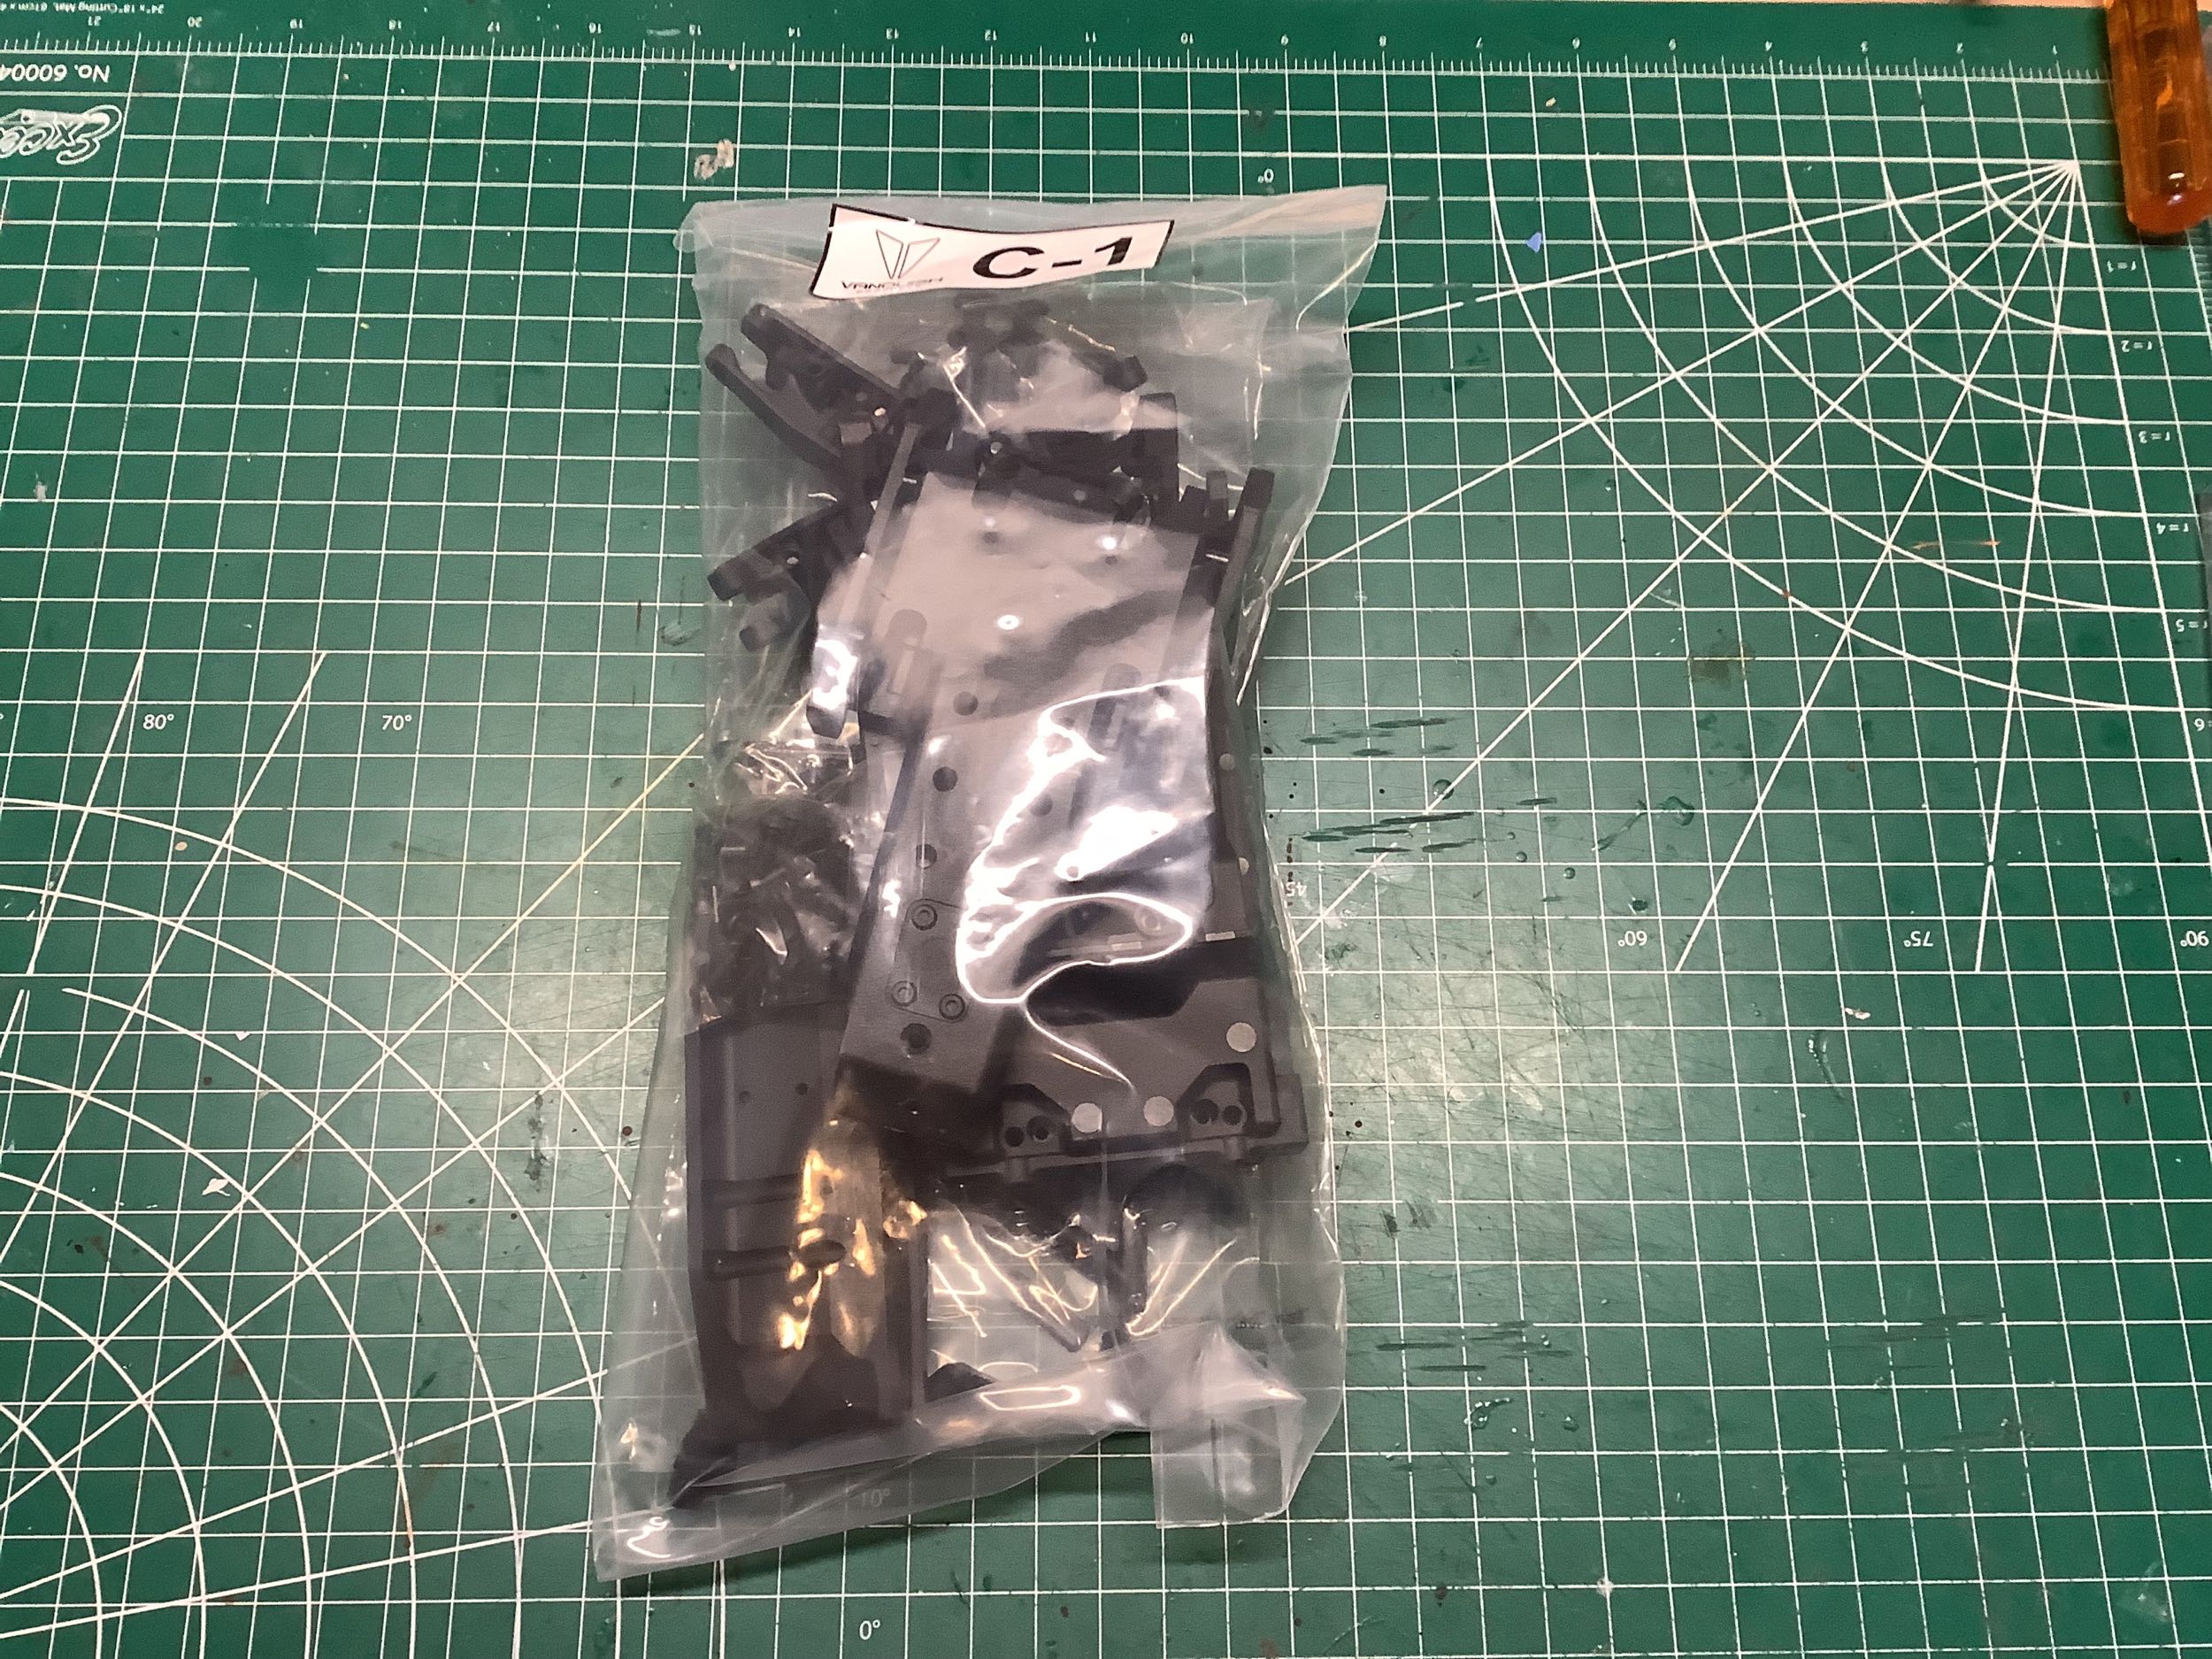
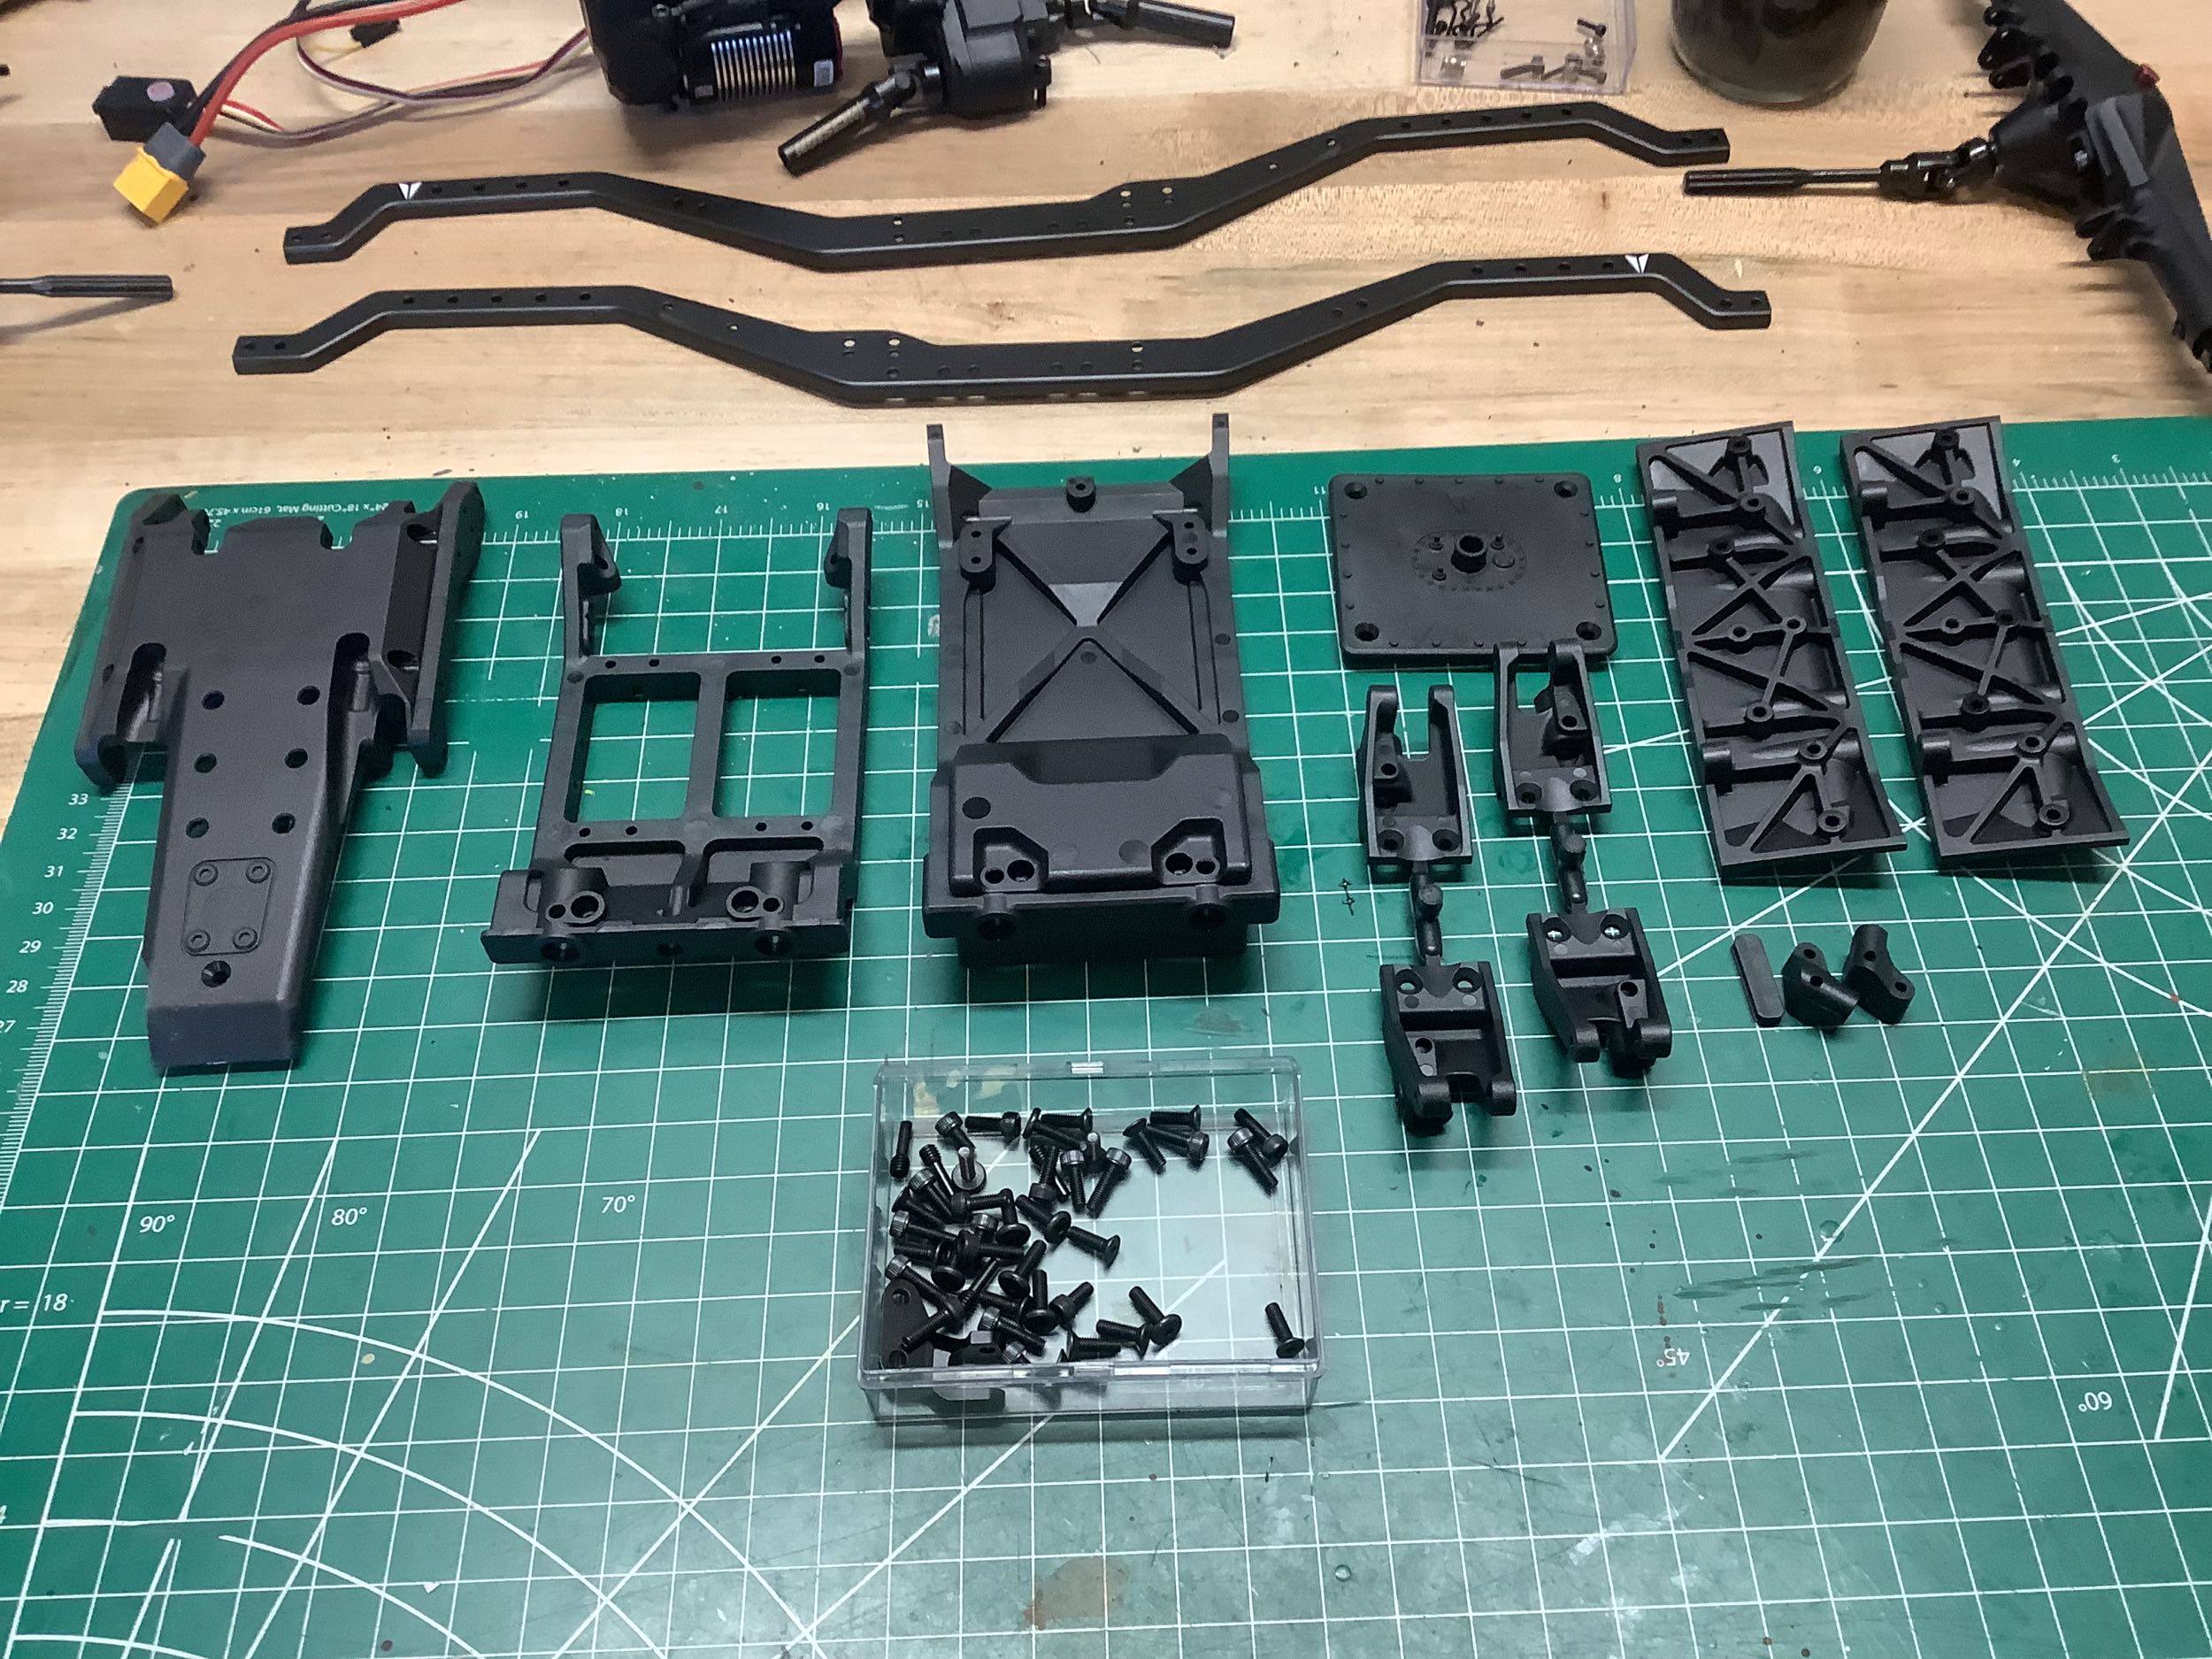
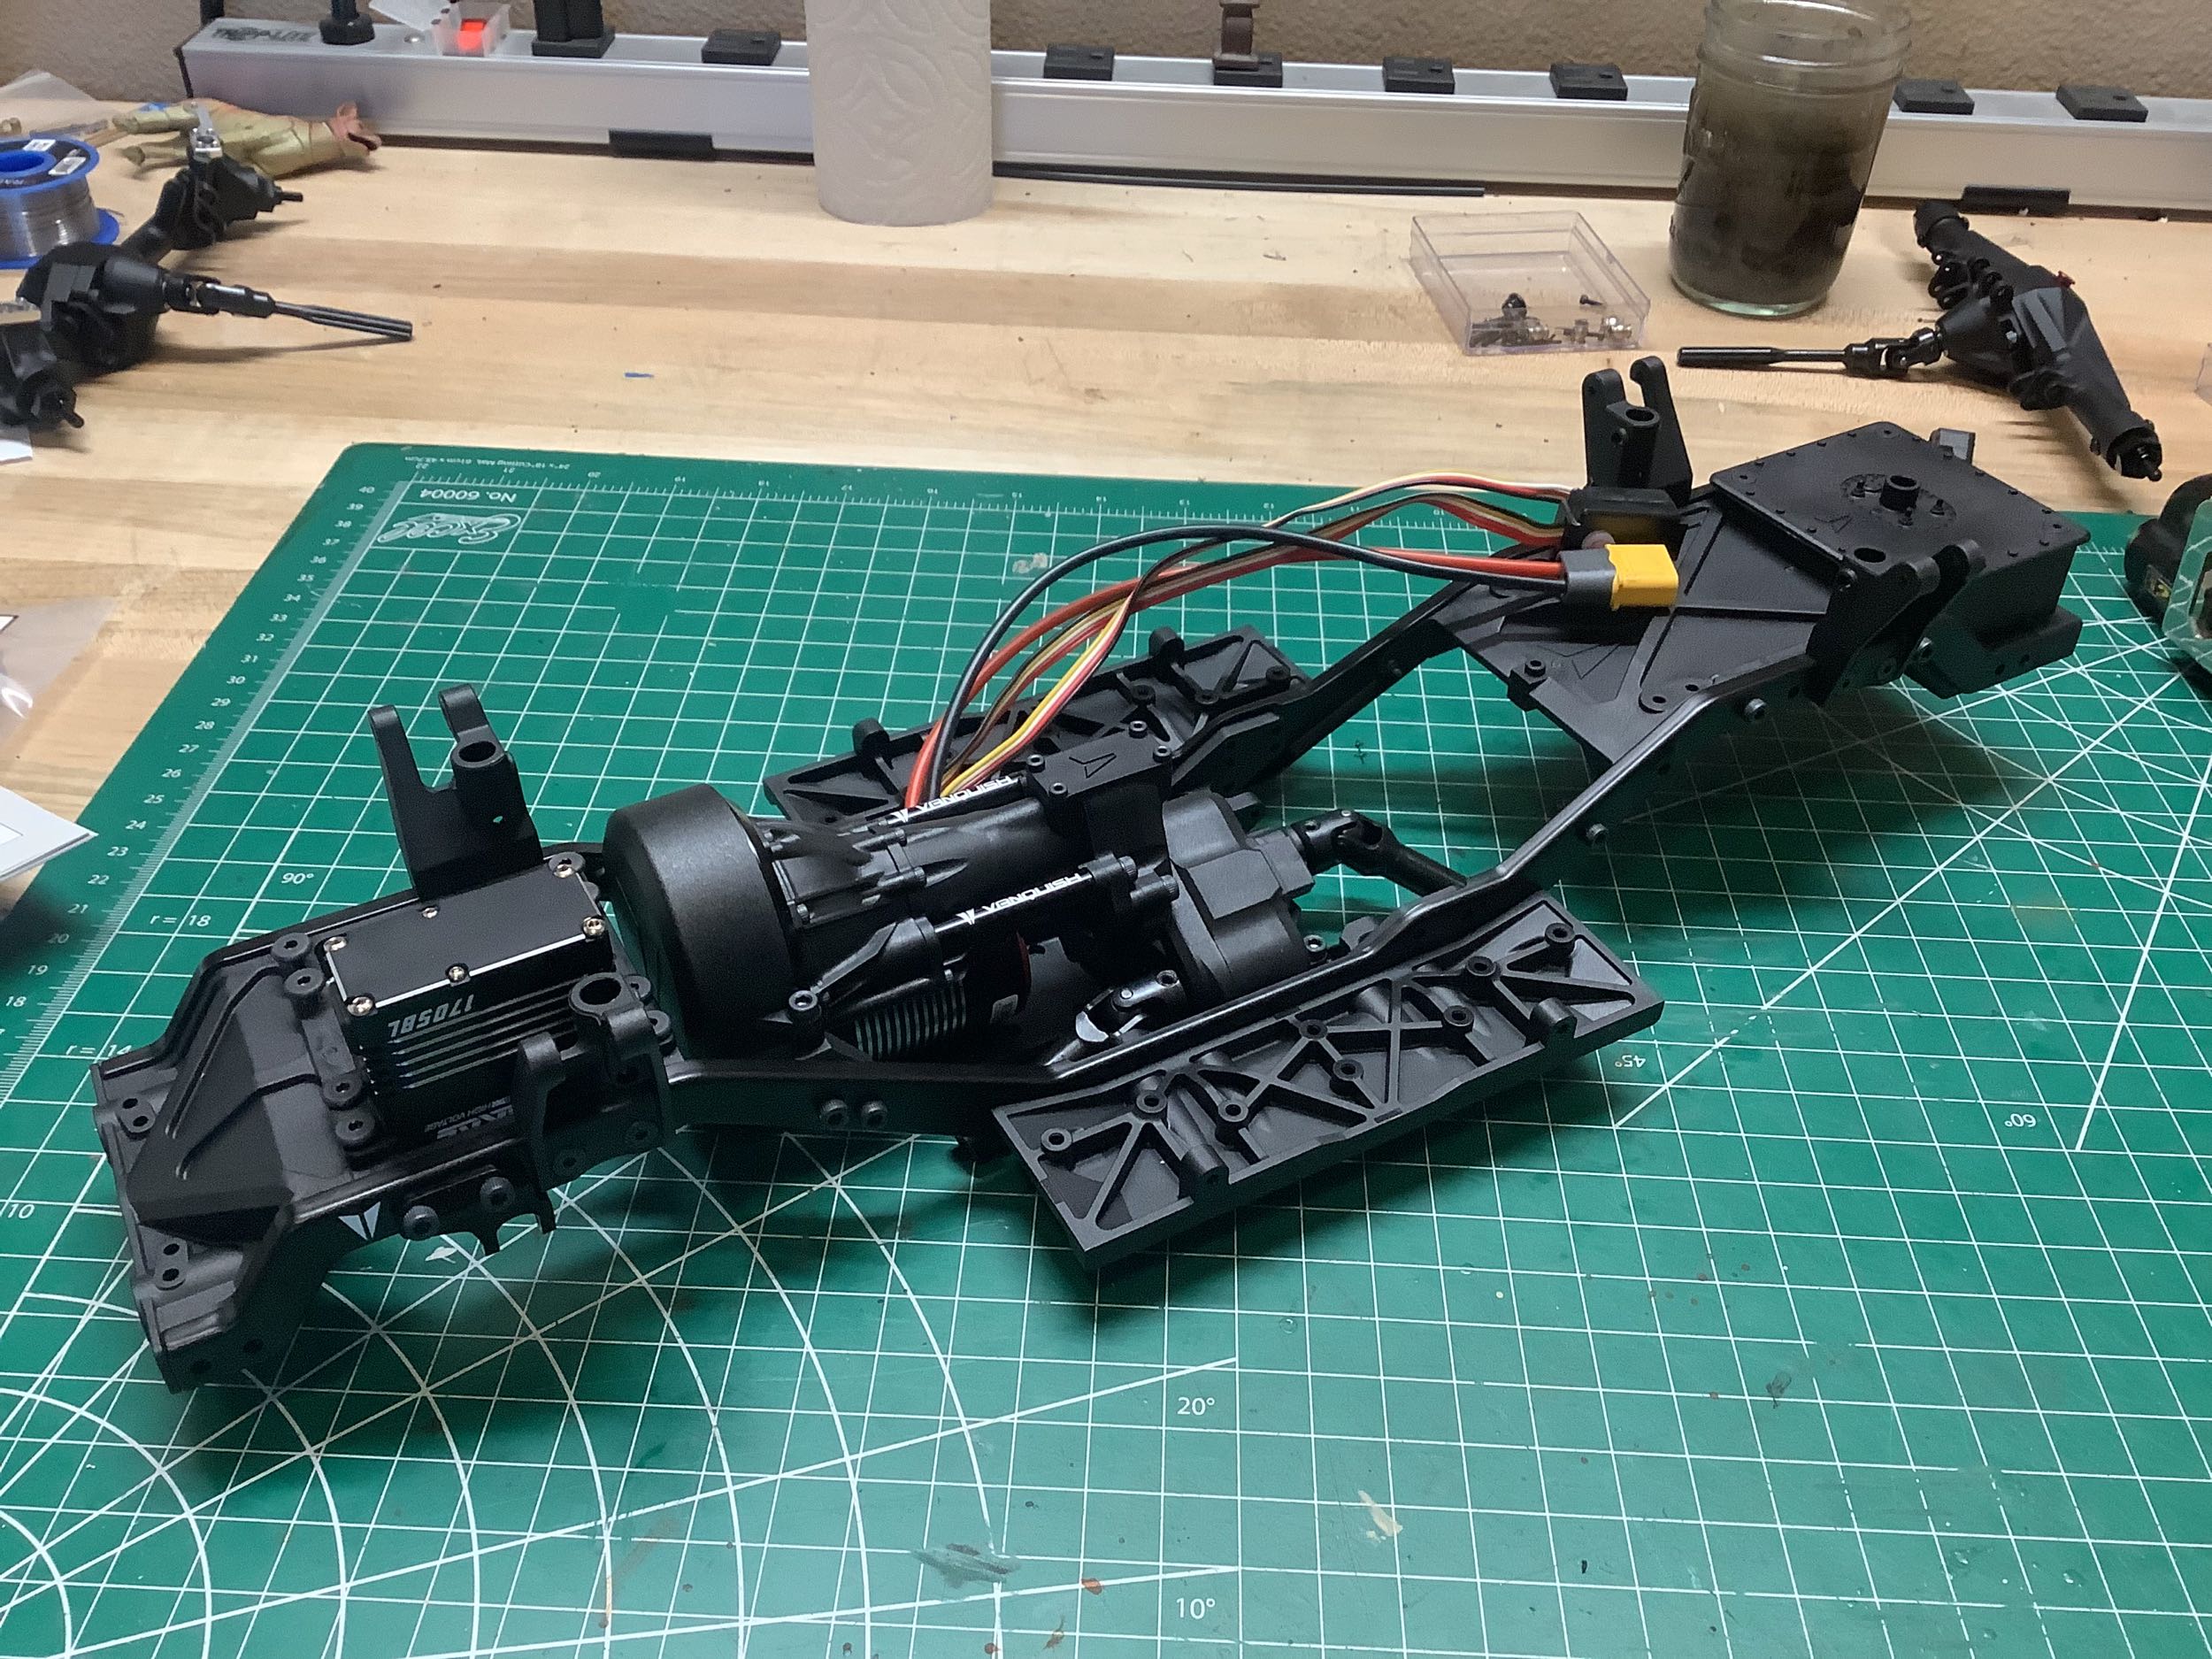
Bag C-1 is mostly plastic parts and contains all the cross members,
shock mounts, and rock sliders for the ladder frame. There are
plenty of screws for this step.
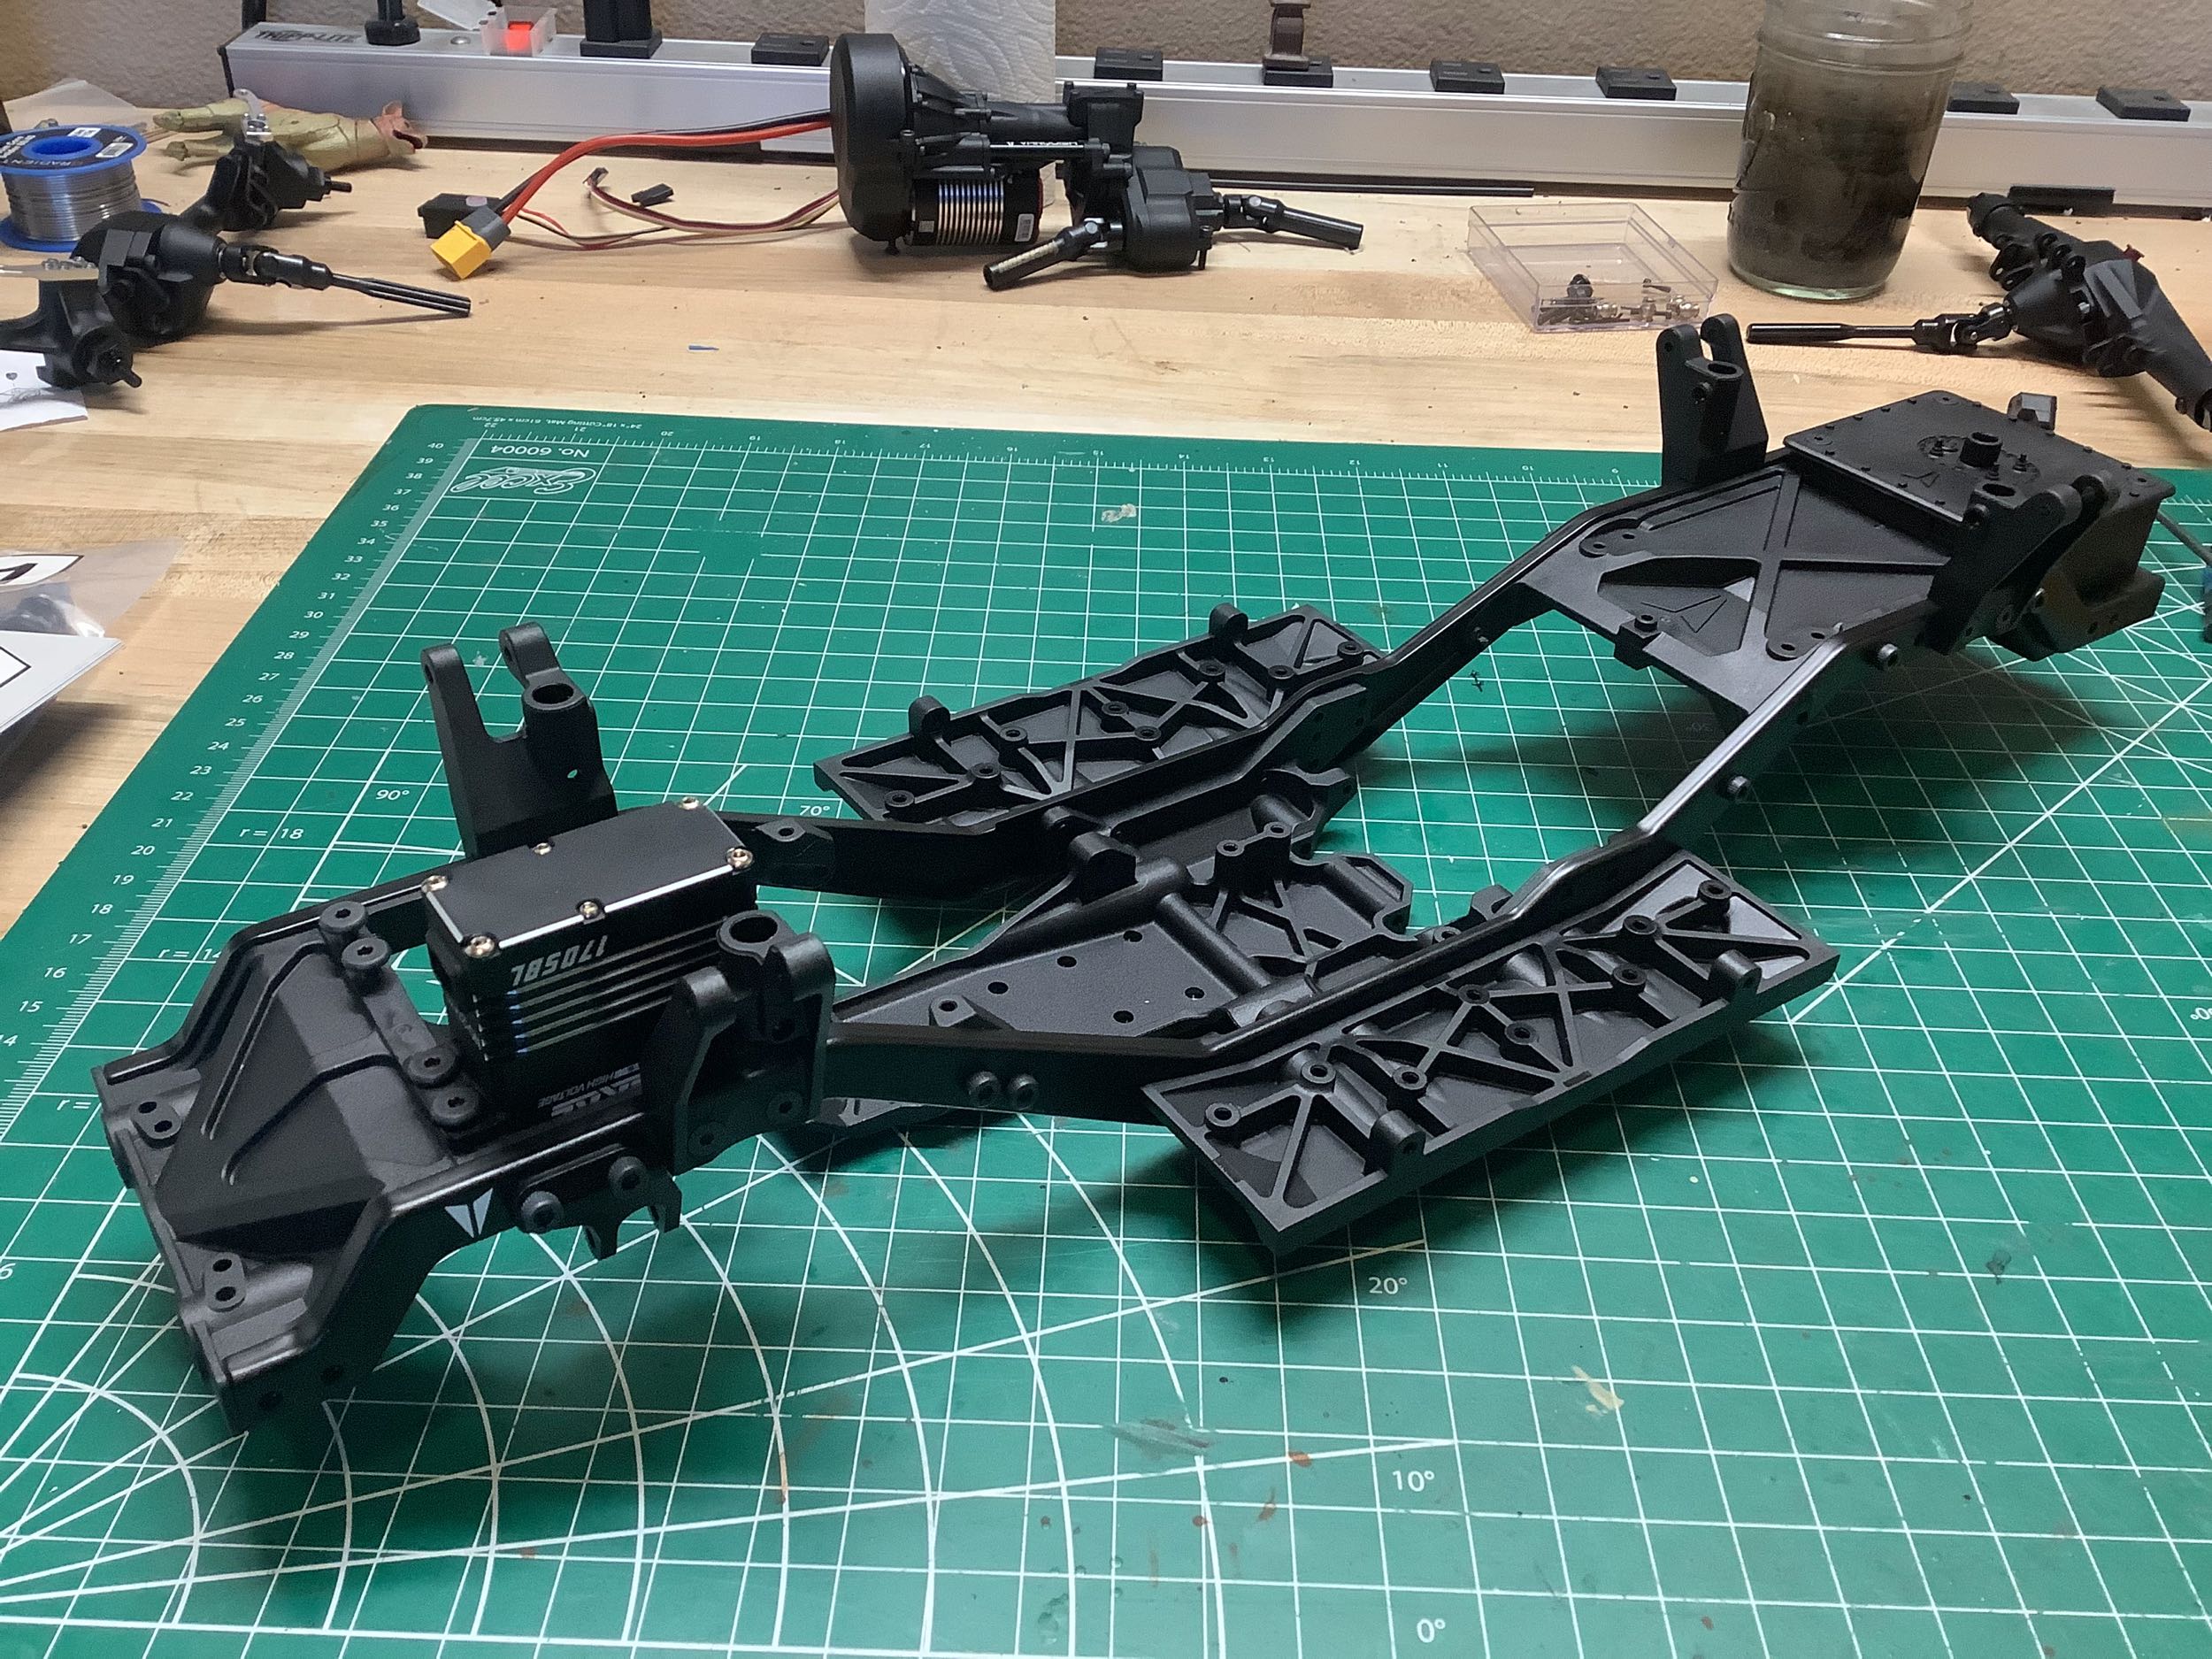
Here the ladder frame has been assembled. The frame rails appear
to be stamped steel and are plenty stiff. I've also installed an
impressive Protek Black Label steering servo up front (this model uses a
chassis mounted servo. In the back is a scale fuel cell.
You can put your radio gear in here if you want to run wires all the way
to the back. Which I don't. I'll just use waterproof
electronics.
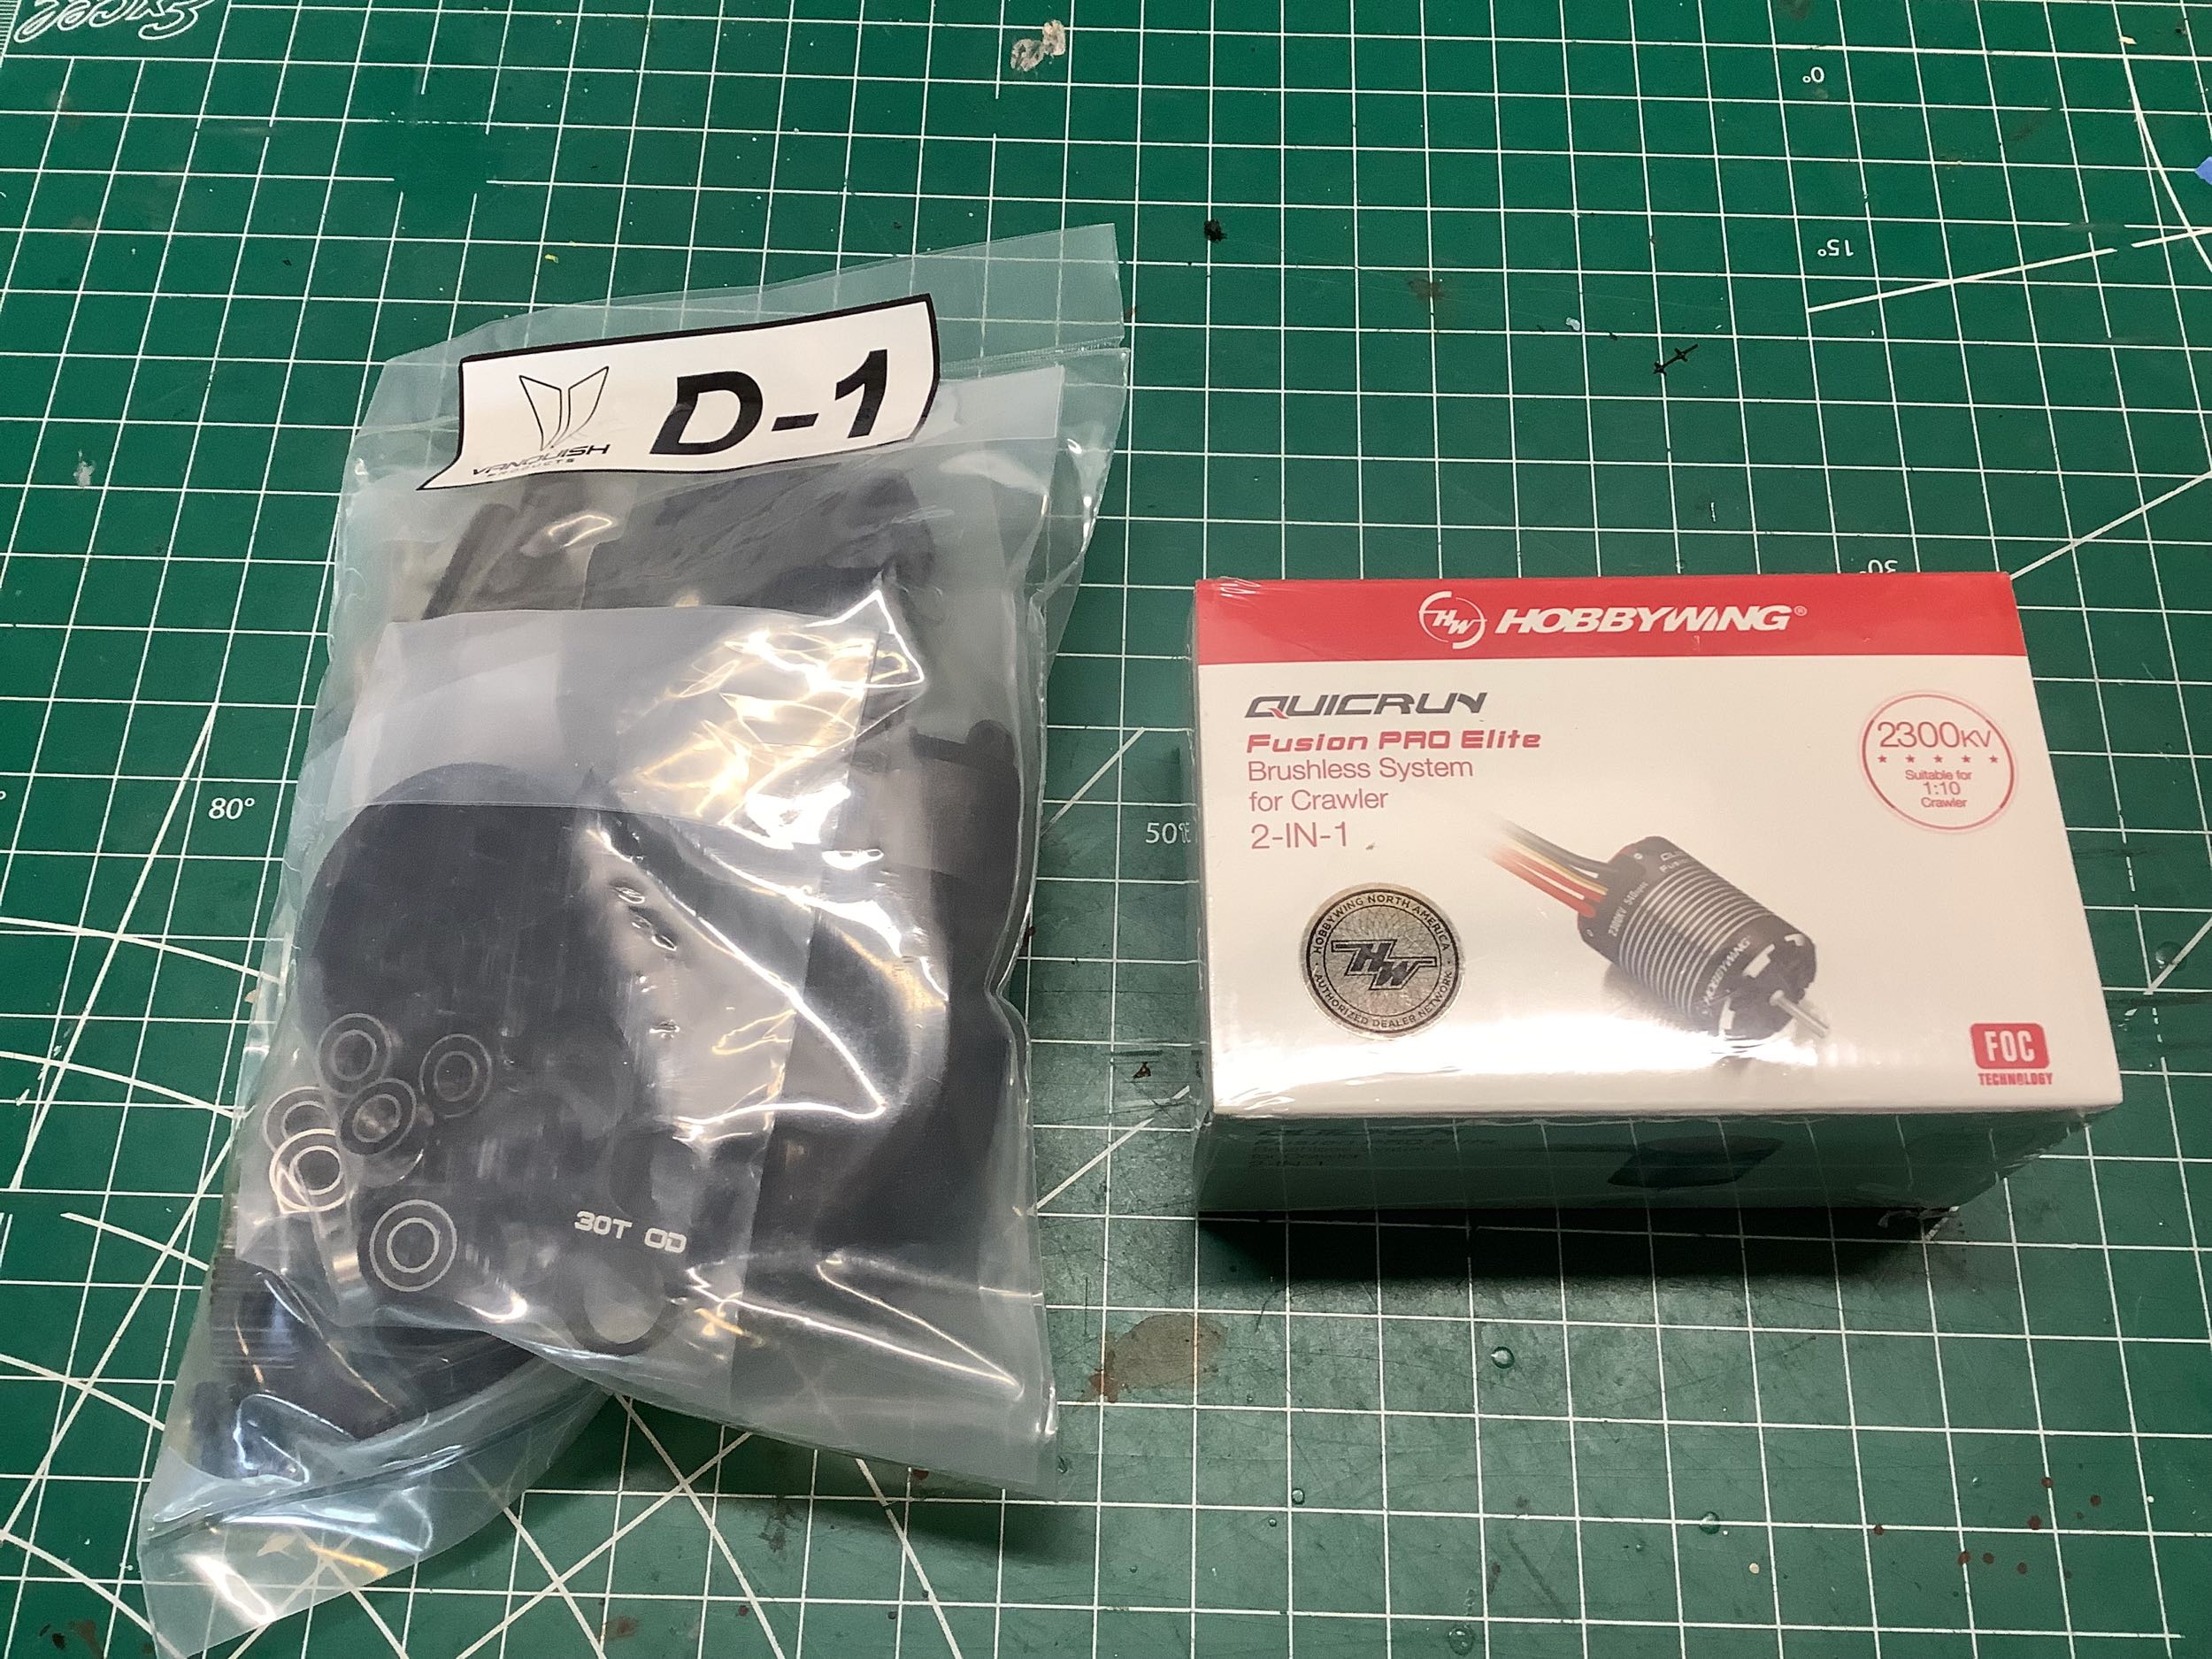
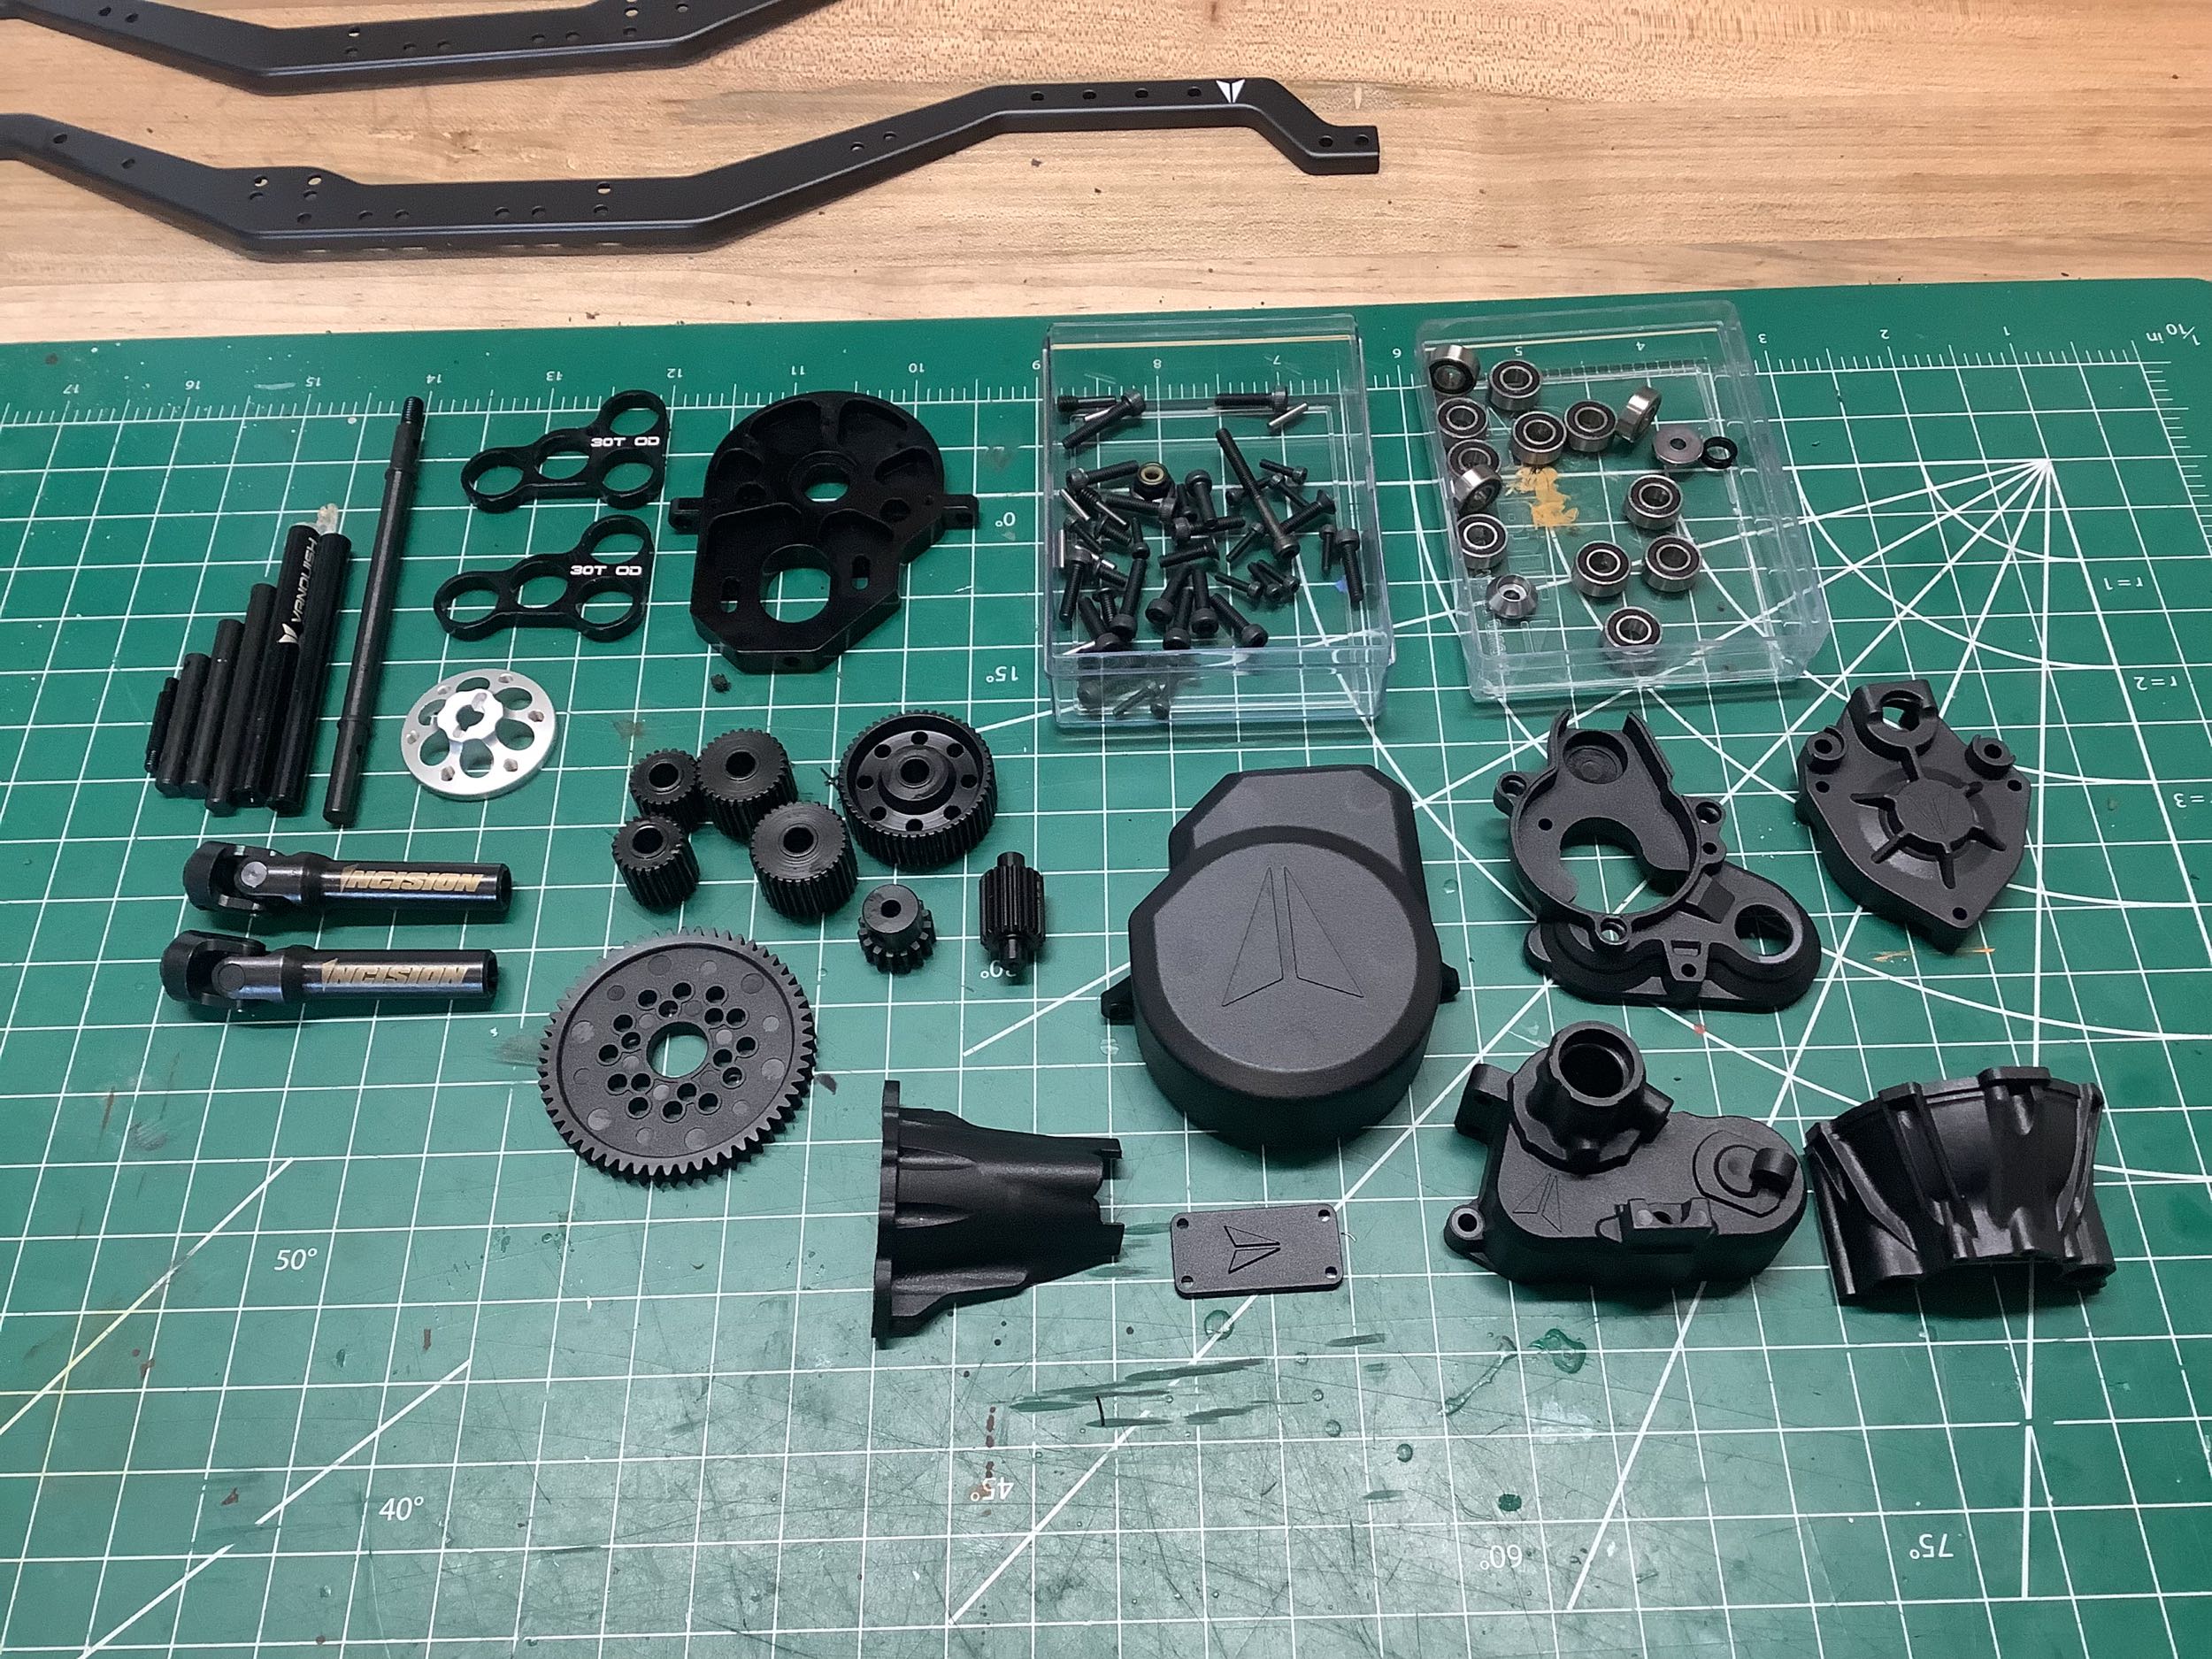
D-1 is the best bag because it builds the VFD transmission. The
housings here are aluminum like the axles, but pretty much all the
internal shafts and gears are steel. An optional dig unit is
available for this transmission, but is not included by default, so no
control servos are needed. The transfer case in integrated into
the gearbox housing and includes about 6% overdrive by default.
Higher overdrive ratios are possible with optional gears, but since I
hate overdrive I left it alone. Because of the way the gearbox is
configured, there is limited length available for the motor. I
wanted to use a Hobbywing Fusion FOC (Field Oriented Control) motor with
an integrated ESC, but those are usually a bit longer than
average. The new Fusion Pro Elite, on the other hand, is just
right.
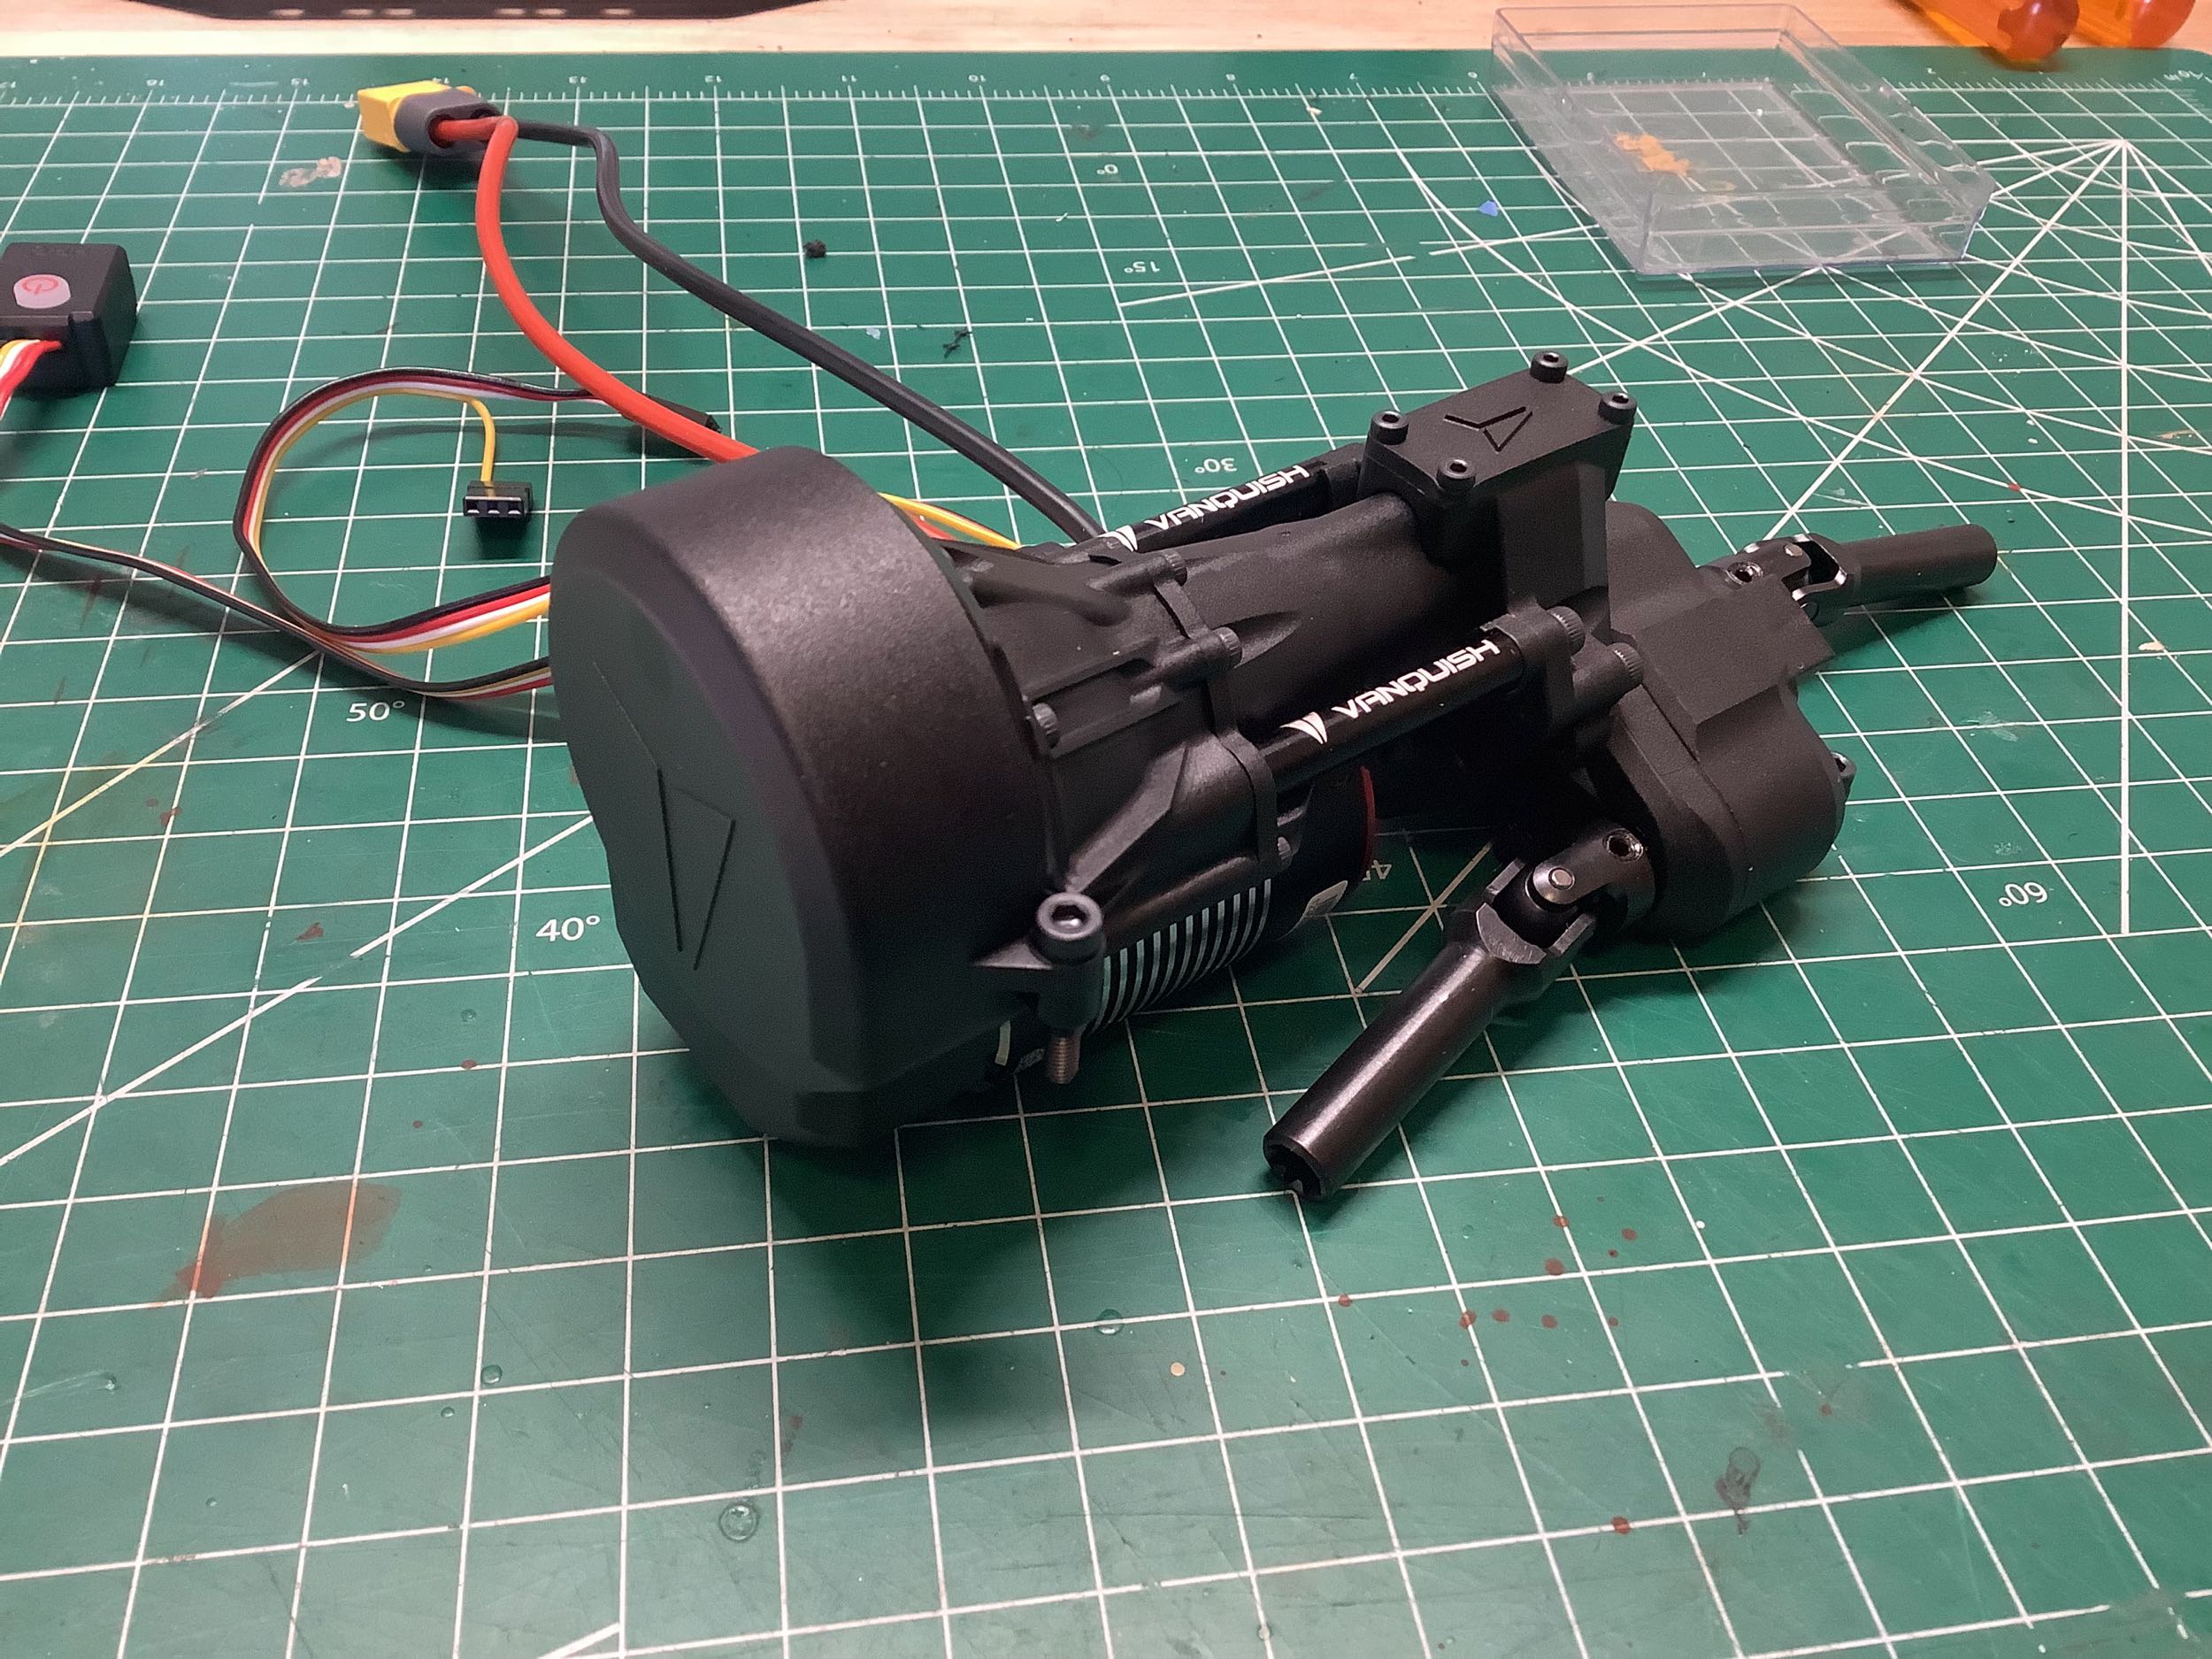
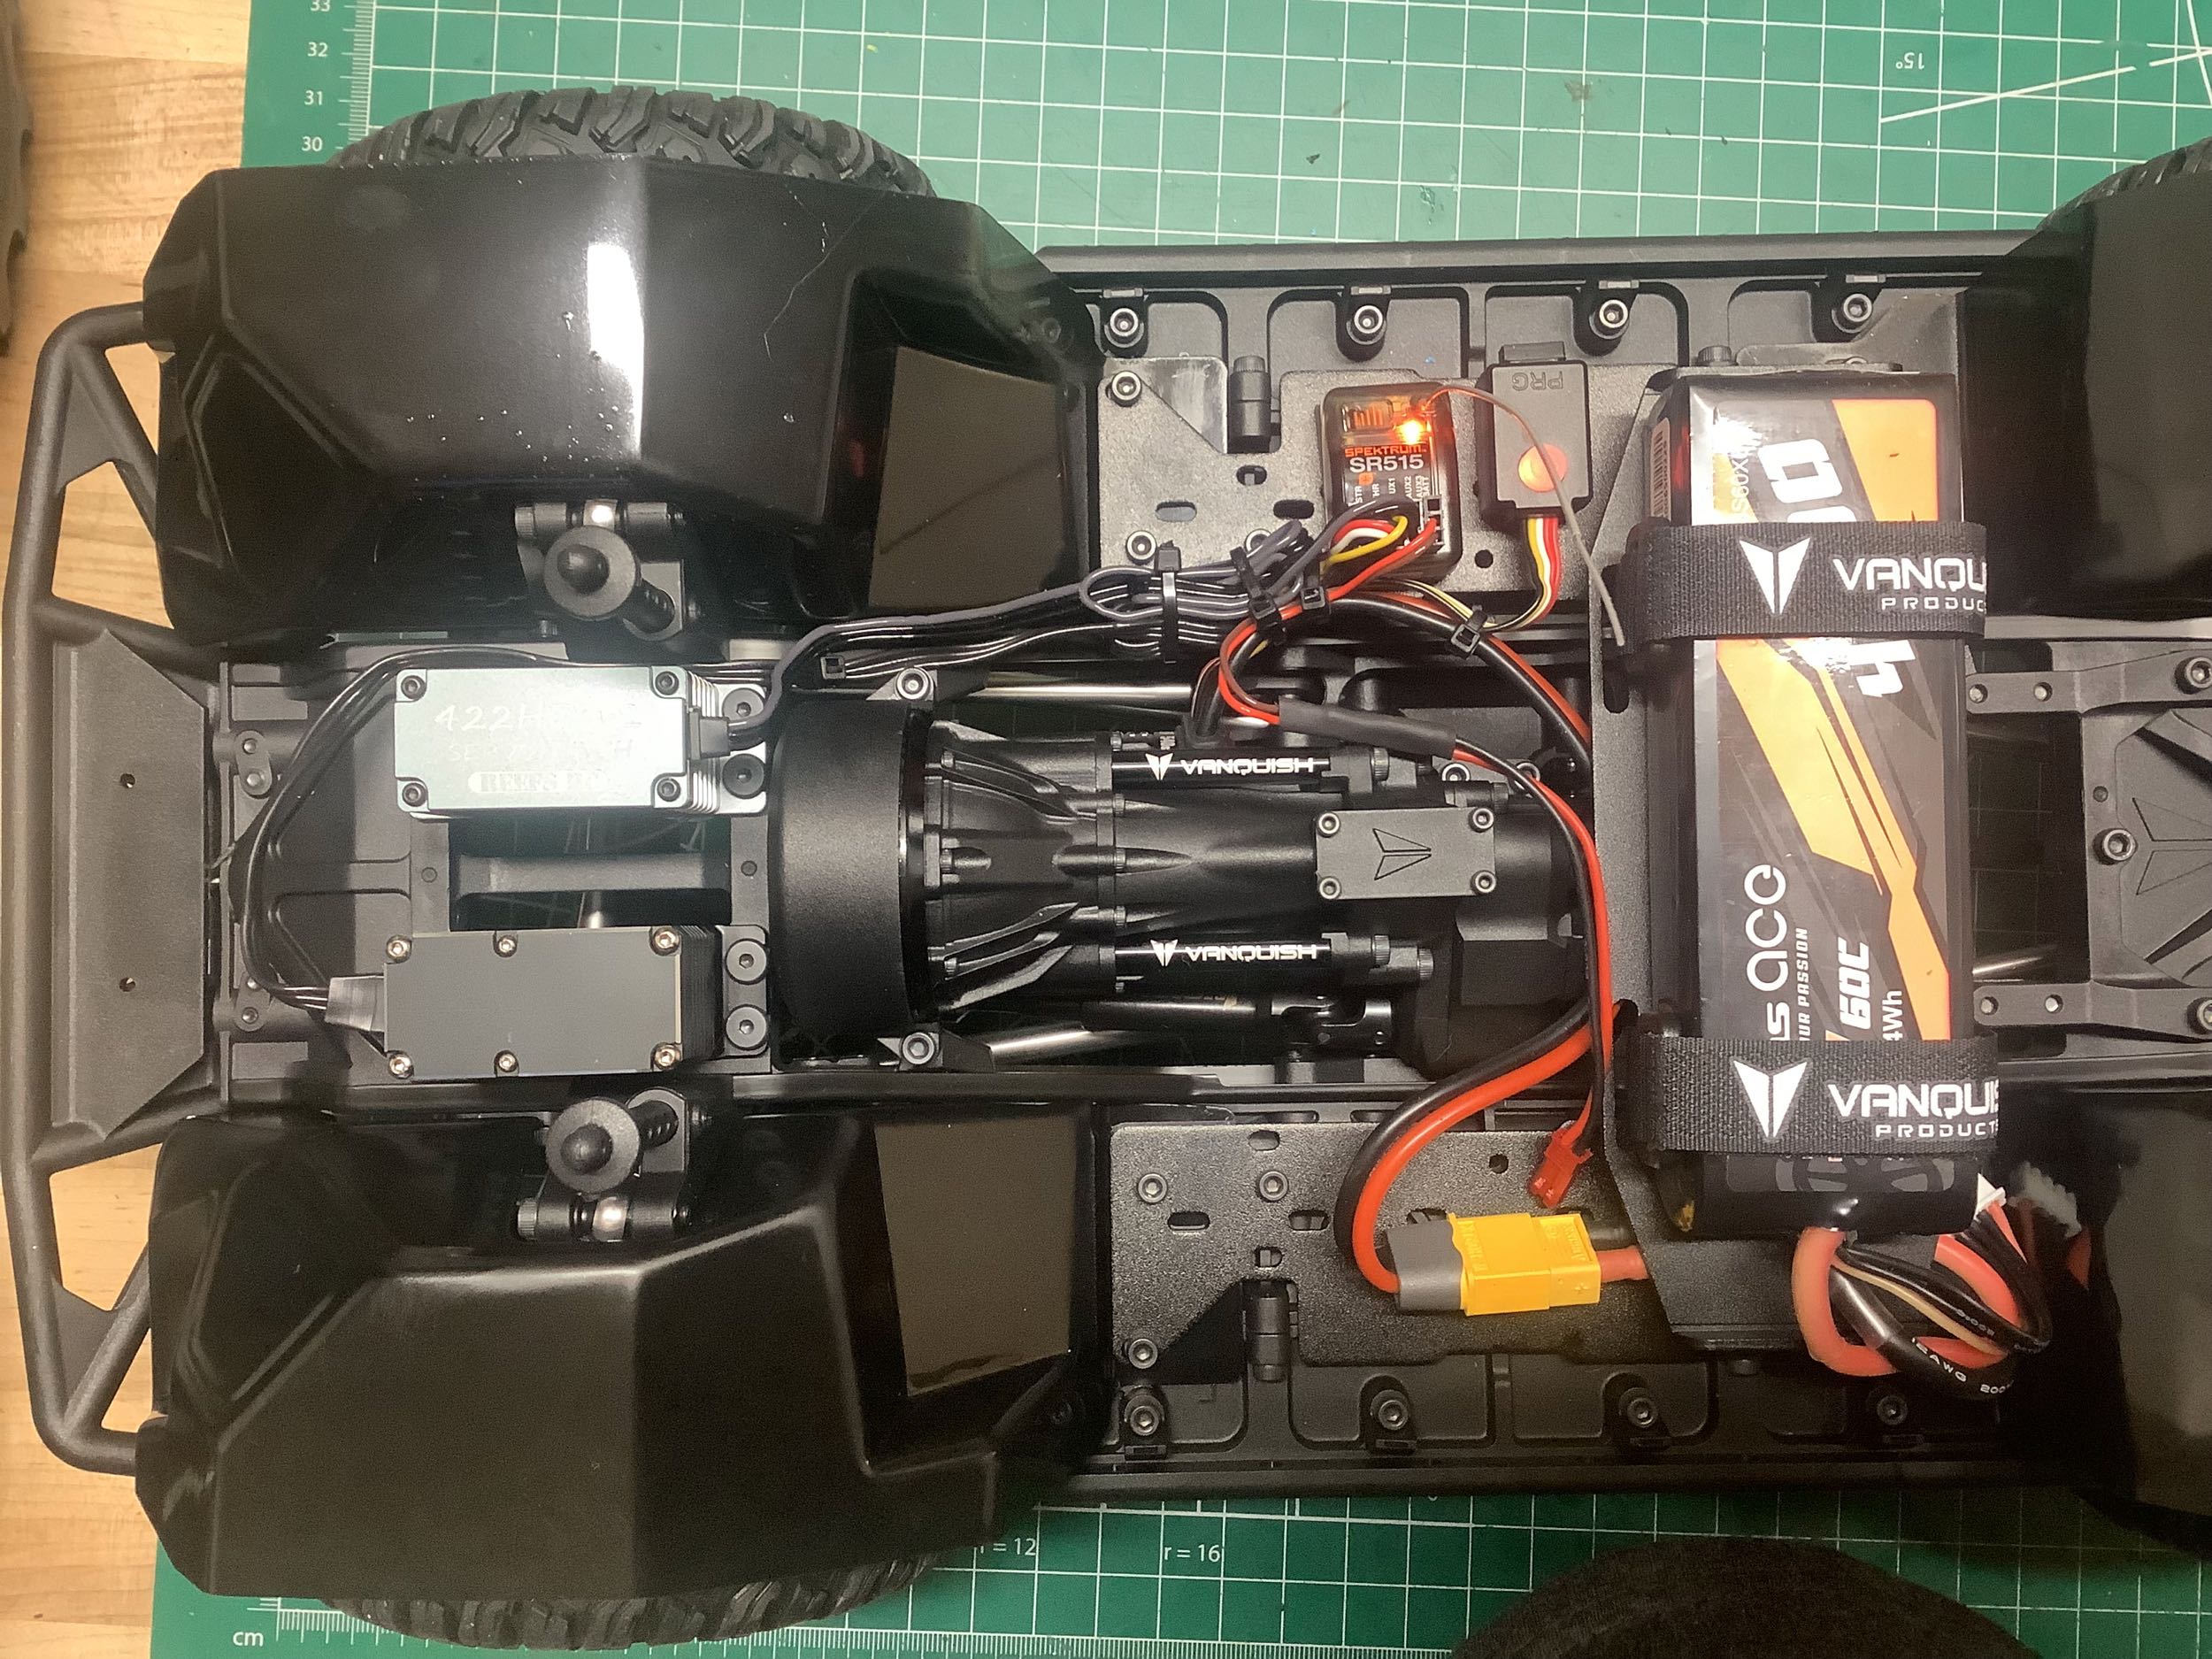
VFD stands for "Vanquish Forward Design", and this completed photo helps
explain what this means. A normal RC transmission has the motor
in front of and above the gearbox where the engine would be on a rear
wheel drive car. This is realistic but results in a high center of
gravity and a lot more weight over the front wheels. The VFD
transmission puts the motor below the gearbox. This makes the CG
very low and the truck very stable. It does mean there is a higher
chance of getting mud and gunk in your motor though. On the right
you can see the transmission installed and how low the motor is.
It is actually partially below the center frame rails.
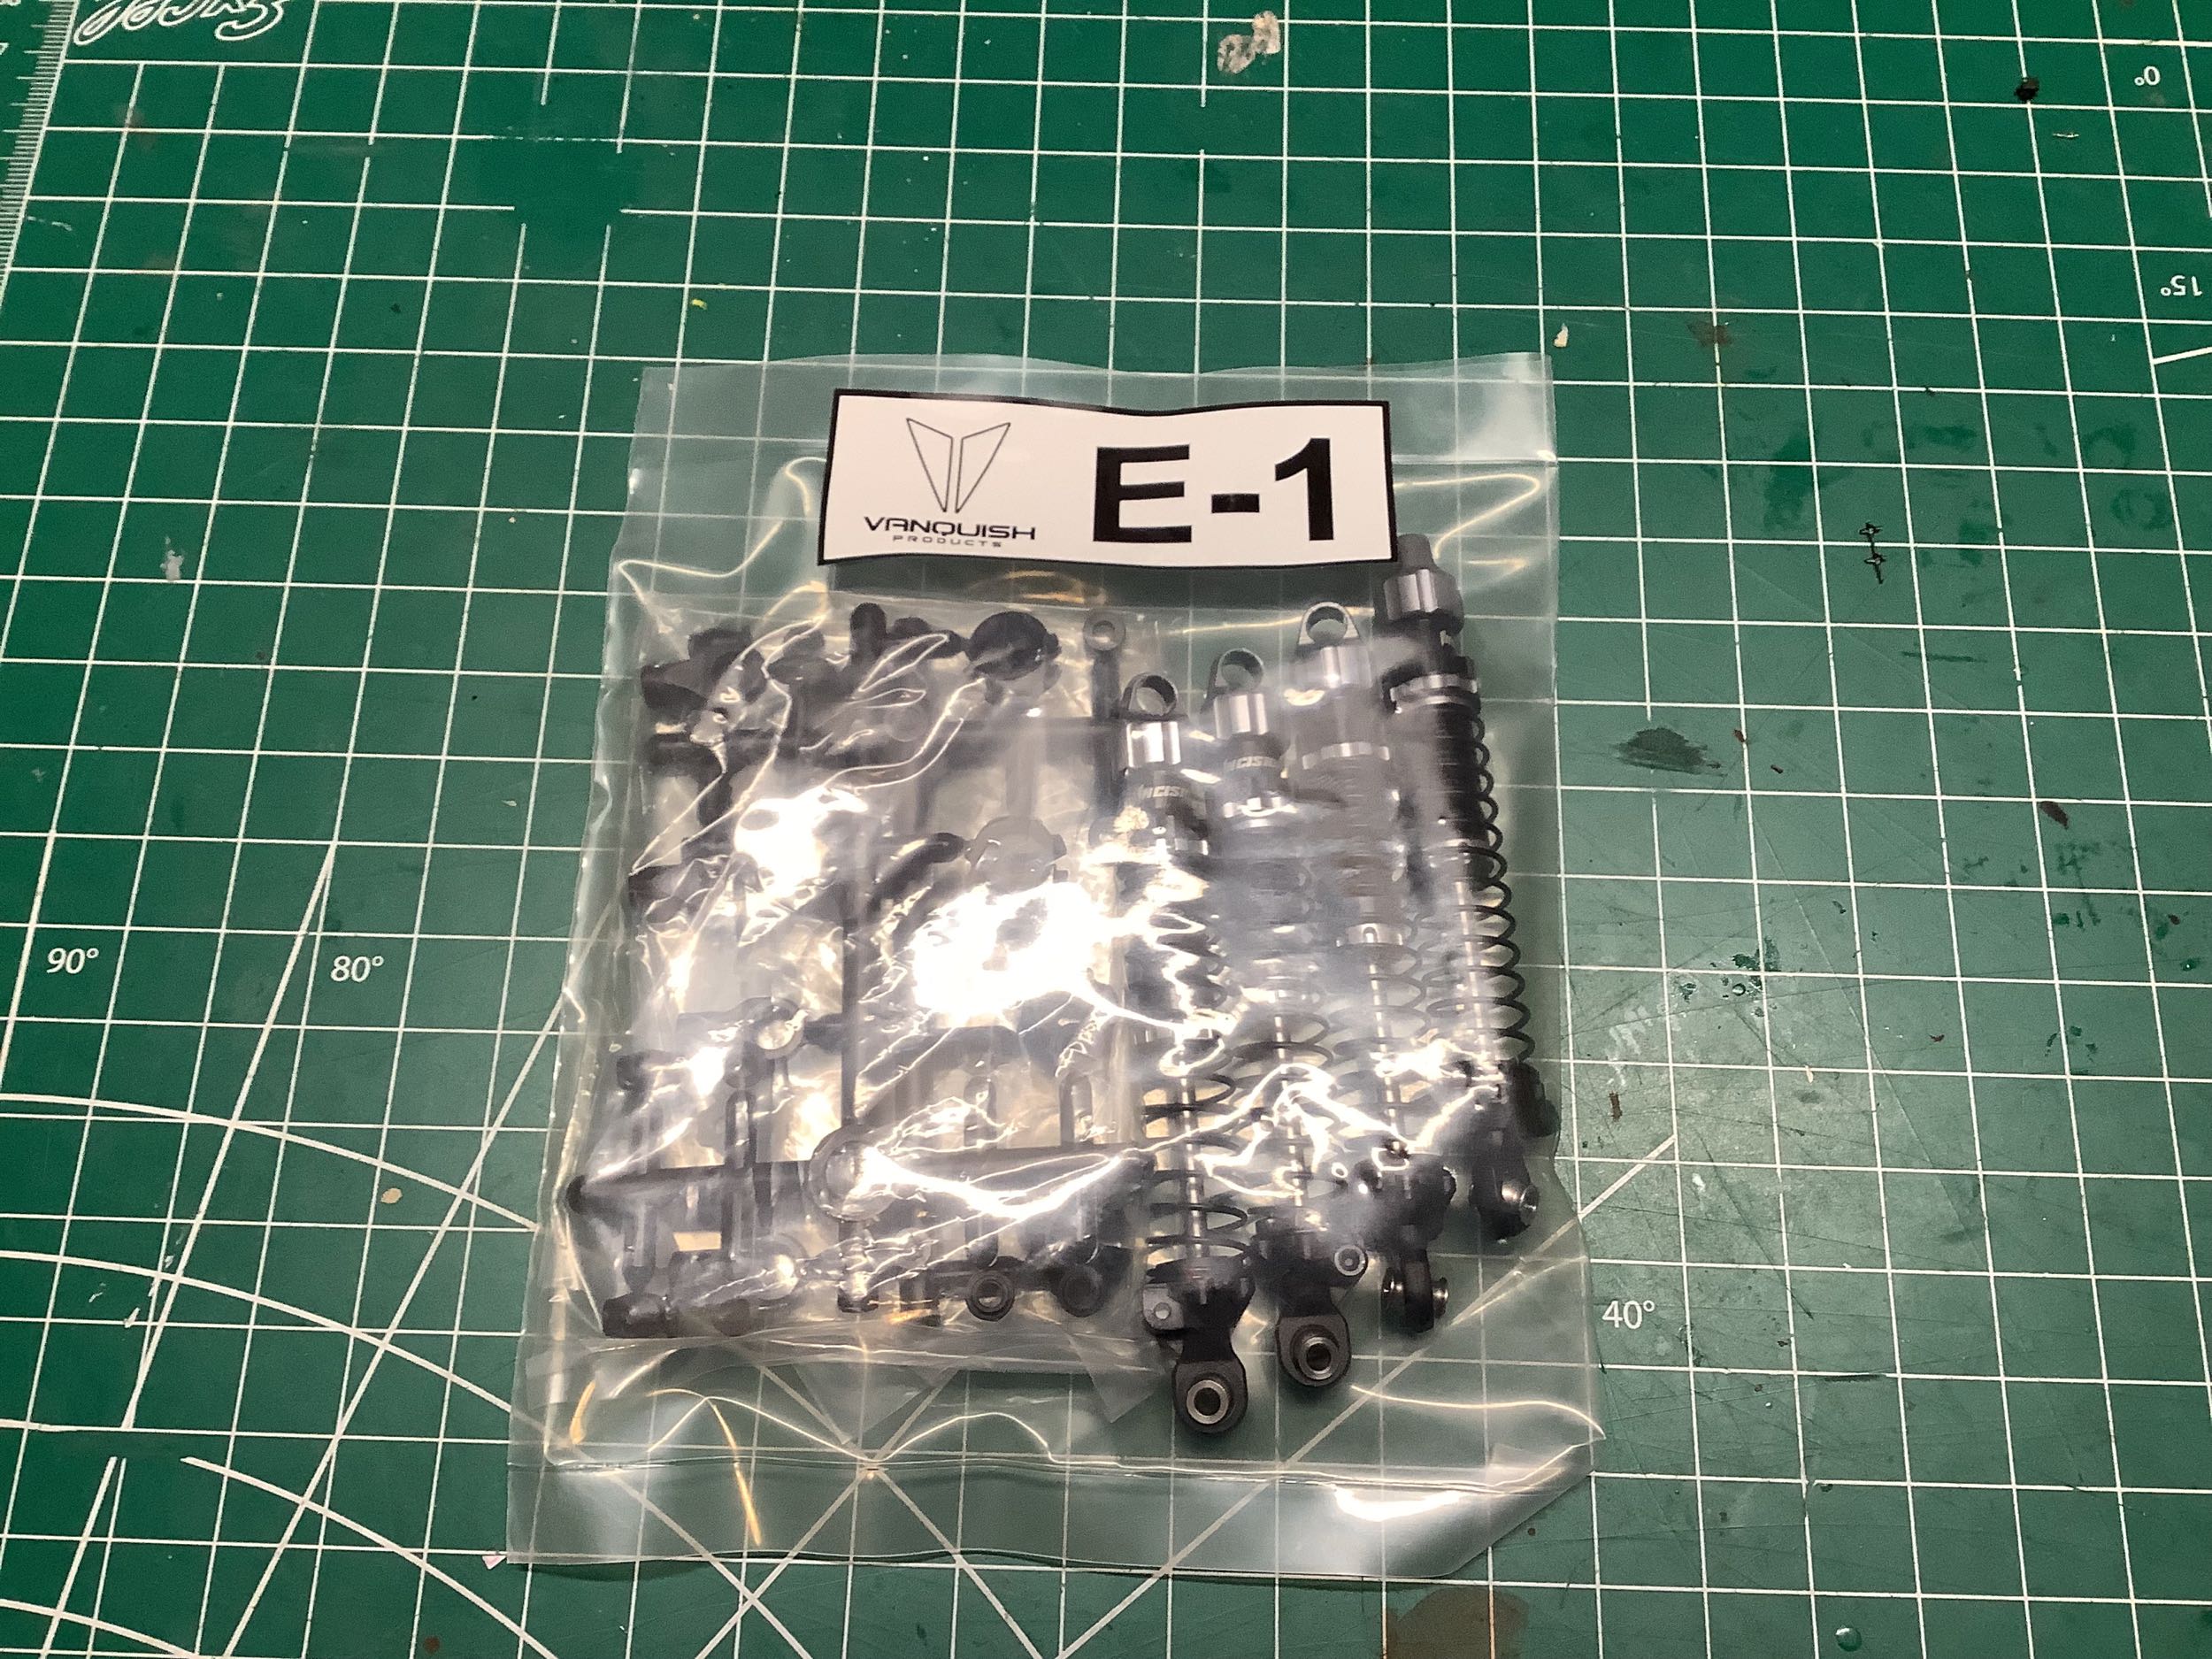
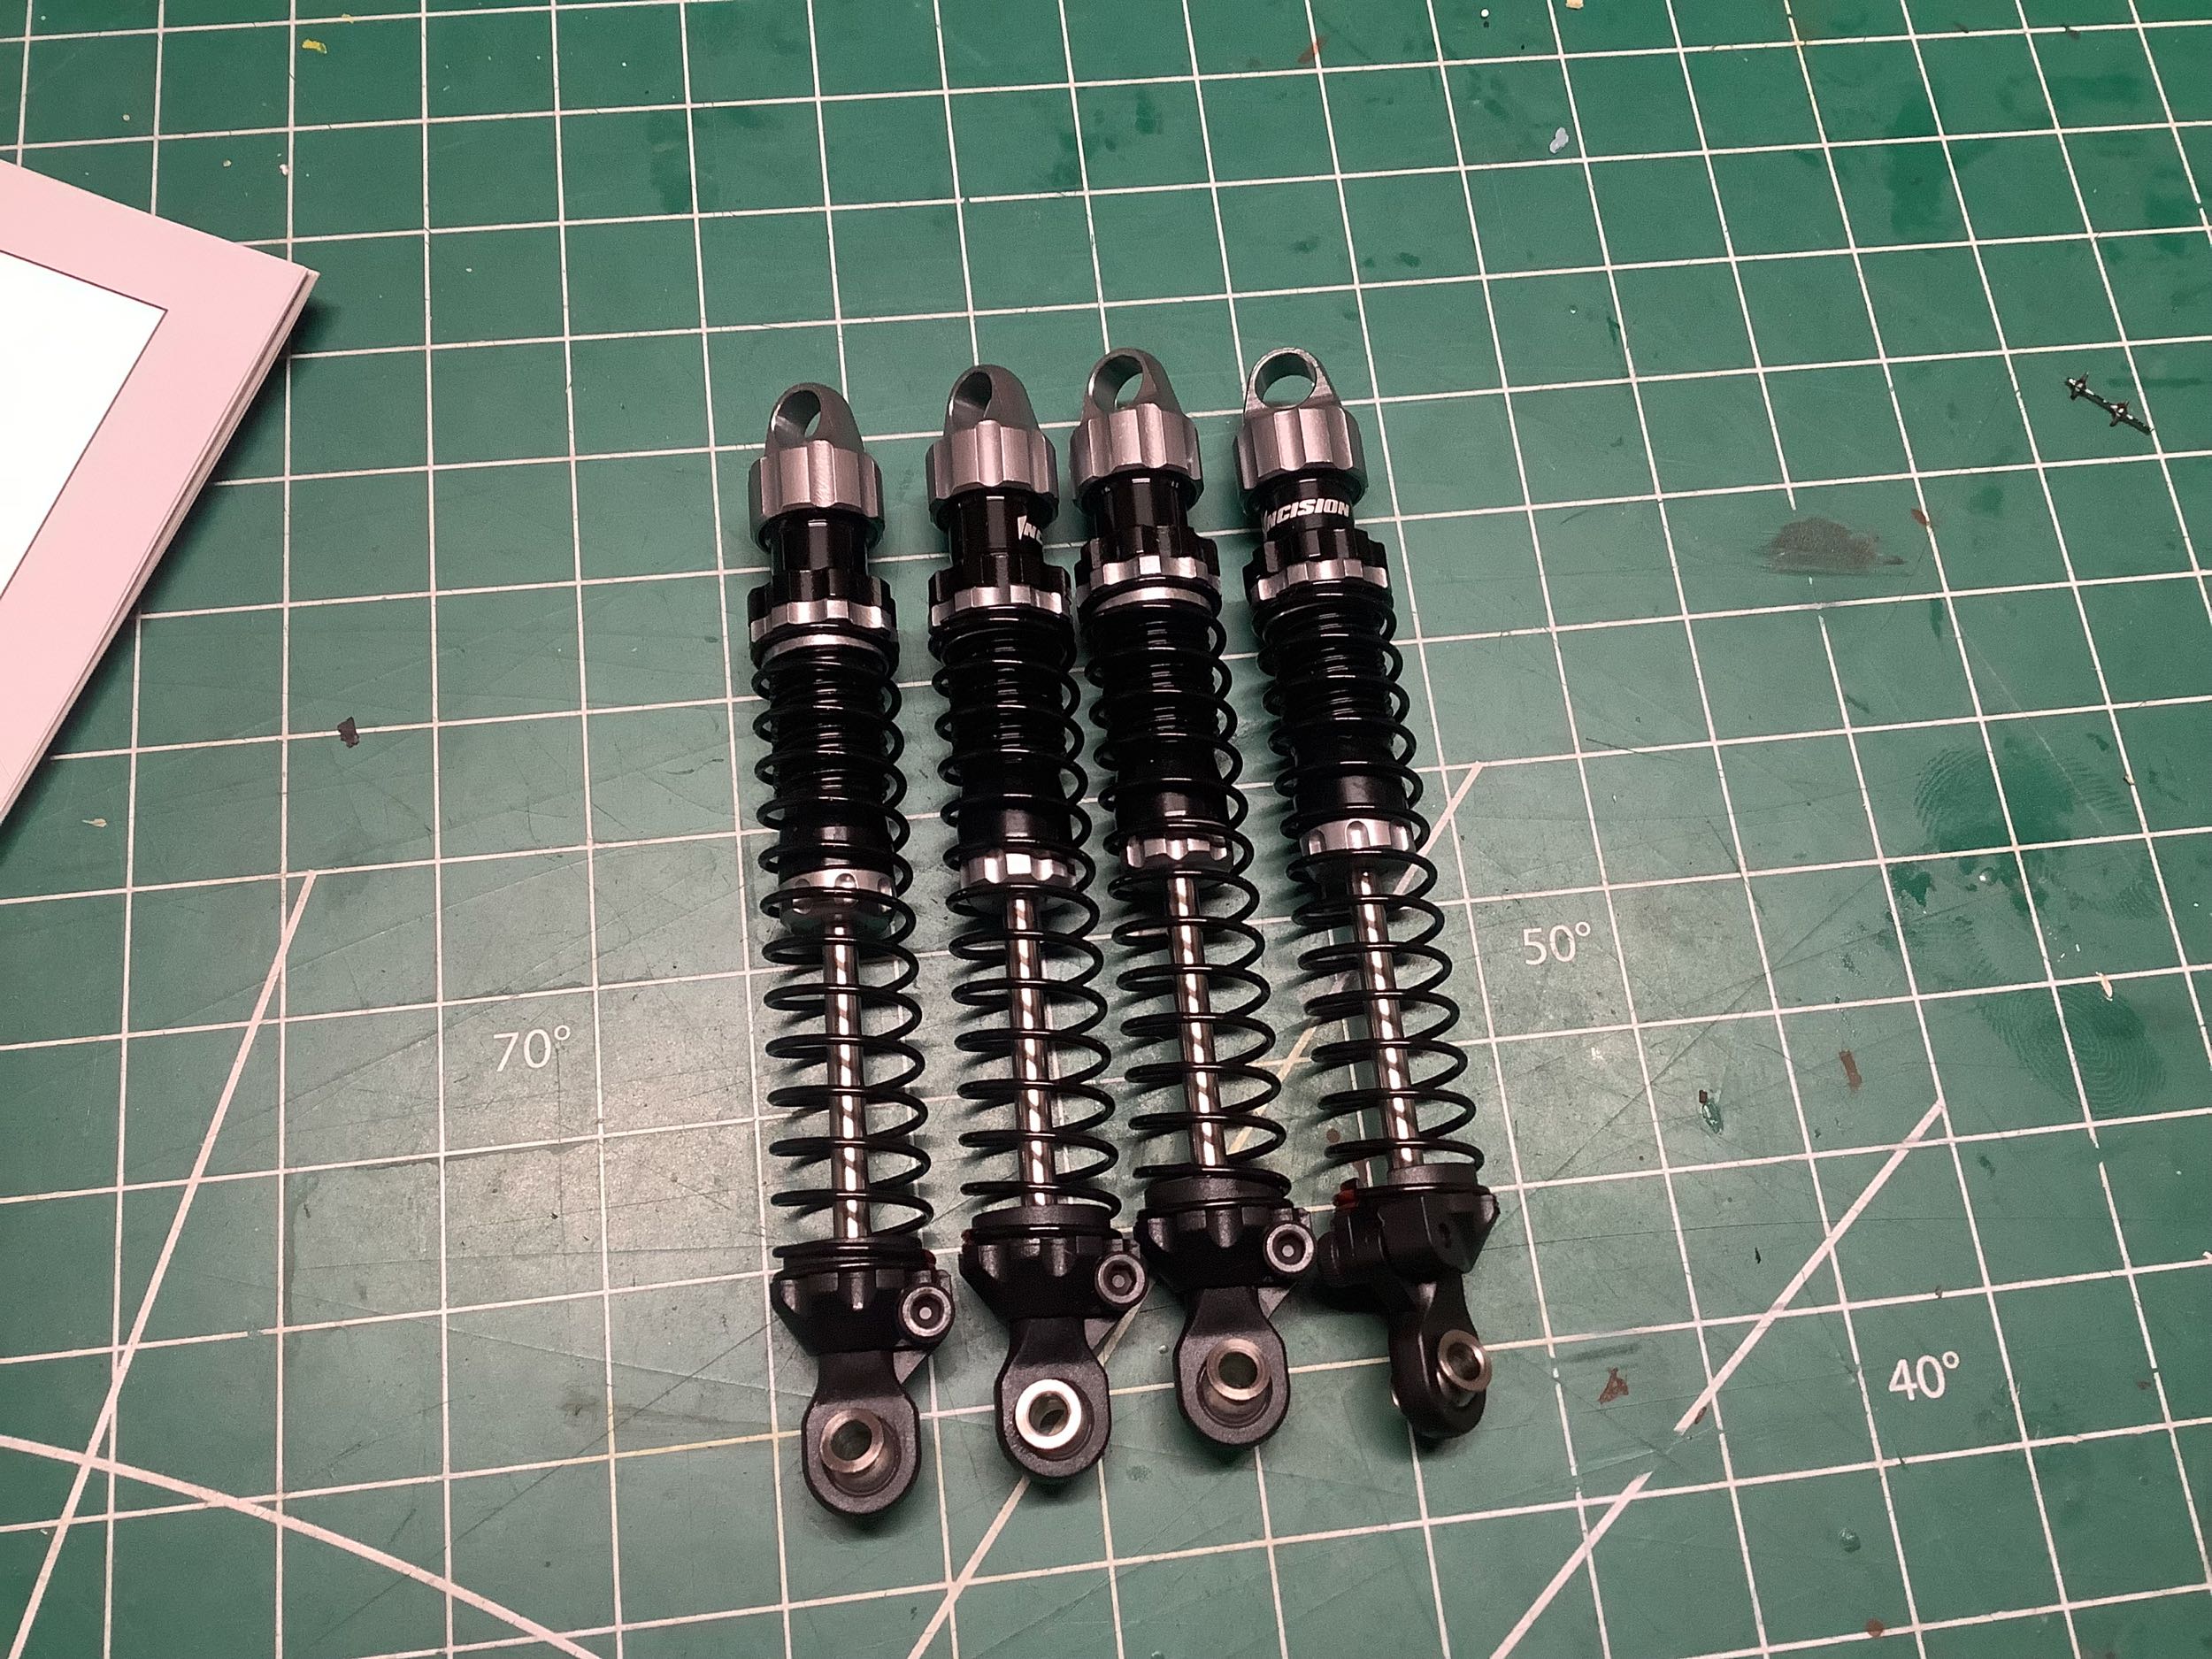
E-1 contain the Incision shocks. These are 90mm coilover shocks
that have a pretty small diameter and are filled with fluid for
damping. The lower shock perches are integrated with the rod ends
which is nice because then they can't fall off on the trails. The
upper collars are threaded onto the shock bodies for preload adjustment.
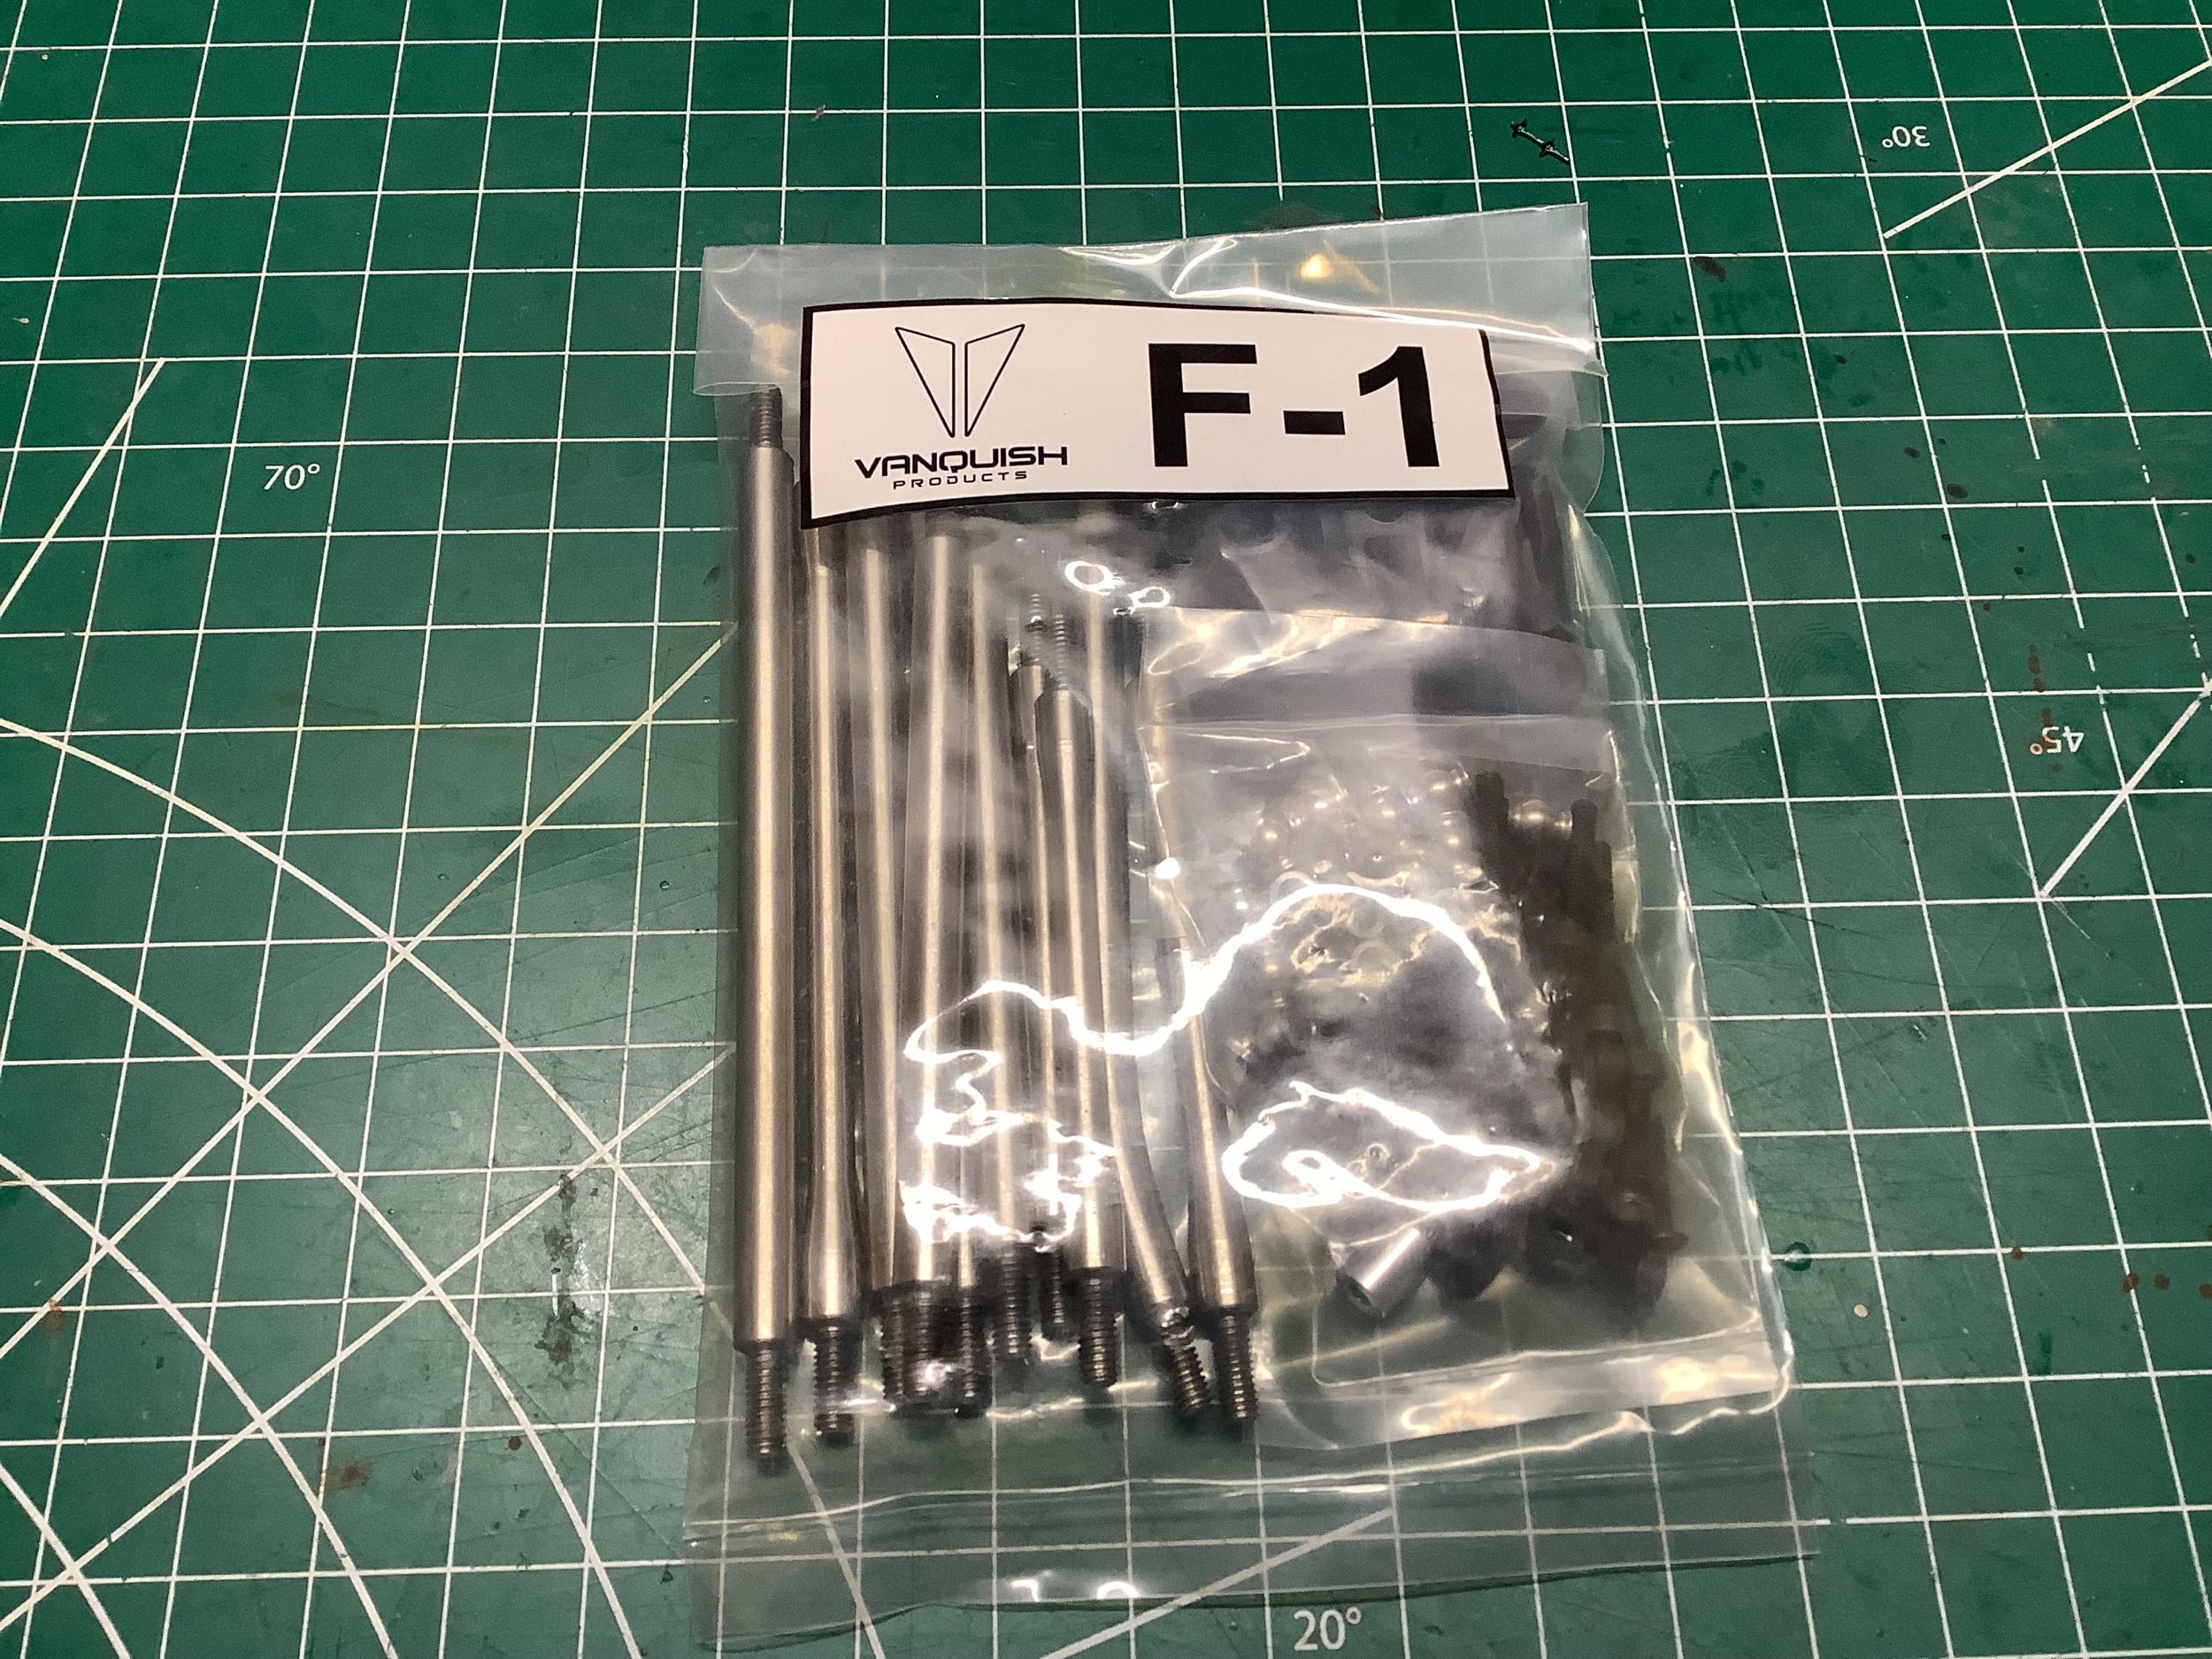
F-1 is a giant pile of links. The links are stainless steel which
is excessive for strength, but since the links are all down low, it
further helps with the CG. Rod ends are plastic with steel
balls. By my count, there are 10 links with 20 rod ends to make
here, so I better get cracking.
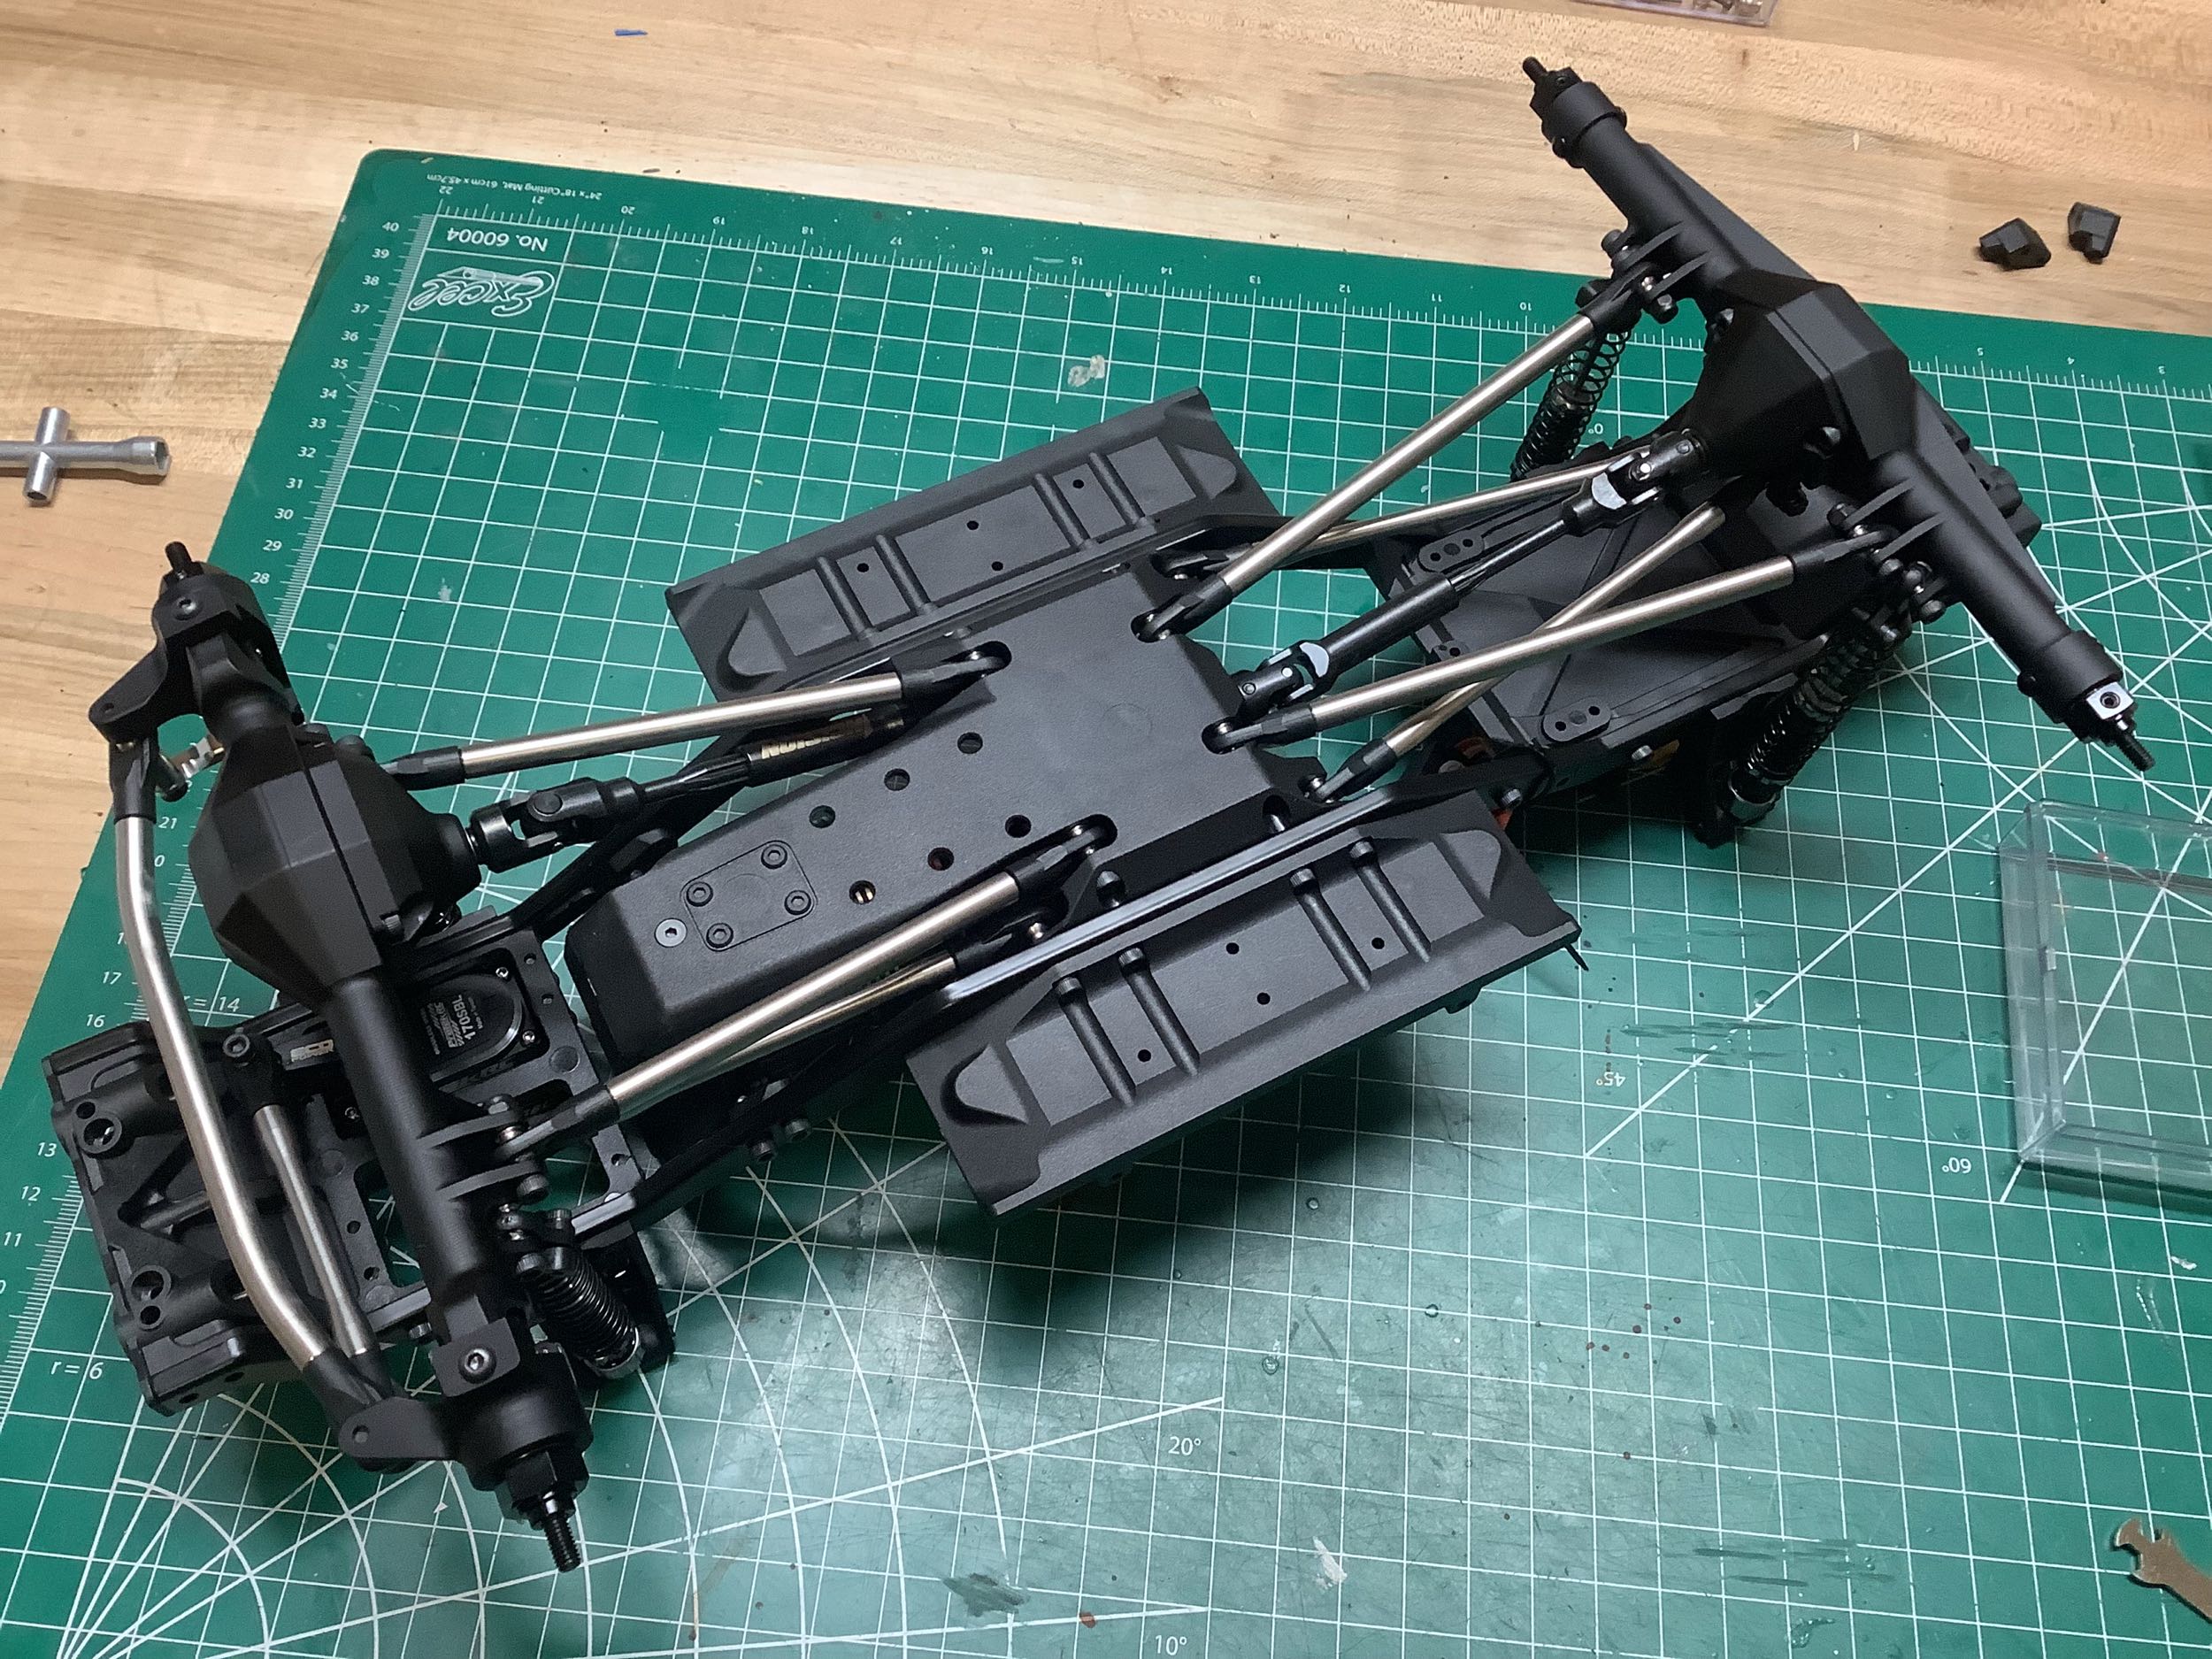
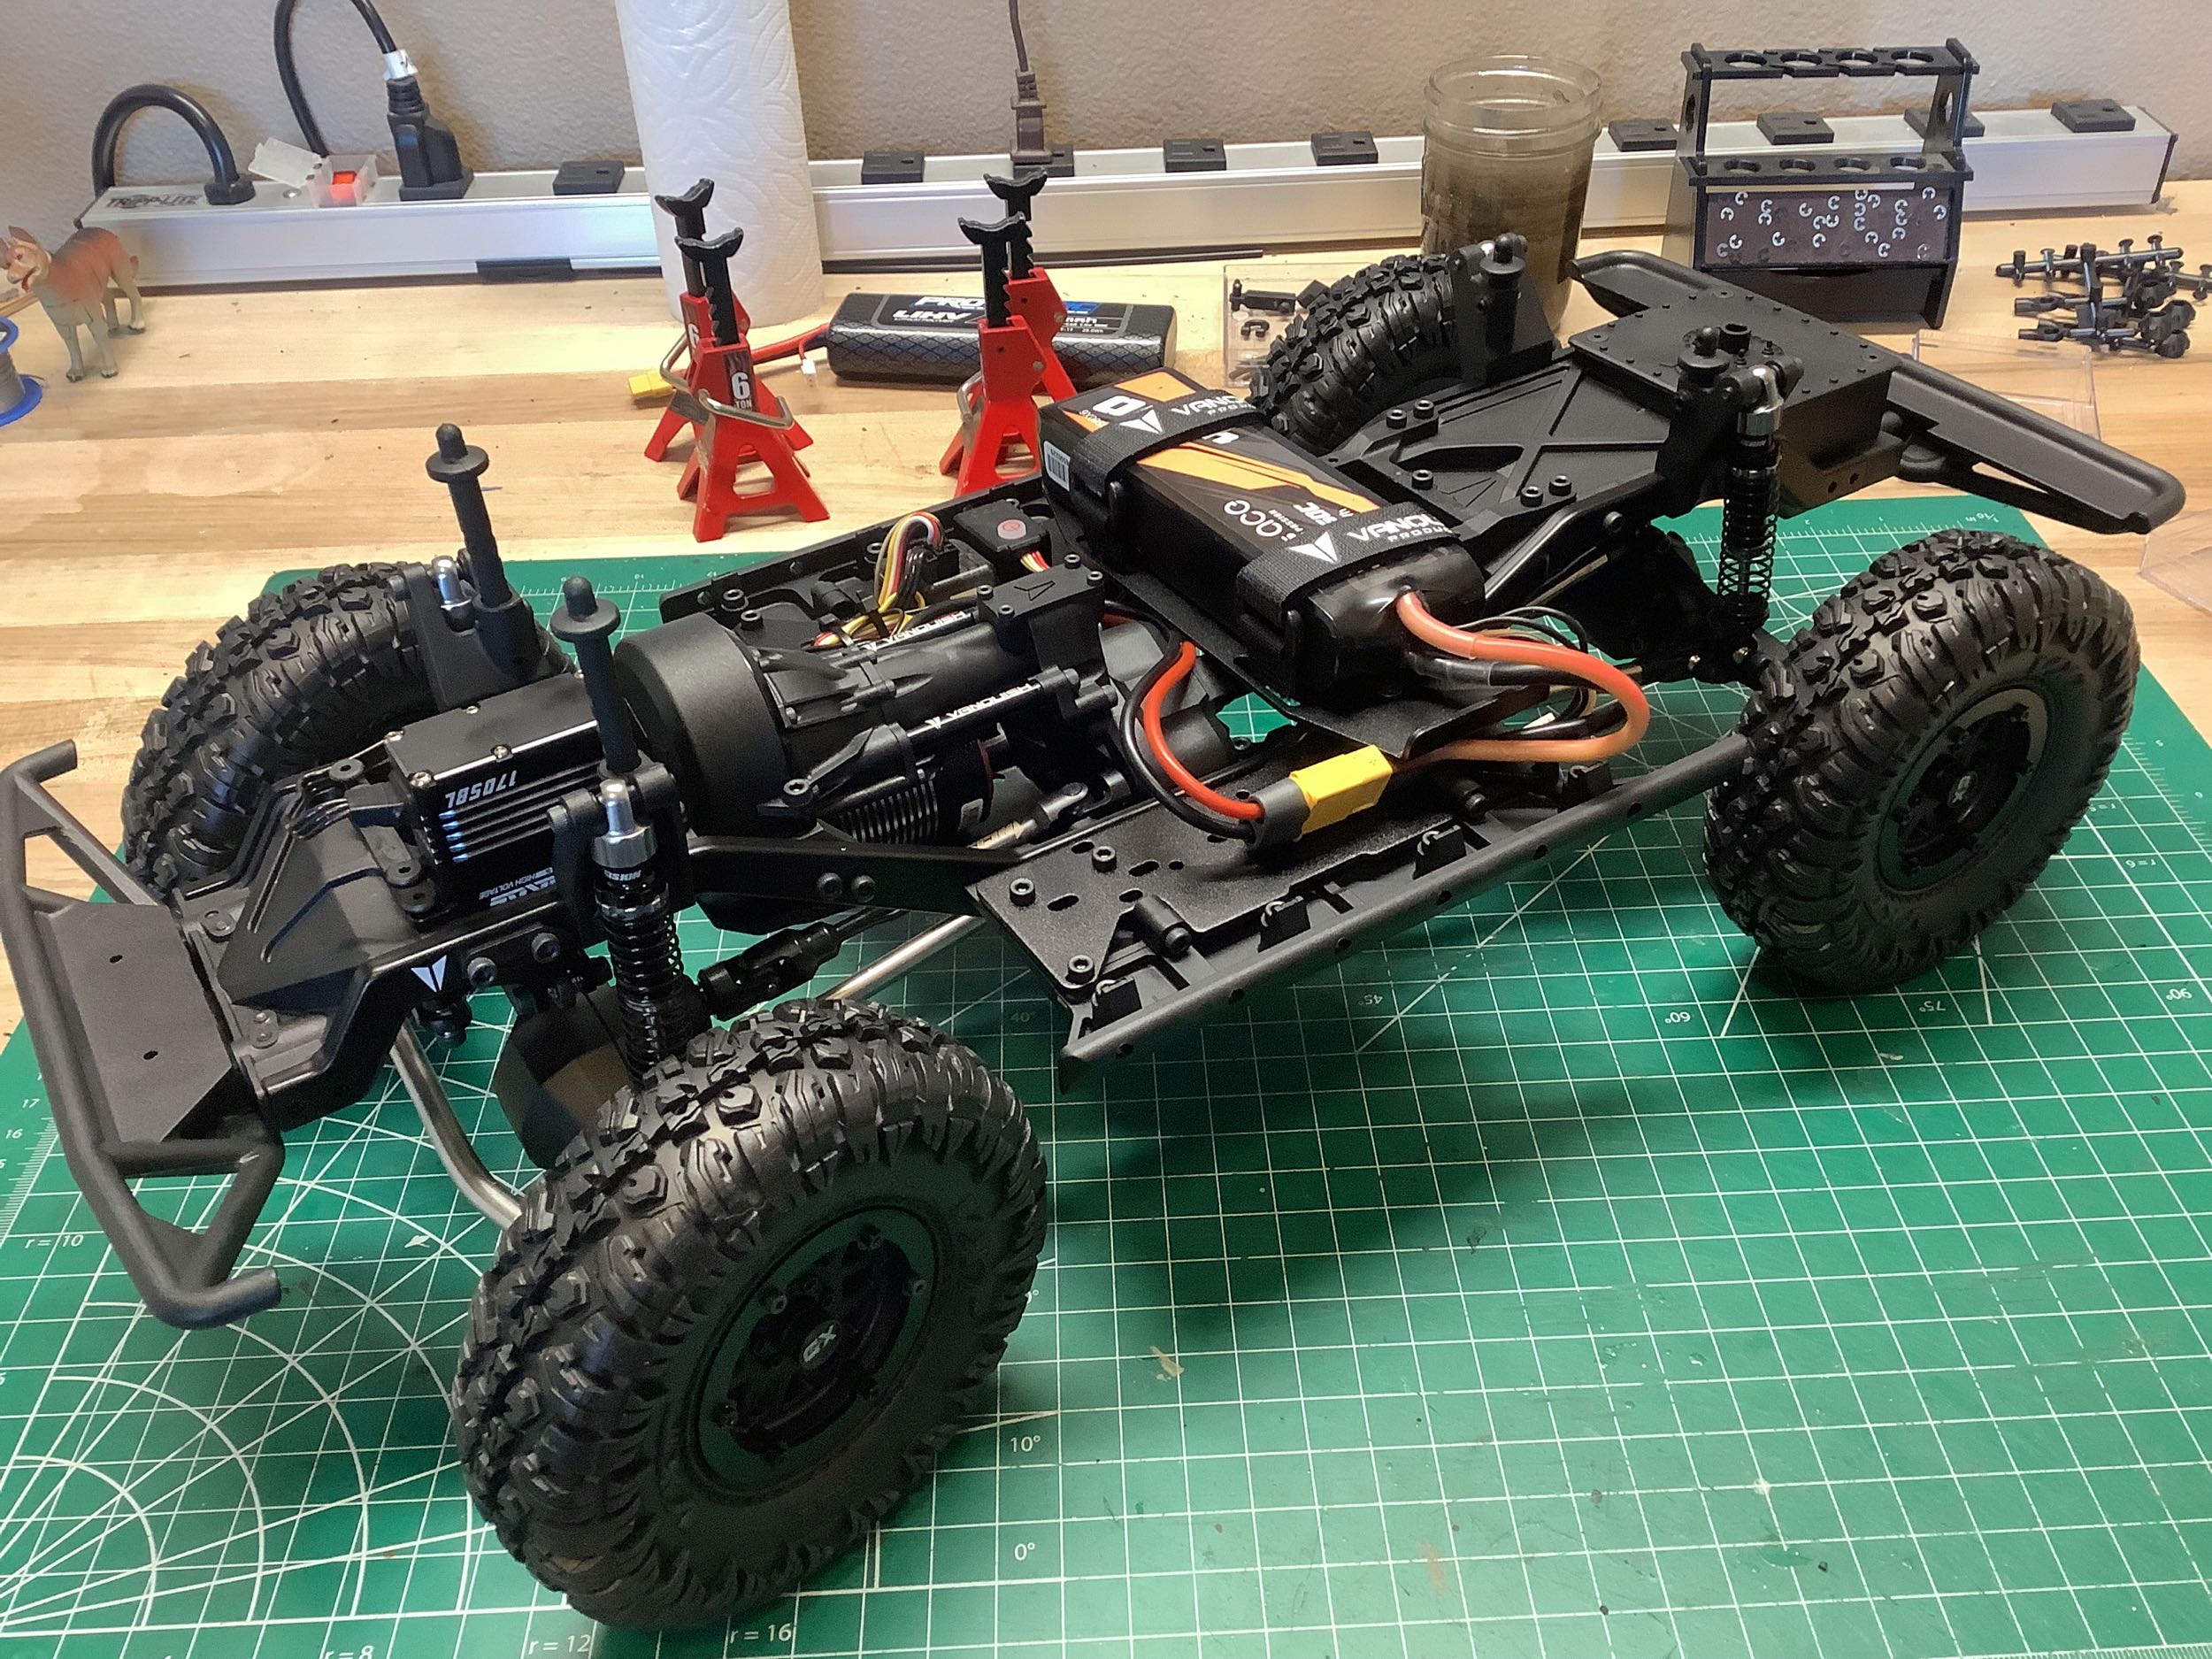
Now I can use those links and shocks to install the axles and
complete the suspension. The rear end uses a triangulated 4-link
setup. The front uses a 3-link setup with panhard bar to help keep
the axle centered. The front knuckles are connected with a
steering link, and a drag link connects them to the steering
servo. The right hand image shows the complex front
geometry. Note how parallel the drag link and panhard bar are,
which is exactly what you want to prevent bump steer. You can also
see the long skid plate which protects the motor from below.
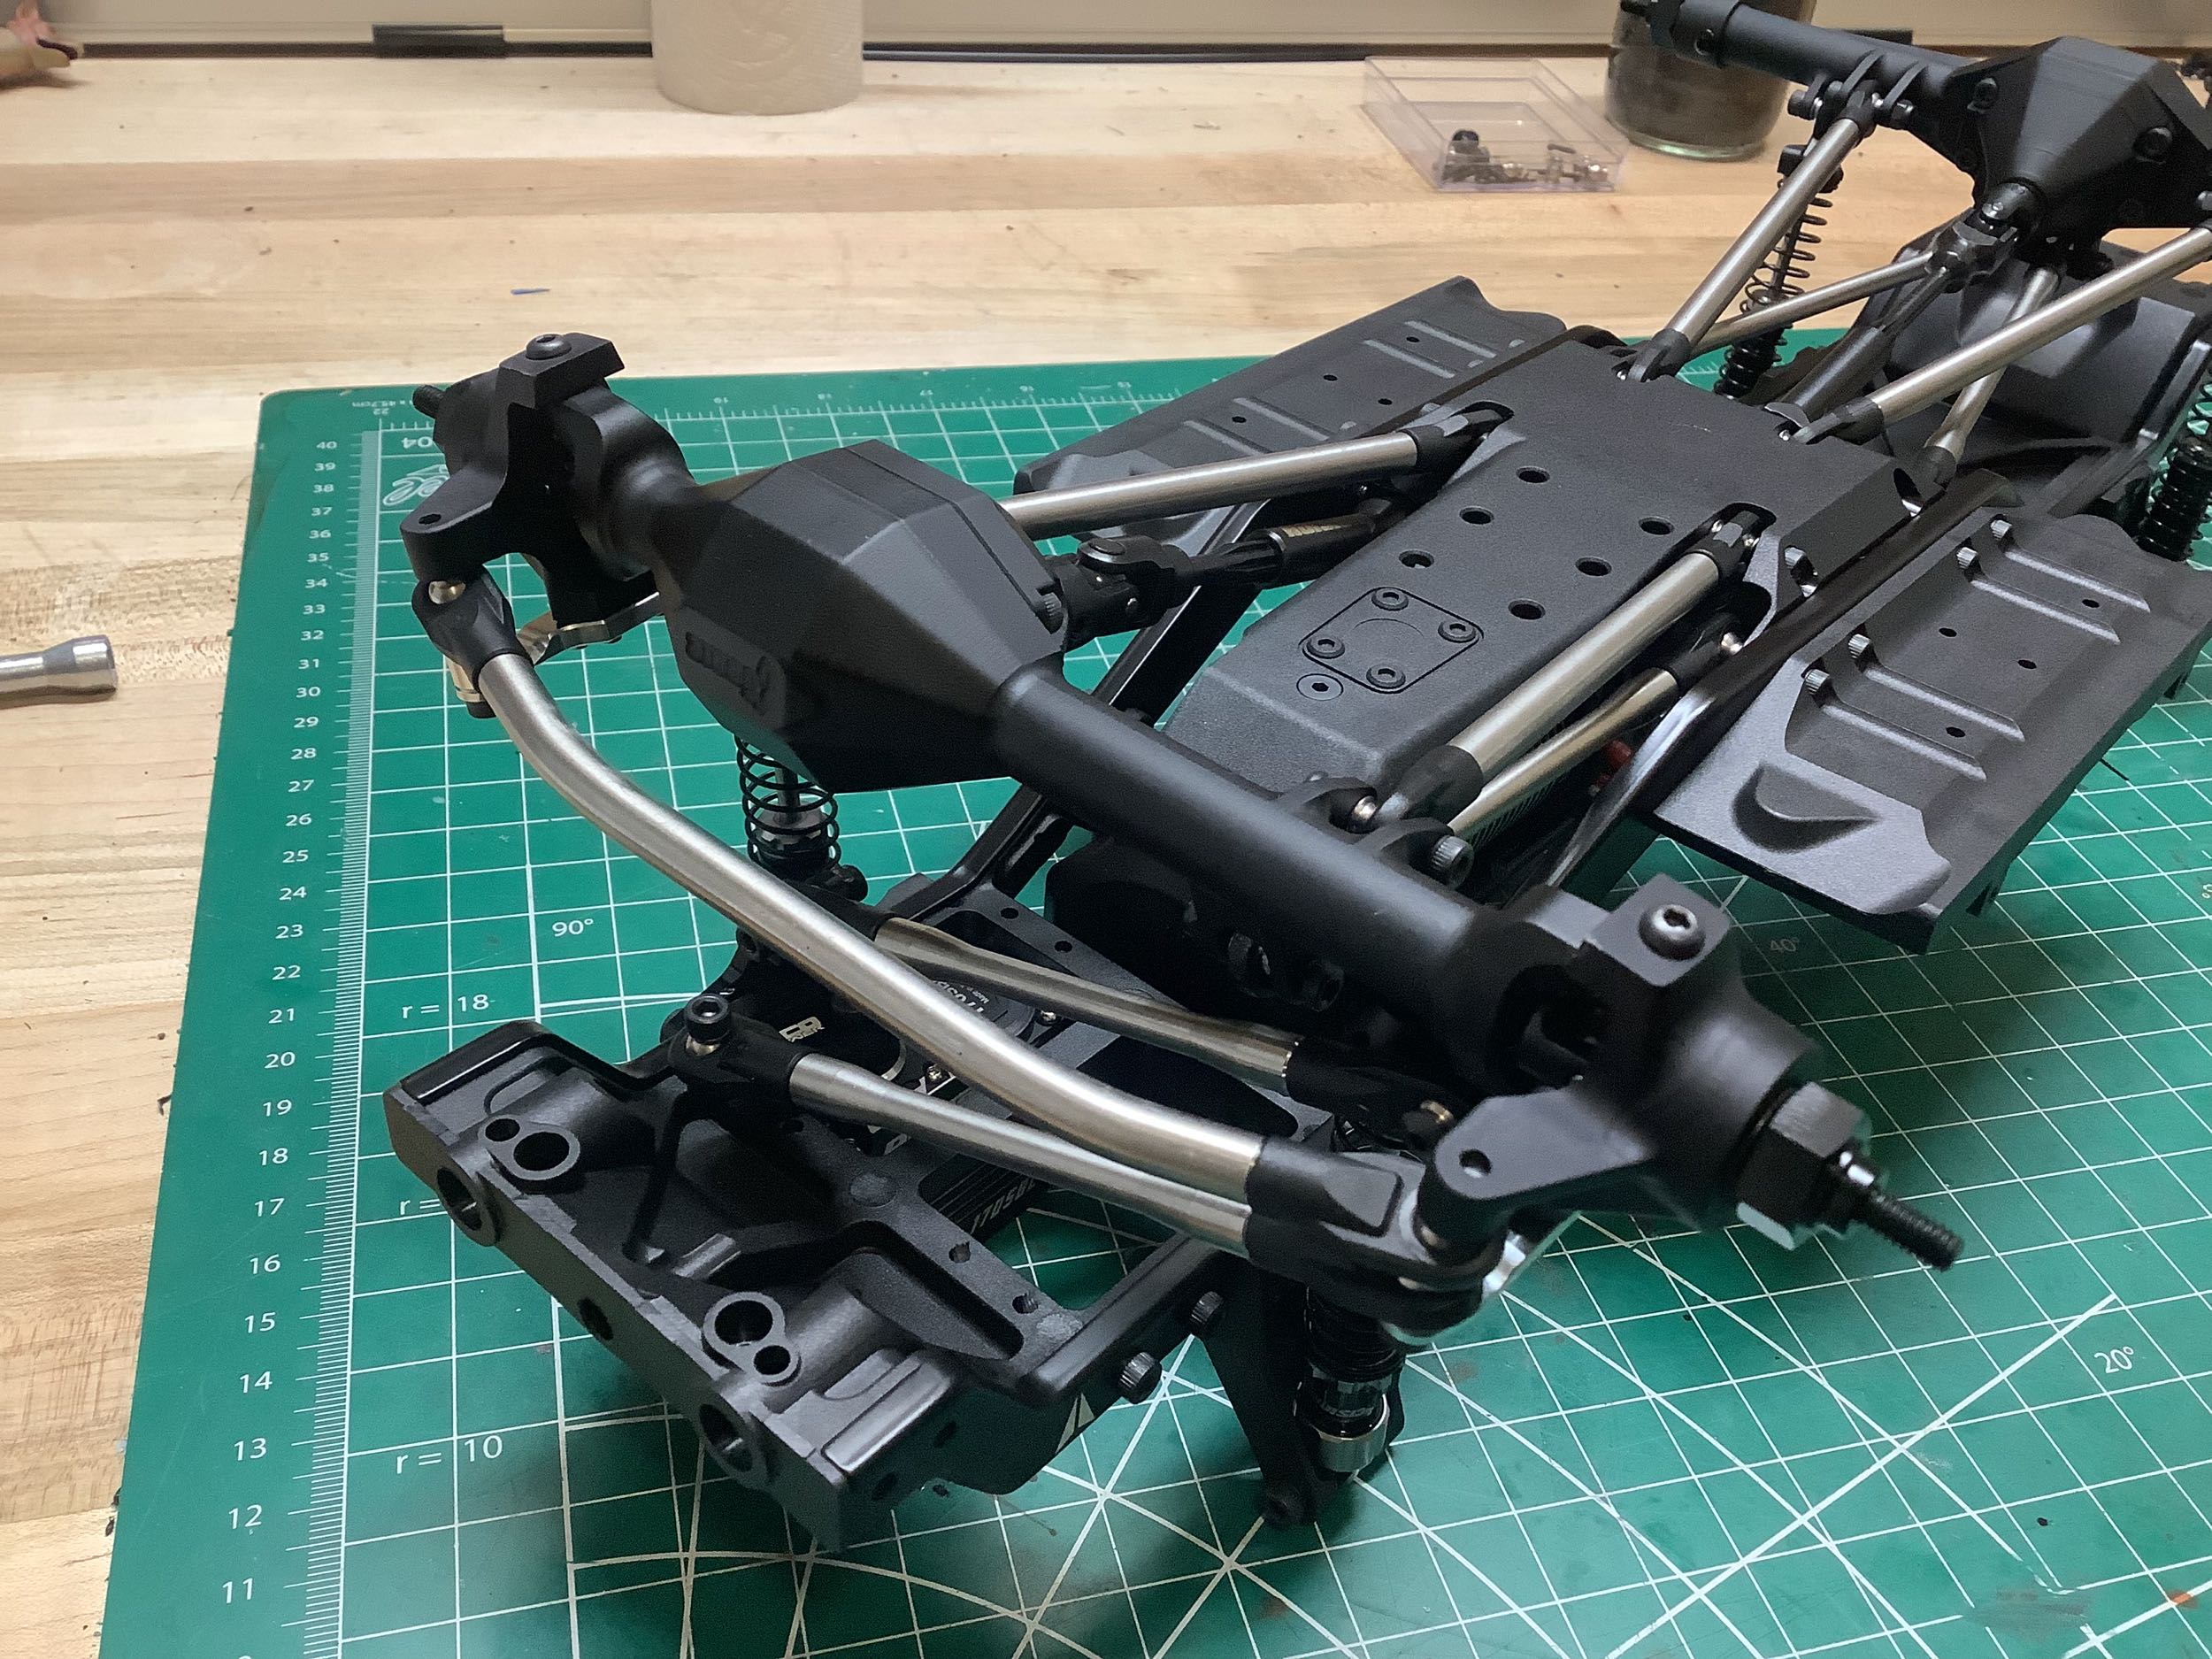
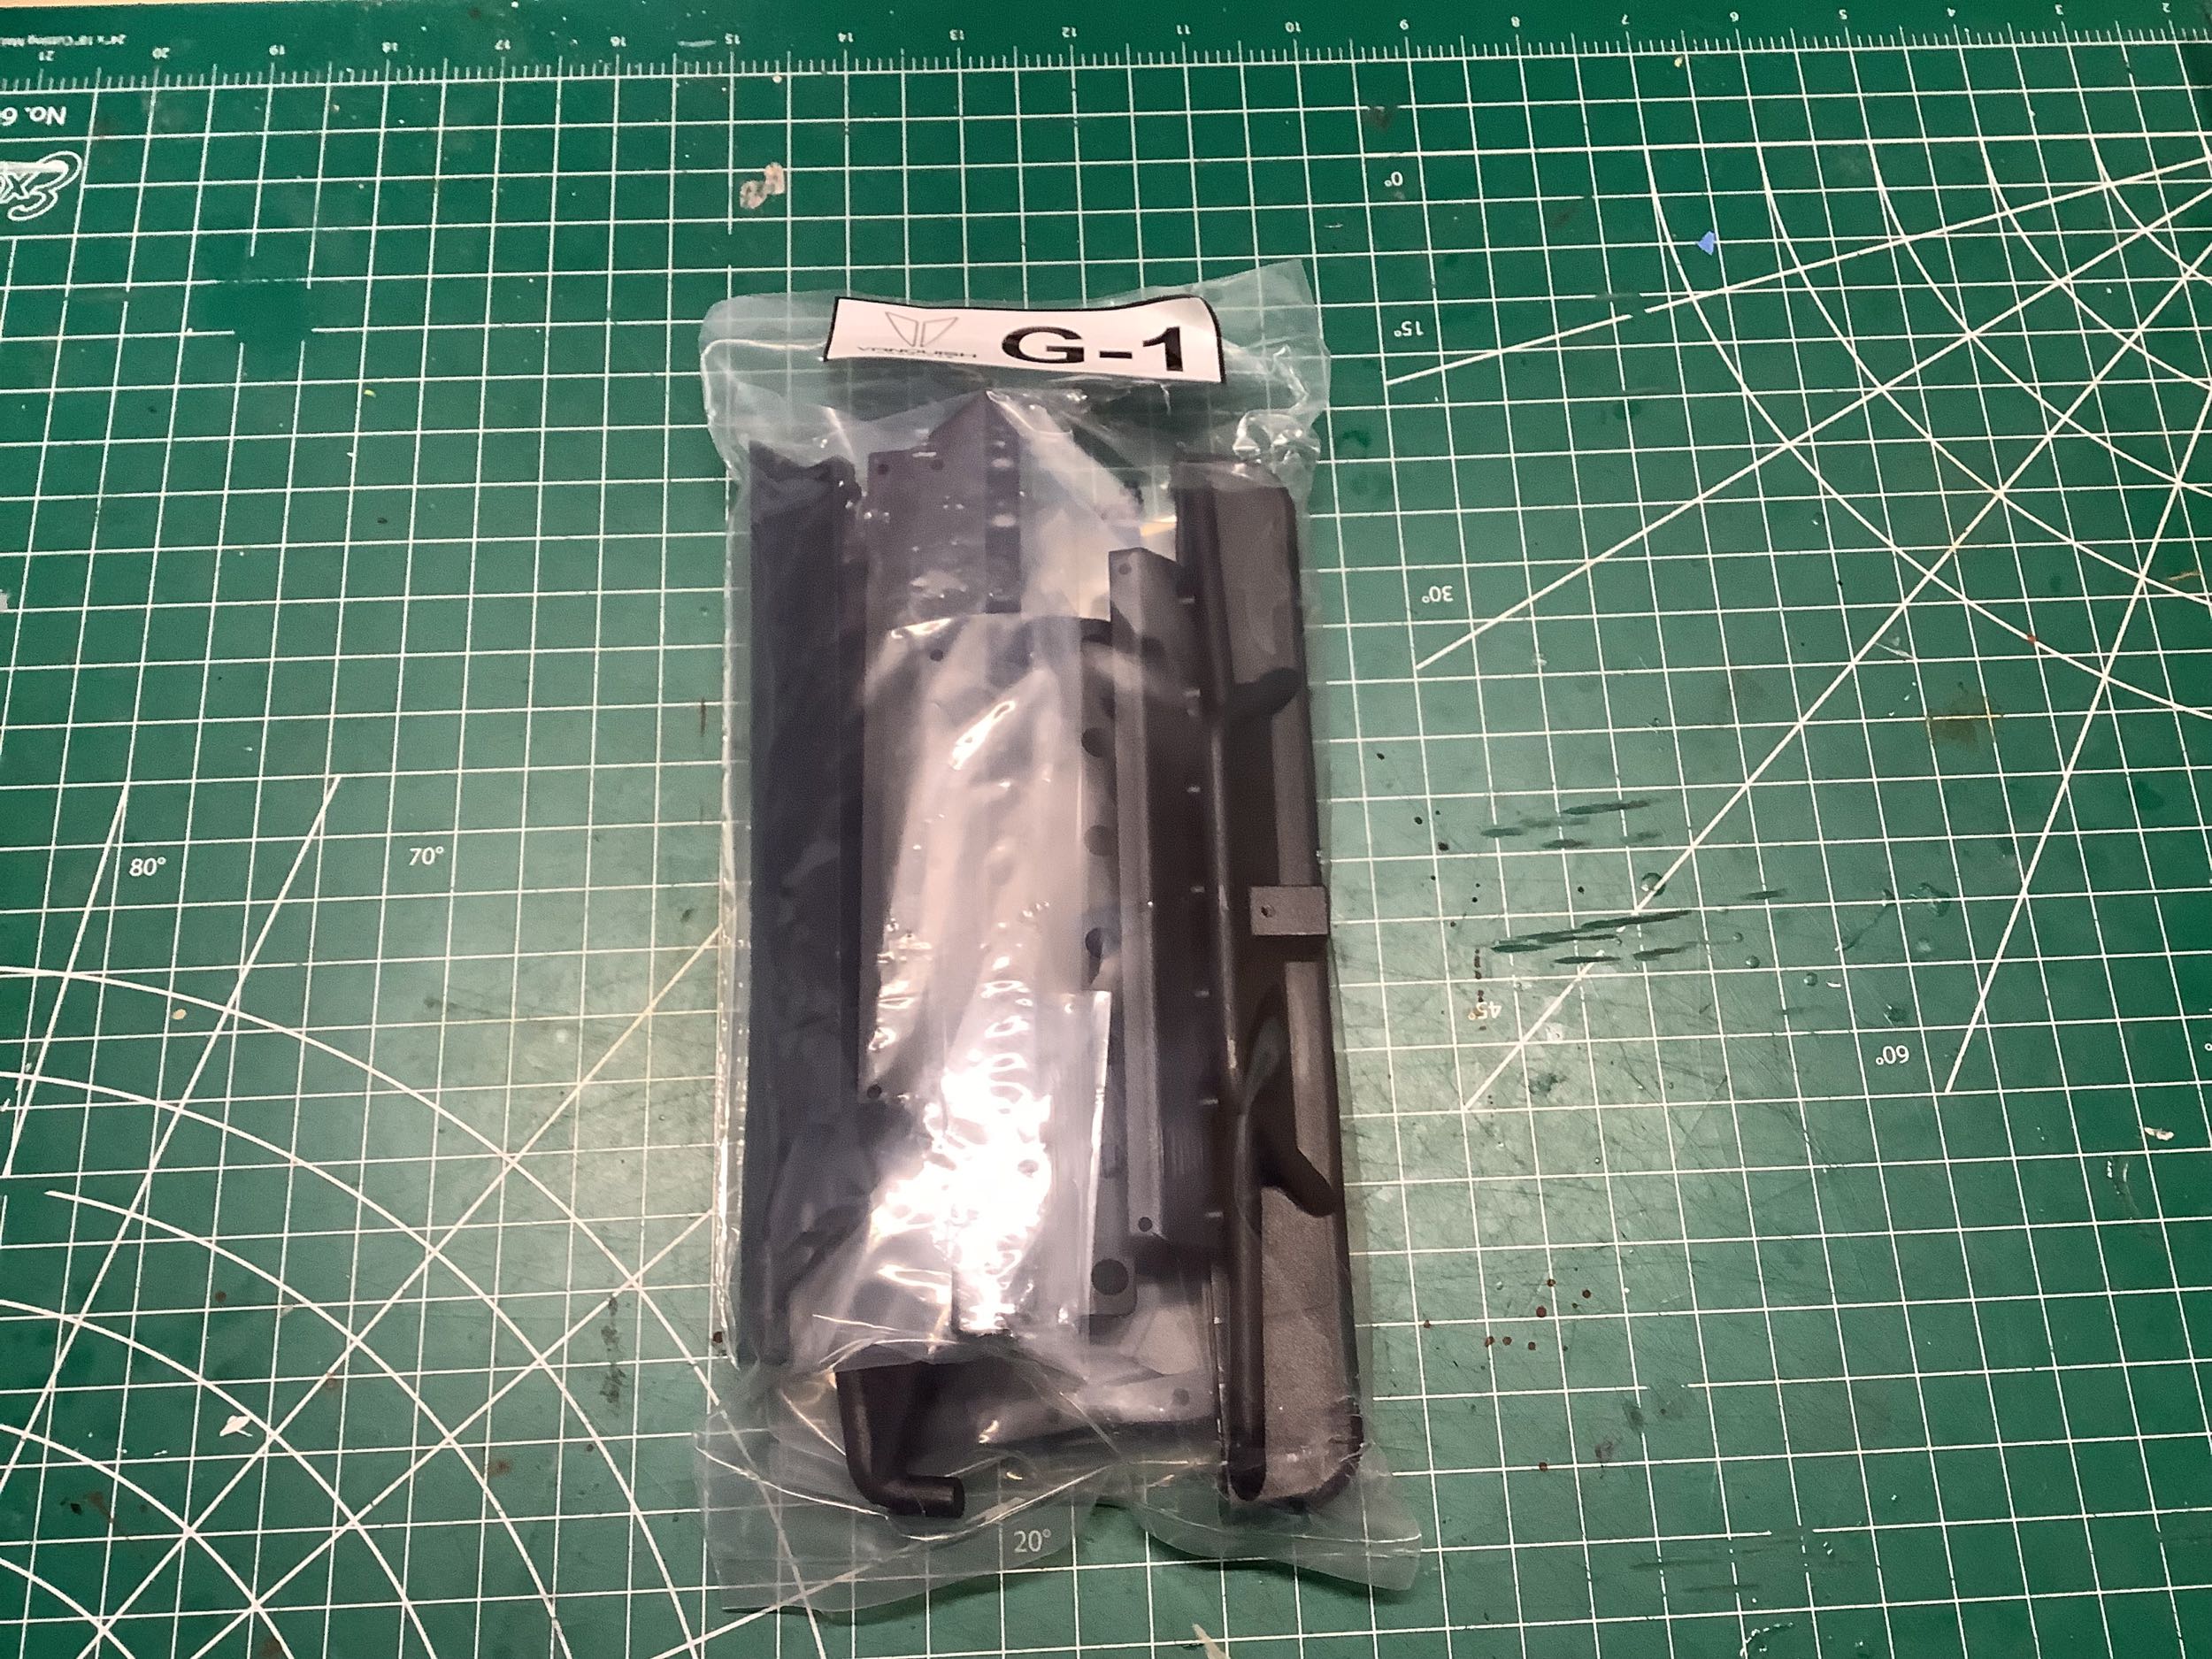
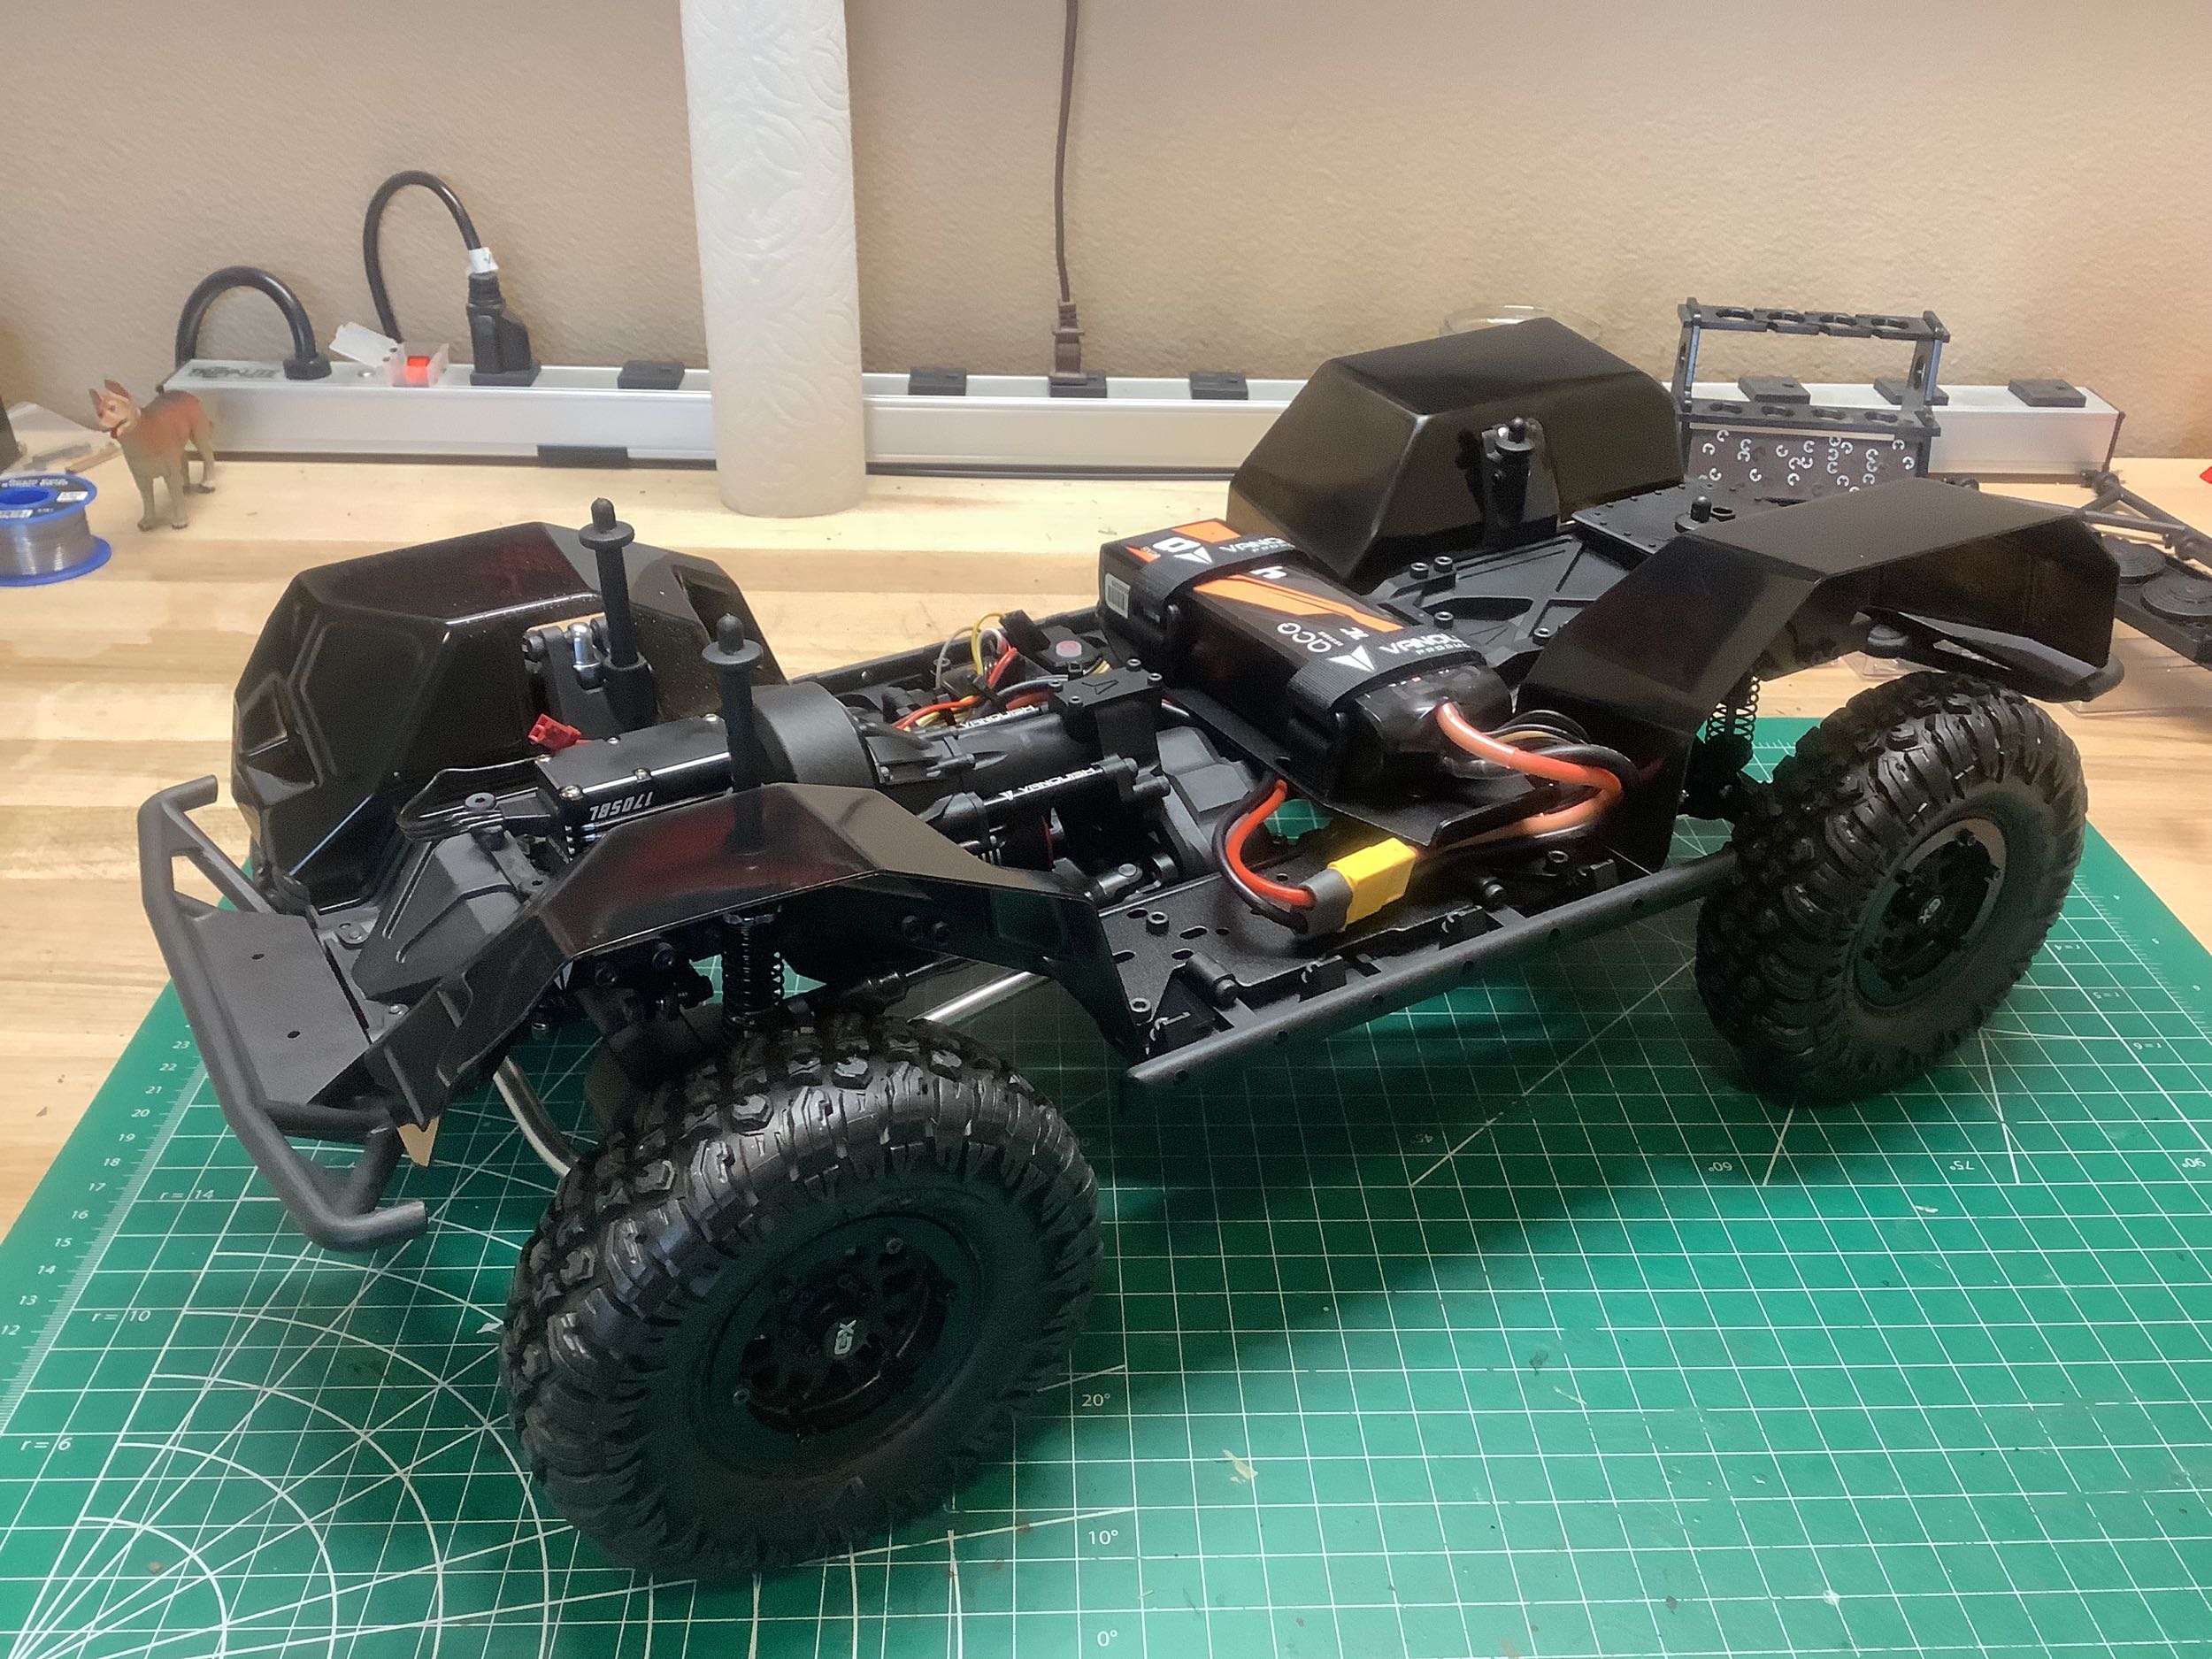
Bag G-1 comes back with some unexpected aluminum plates and a bunch of
miscellaneous plastic parts. What is all this stuff? It
seemed like the chassis was basically done. Nope.
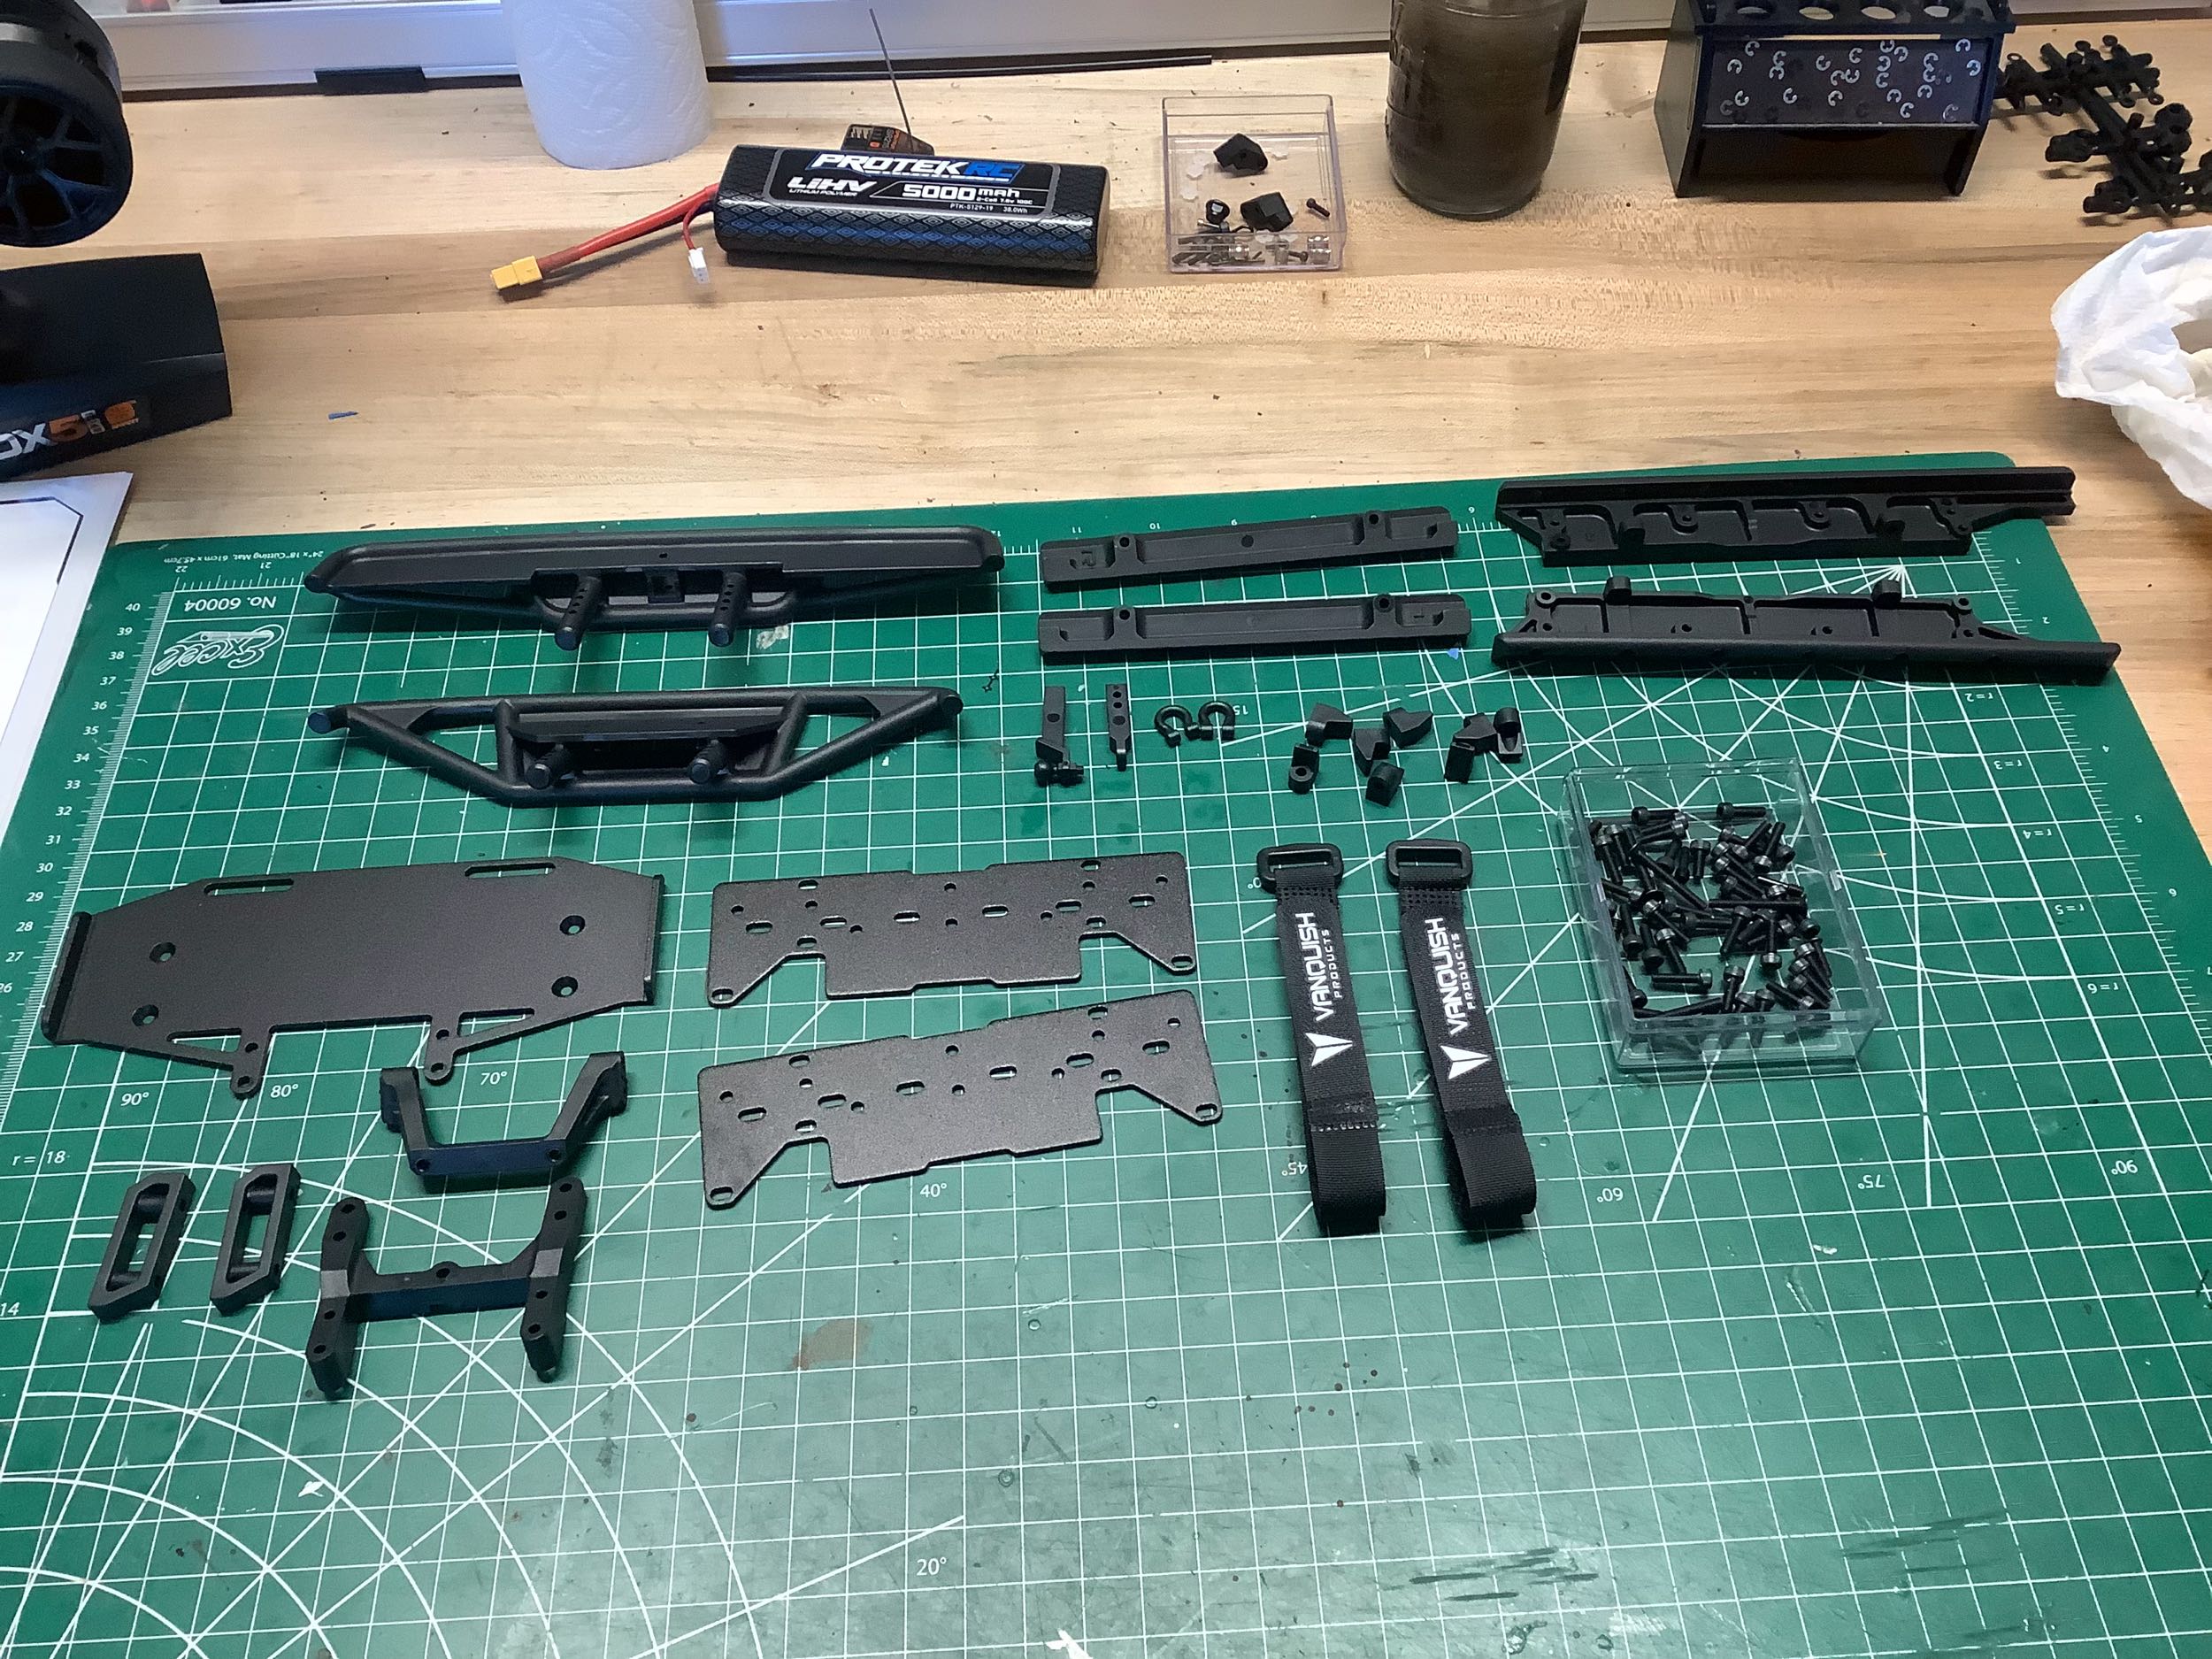
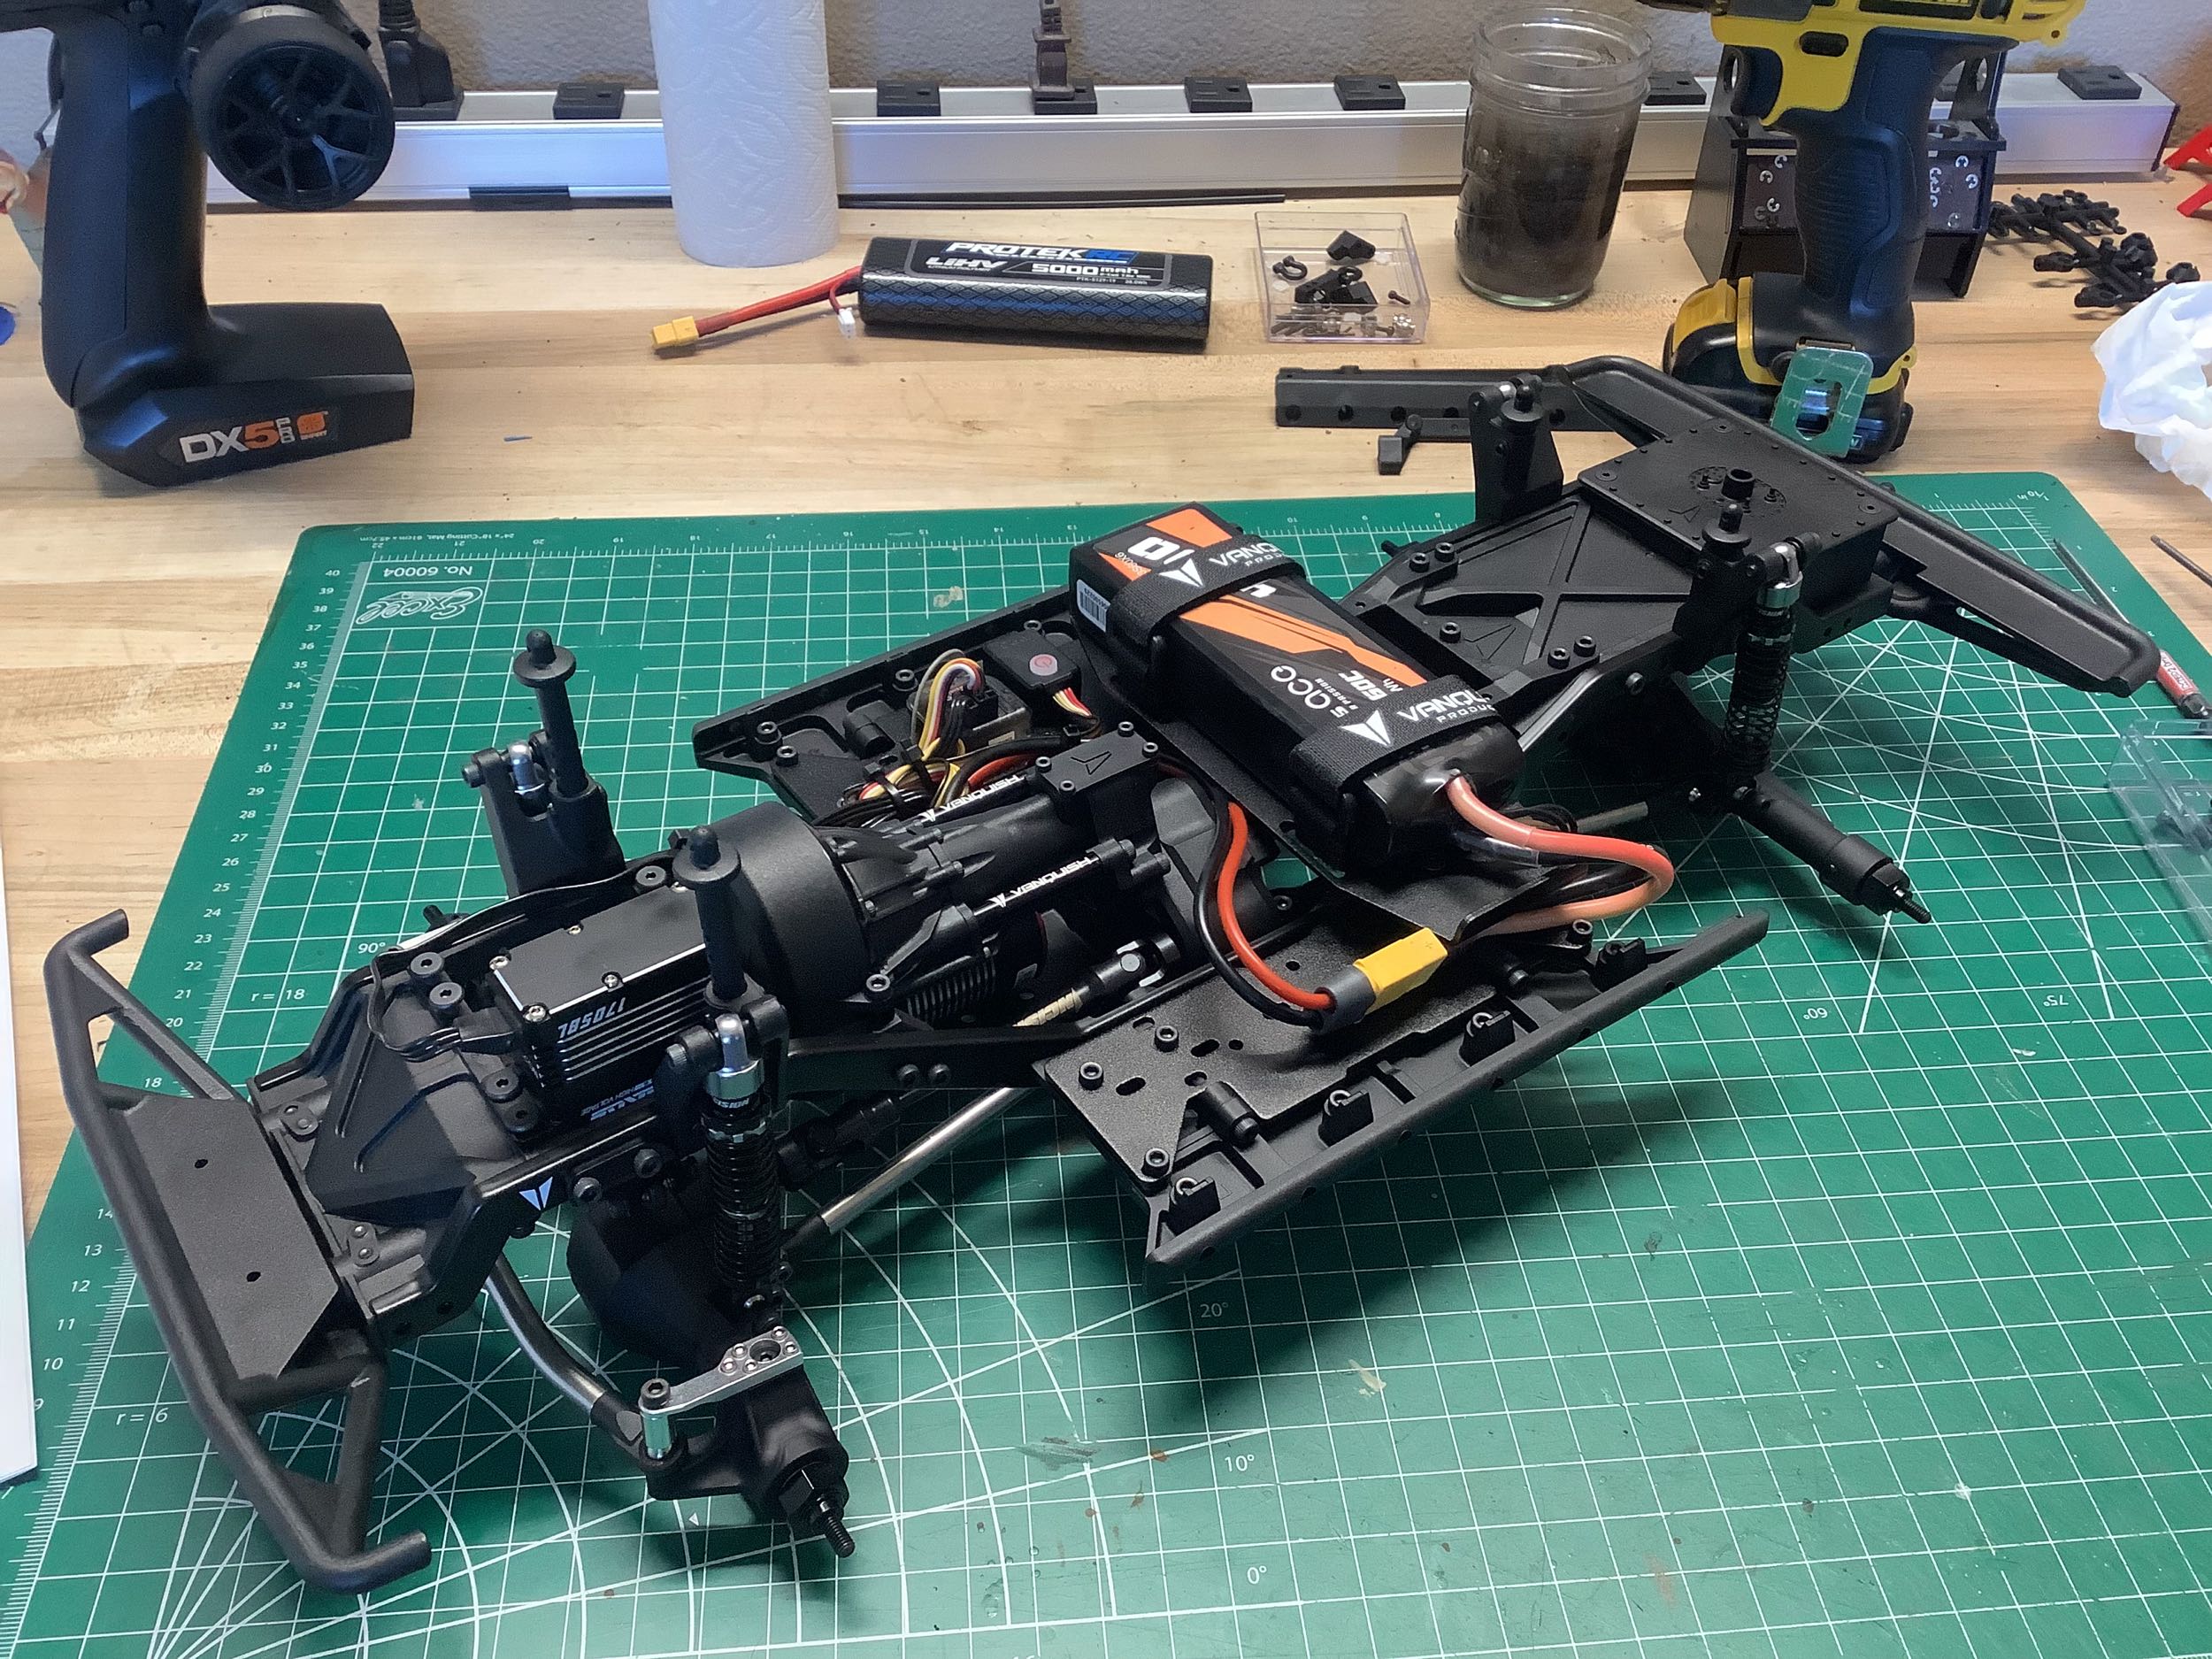
Here the front and rear plastic bumpers have been installed. Of
course aftermarket ARM aluminum bumpers are available, but they won't
actually make it better. At least that's what I'm telling
myself. The rock sliders have been extended outboard and will also
serve to lock in the sides of the body so they don't flap. A
battery tray has been added behind the gearbox. Those aluminum
plates on the sliders help to lock everything together and double as
electronics mounting trays. Because my ESC is integrated into the
motor, all I had to install was a receiver. I'm using a 3s battery
because, why not?
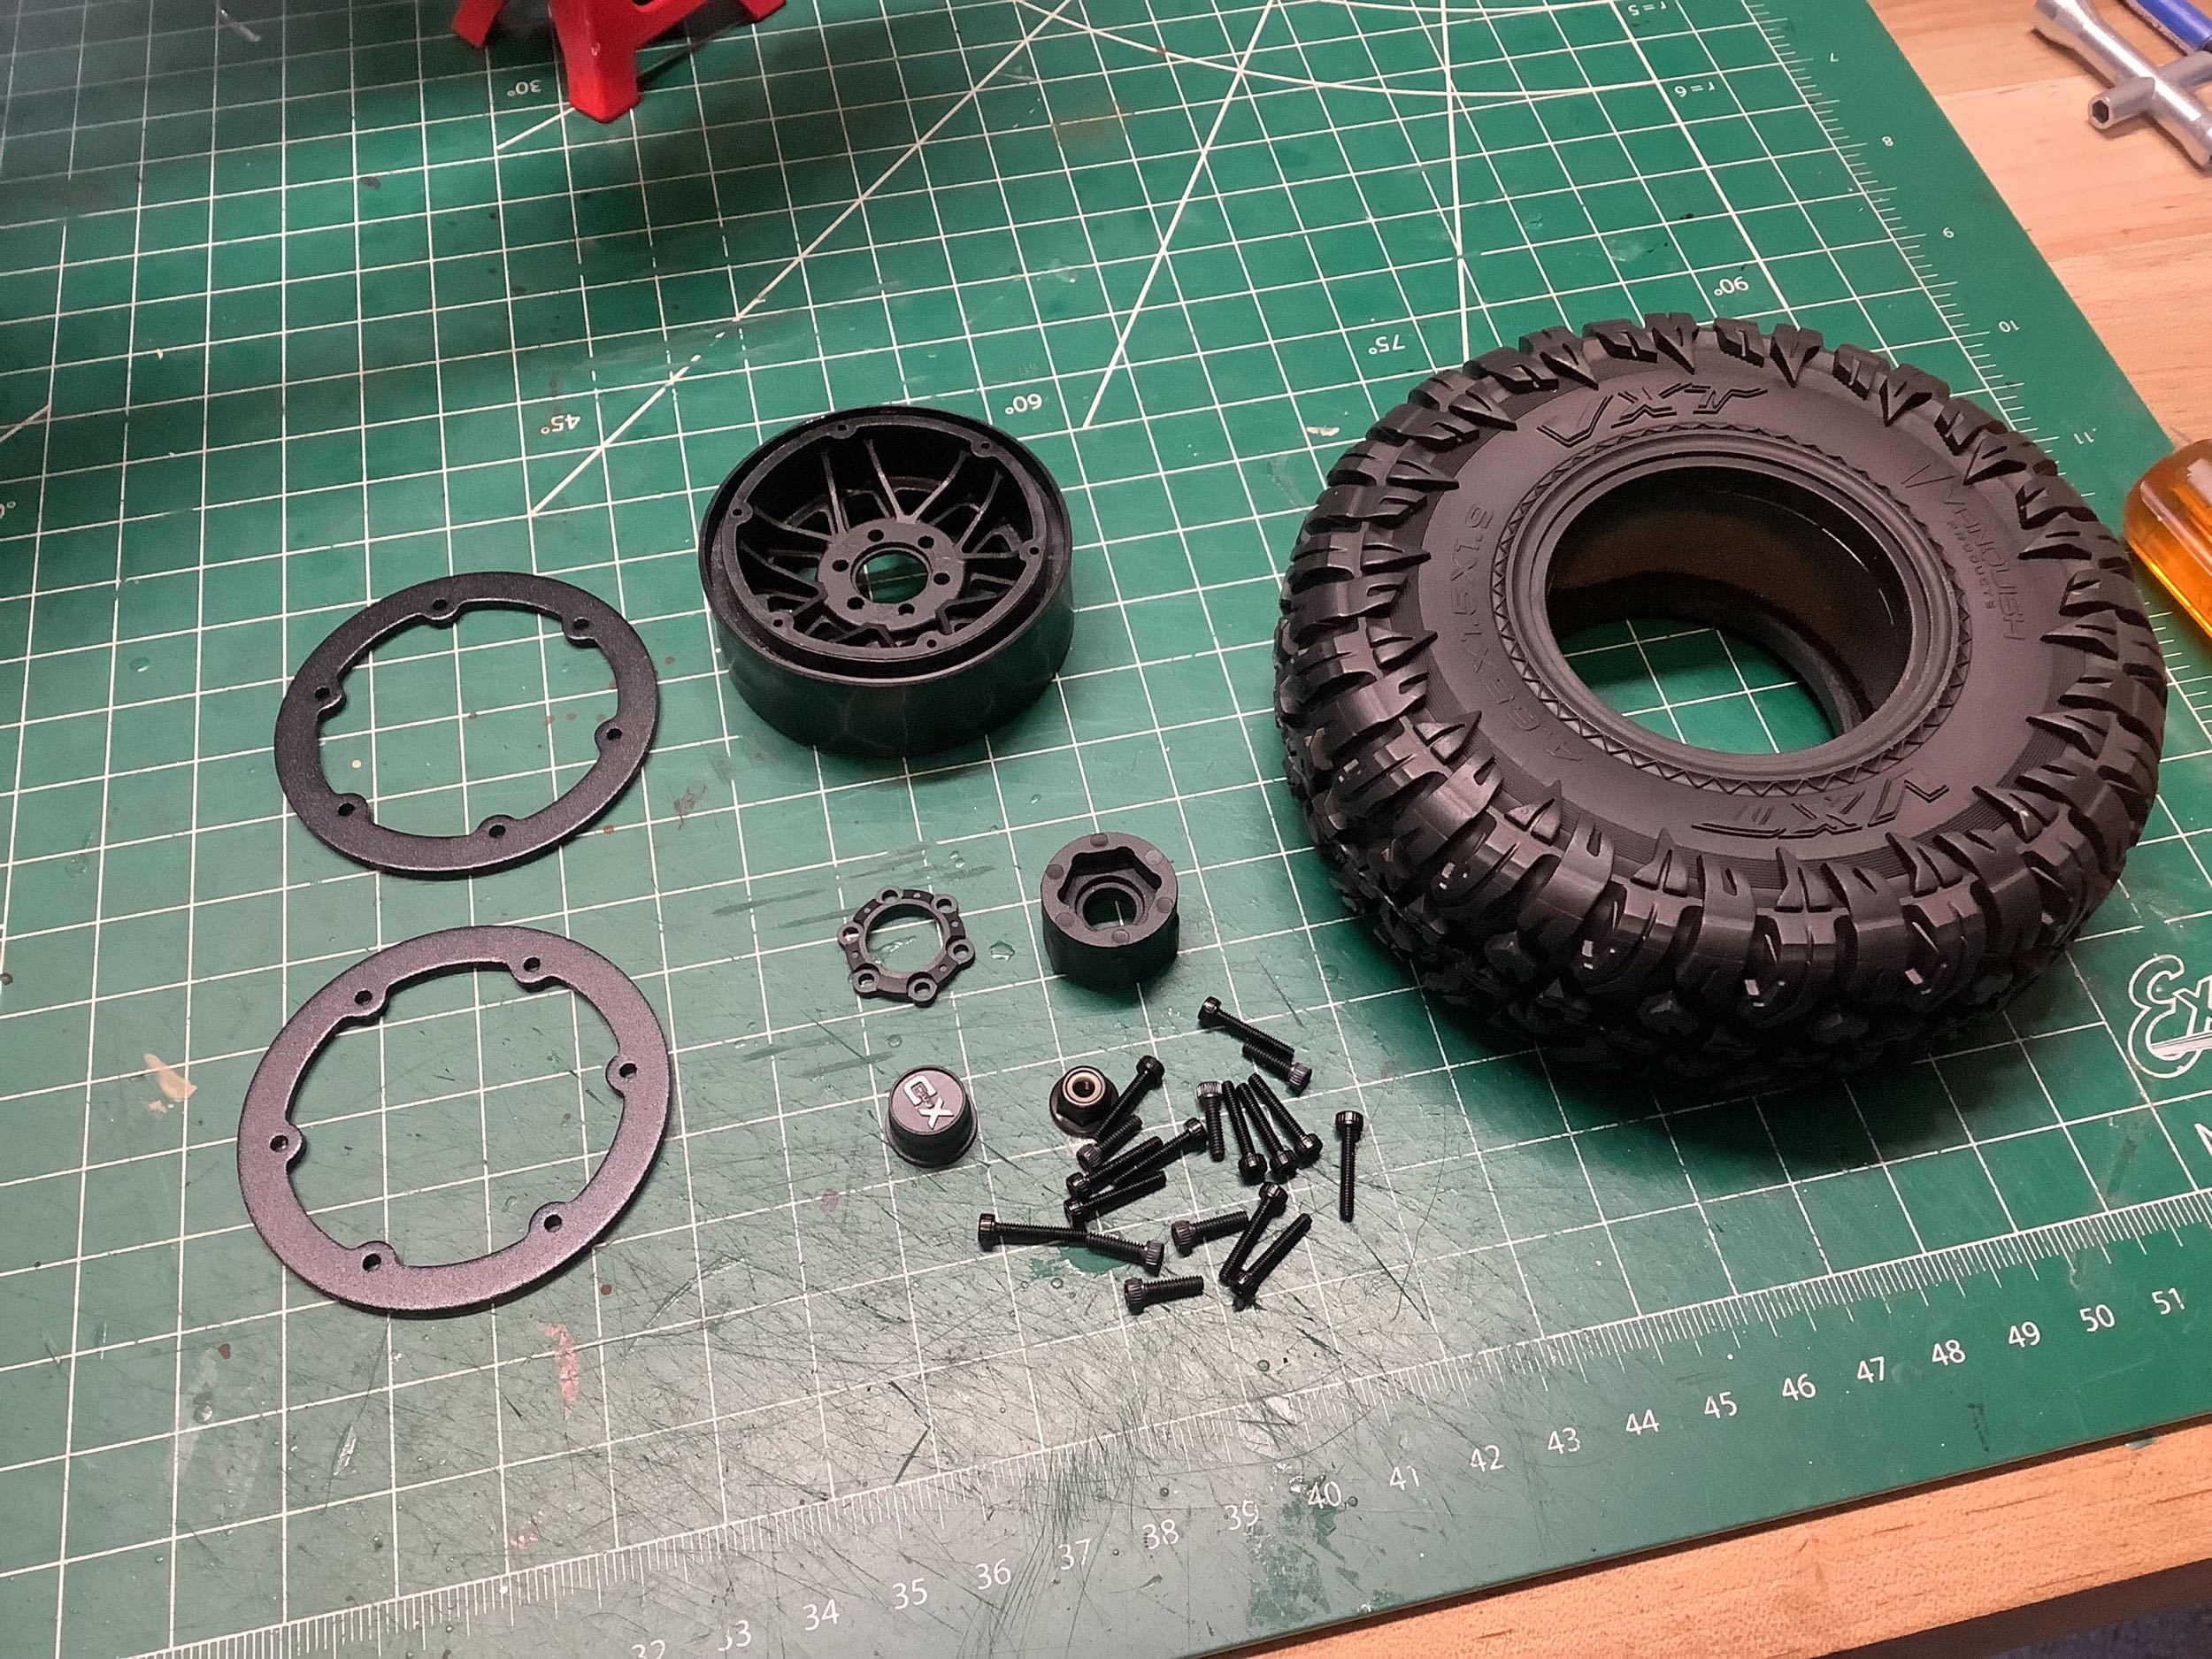
Vanquish sells some incredible scale, licensed, tires and aluminum
beadlock wheels. These are not those. They are scale KMC
Machete wheels with XD center caps, but the main body is plastic.
The locking rings are aluminum. The tires are very nice but are a
generic Vanquish style. Installing beadlocks always takes a
while...
The final step is installing the inner fenders. These are just
Lexan, but they have been pre-cut which makes things a lot easier.
I painted them black from the inside and then put flat clear on the
outside to make them a bit more realistic. I also couldn't help
but install a fancy aluminum Reefs RC servo winch in the available
location. Servo winches are almost useless because they tangle so
easily, but I have no resistance to open accessory slots.
©2026 Eric Albrecht