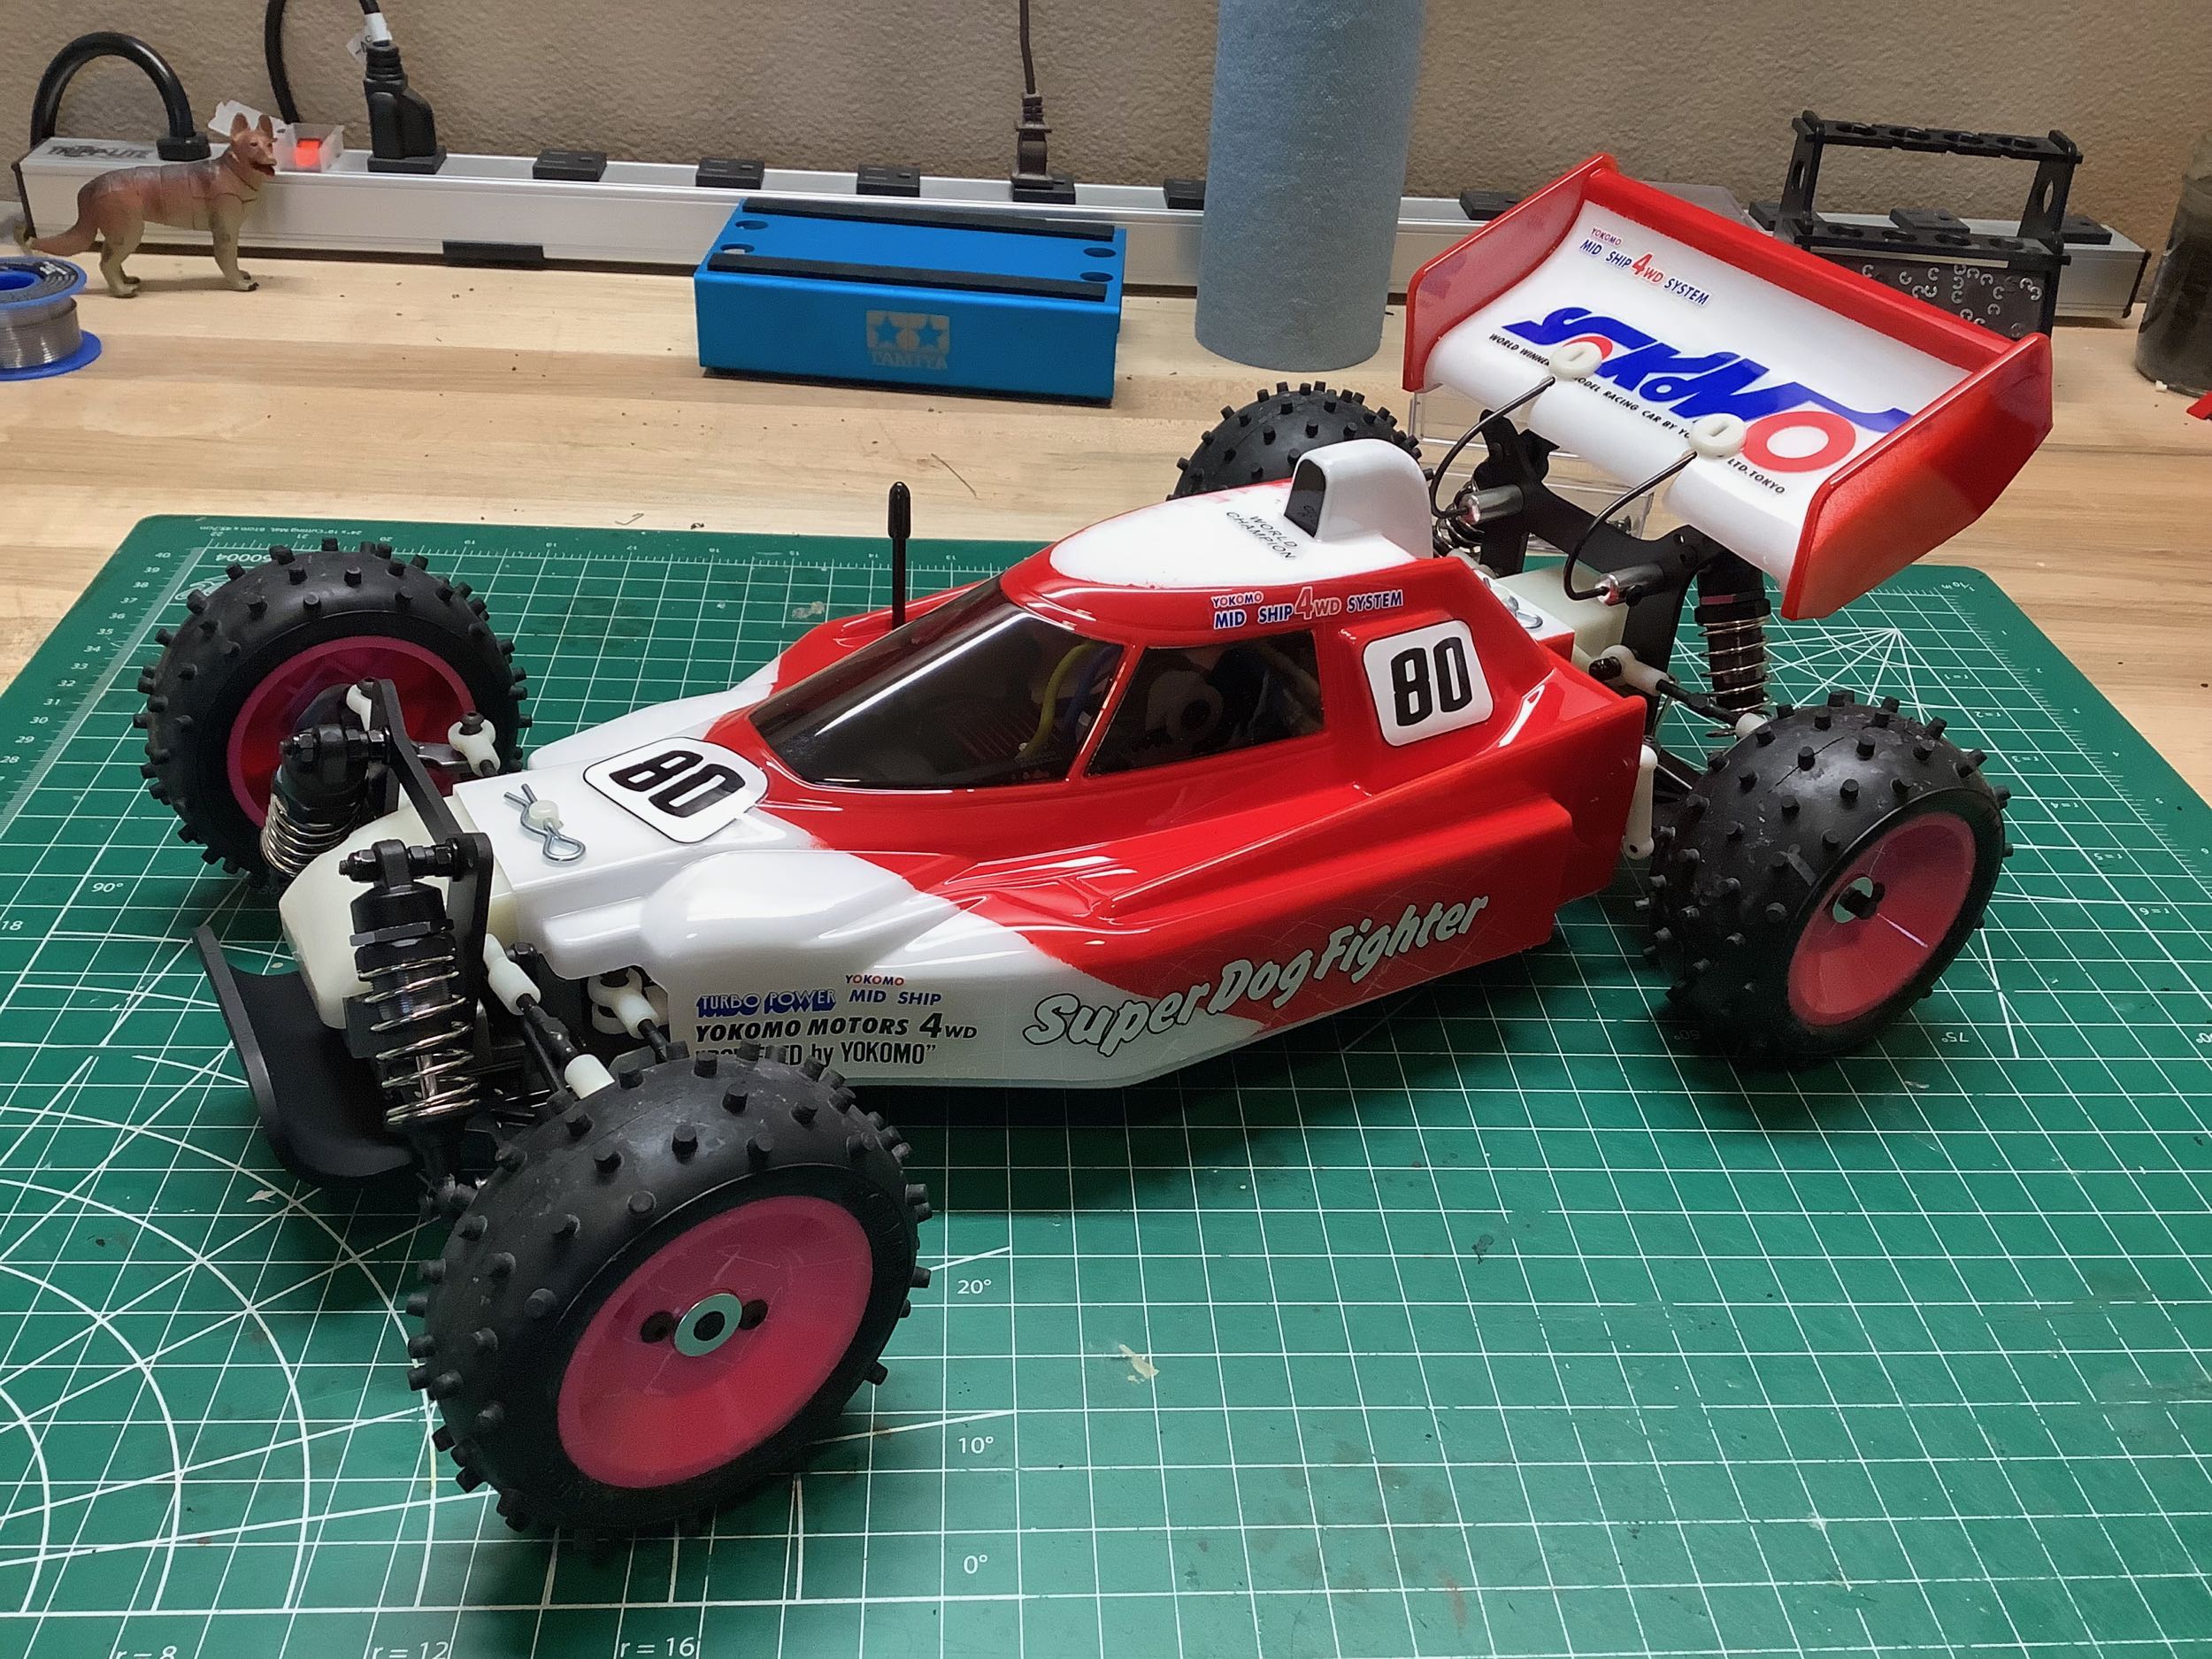
Yokomo Super Dog Fighter Project
Page 2: Painting
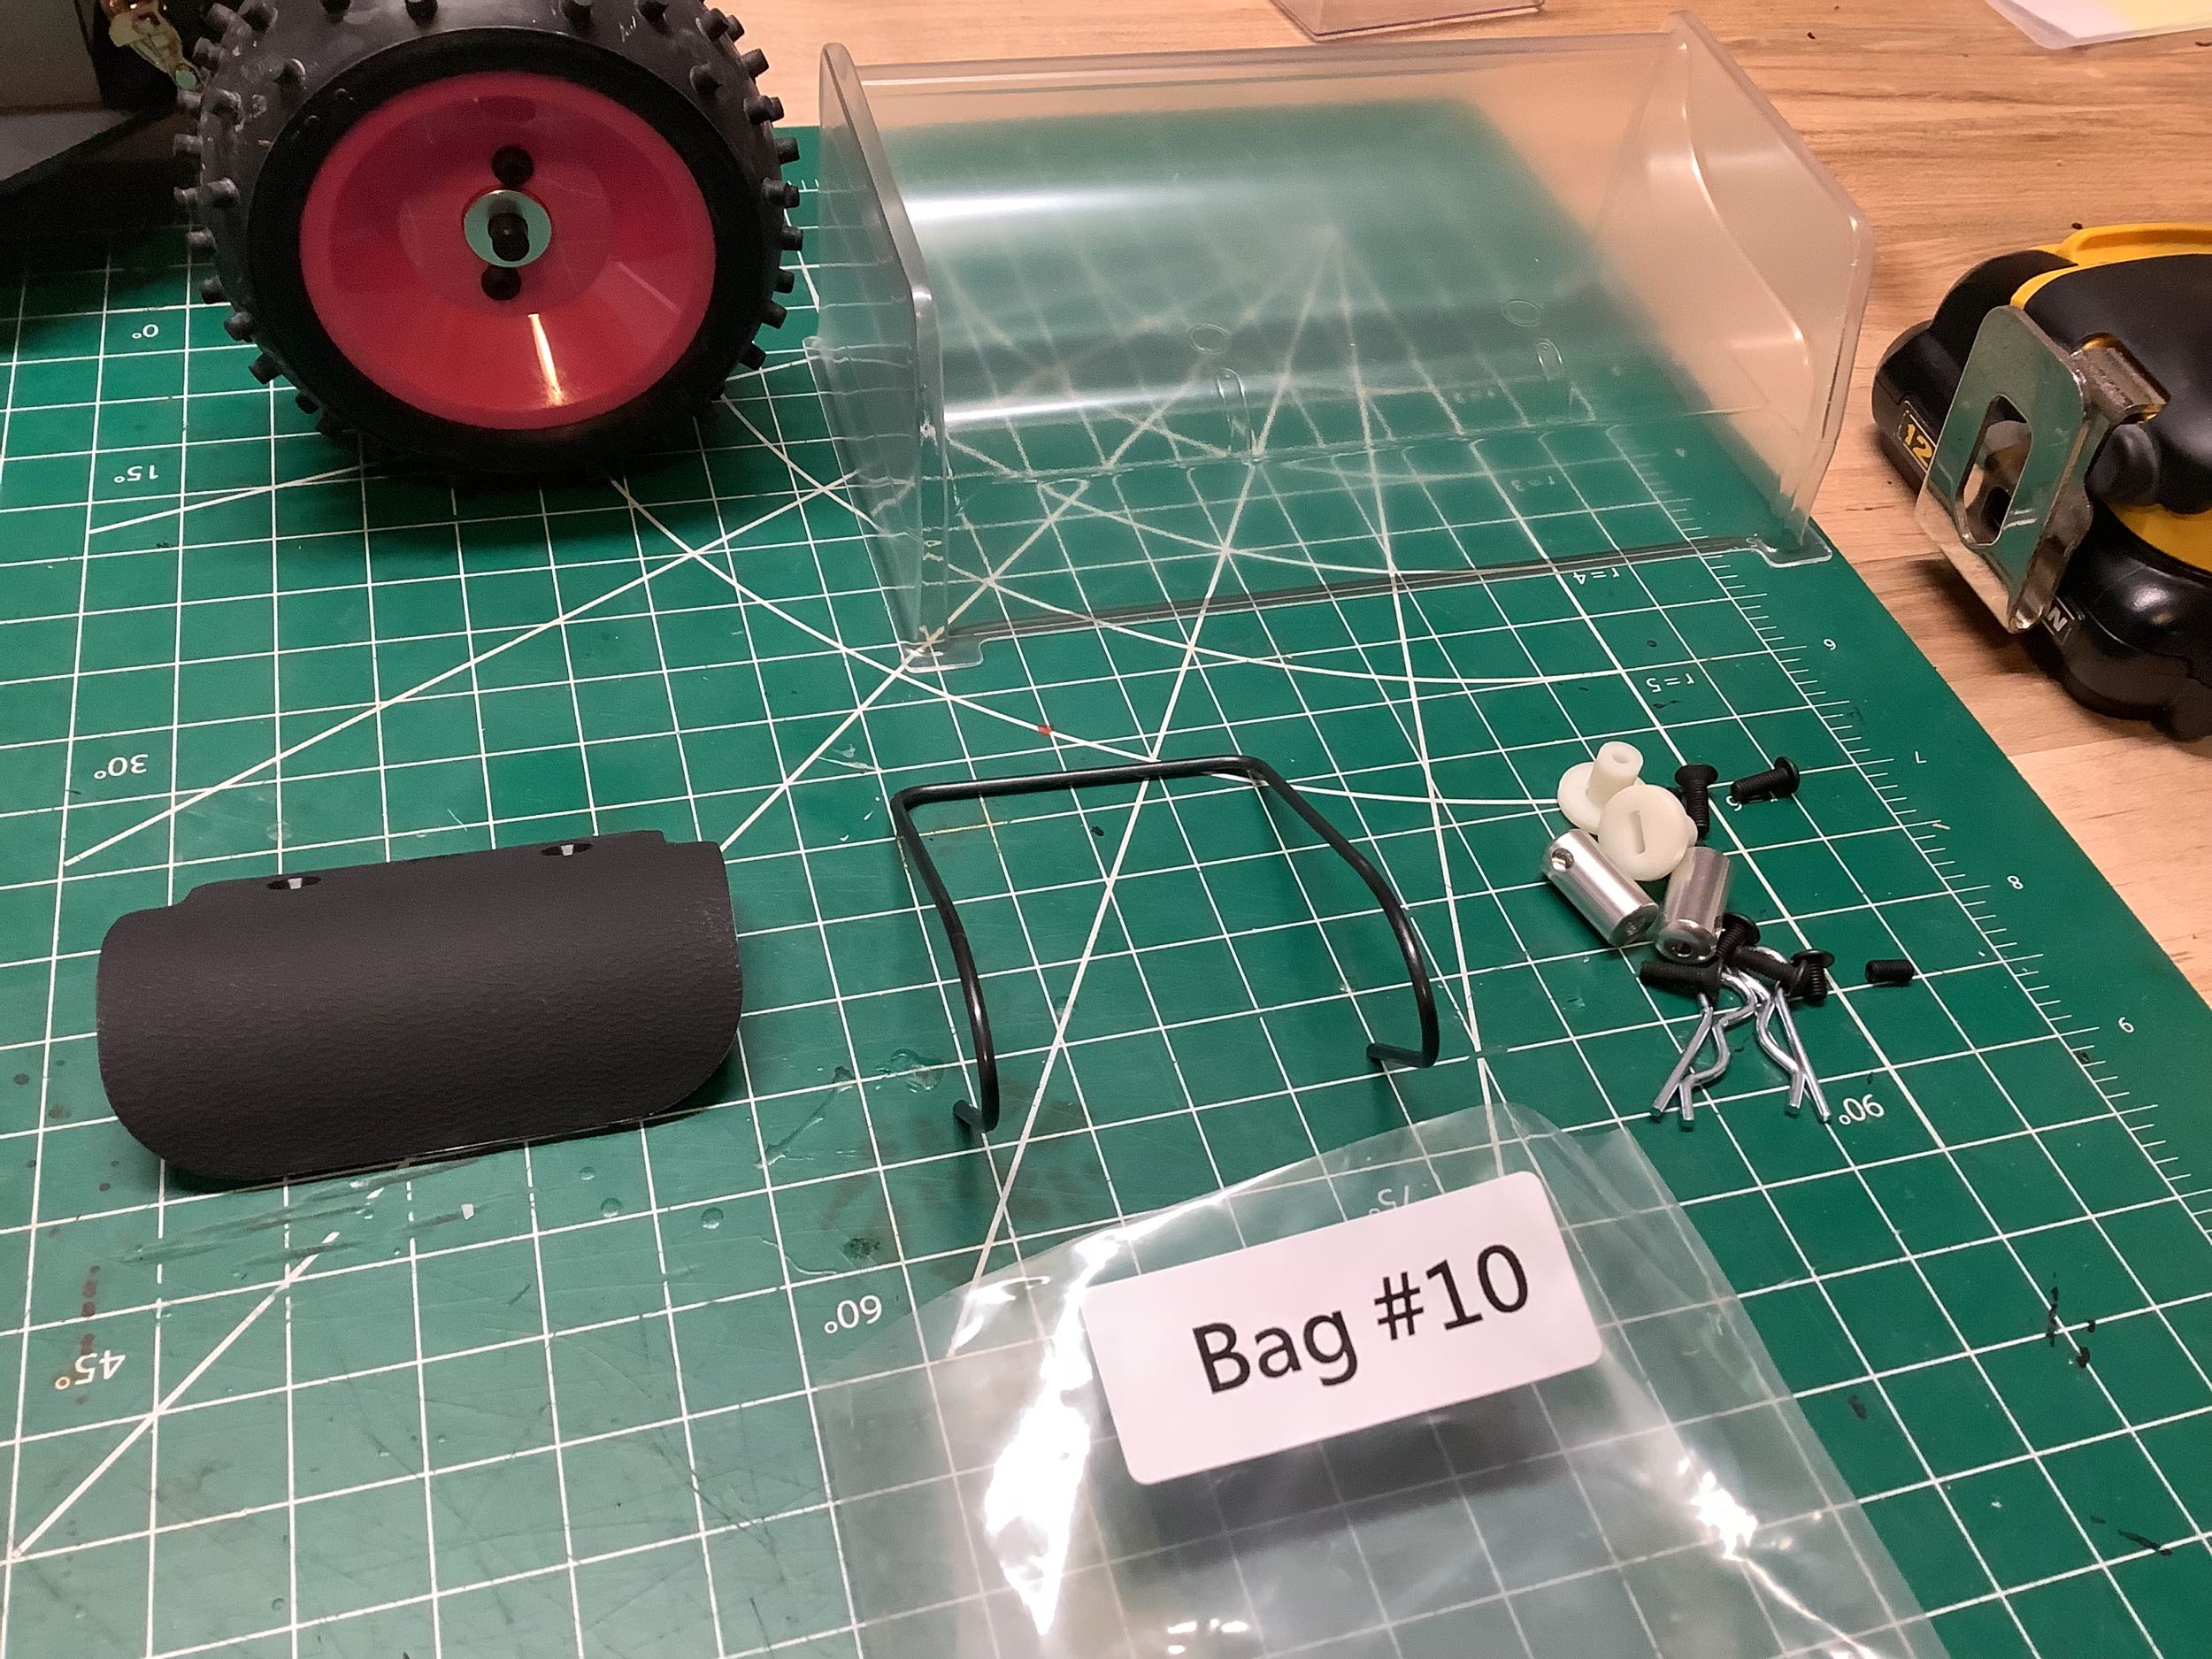
Bag 10 contains the parts for the front bumper and wing mount which
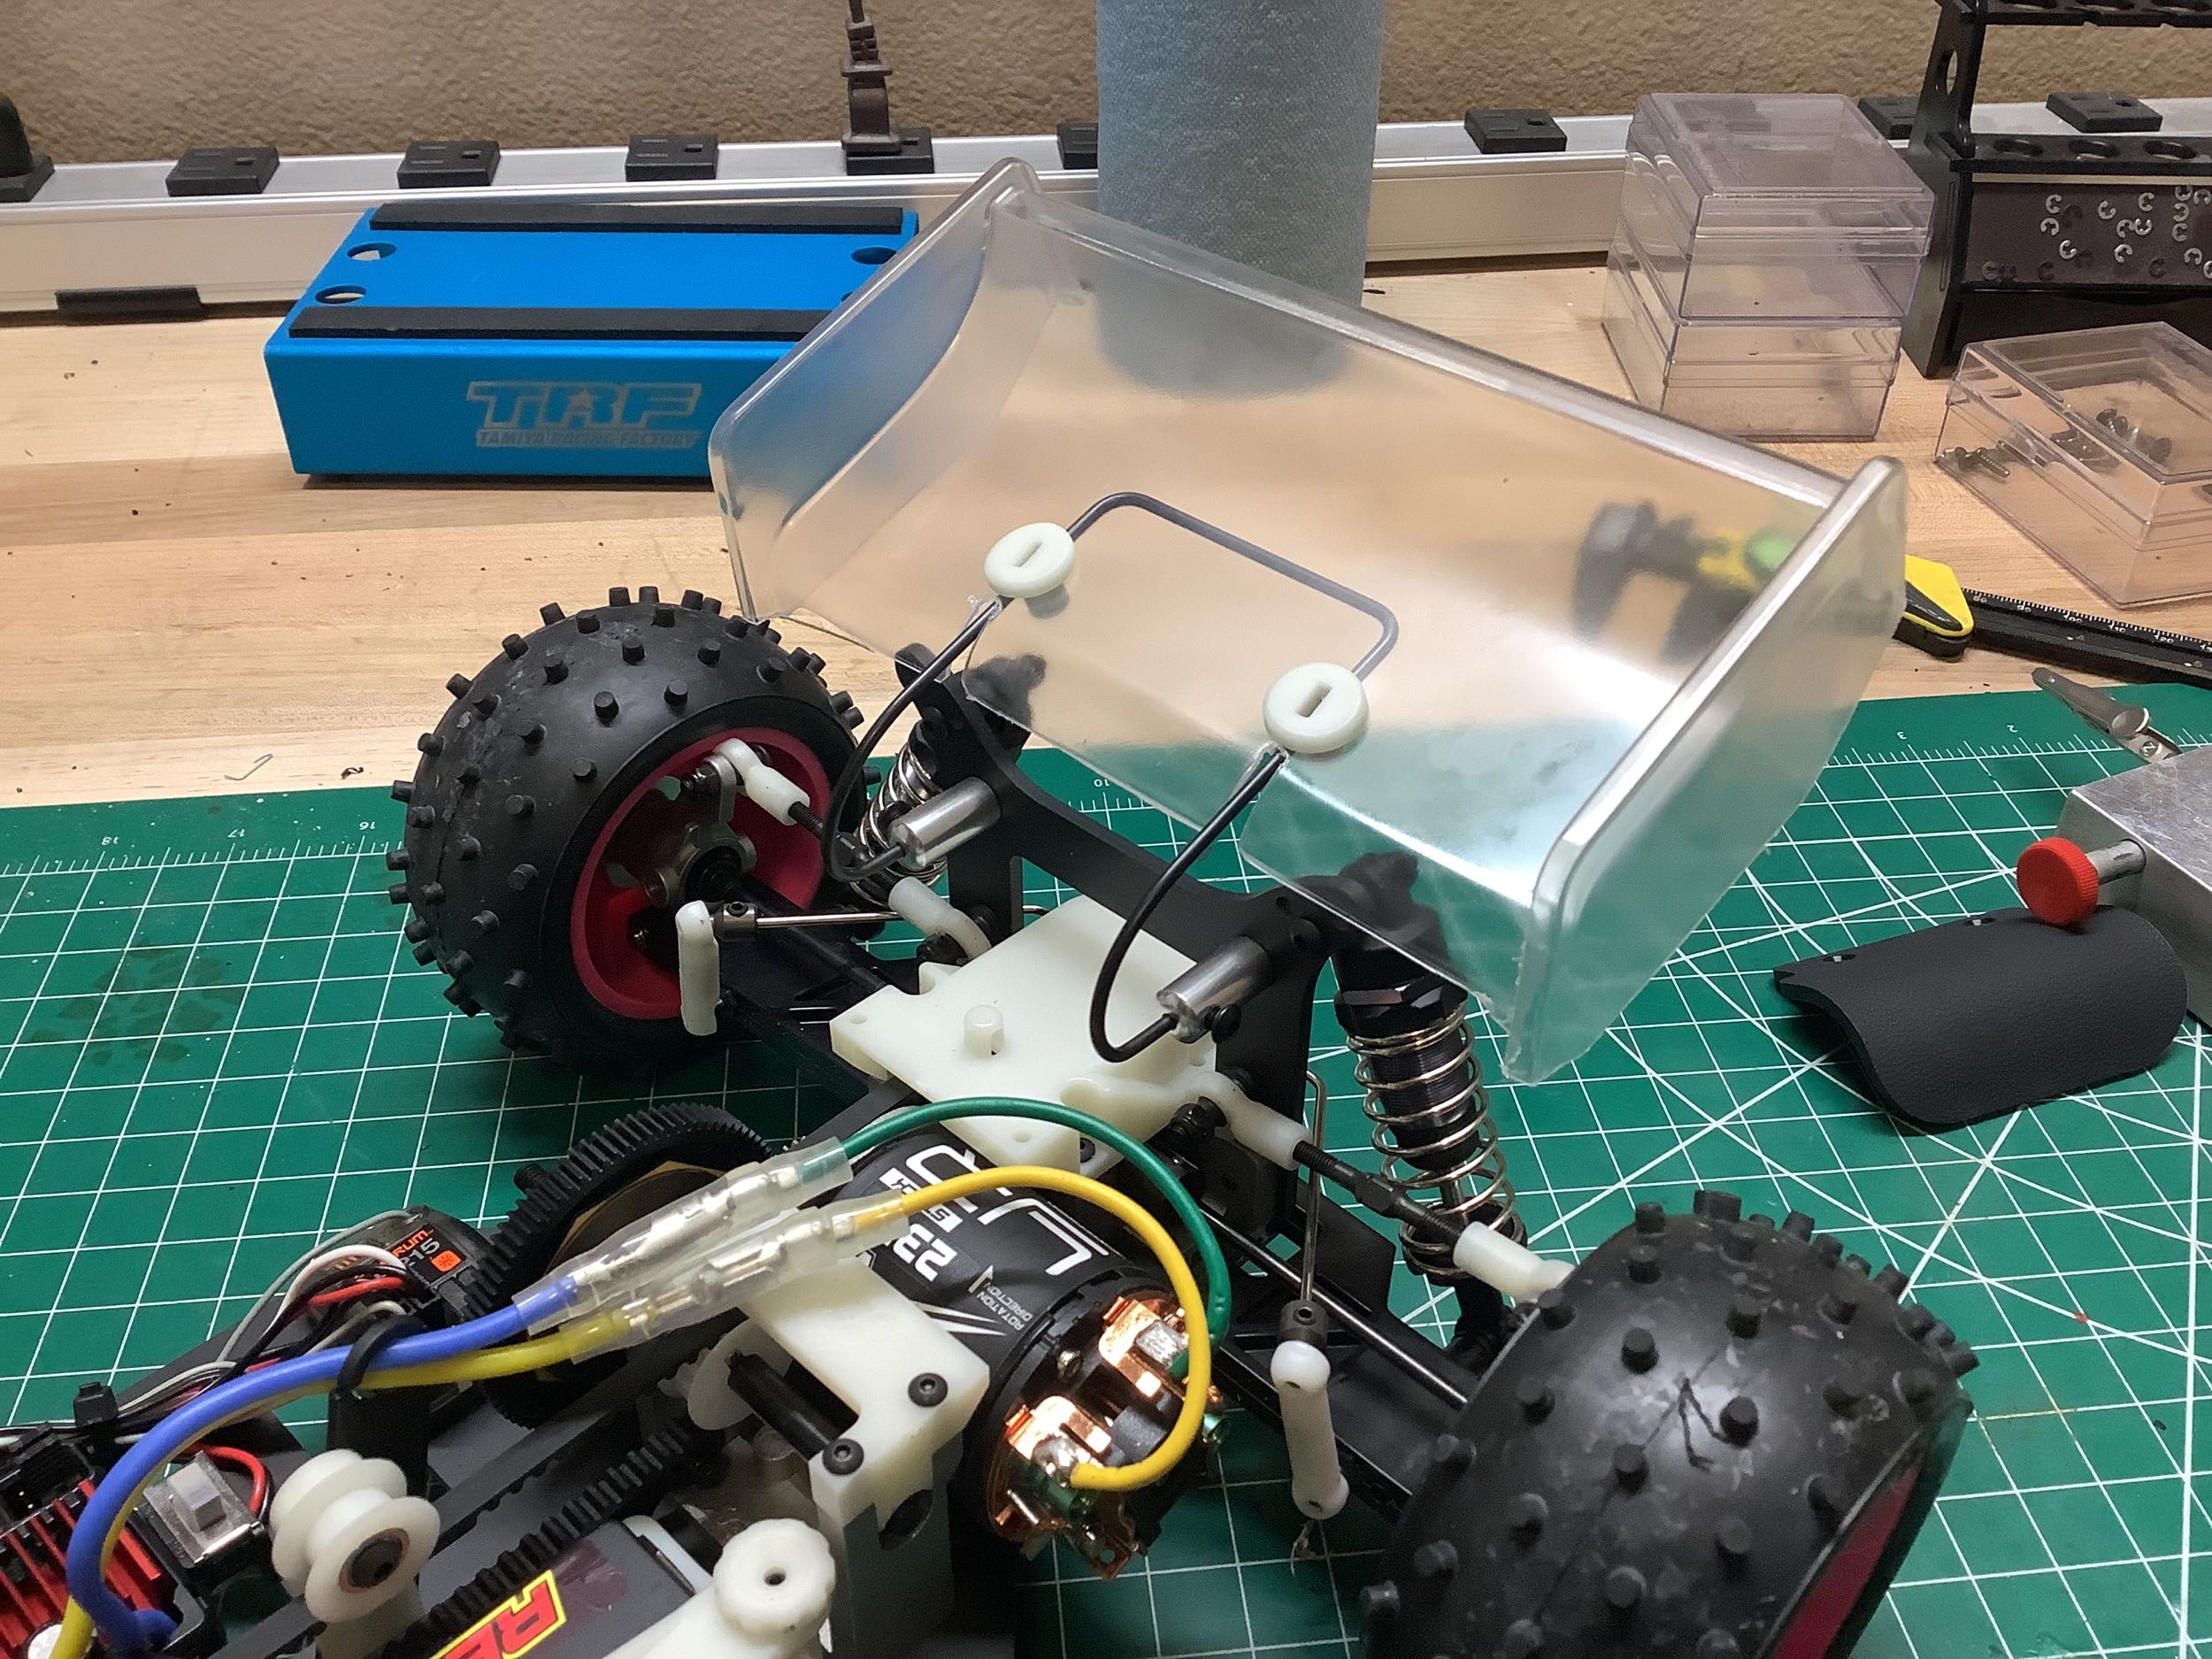
require some polycarbonate trimming to install. The wing mounts
with a curved wire and a couple of plastic tabs. This should be
flexible enough to withstand a rollover, should that ever occur.
This is the kind of wing with very thin hollow sides that really cannot
be painted because nothing gets in there.
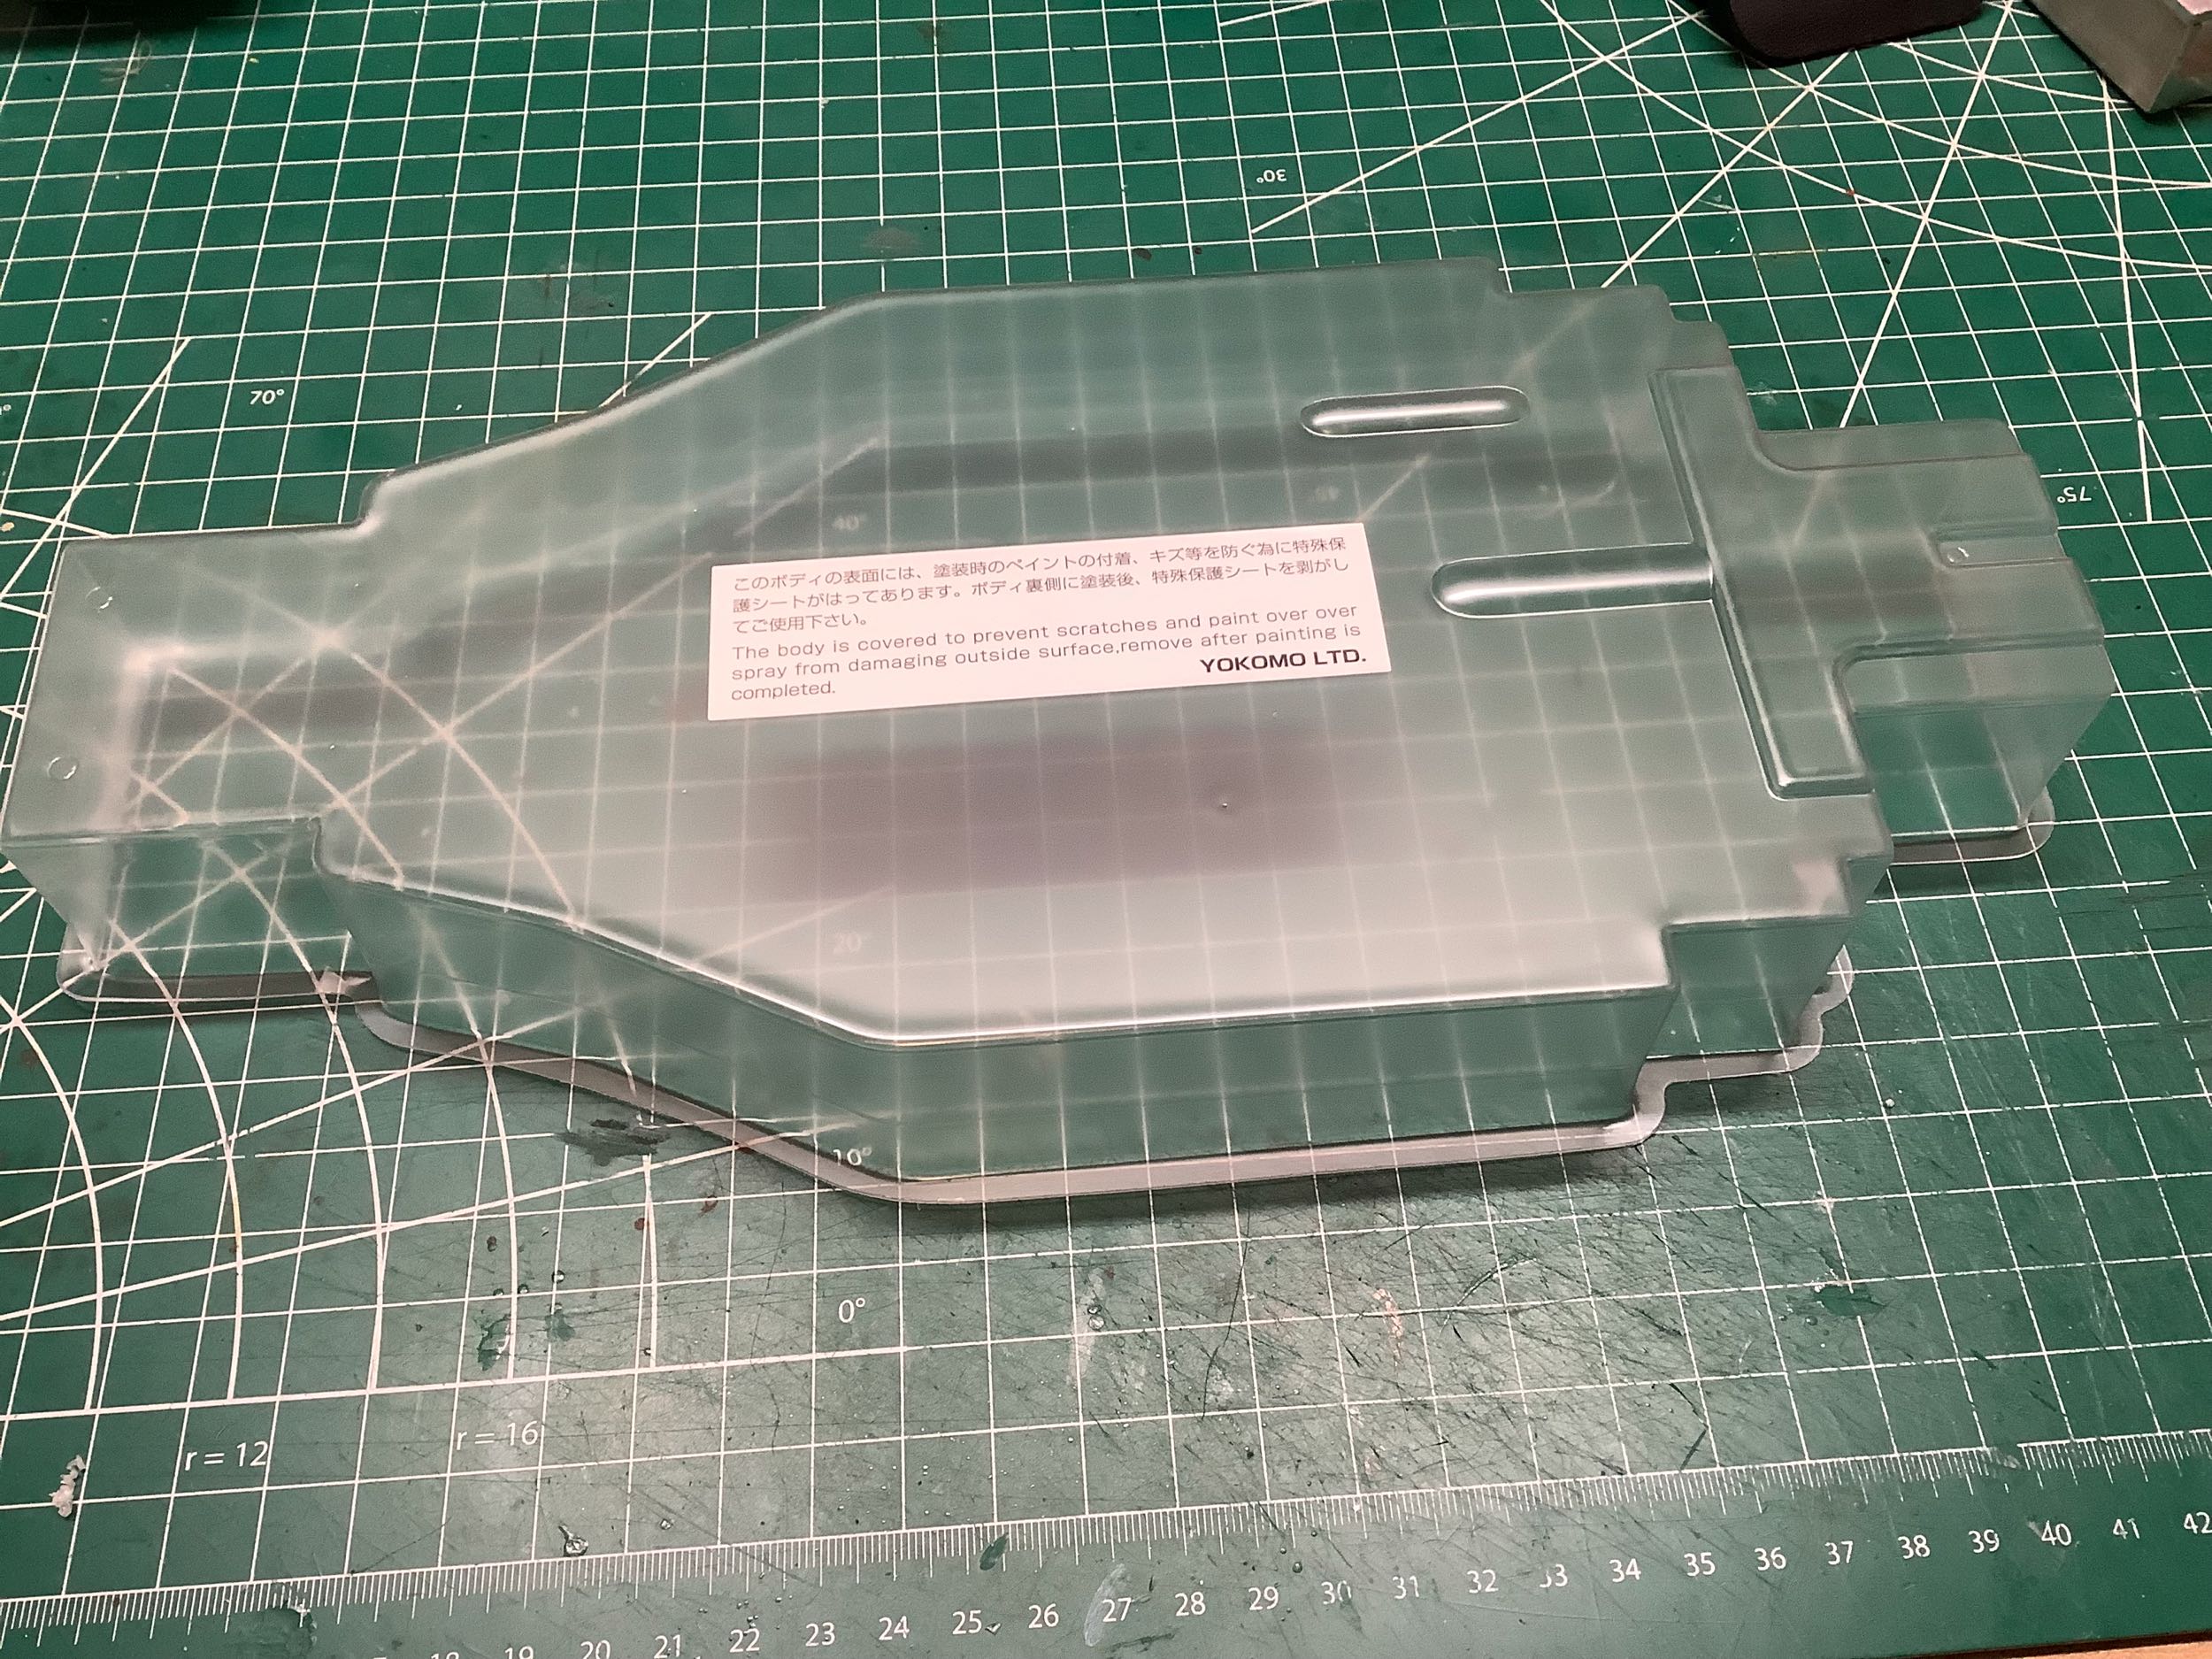
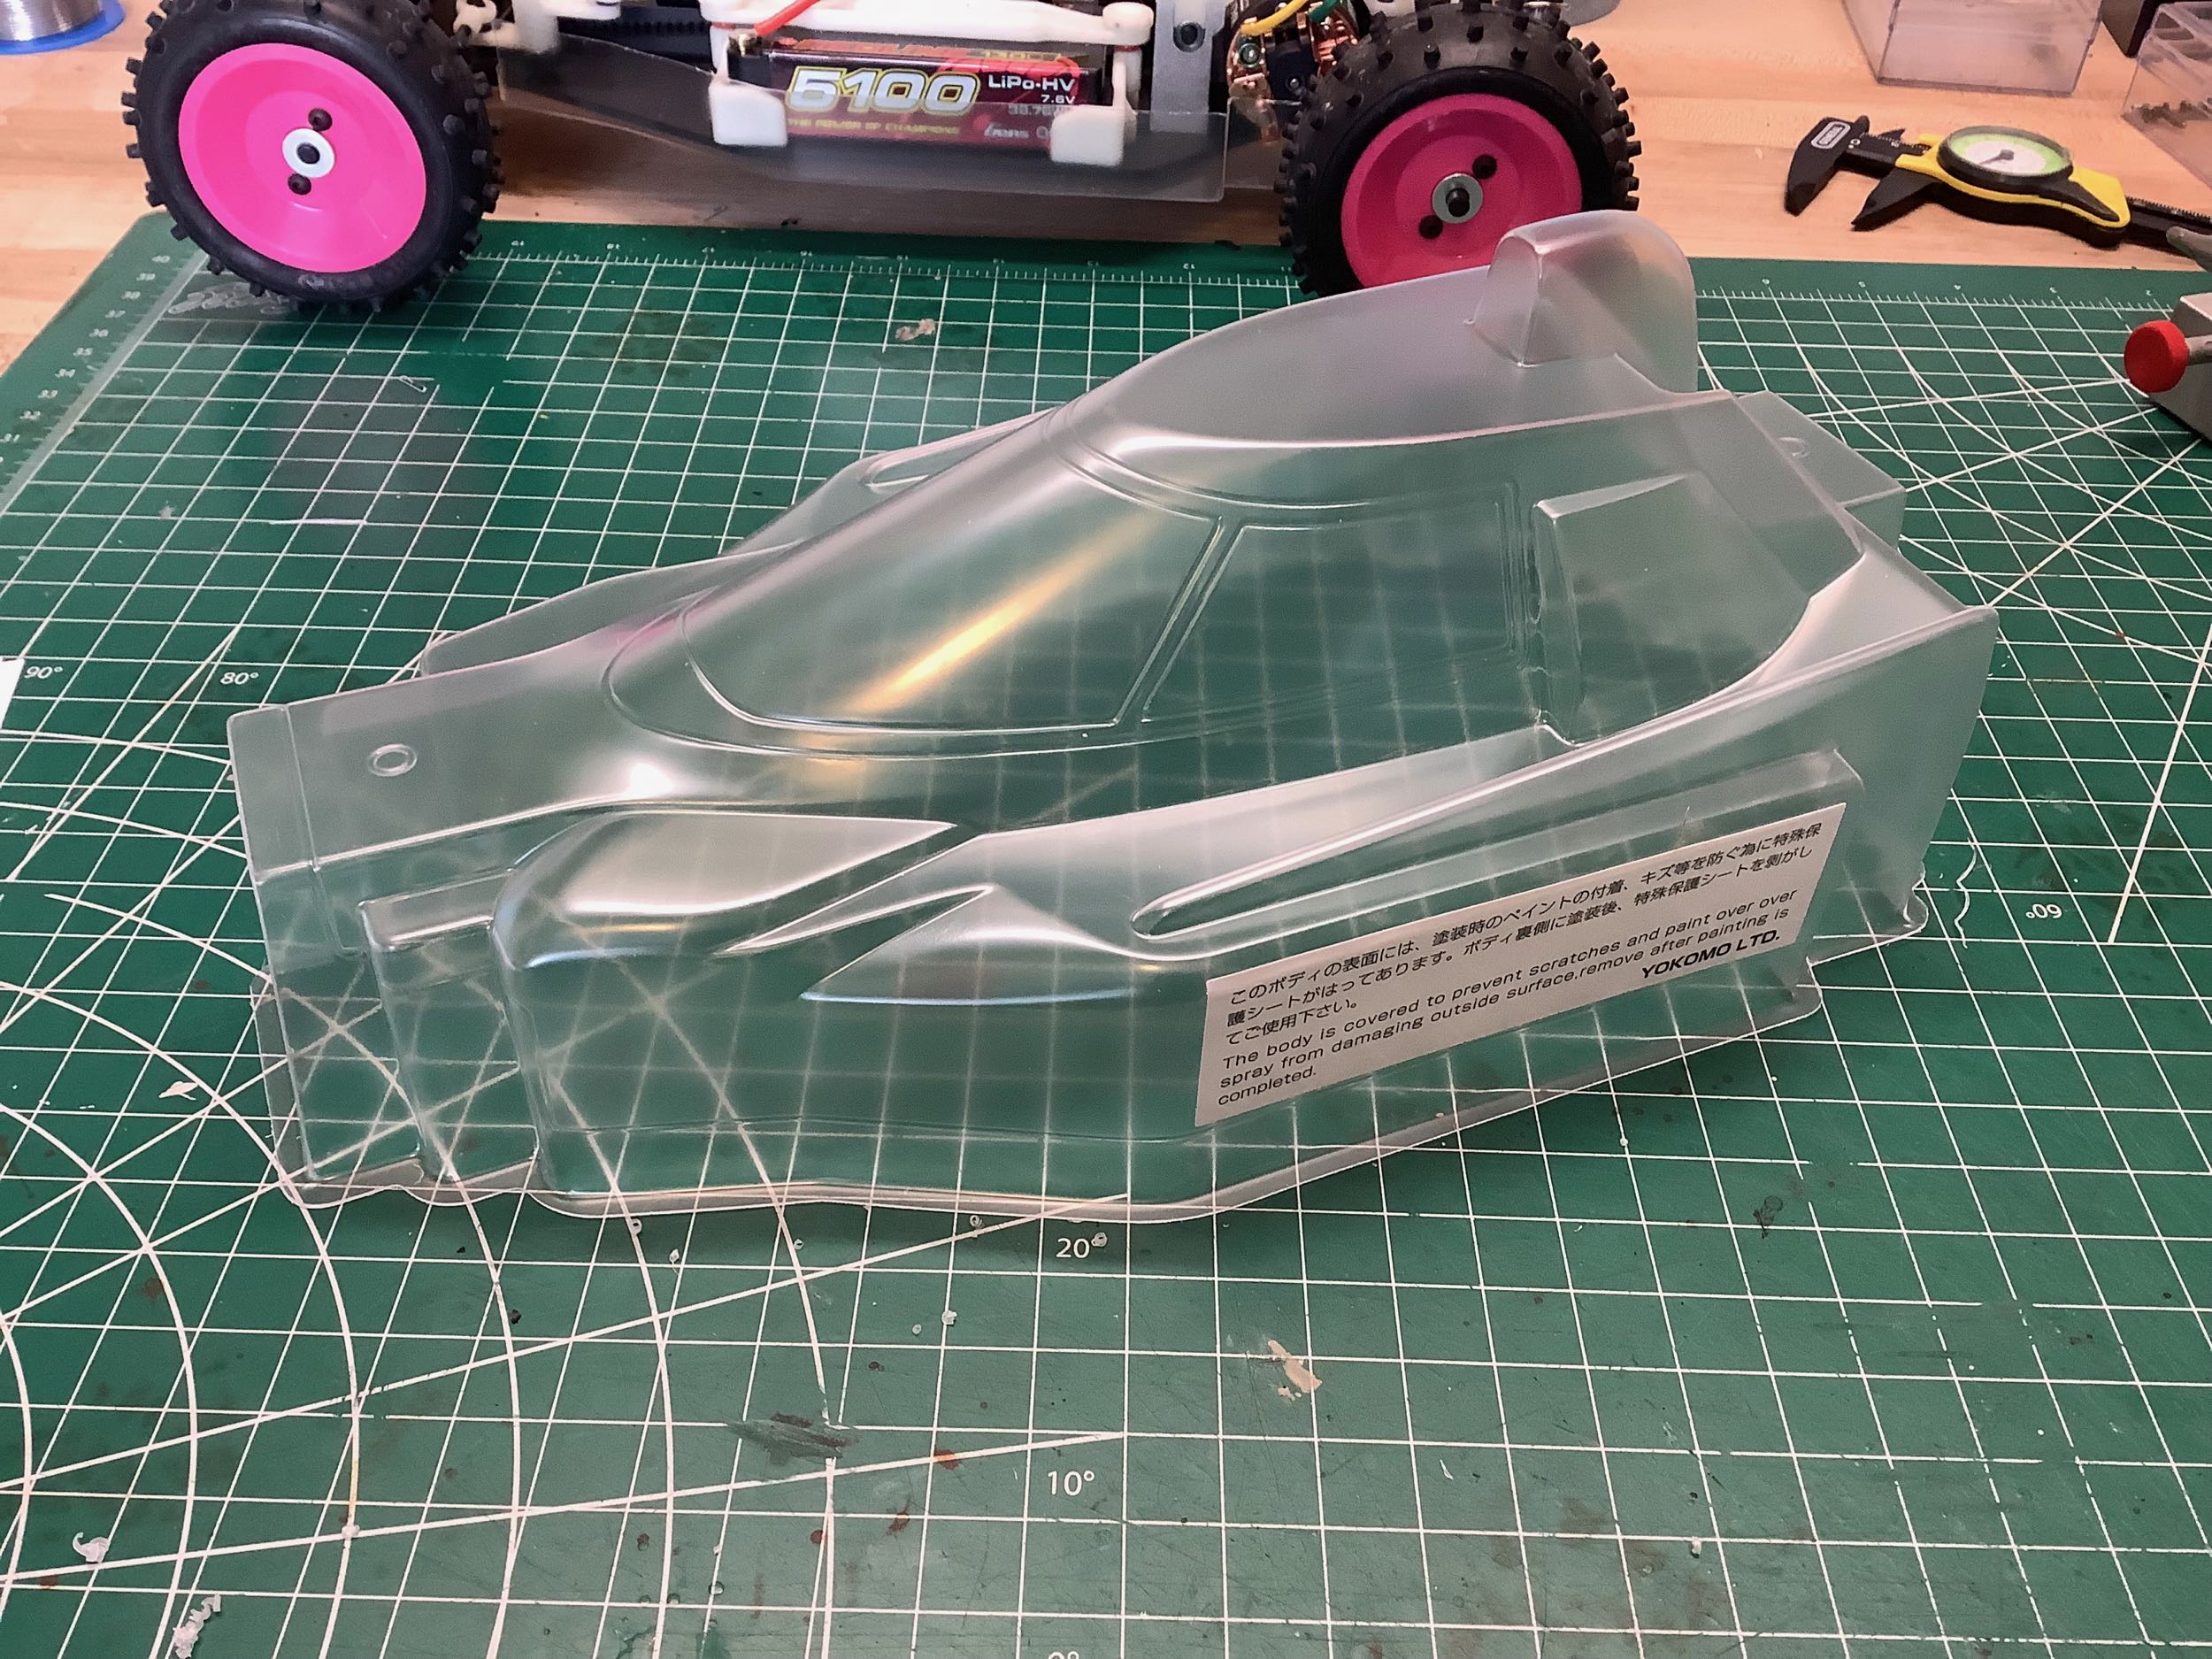
The under tray is extremely blocky with lots of right angles as
shown. This makes it hard to trim. It also mounts to the
chassis with screws so is intended to remain attached once
installed. This picture shows the tray before I removed the
protective film. I chose to leave it clear. I like that the
bumper sits below the tray so that no
grass or dirt can get inside the tray. On the other hand, this
very low bumper tends to scrape over bumps and jumps.
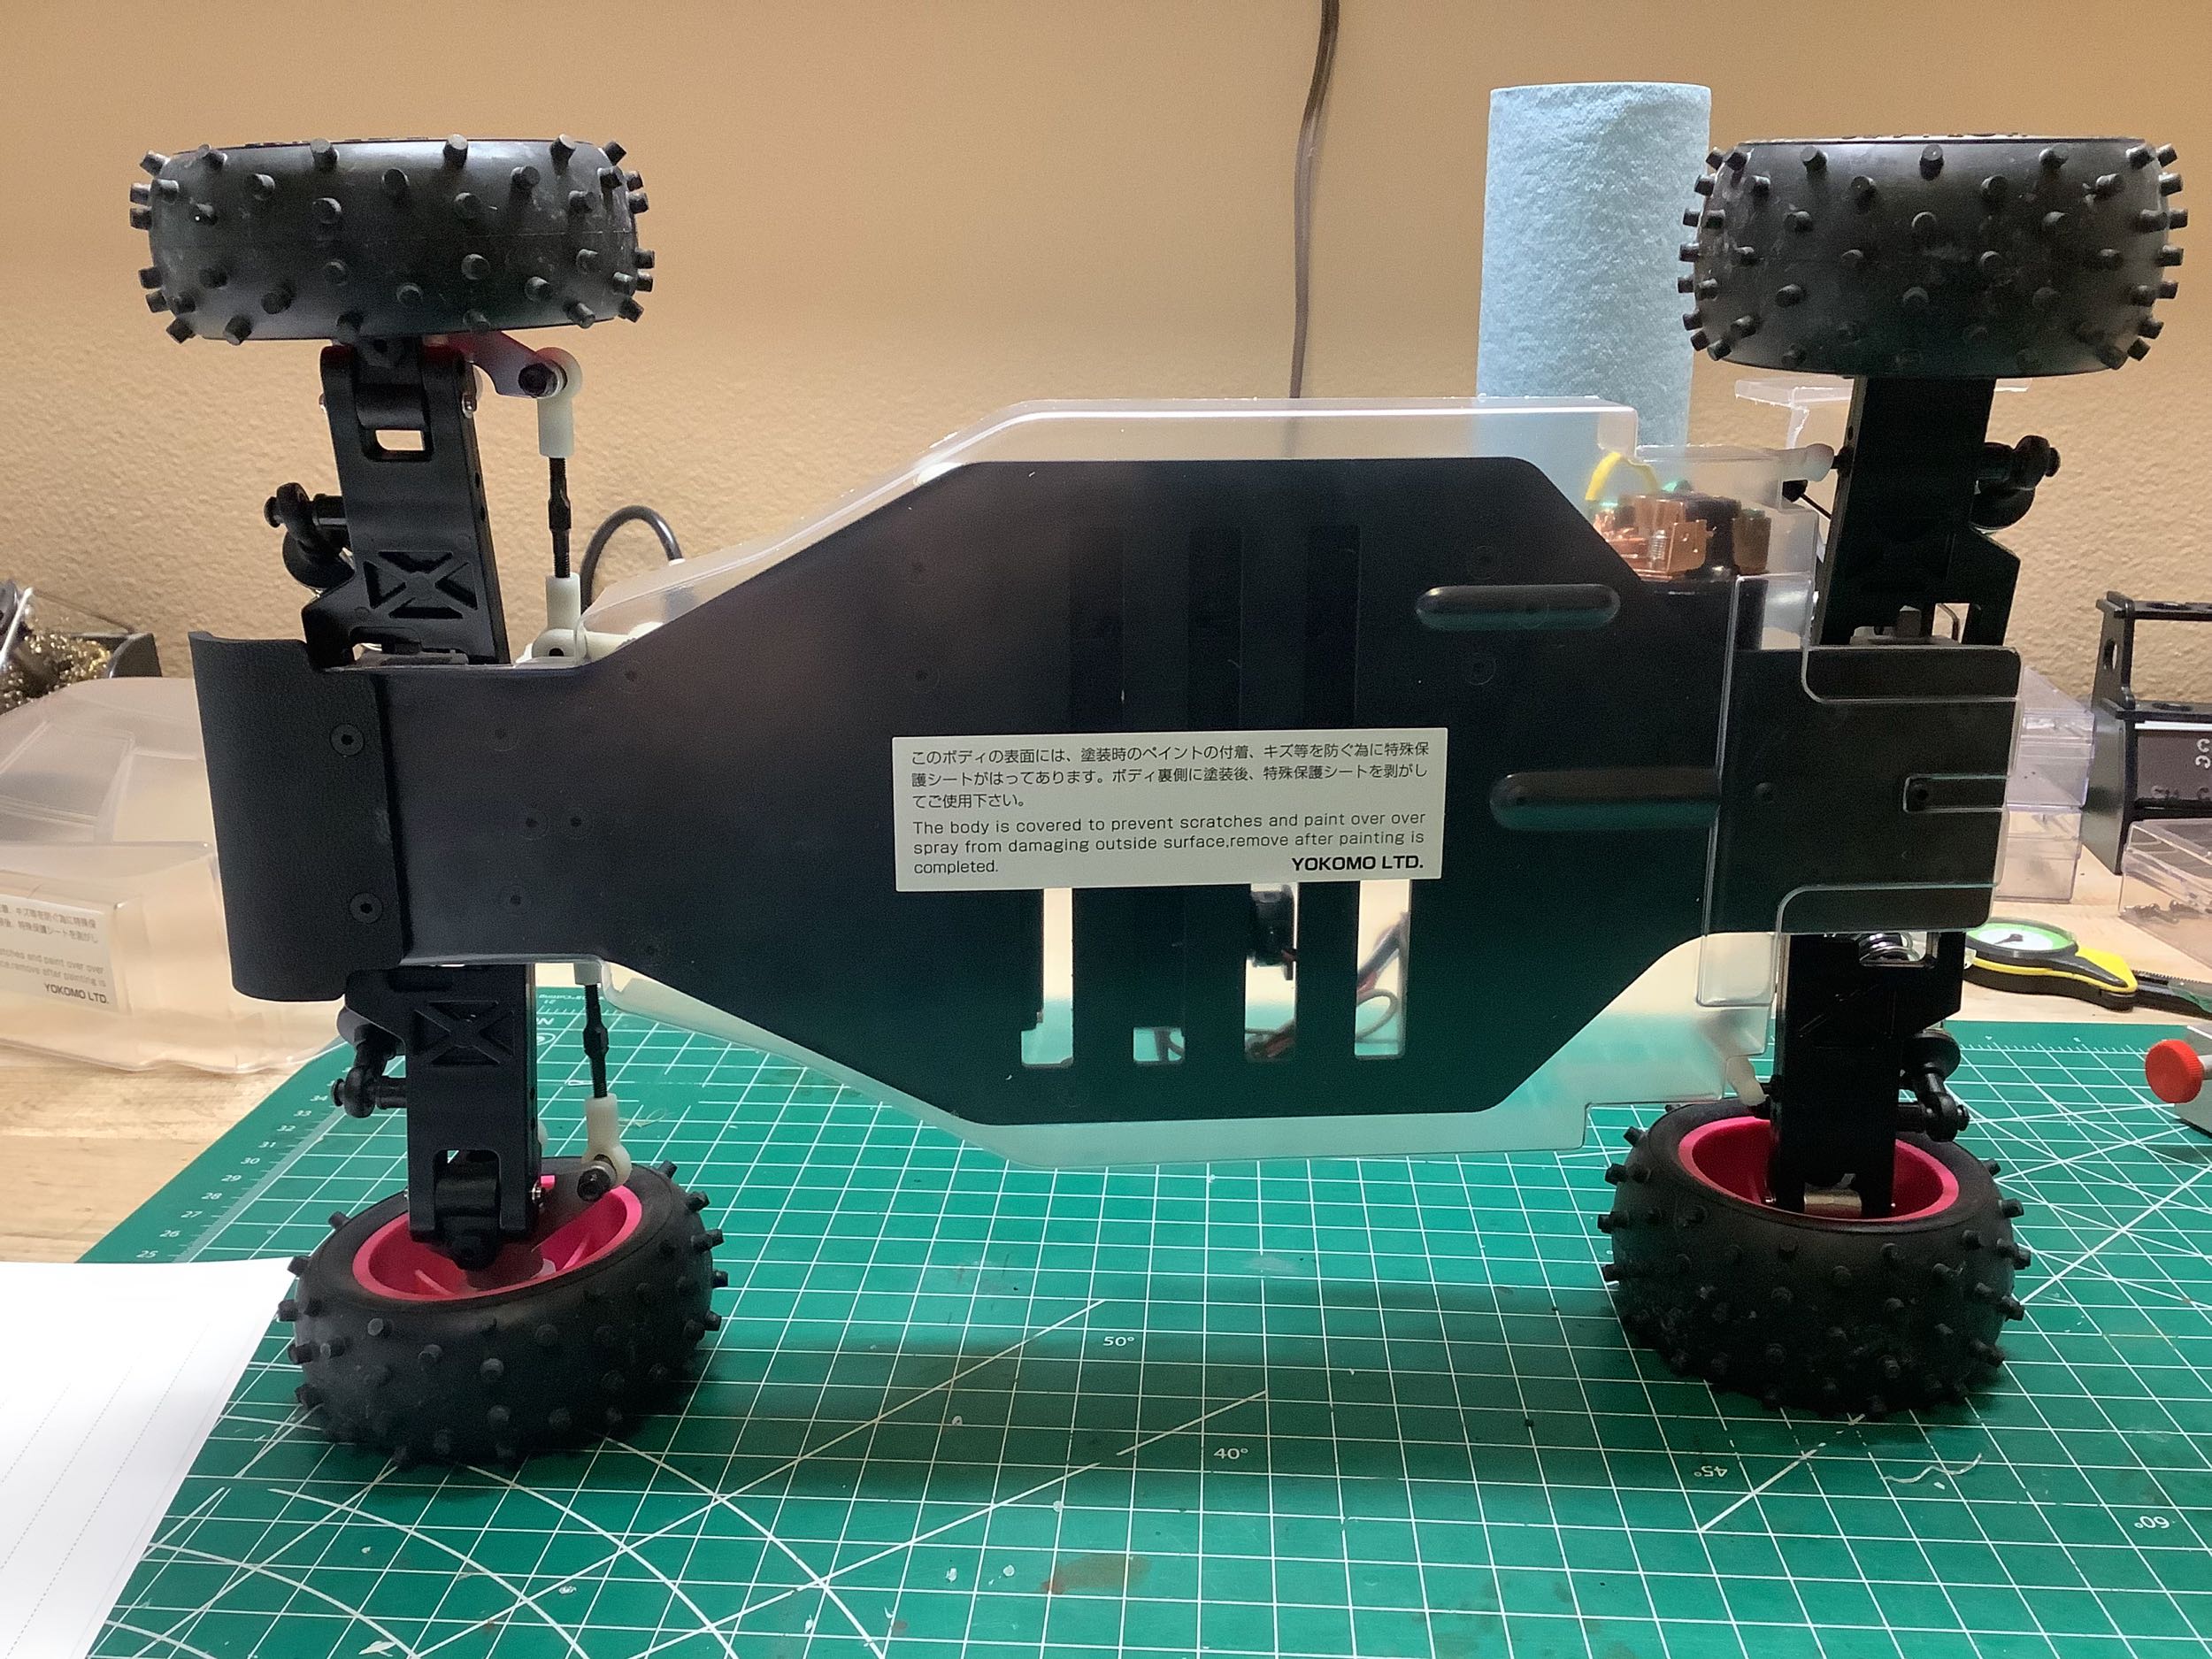
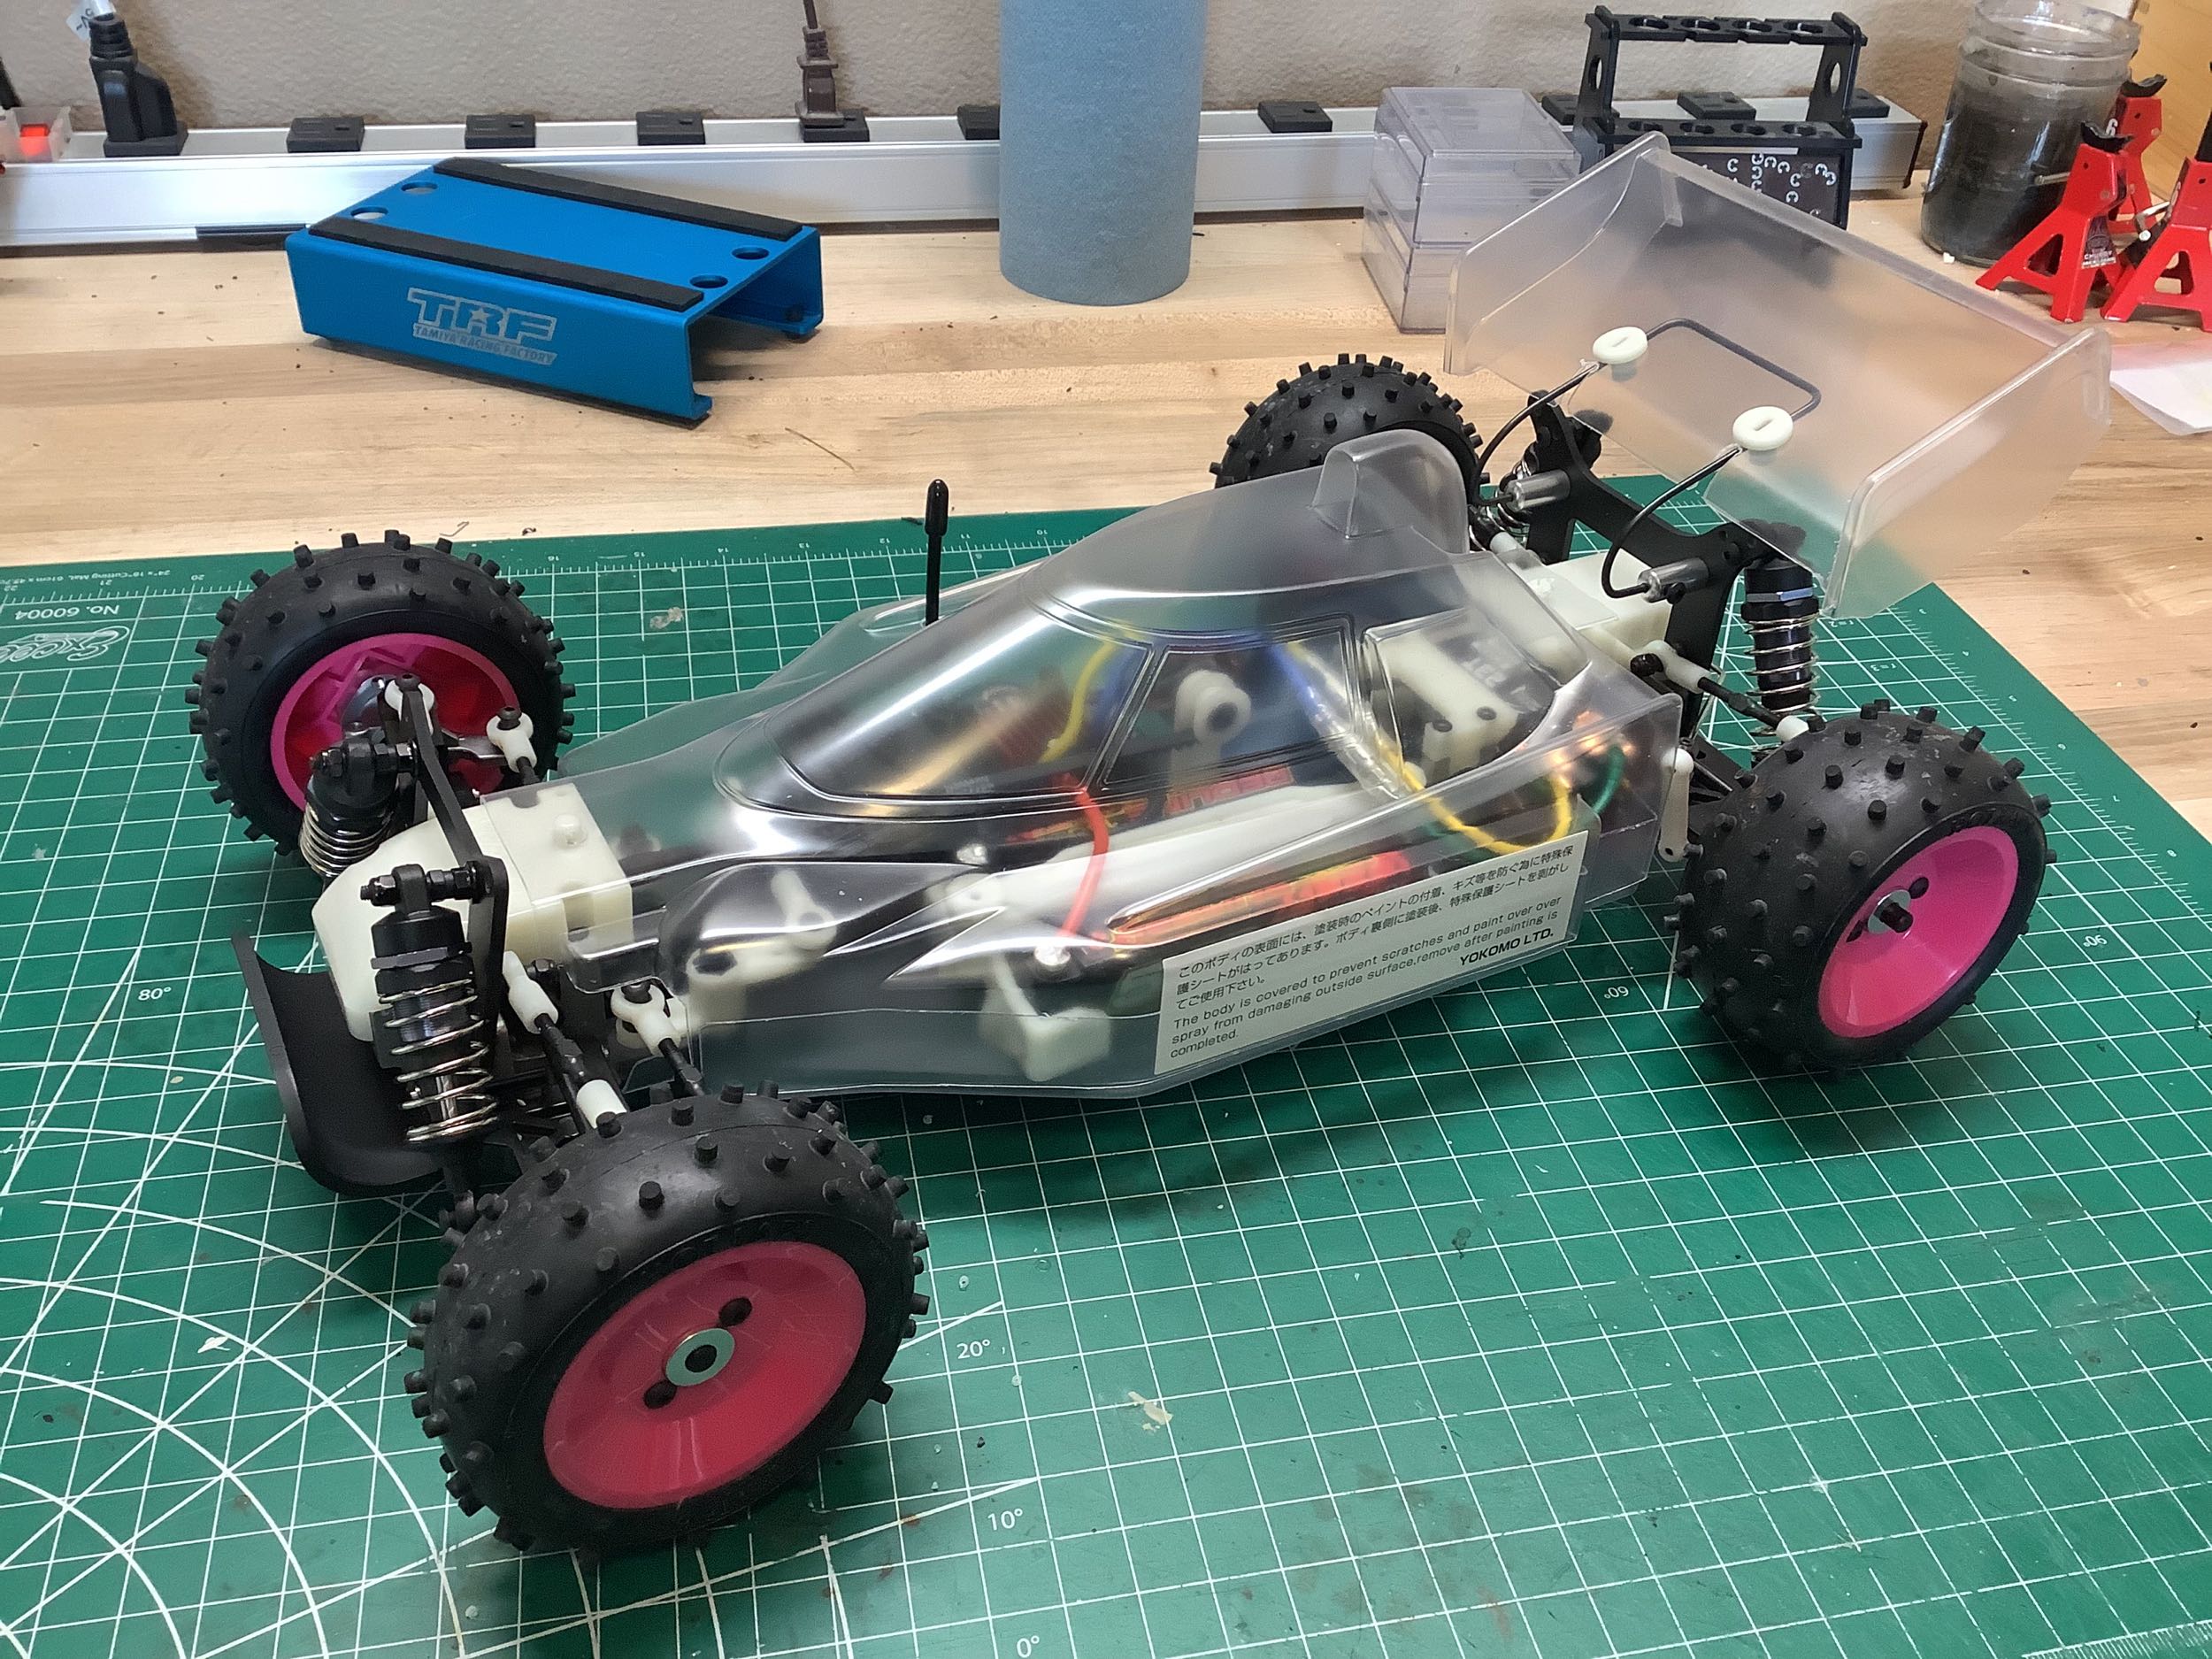
The body has to be just as blocky as the try to fit, but at the same
time the cabin is quite swoopy. Those are the technical
terms. The body attaches with two very large cotter pins as you
can see in test fit on the right. The wiring has to be kept very
low in the side pods to fit.
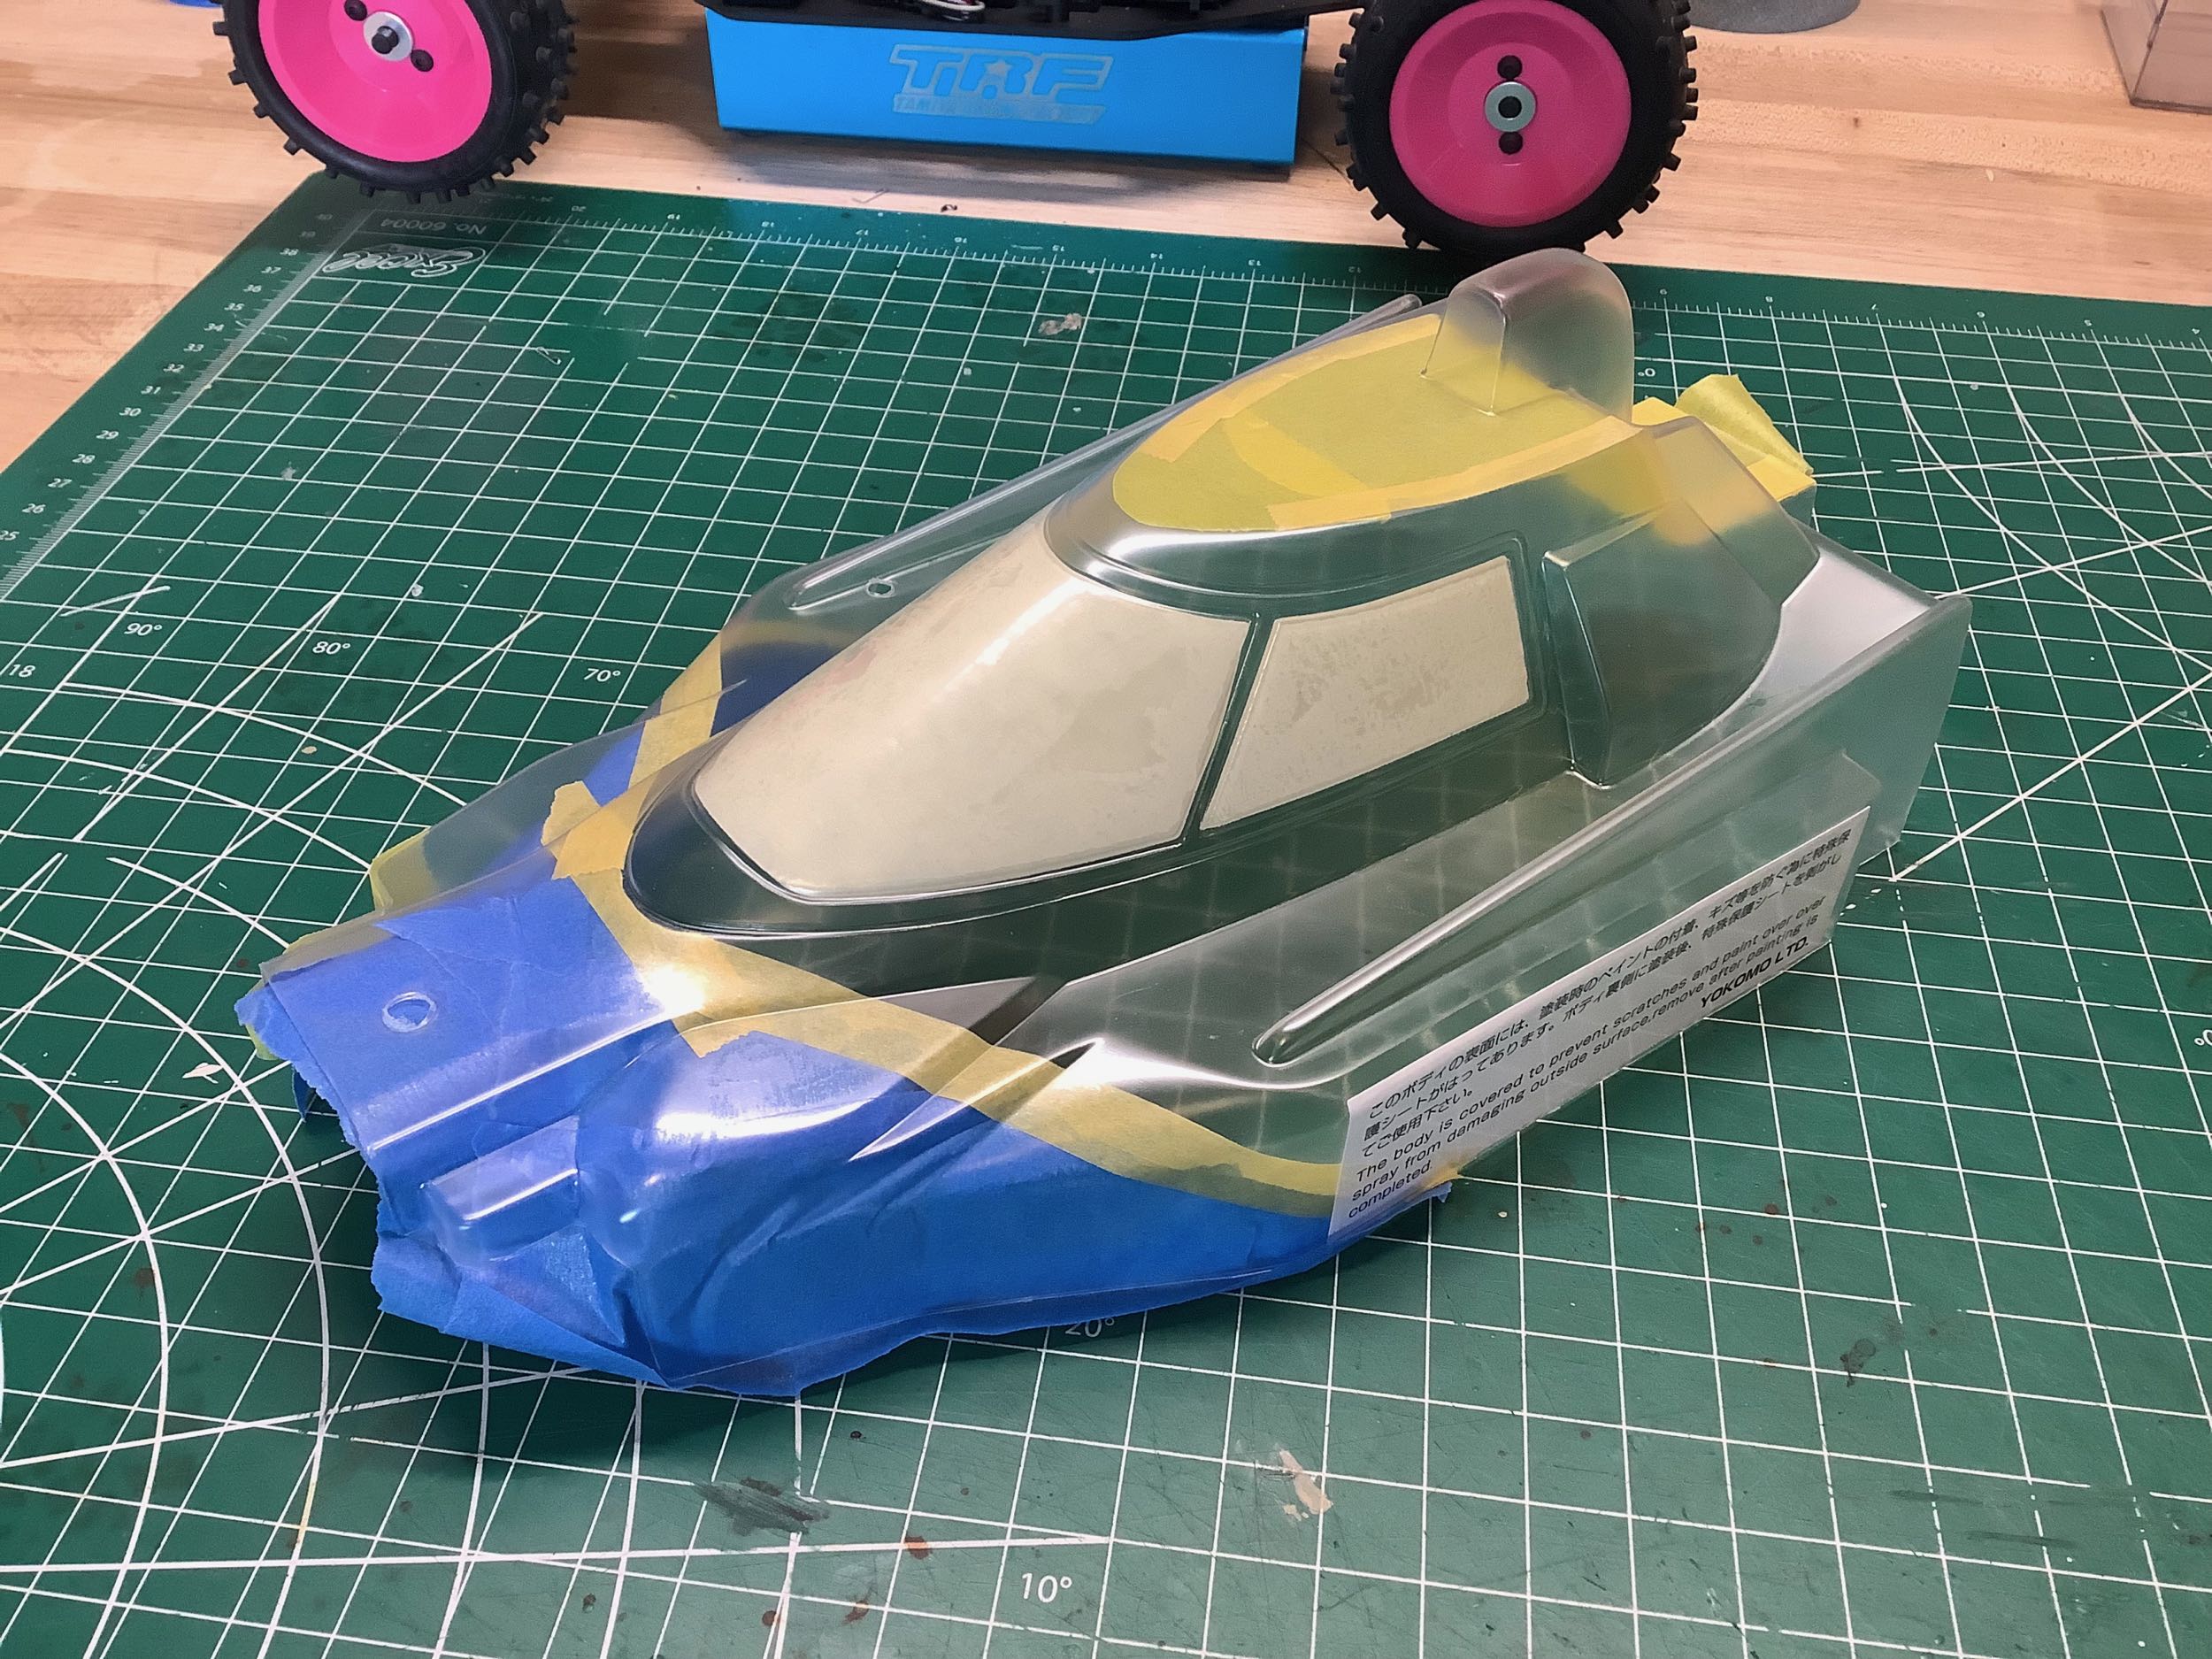
The kit came with window masks, but there is nothing in the manual to
tell you how to mask or paint. The box art is a two-tone red and
white with some pin striping between. The striping is beyond my
abilities, but I tried to generally replicate the other color
divisions. There is a diagonal line across the front and sides,
and a large curve on the roof. The wing is white on the horizontal
surfaces and red on the sides. I smoked the windows to partially
hide the electronics. The paint passes the 5 foot test,
but there was a lot of paint bleed on the roof so it looks terrible
close up.
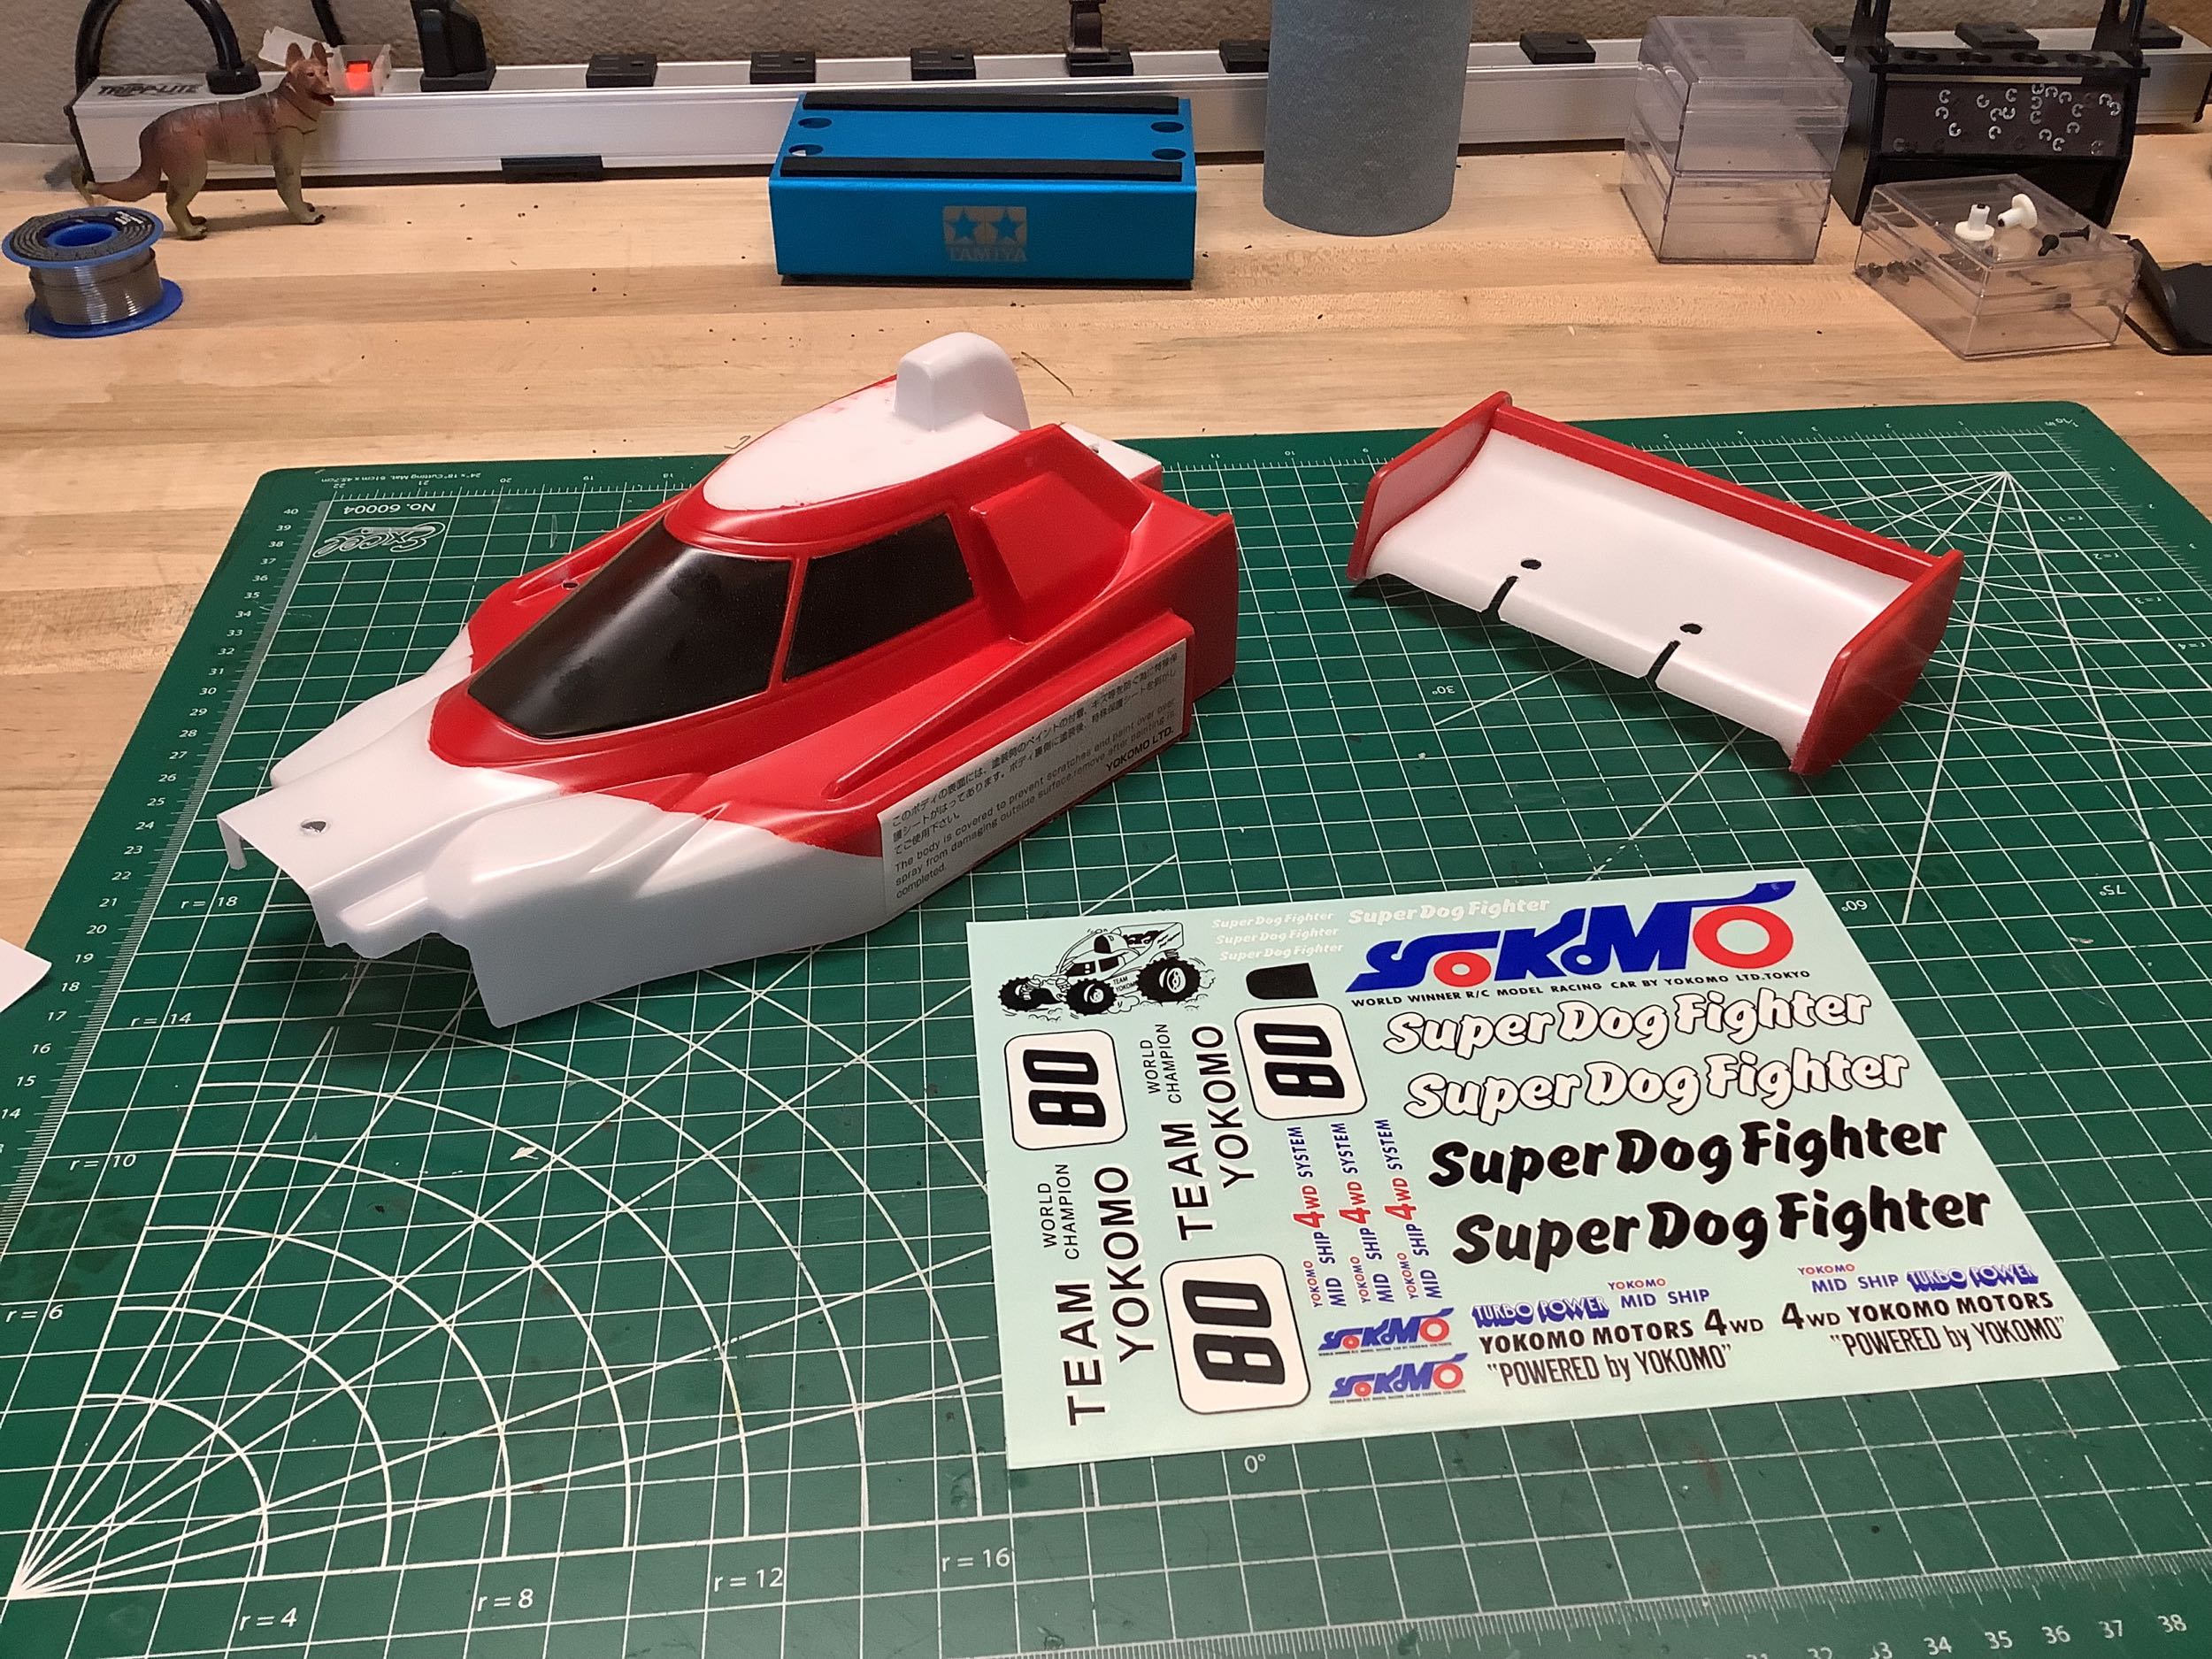
No instructions for the stickers either. I could get a general
clue from the box, but the photo there doesn't use any stickers that
actually say Super Dog Fighter. I chose to incorporate those on
the sides and move the number 80 further up.
©2026 Eric Albrecht