Yokomo Super Dog Fighter Project
Page 1: Assembly
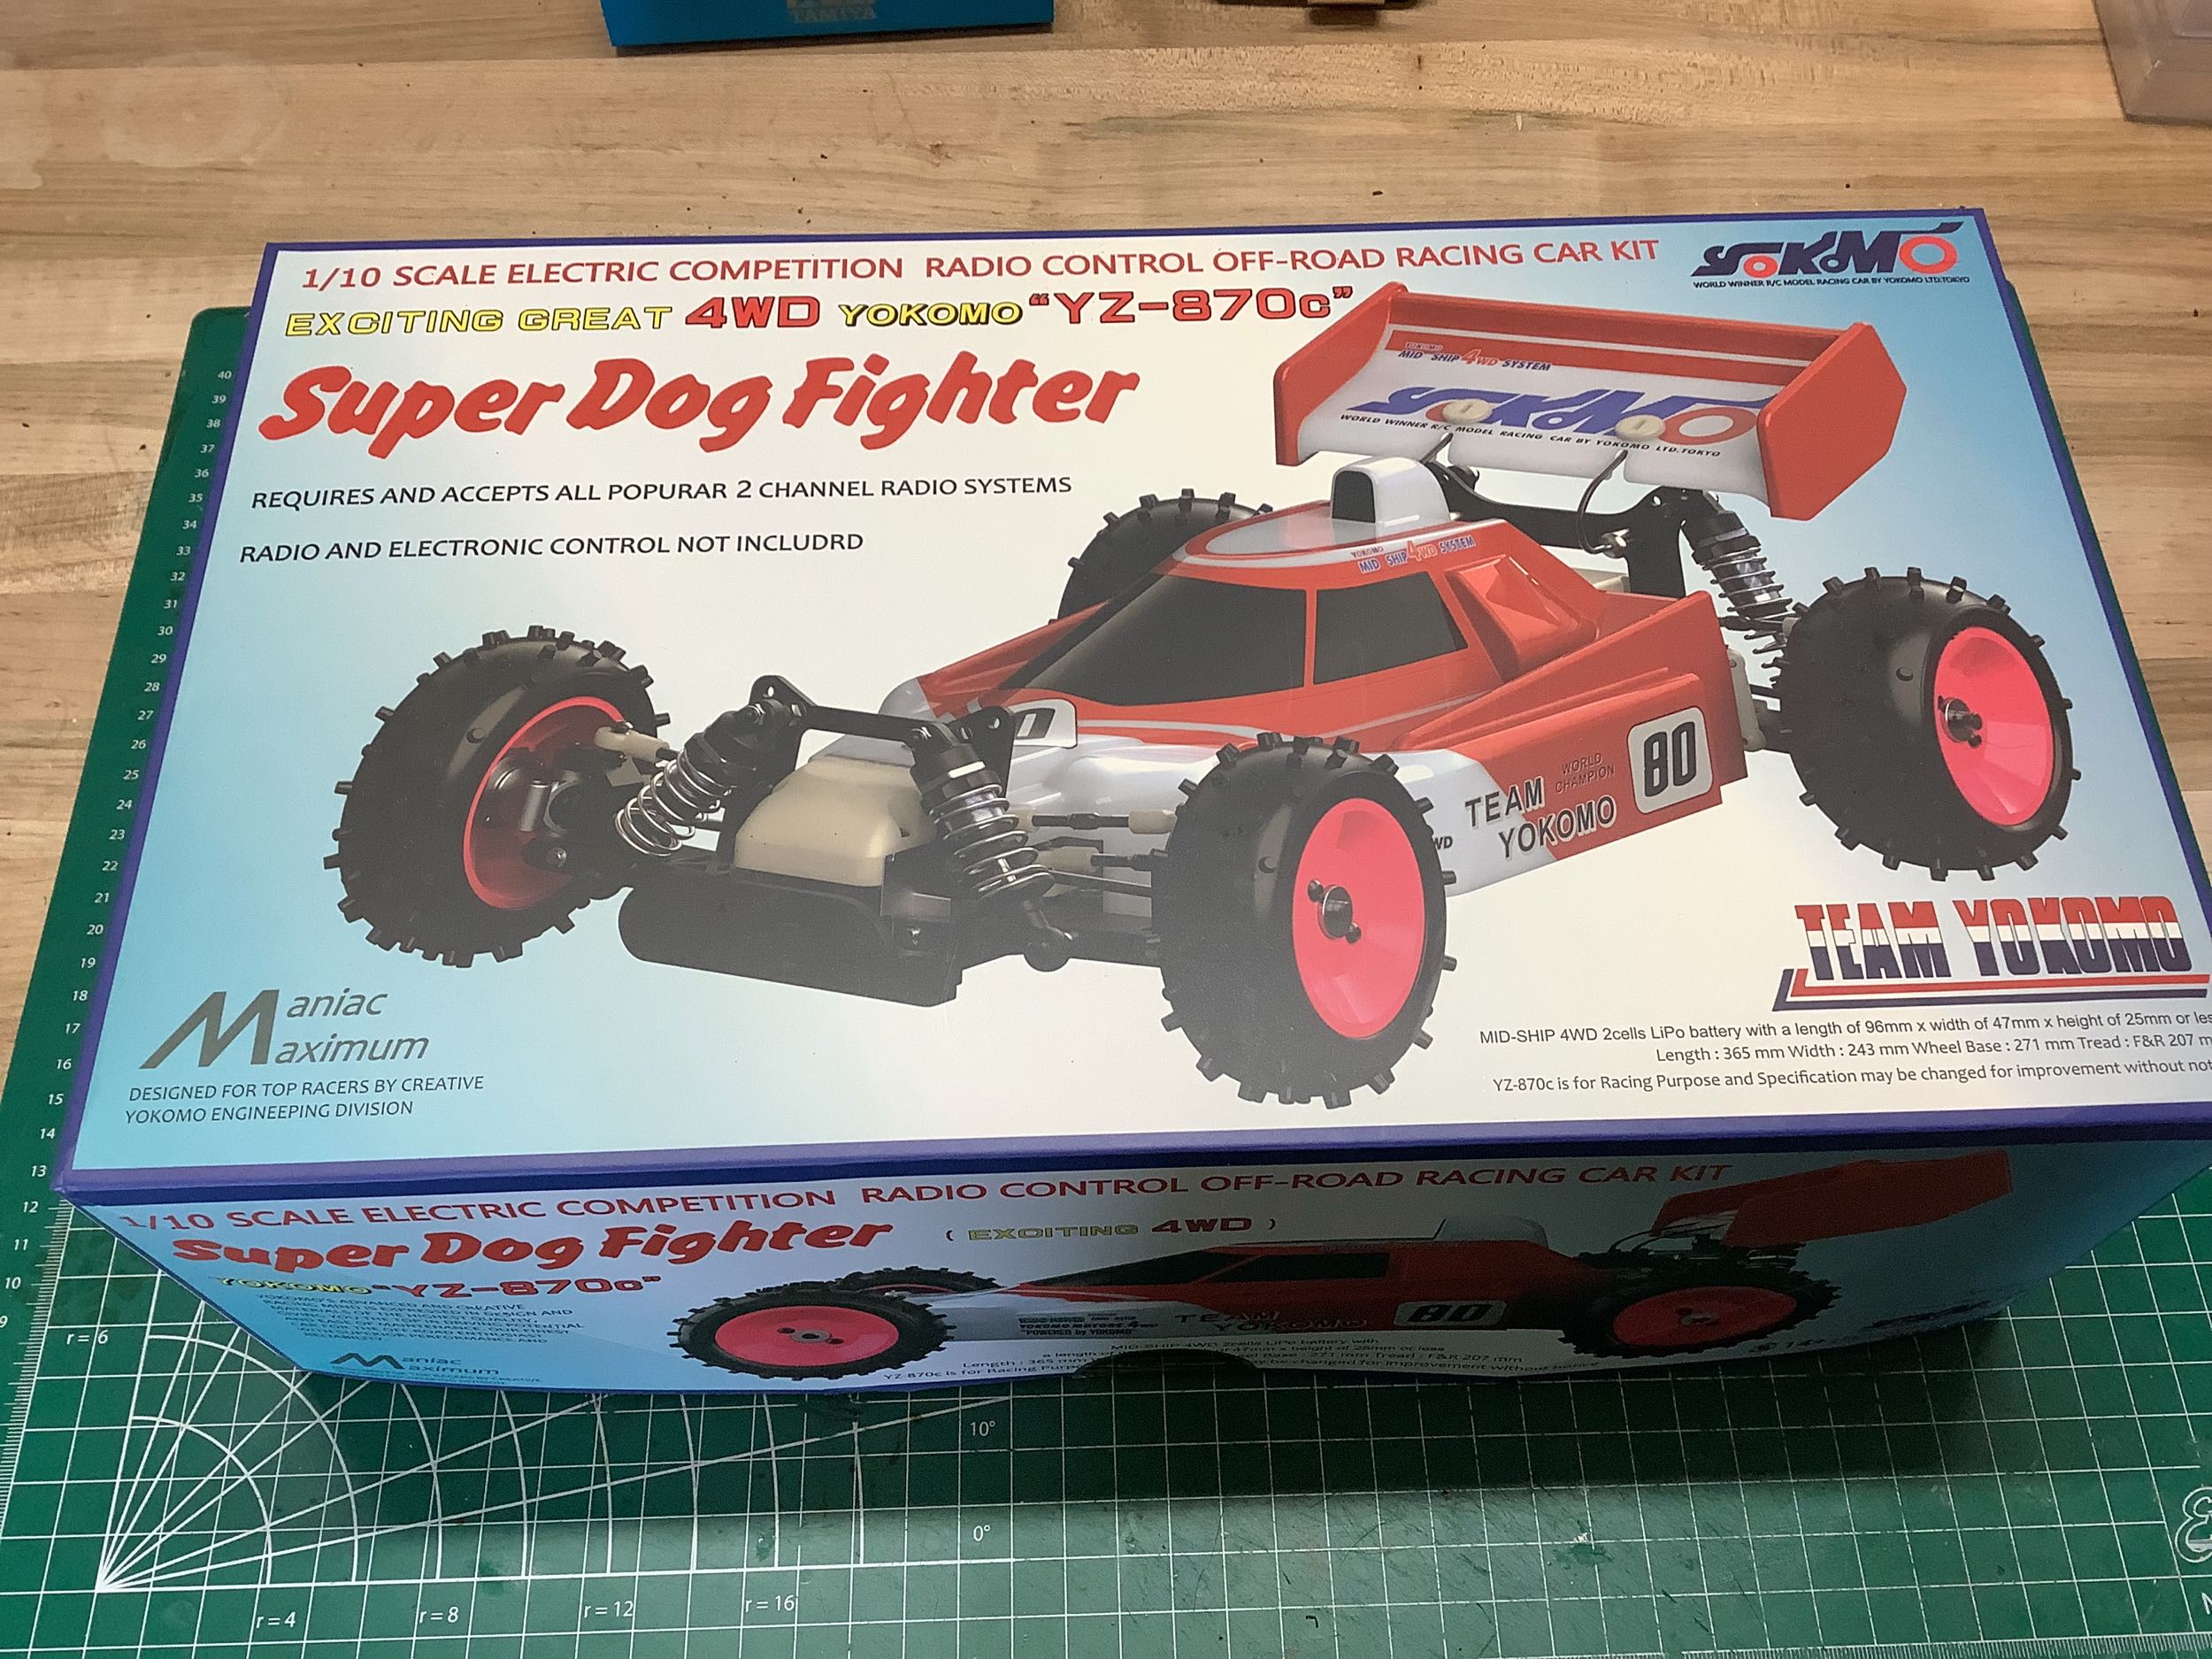
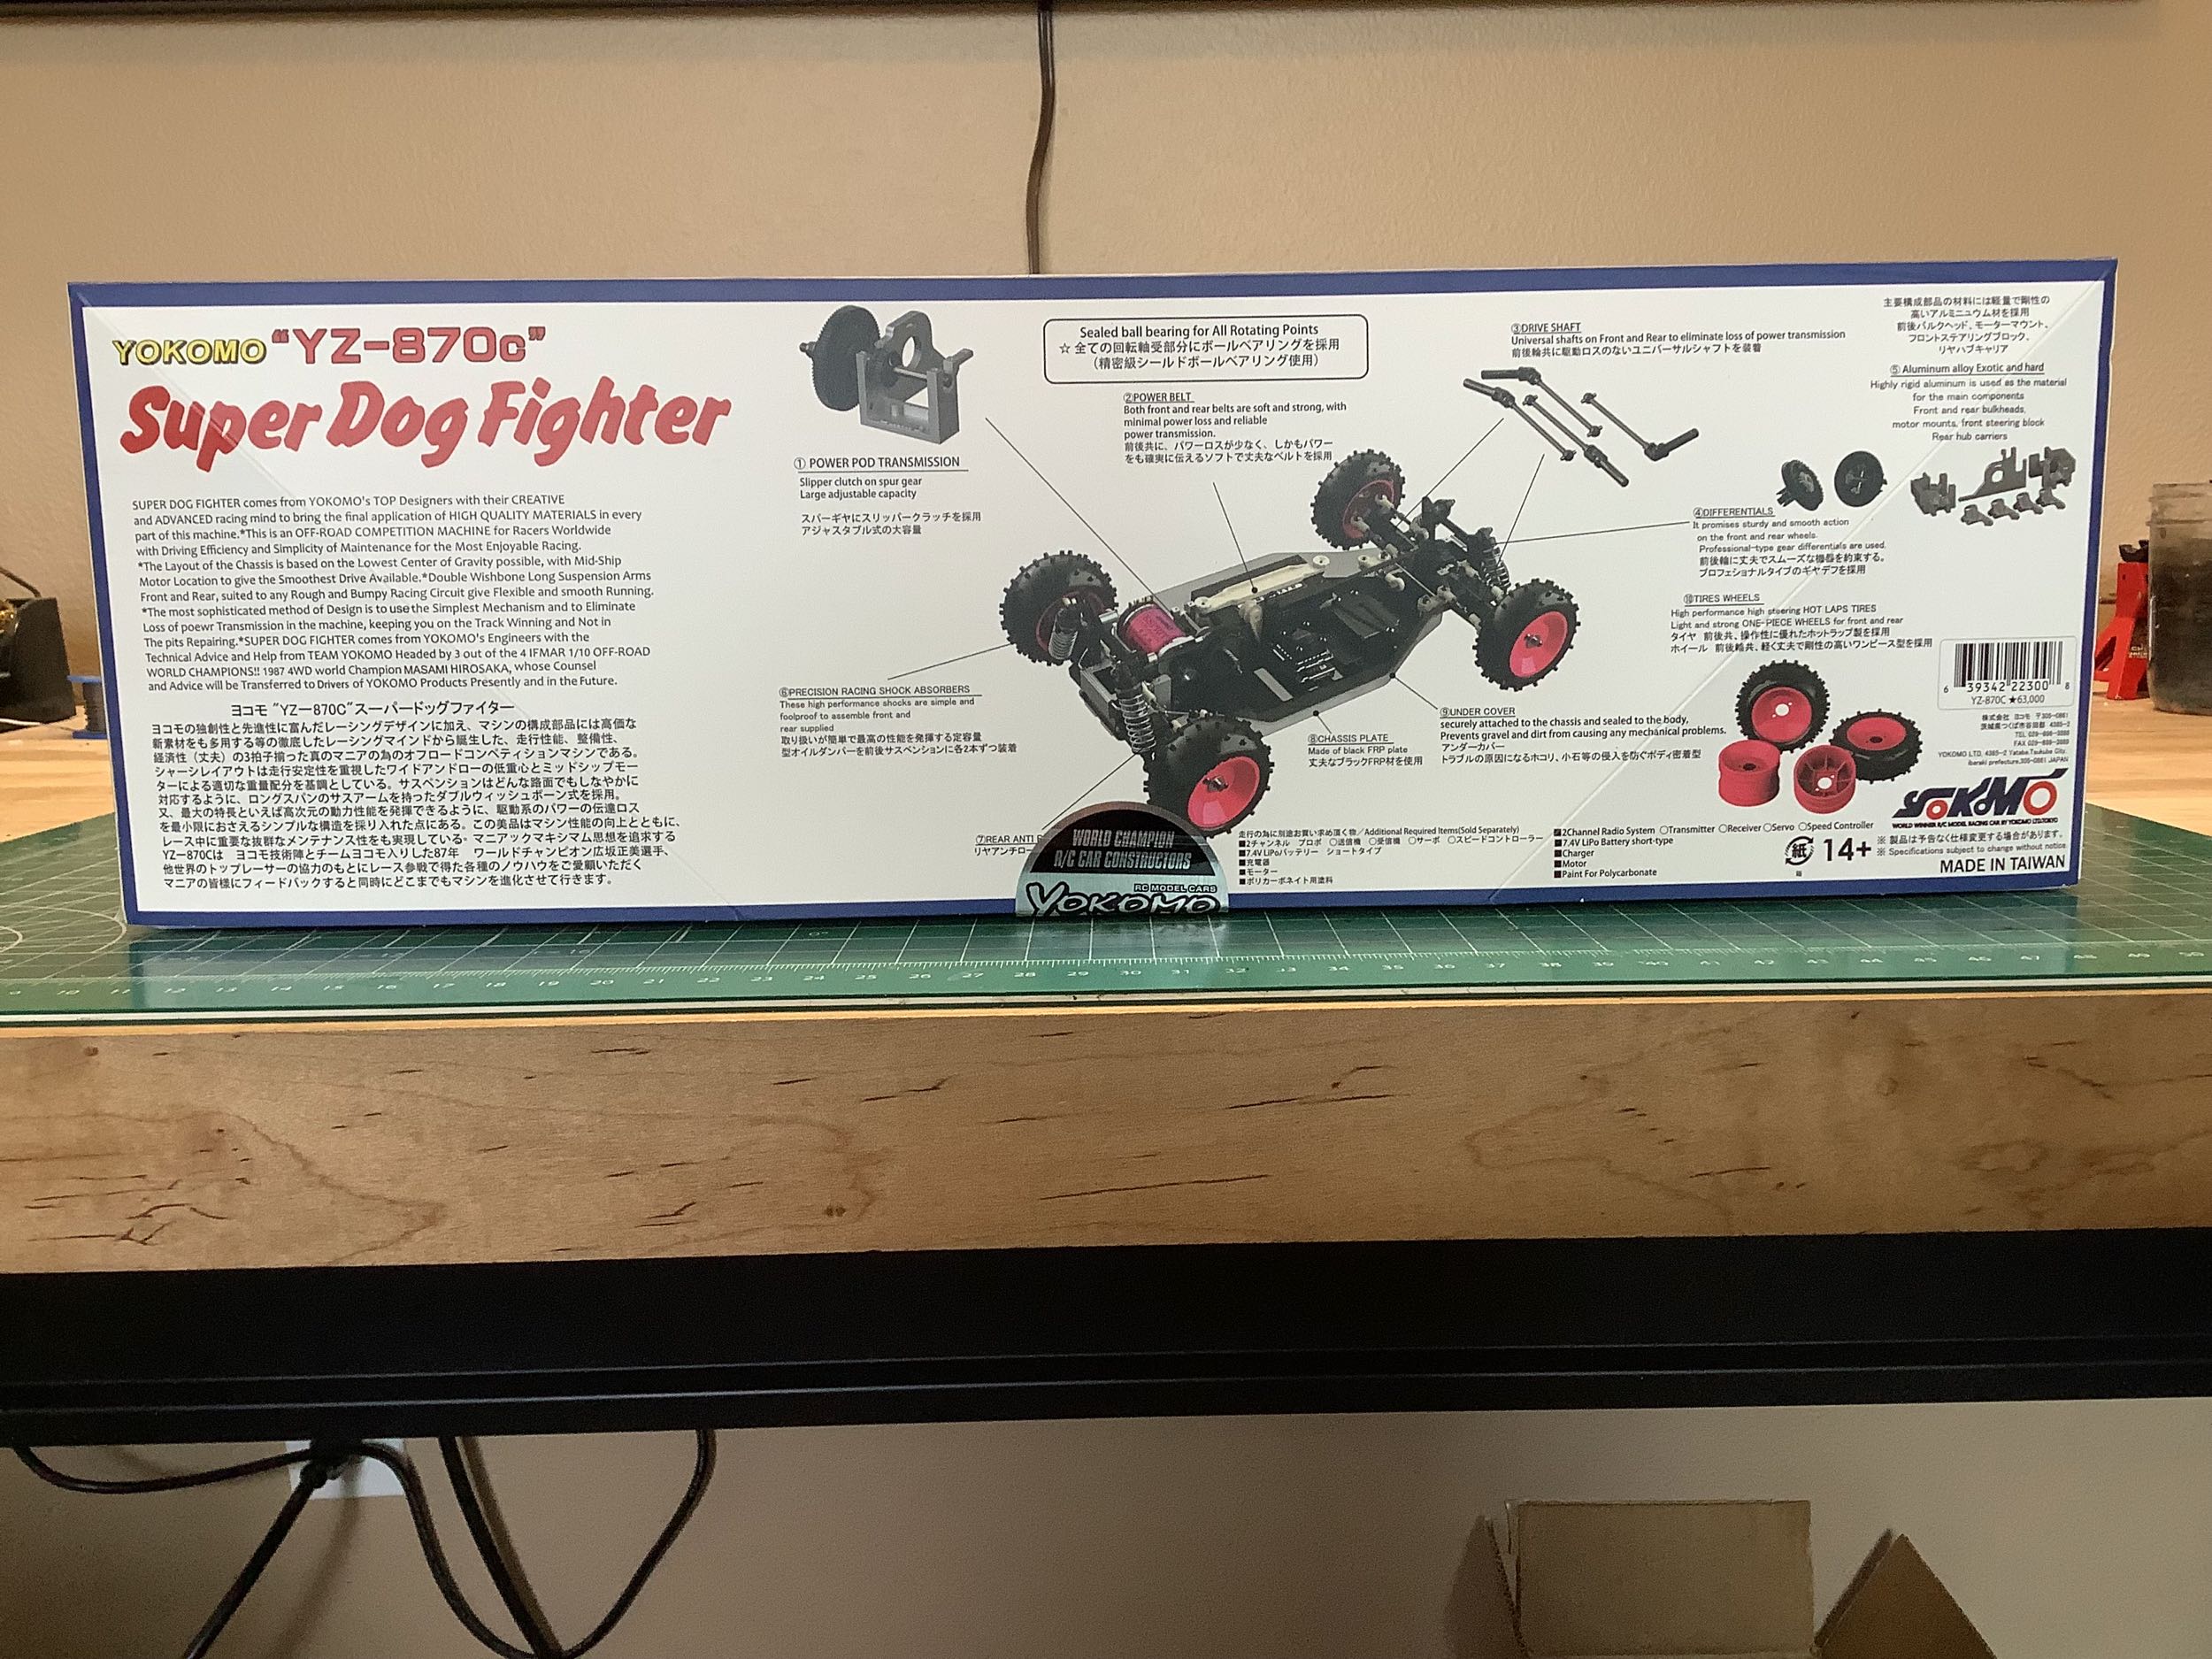
The box is not very big and doesn't include any hand drawn art, just a
photo of the completed model. The side of the box contains some
information on the key features, but doesn't tell you anything about the
history of the original model.
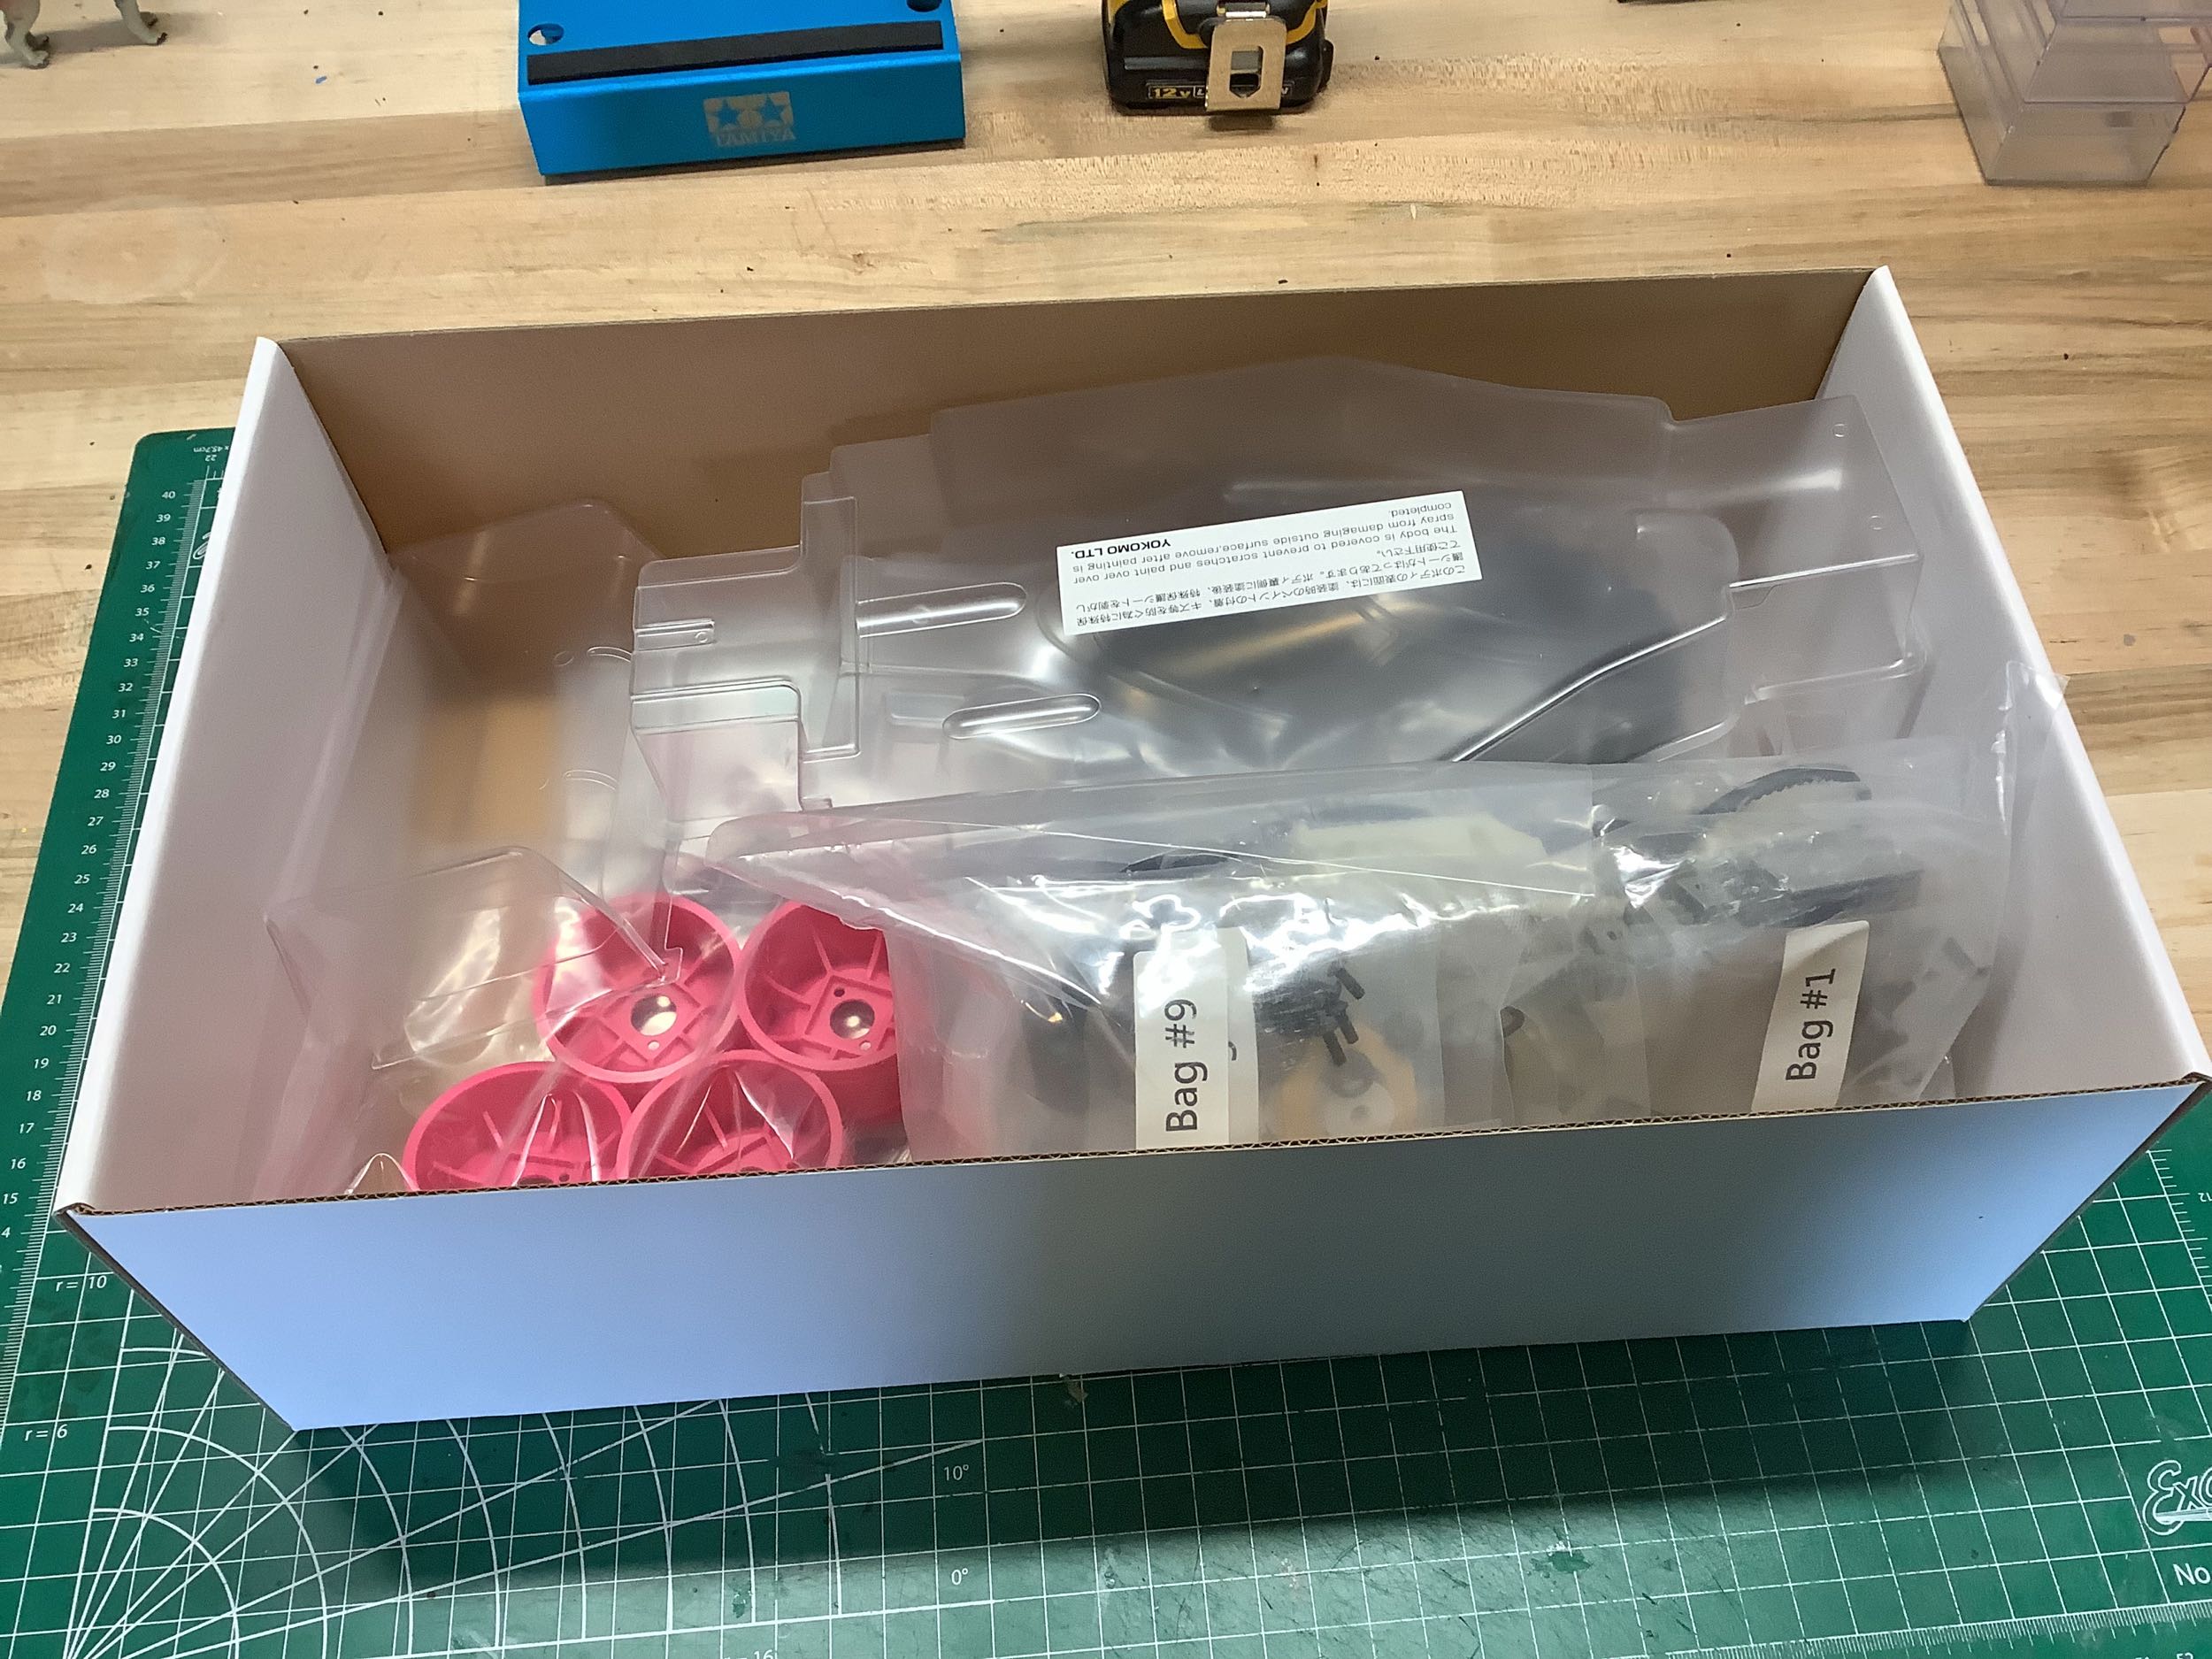
The inside of box almost looks like something is missing because it is
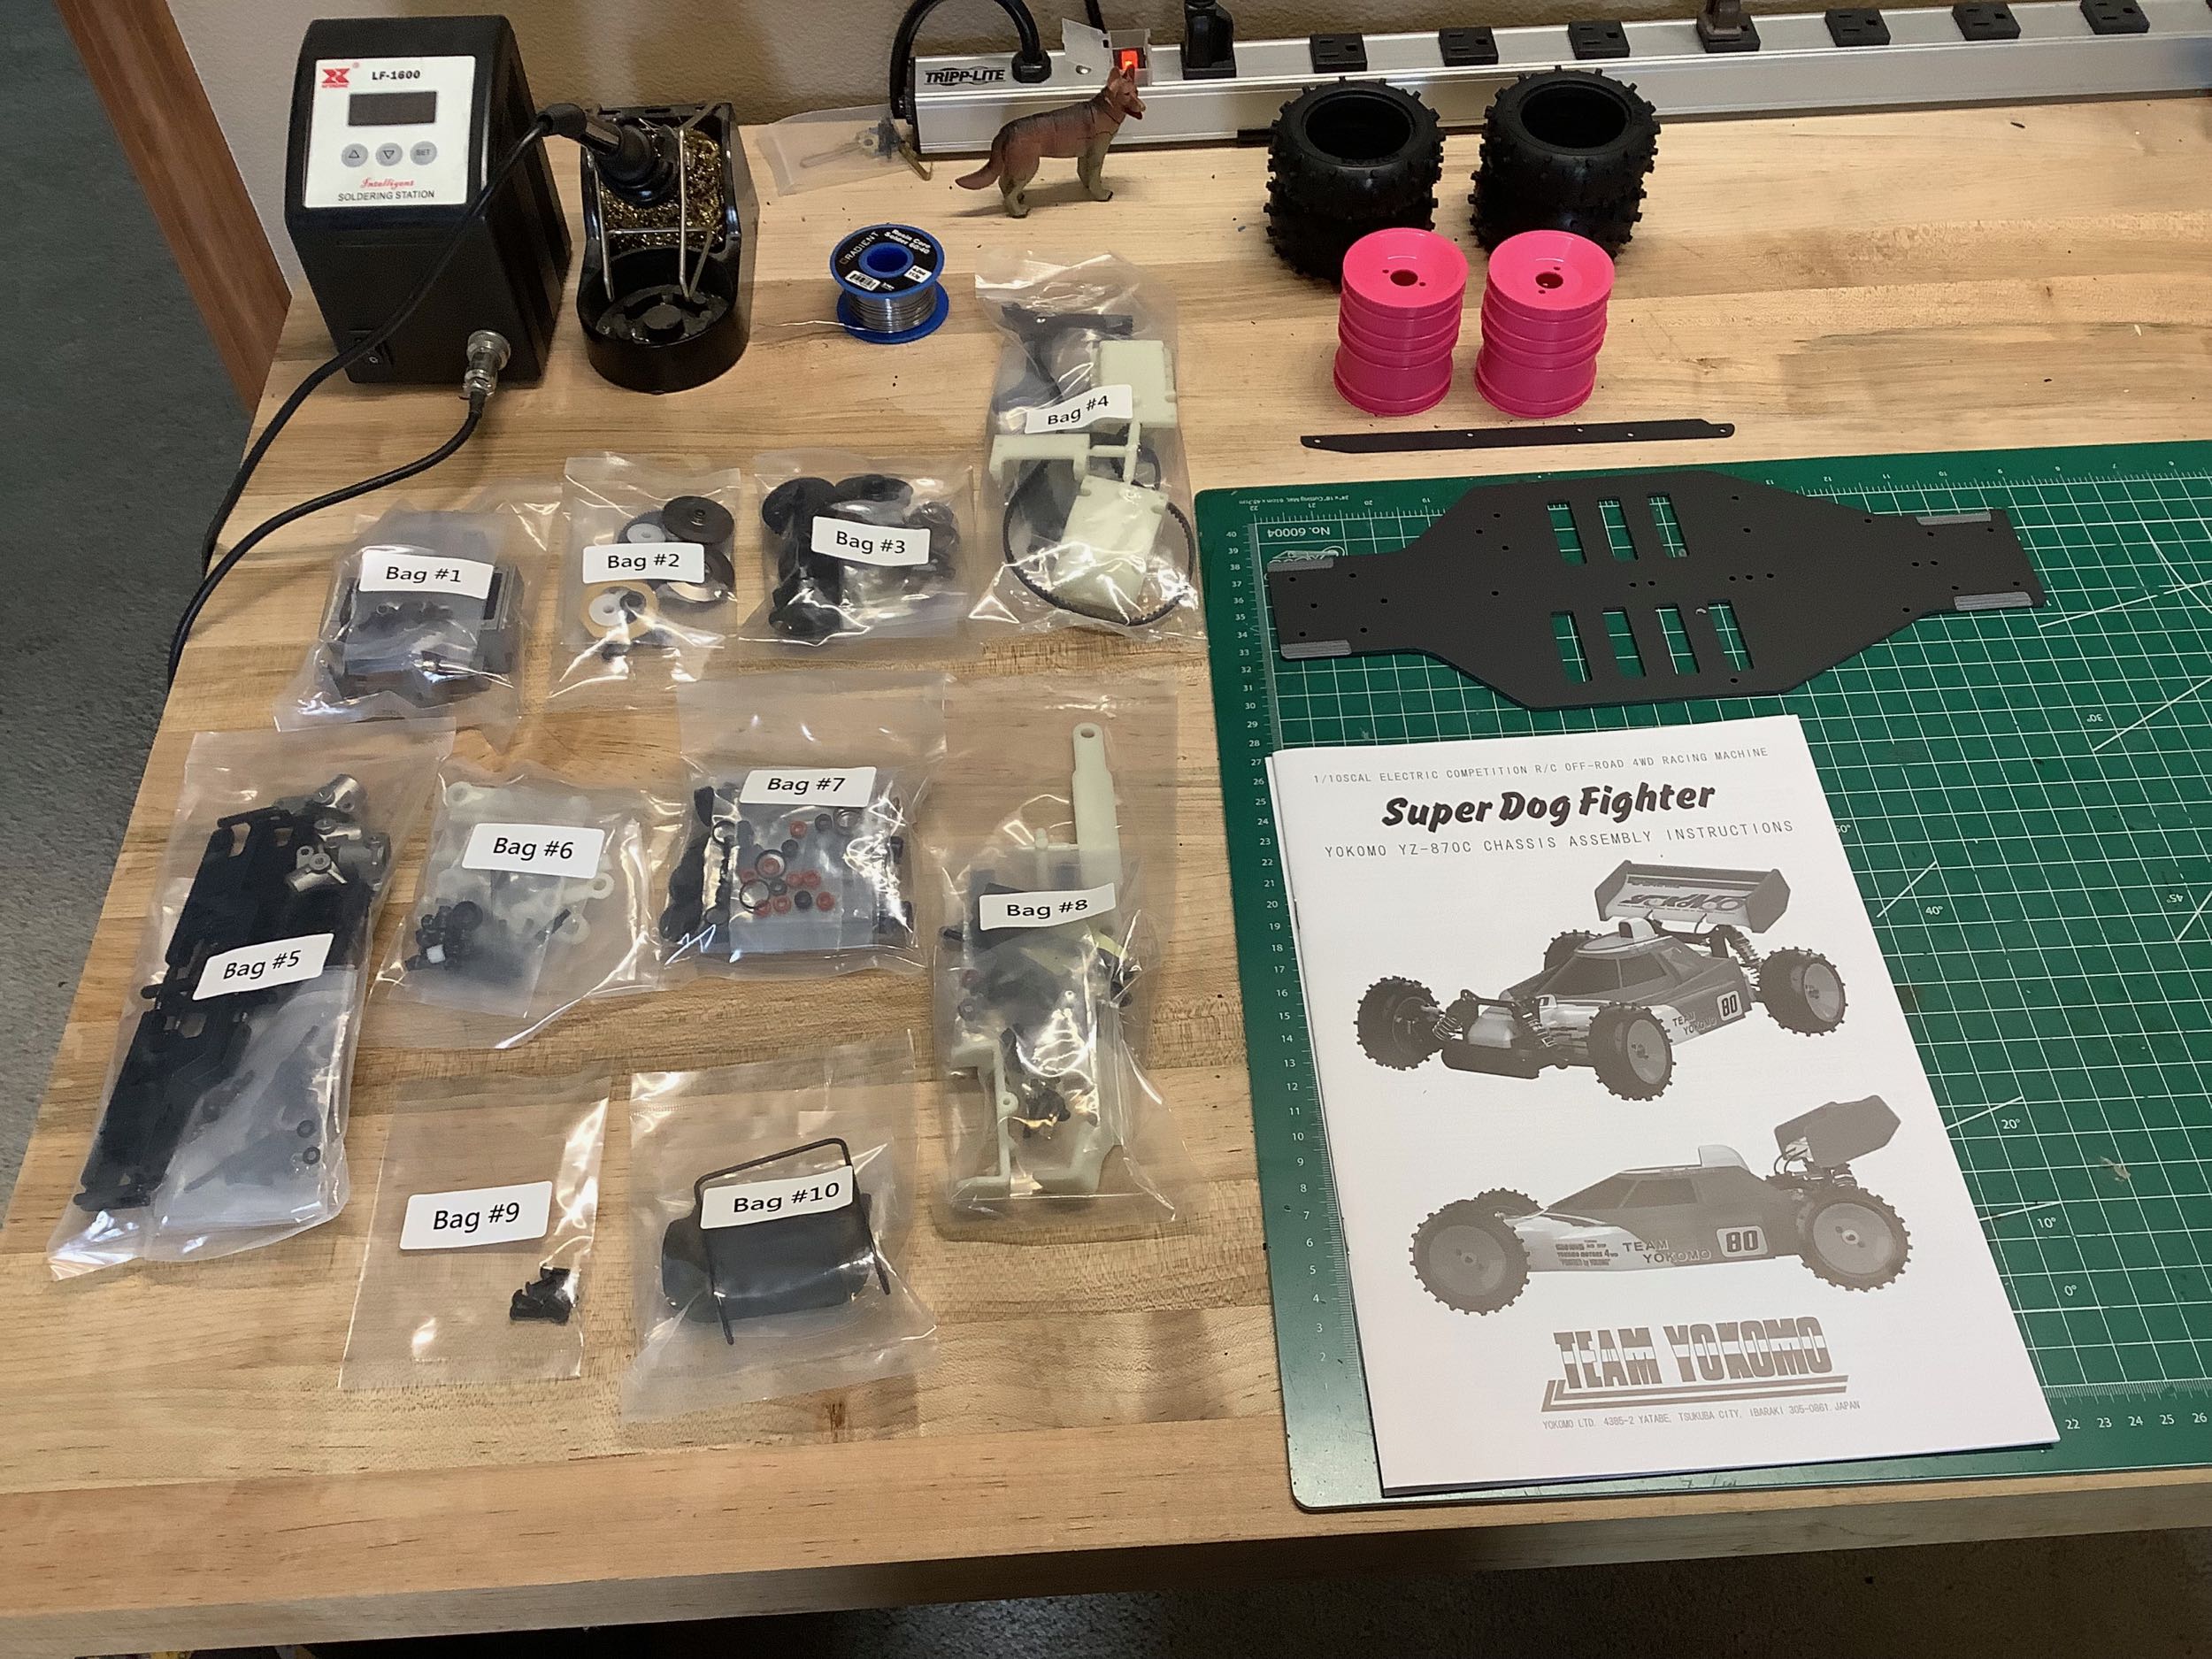
far from full. The photo on the right shows the parts laid out on
my table. There are no specific hardware bags or plastic parts
trees. Instead everything you need for each step is contained in
an individually labelled bag.
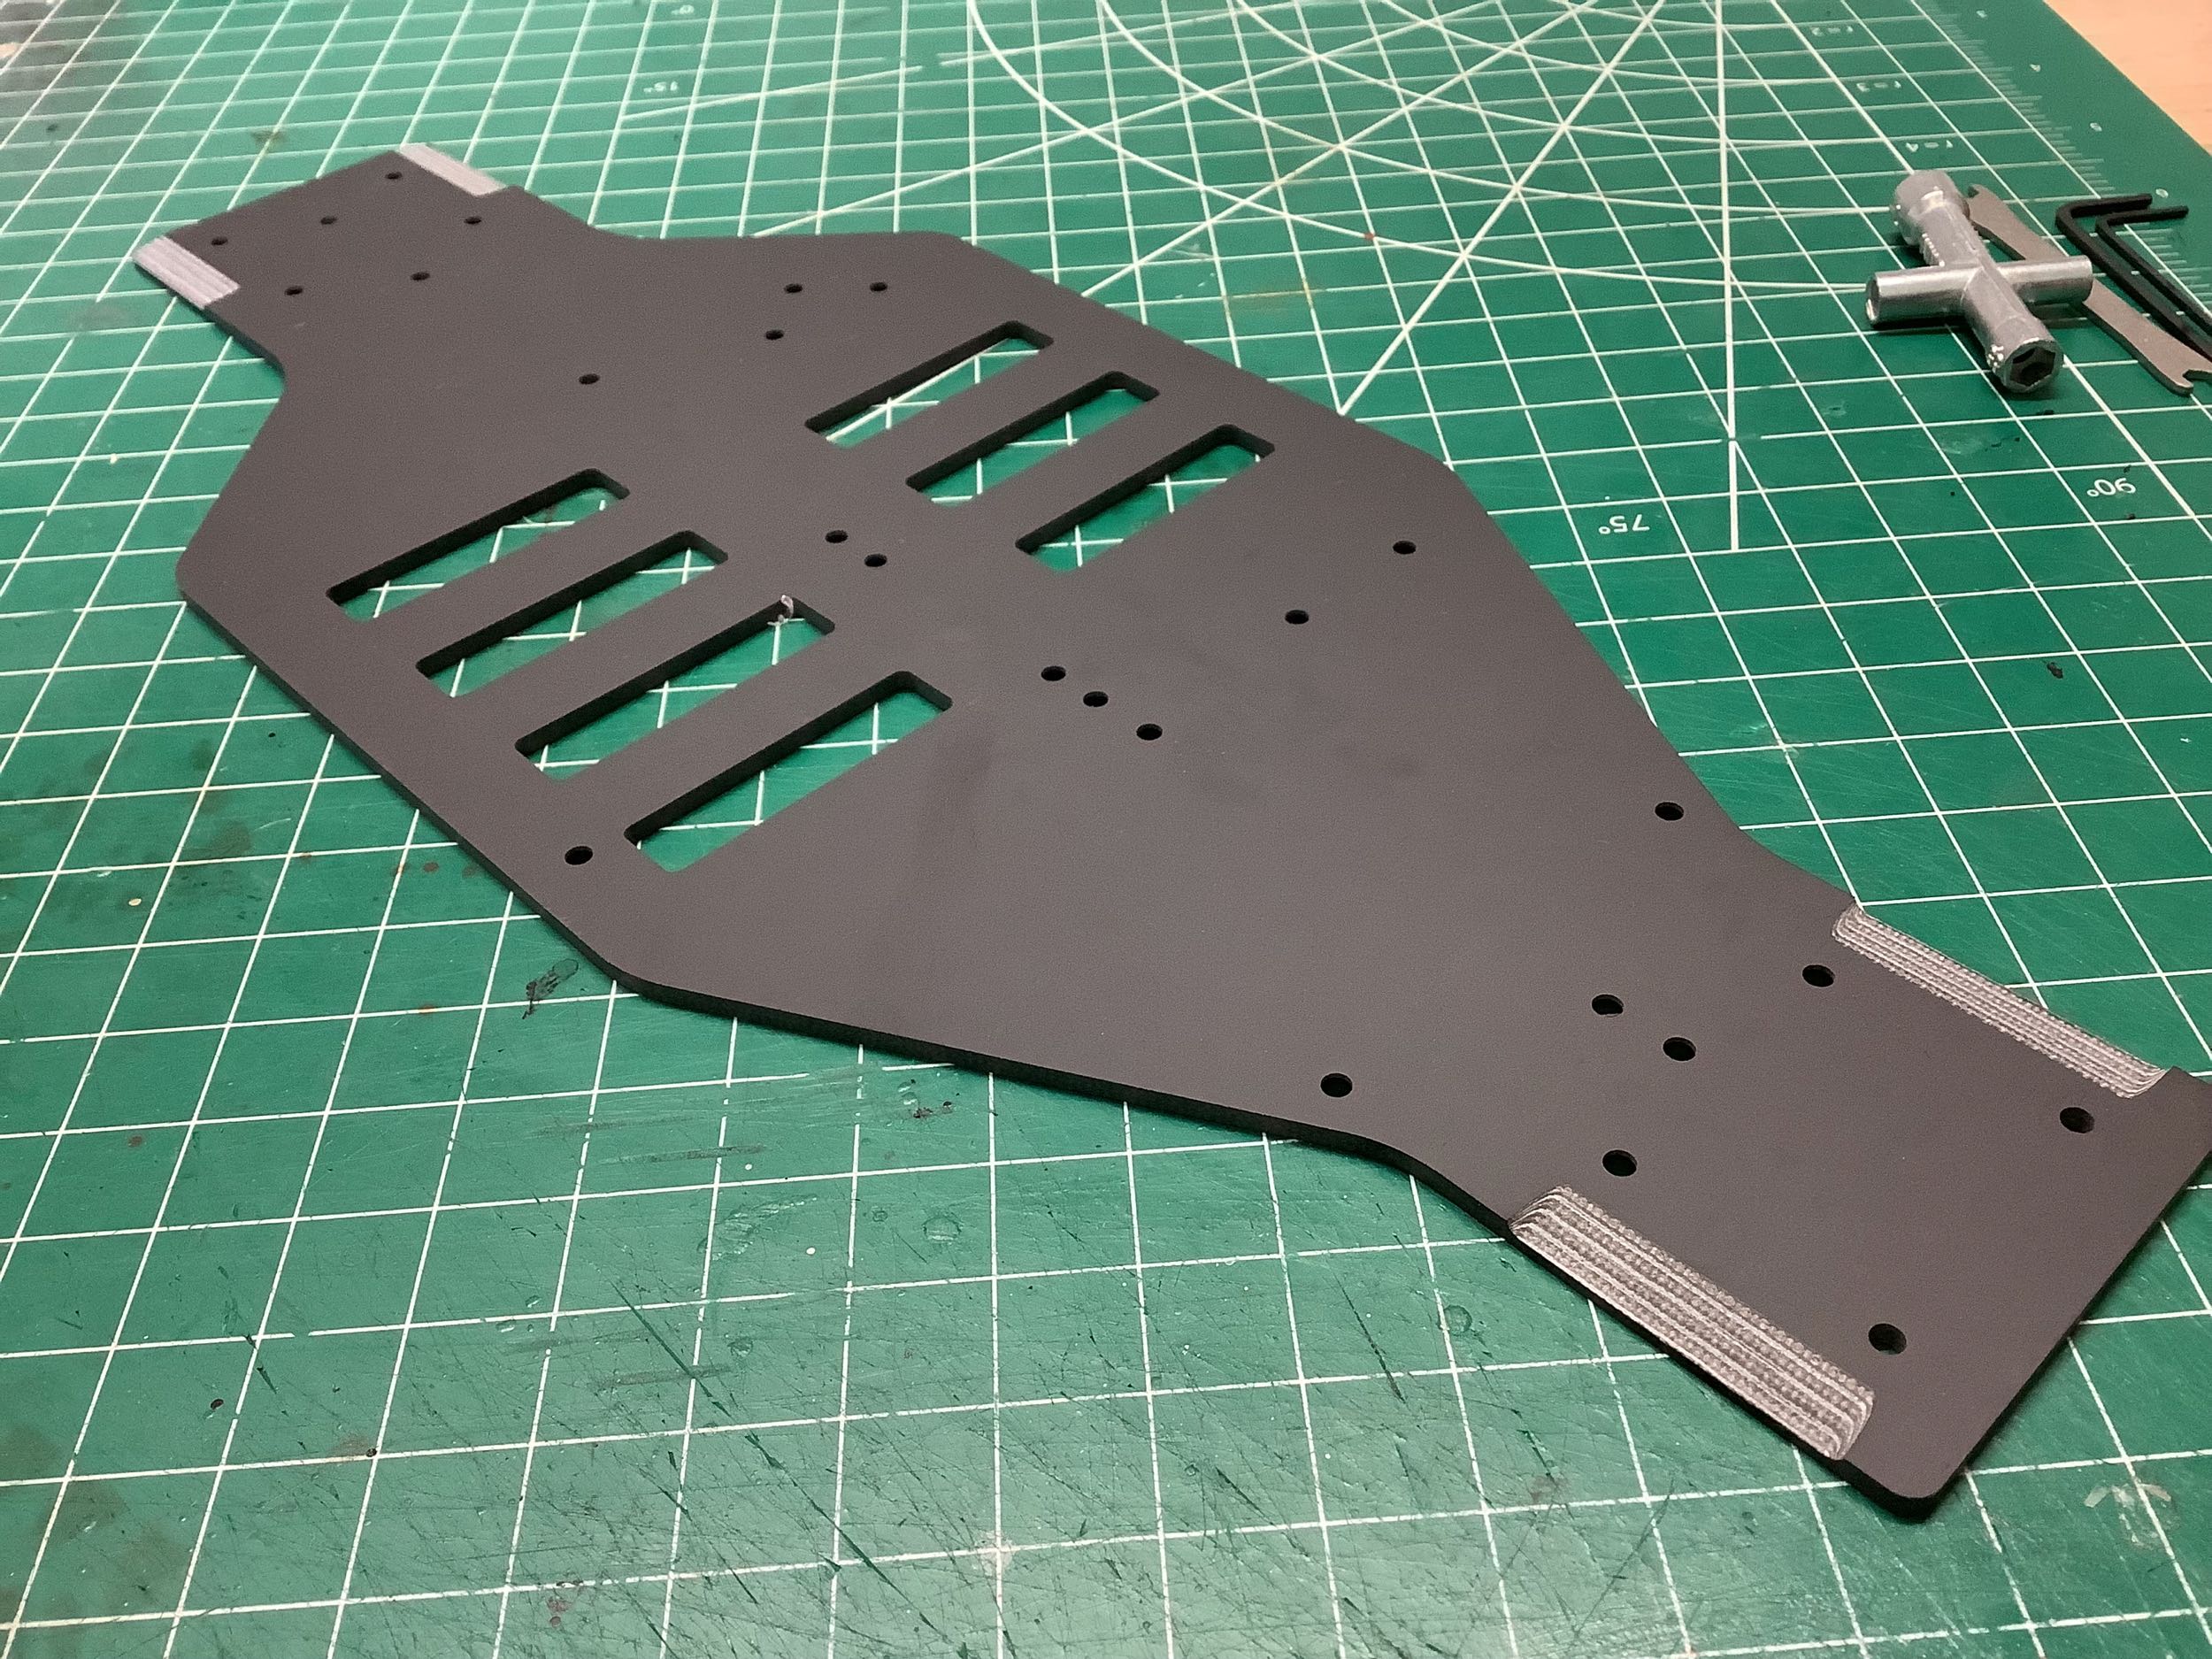
The main deck is an FRP plate which slots and holes nicely cut and
countersunk, and a couple of chamfers where the lower suspension arms
will go. Notice that there are 4 slots on one side and 3 on the
other? This implies the original may have used a 7-cell NiCd
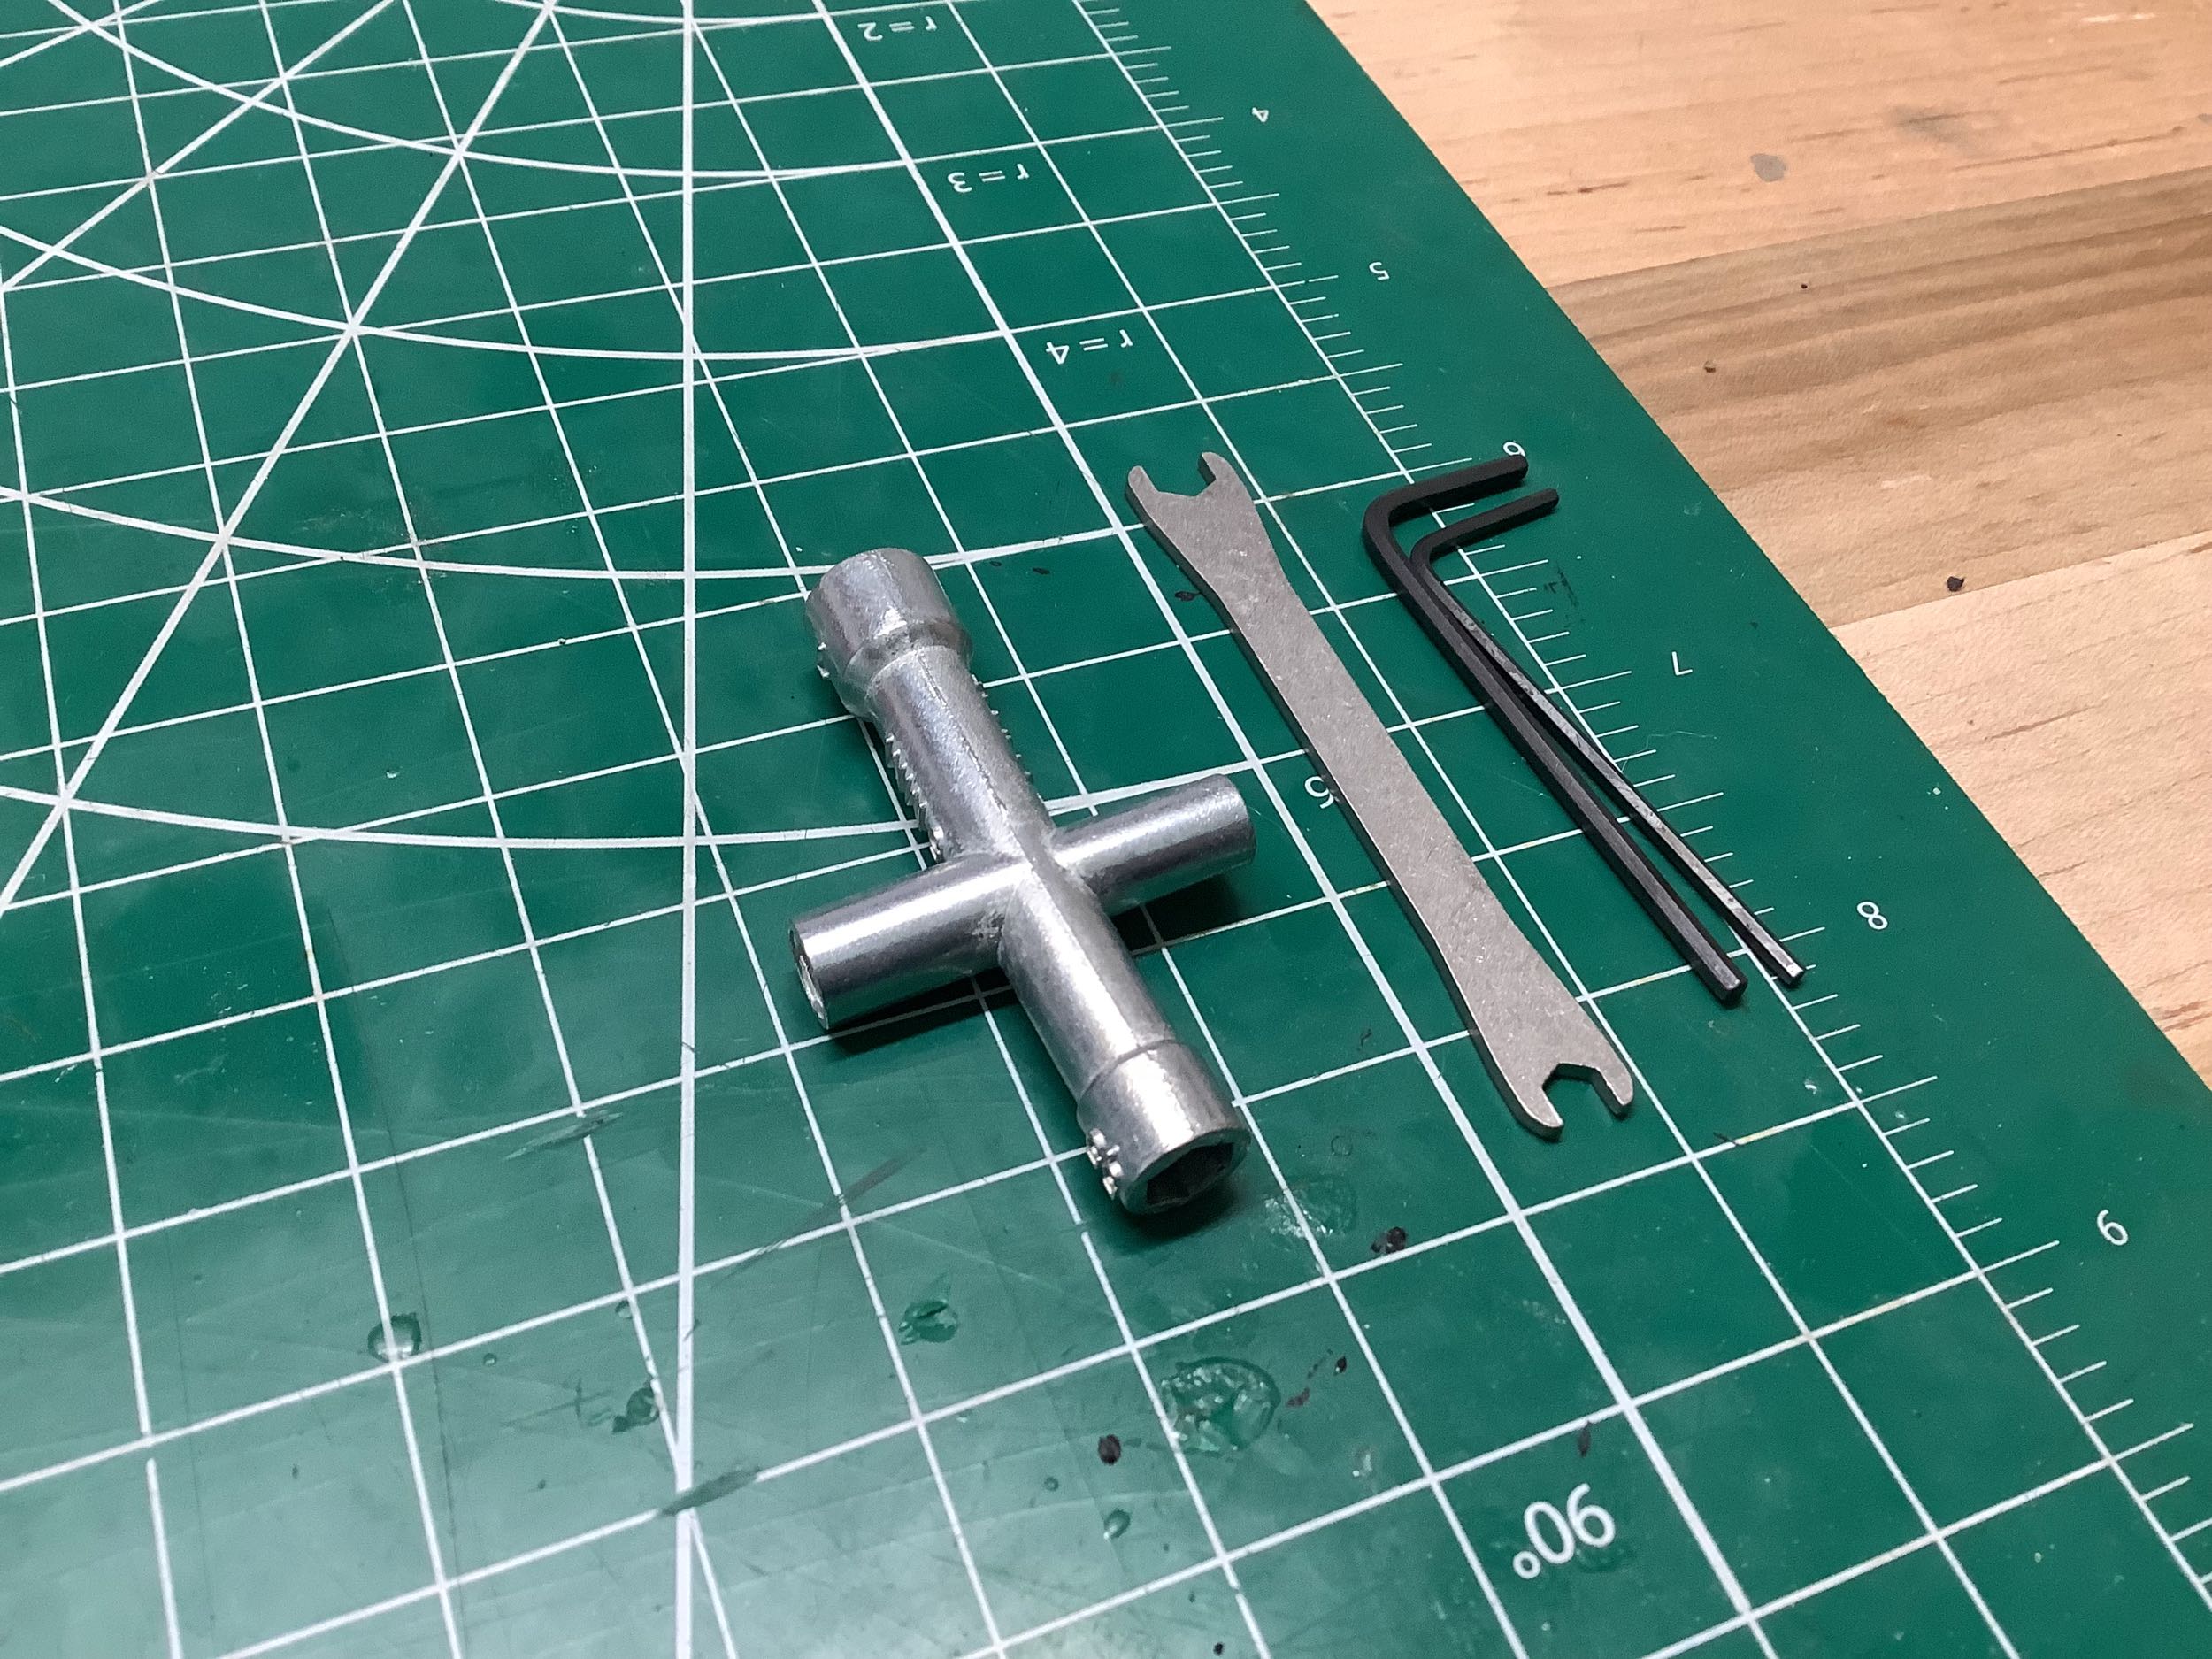
battery configuration, but that's just a guess. The picture on the
right shows the tools which came with the kit. The familiar
T-wrench is just different enough to make it clear that it's not Tamiya
or Kyosho.
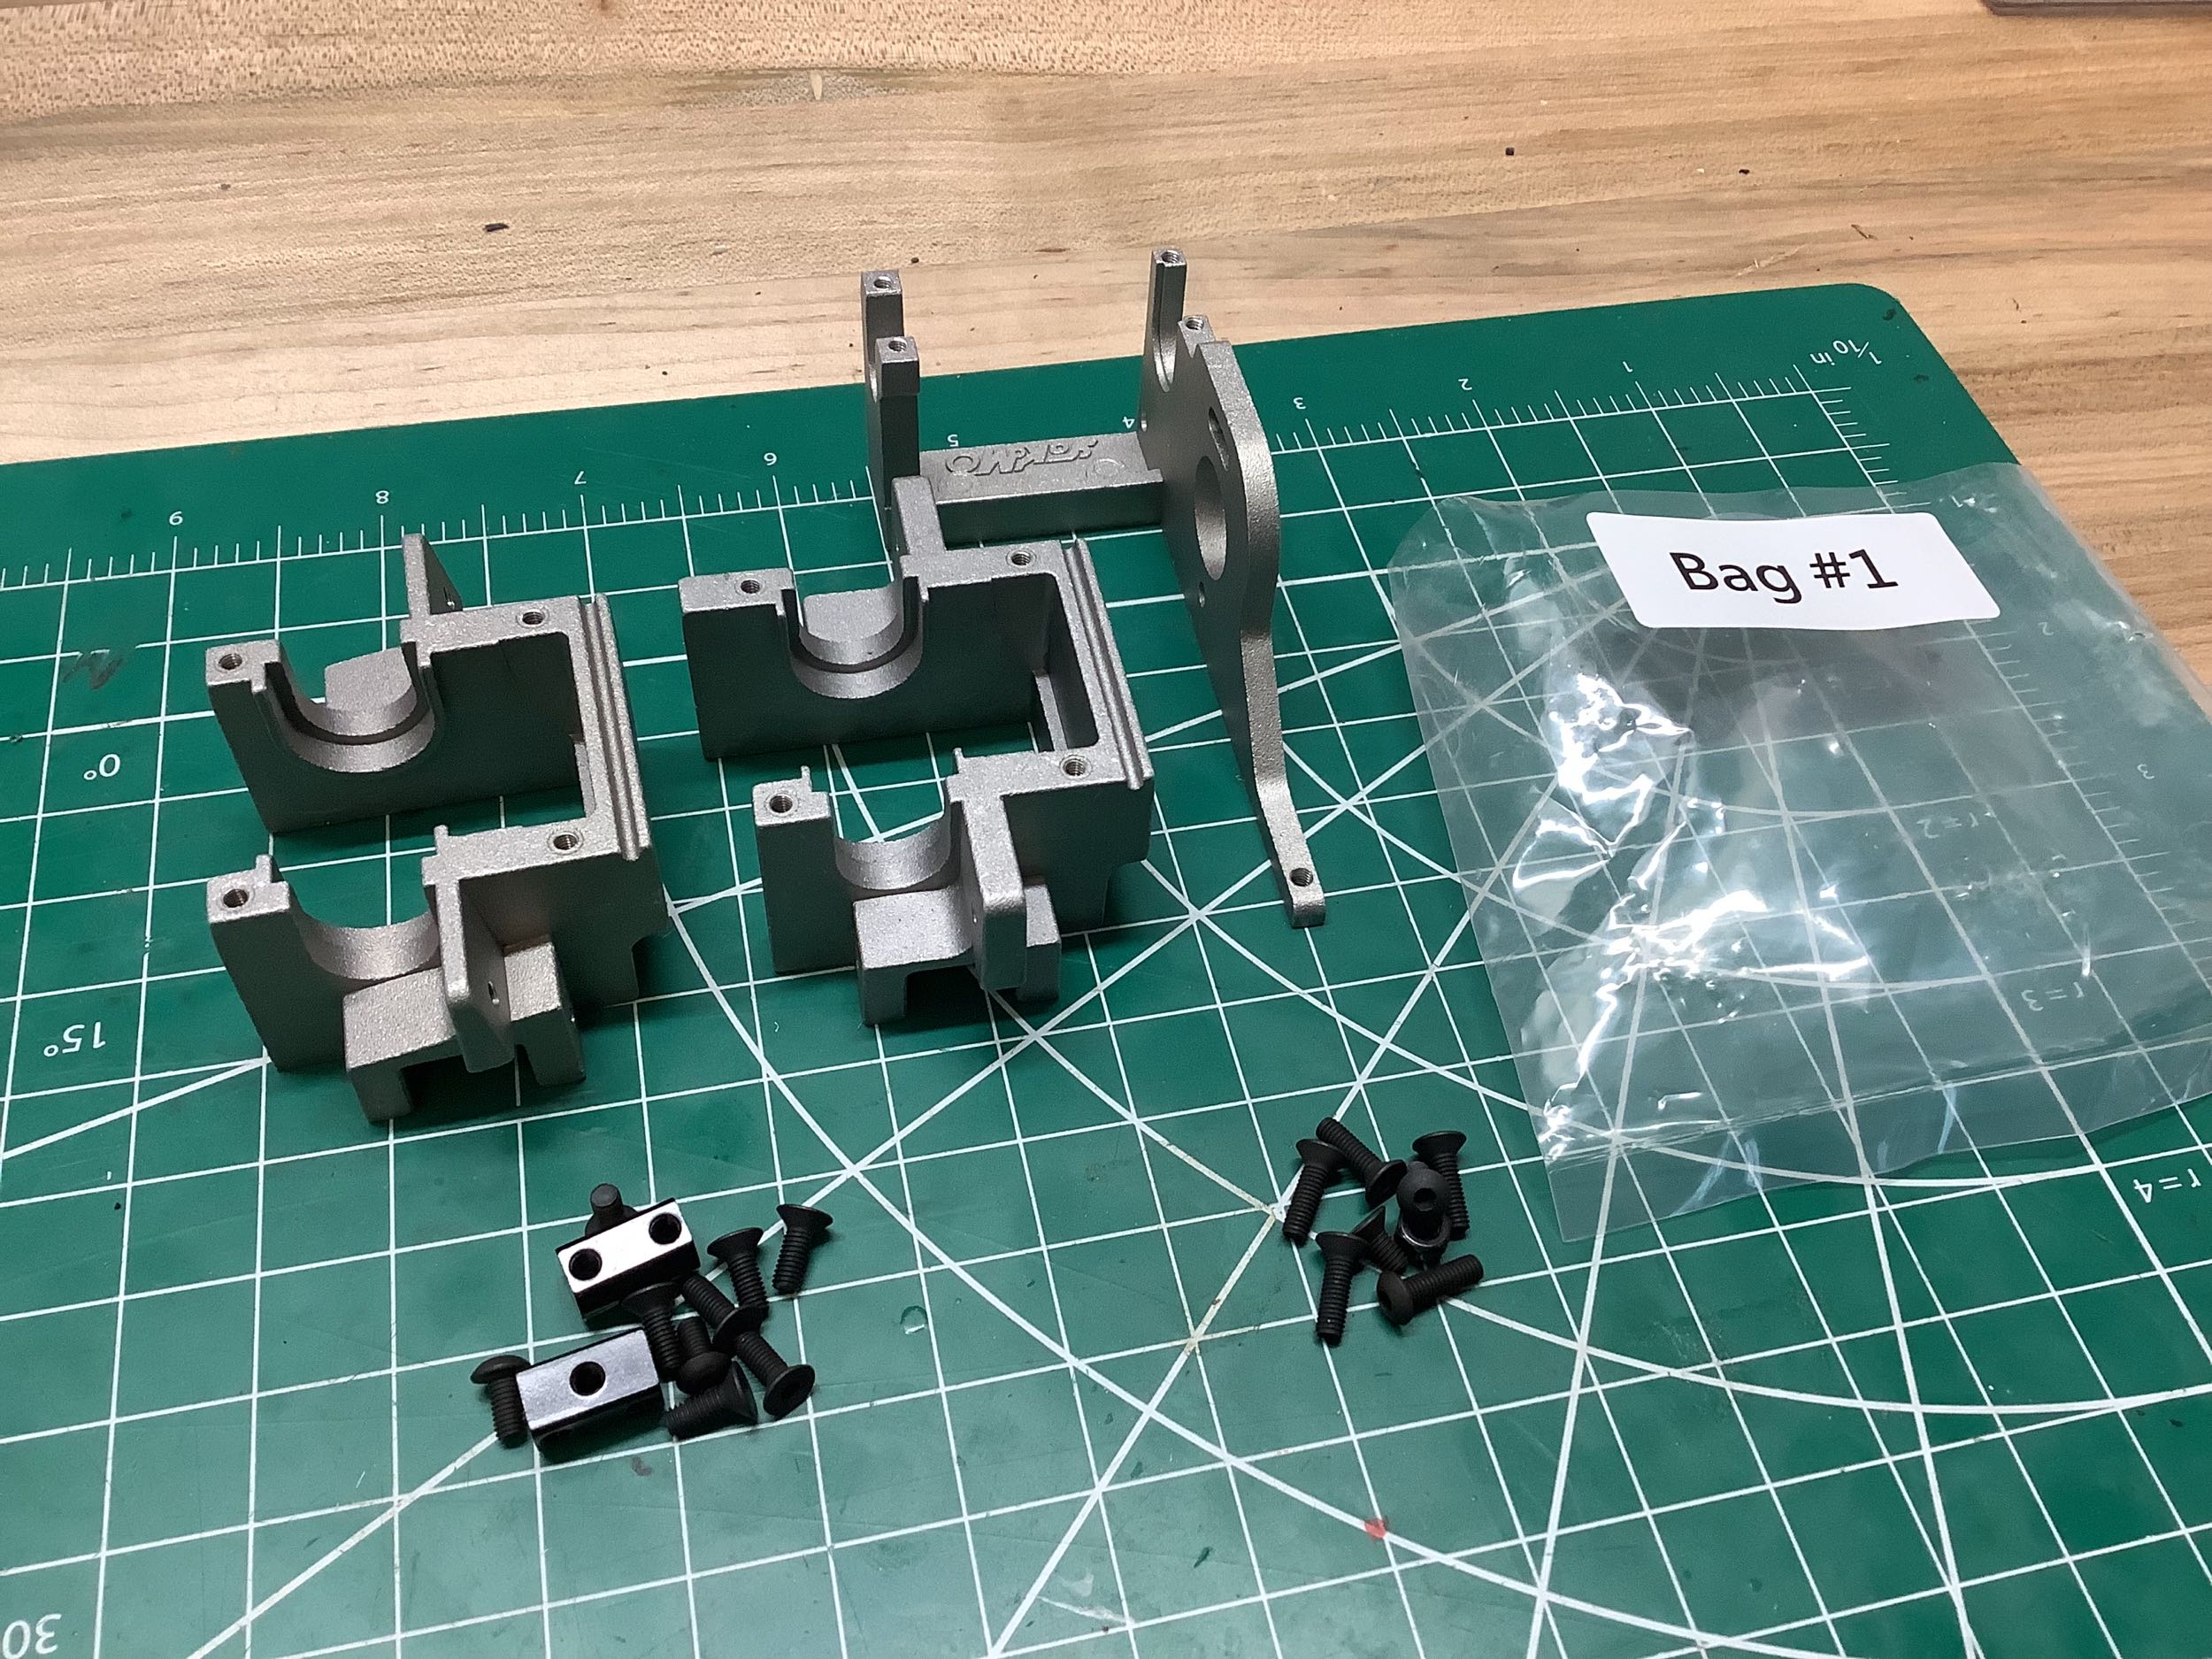
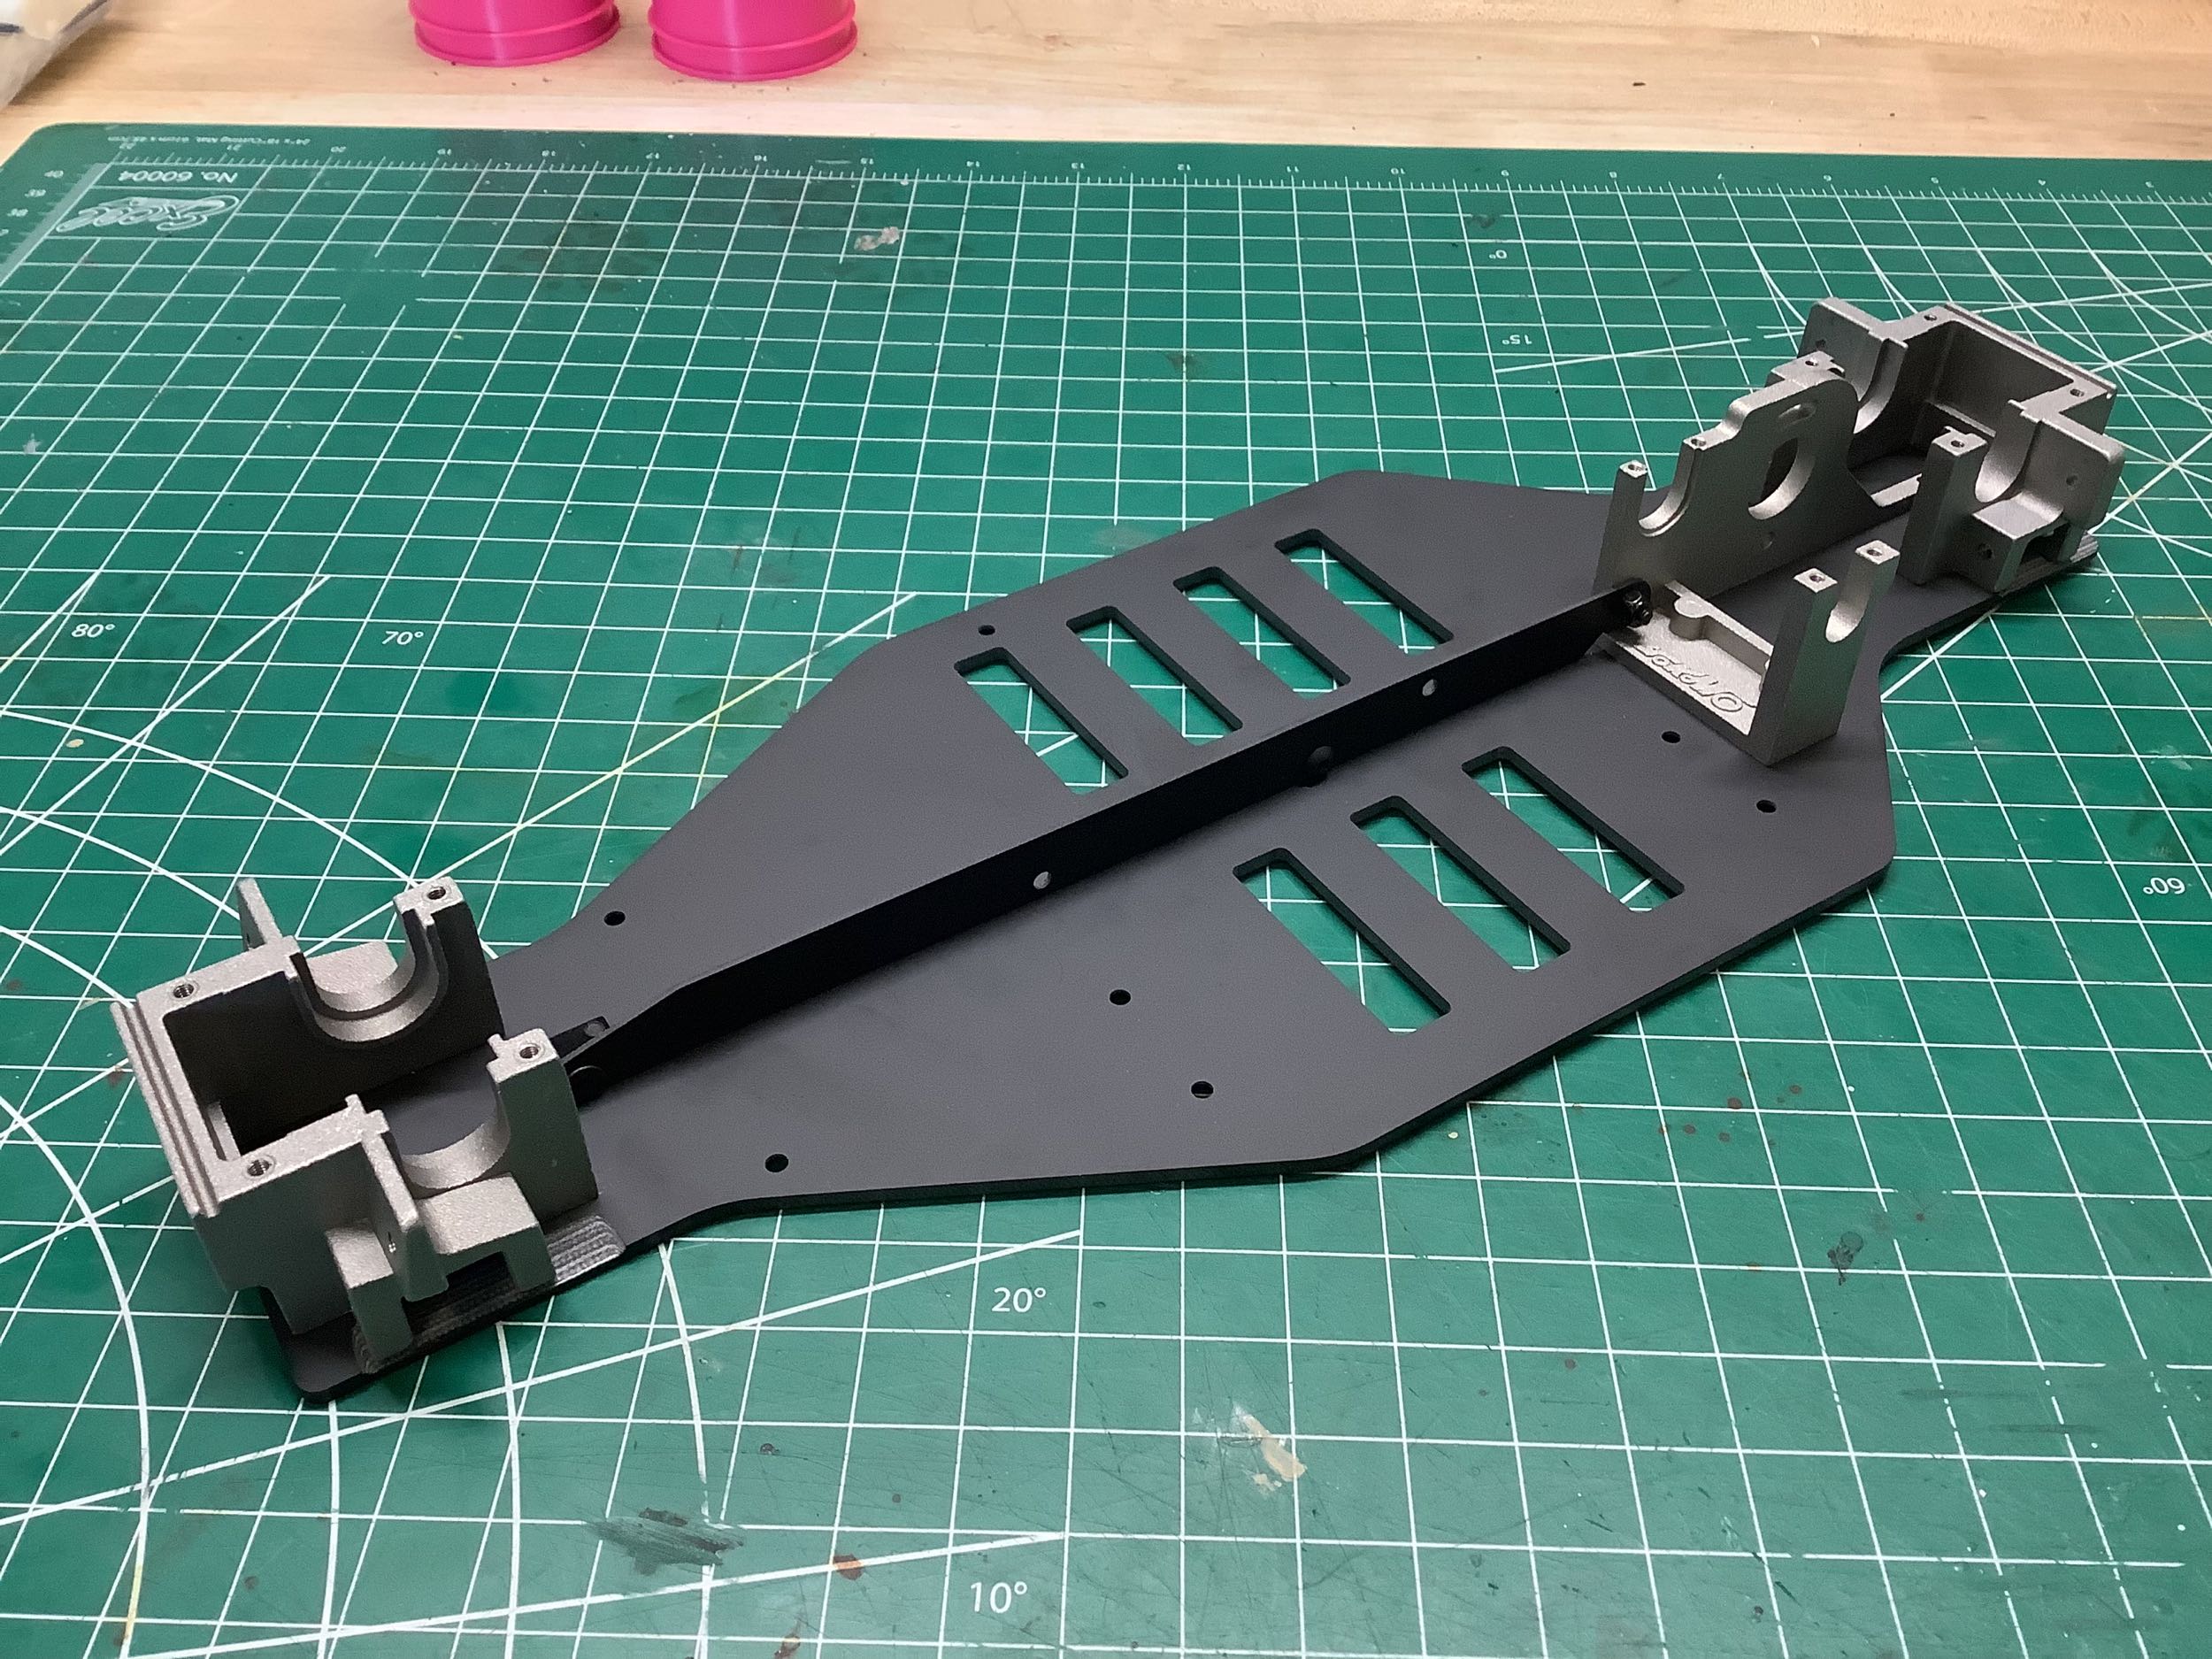
Bag 1 contains the front and rear bulkheads which are similar but not
identical. These parts as well as the motor mount and fairly rough
aluminum castings that look to be original from the 1980's. After
they are attached to the chassis plate, a vertical chassis stiffener is
attached. This part it quite thin and doesn't do much to actually
stiffen the chassis given that it is pinned at each end.
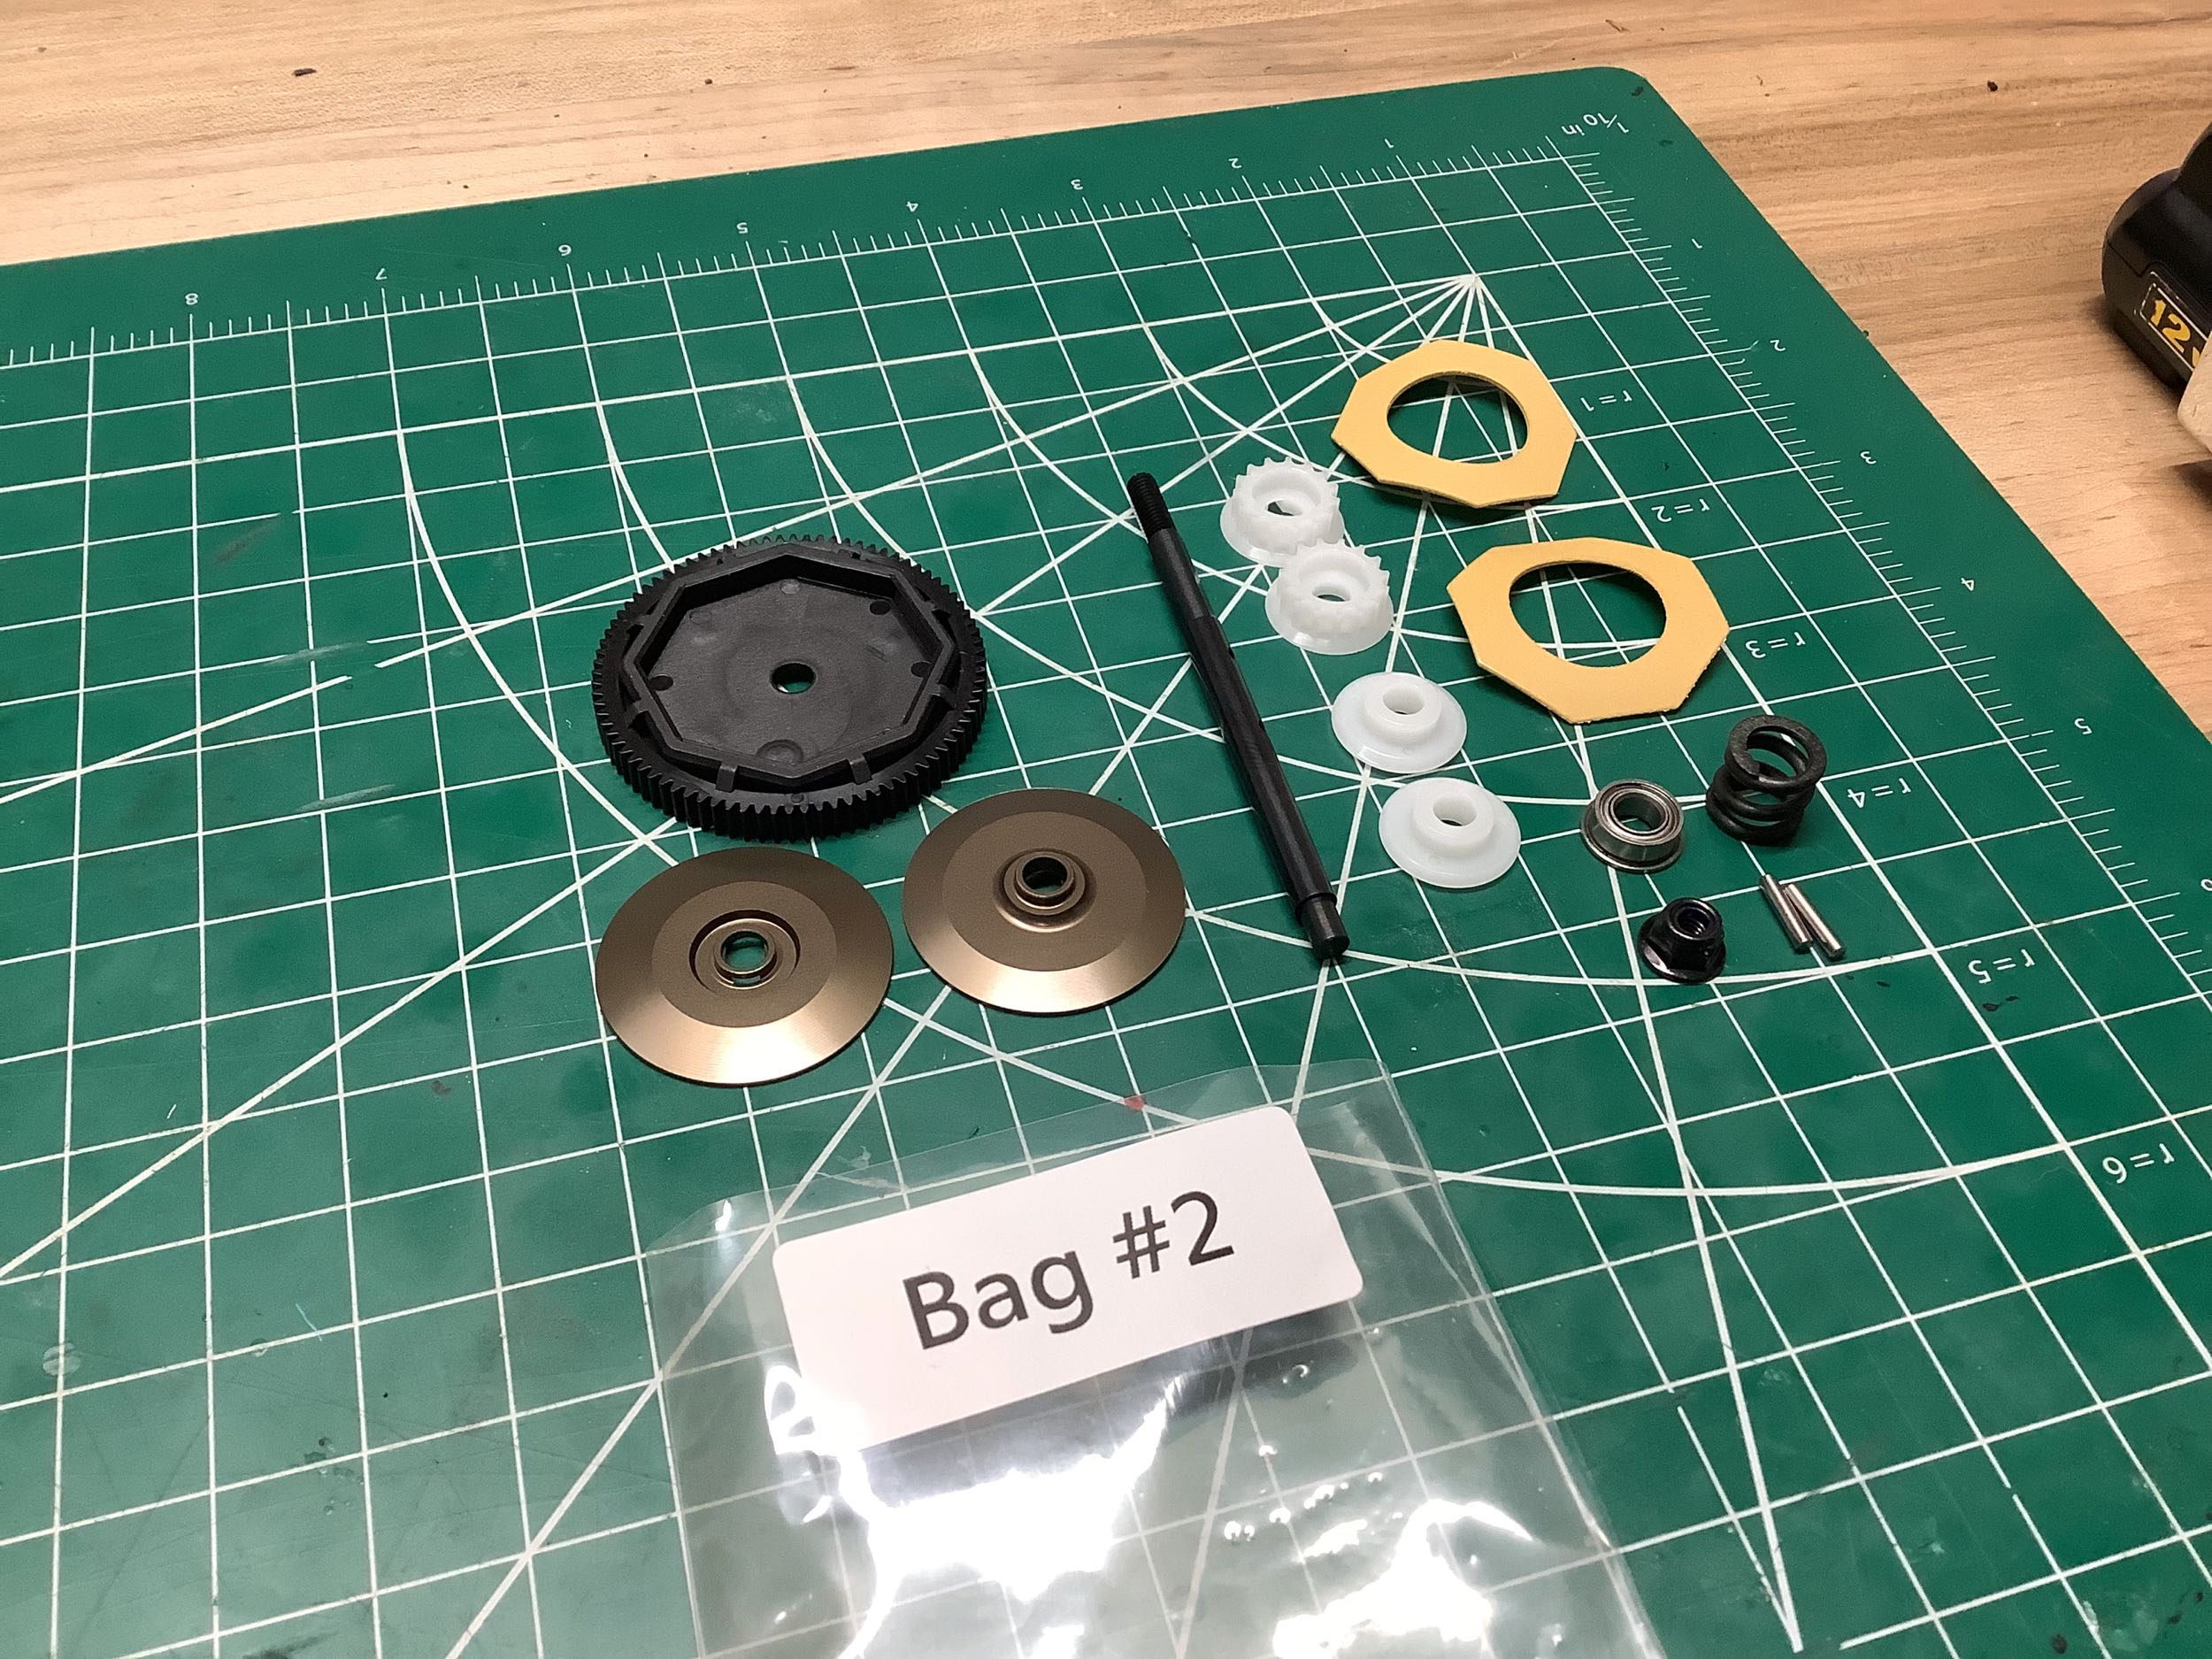
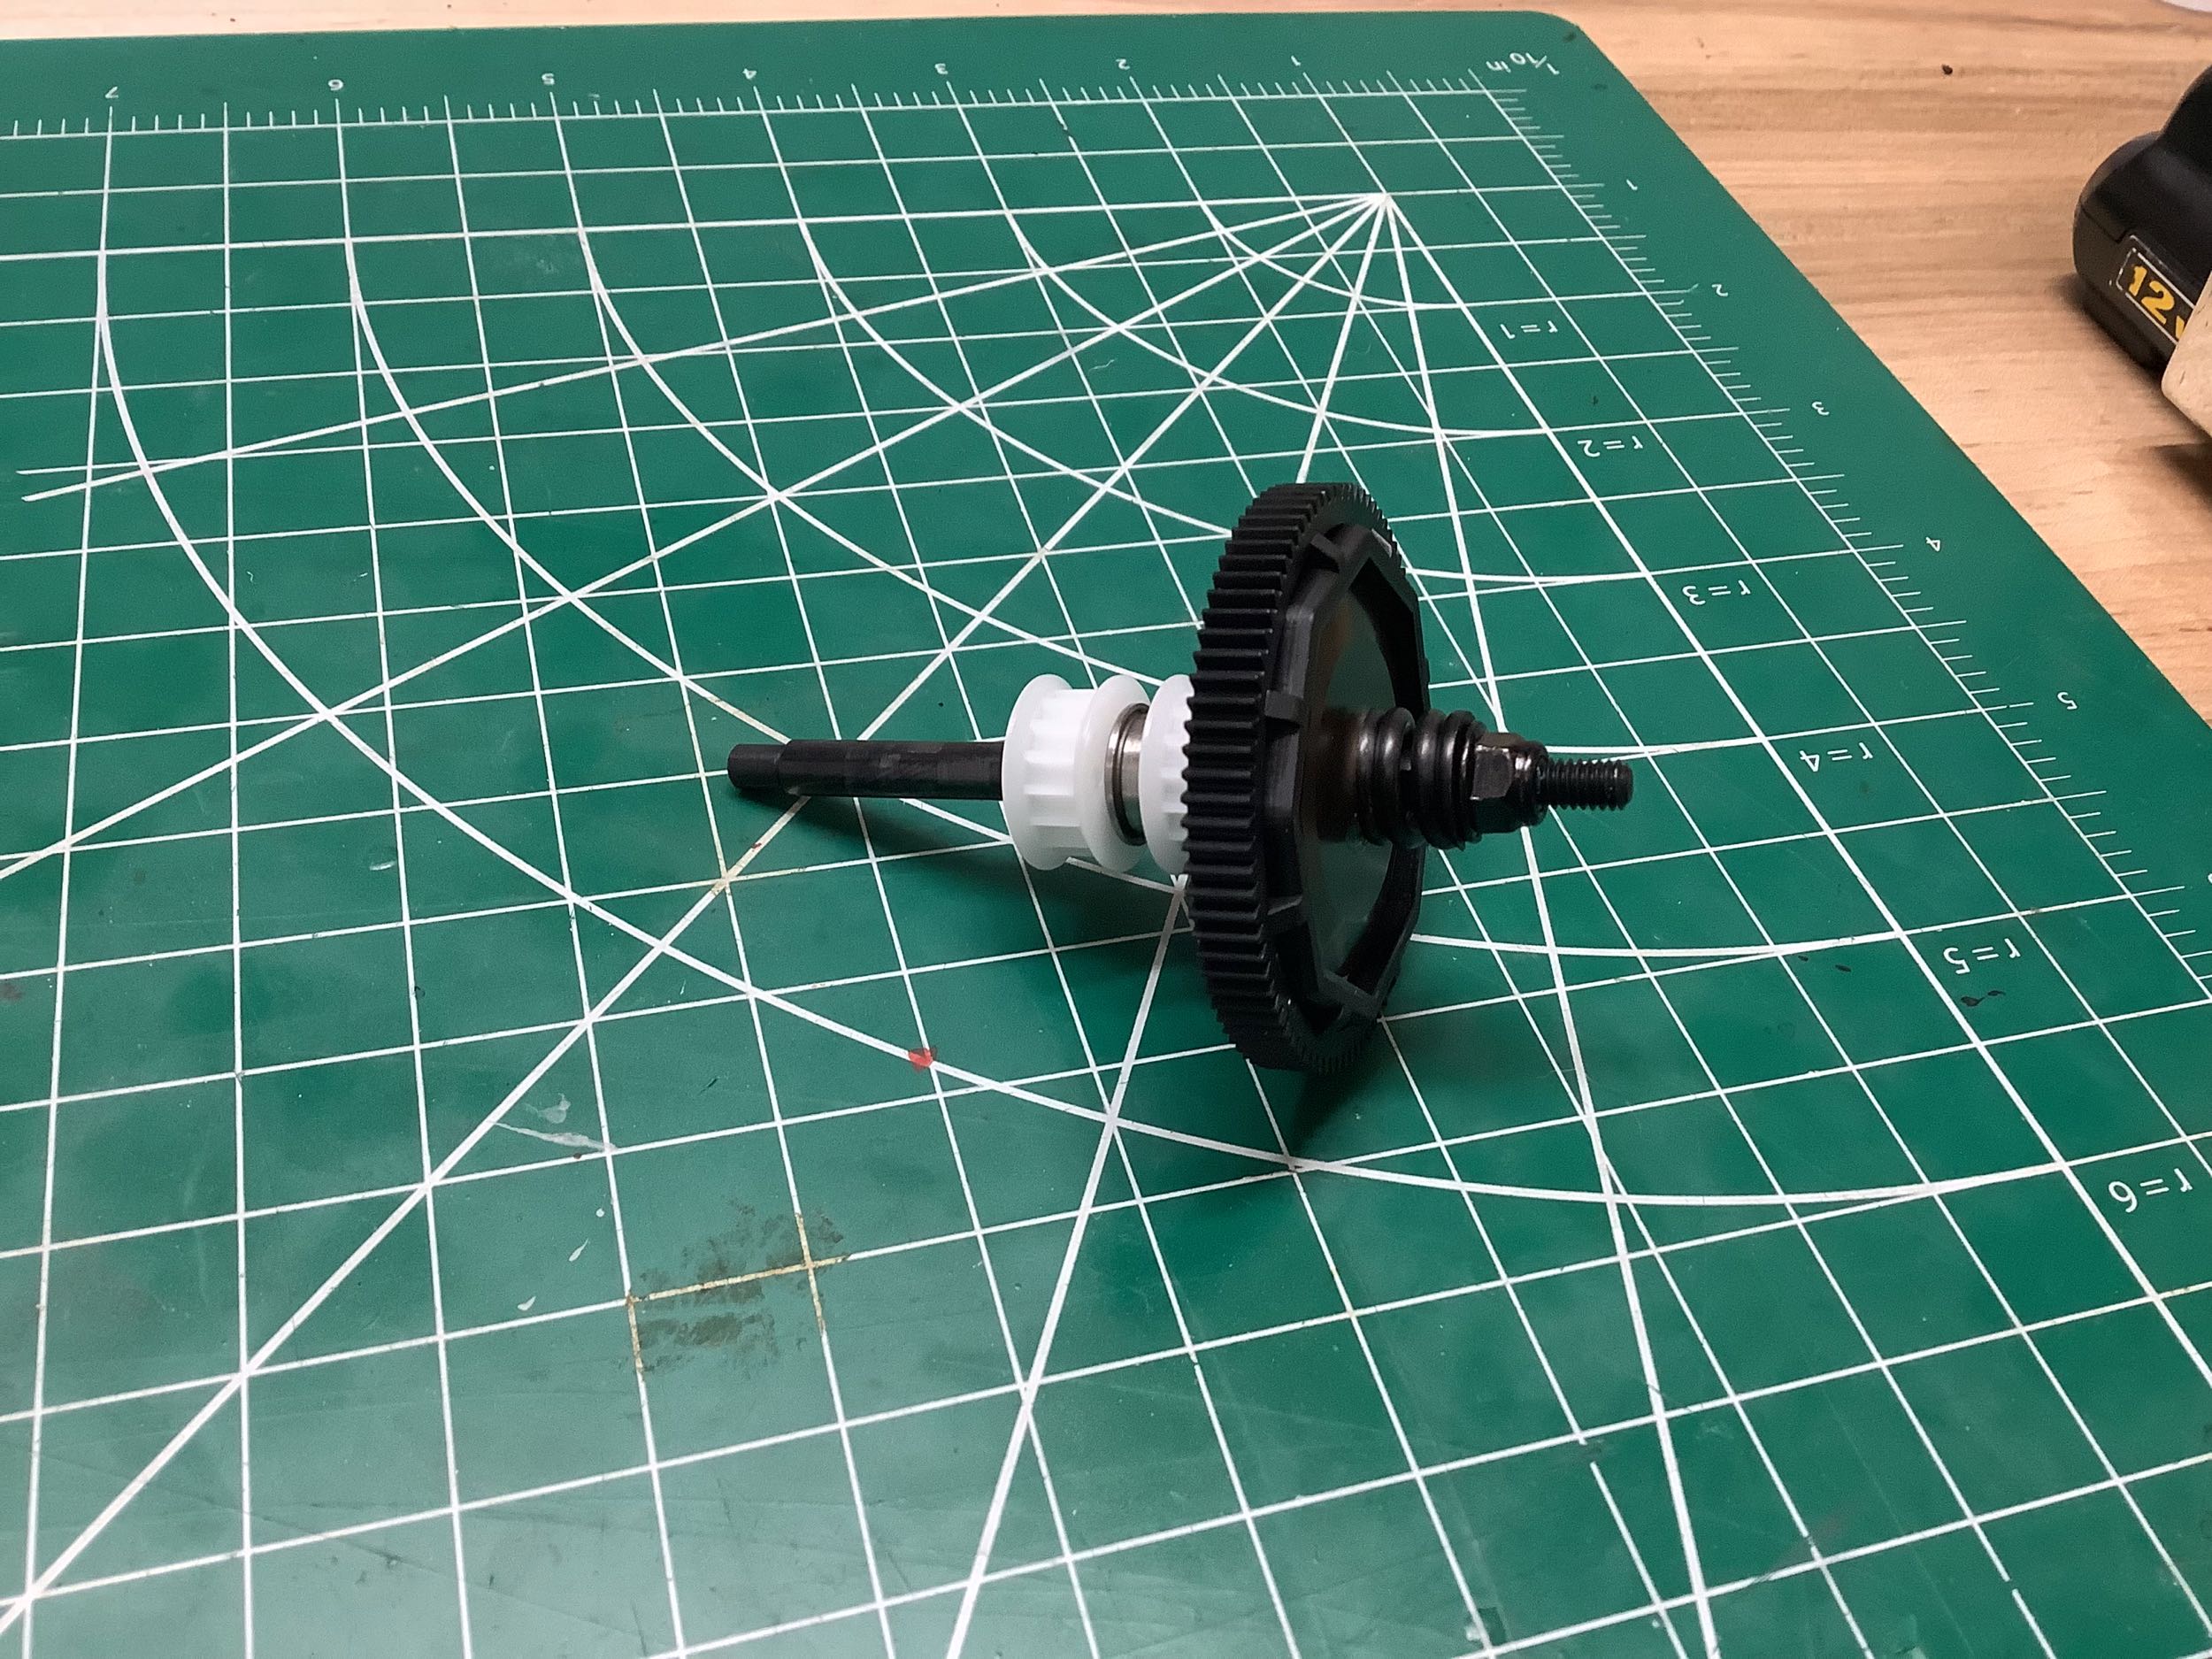
Bag 2 is the parts for the slipper clutch which is integral with the 84T
48p spur gear. The 15T pulleys for the front and rear belts are
also installed here. They are both locked to the shaft so there is
no center differential.
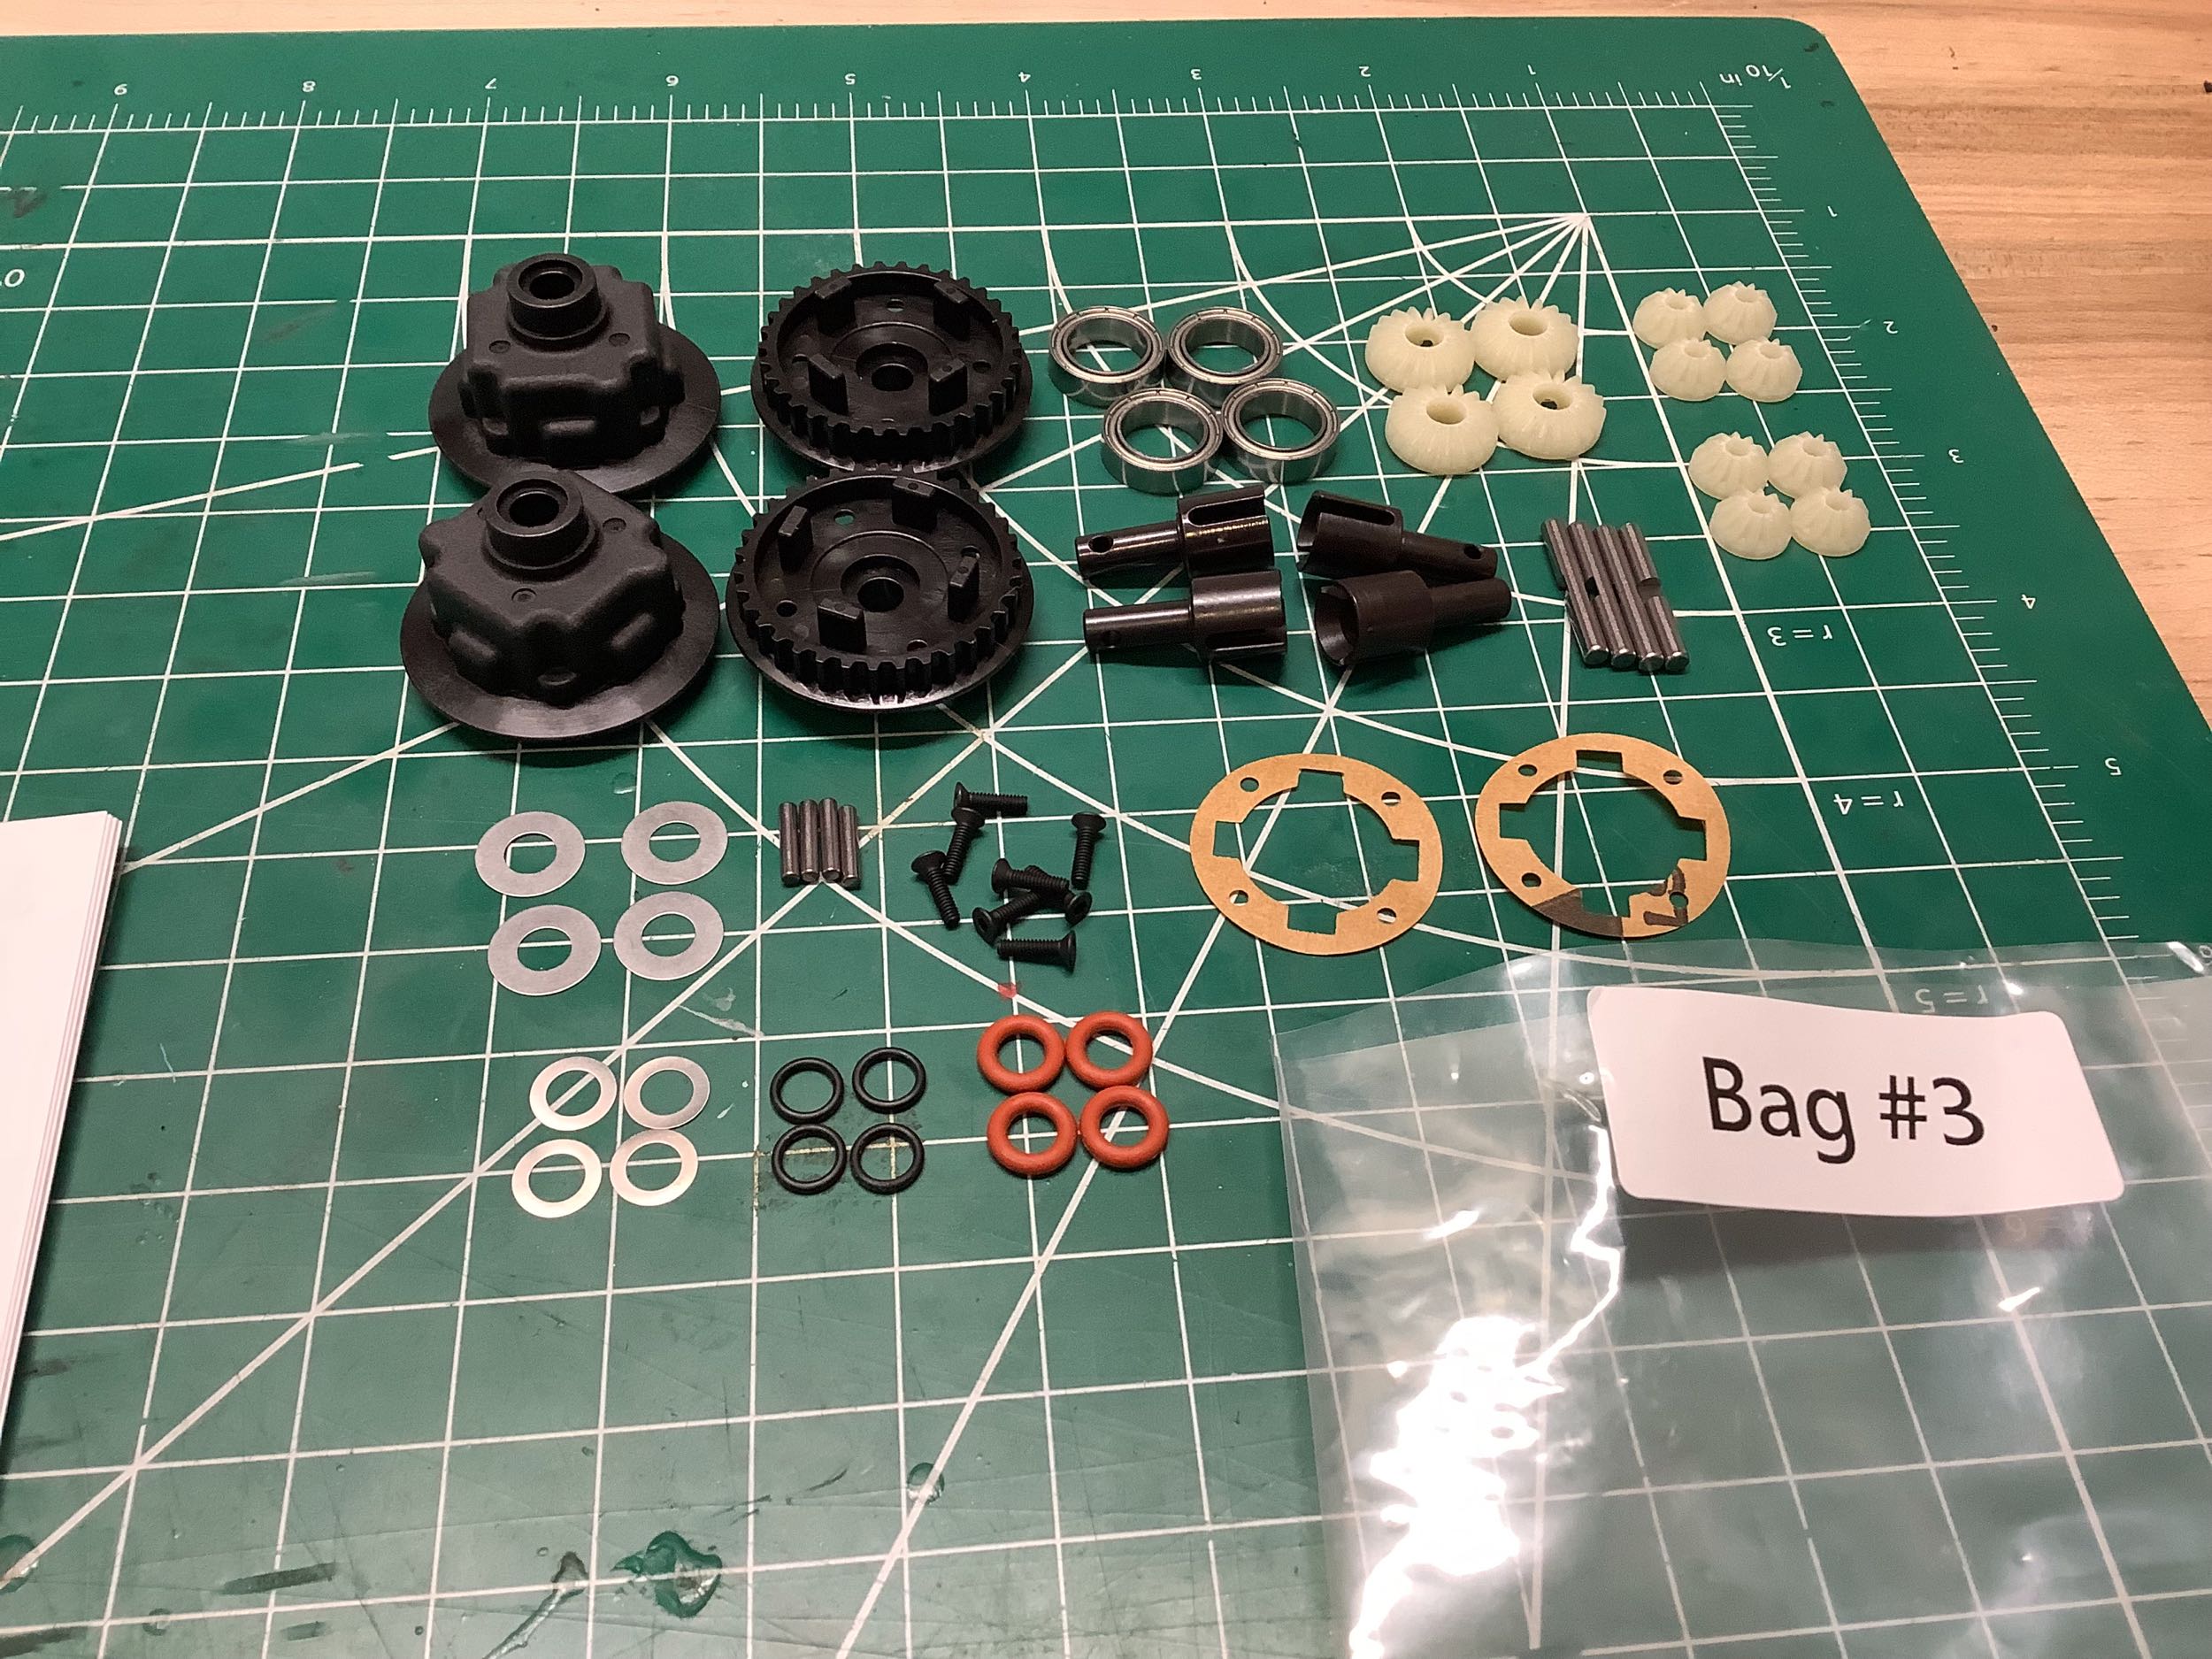
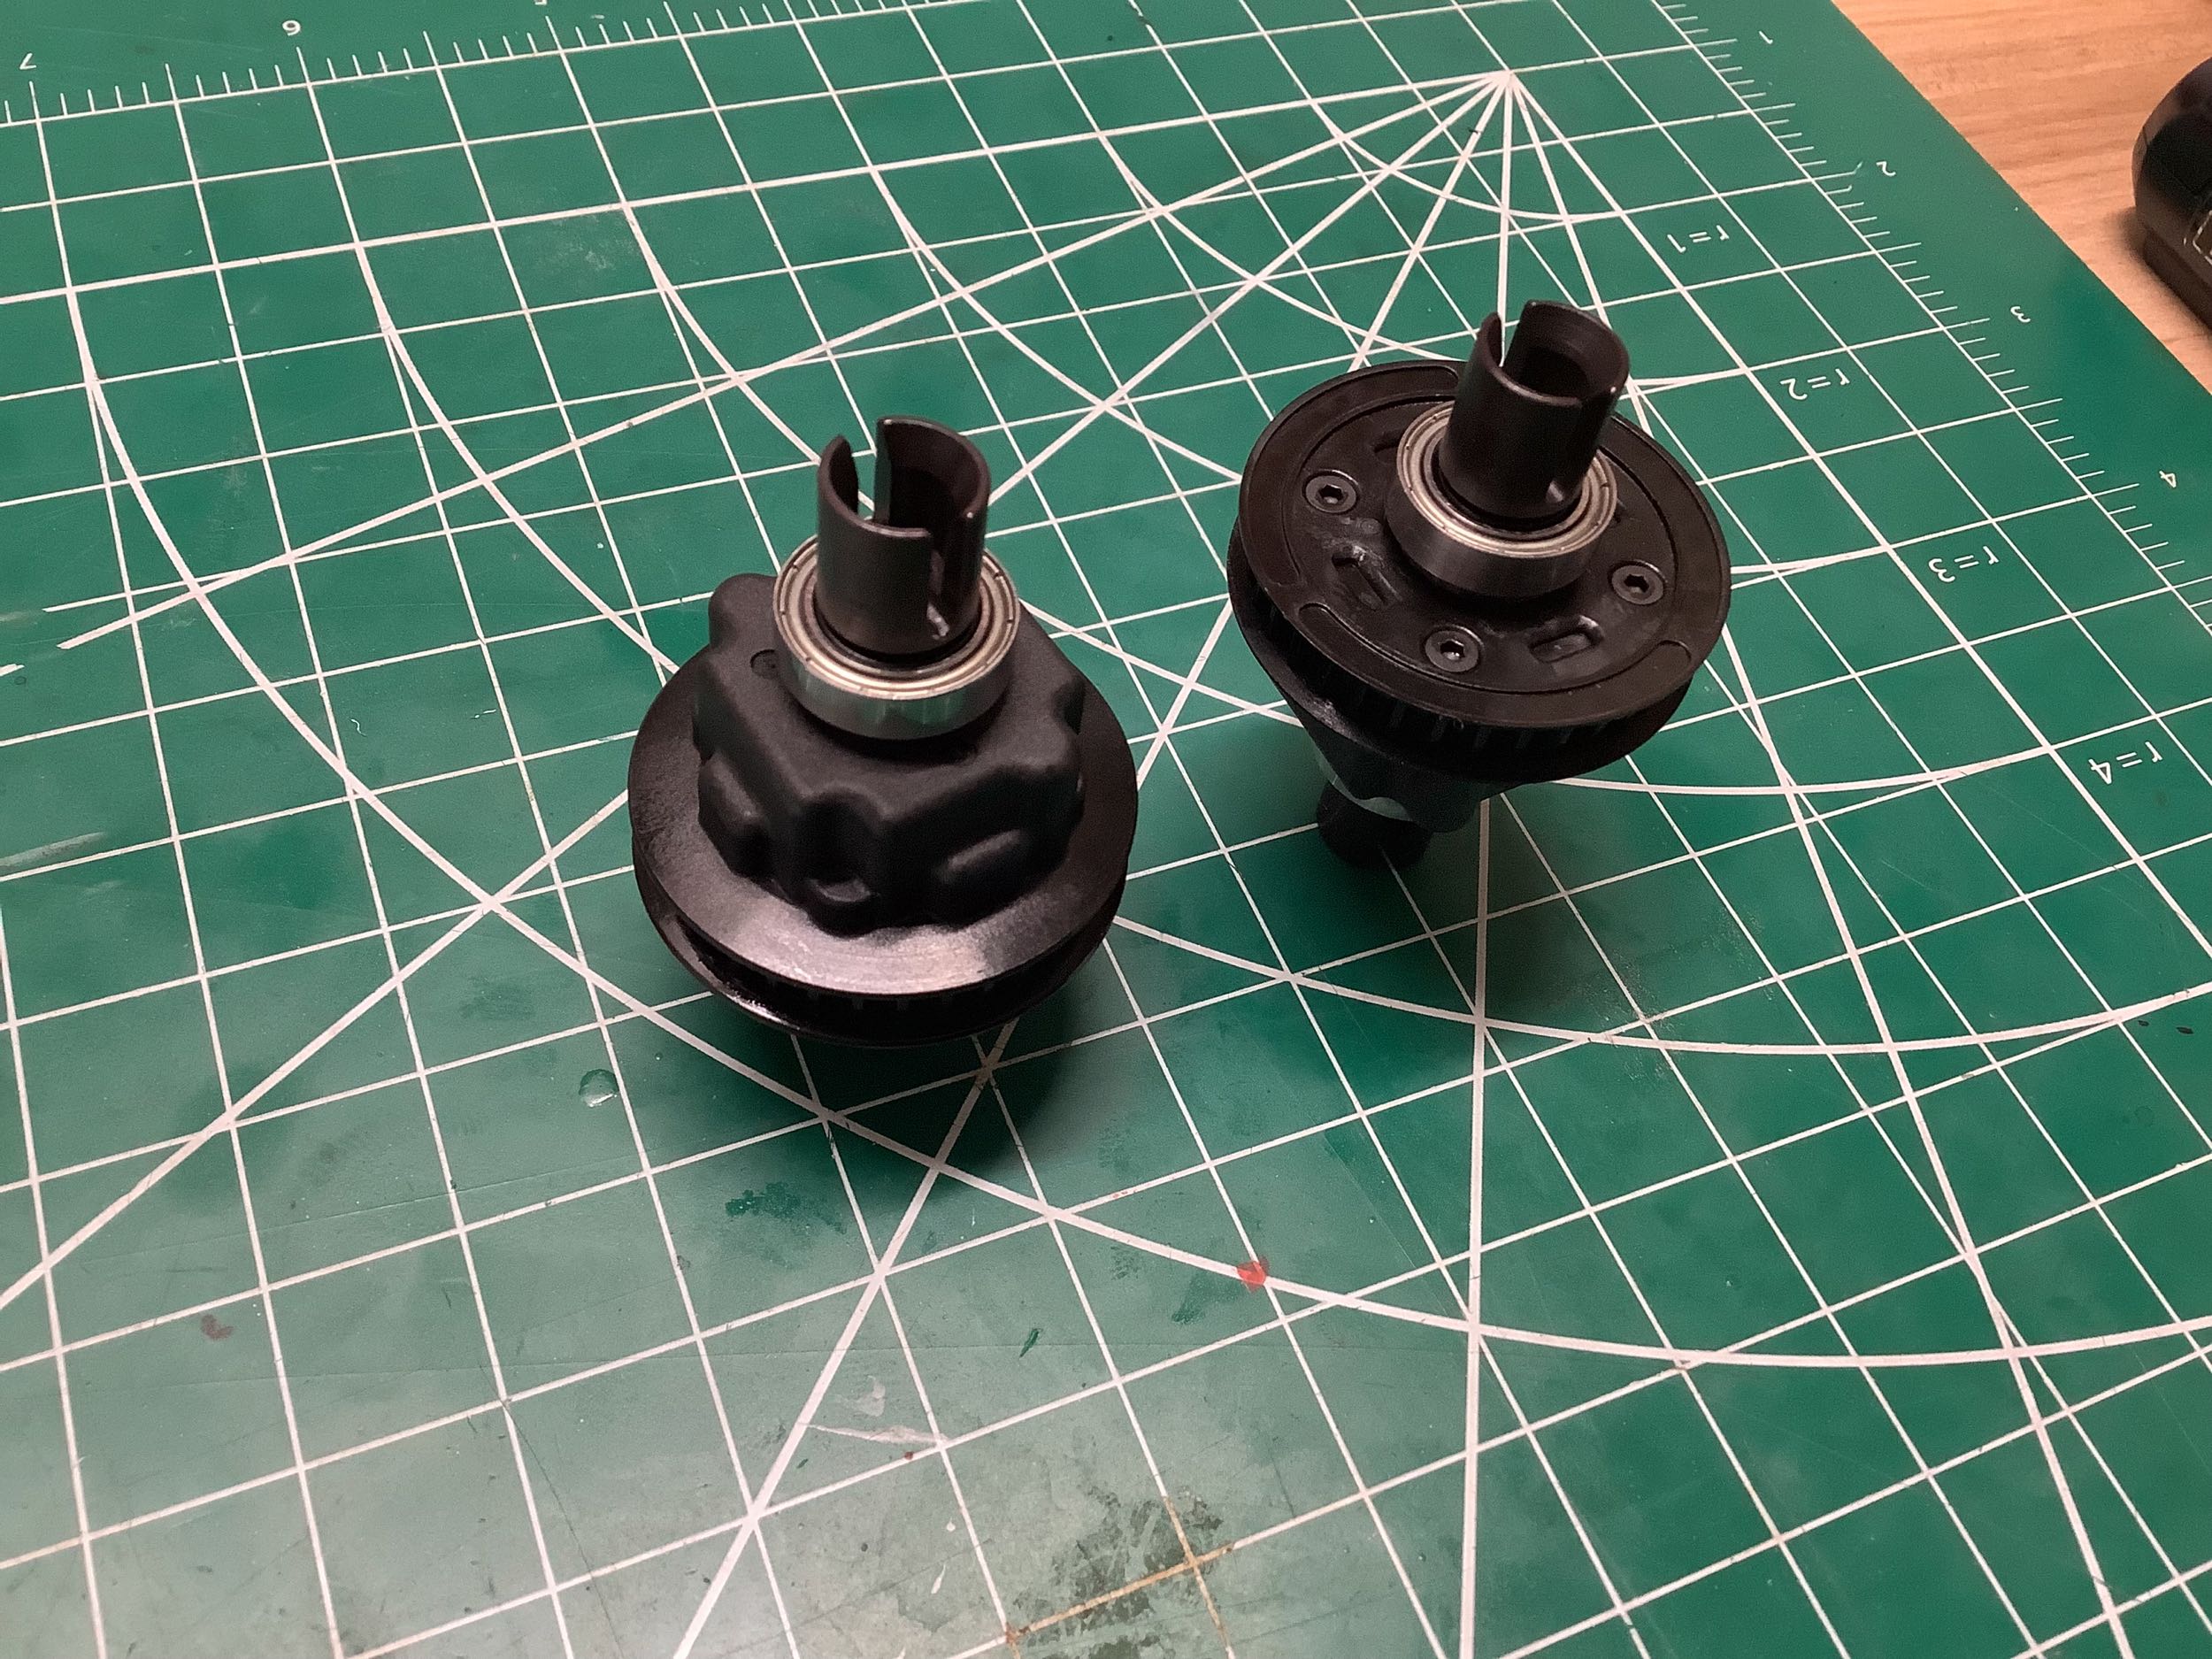
Bag 3 is the parts for the front and rear gear differentials which are
identical. These are sealed and filled with 5000 weight oil.
I'm glad to see gear diffs here because I personally find ball diffs
annoying and unreliable.
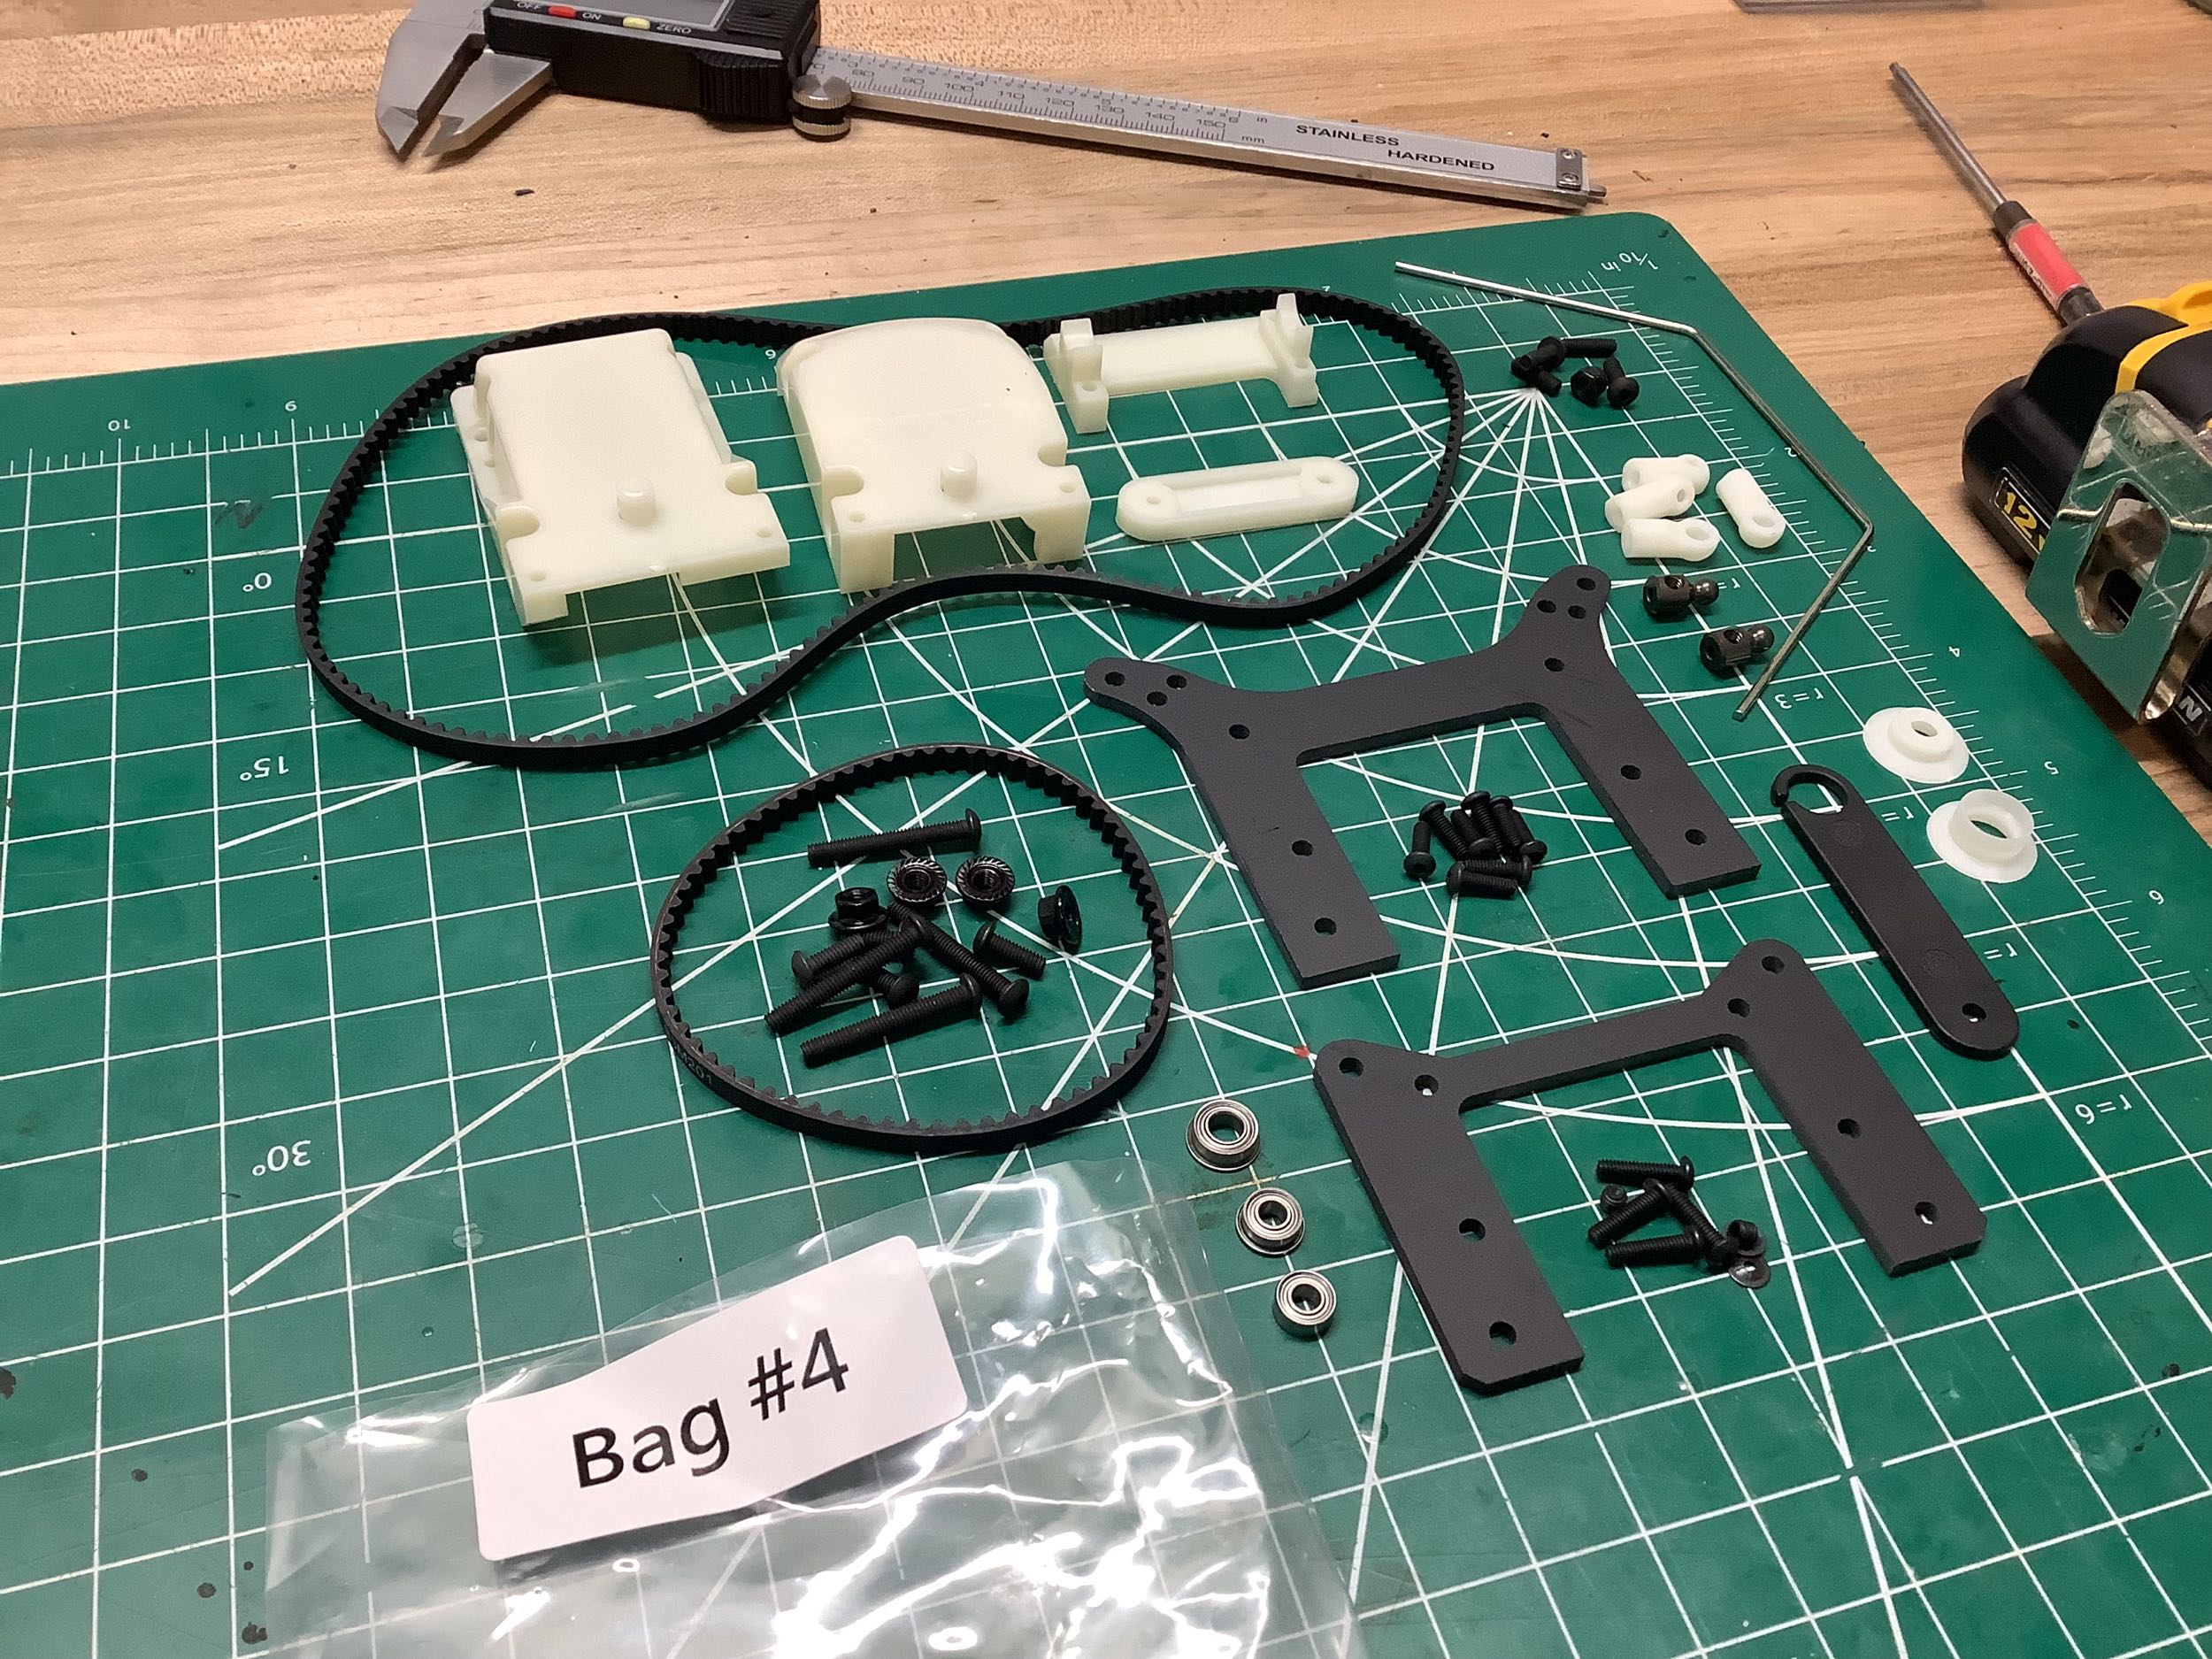
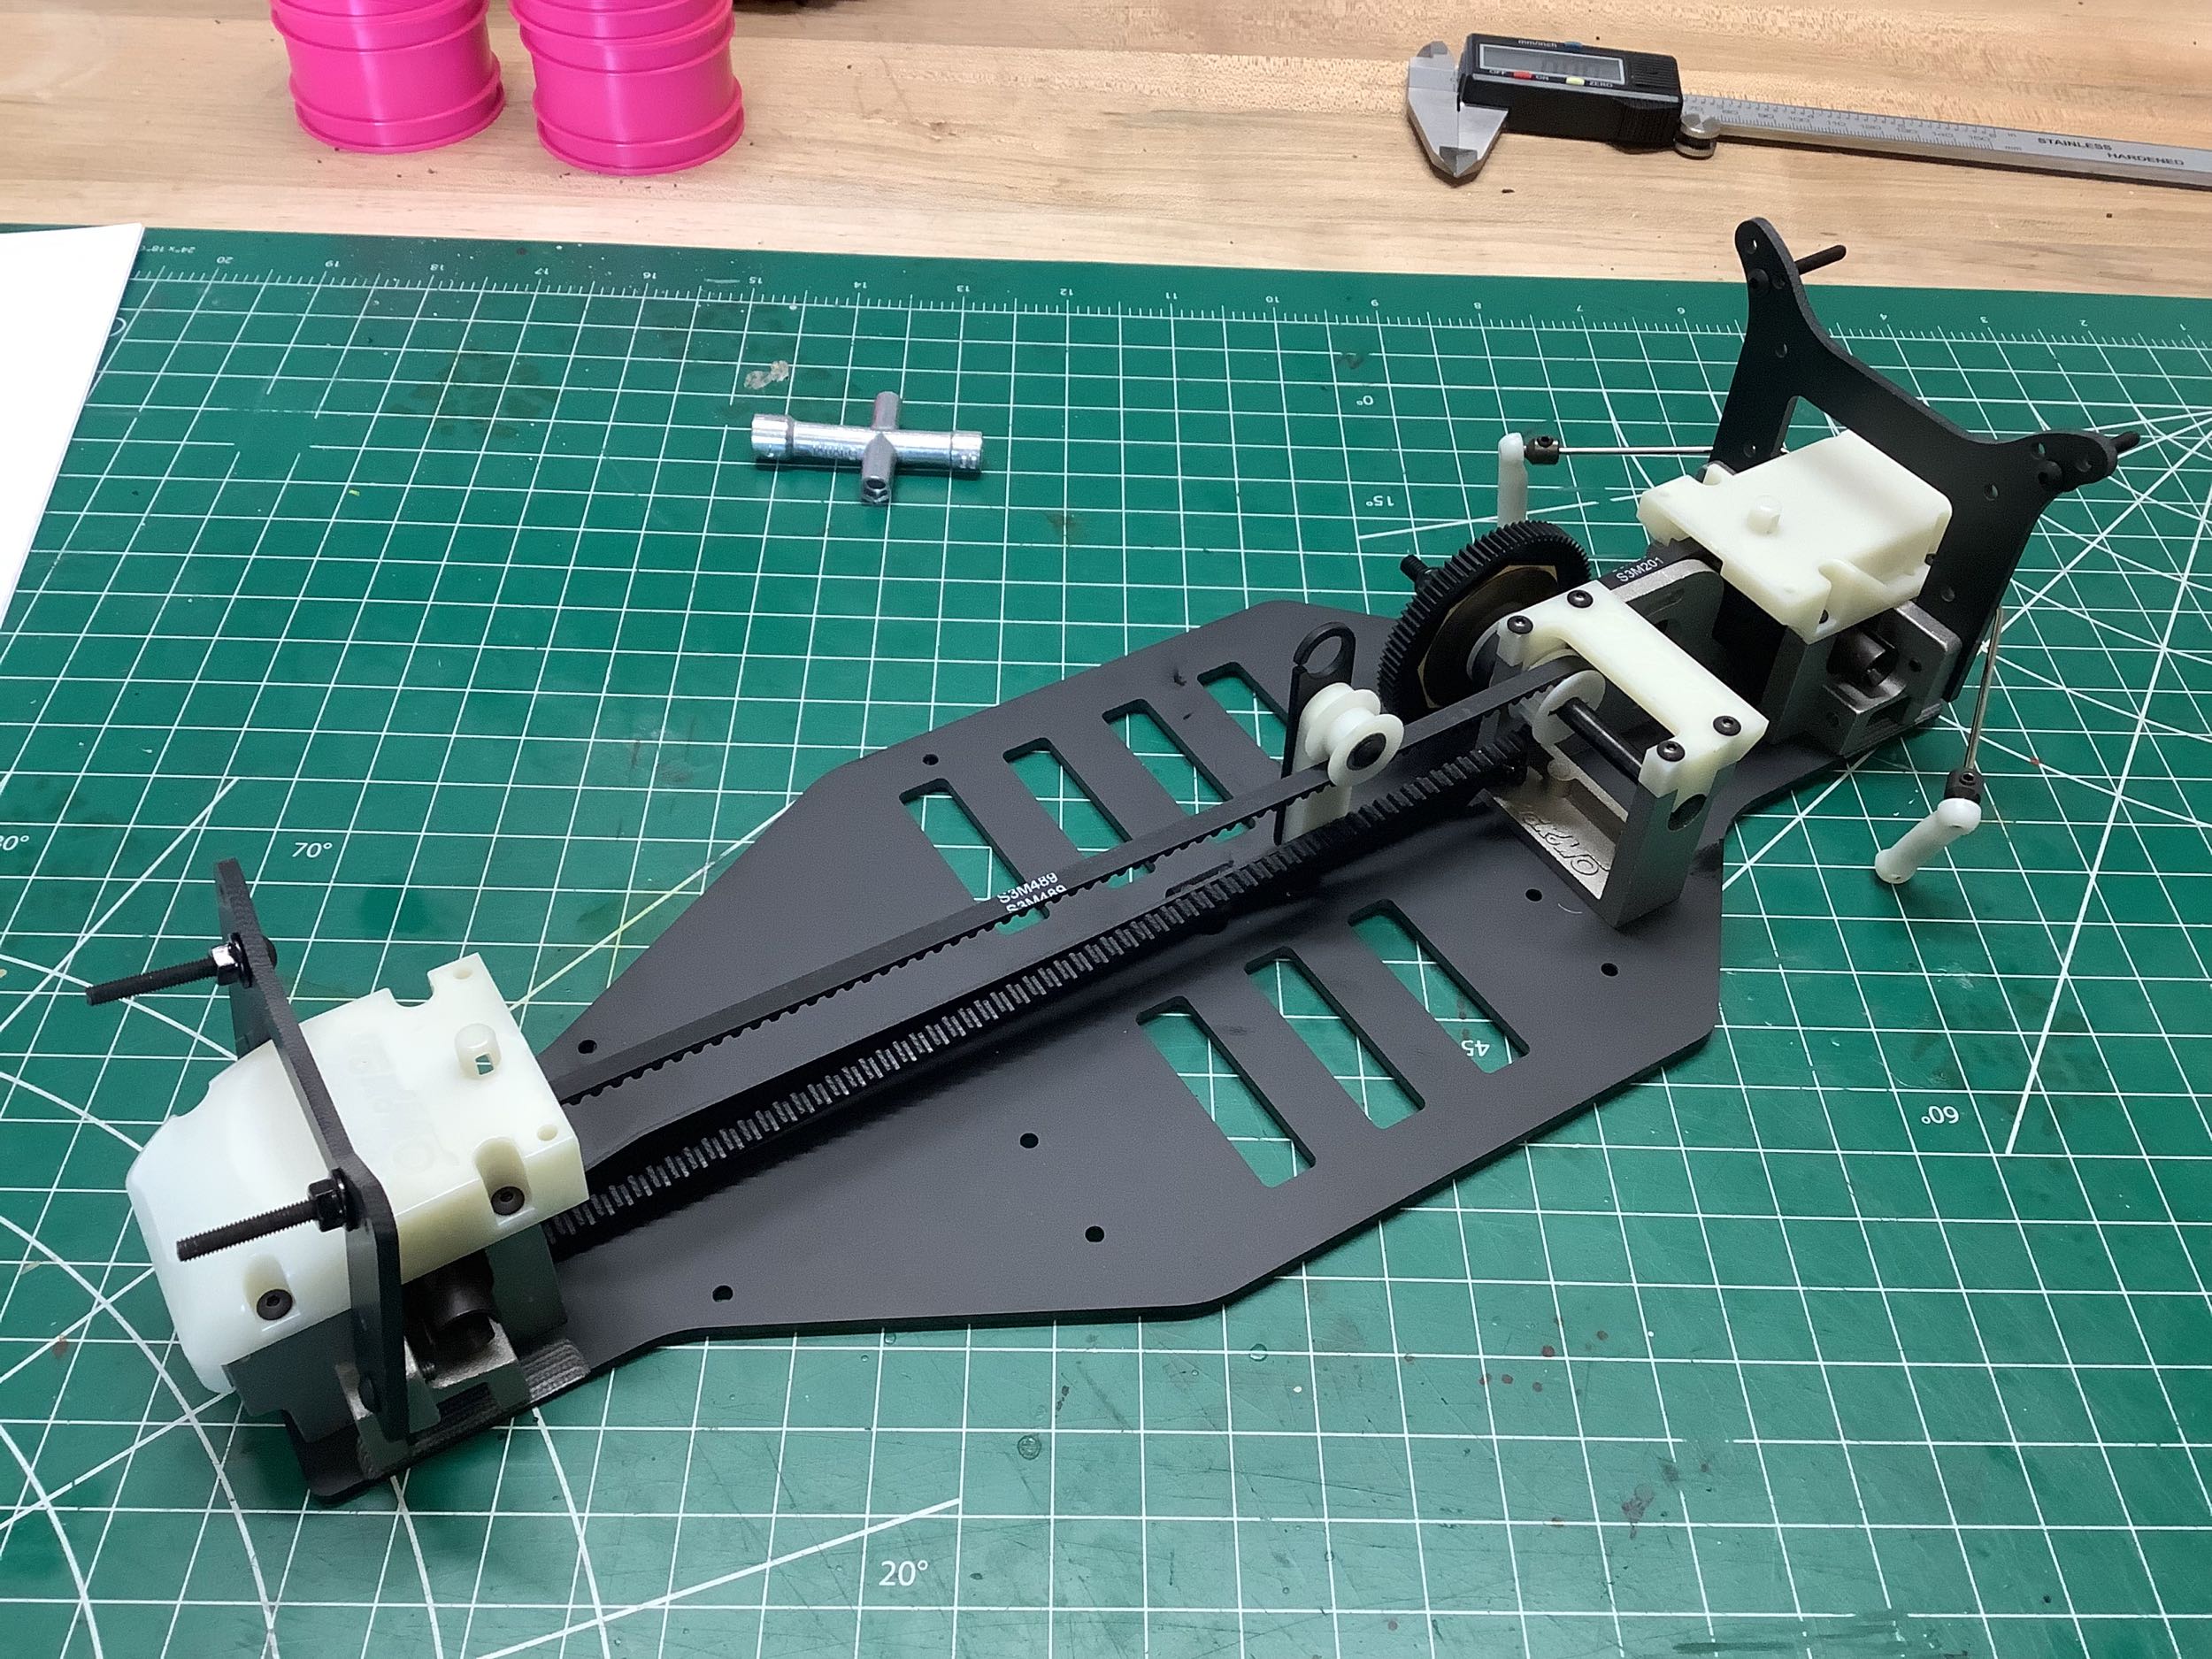
Bag 4 installed the front and rear shock towers which are also FRP
plate. The rear is mounted vertically while the front is tipped
back to match the kickup angle built into the bulkhead. The
bulkhead and center caps are plain white plastic. The front belt
is much longer than the rear, and there is an adjustable center idler
pulley for tensioning. The chassis has no other provisions for
adjusting the belt tension. Note that a sway bar is present in the
rear, but the kit doesn't include one for the front even though the
bulkhead is provisioned for it.
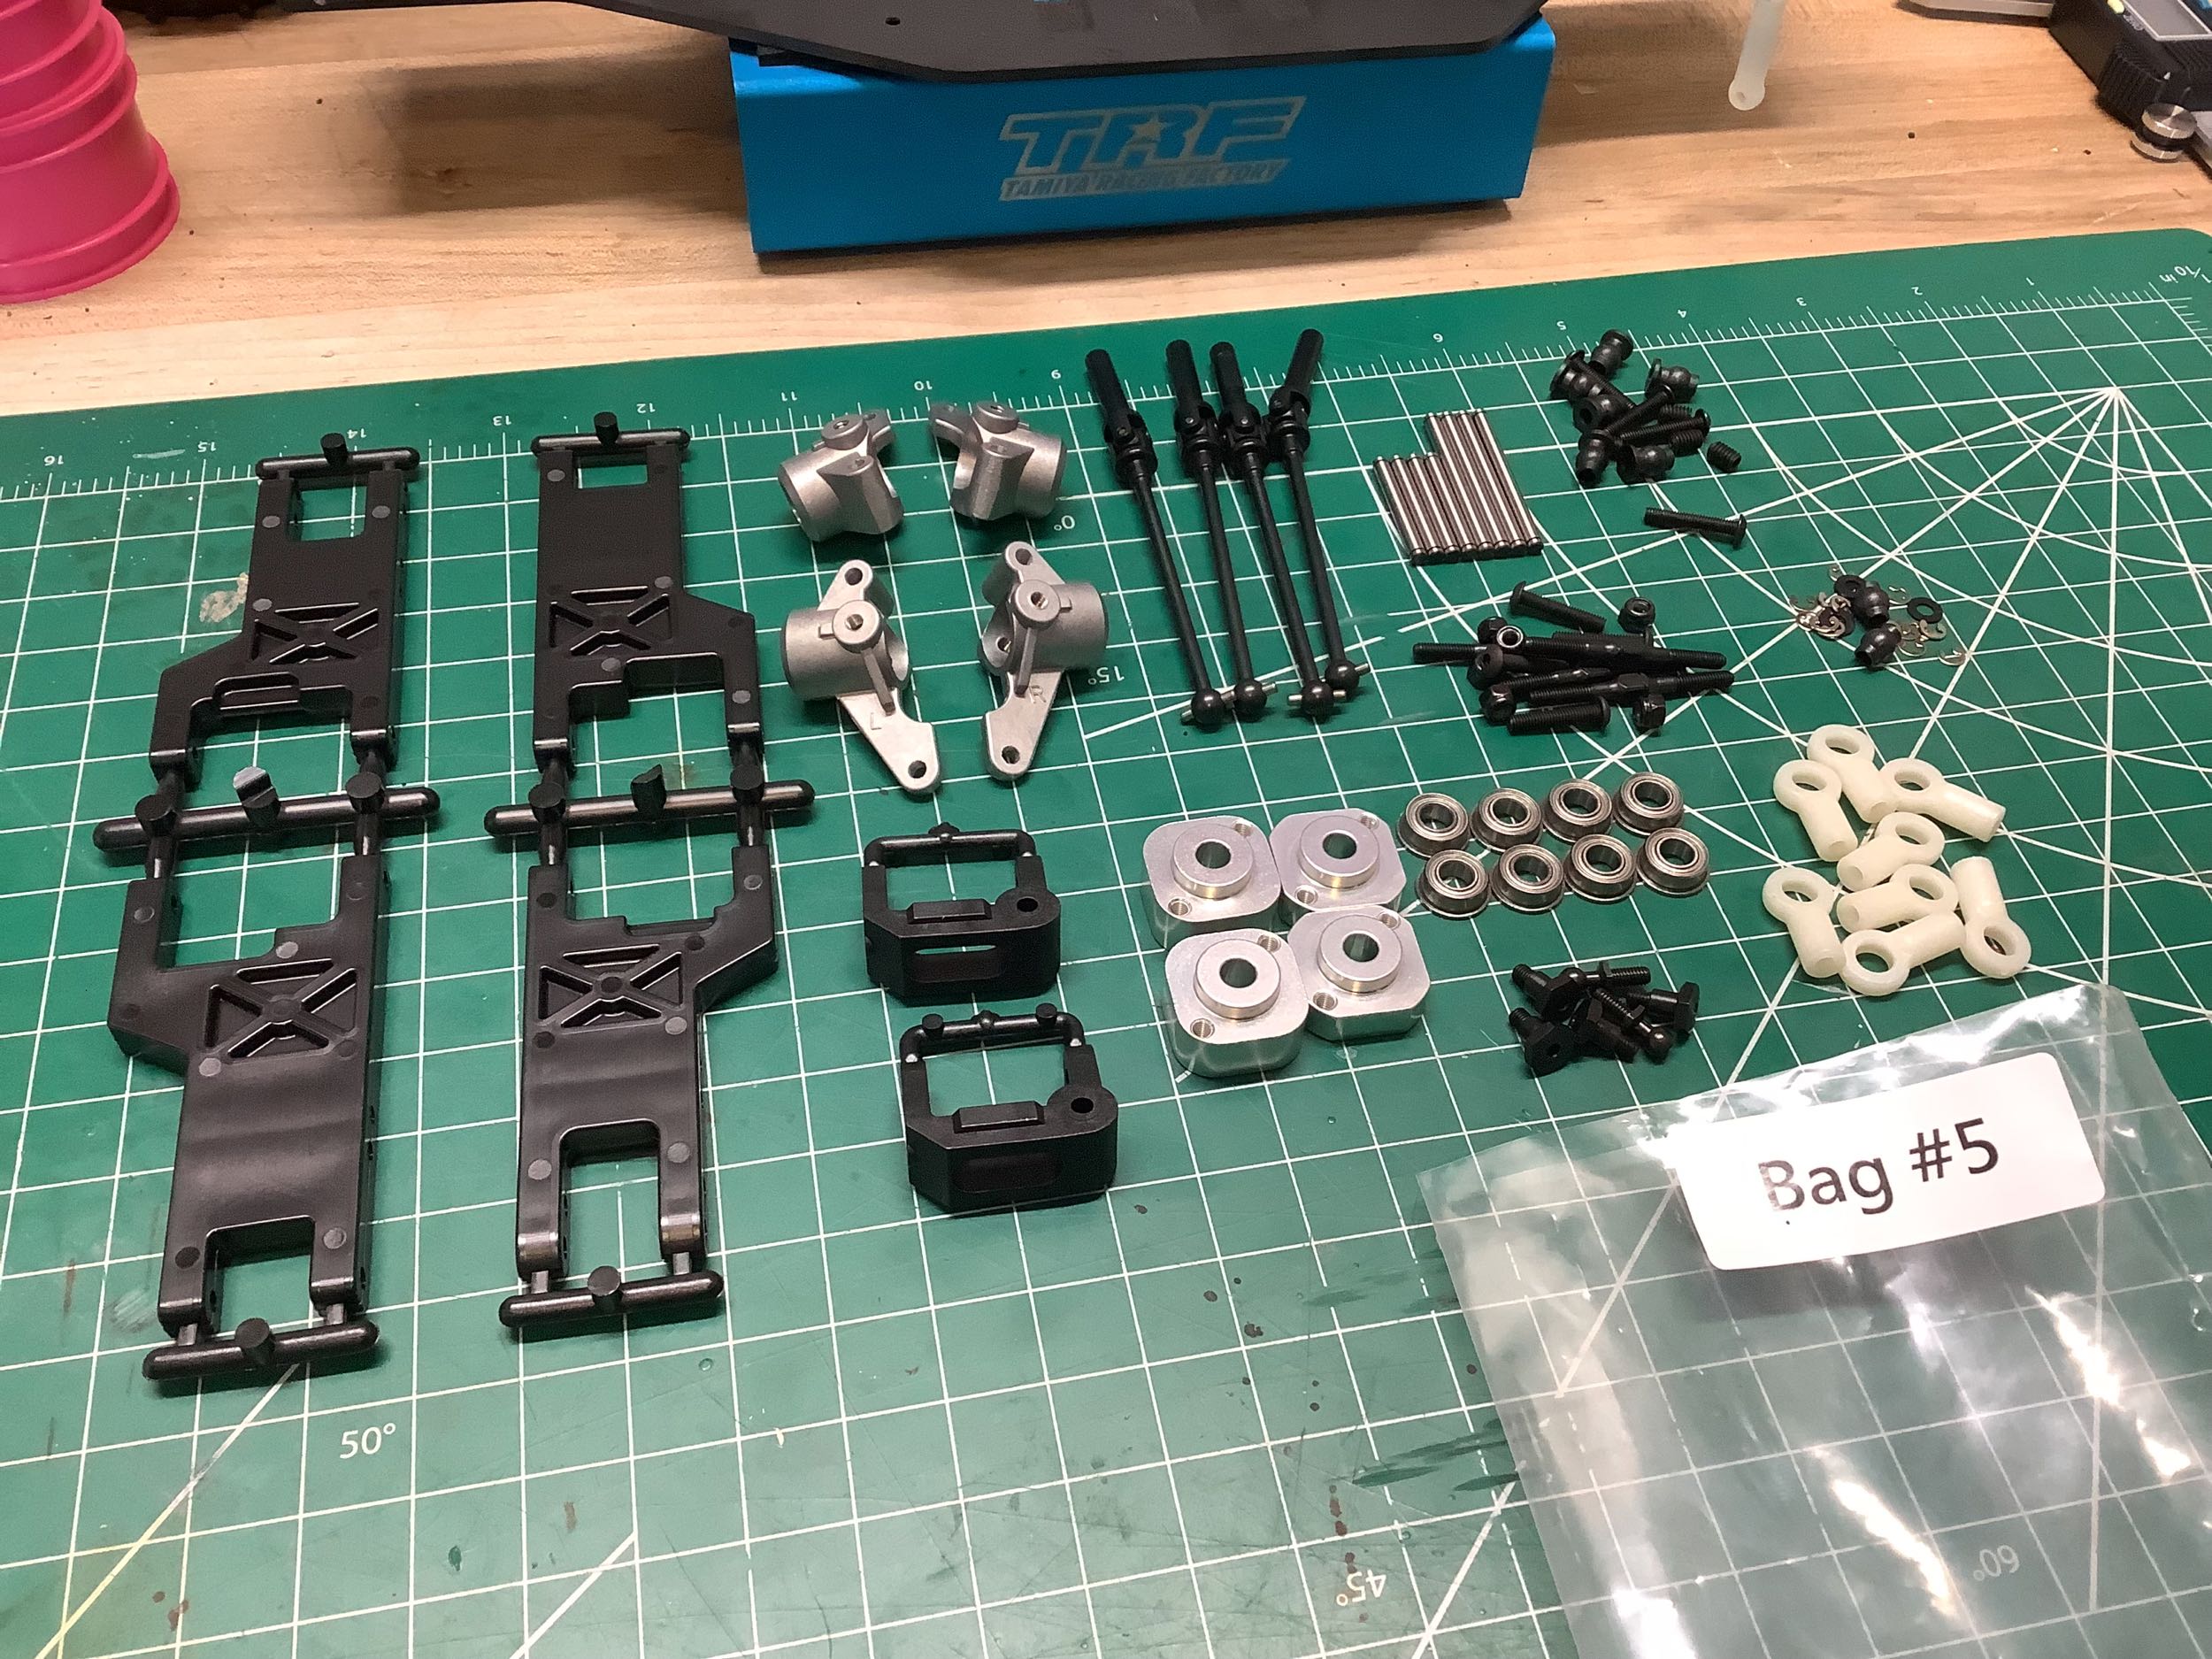
Bag 5 contains all the parts for the suspension which is quite a
lot. The lower wishbone arms are very solid, but slightly
different front to rear. The axles are nice universal style steel units.
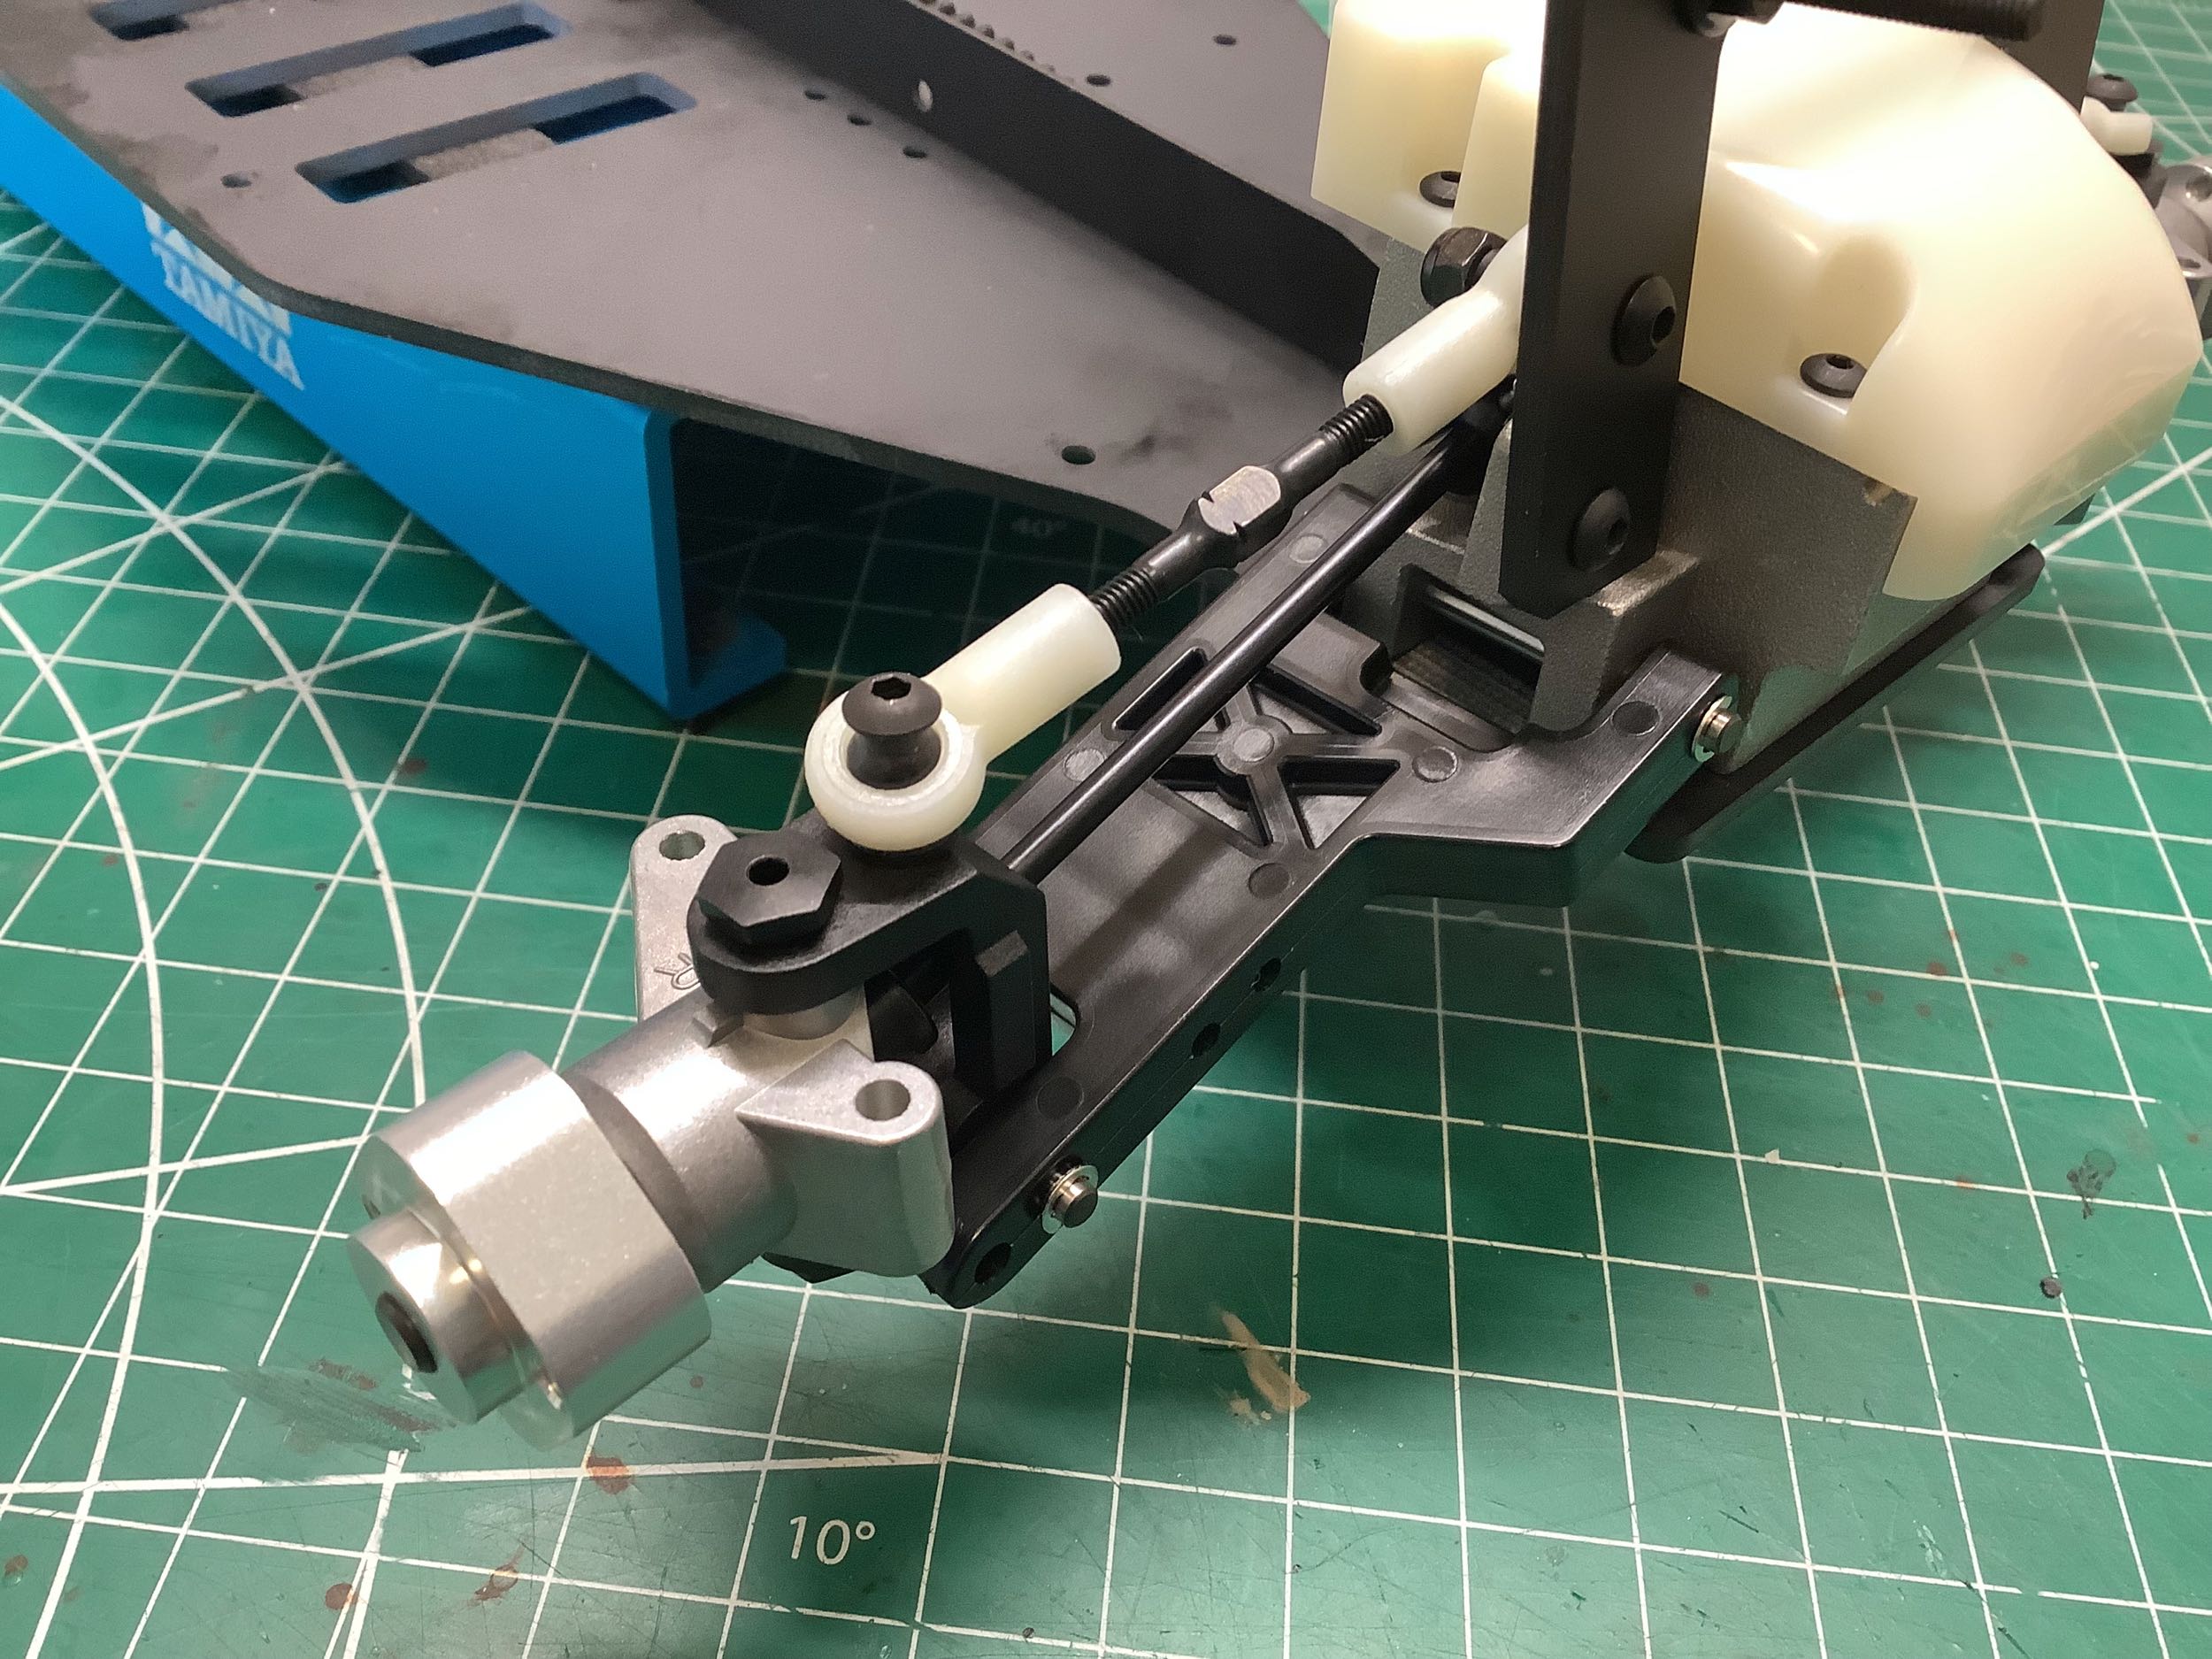
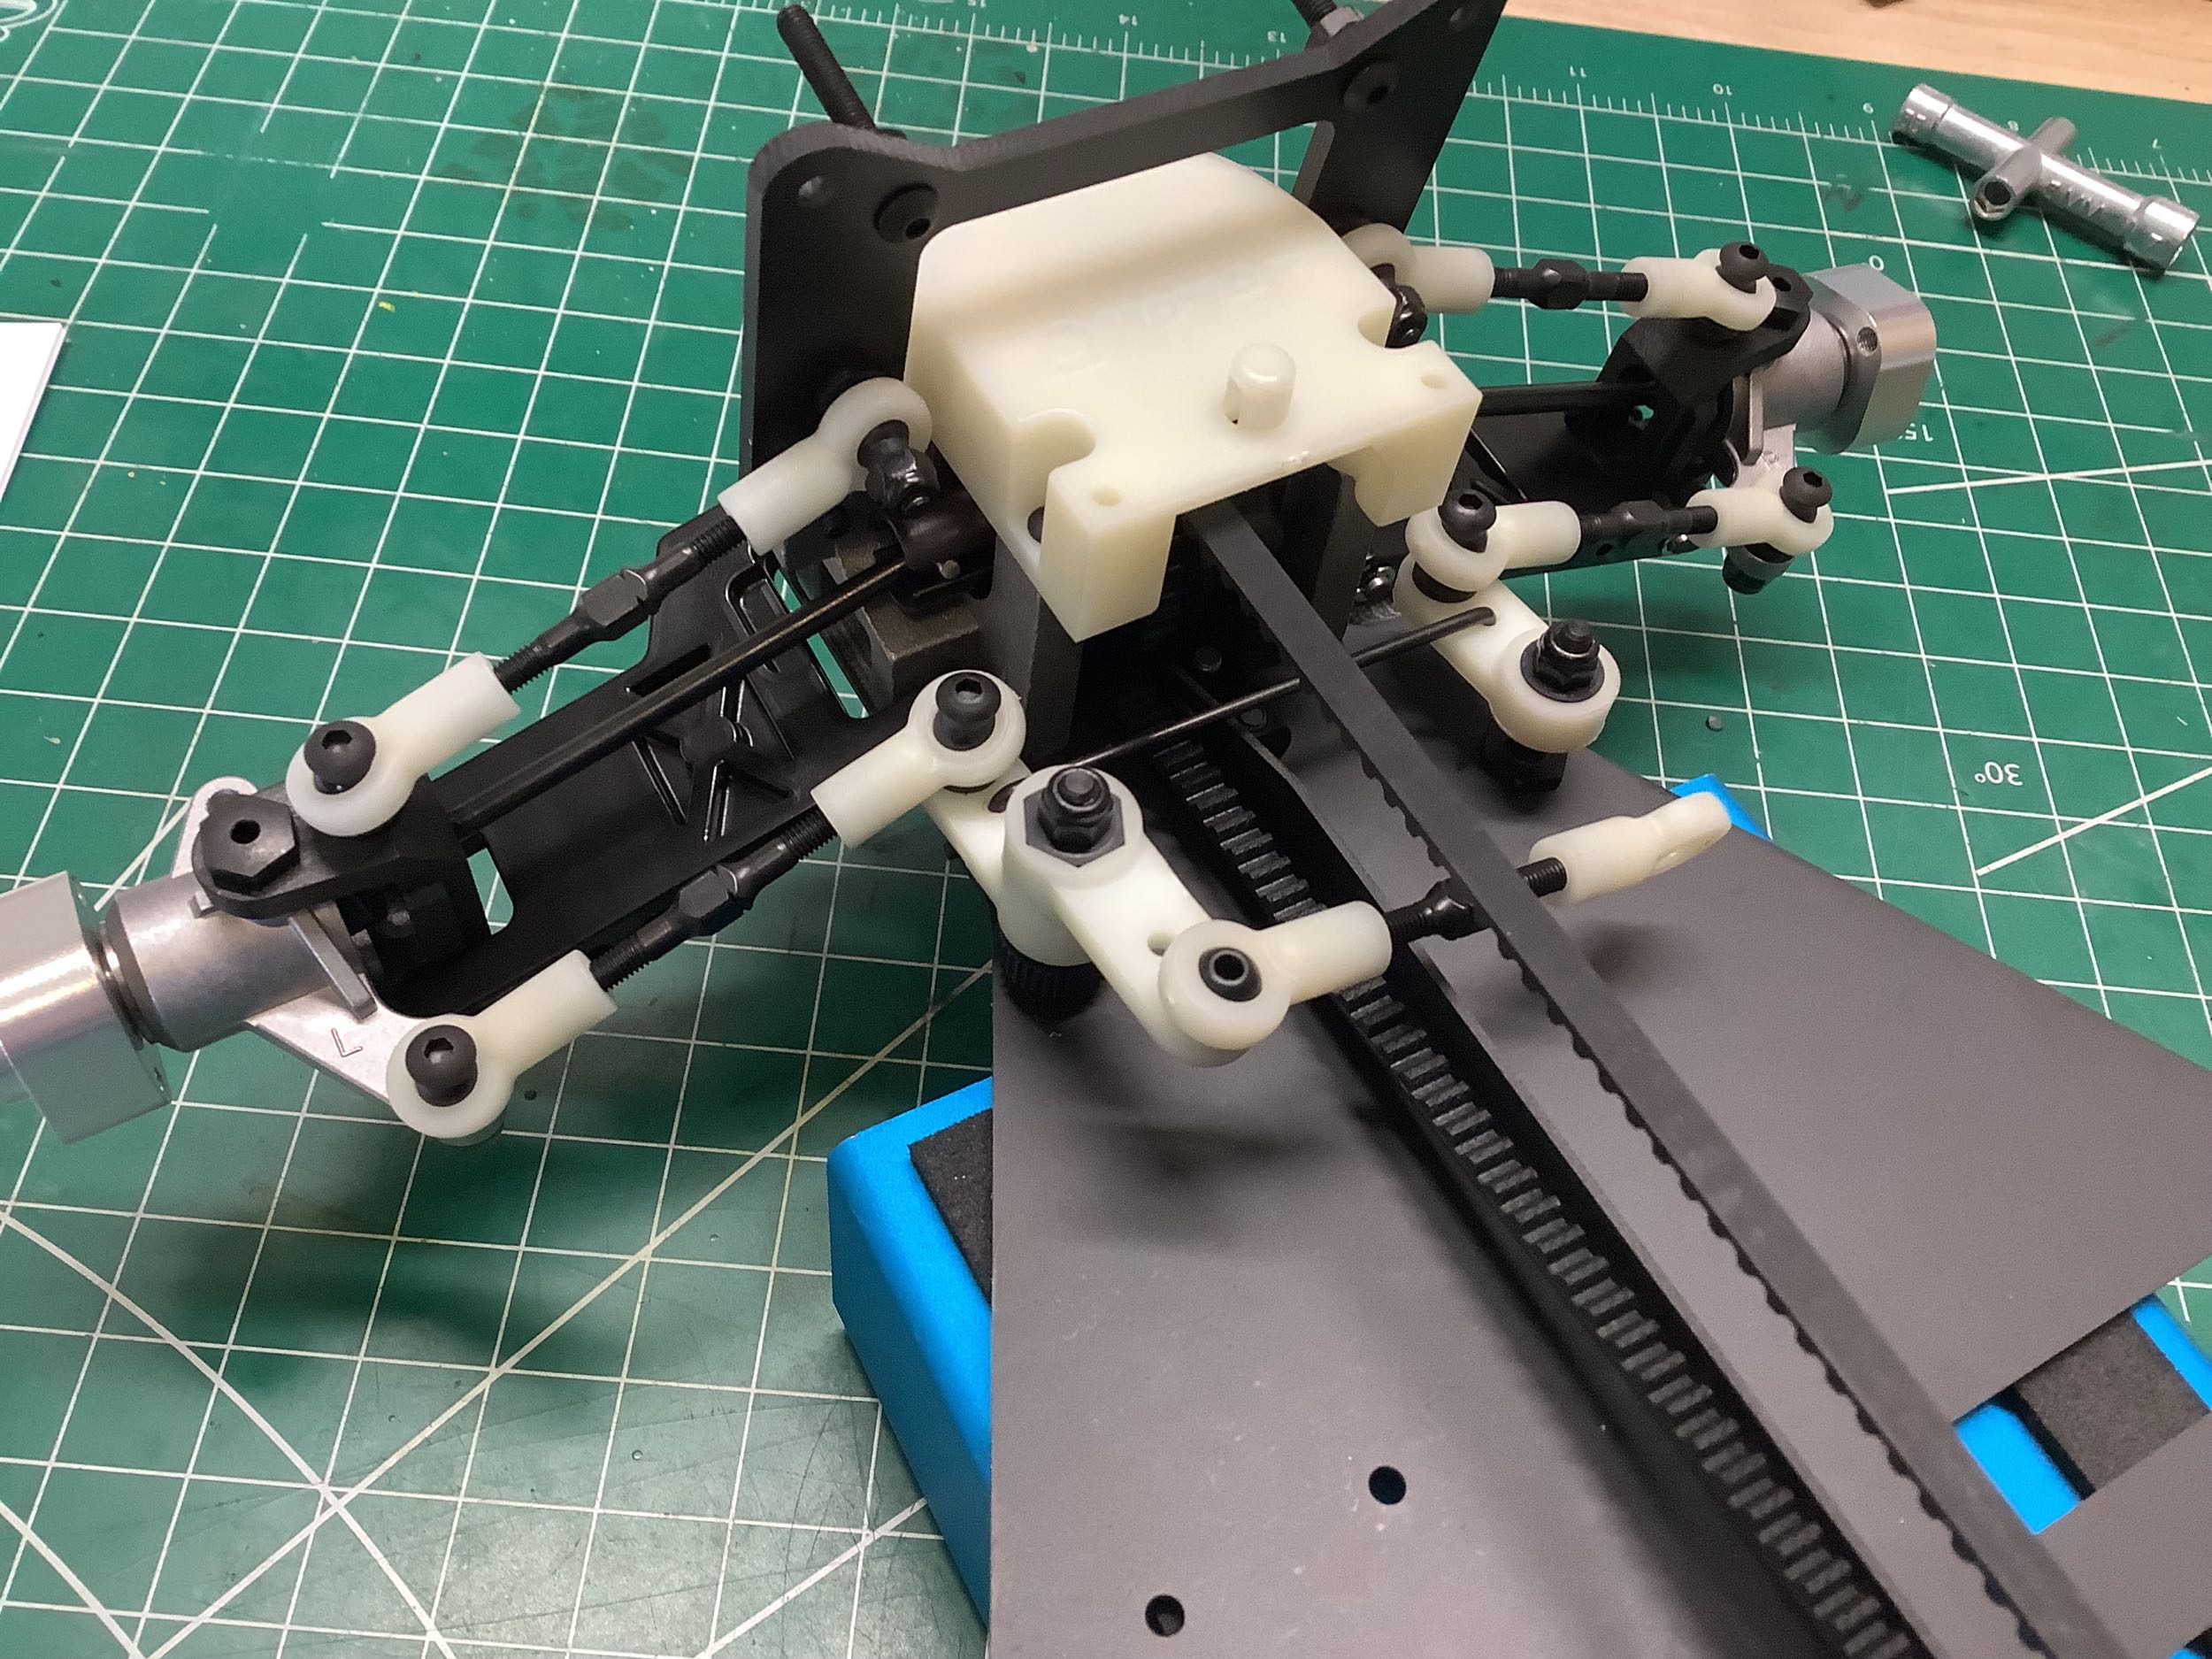
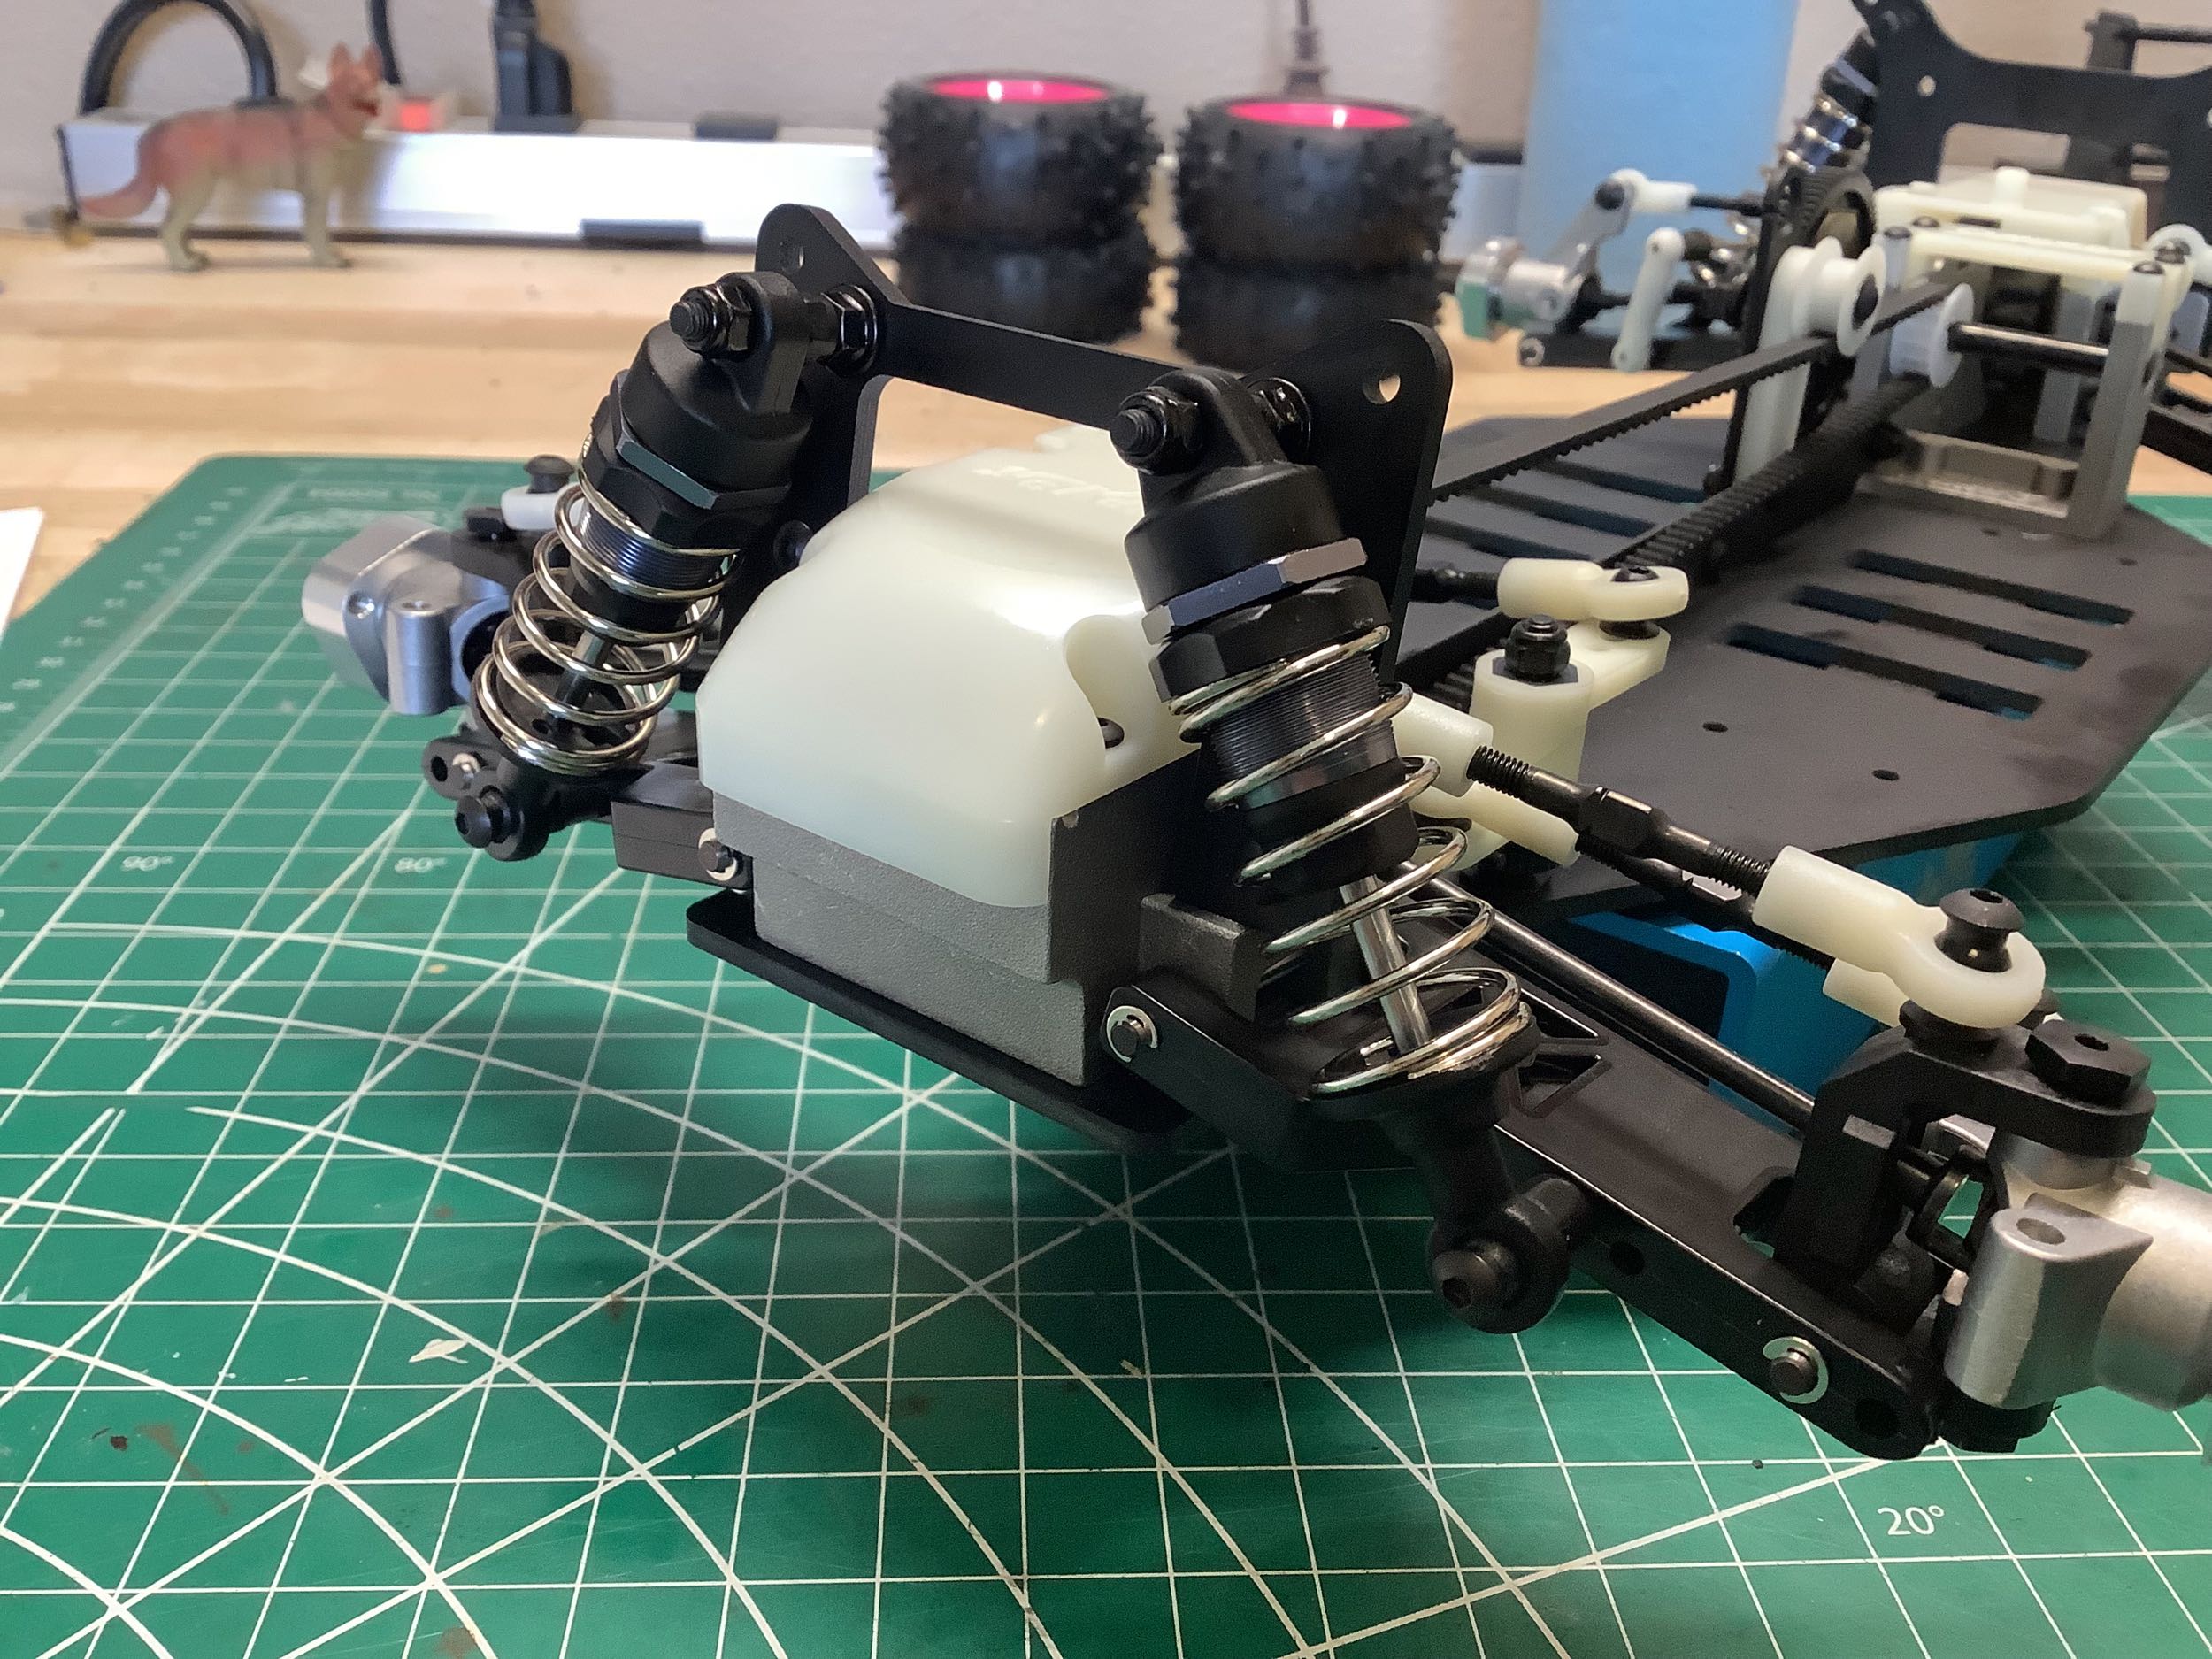
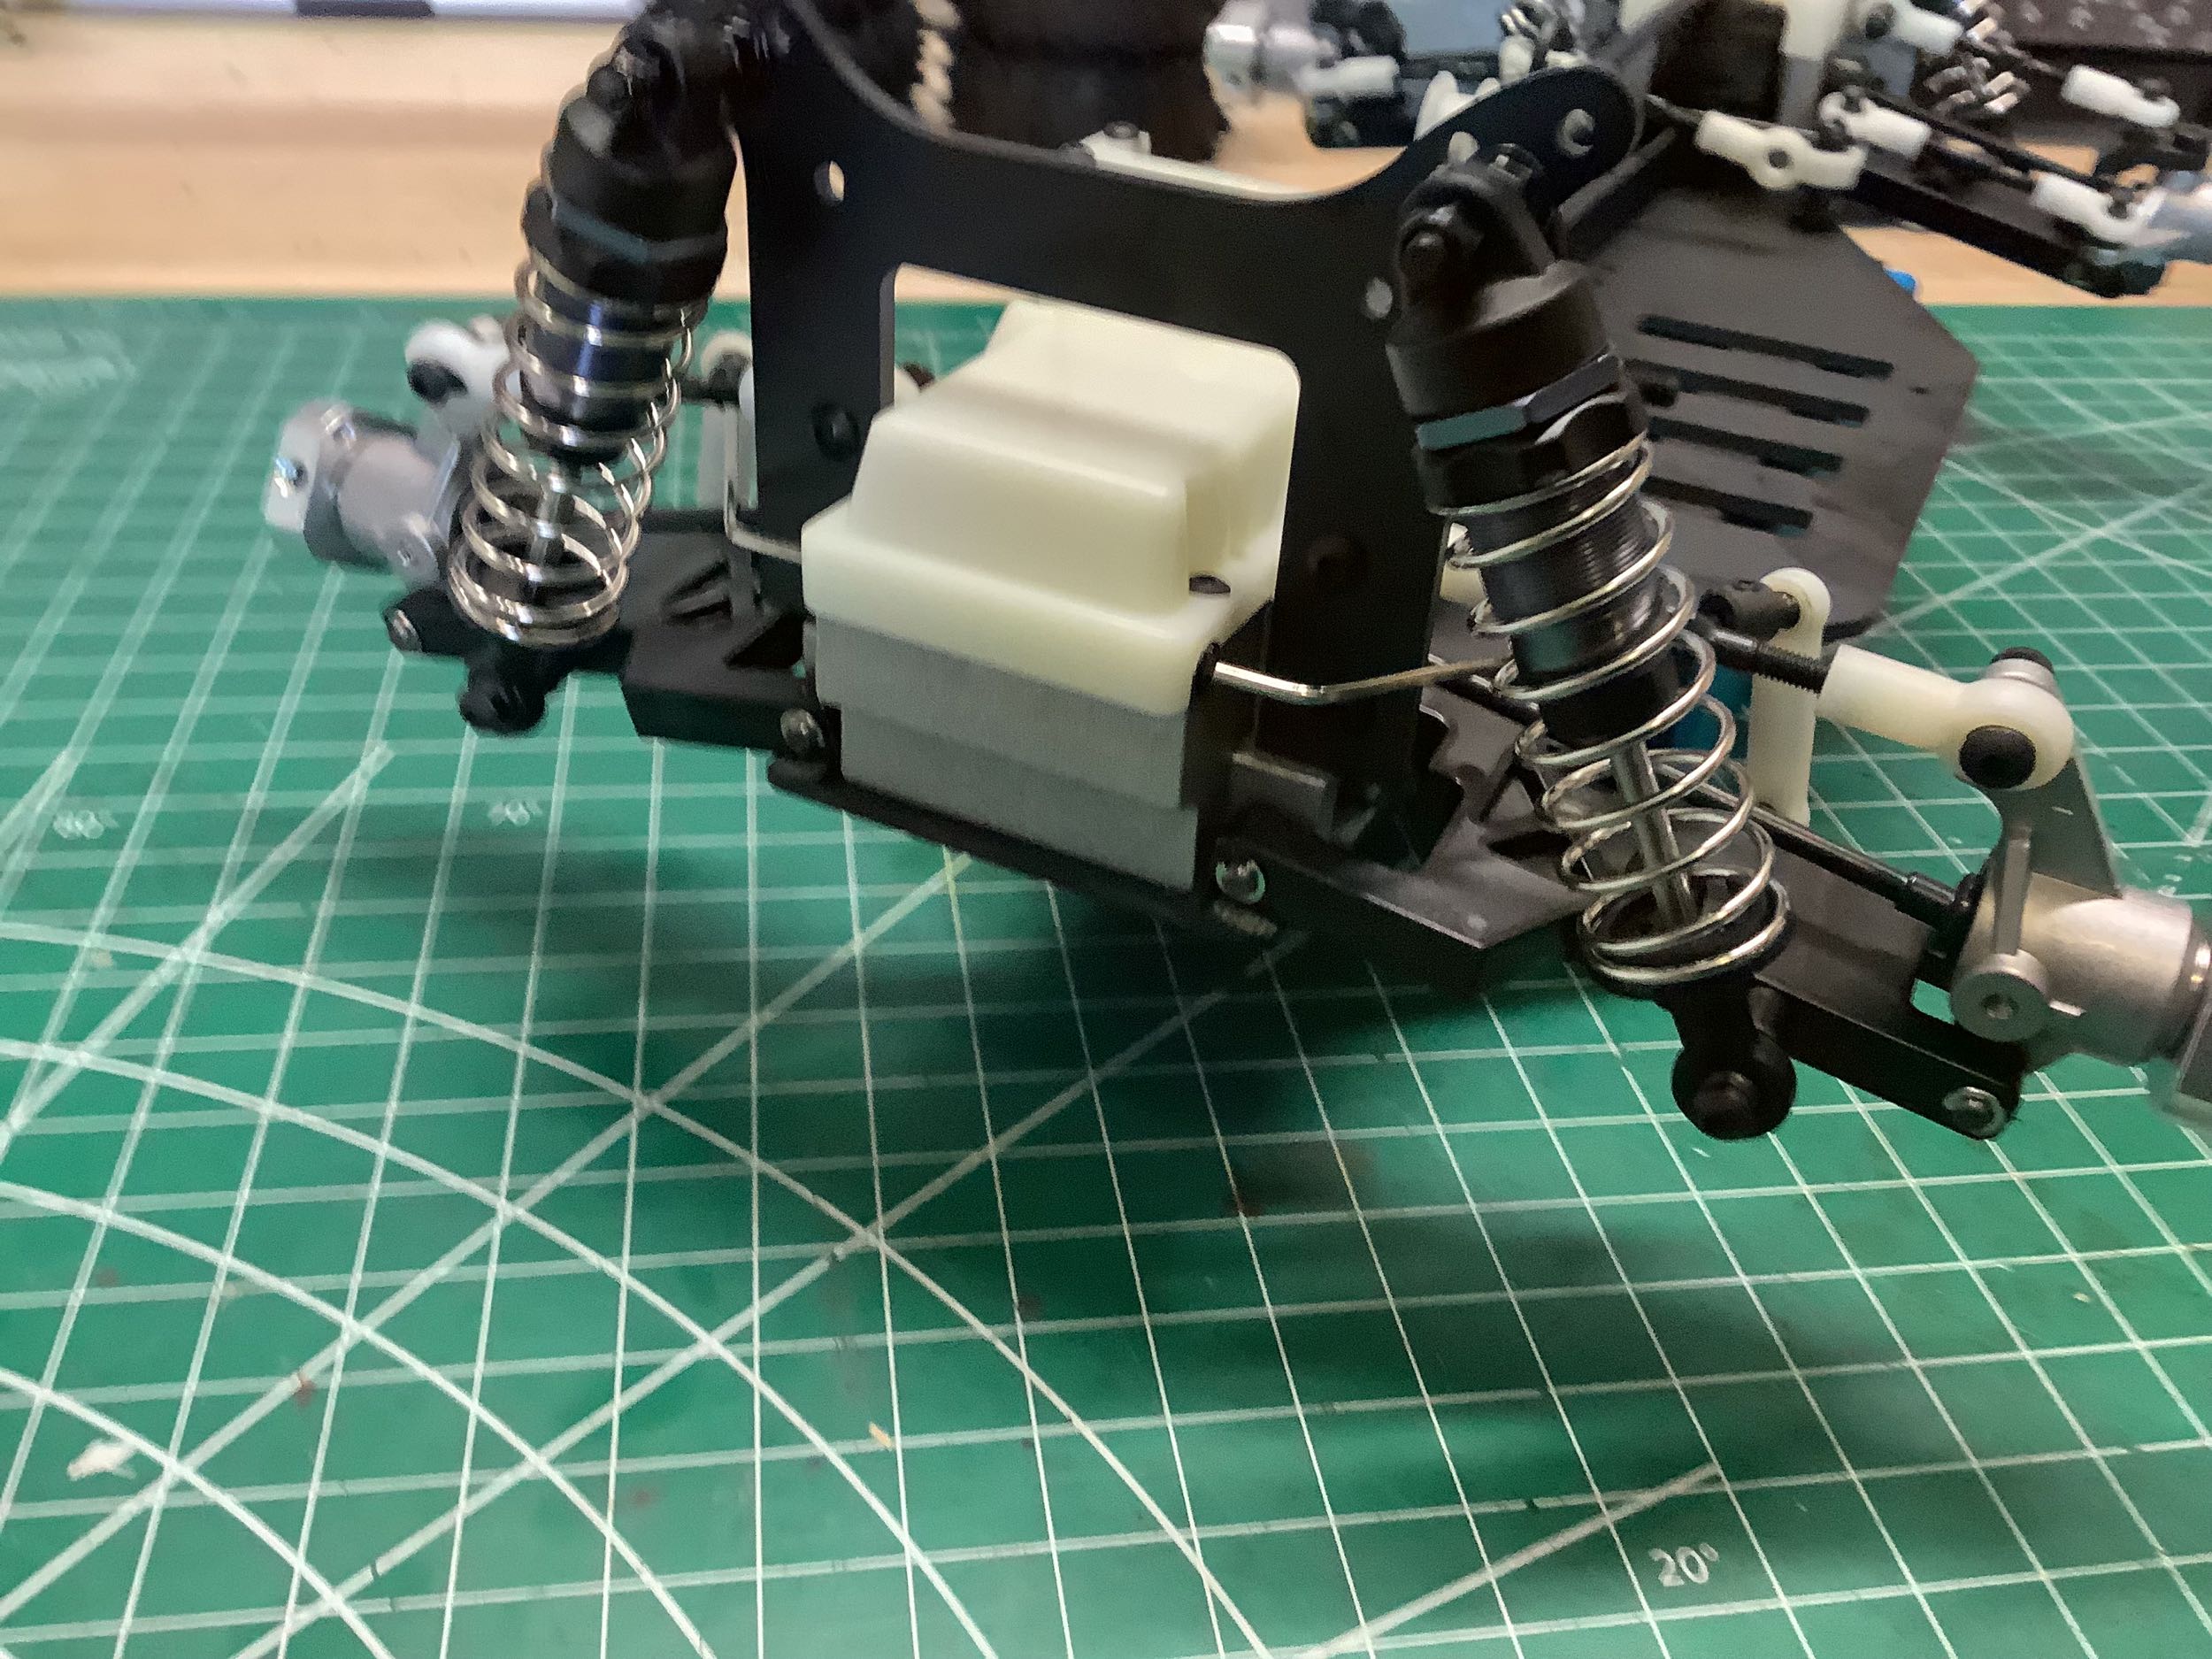
Here is the completed front and rear suspension. Of note is the
unusual decision to use the same uprights for the front and rear
suspension, but installed differently. In the front these parts
are installed on their sides and act as steering knuckles. This
means there is an extra unused hole in front. In the rear they are
installed upright which means the kingpin holes are unused. In
both cases the upper arms are turnbuckle camber links. Note the
unusual hubs which drive the wheels with large squares rather than 12mm
hexes. This massively limits the wheels that cane be used.
Note also that the front hub is much thicker than the rear.
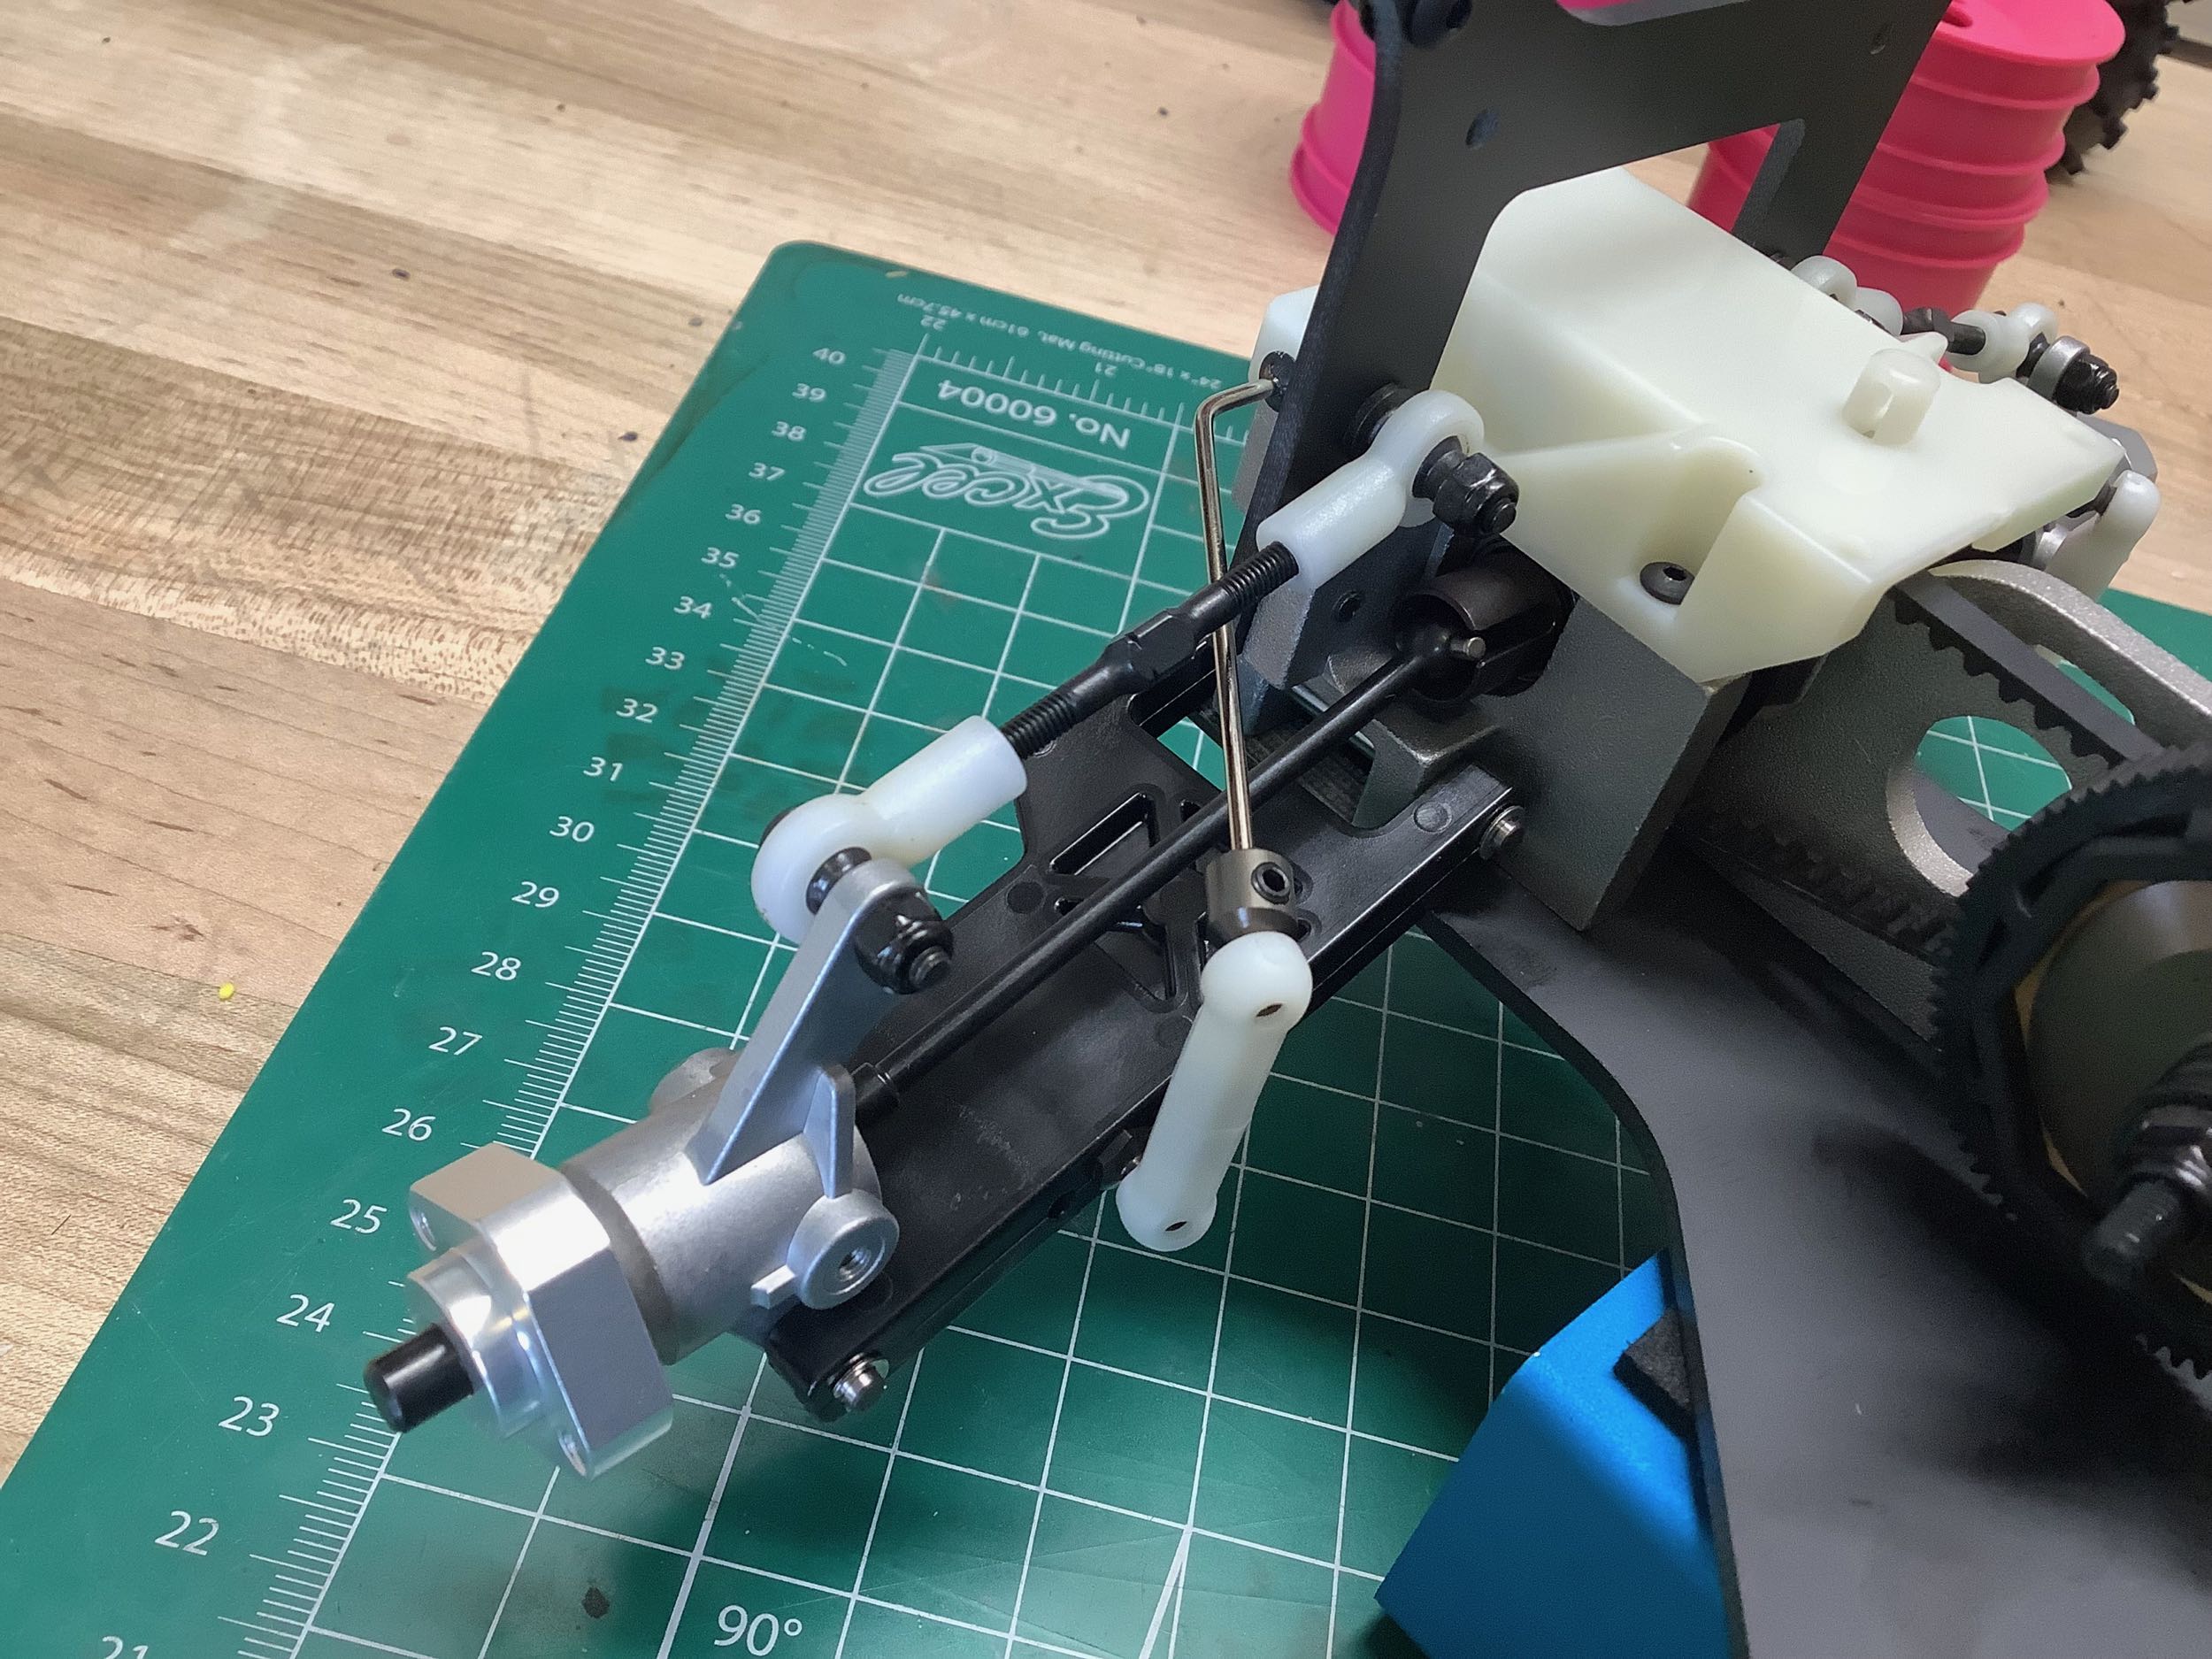
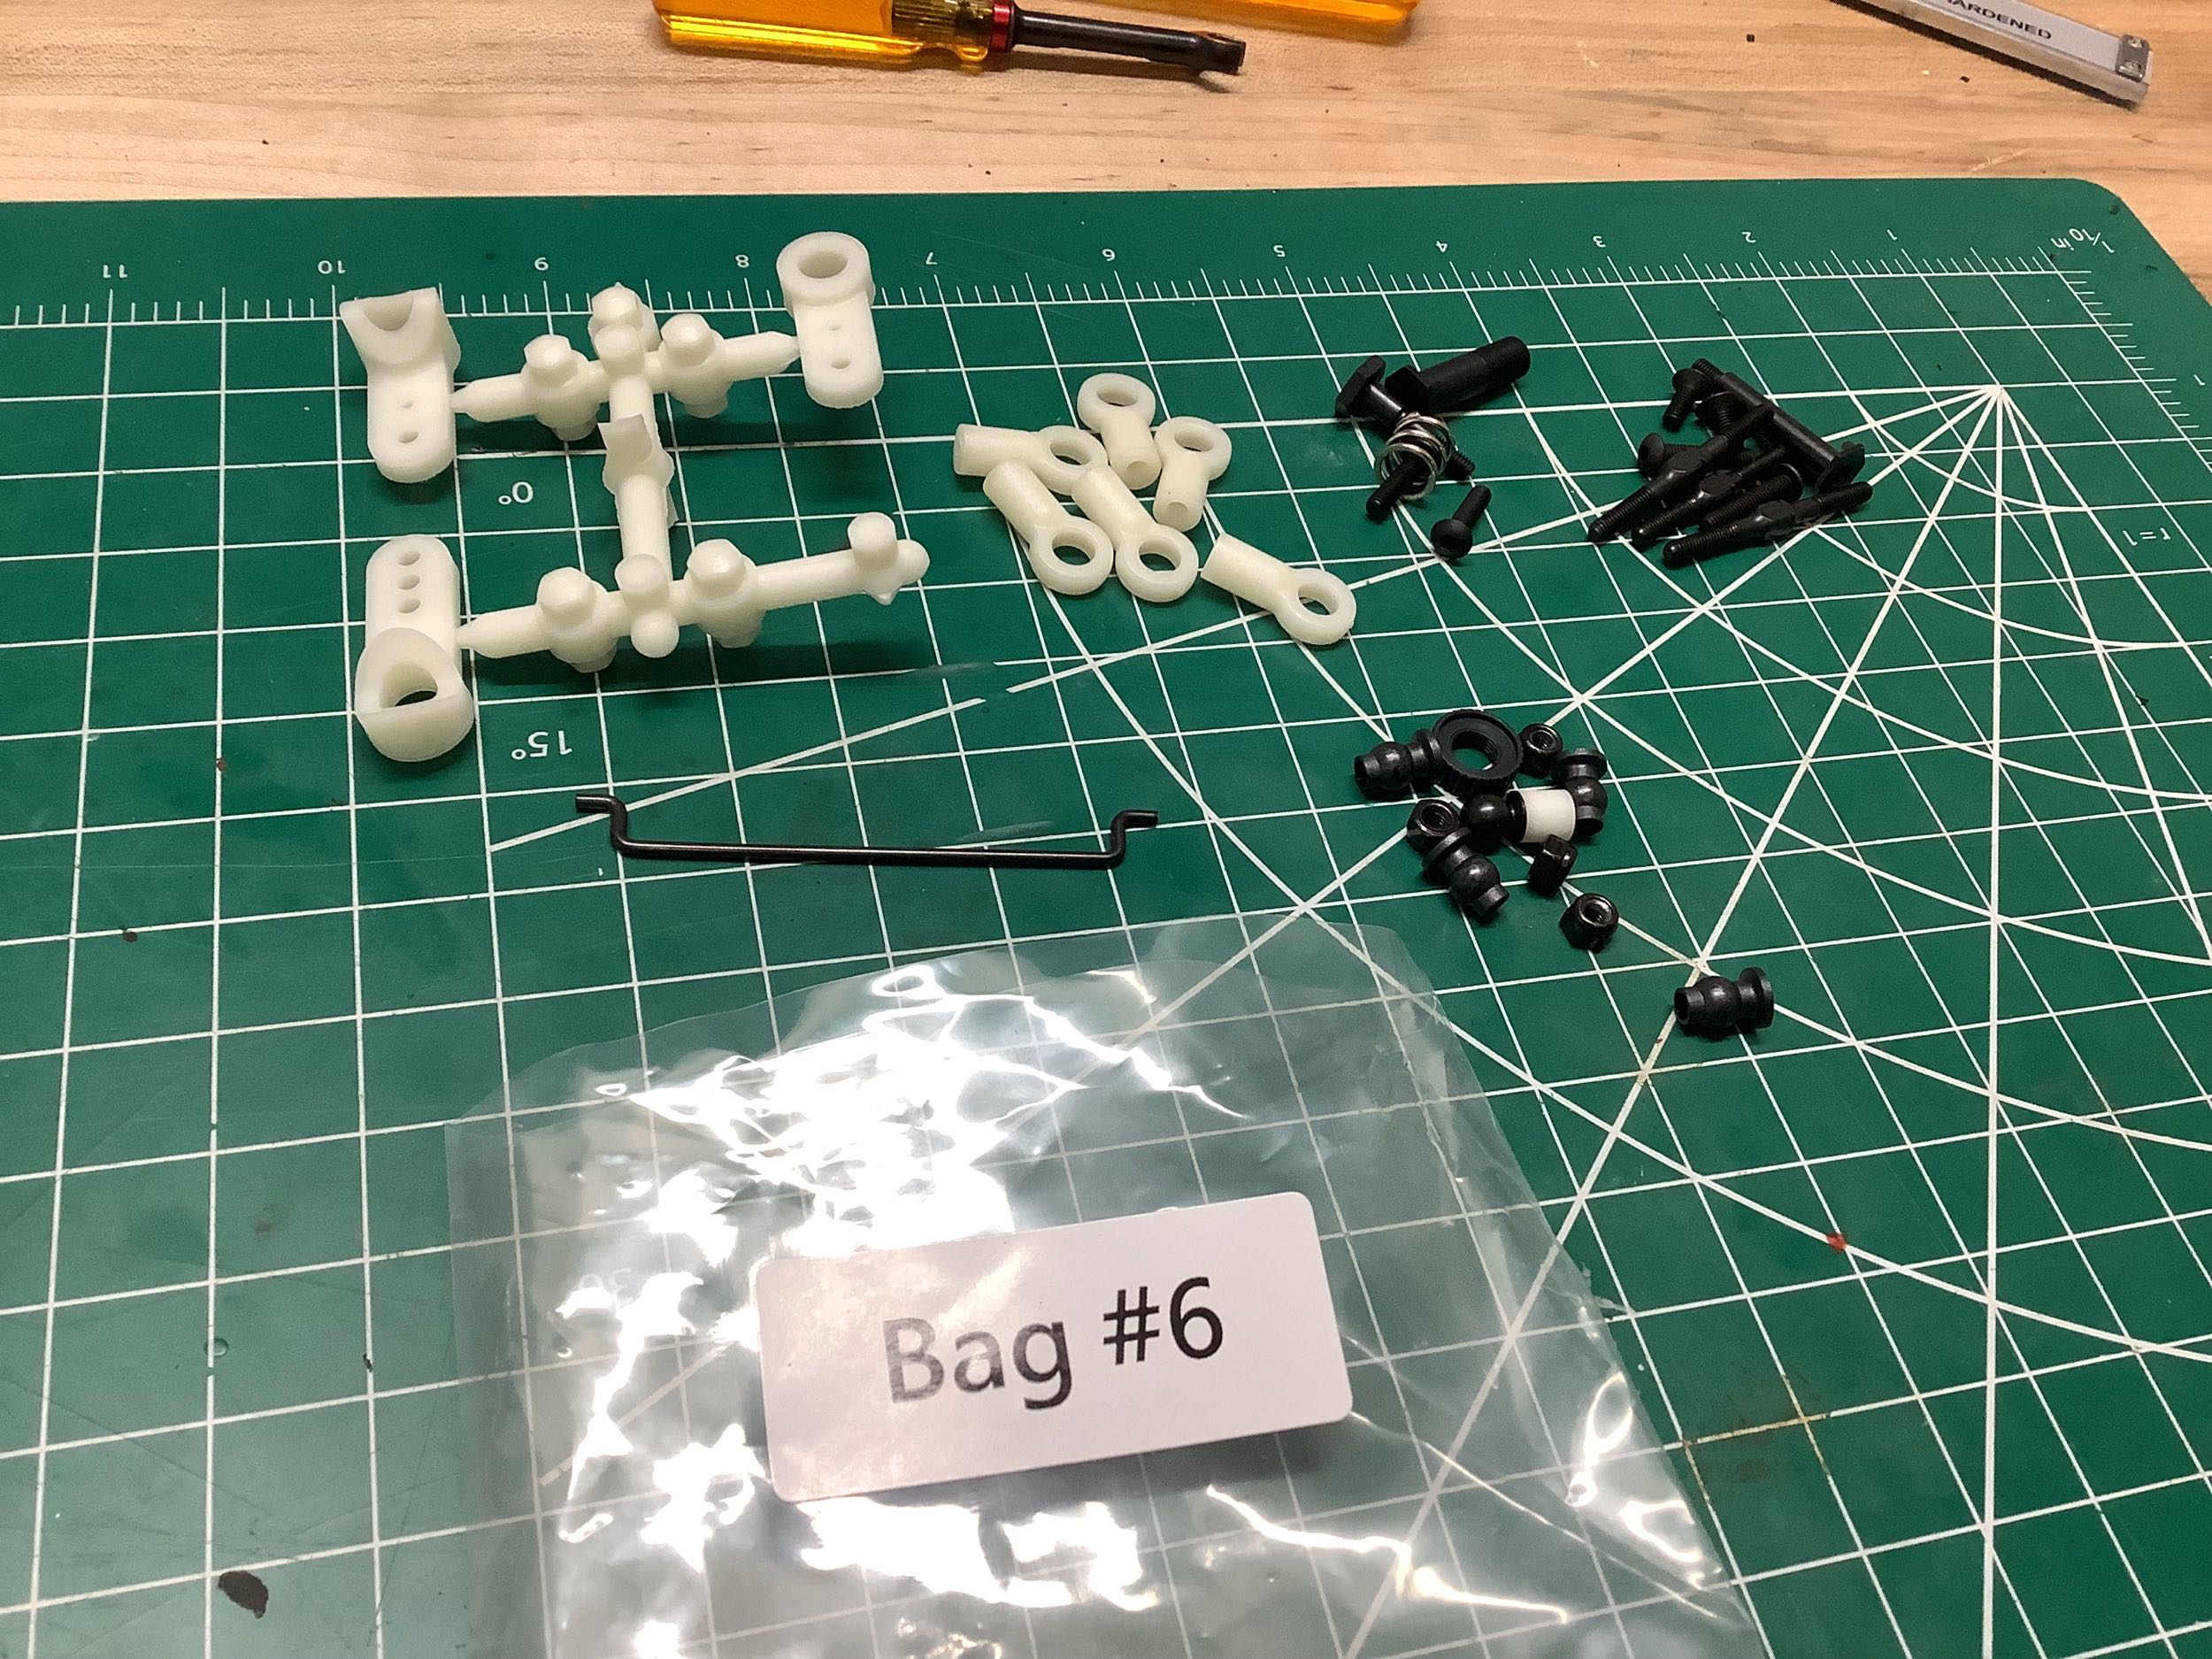
Bag 6 is just a few parts for the steering. This includes the dual
bell cranks and the steering links. The steering bridge is just a
bent wire.
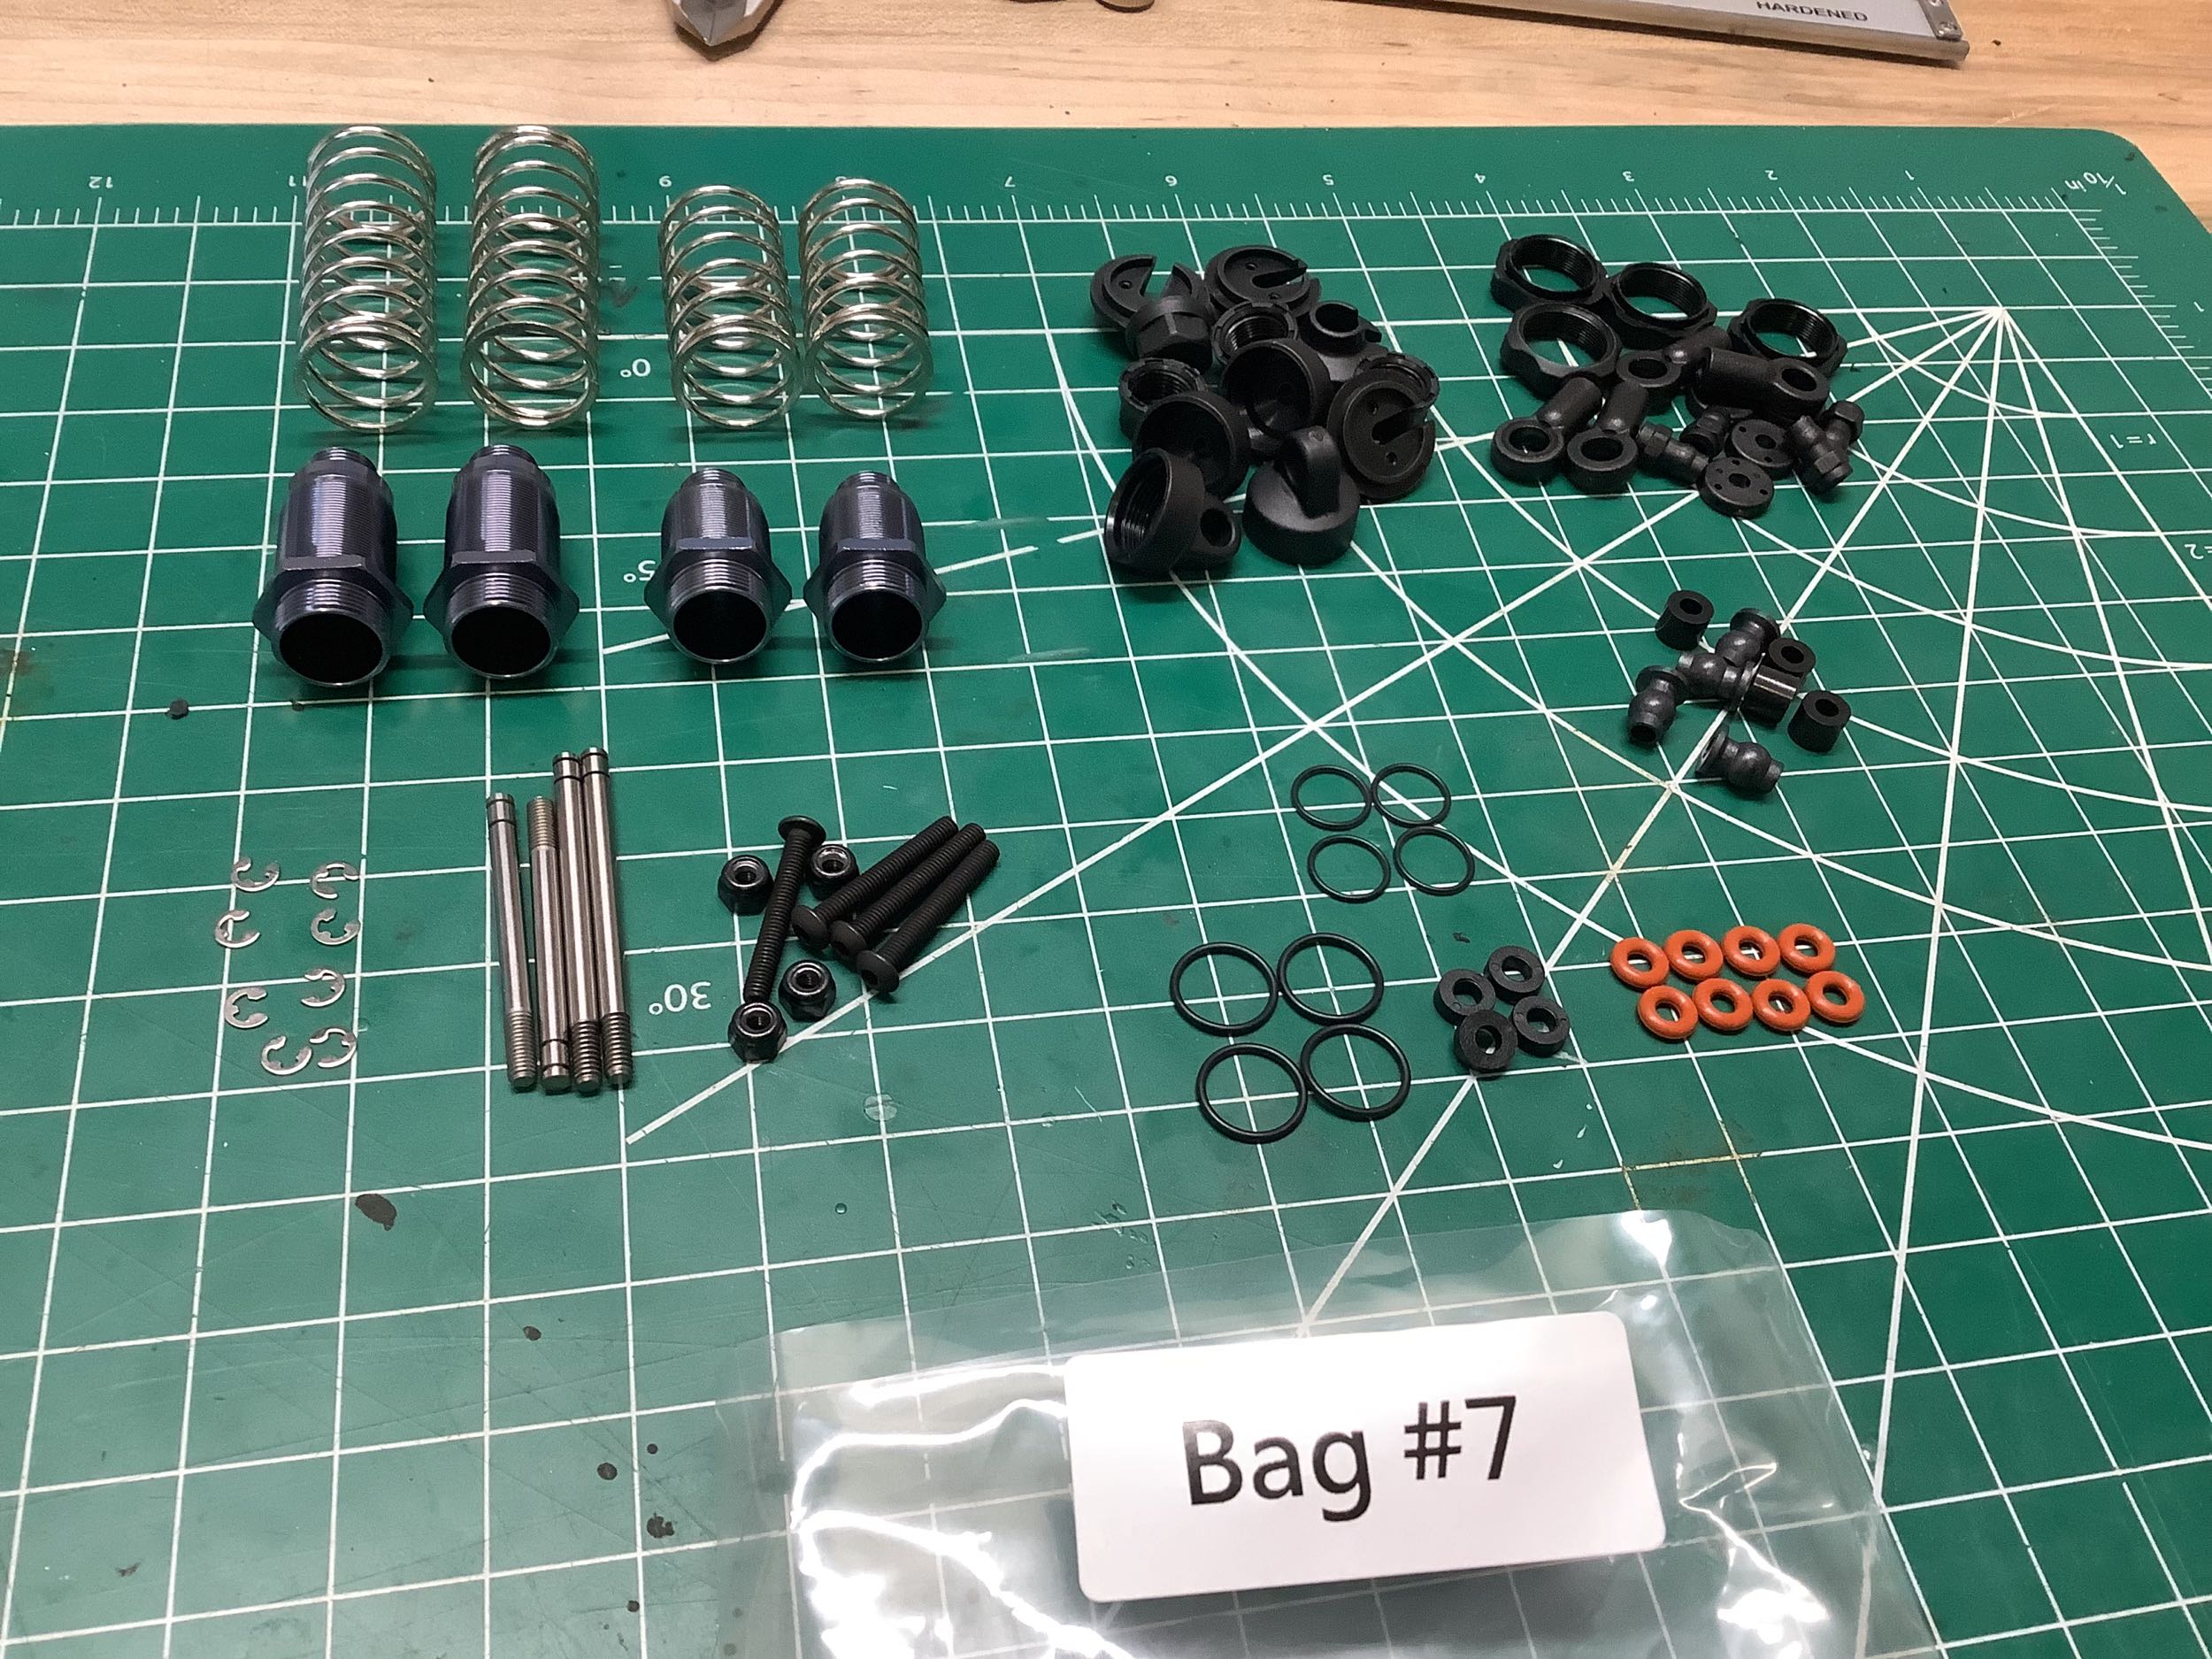
Bag 7 contains the parts for the nice aluminum bodied shocks. As
usual for a buggy, the rear have much more travel than the front.
These seem to be really high quality and were fun to build.
Here is the completed front and rear suspension with the shocks
installed. They are at the extreme outer edge of the chassis
leaving lots of room for the body.
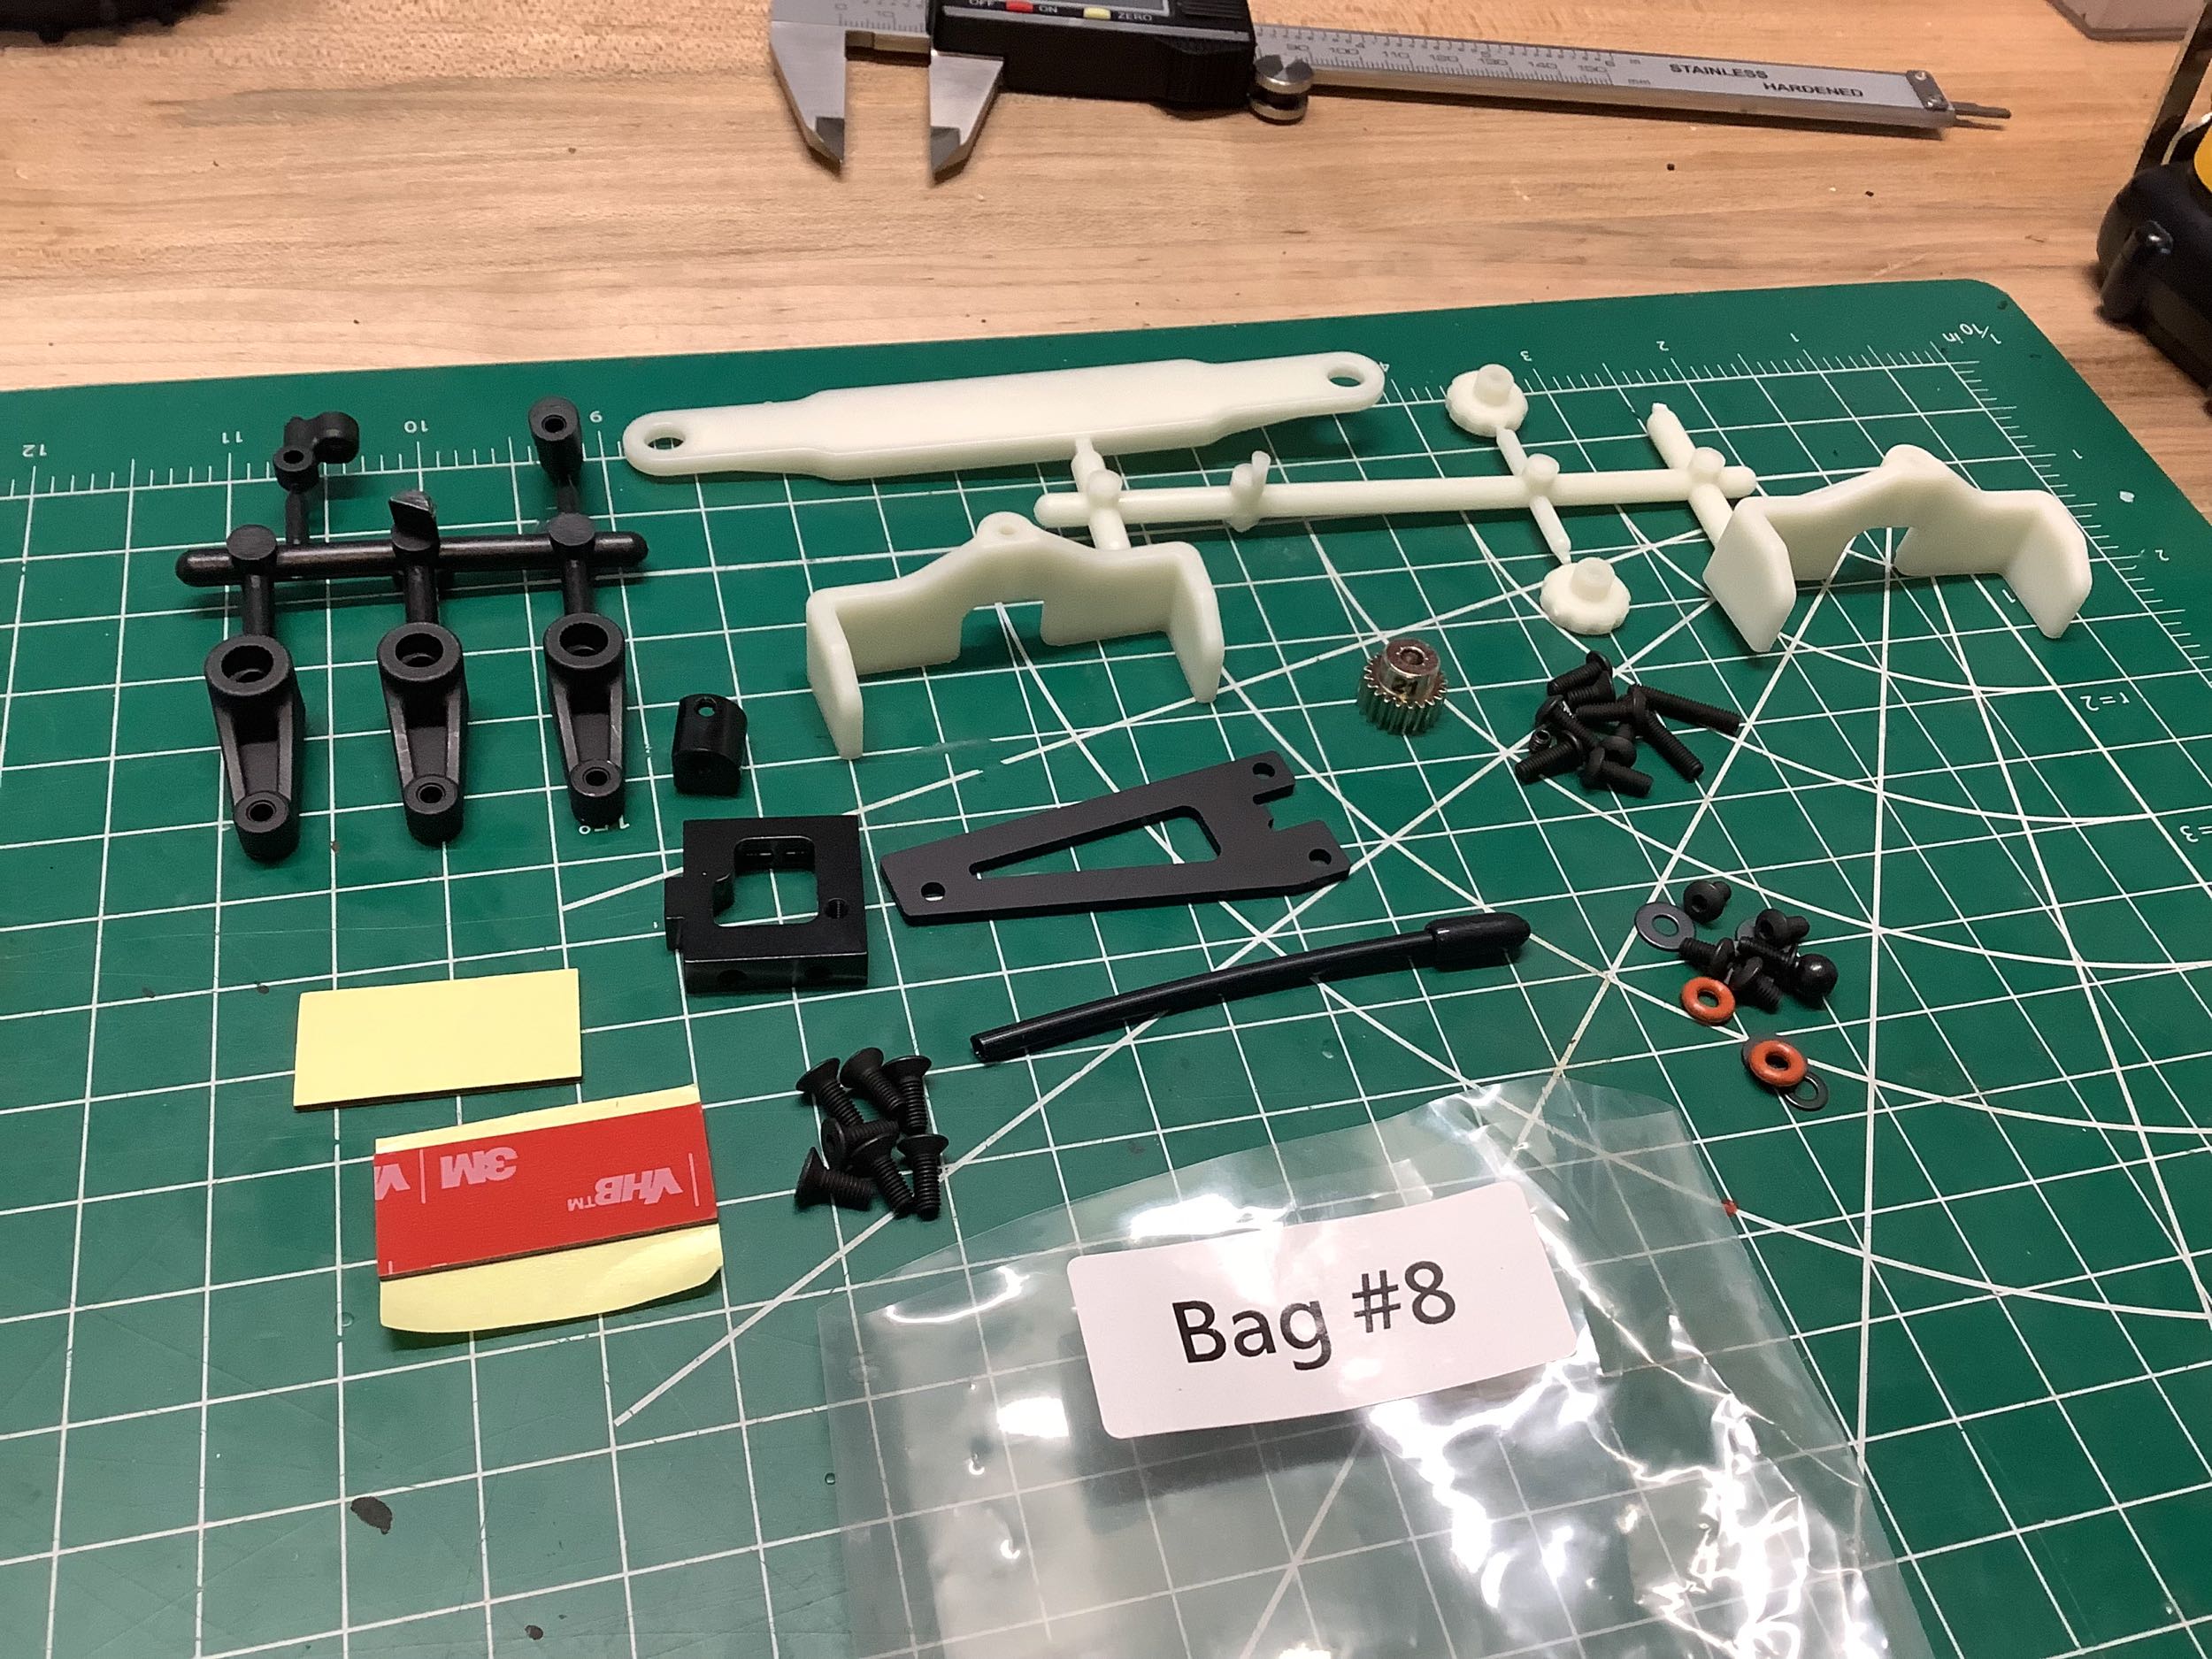
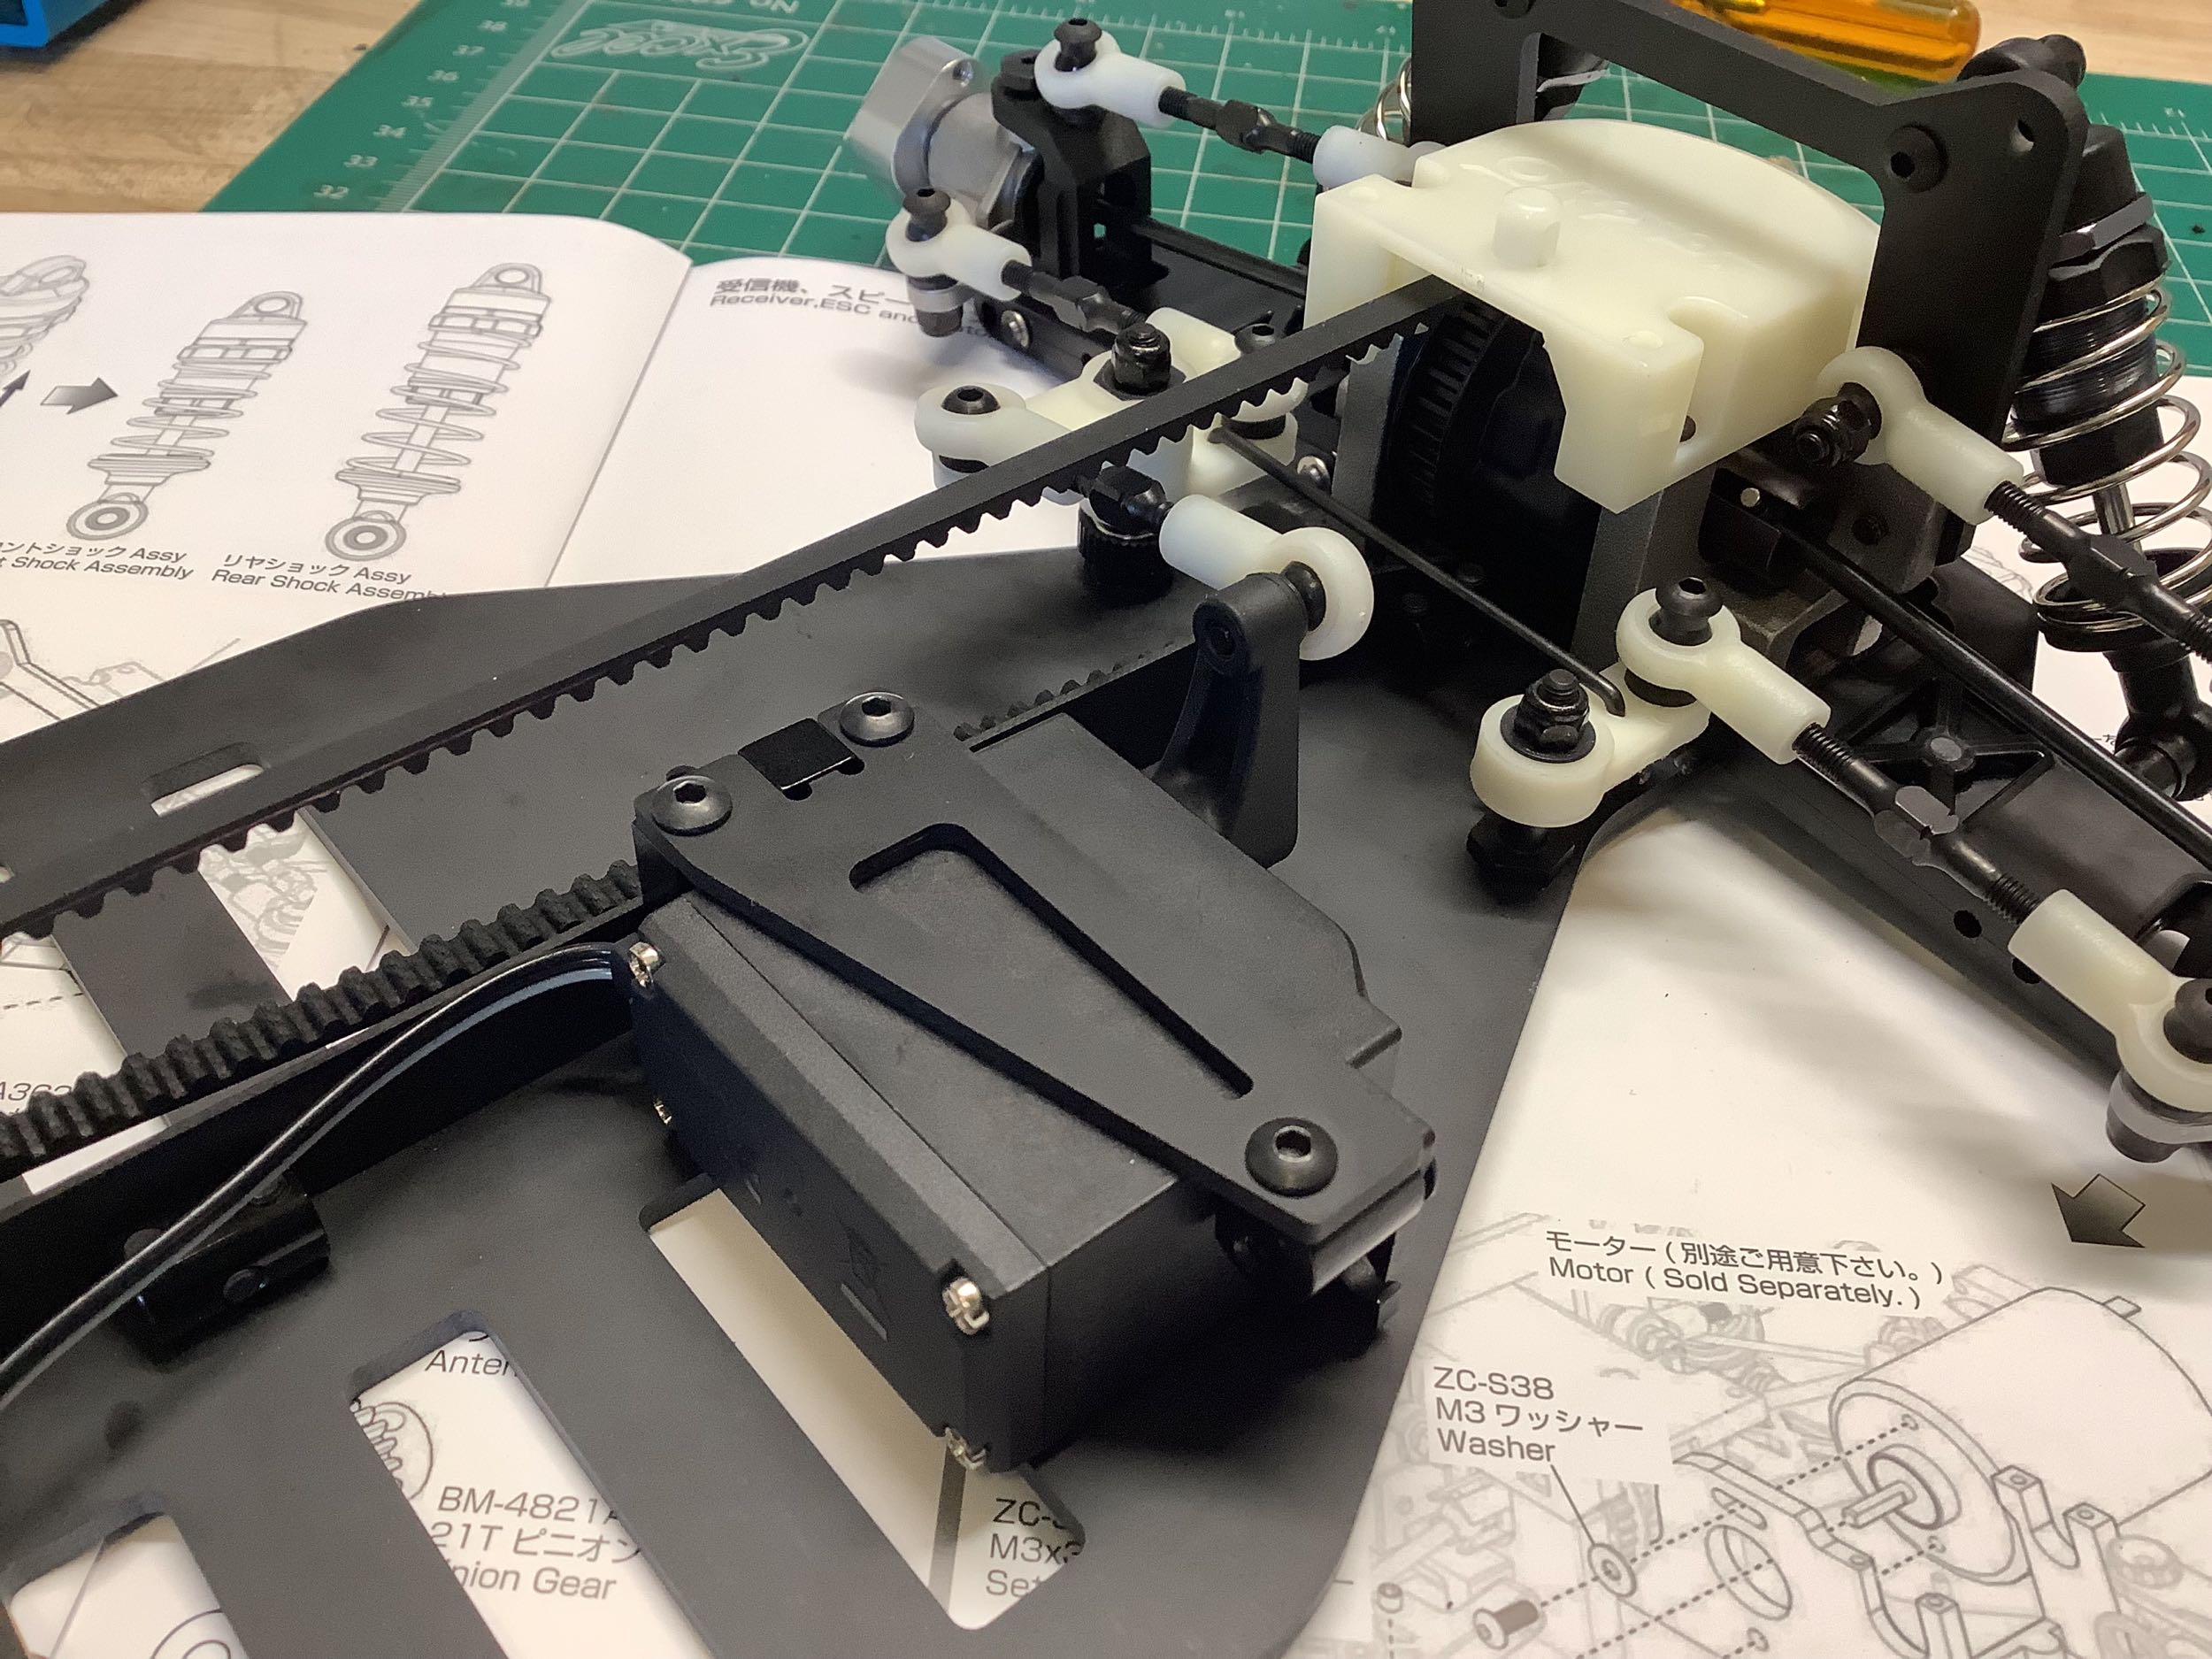
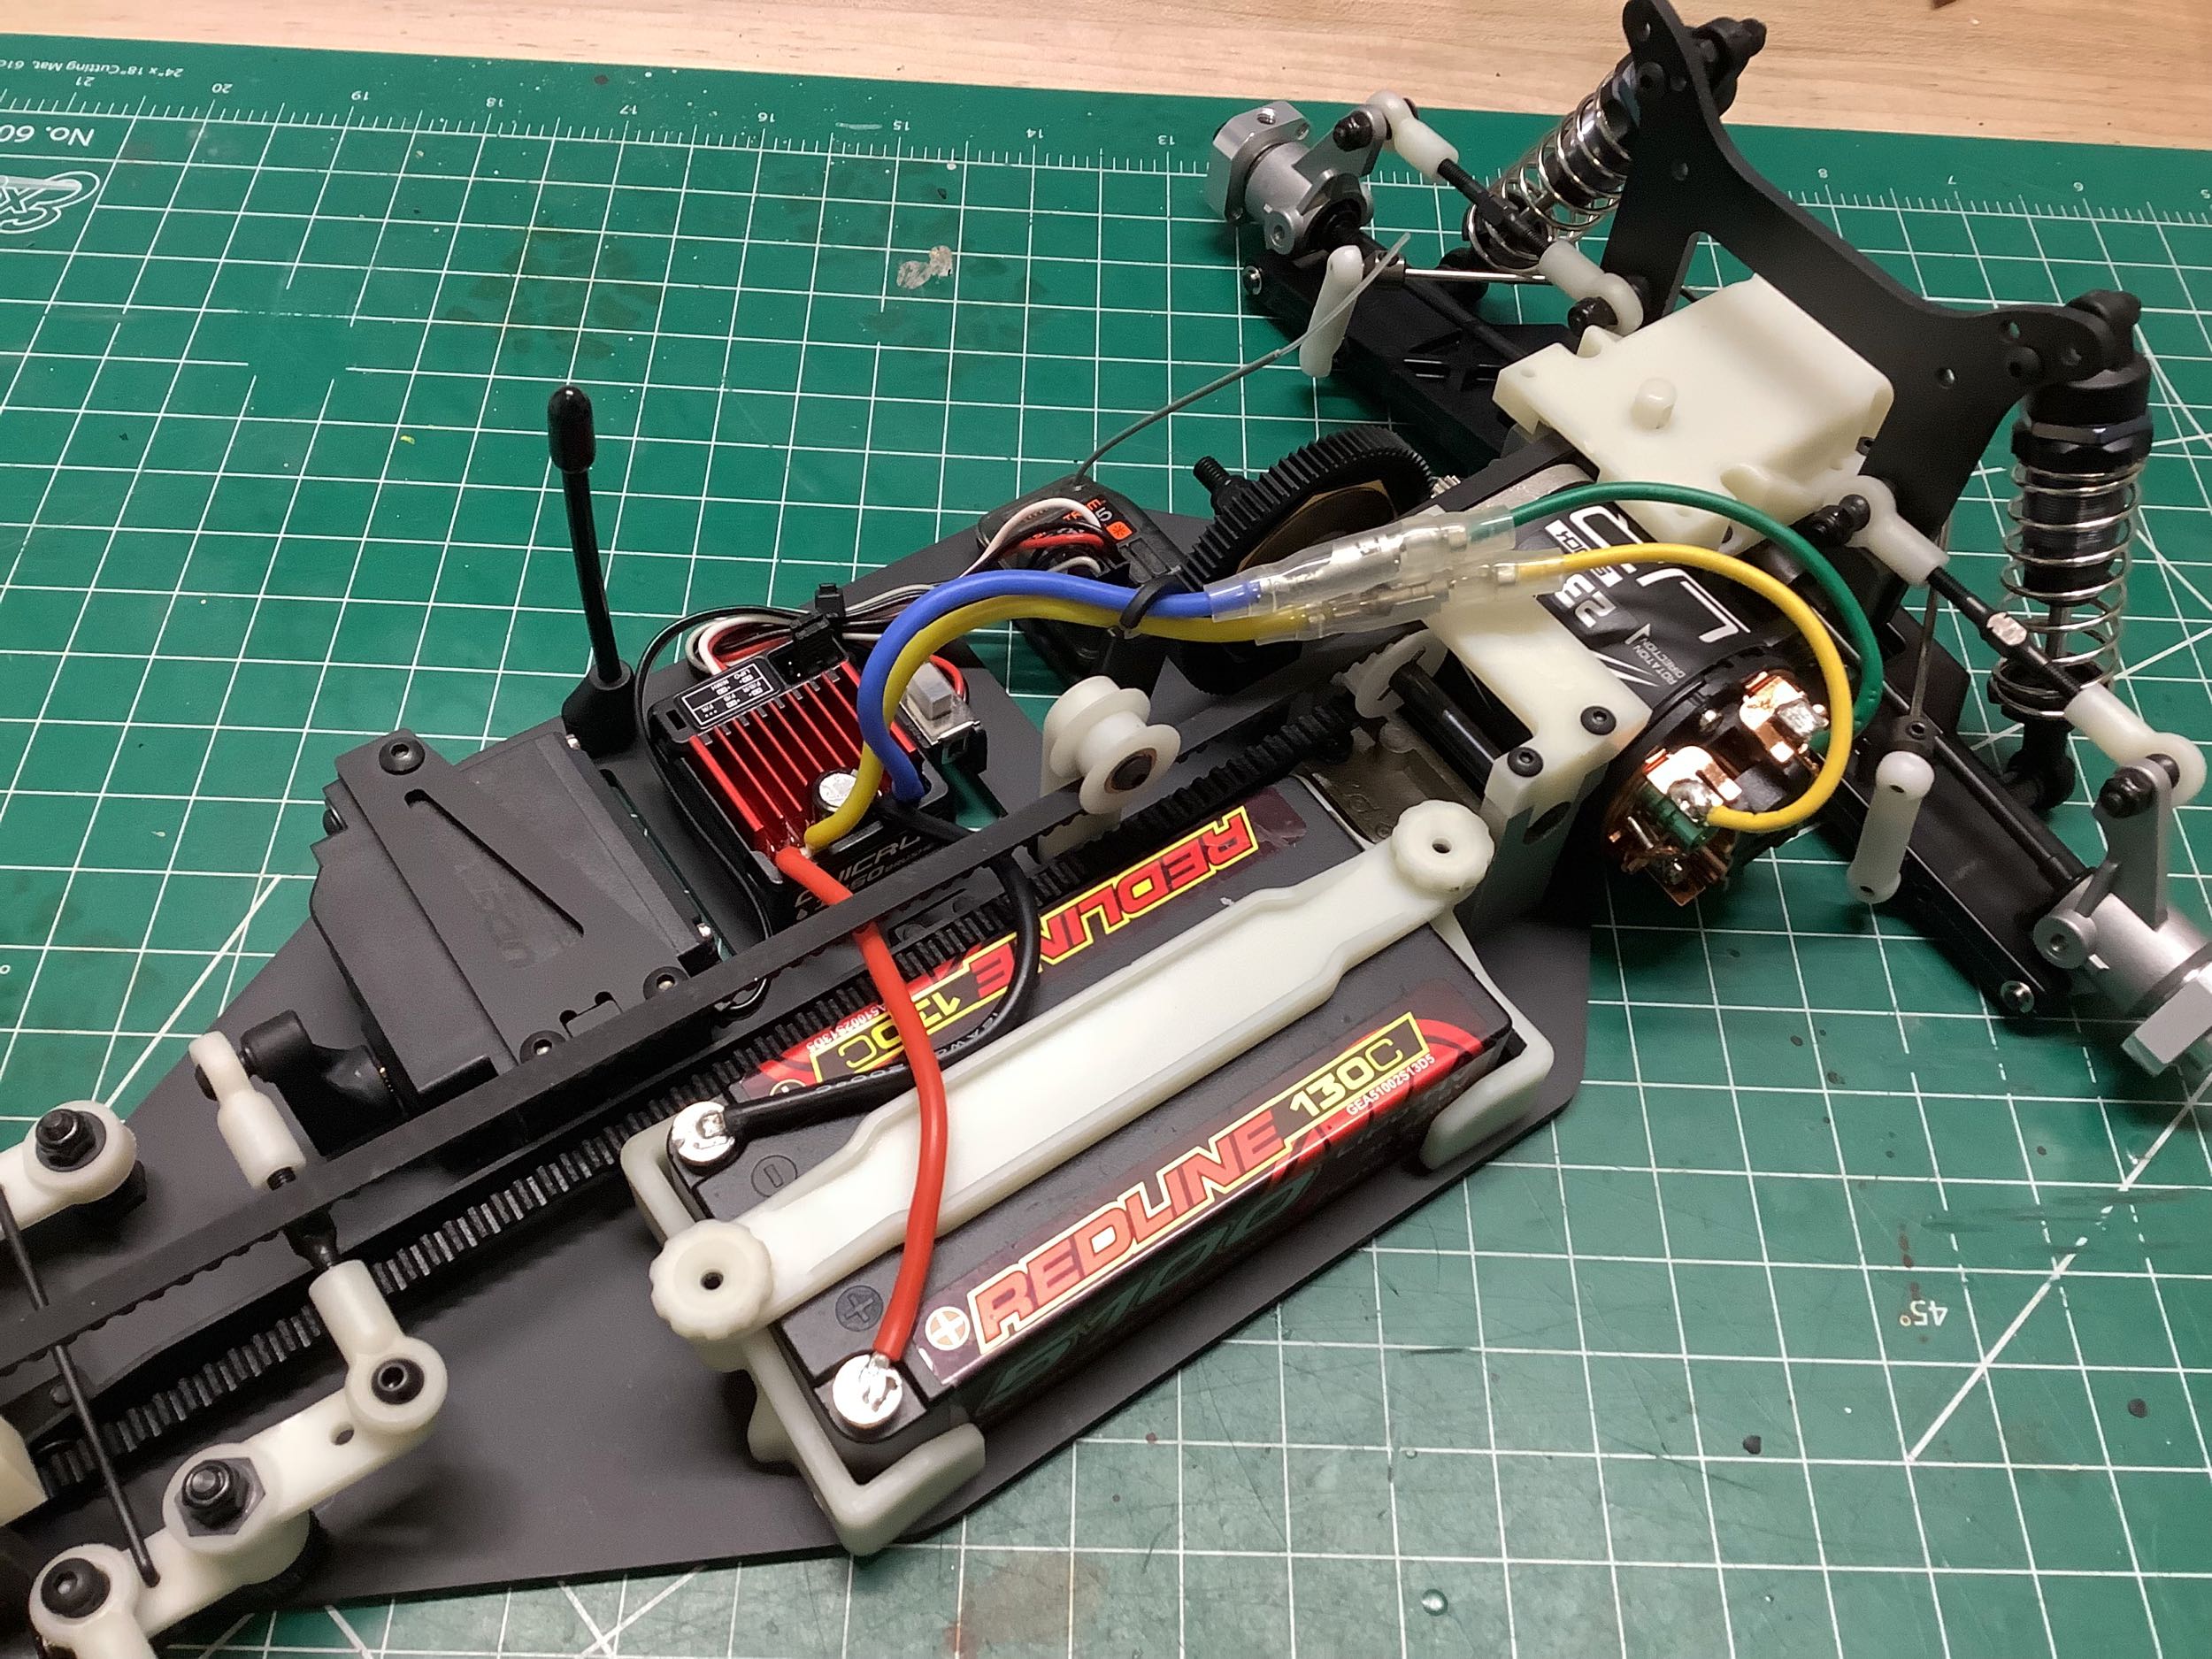
The original Super Dog Fighter obviously didn't use shorty hard pack
LiPo's, but it is nice that this modern version is provisioned for
them. I've also installed servo mount, a modern design.
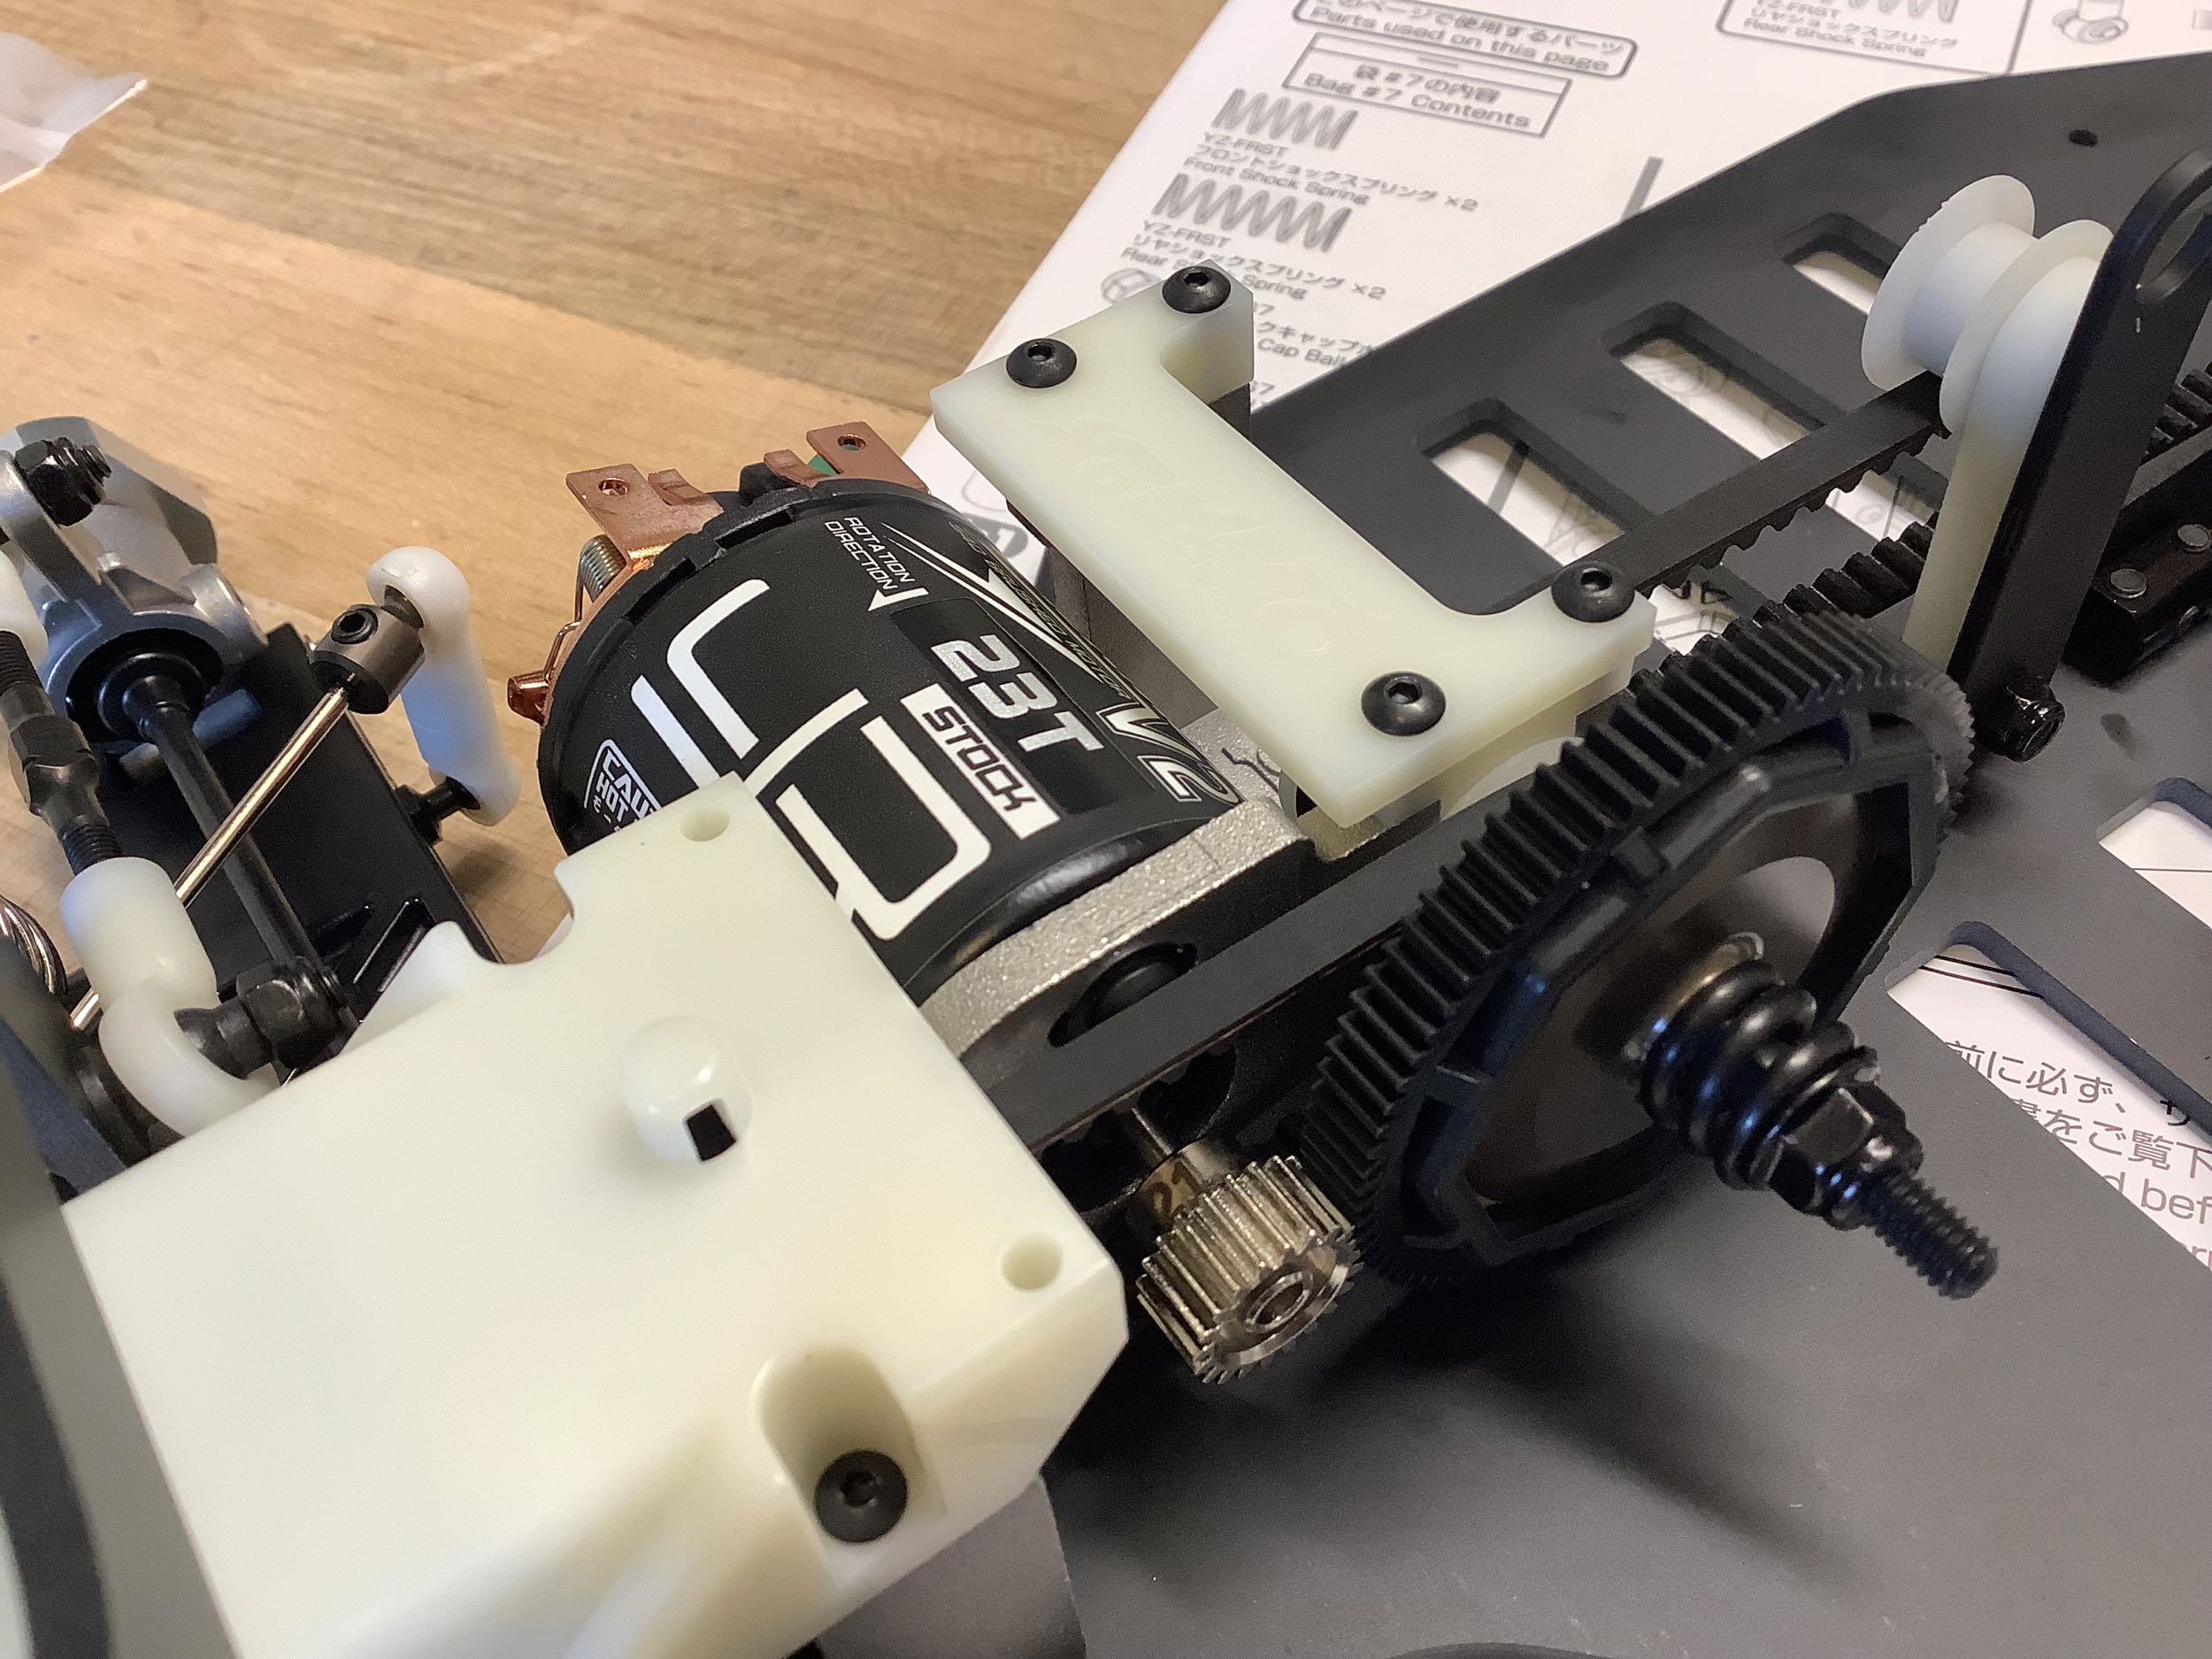
There was no motor included so I started with this 23T Yeah Racing
brushed motor. It worked well enough but didn't have a vintage
feel so I replaced it later. The kit includes a 21T pinion.
Note the little loop used to route the motor wires and keep them away
from the belt.
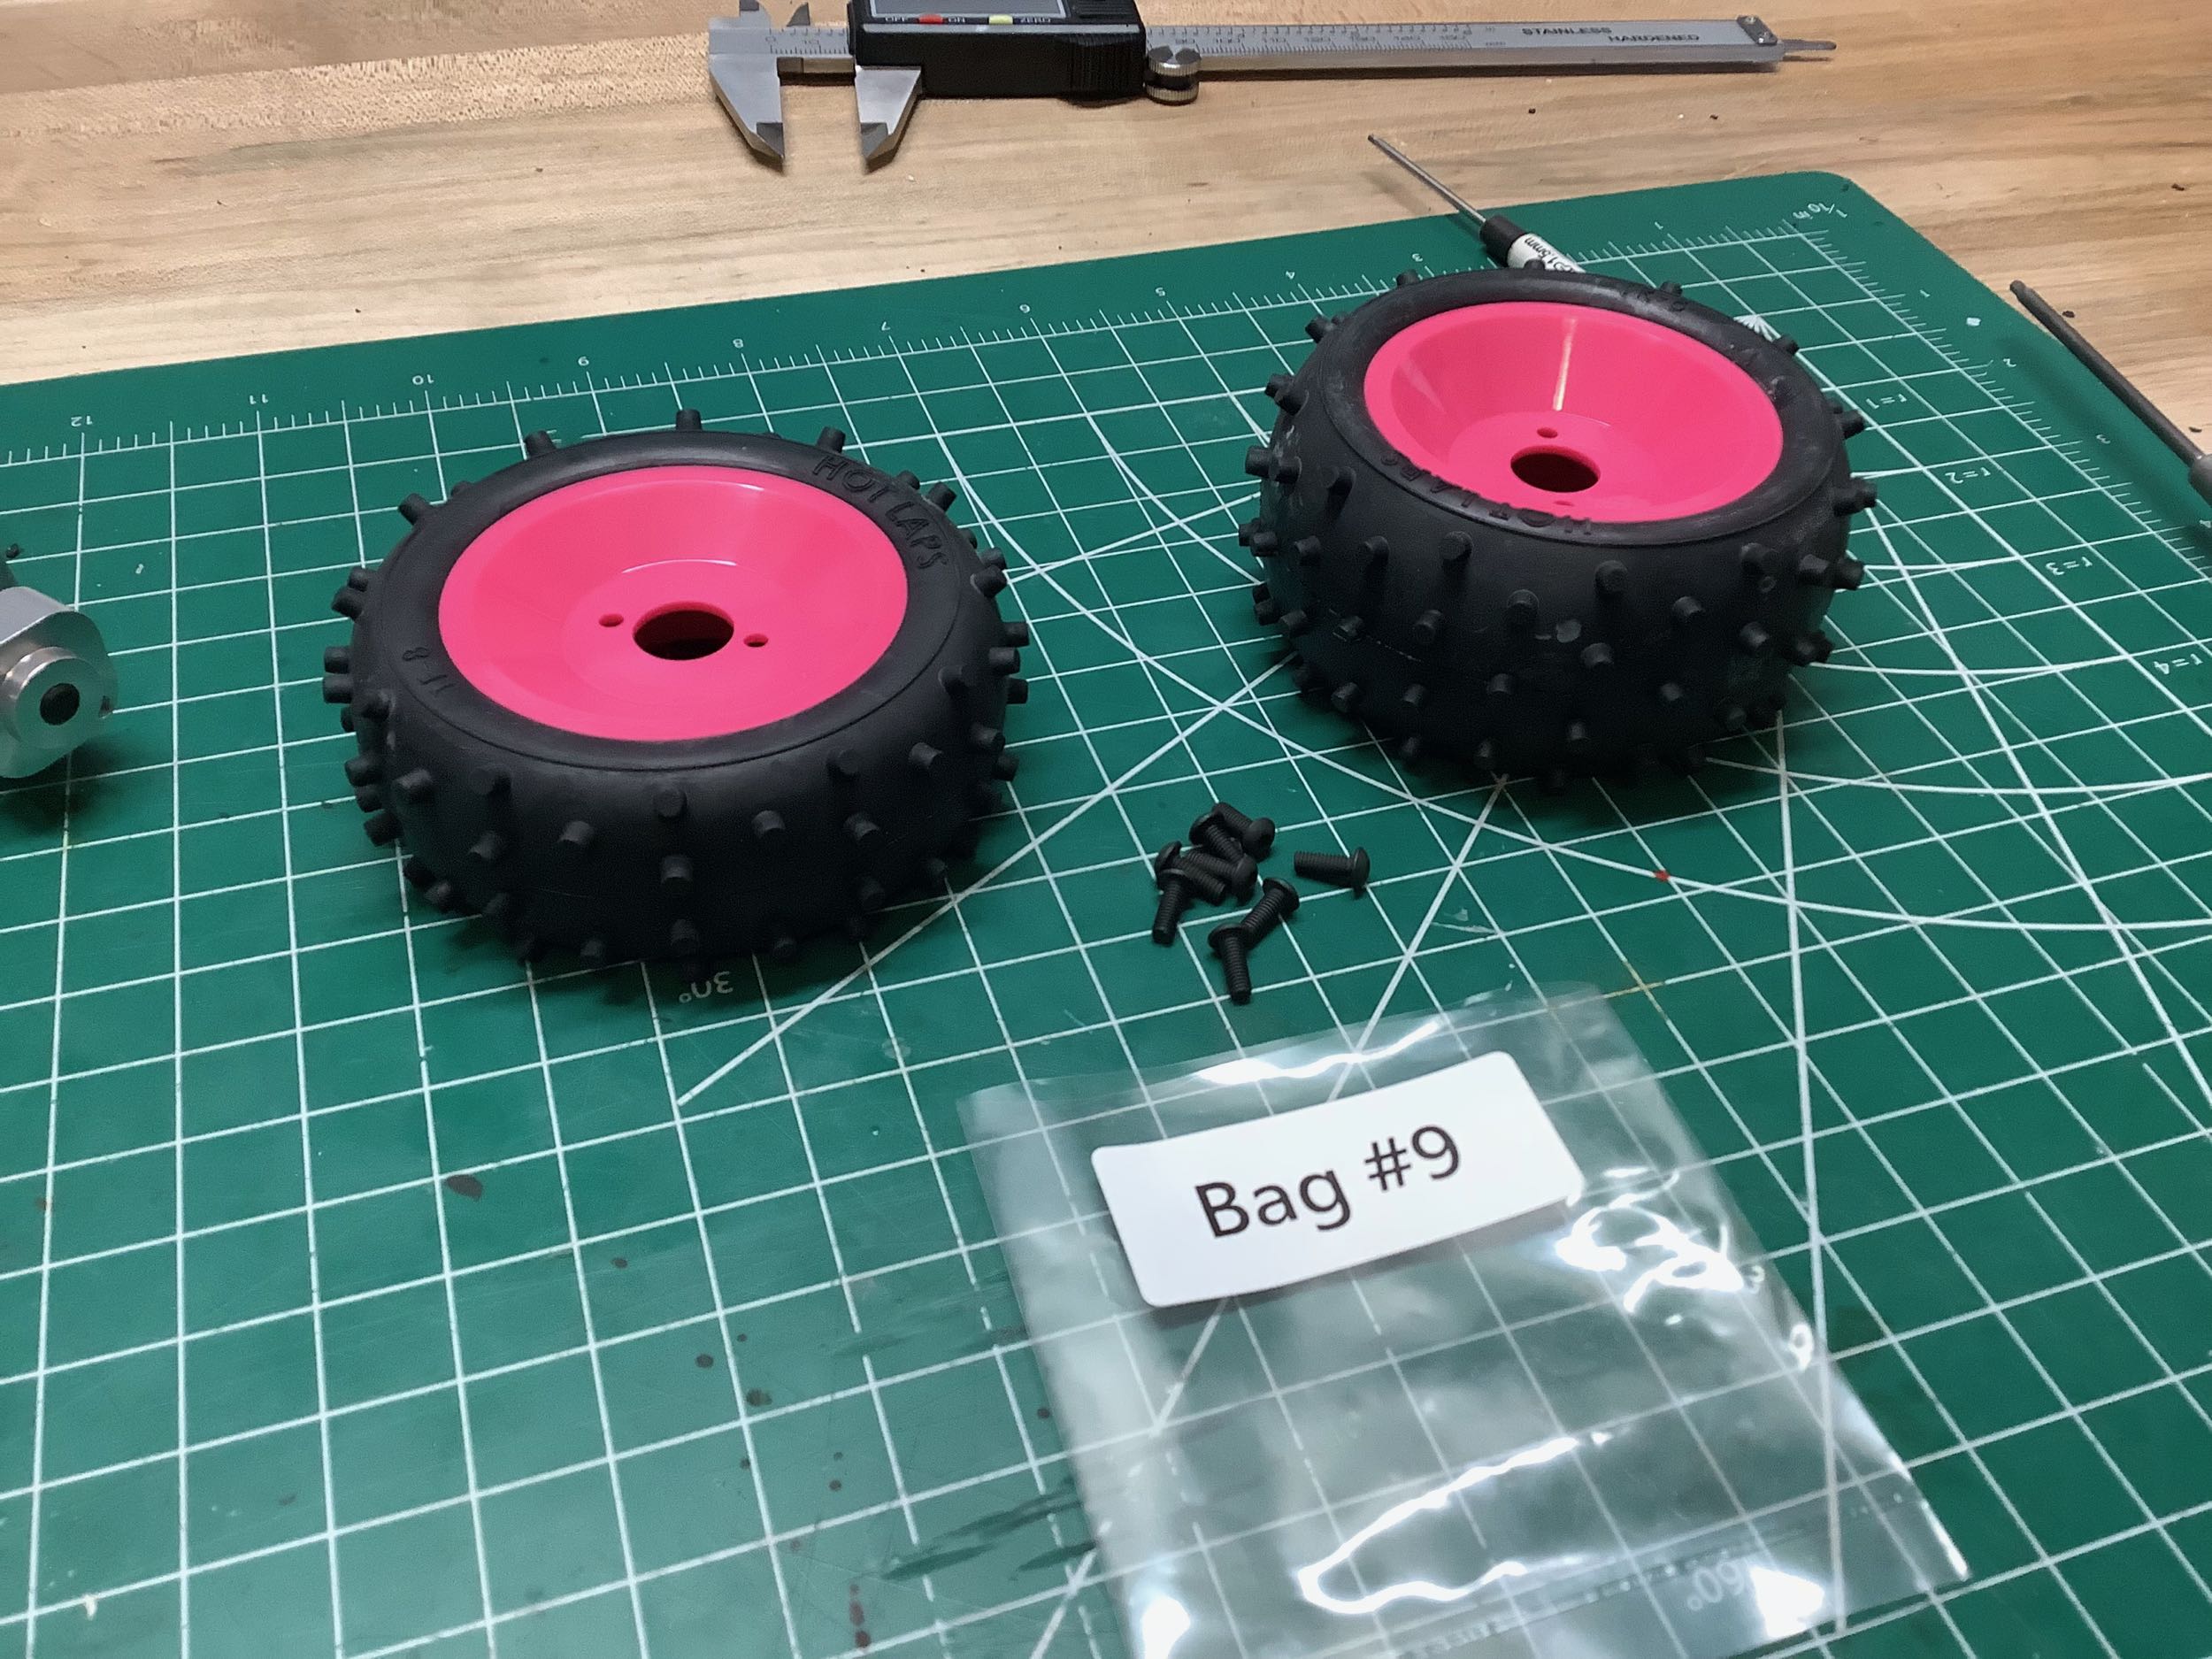
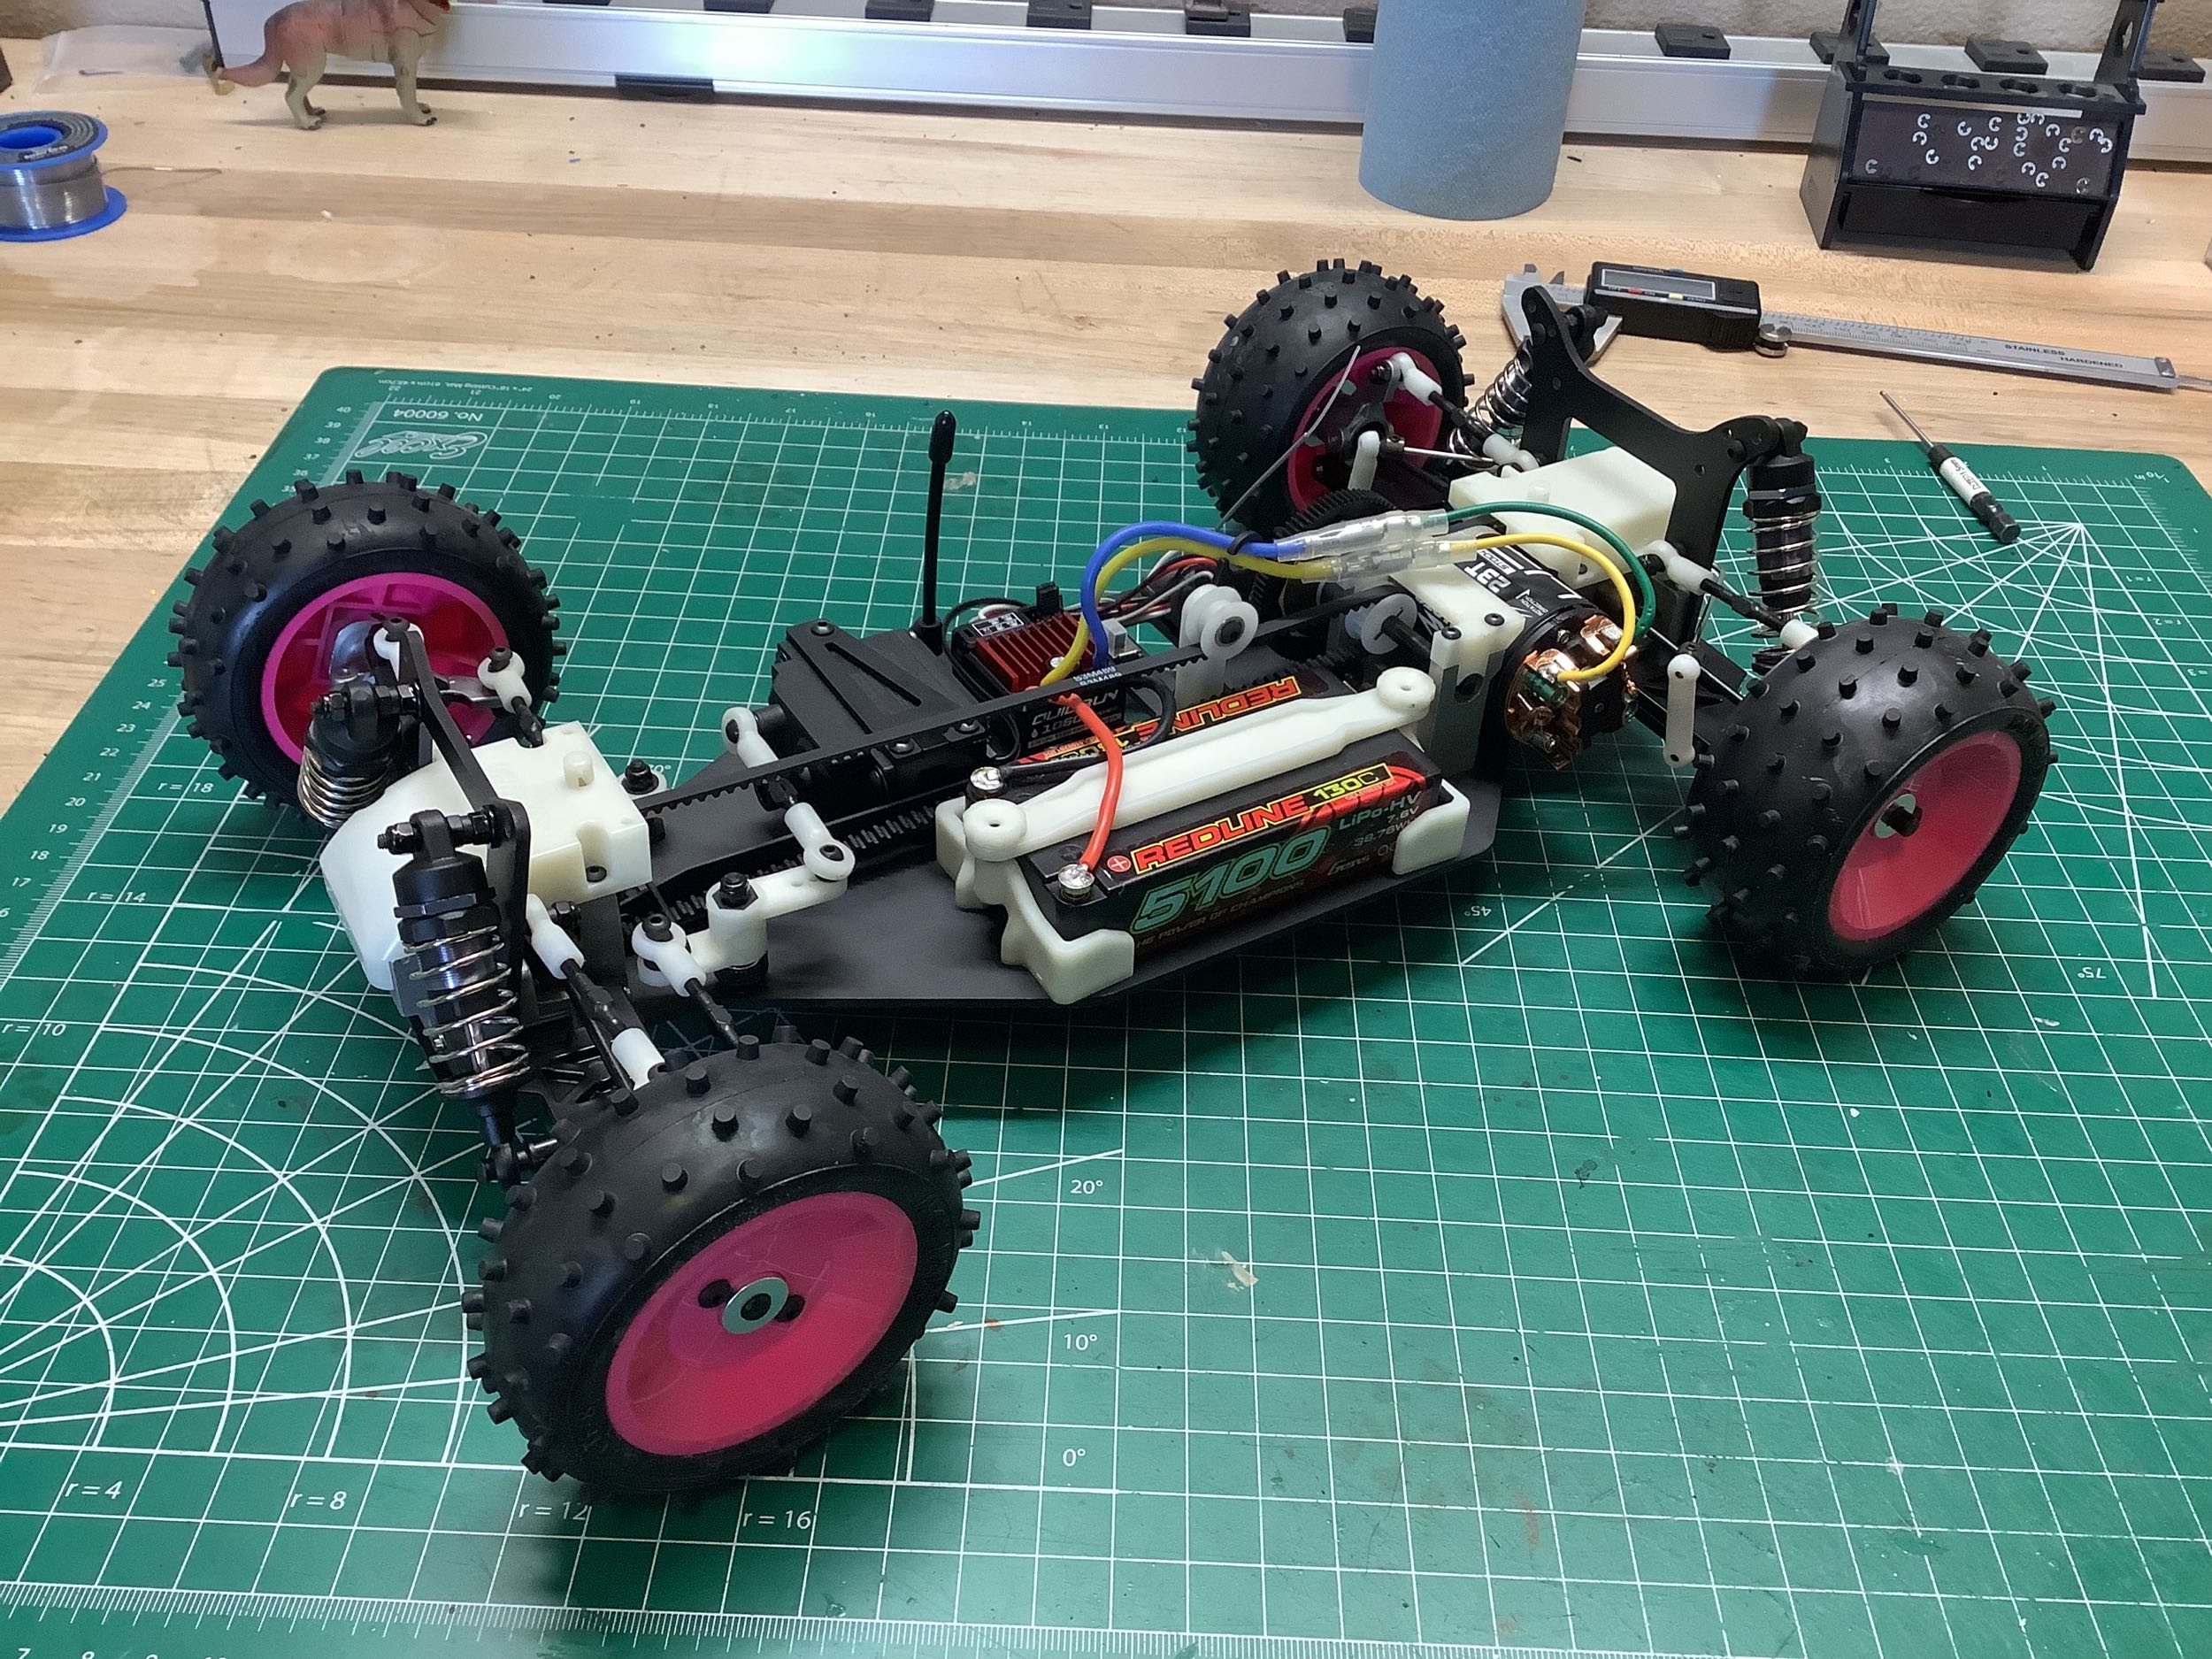
Bag 9 has the pink wheels. These look very similar to what was
used on the RC10 Masami Edition I recently built. The picture on
the right shows the completed rolling chassis.
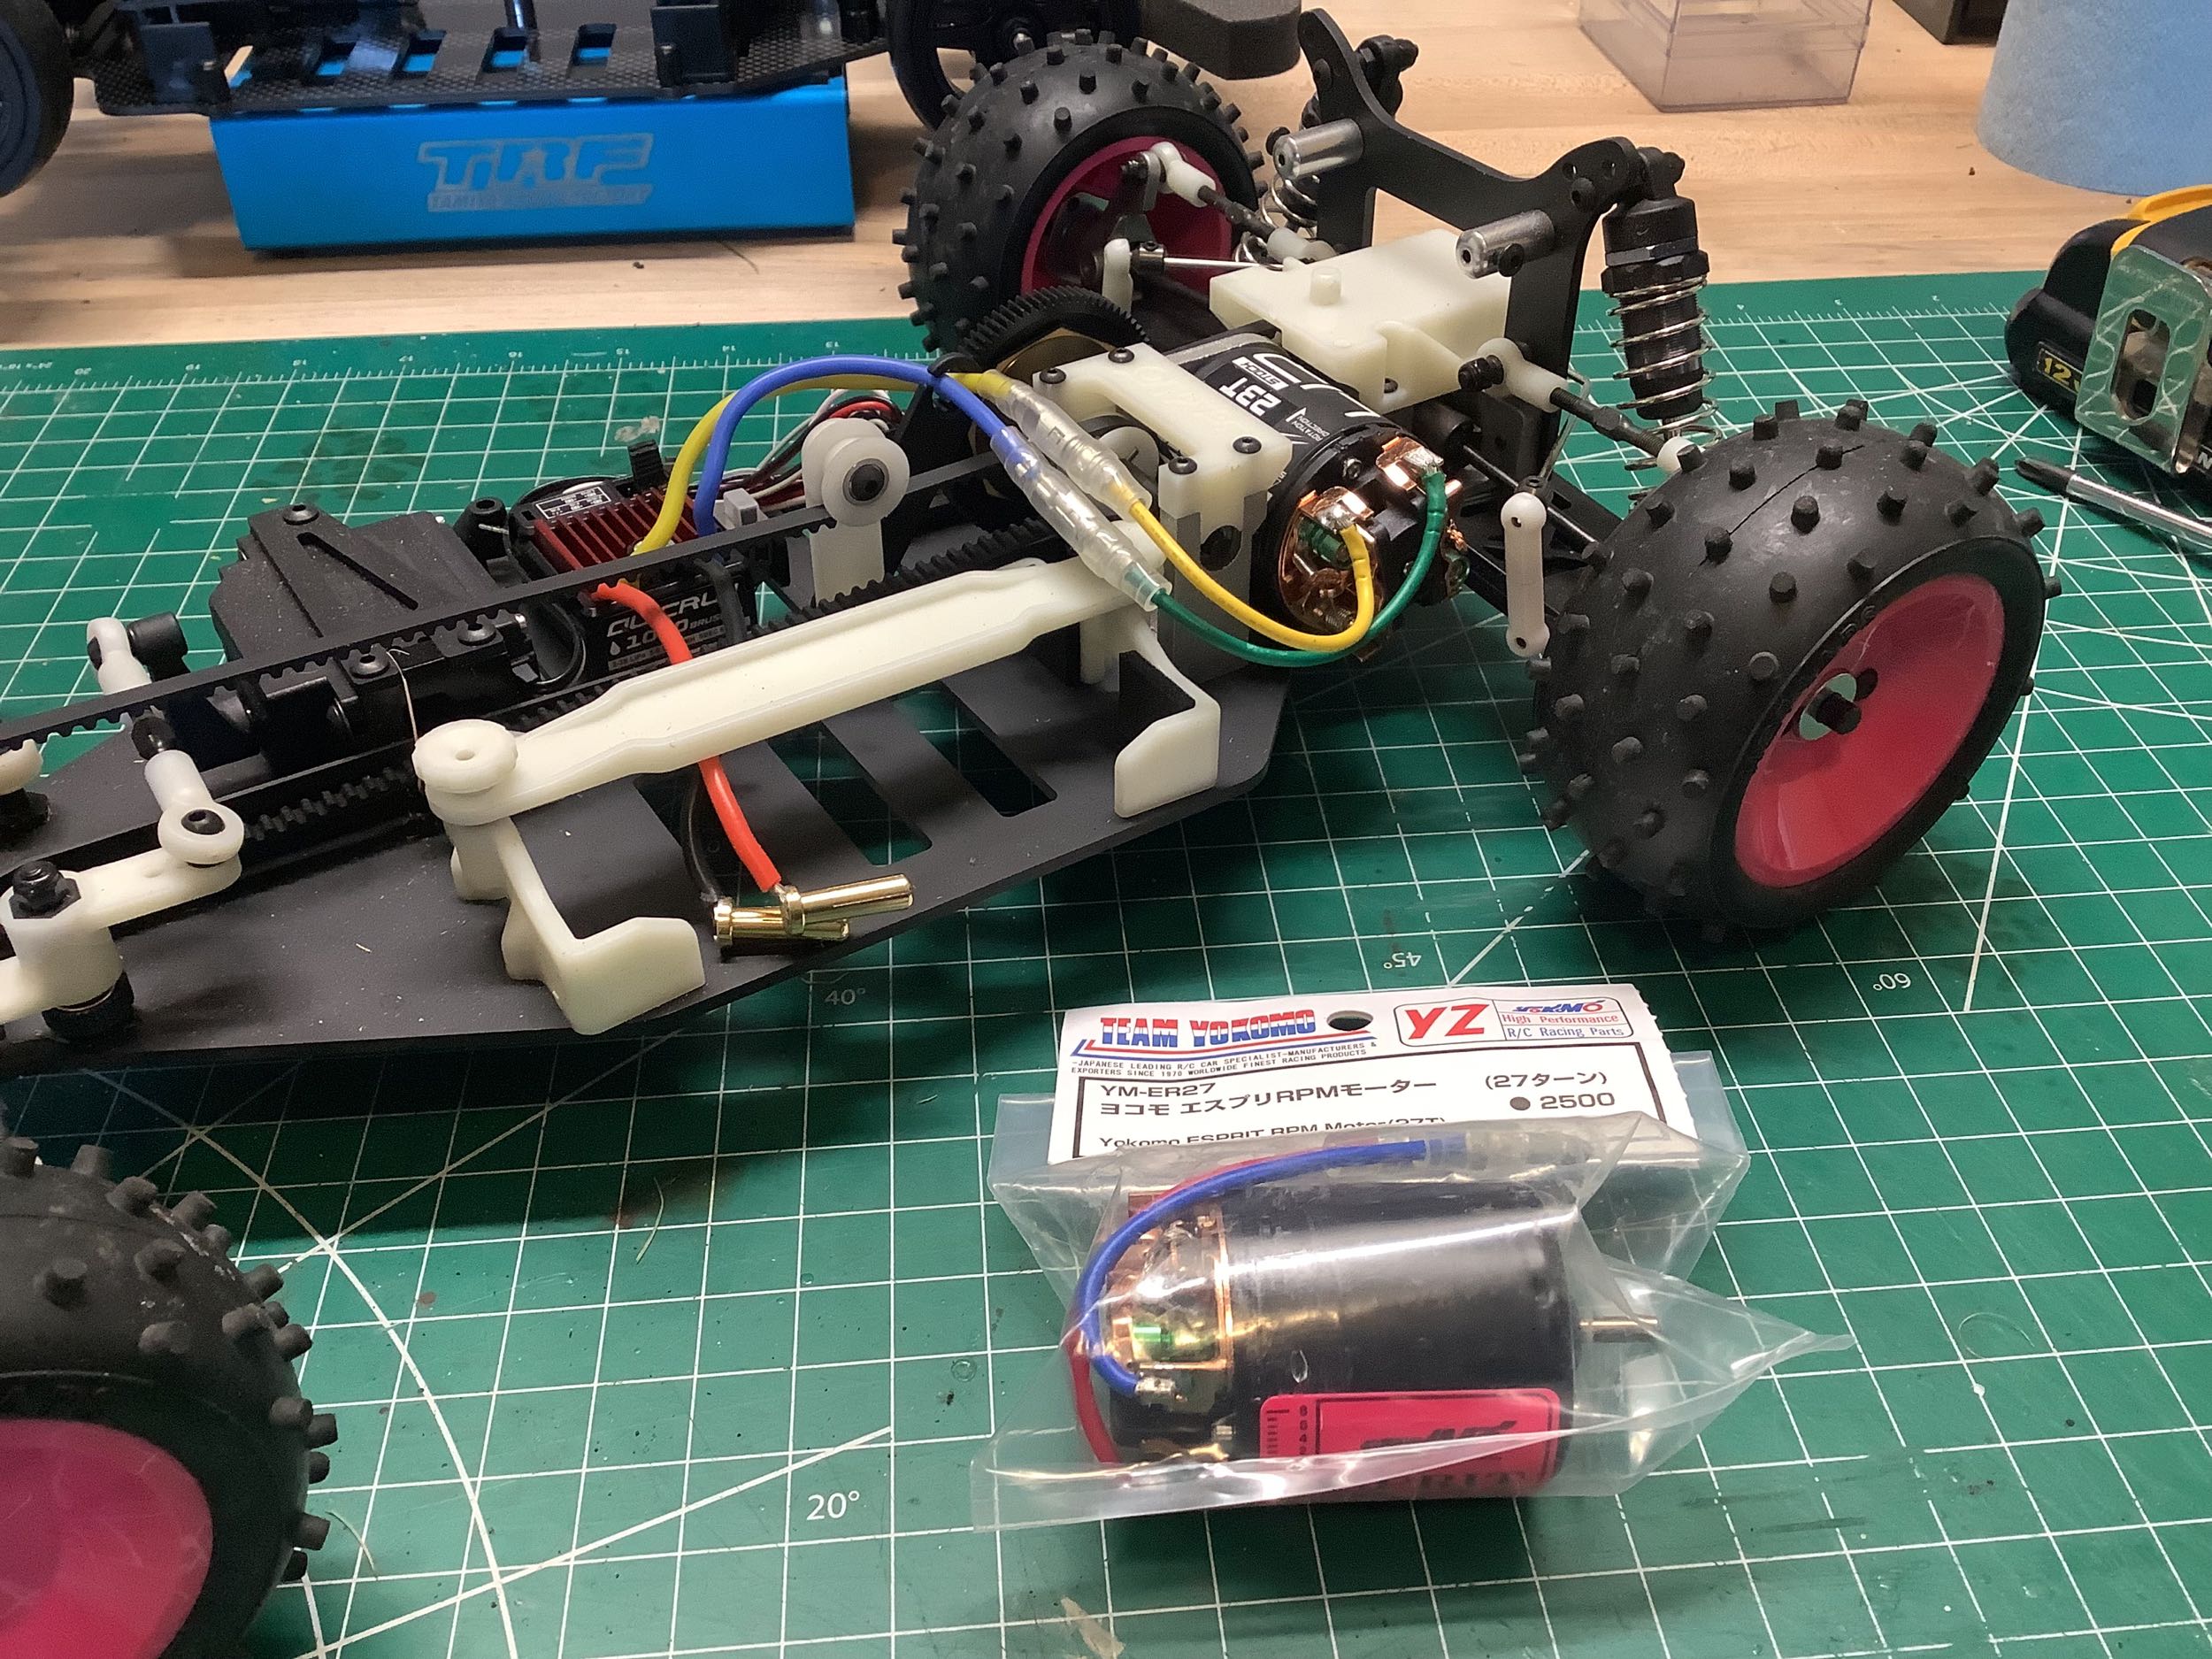
Here is the 27T Yokomo Esprit RPM motor I was able to acquire
later. It is modern but made to look vintage and seemed like a
better match. Apparently the 80's originals used pink labels like
this.
©2026 Eric Albrecht