Schumacher Pro-CAT Project
Page 2: Pro Assembly
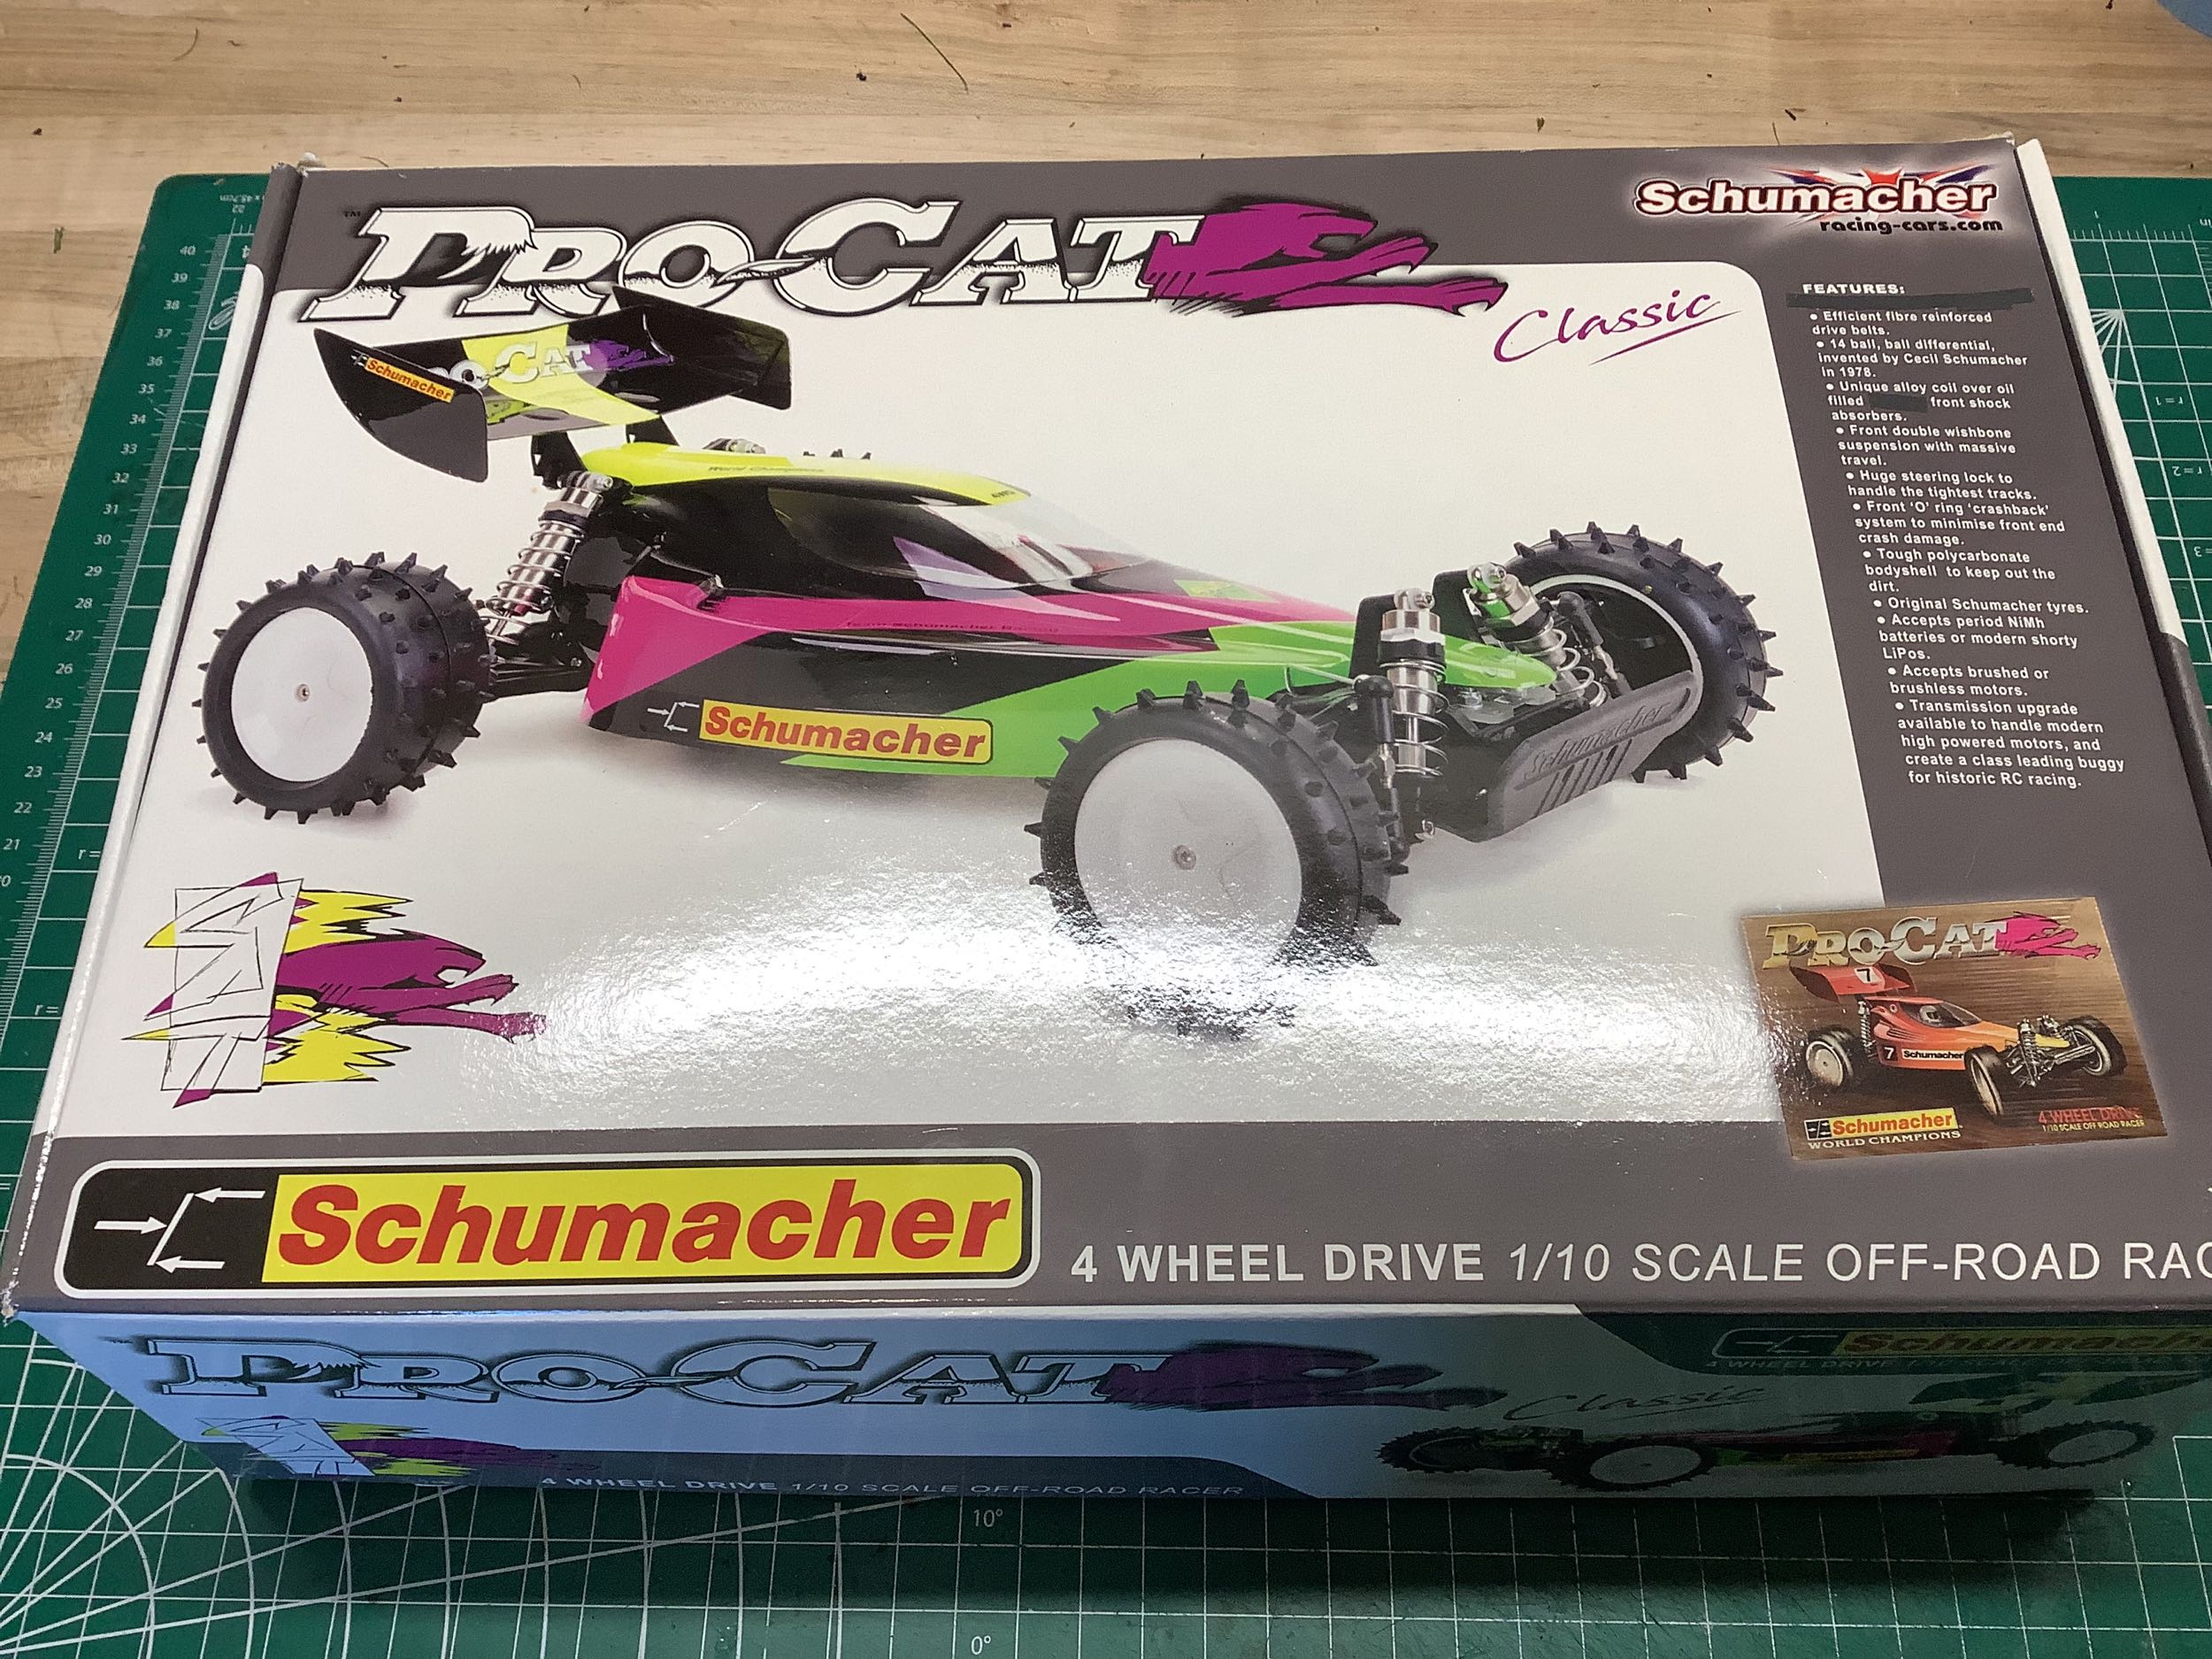
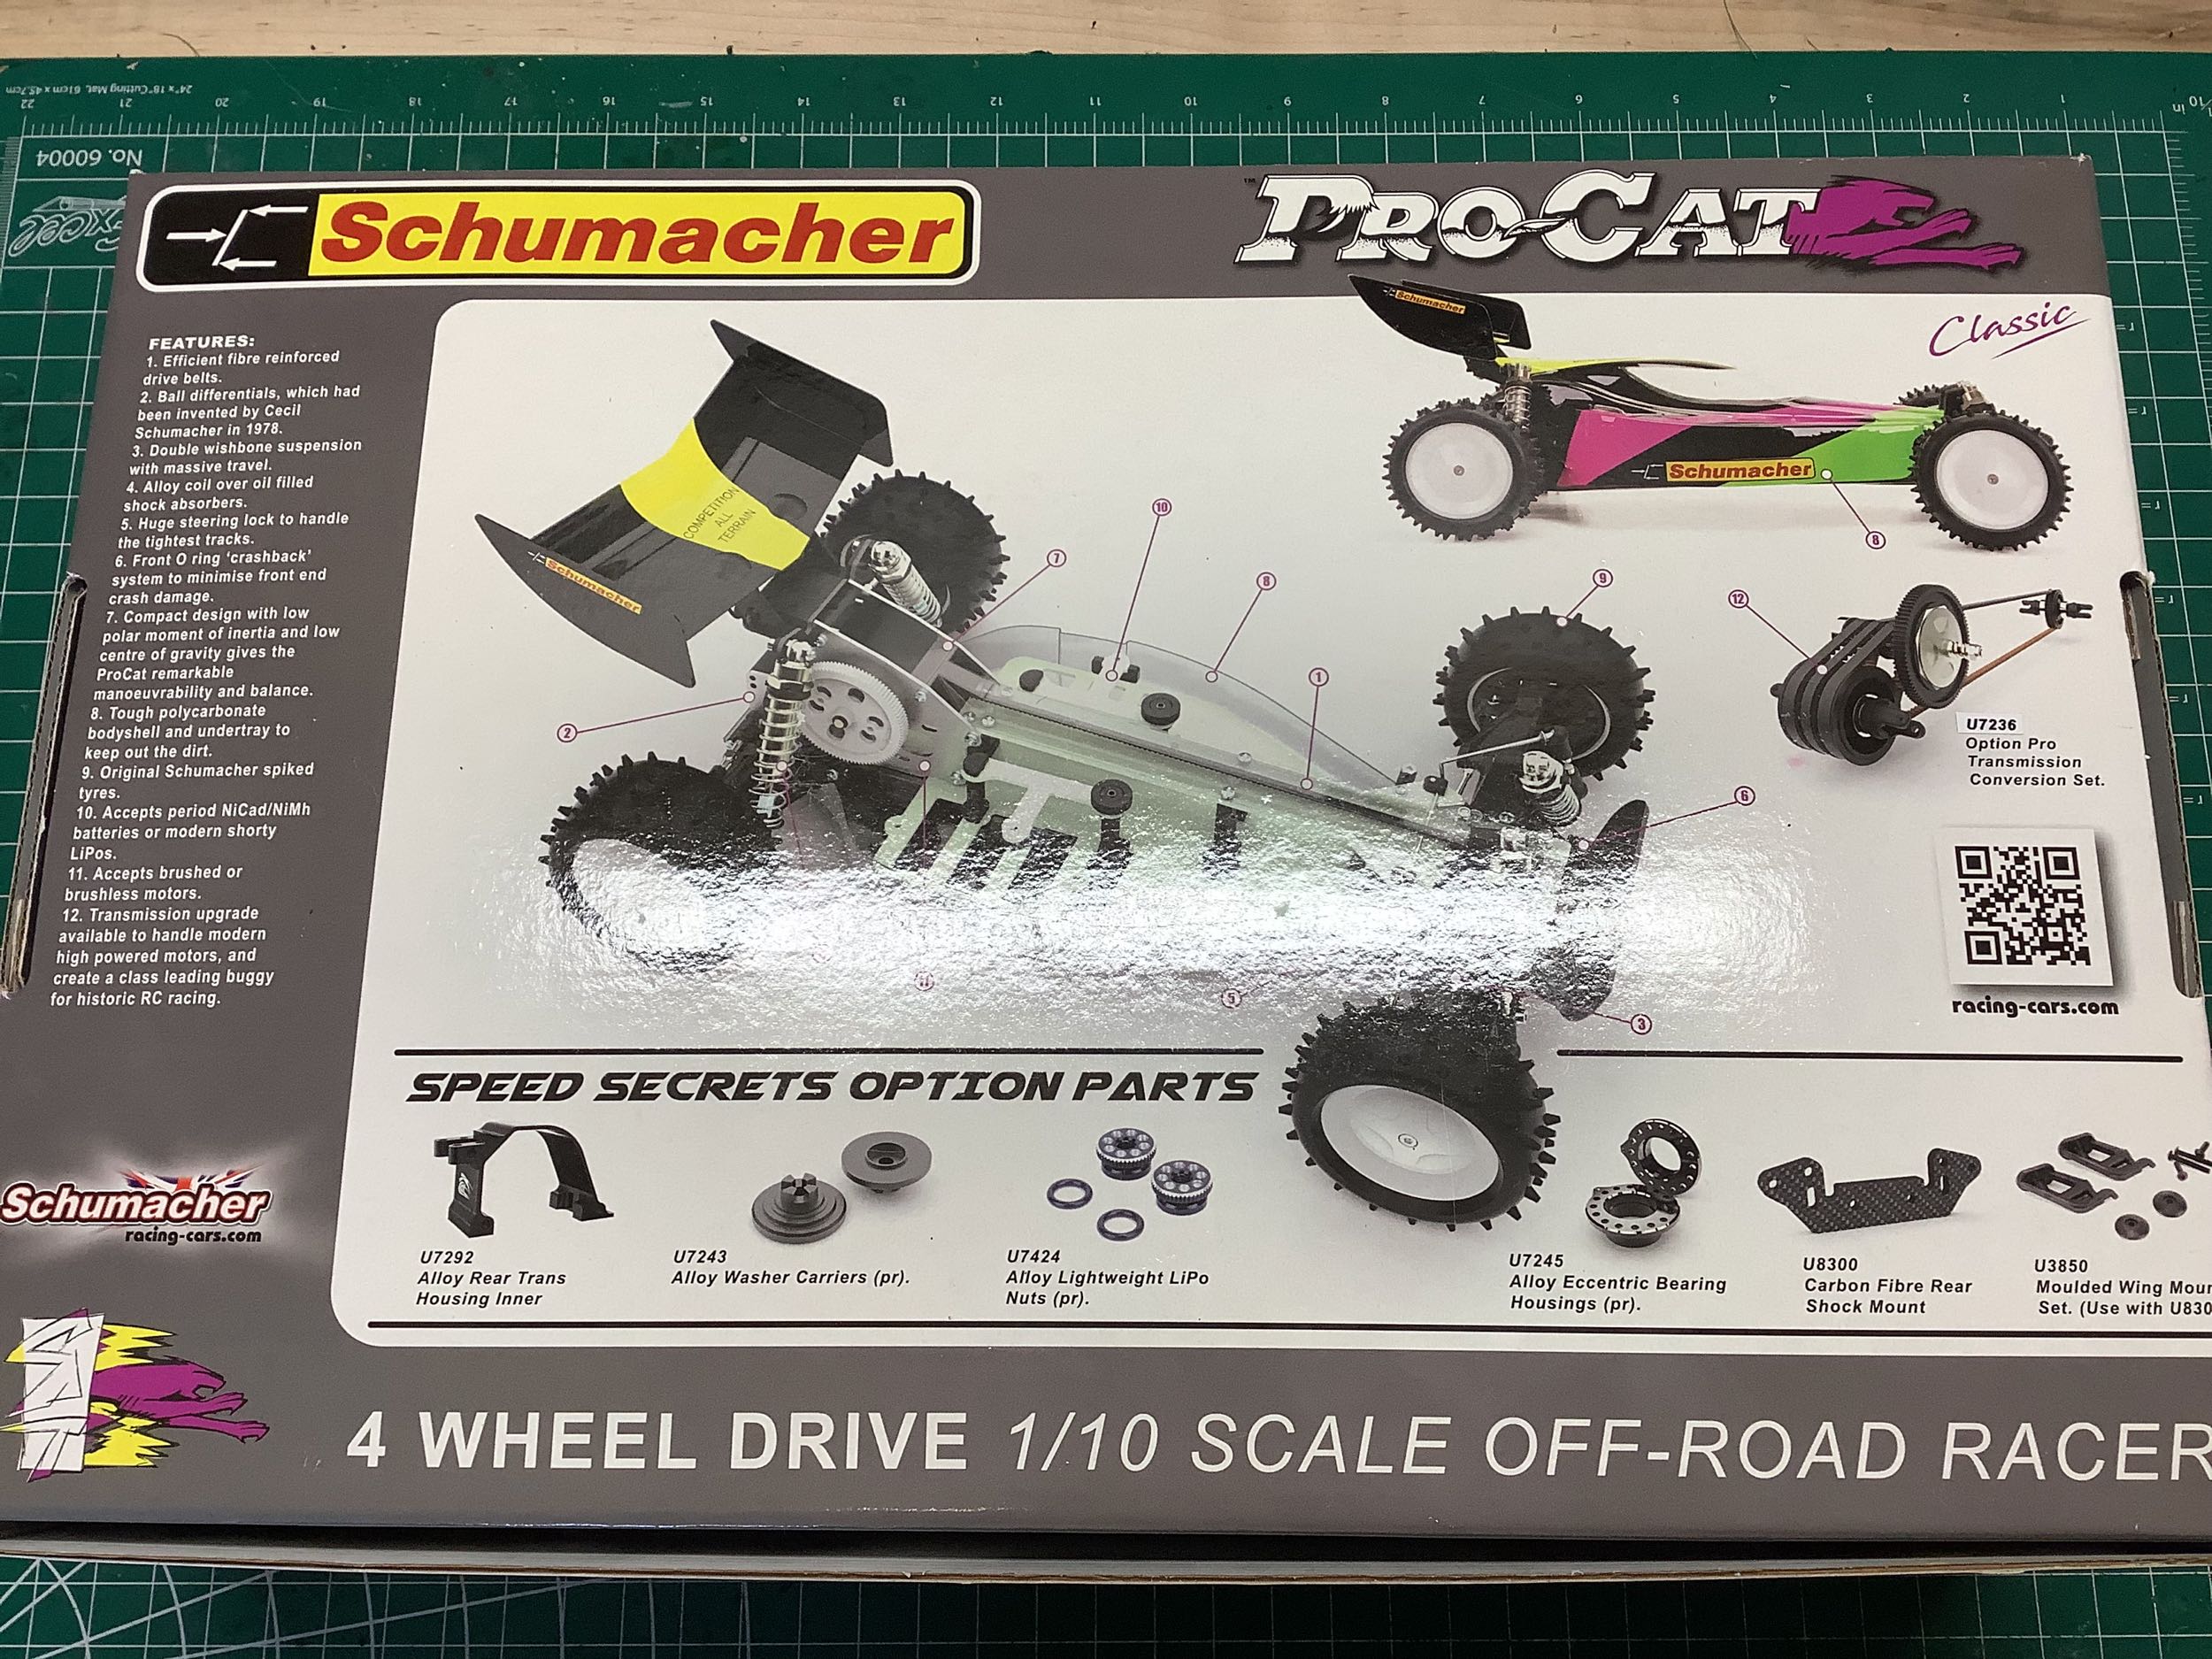
The box for the Pro-CAT is not very fancy, but it does have a nice
display of information about the model on the back. Actually, it
appears to be less about presenting information about the model and more
about advertising optional parts.
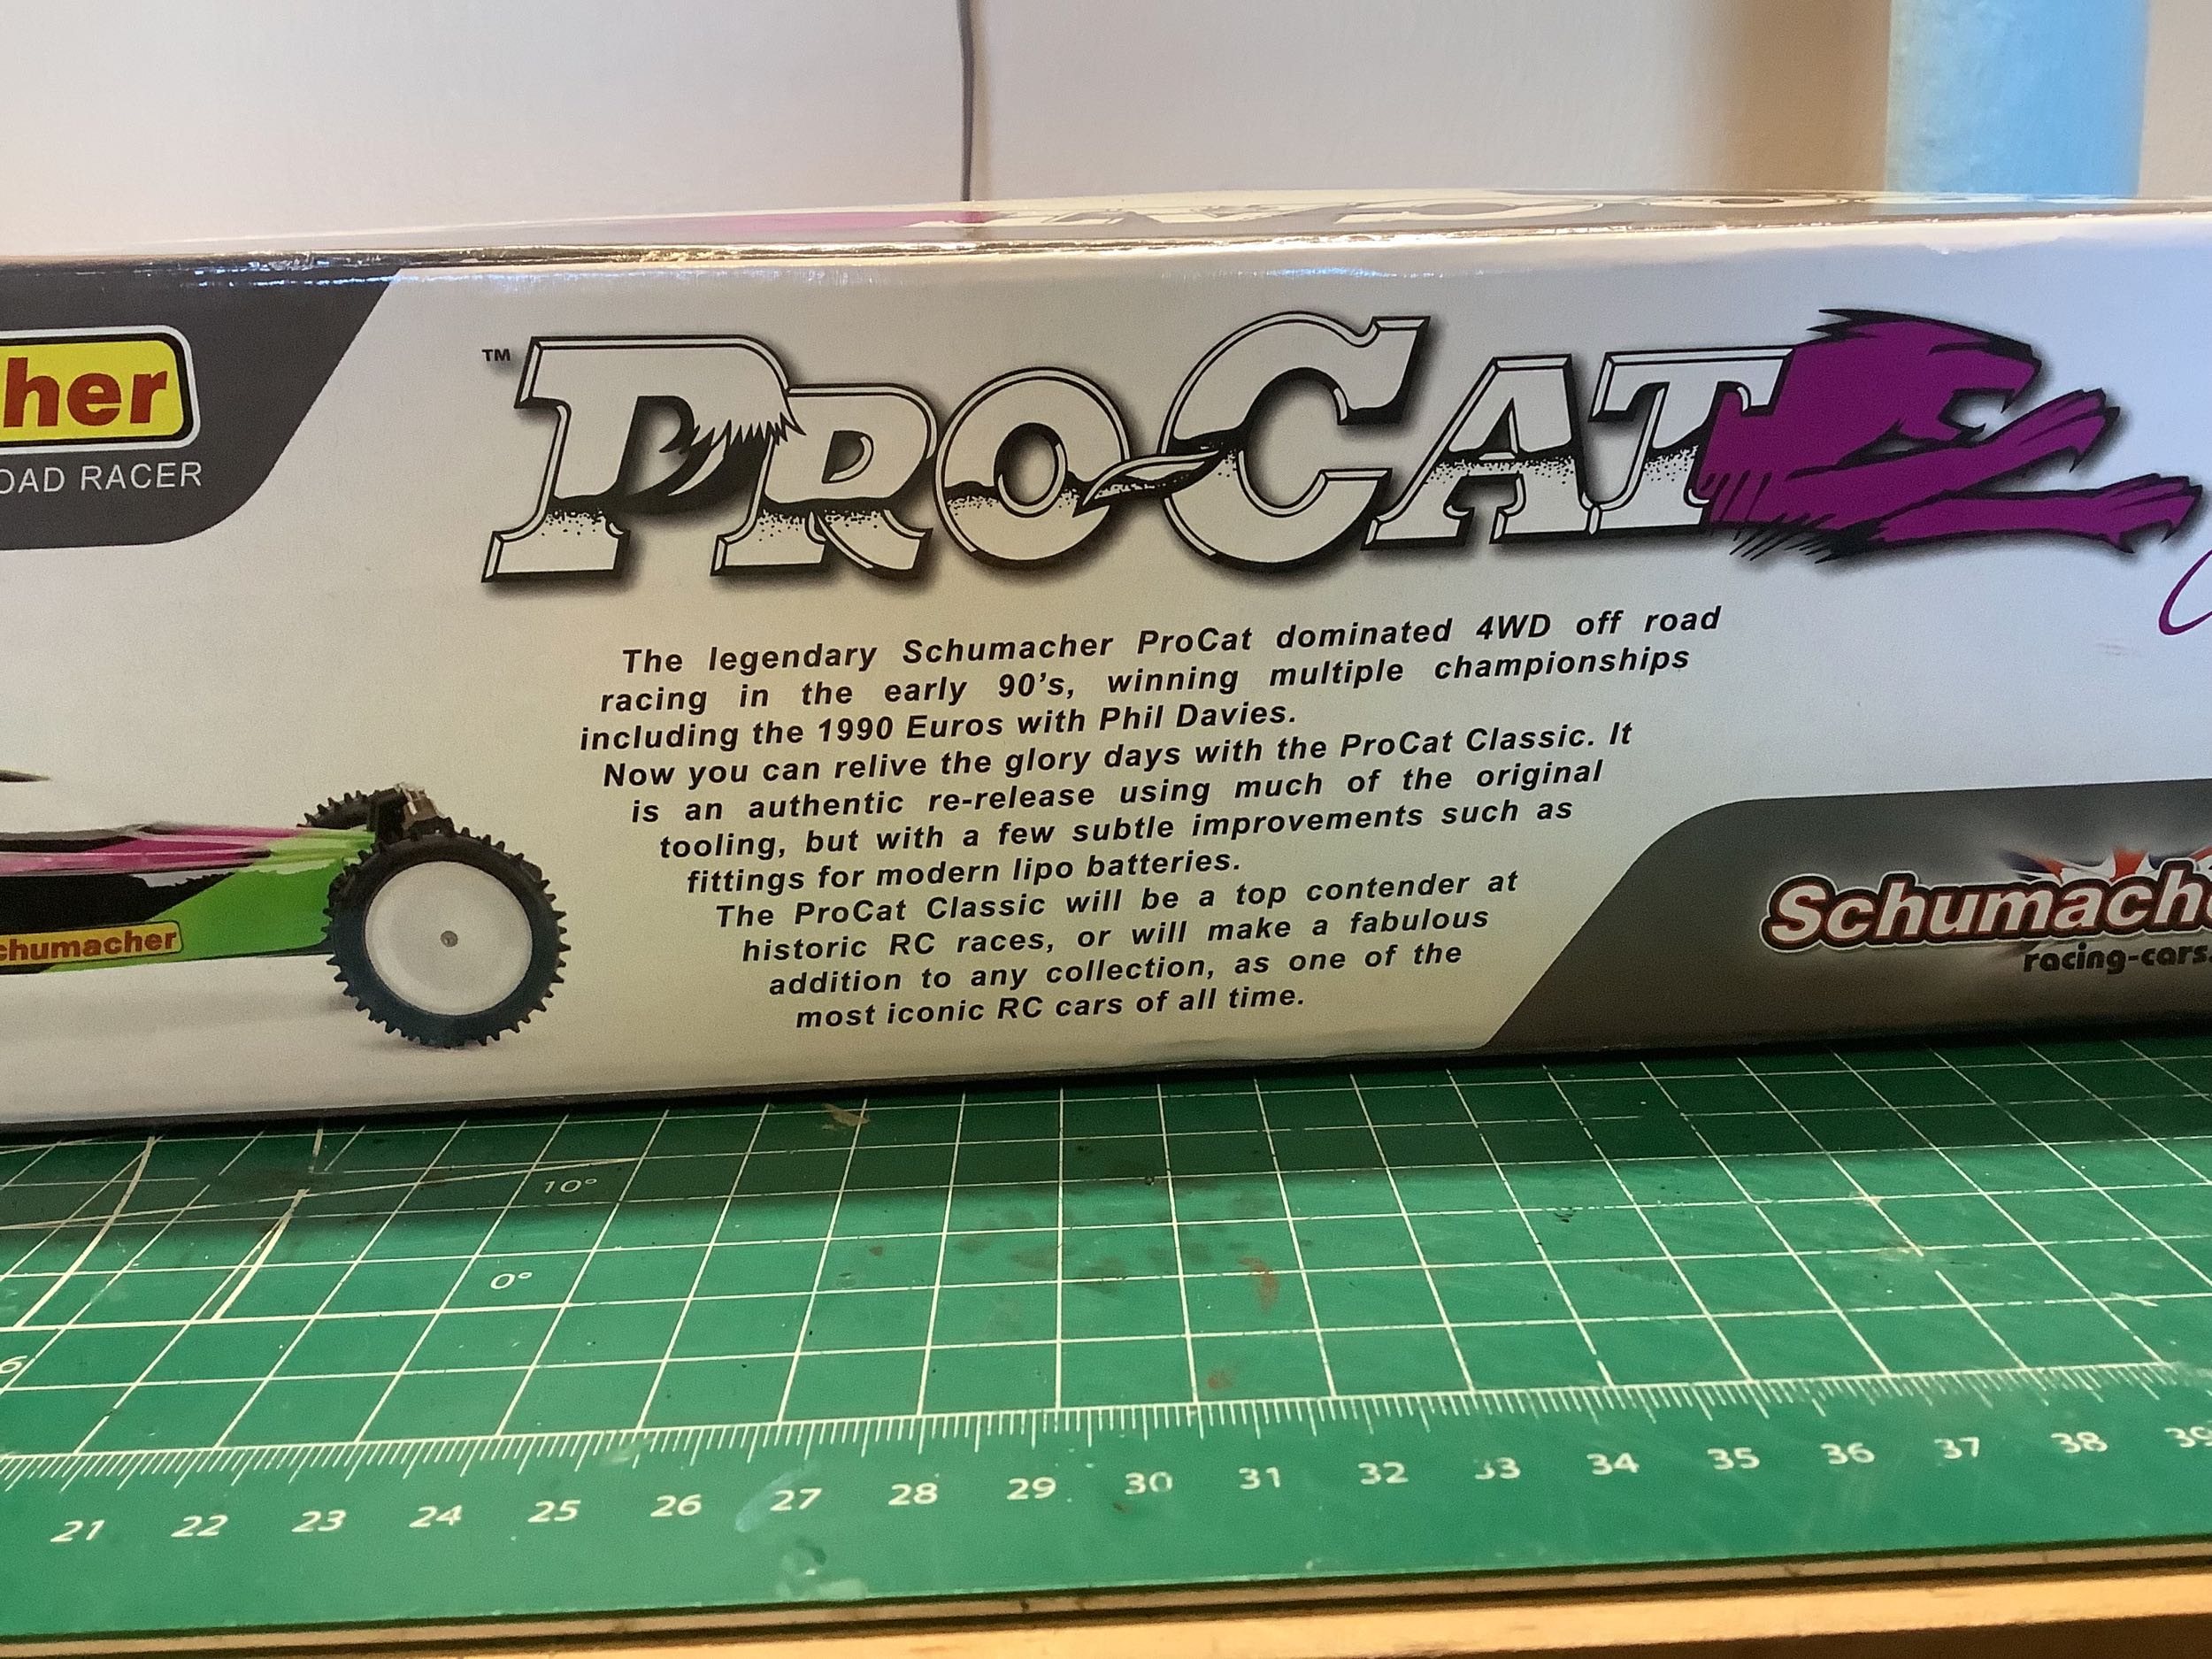
The side of the box has a bit of information about the history of the
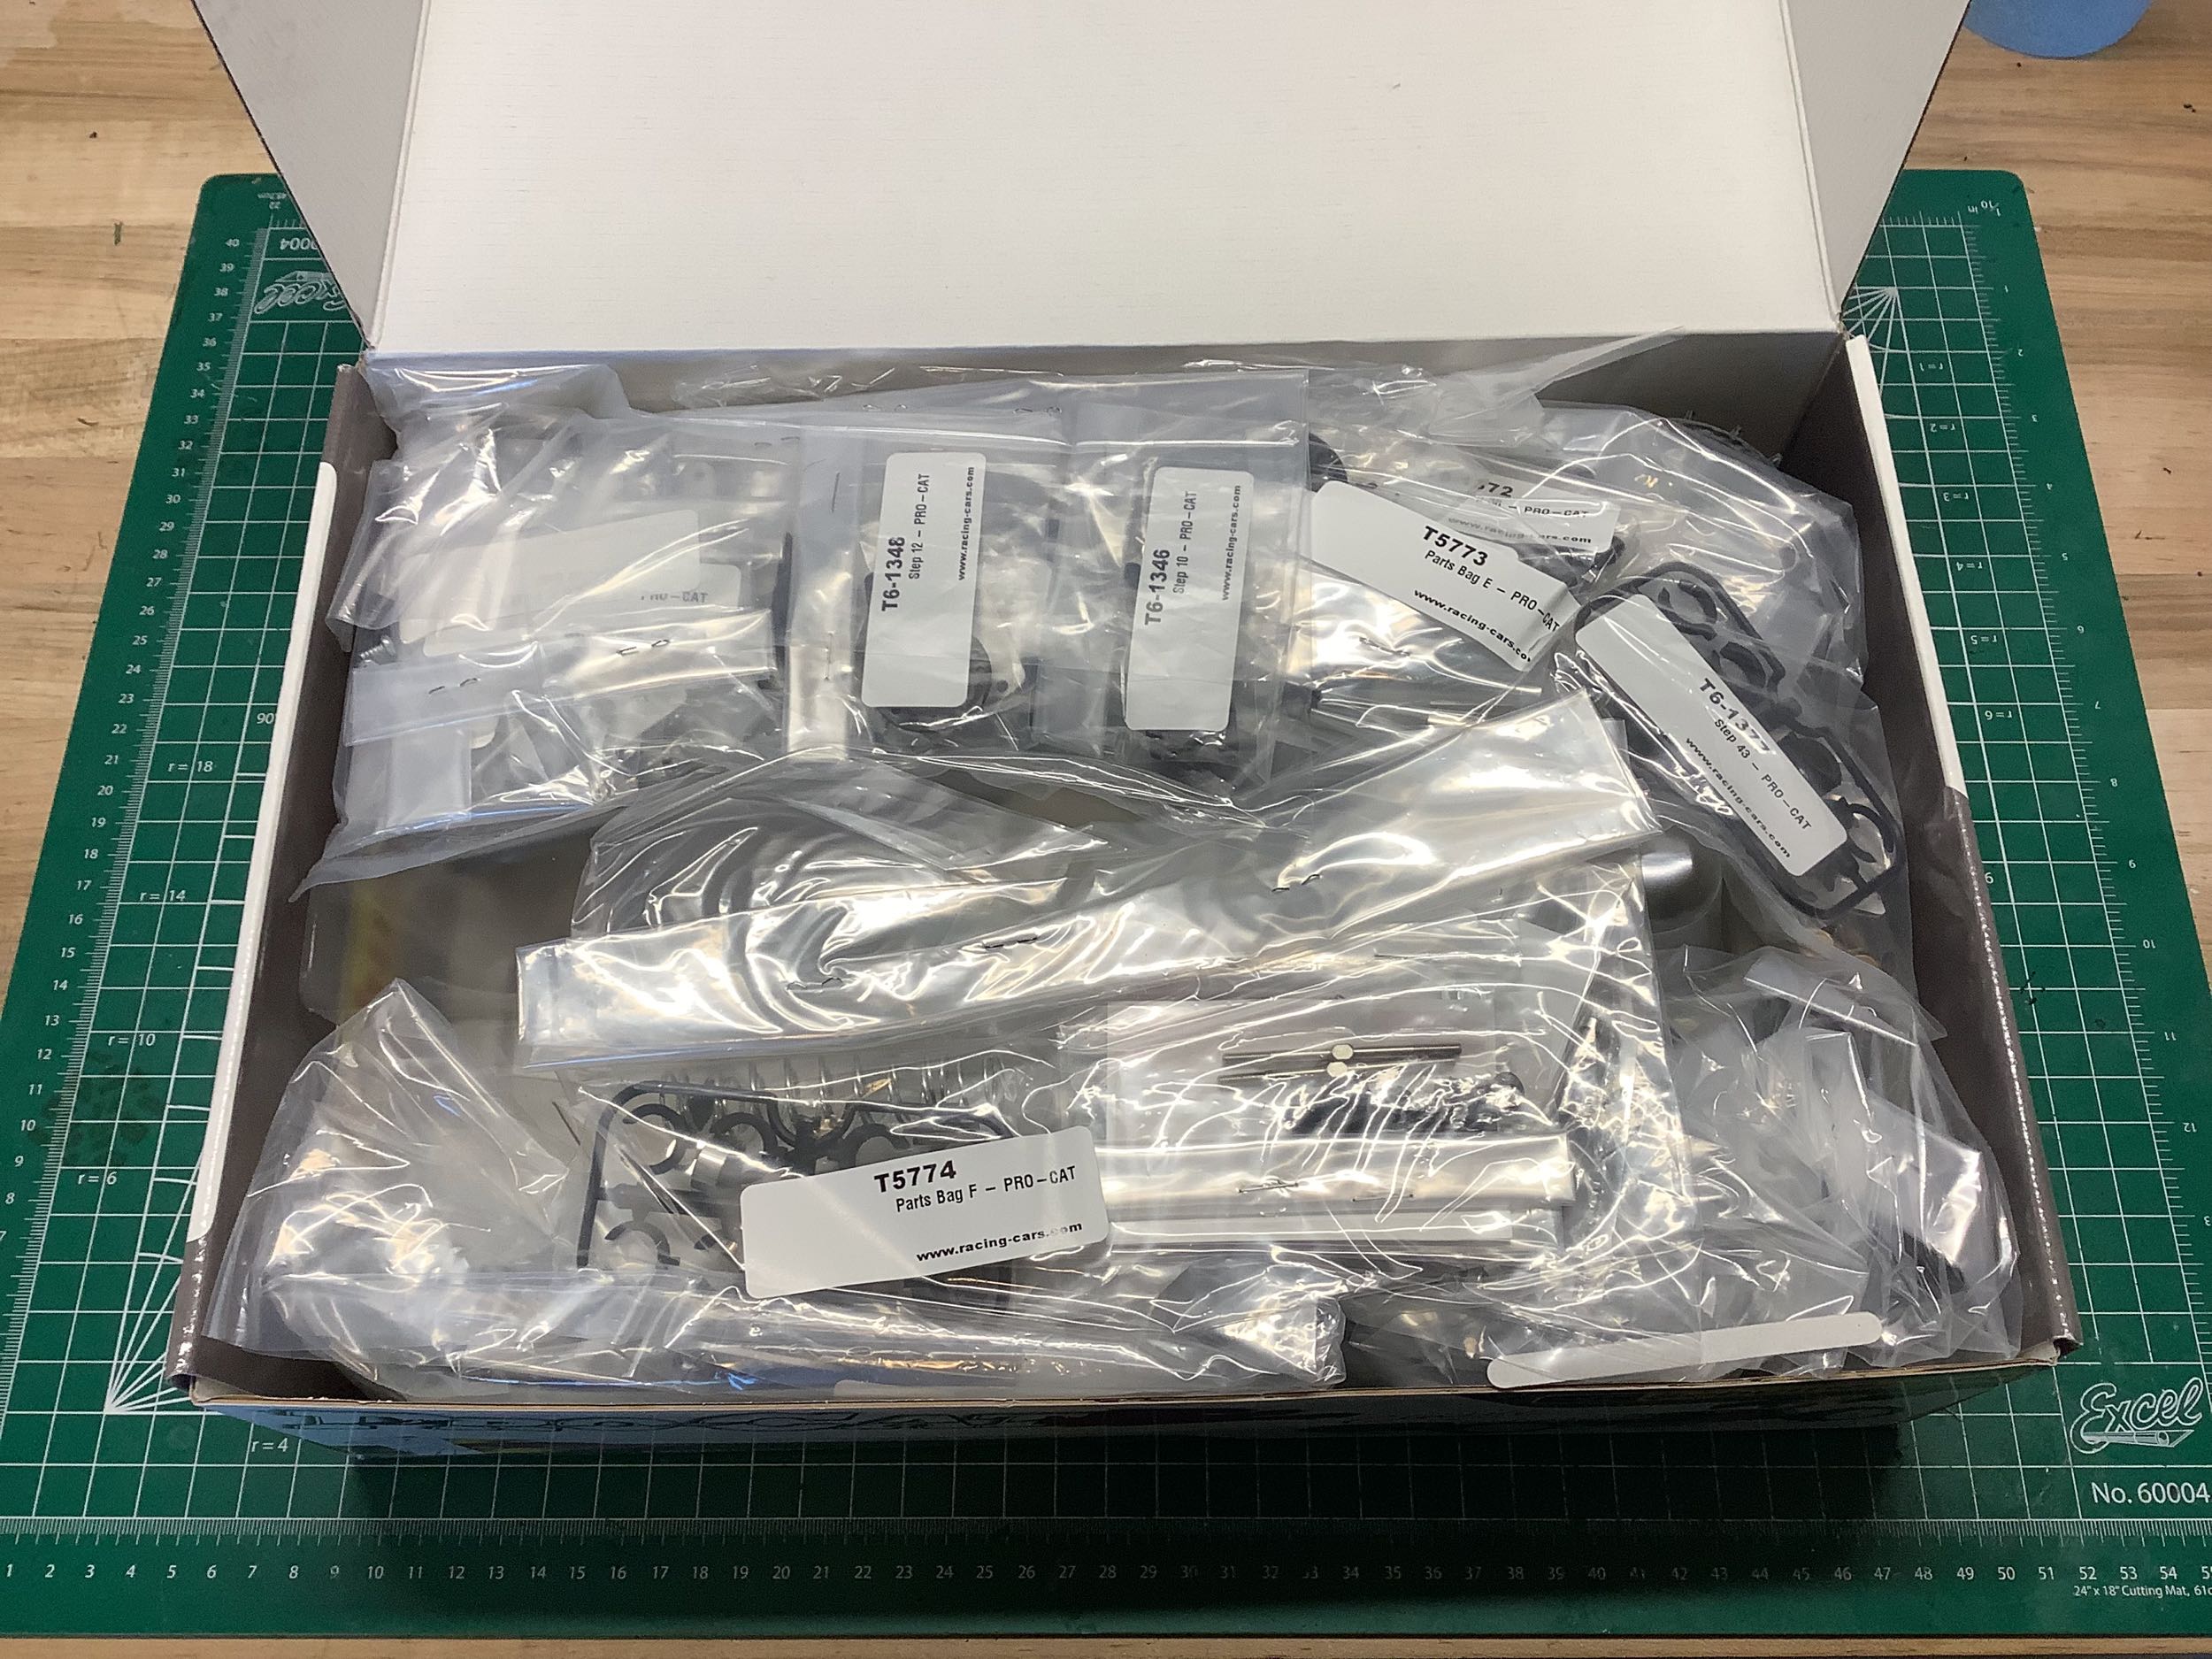
original. Inside you just see a pile of plastic bags. Hard
to see what's going on with the parts.
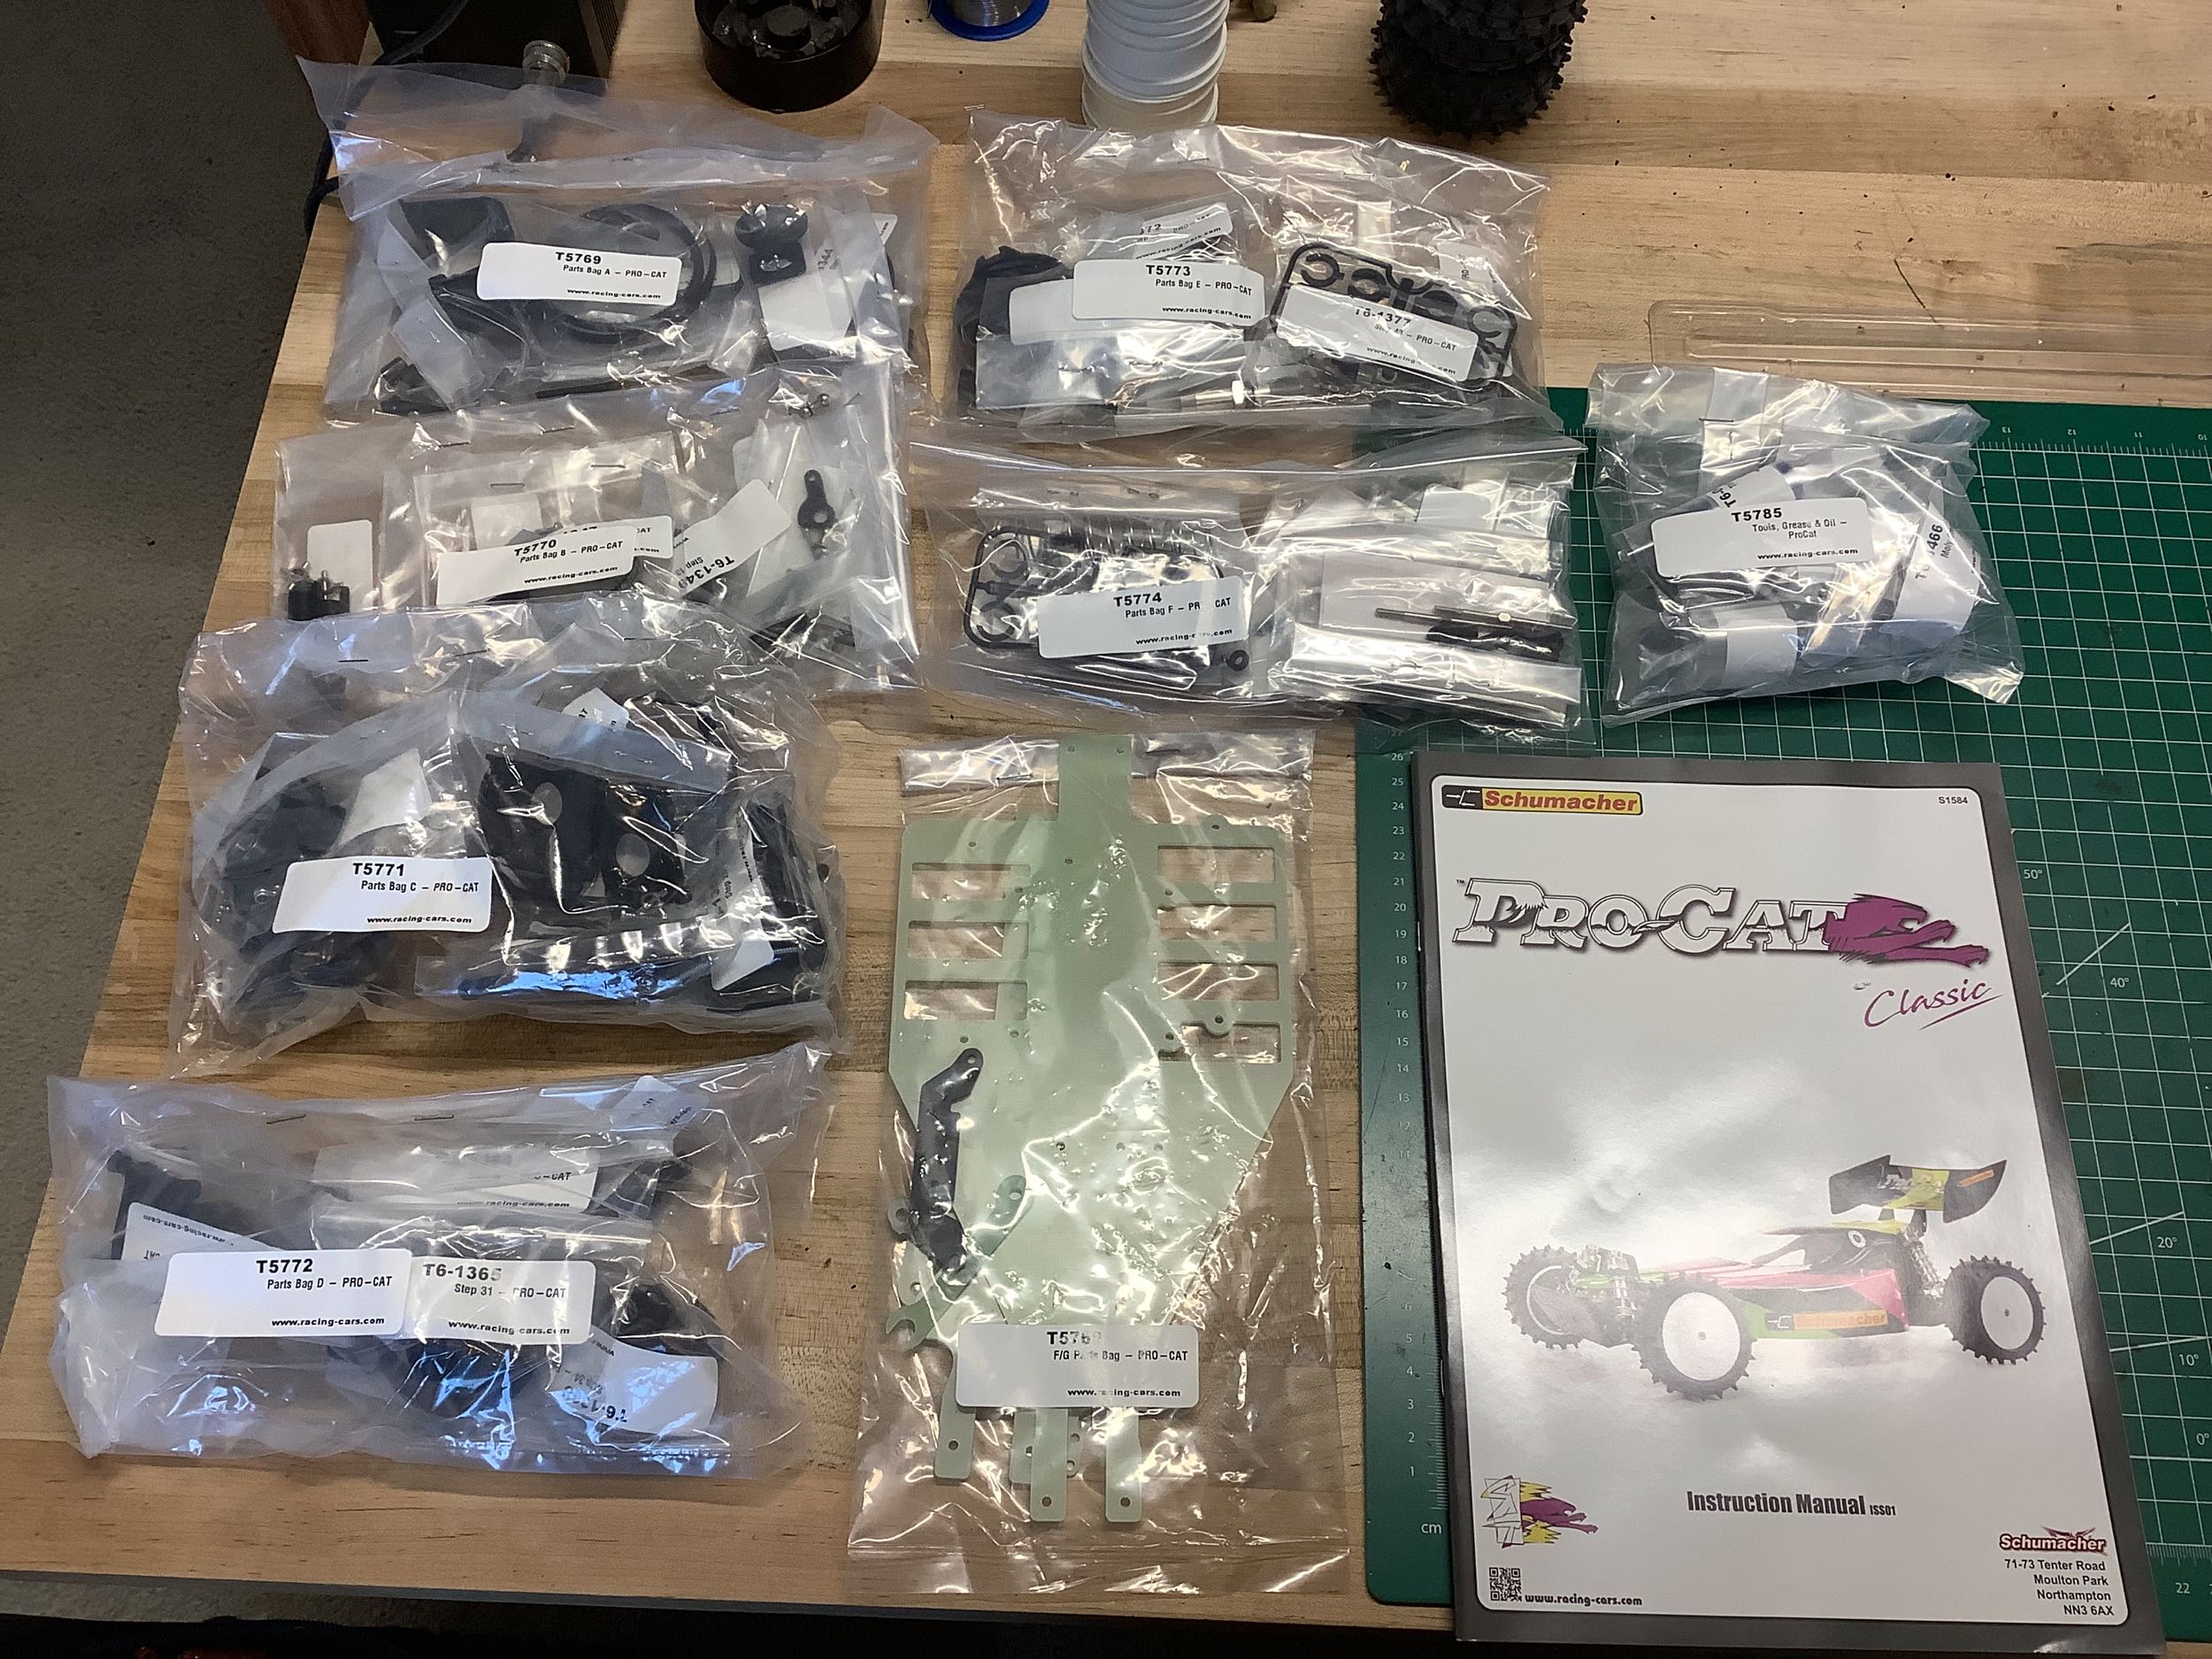
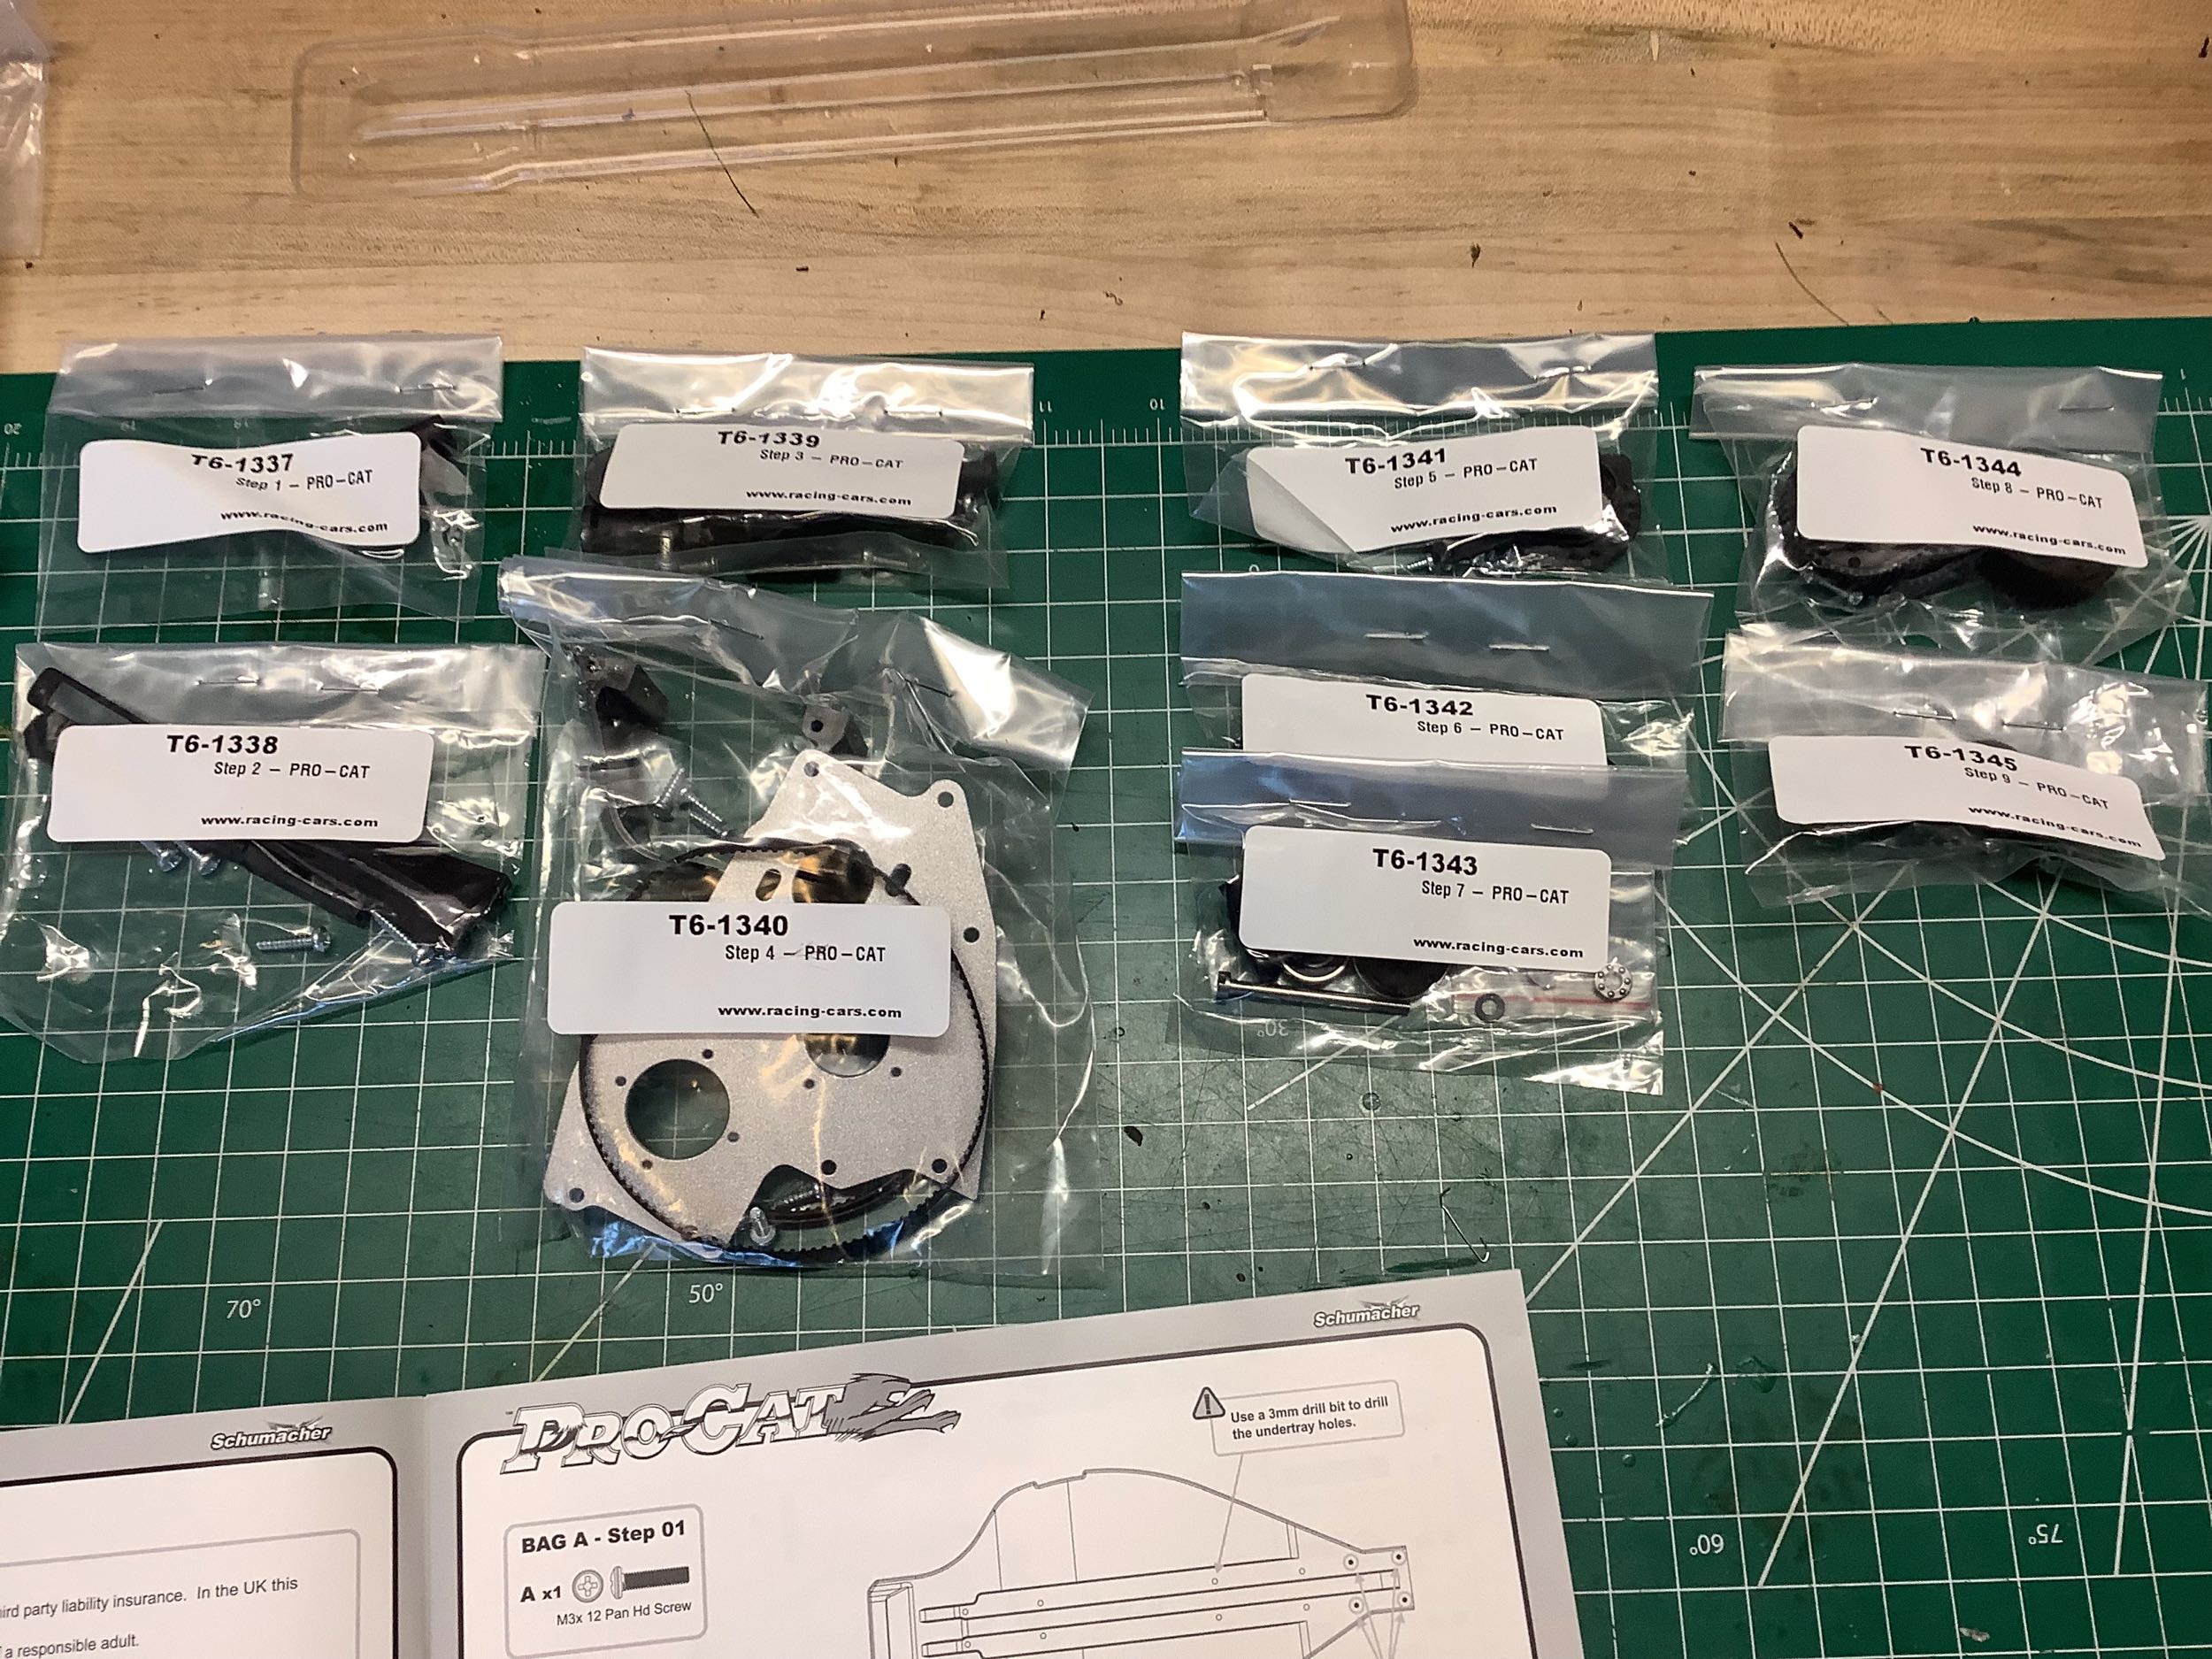
THere are a series of bags labeled A through G as well as a bag of
tools, grease, oils, and thread lock. Inside each of the larger
bags are smaller bags separated by step. You can see that Bag A
contained the sub bags for Steps 1-9. This makes finding the parts
for each step very easy. The XLS did something similar.
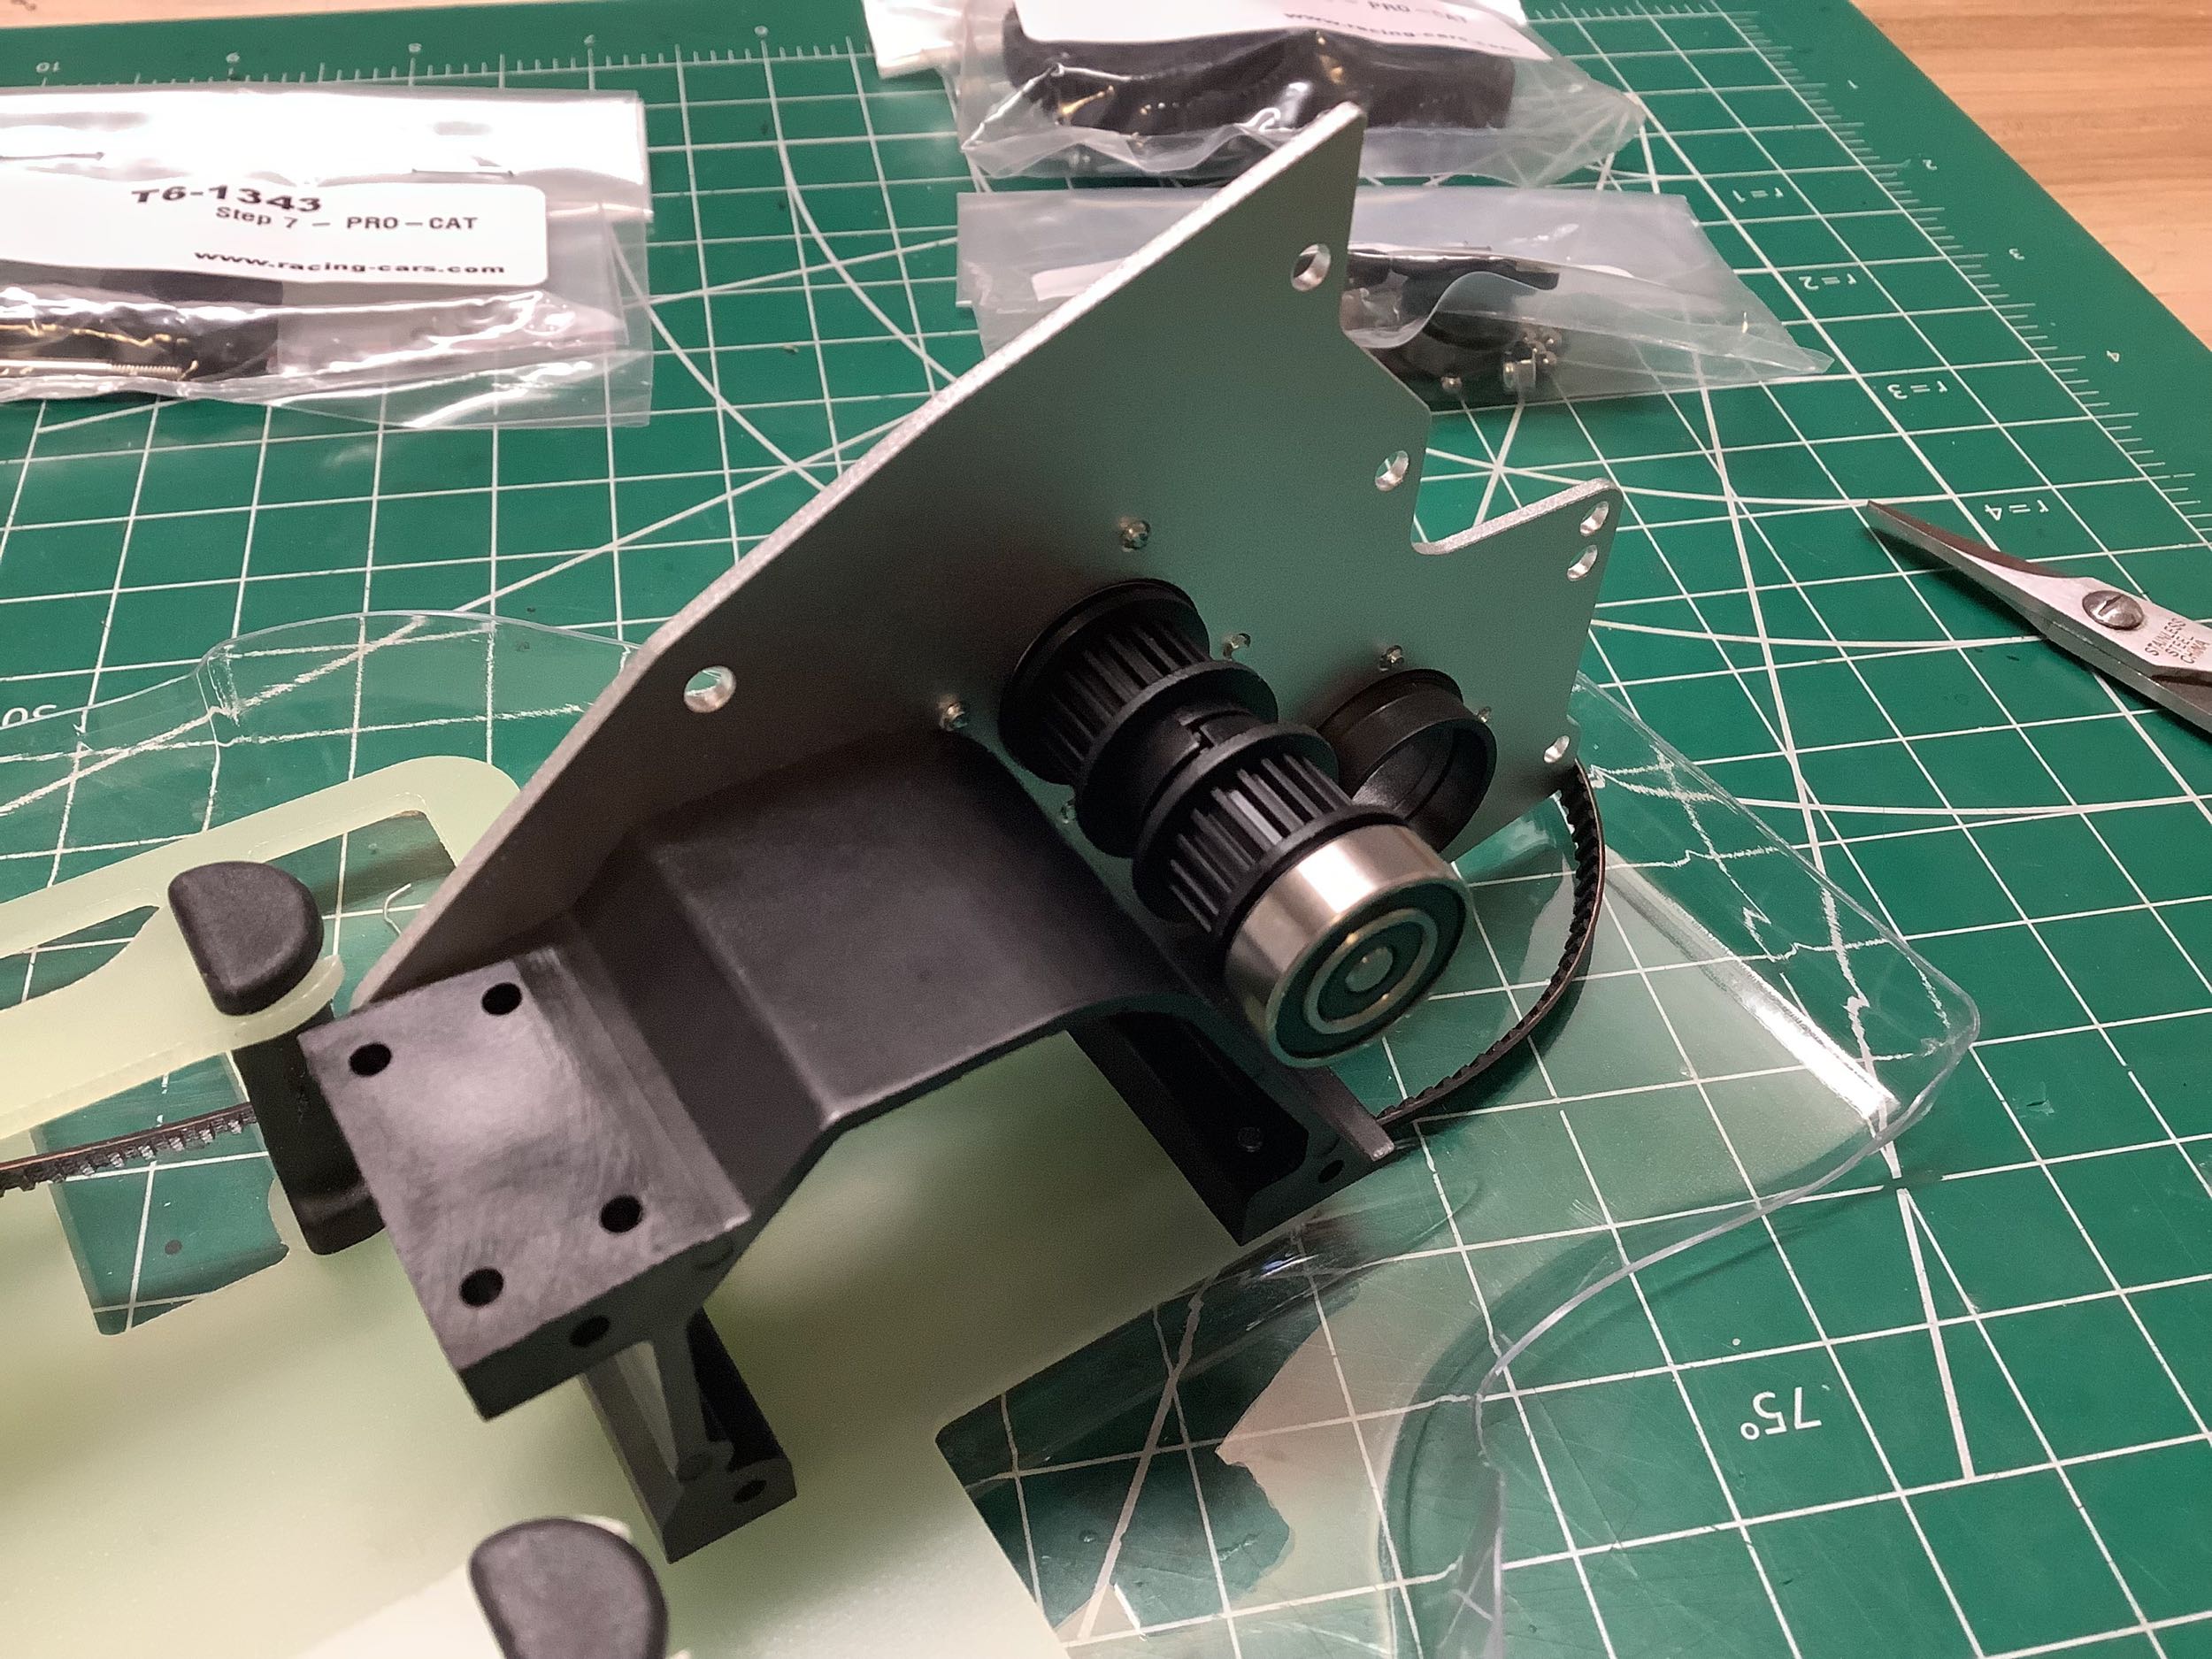
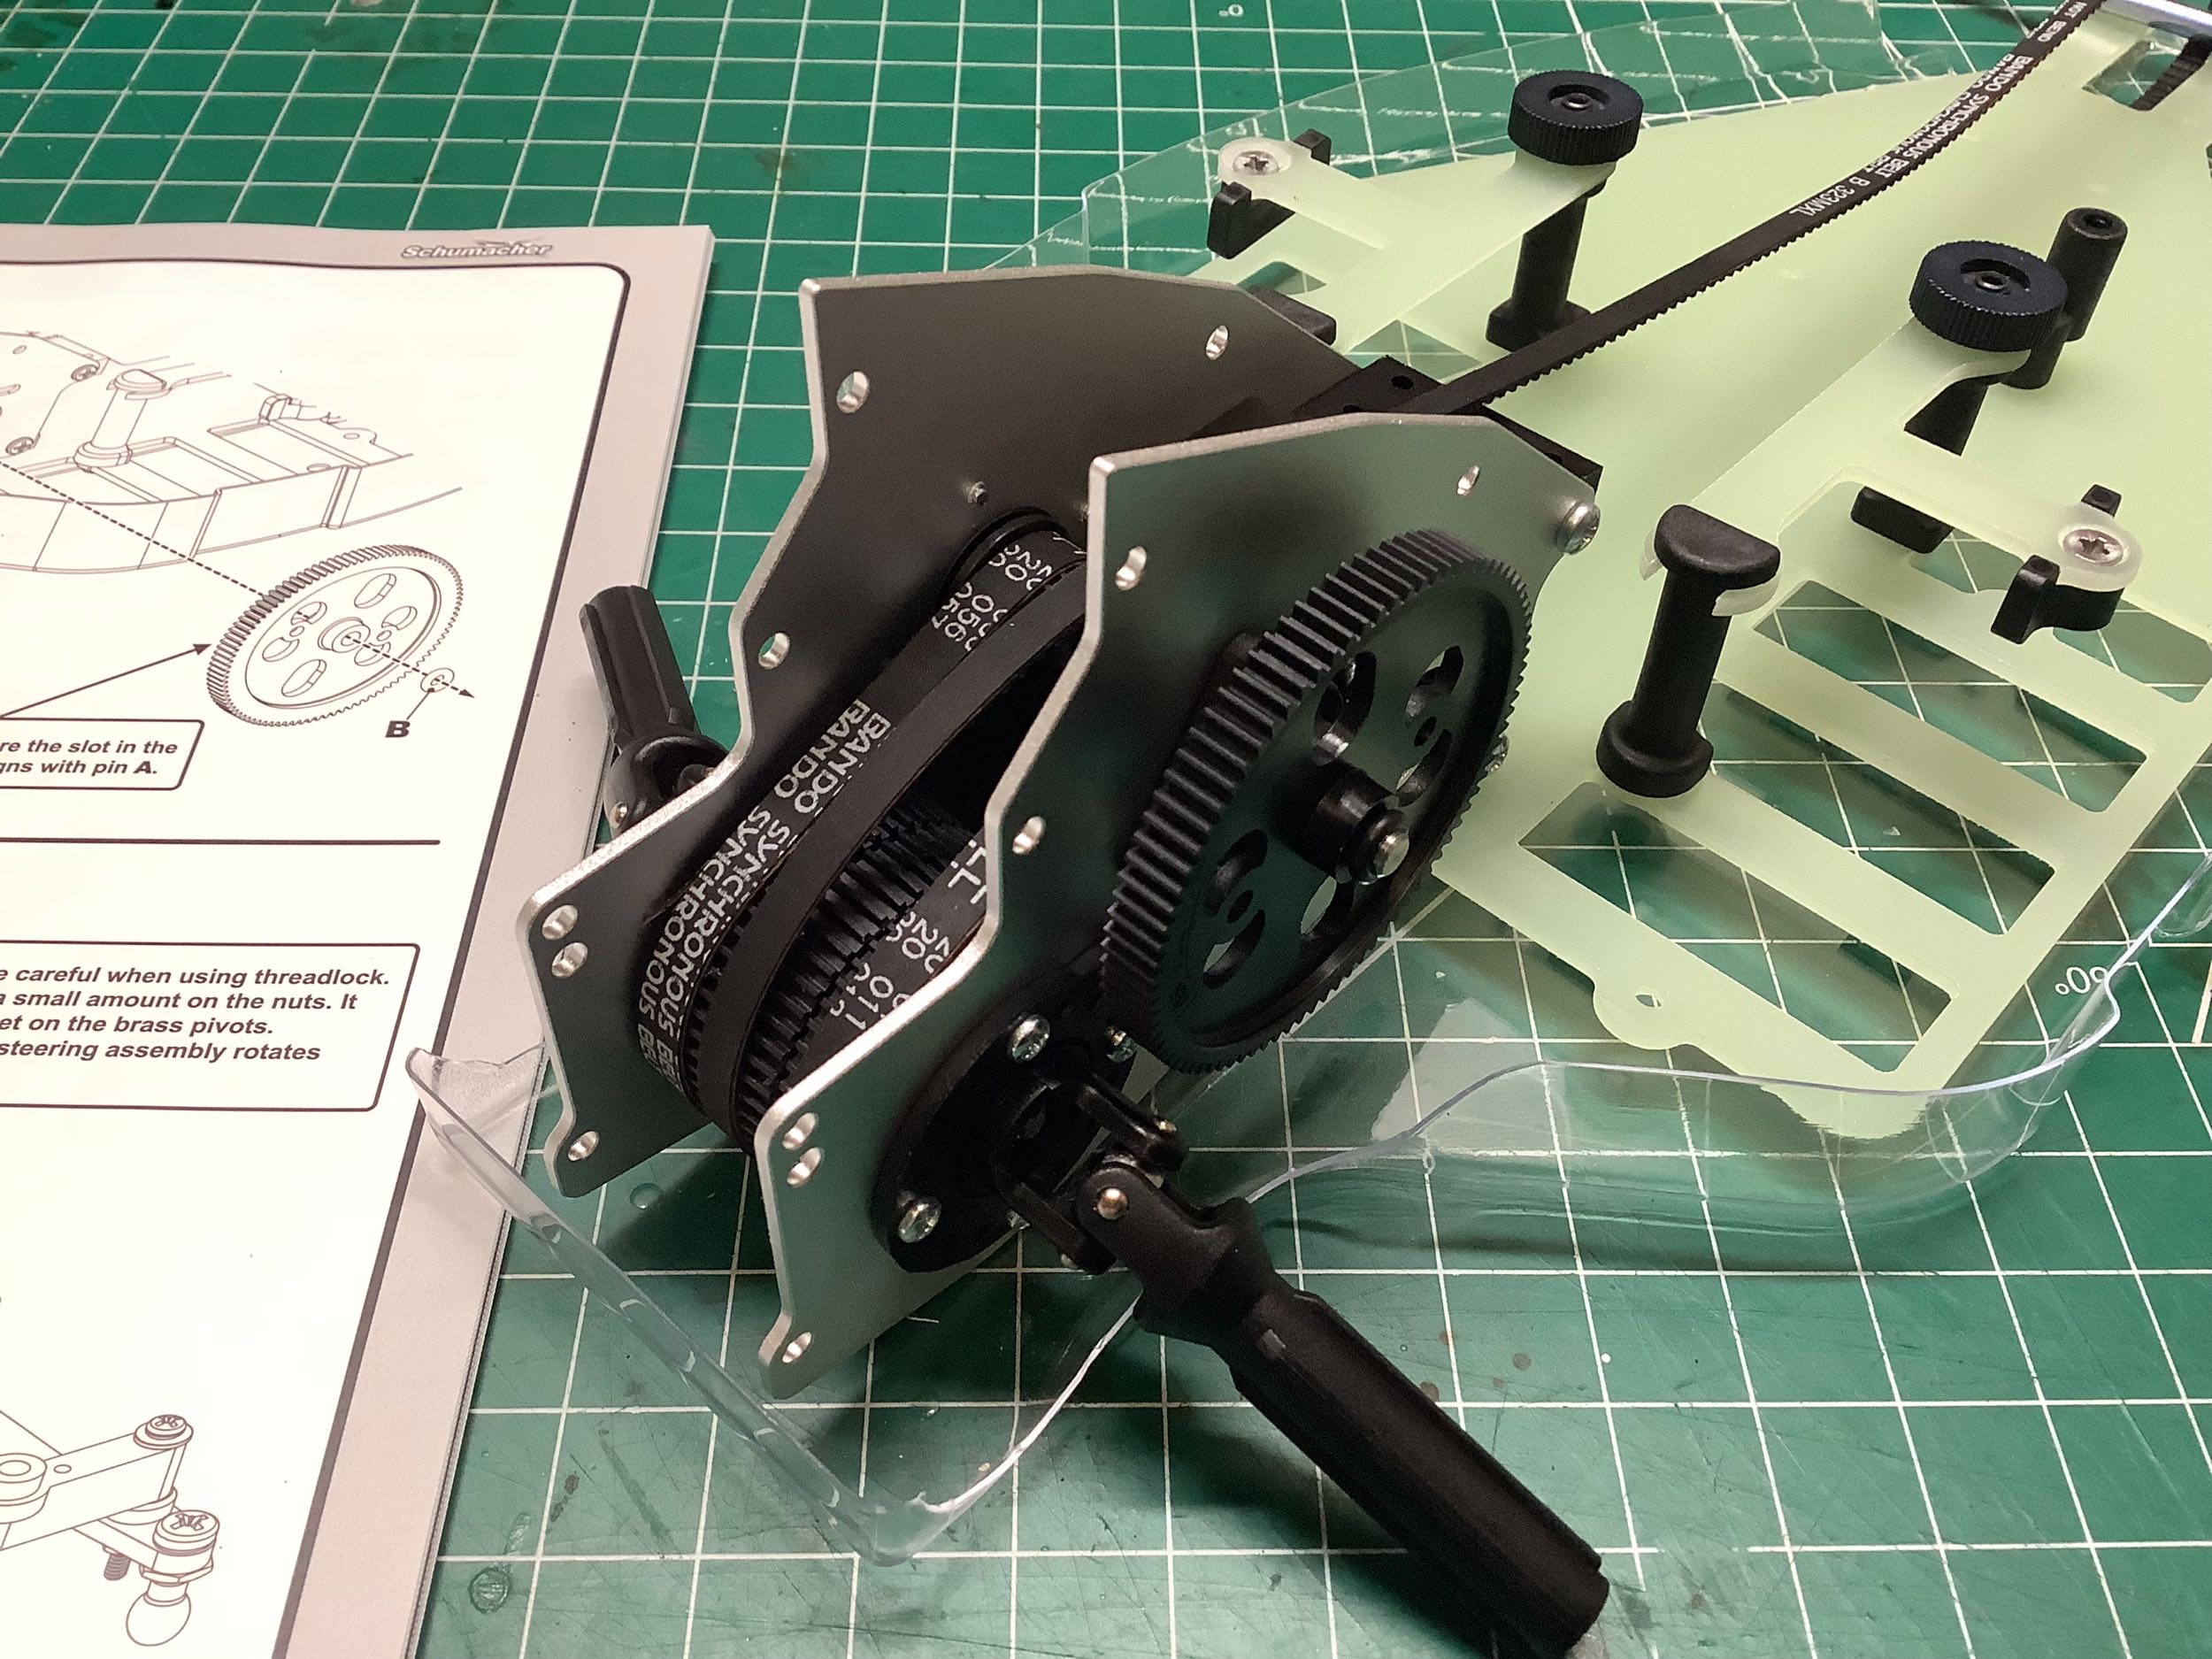
The rear gearbox appears identical to the XLS at this point, but there's
a difference hiding within that lay shaft. On the XLS there was a
ball differential between those small pulleys allowing them to spin at
different rates. On the Pro-CAT they are both locked to the
axle. The same goes for the lower pulley assembly shown on the
right (called the Integrator on the XLS). All of these pulleys are
now locked together and the ball differential for the rear wheels acts
directly on the outdrives like a more traditional buggy. This
makes it much easier to build, but also somewhat less wondrous. It
took me a long time to figure out the transmission on the XLS.
Another change is the spur gear. On the XLS there was another ball
diff built into the spur gear making it a bit wobbly, but here it is
just locked to the shaft. The front ball differential is just like
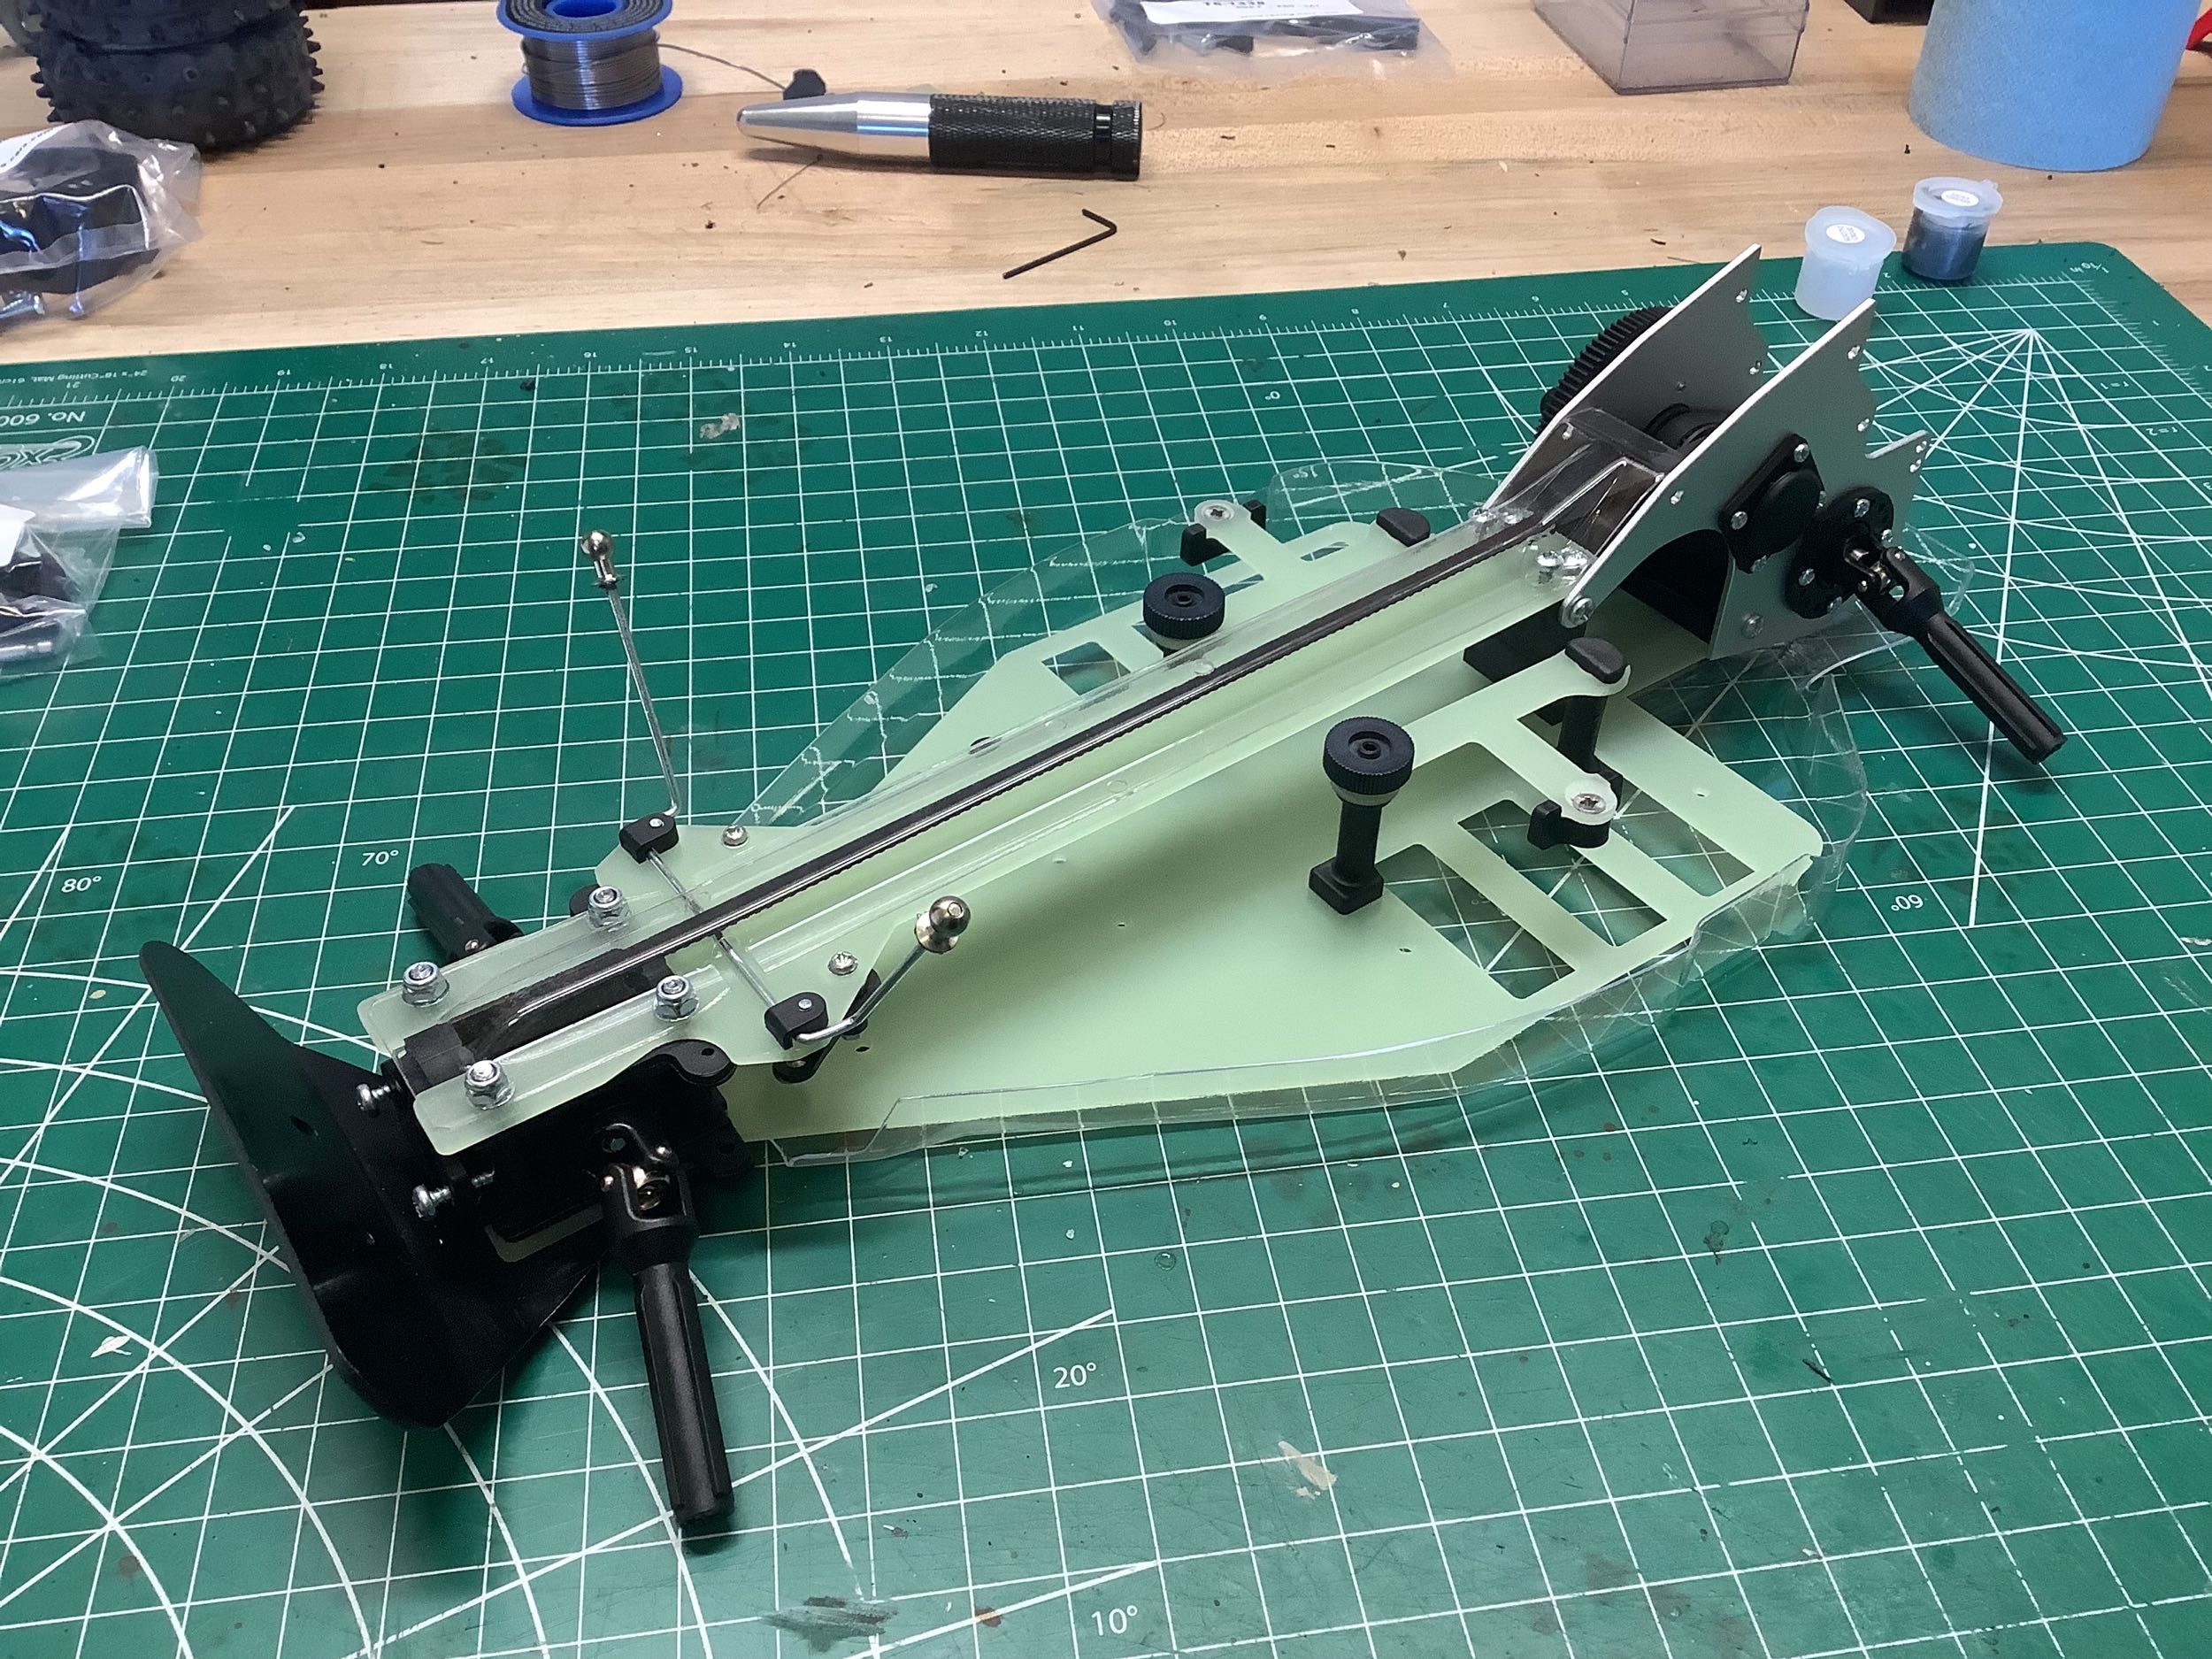
the XLS. Once both are complete, the main belt can be
installed. The drivetrain is overall much simpler than the XLS
with 2 fewer differentials. Still no slipper though. That's
an optional extra. Those universal joints still need to be
assembled by hand. No improvement there.
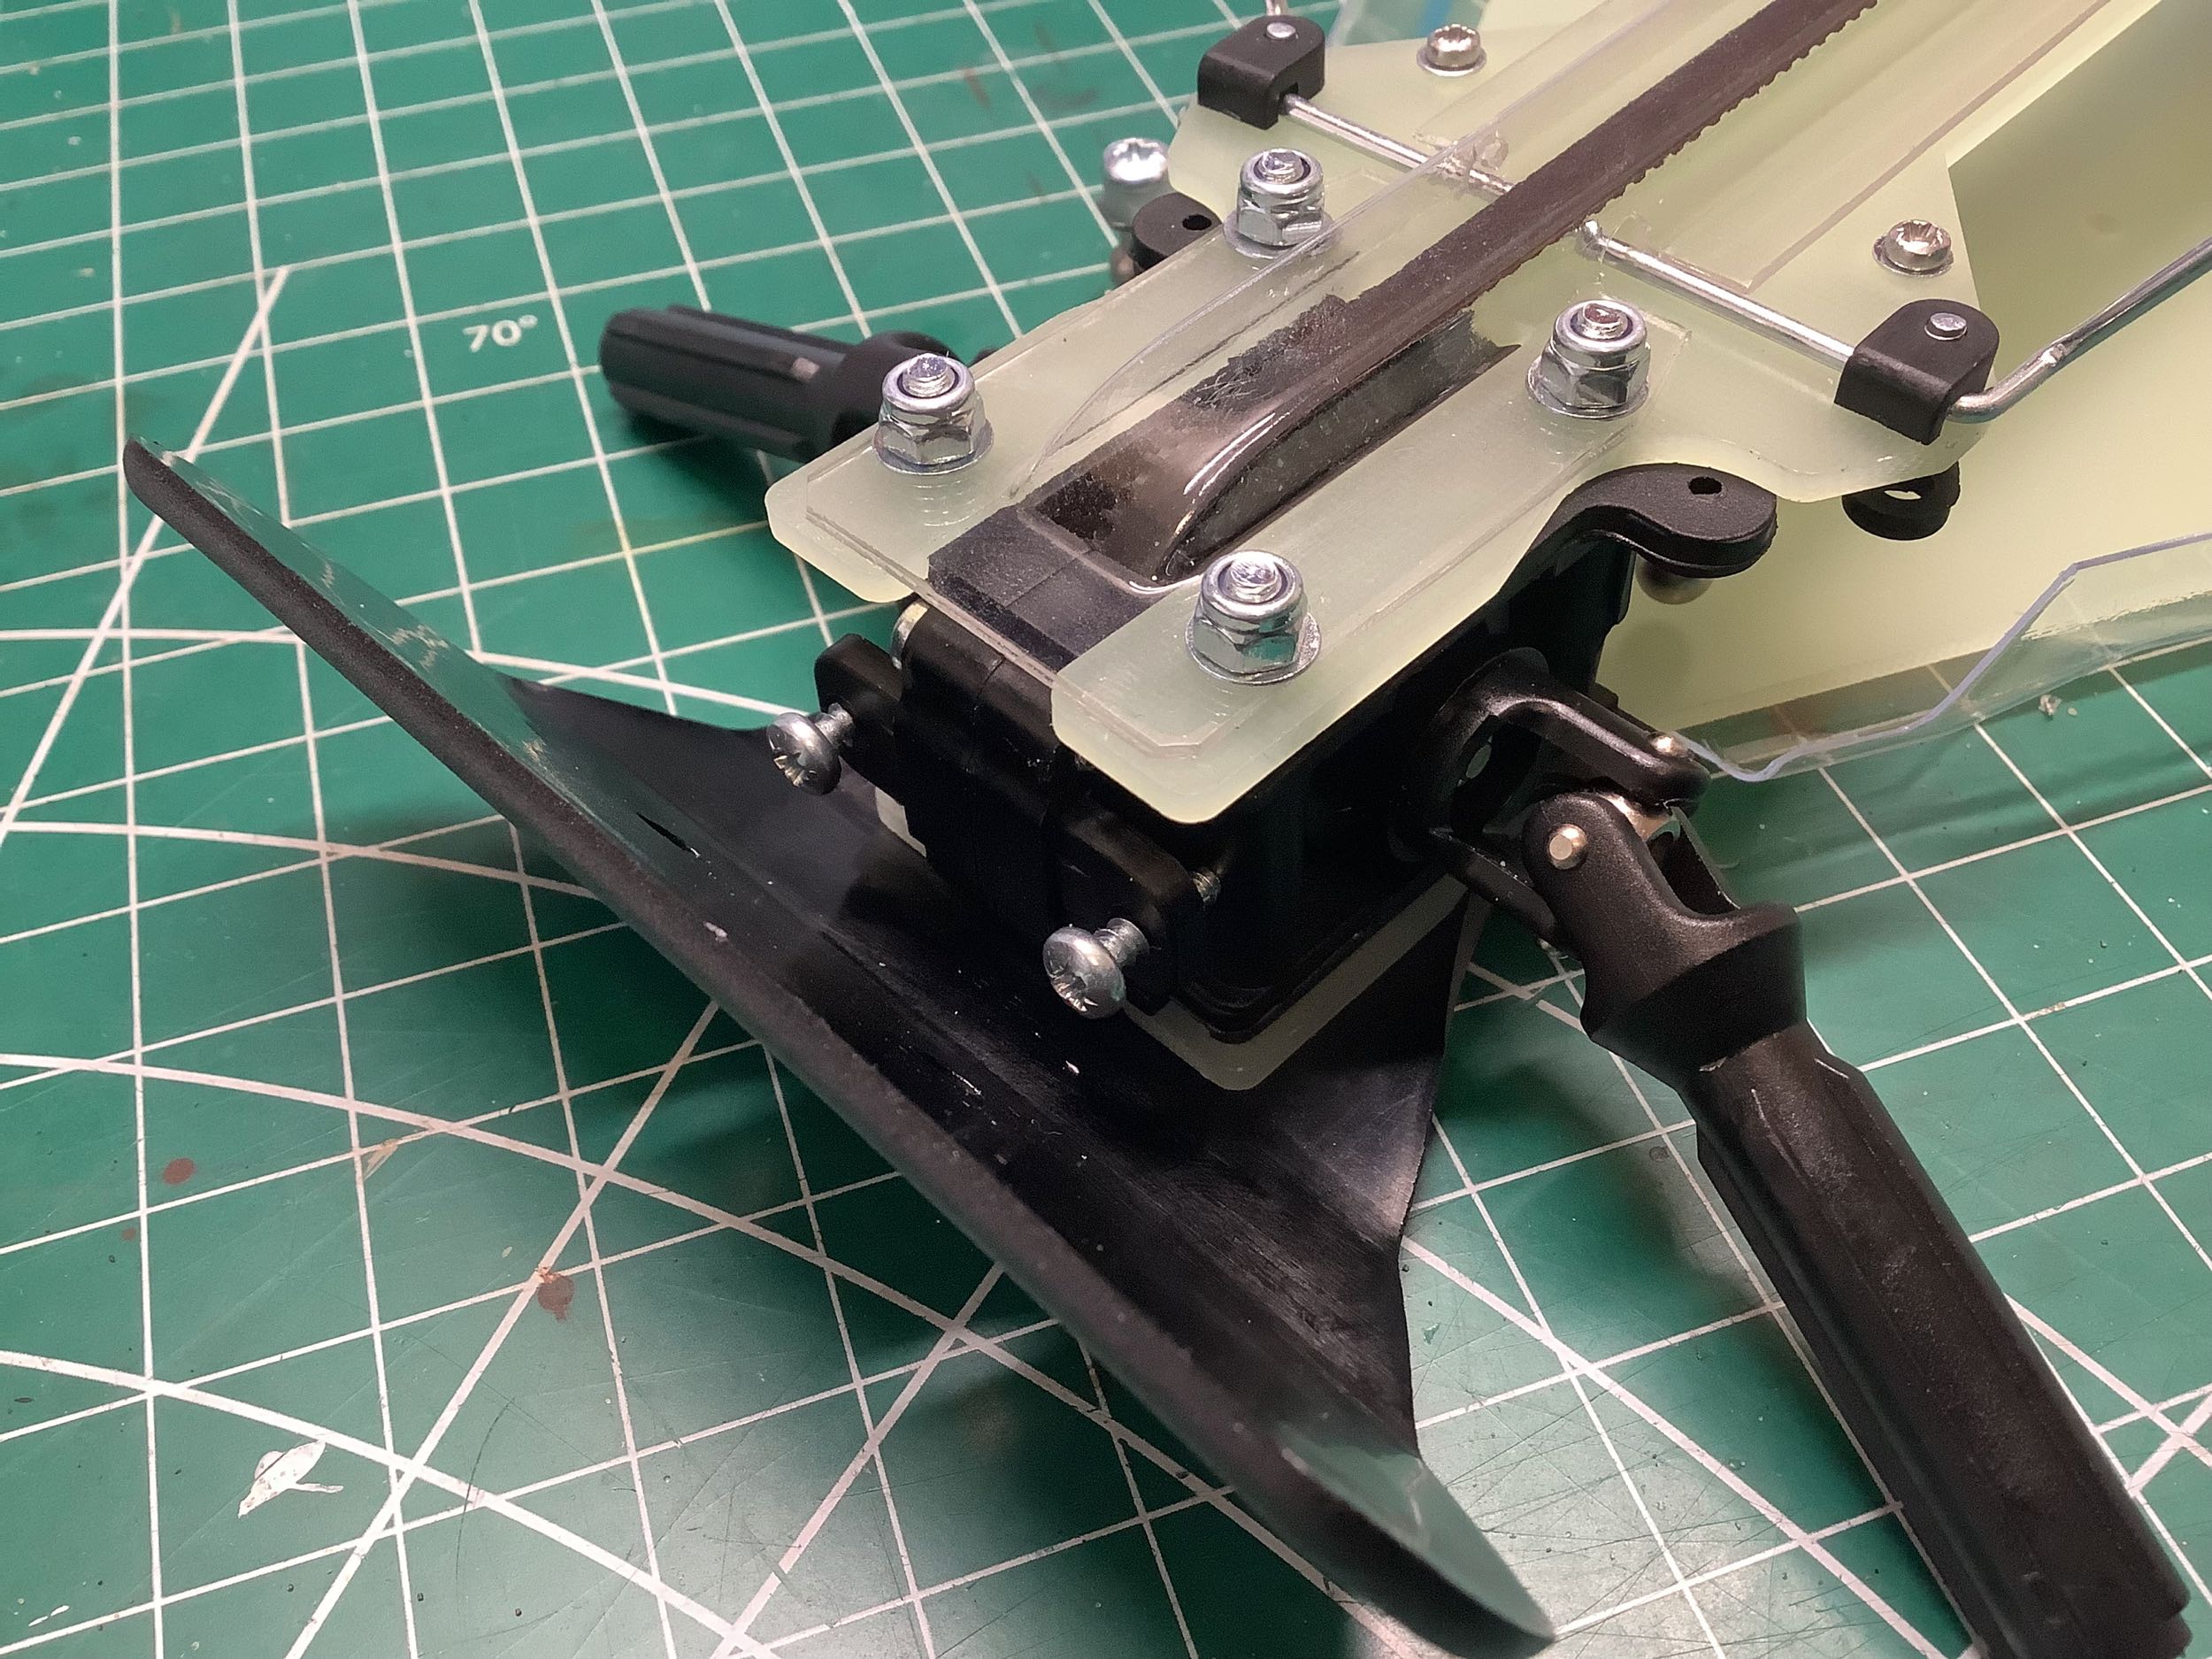
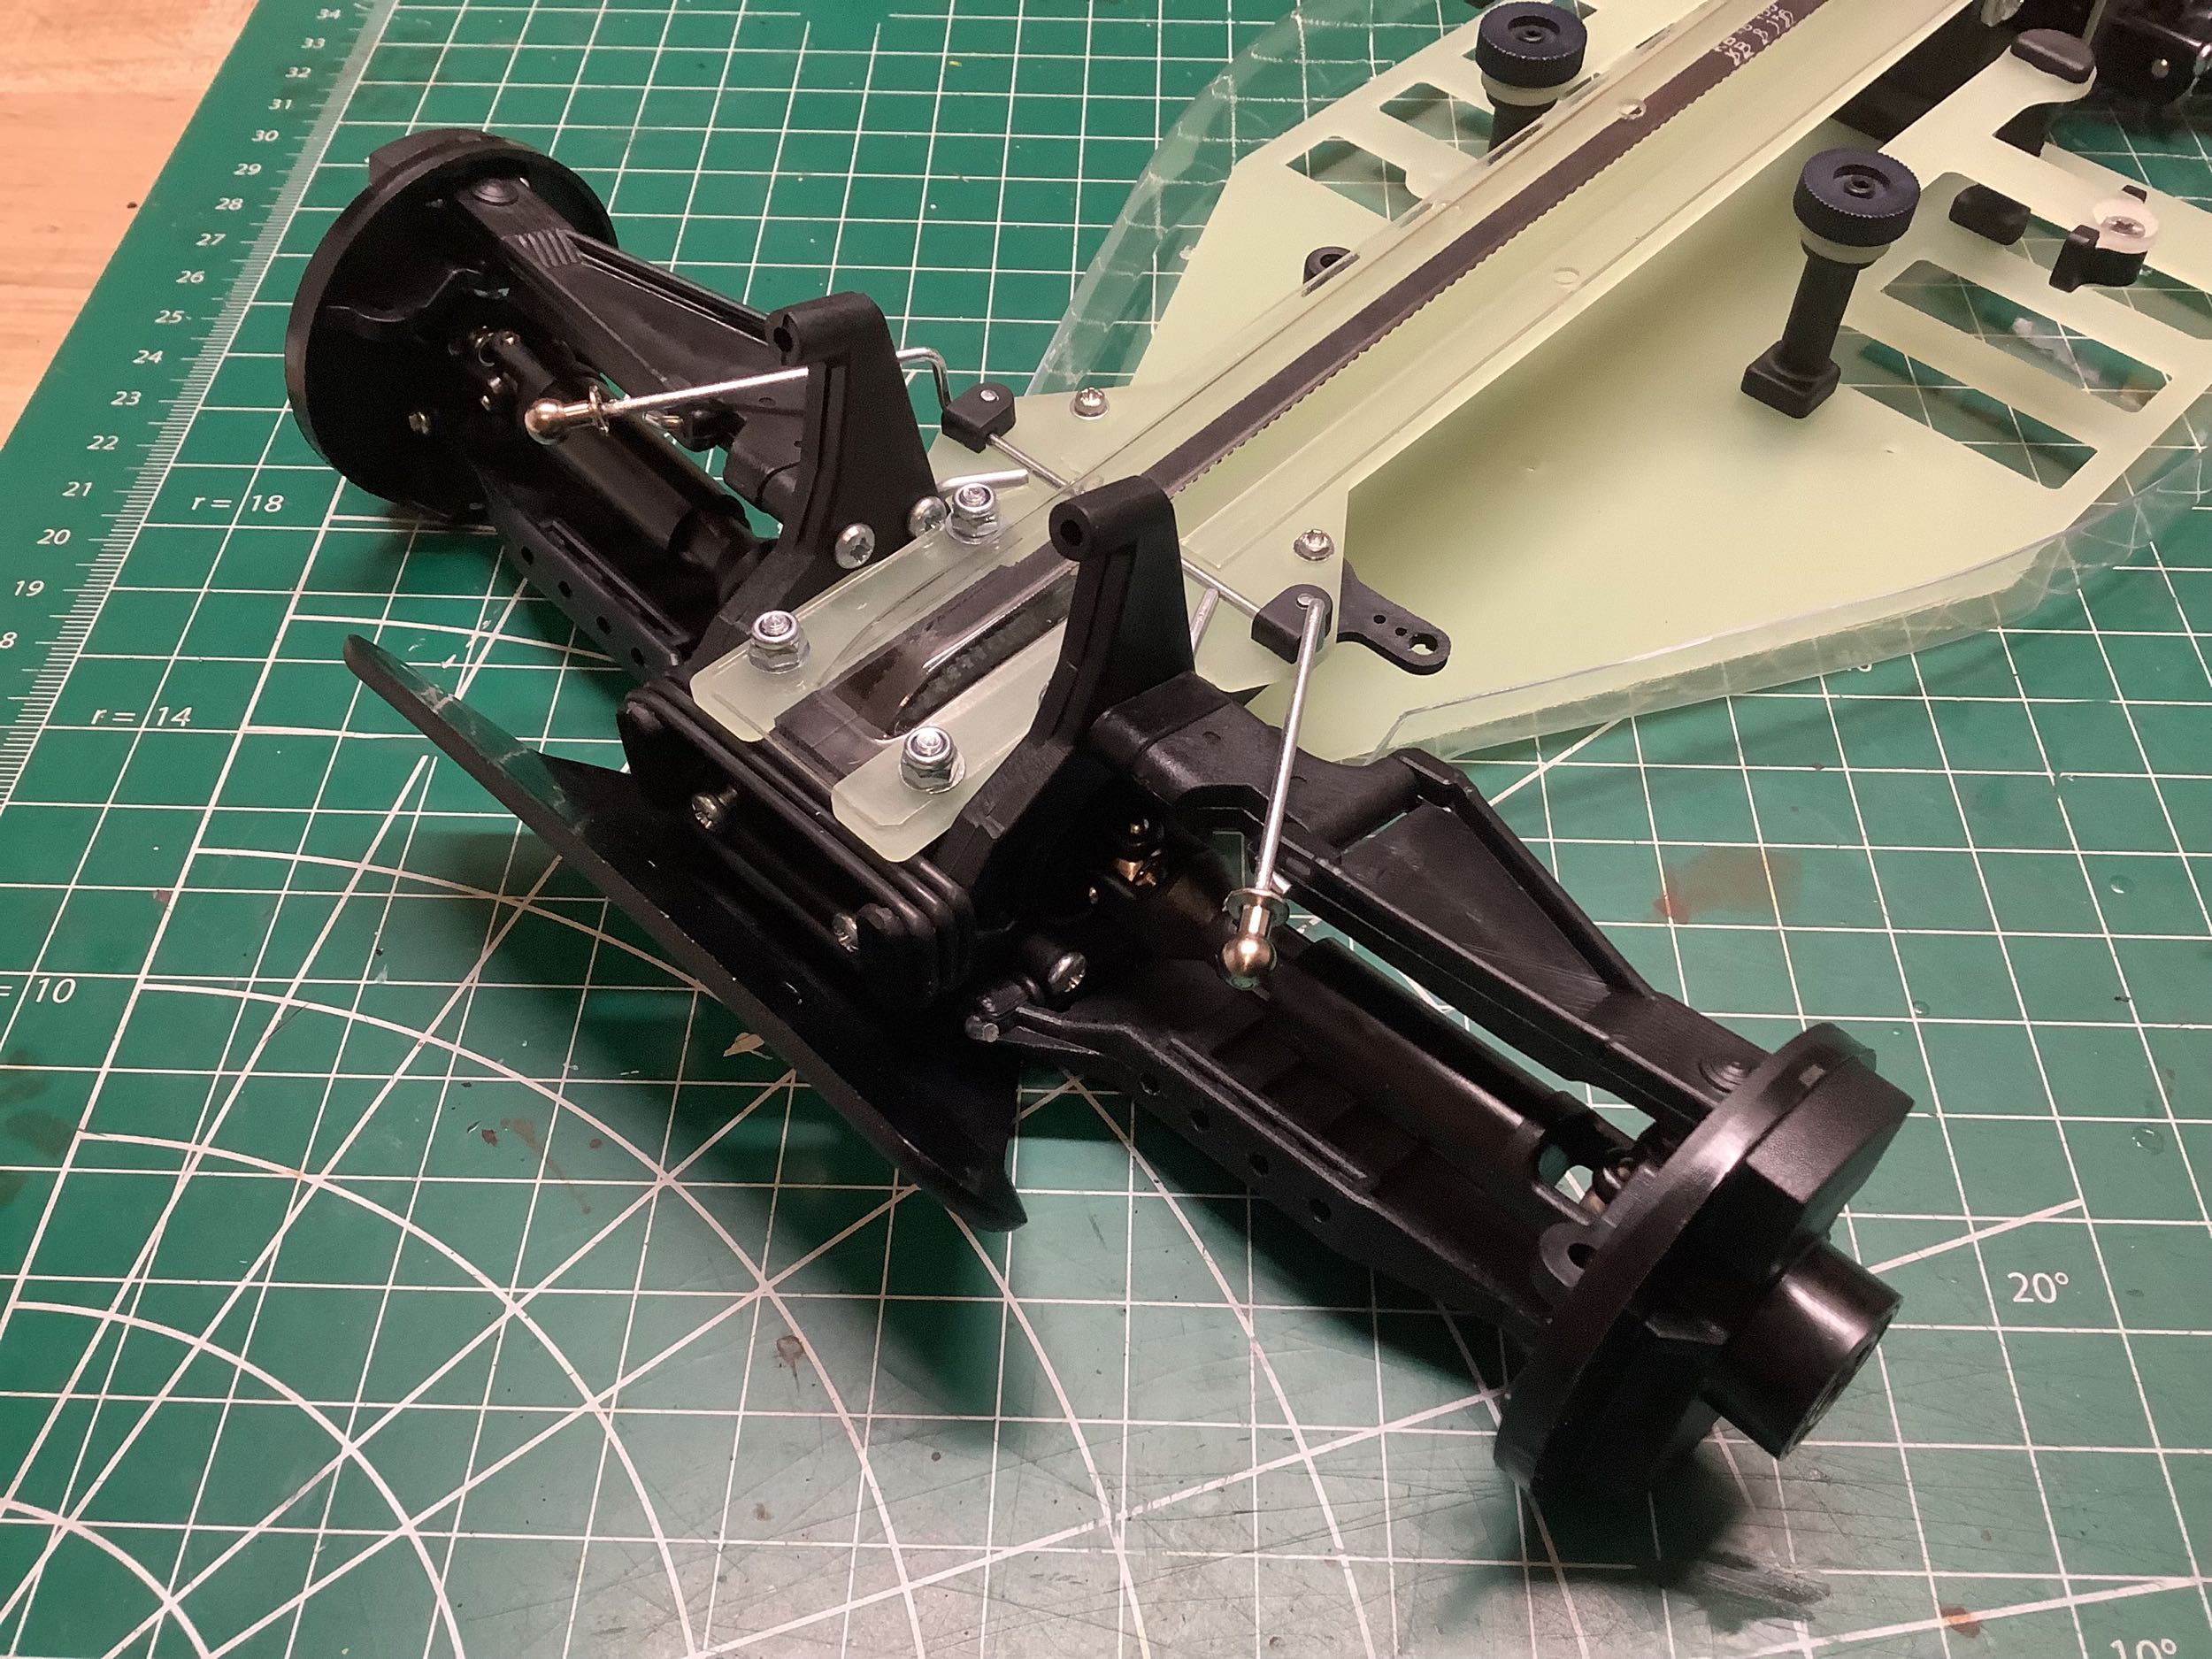
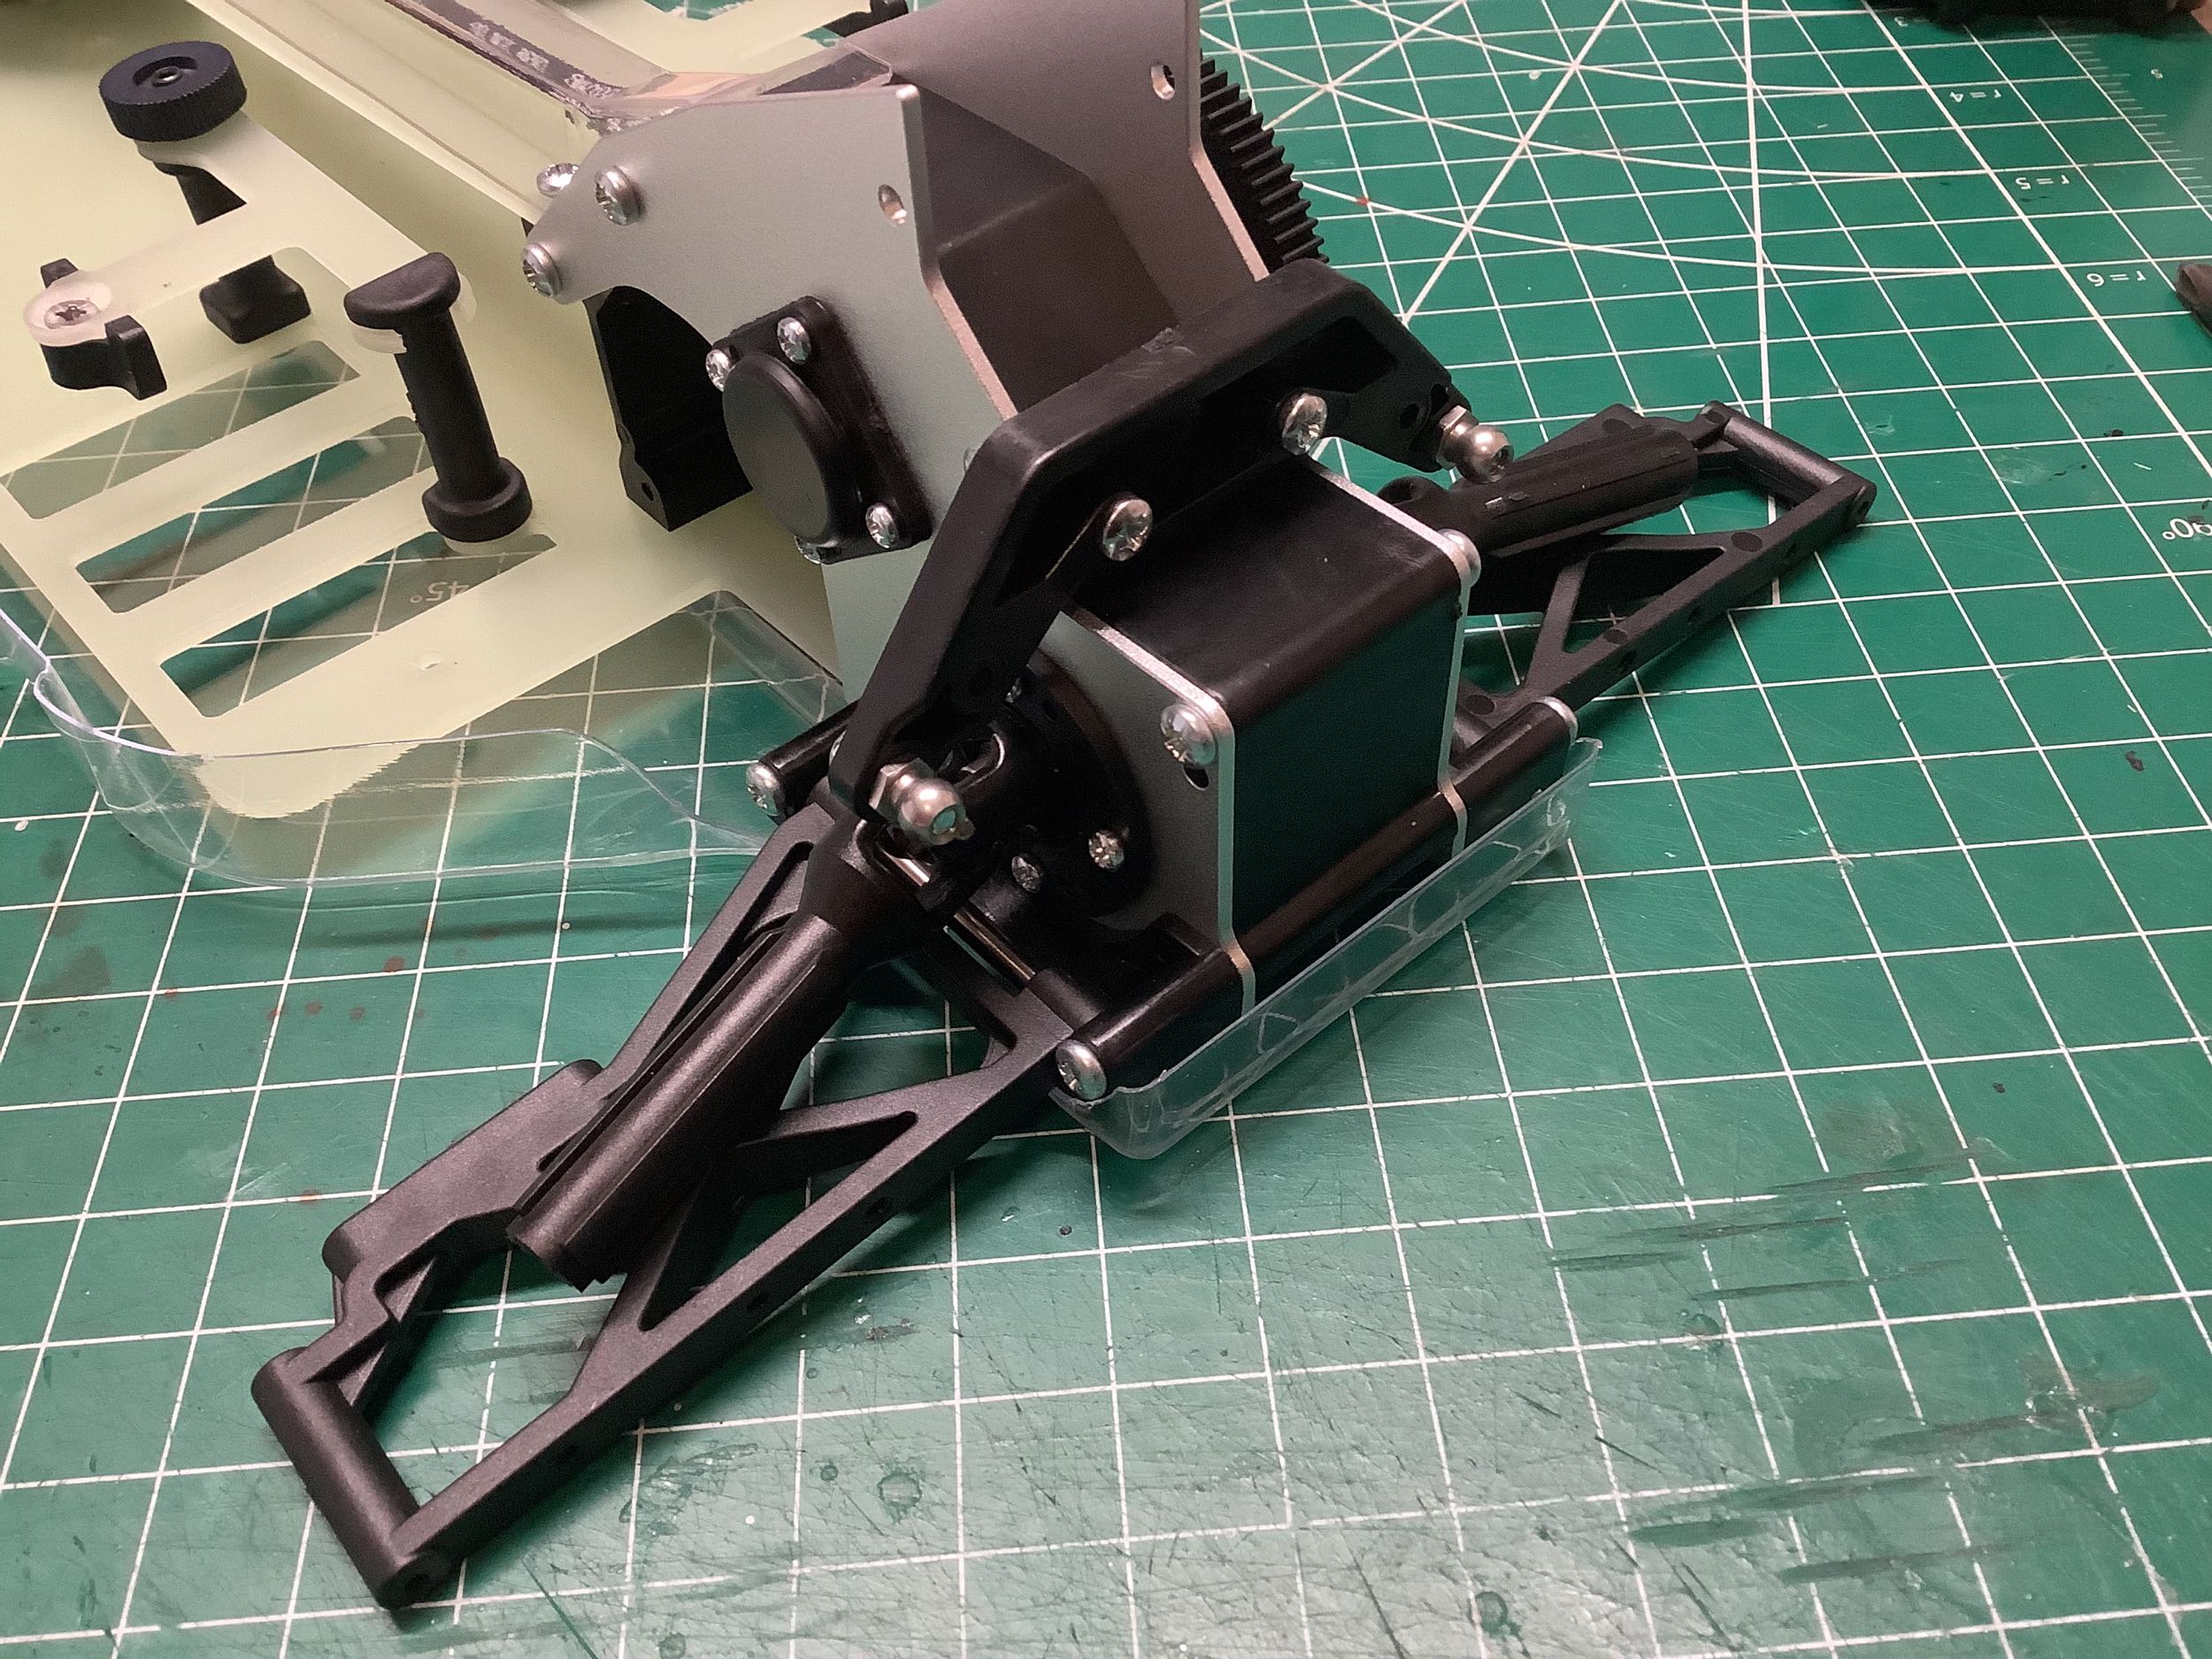
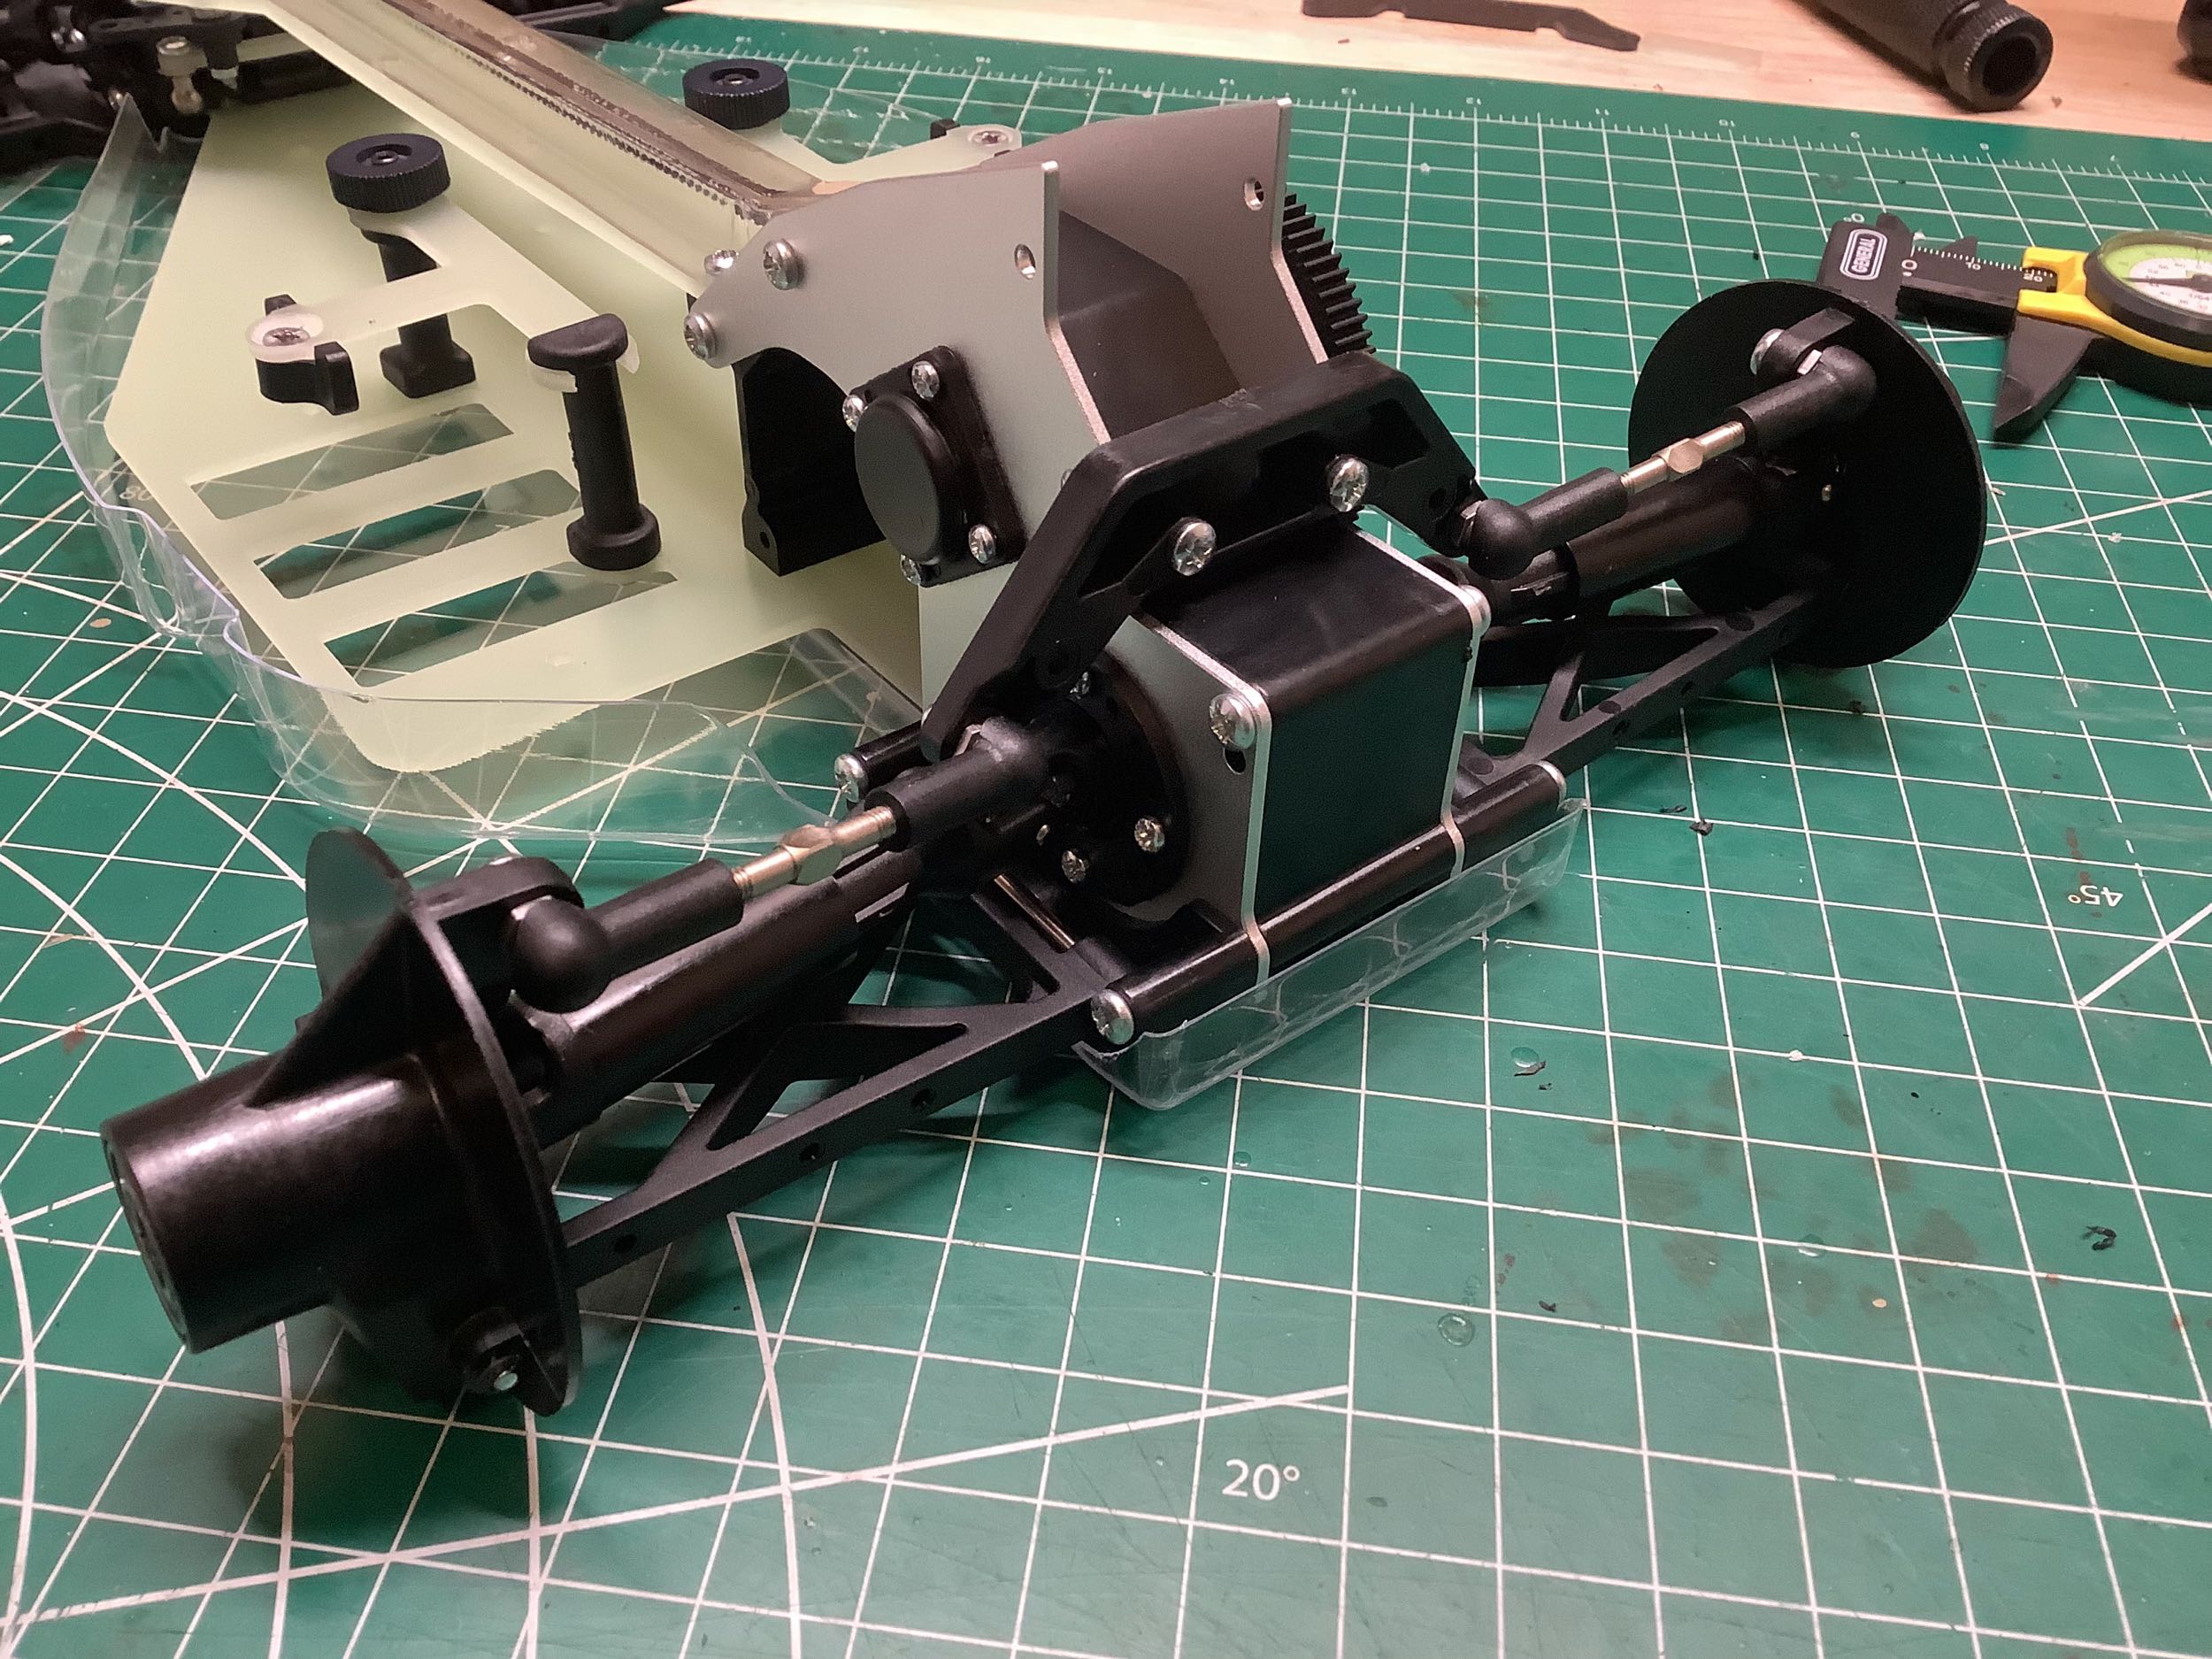
The front suspension looks identical to the XLS, but there is one
important difference. Those two longitudinal screws you see are
for tensioning the main belt. The rest of it is just like I
remember, including the soldering required for the sway bar and the
rubber band system to allow the front wheels to absorb impacts.
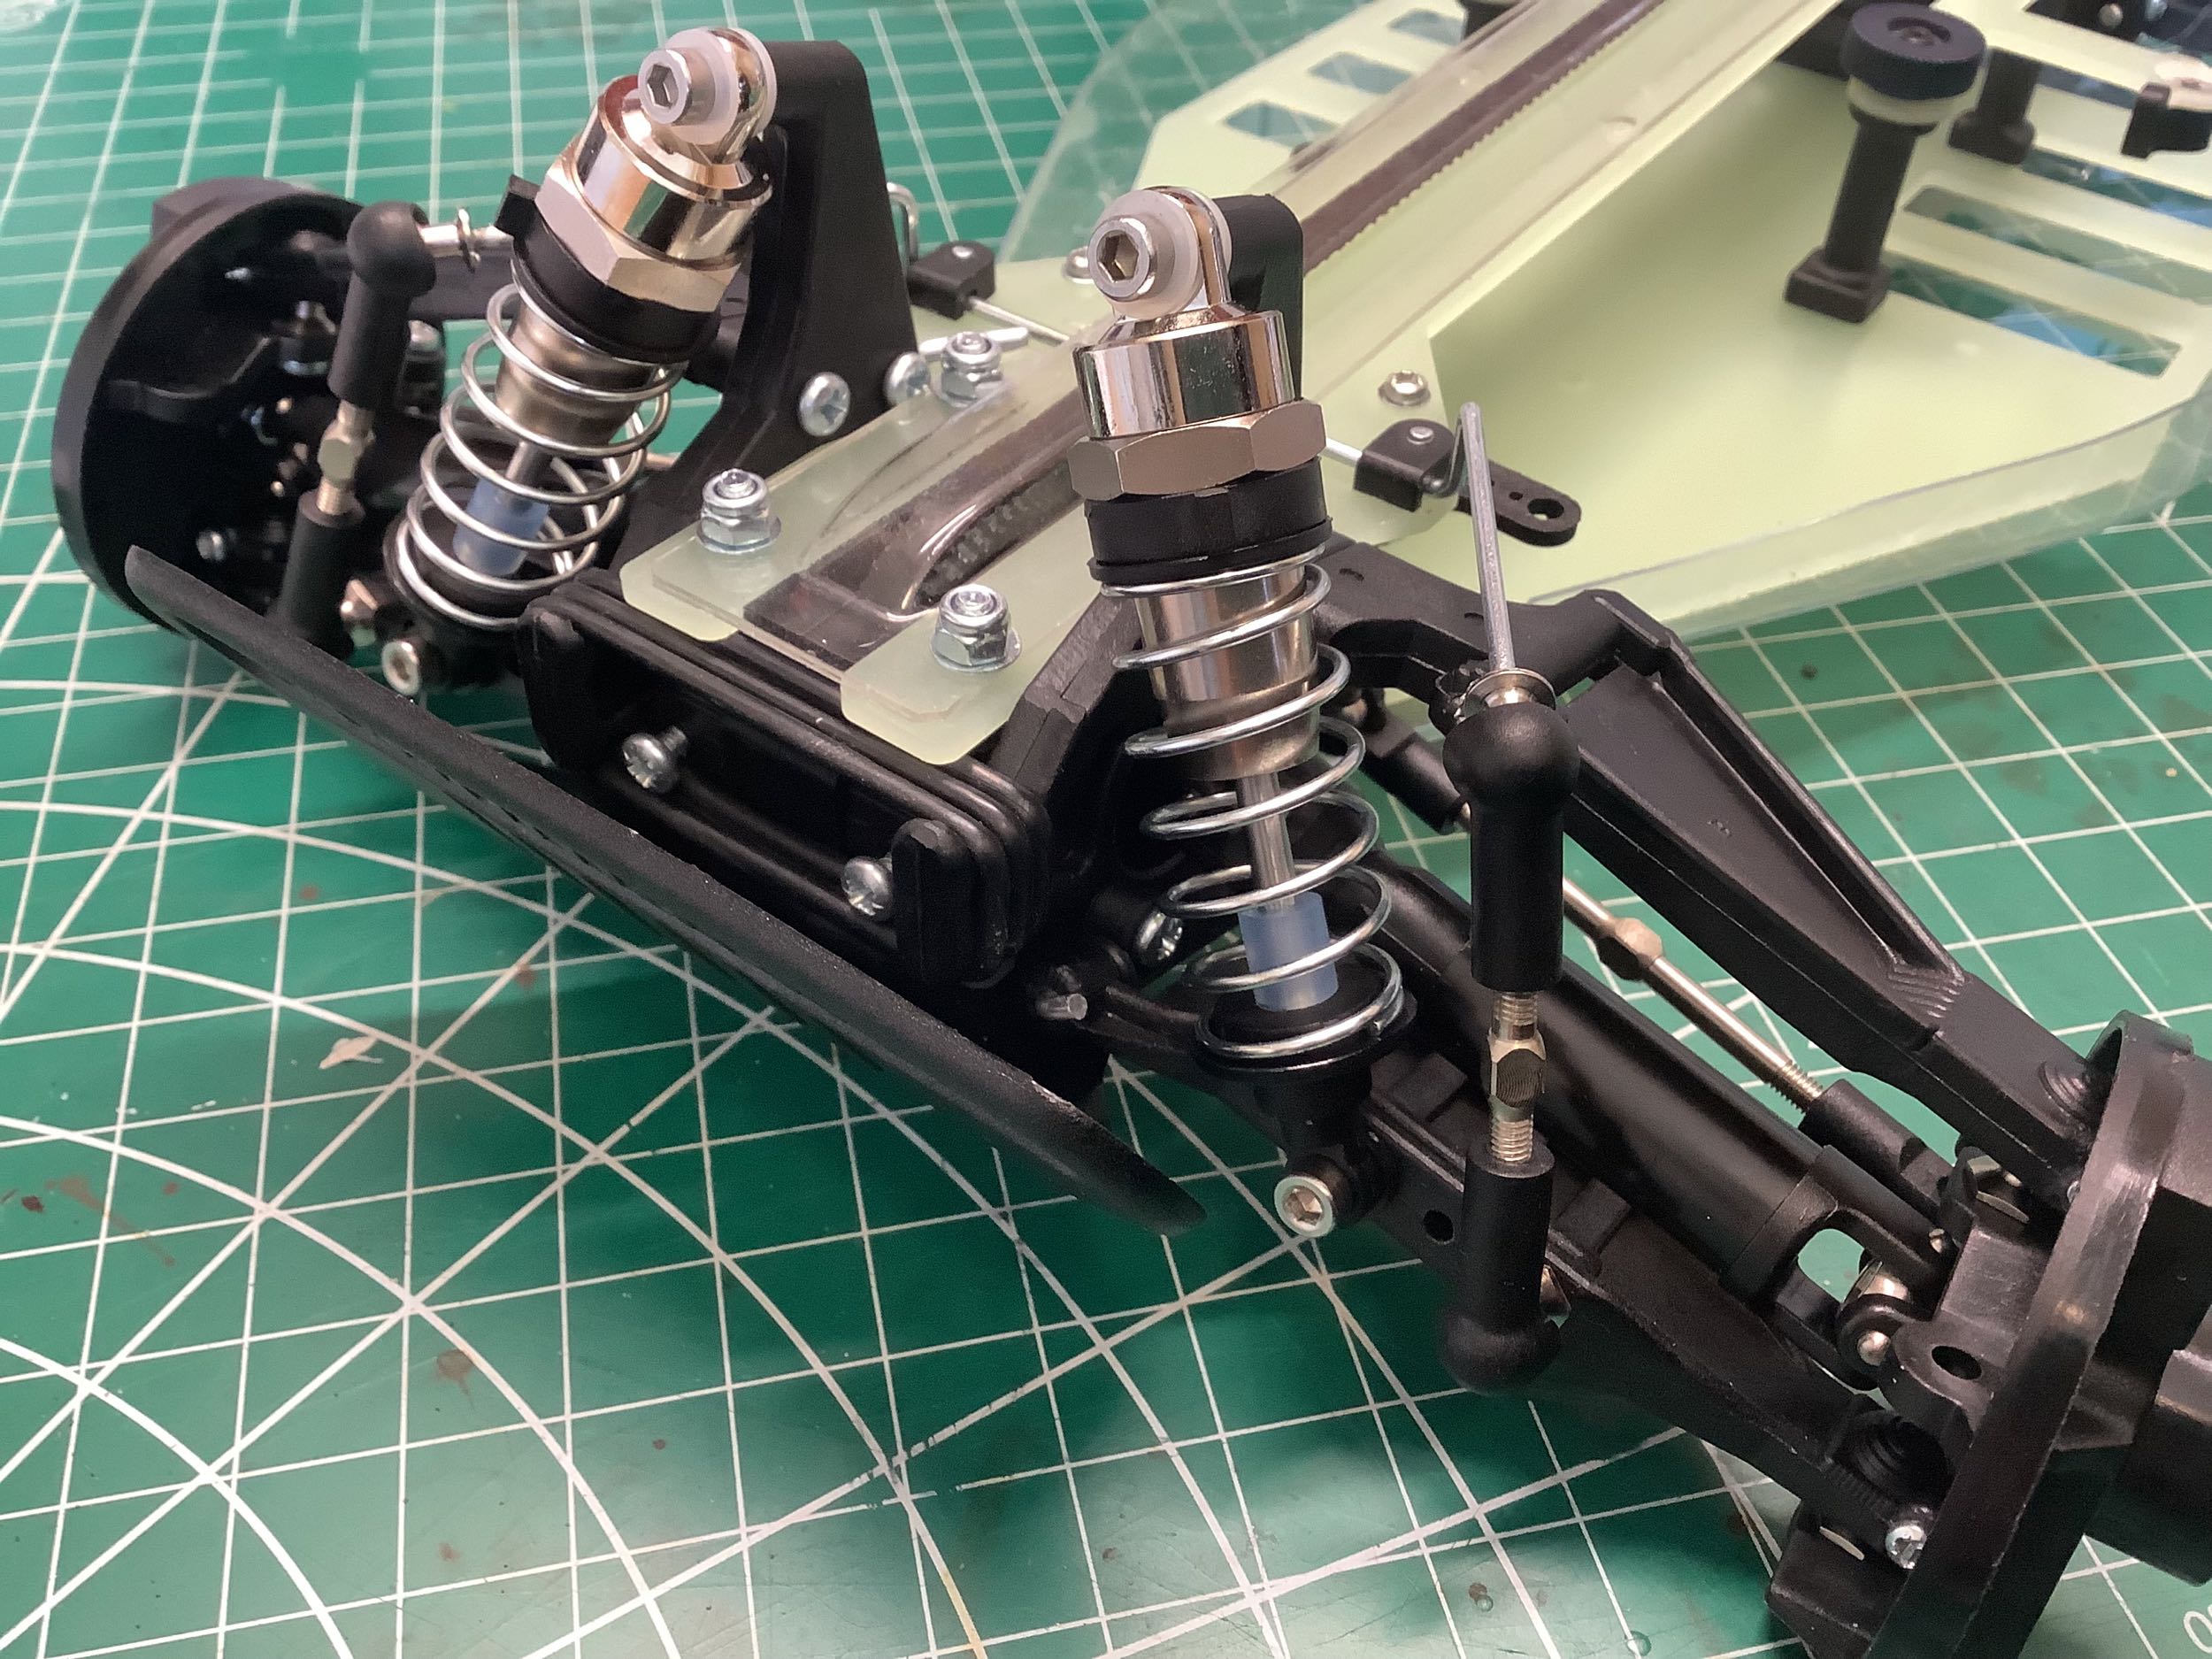
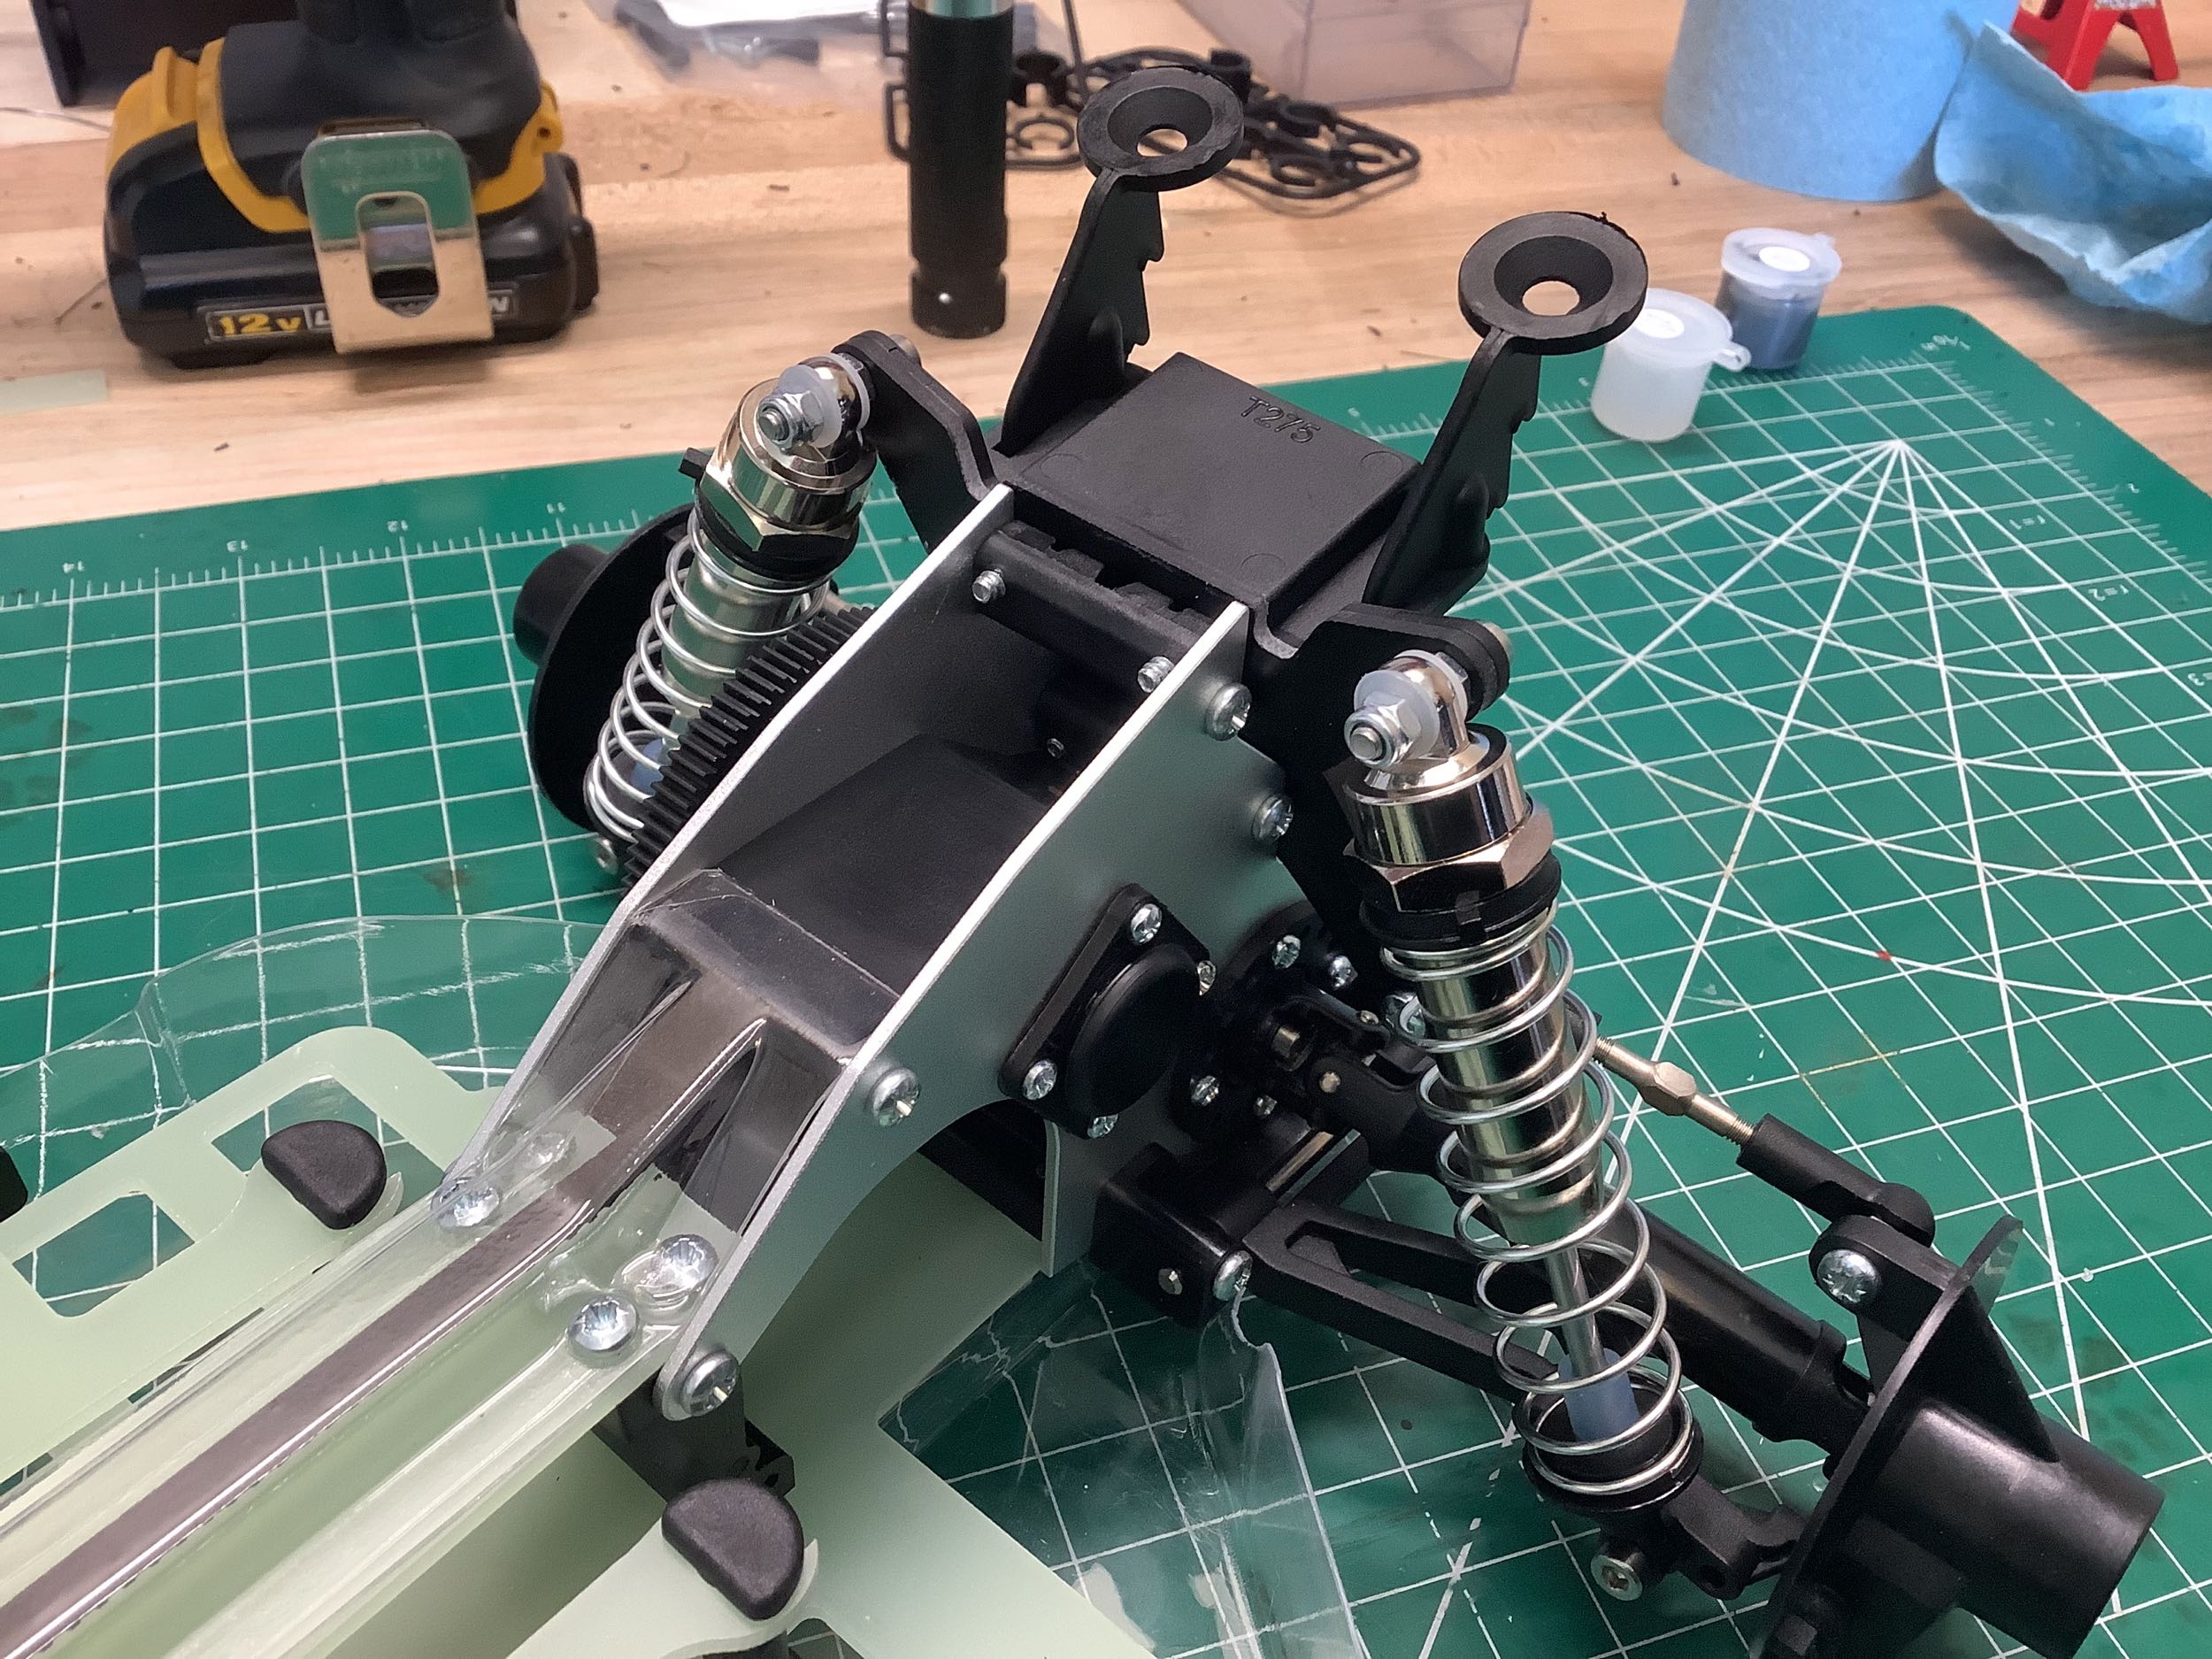
The lower rear arms have been updated to be more modern without a ball
joint at the outer end, and the formerly fixed upper arms have been
replaced with turnbuckles. These changes required a new outer hub,
but it's still a strange round affair that sits inside the wheel.
The wonderful aluminum shocks are the same as before. They are
still a trick to assemble, but I now have some Knipex snap ring pliers
which made the whole thing much less stressful. You can also see a
much more significant wing mount in the rear. This may seem like a
good thing, but the design is atrocious. Installing the wing
involves looping a rubber band through buttons on the wing and then
through those holes on the wing mount. This results in an impact
resistant design, but the pins holding the rubber bands could not be
installed without modifying the parts. There was no clearance to
install them. It was very frustrating. I would call it the
worst design I've seen in an RC ever, but then I got to the servo saver.
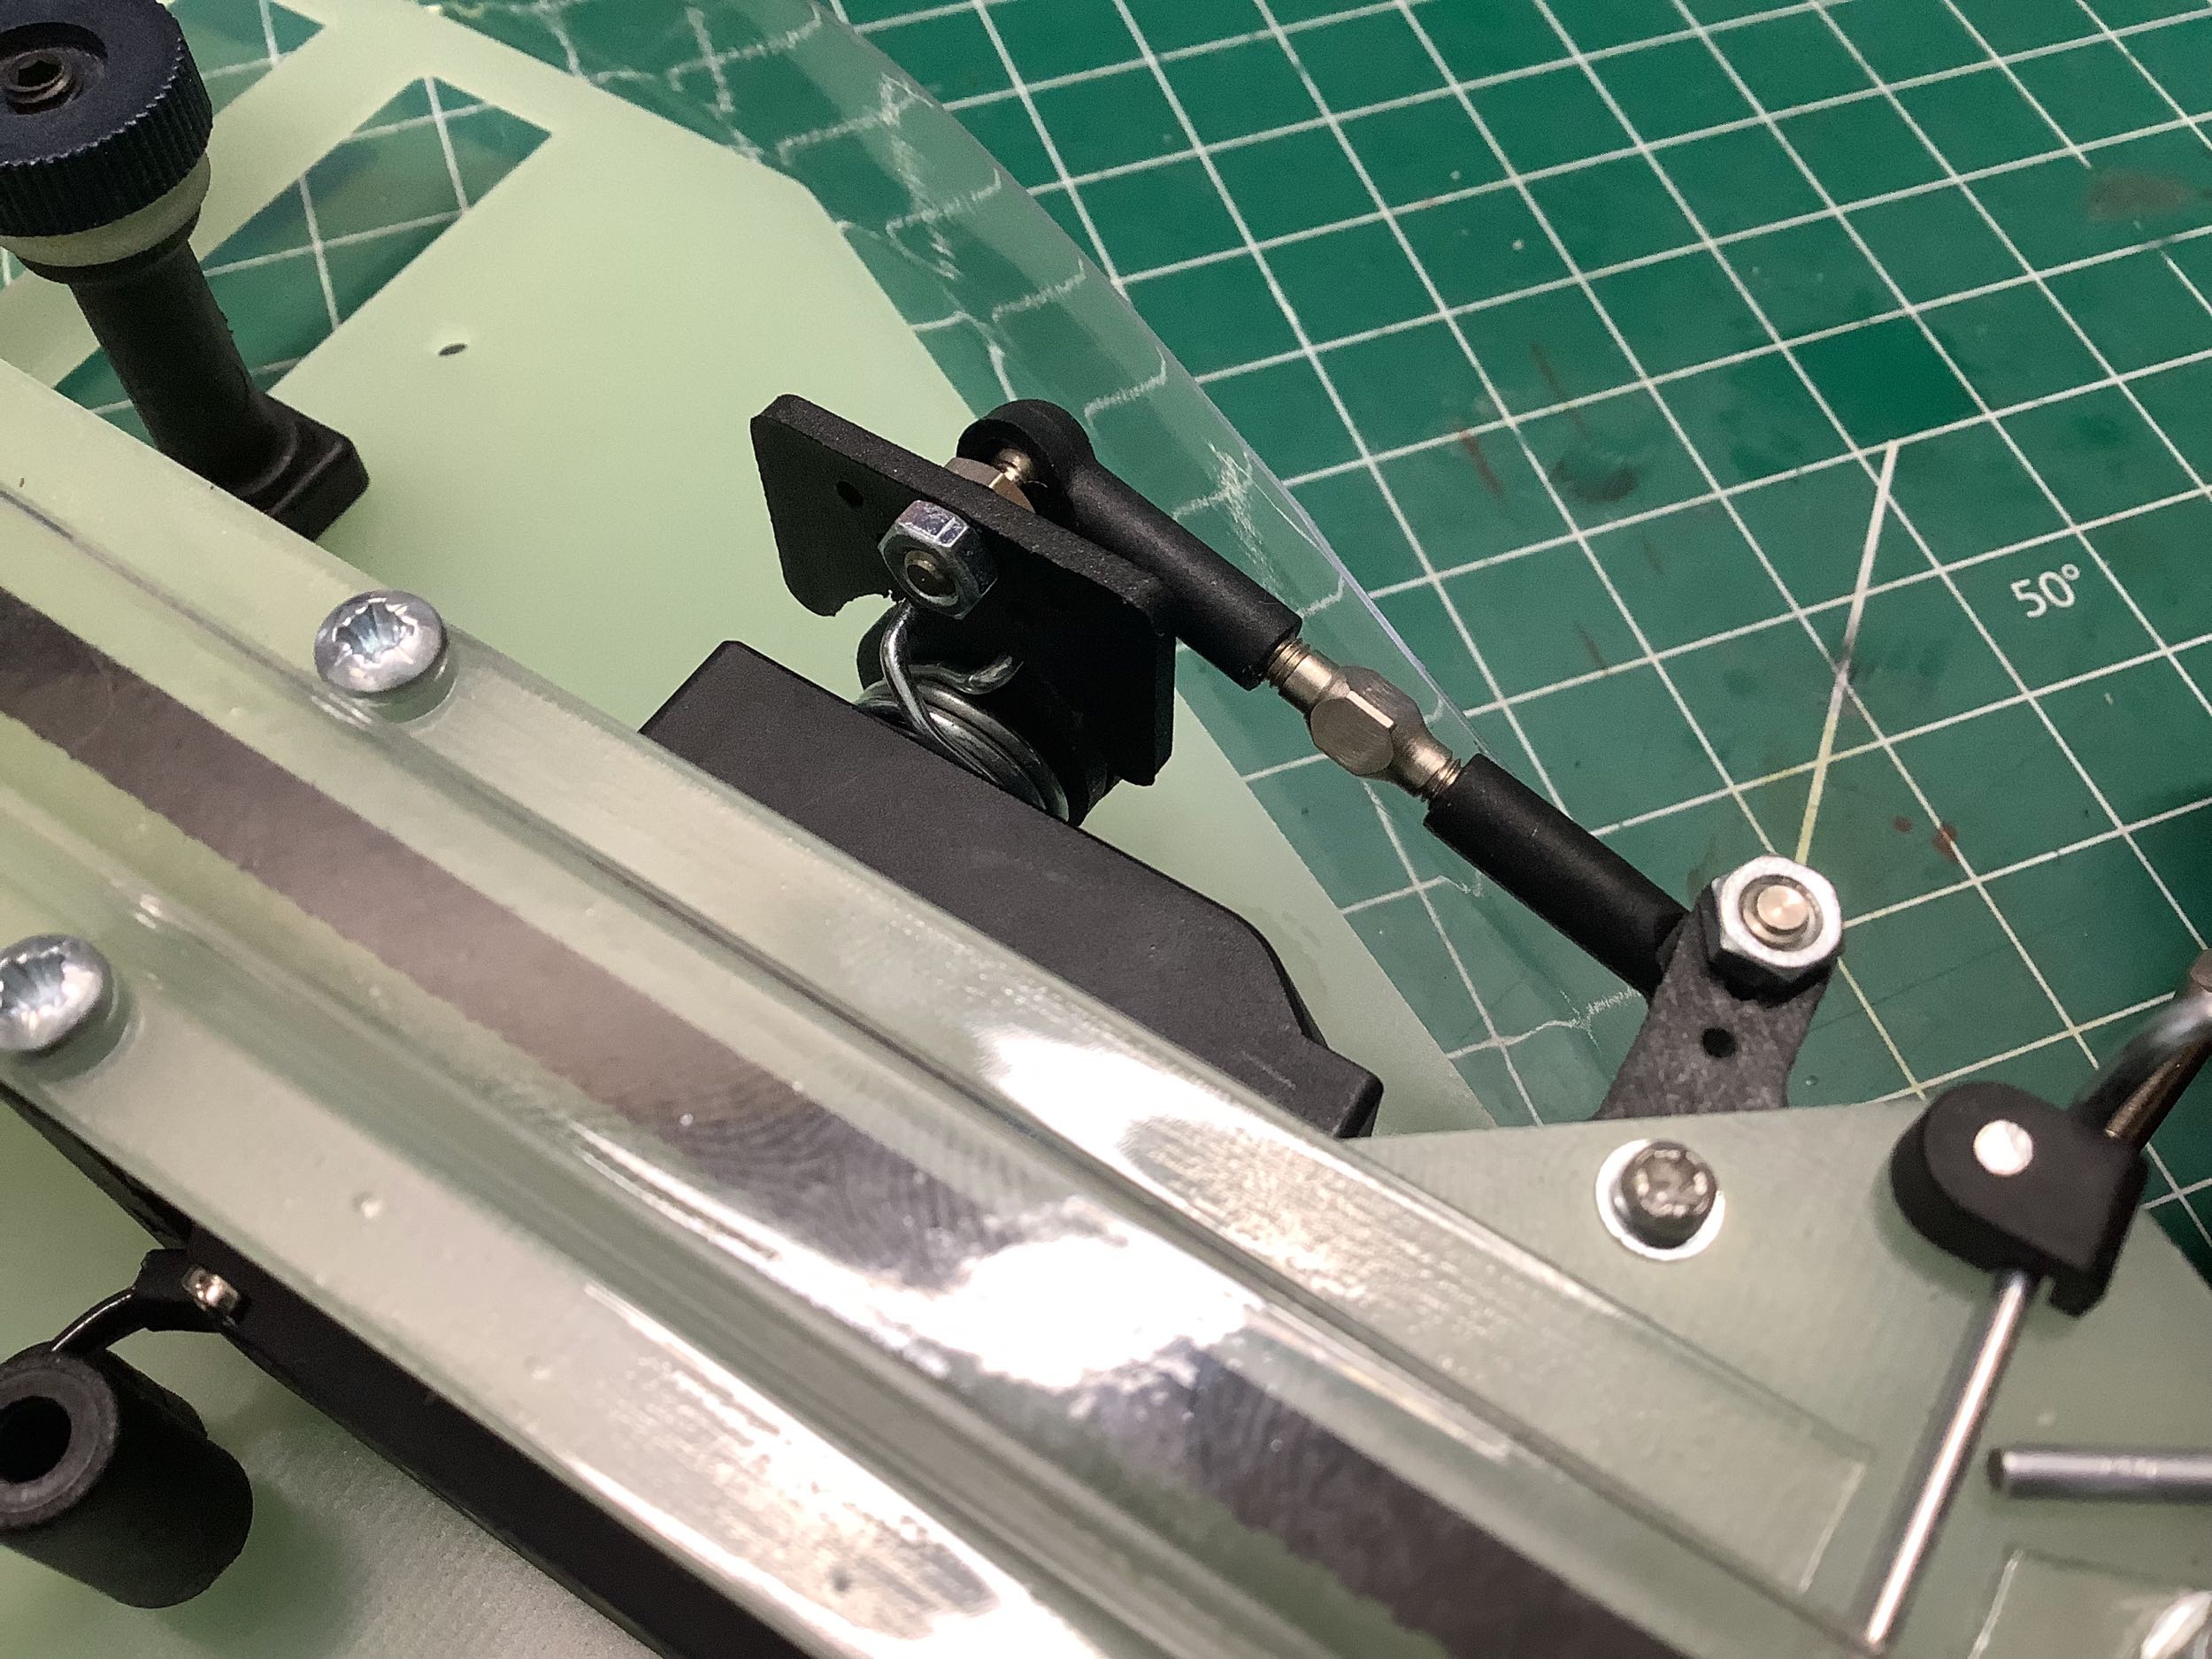
This servo saver takes the award for the most frustrating, most poorly
designed and documented detail I've ever seen in an RC. And that's
saying a lot because I've built hundreds. In order to tension the
torsional spring, the hook ends need to be folder over each
other. The manual shows a nice little arrow as though this is
easy. It isn't. I spent hours trying to do what was shown in
the manual. It is simply not possible as shown. I
eventually invented my own alternate method which worked with enough
repetitions. It is a quality servo saver once built, but I never
want to see one of these again.
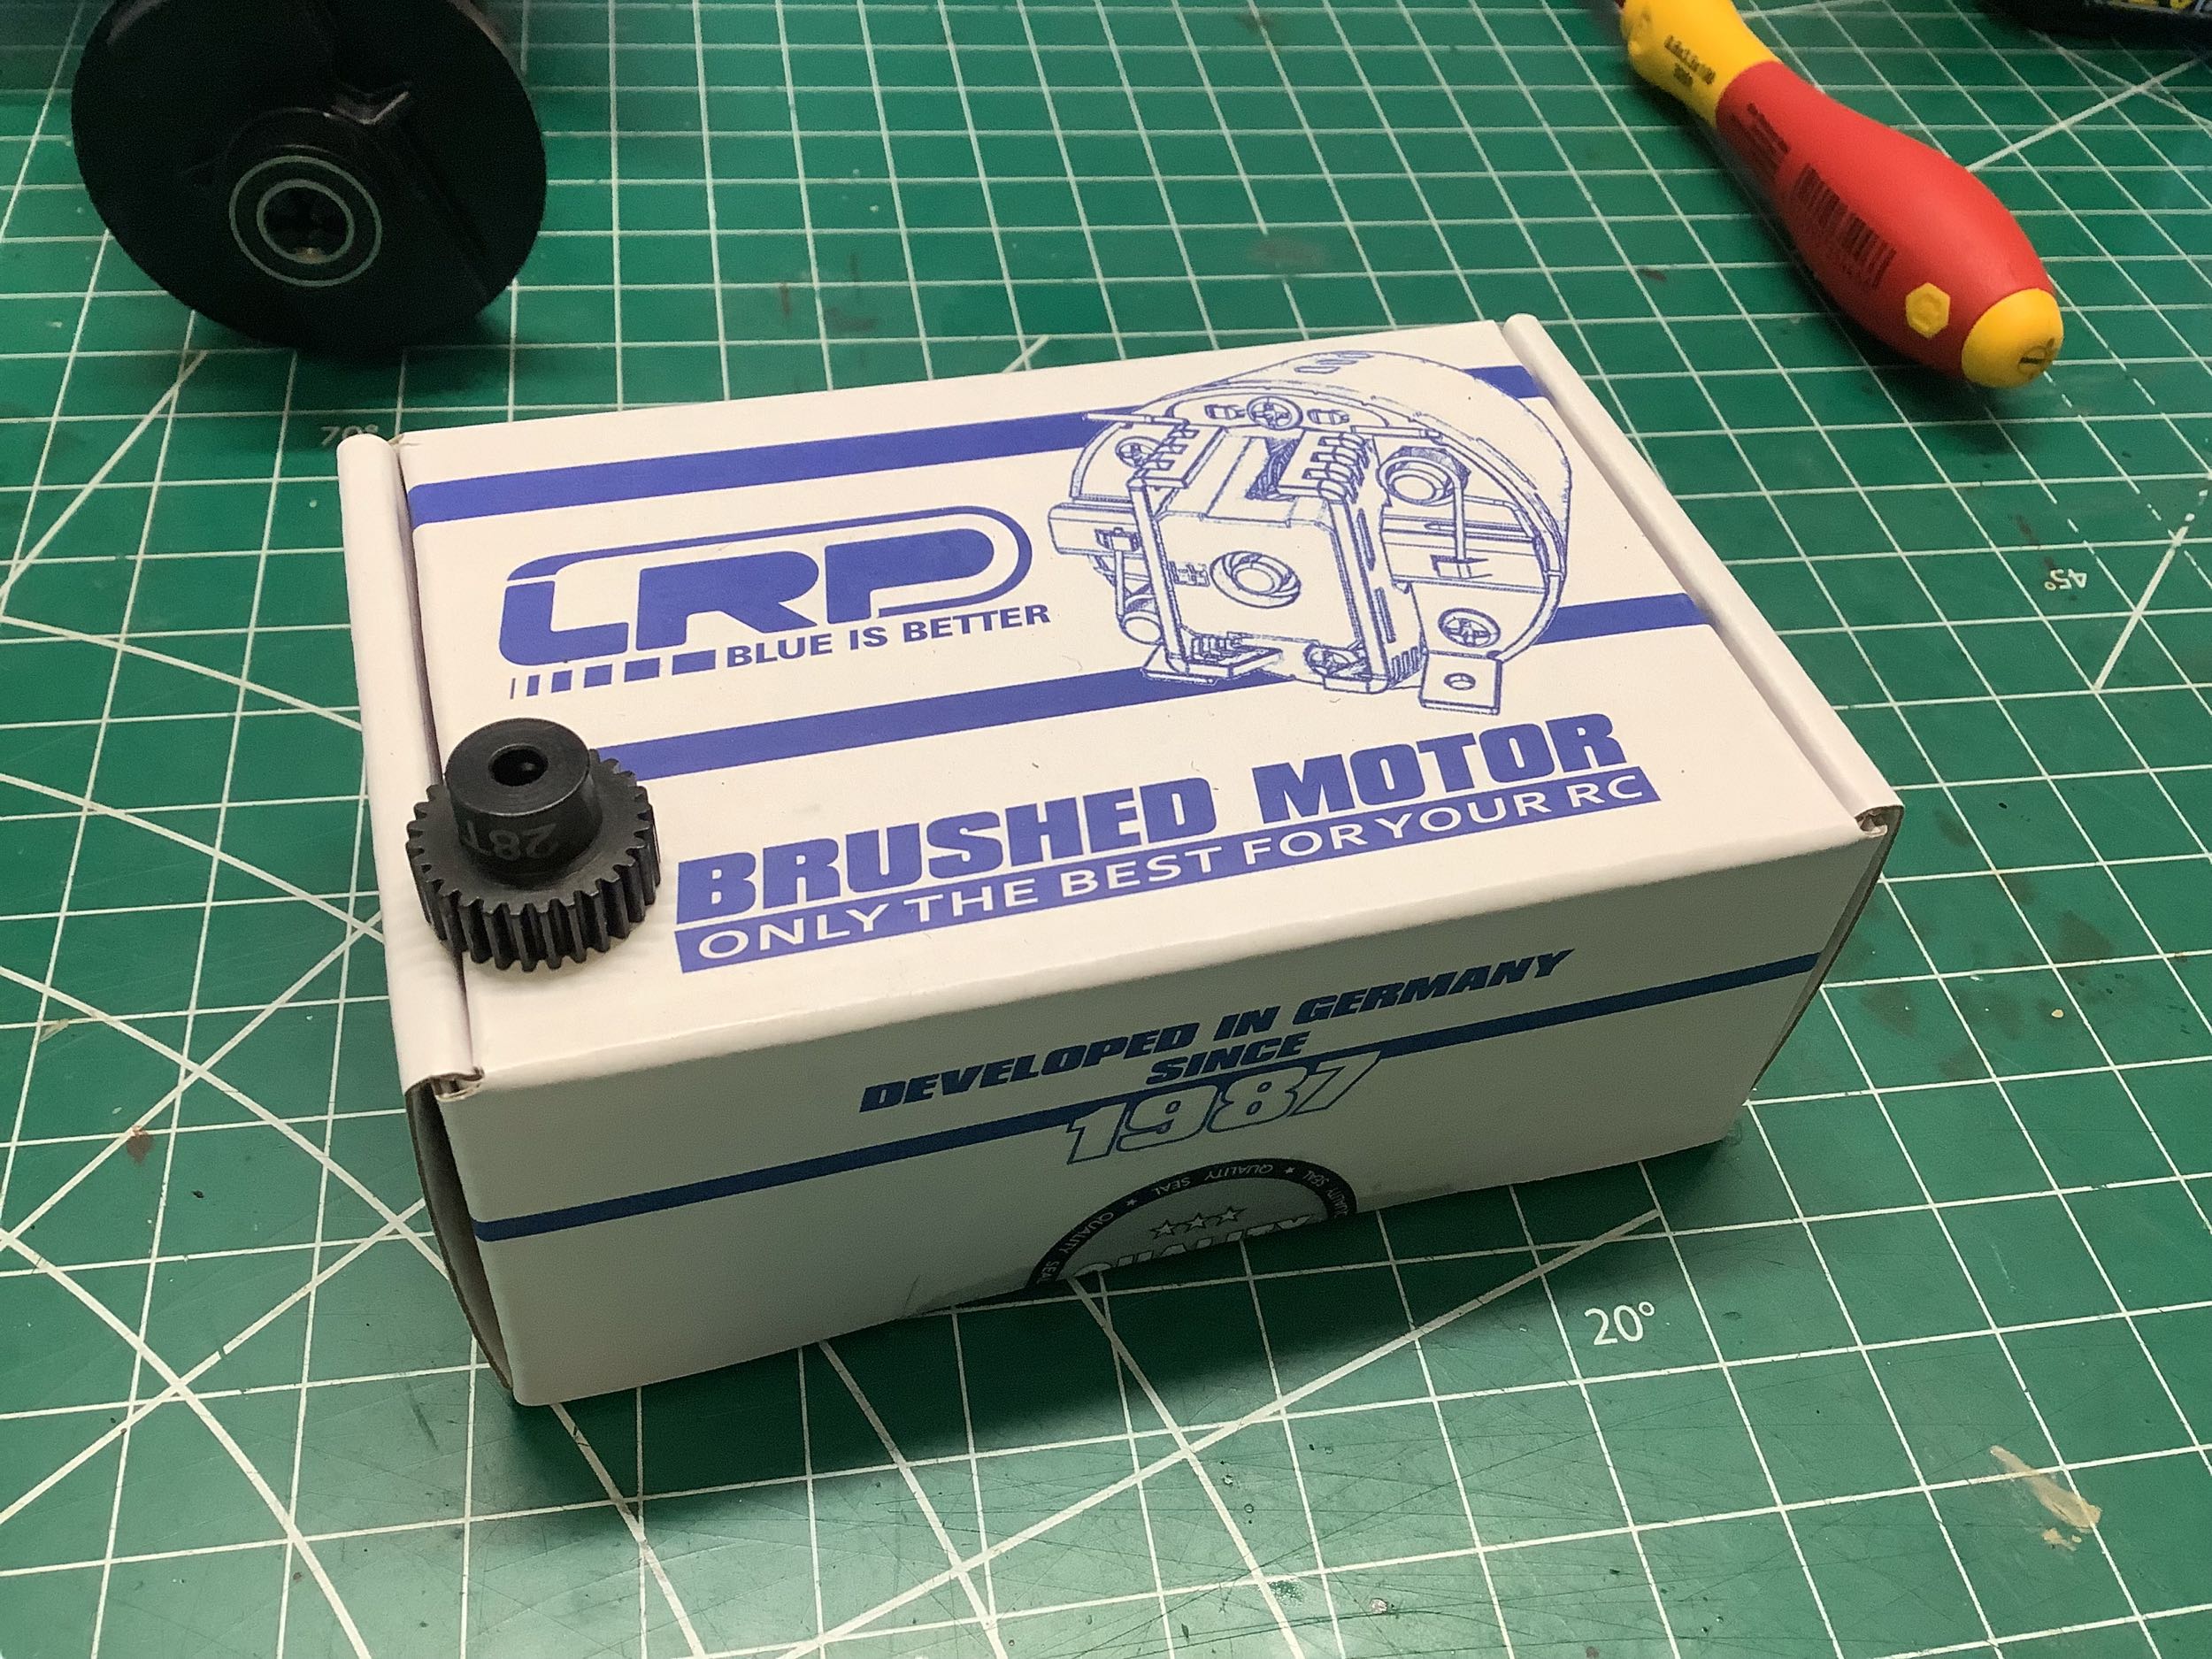
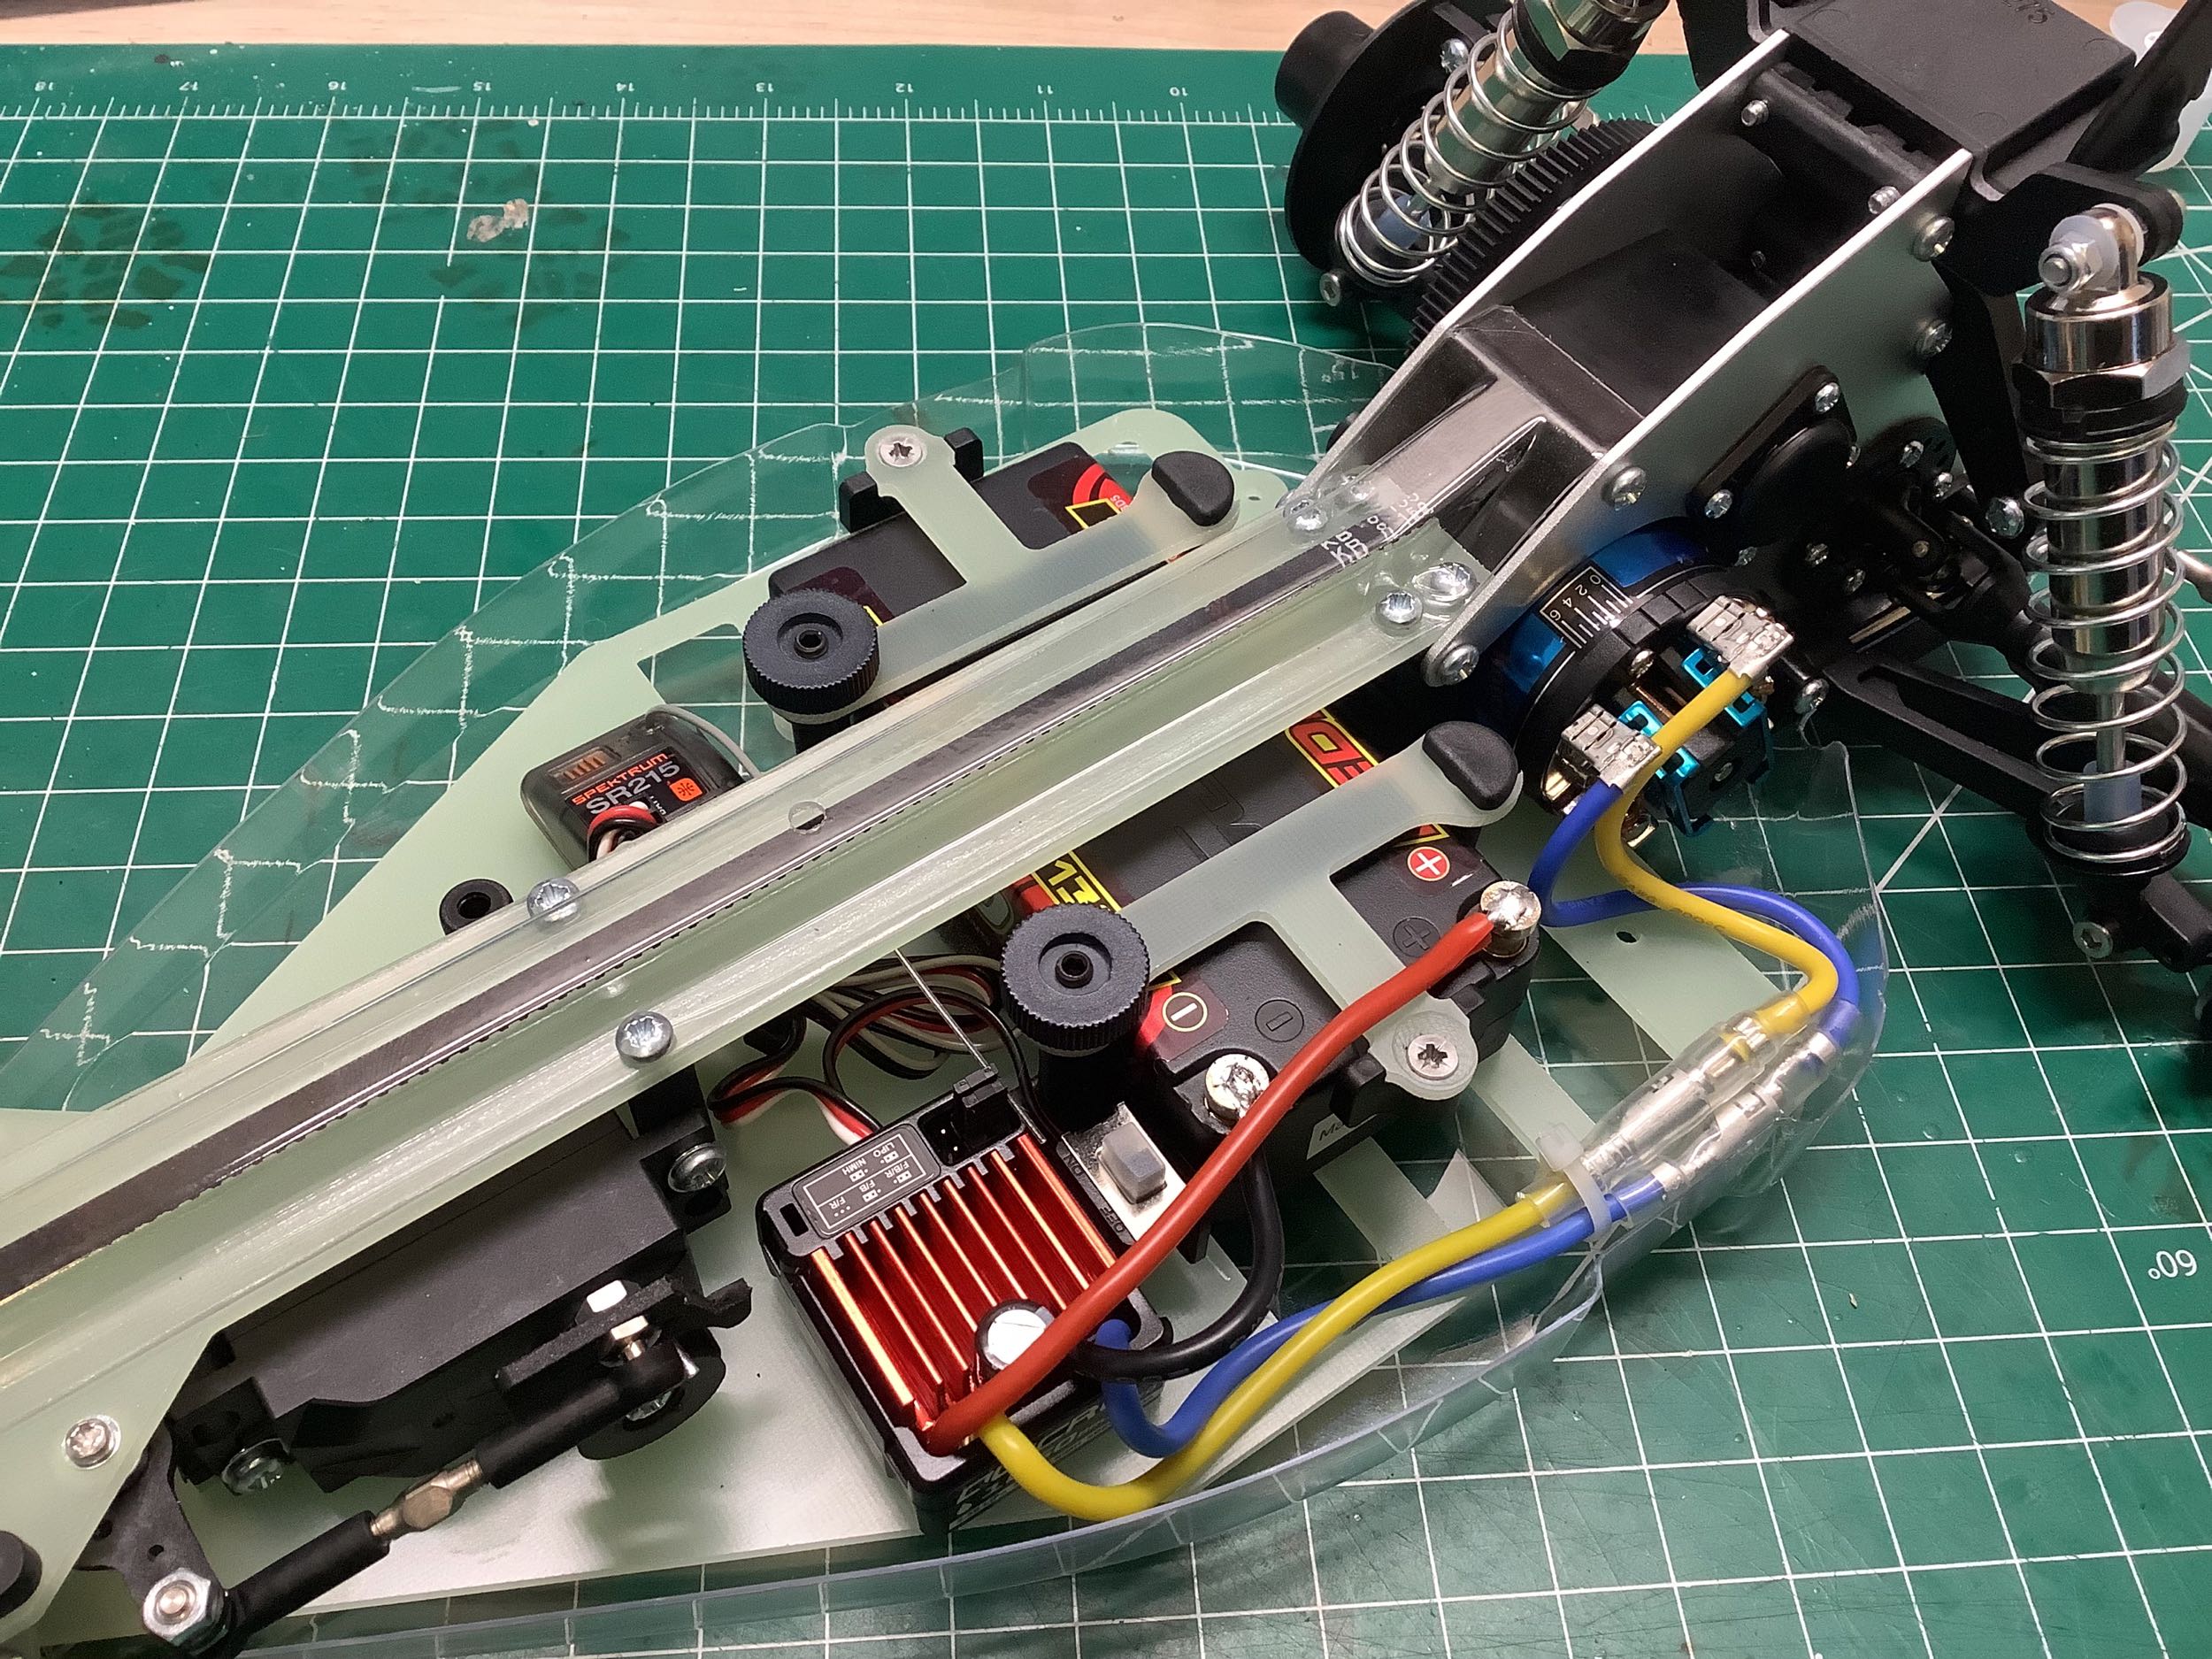
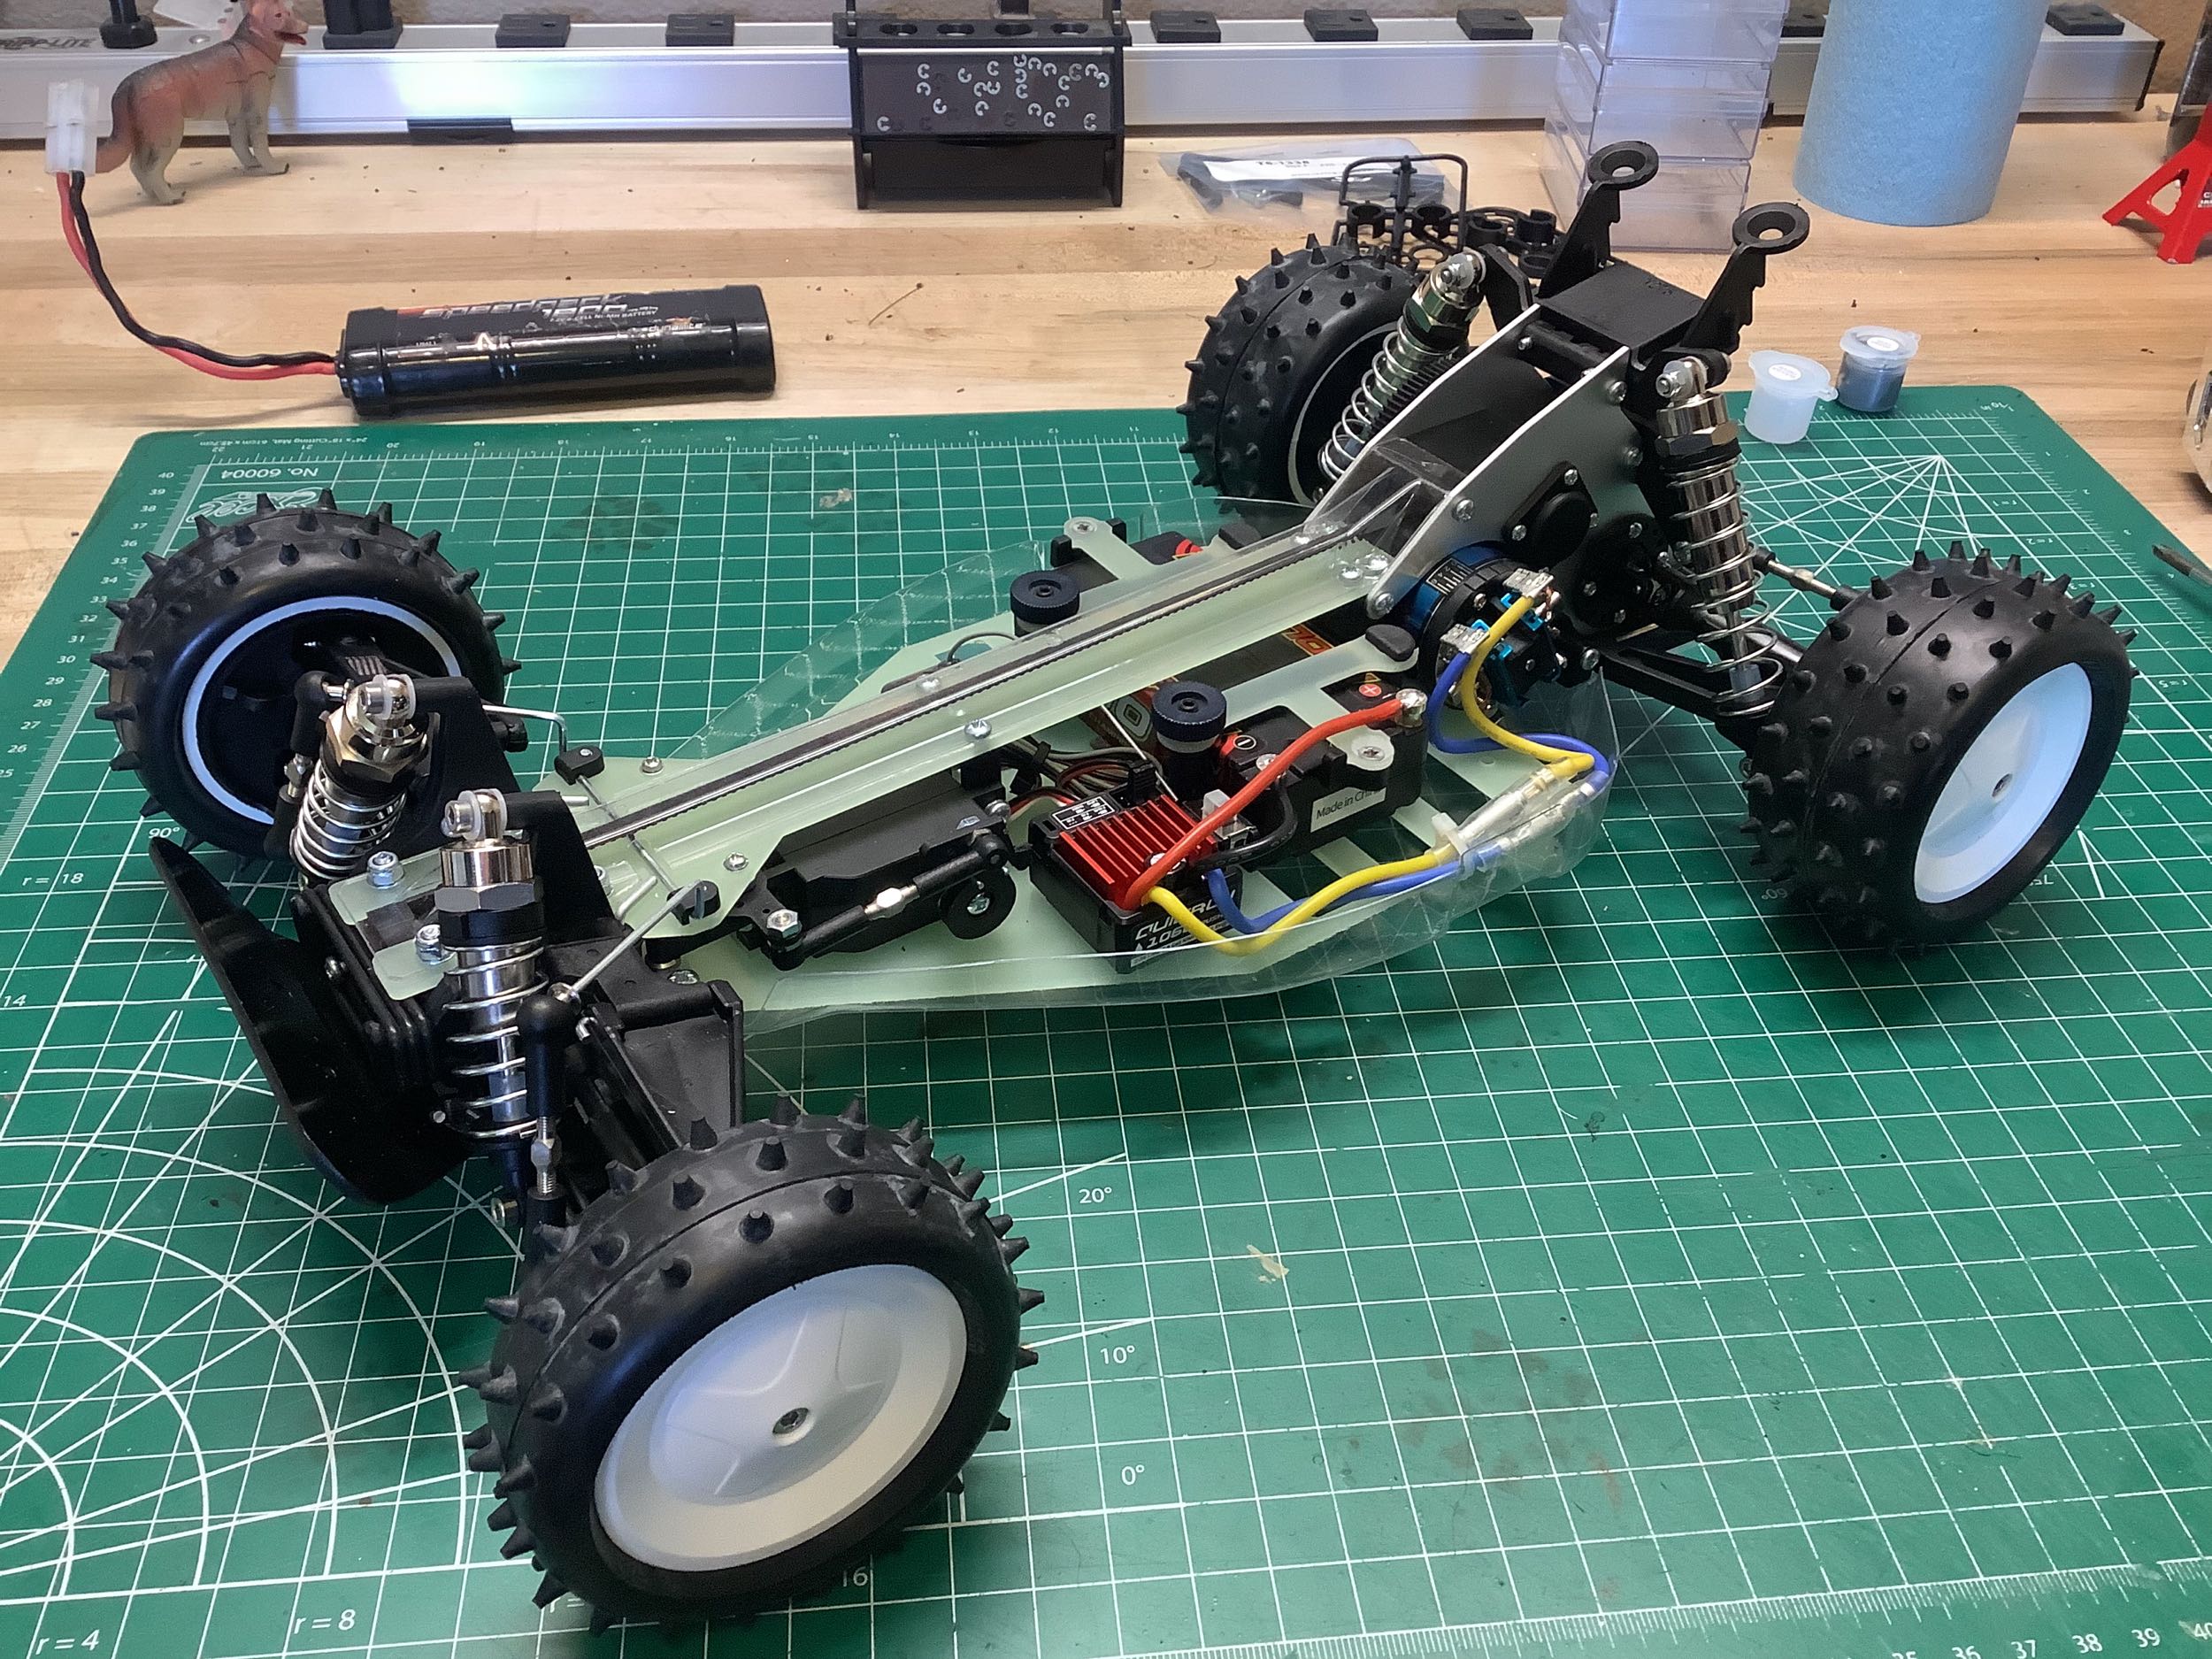
Here's the box for the excellent LRP motor I used, and the original 28T
pinion I tried before I realized how fast it was. I went down to
23T later. The picture on the right shows all the electronics
installed and ready to drive.
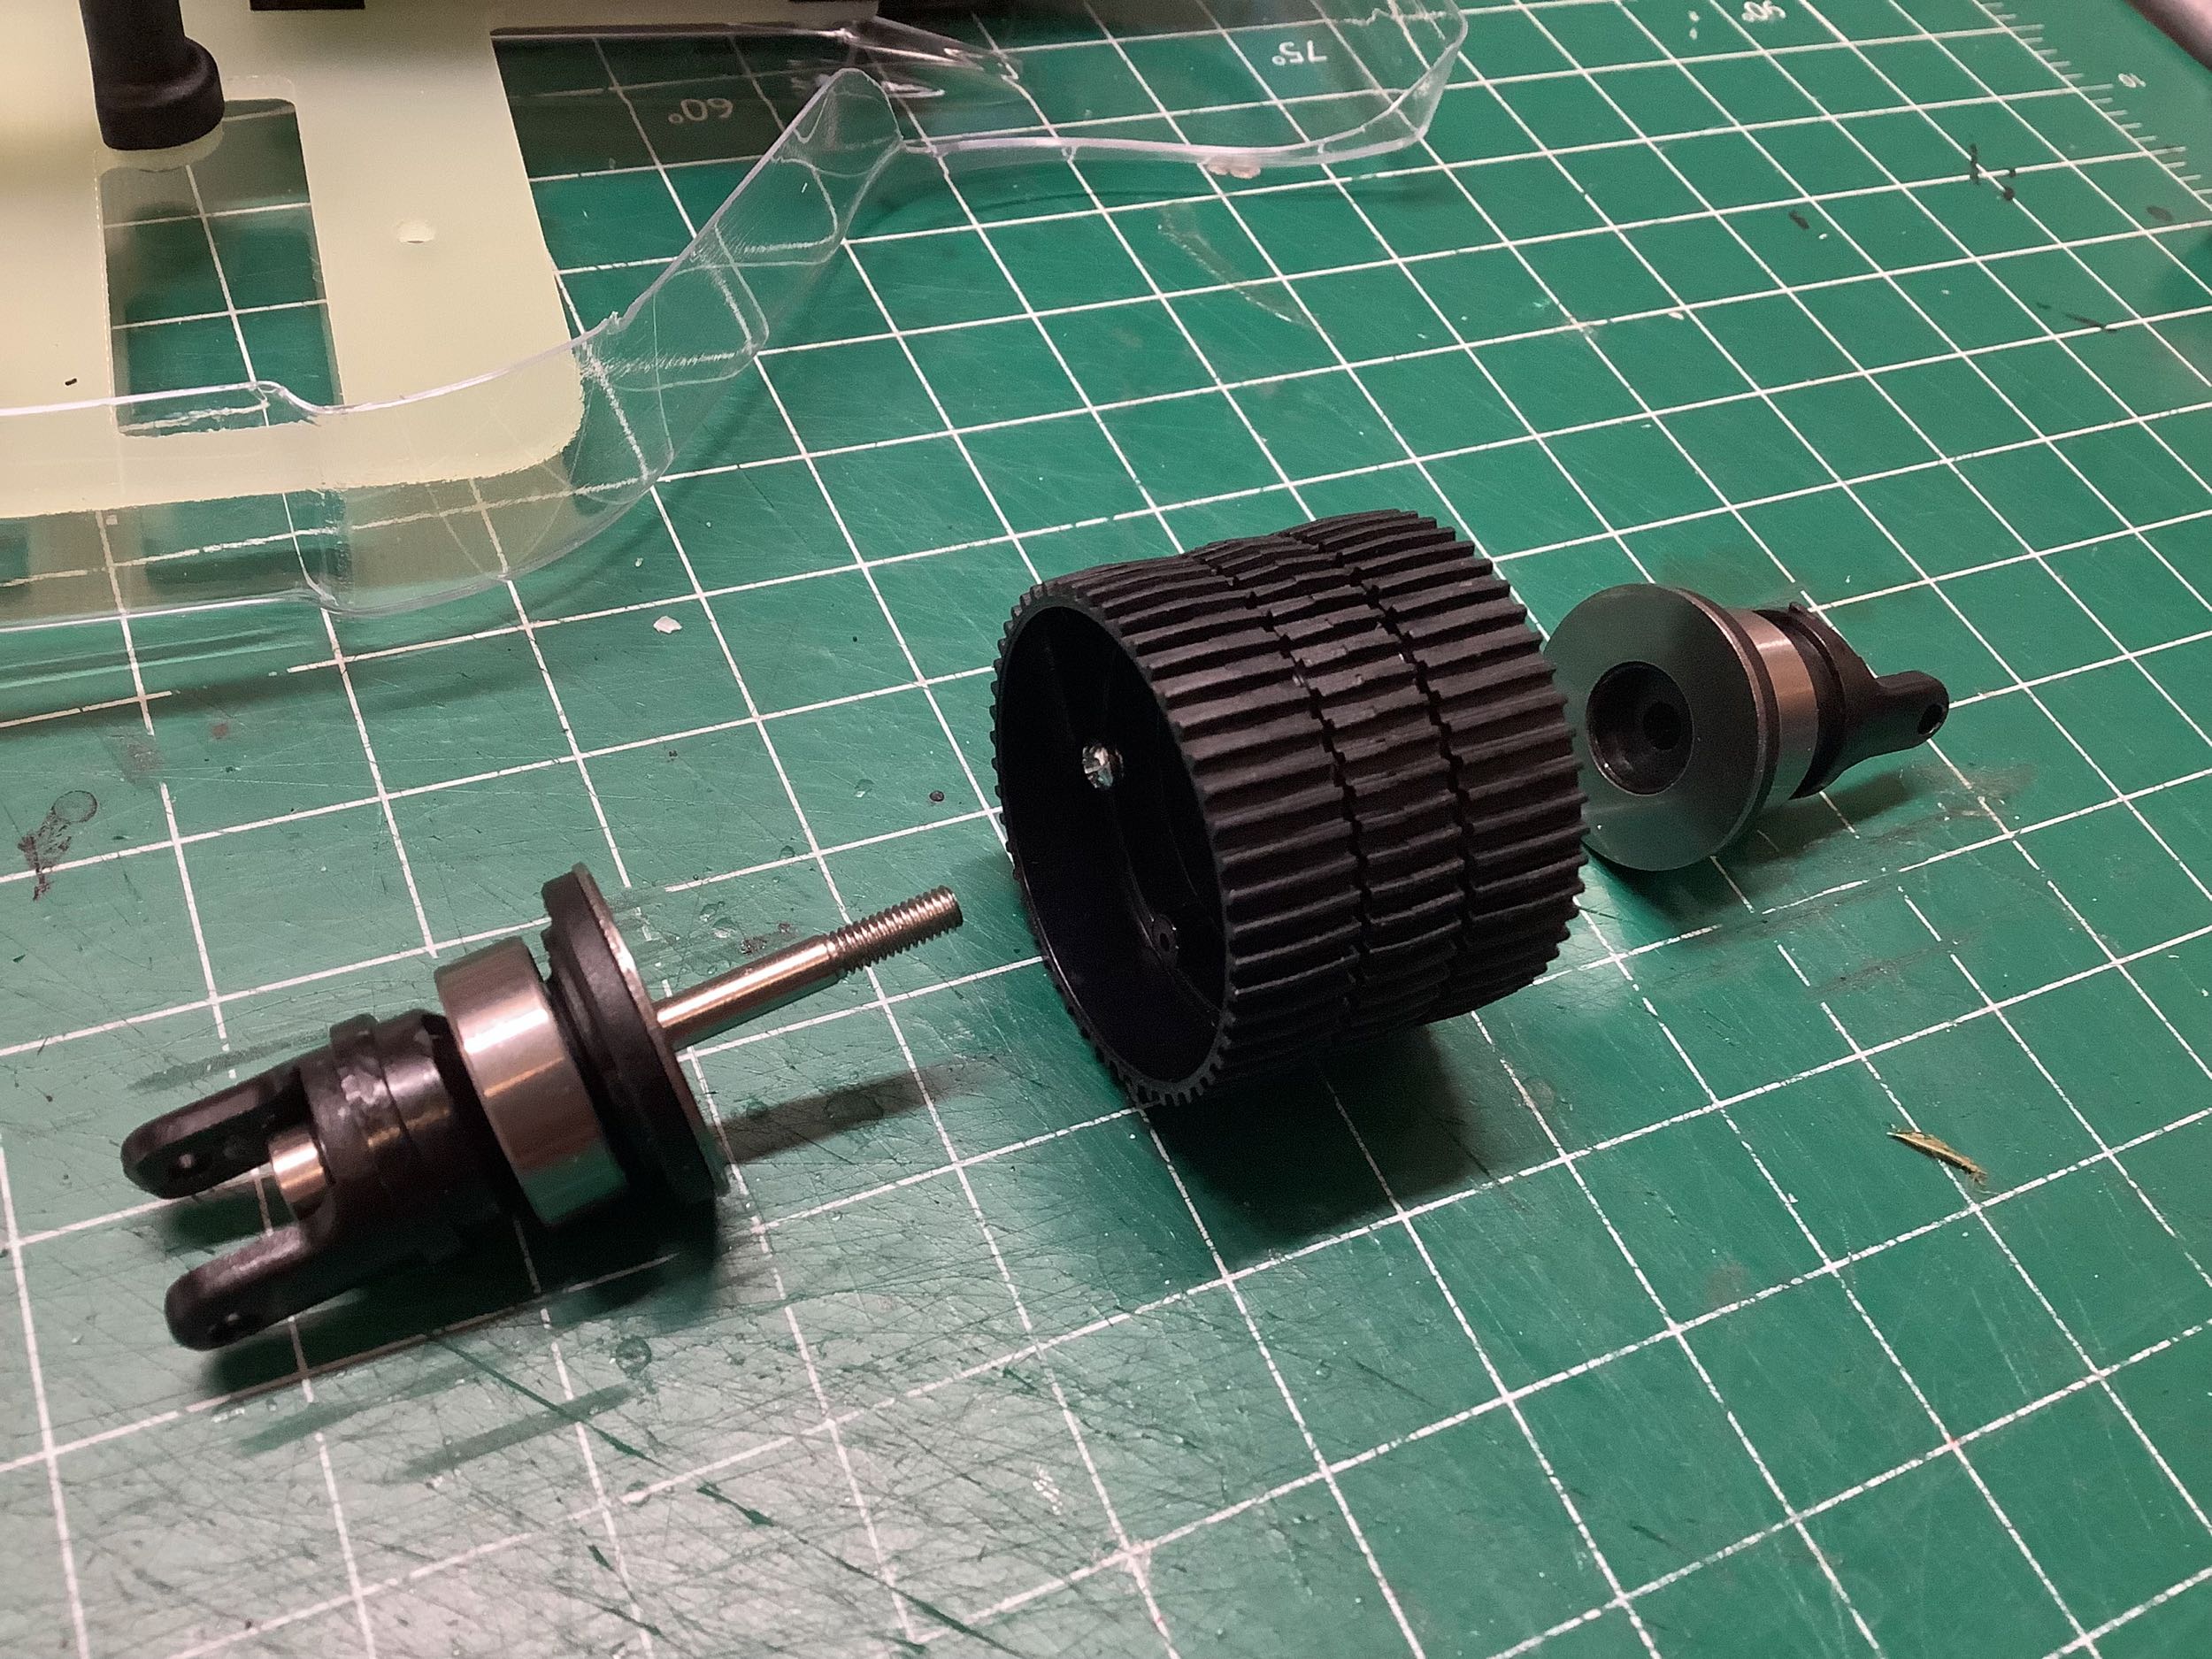
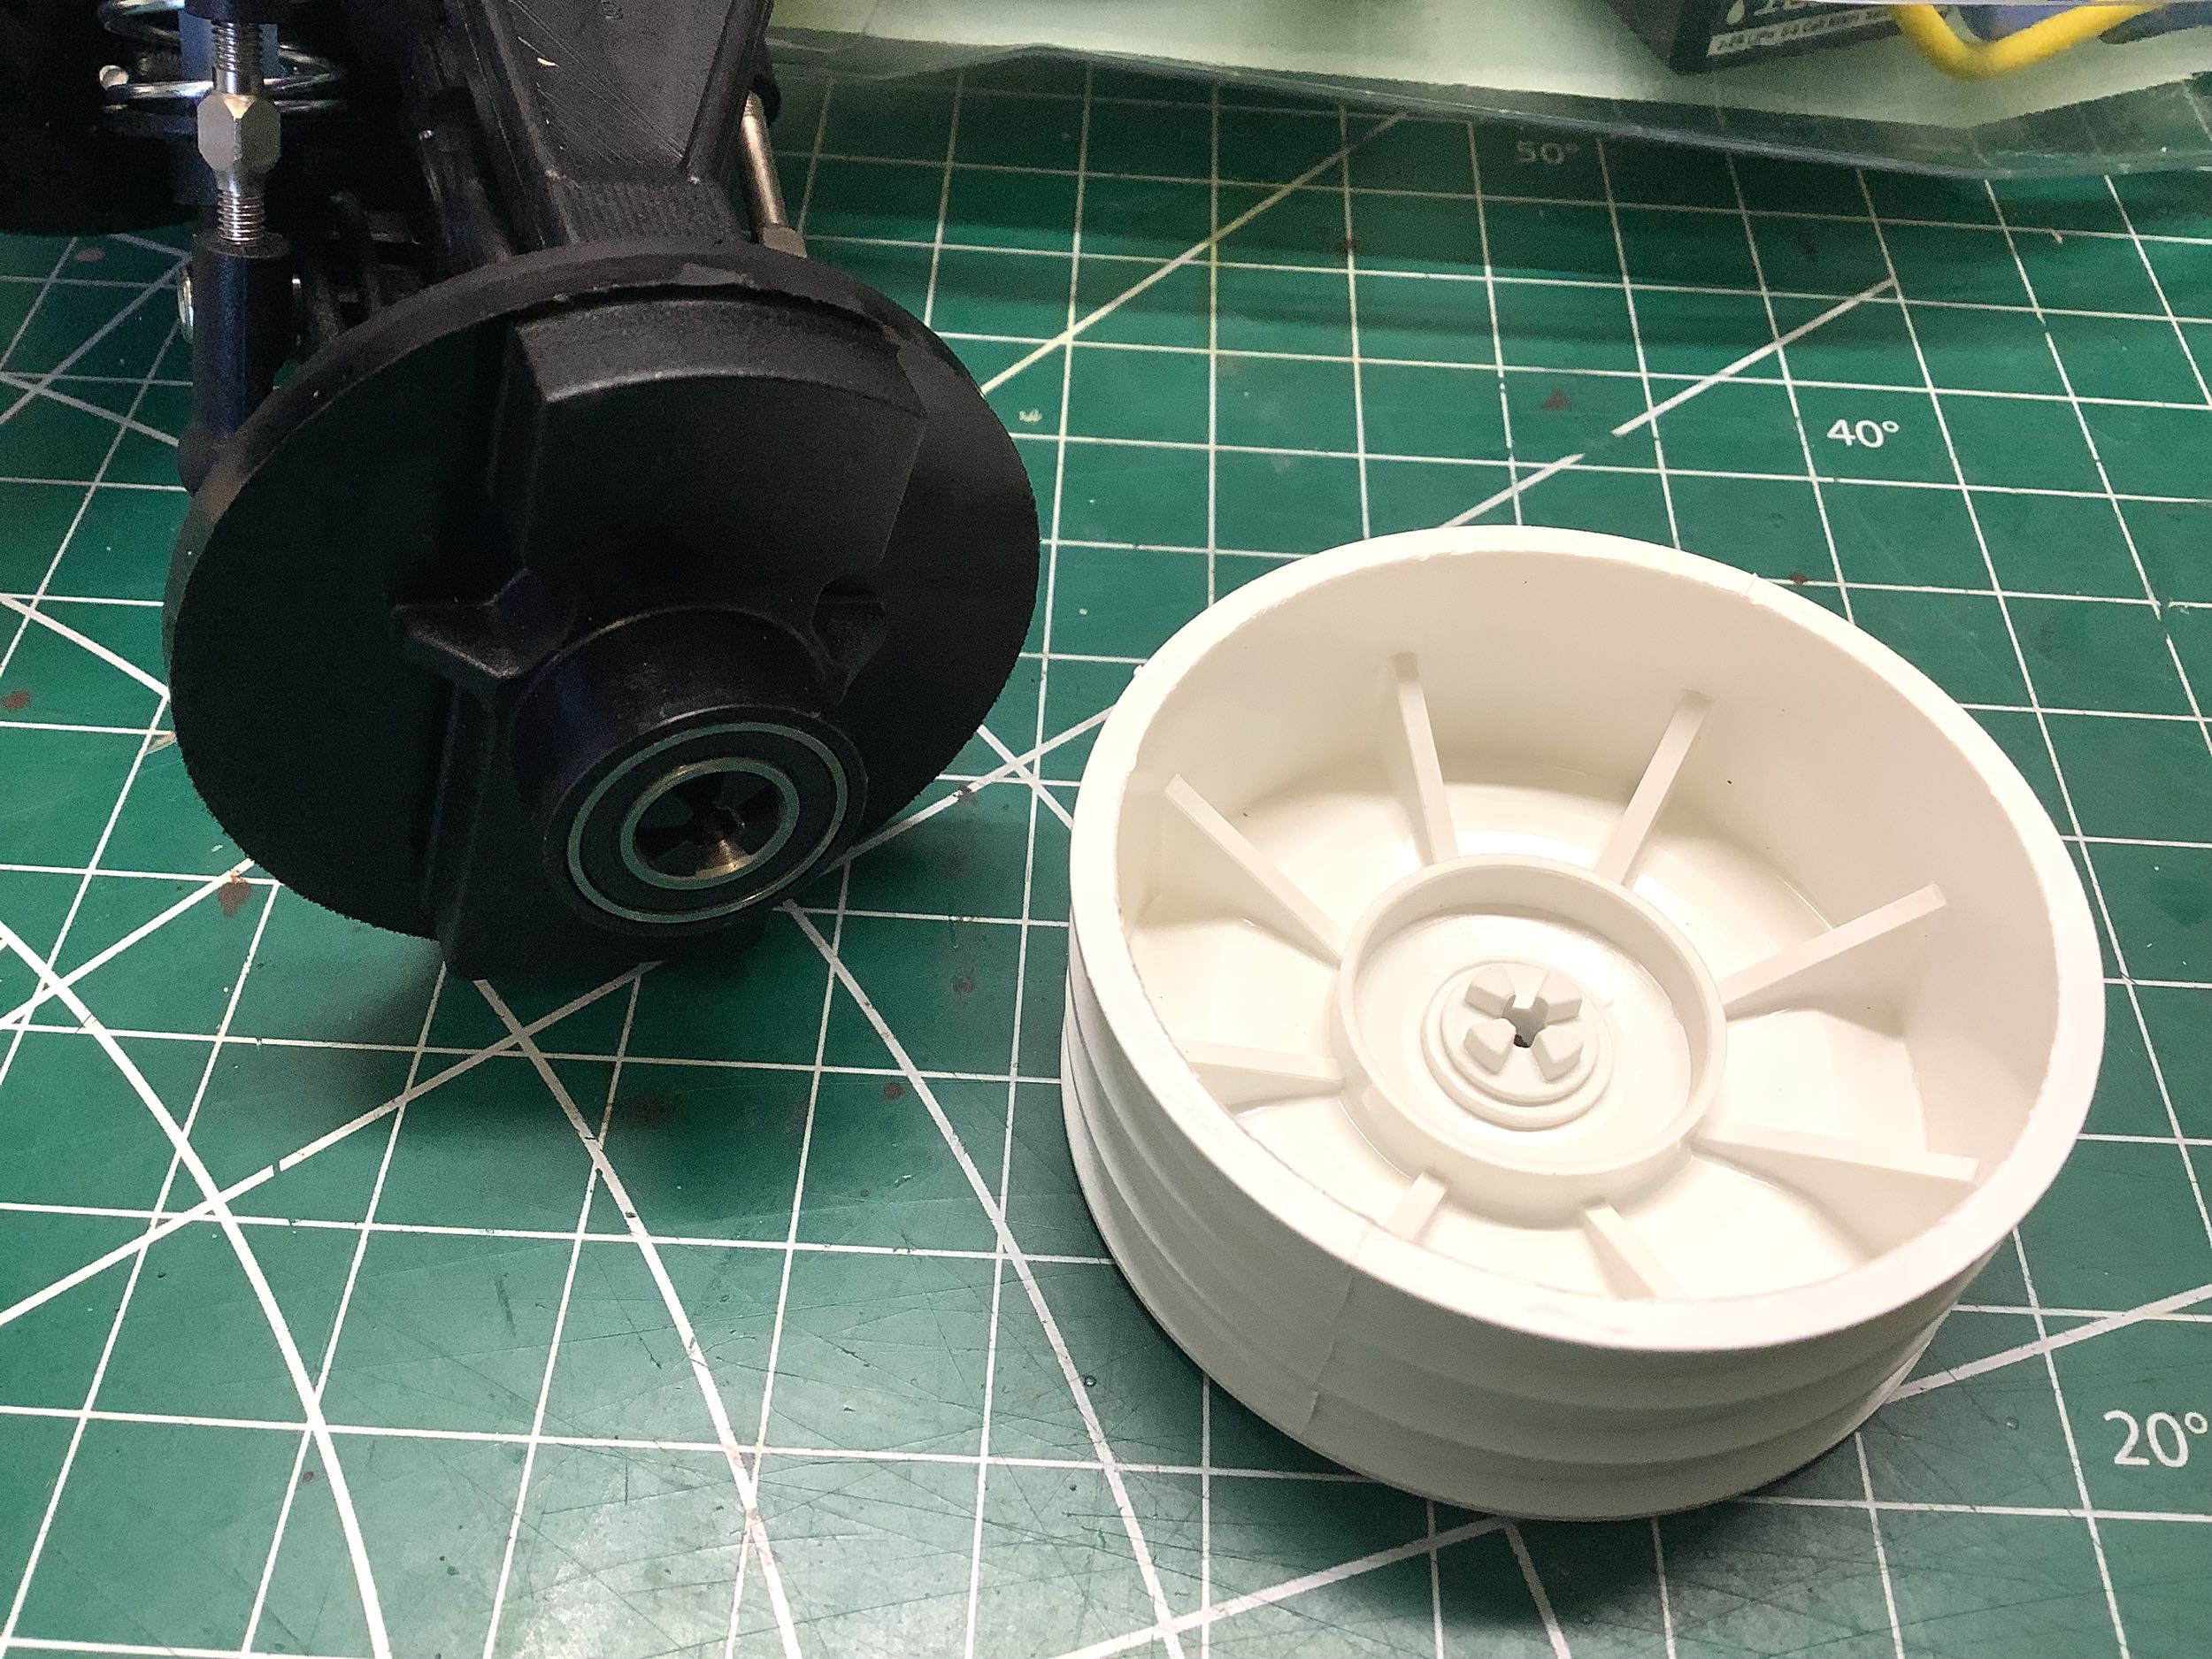
The CAT wheels don't work like other wheels. There is no 12mm hex.
Instead there is a cross shape on the end of the universal joint that
mates with a similar cross on the wheel. This detail has to carry
all the torque and all the weight on a tiny area. It's a pretty
bad design, and it means that you can only use specific Schumacher
wheels. The Pro-CAT uses white wheels as shown, but I wanted mine
to look like an XLS so I swapped them out with the black versions that
use the same mounting. There are other differences though.
The black wheels have fewer internal reinforcements. The Pro-CAT
also uses wider front tires than the XLS, but the old narrower tires are
no longer available (in the USA).
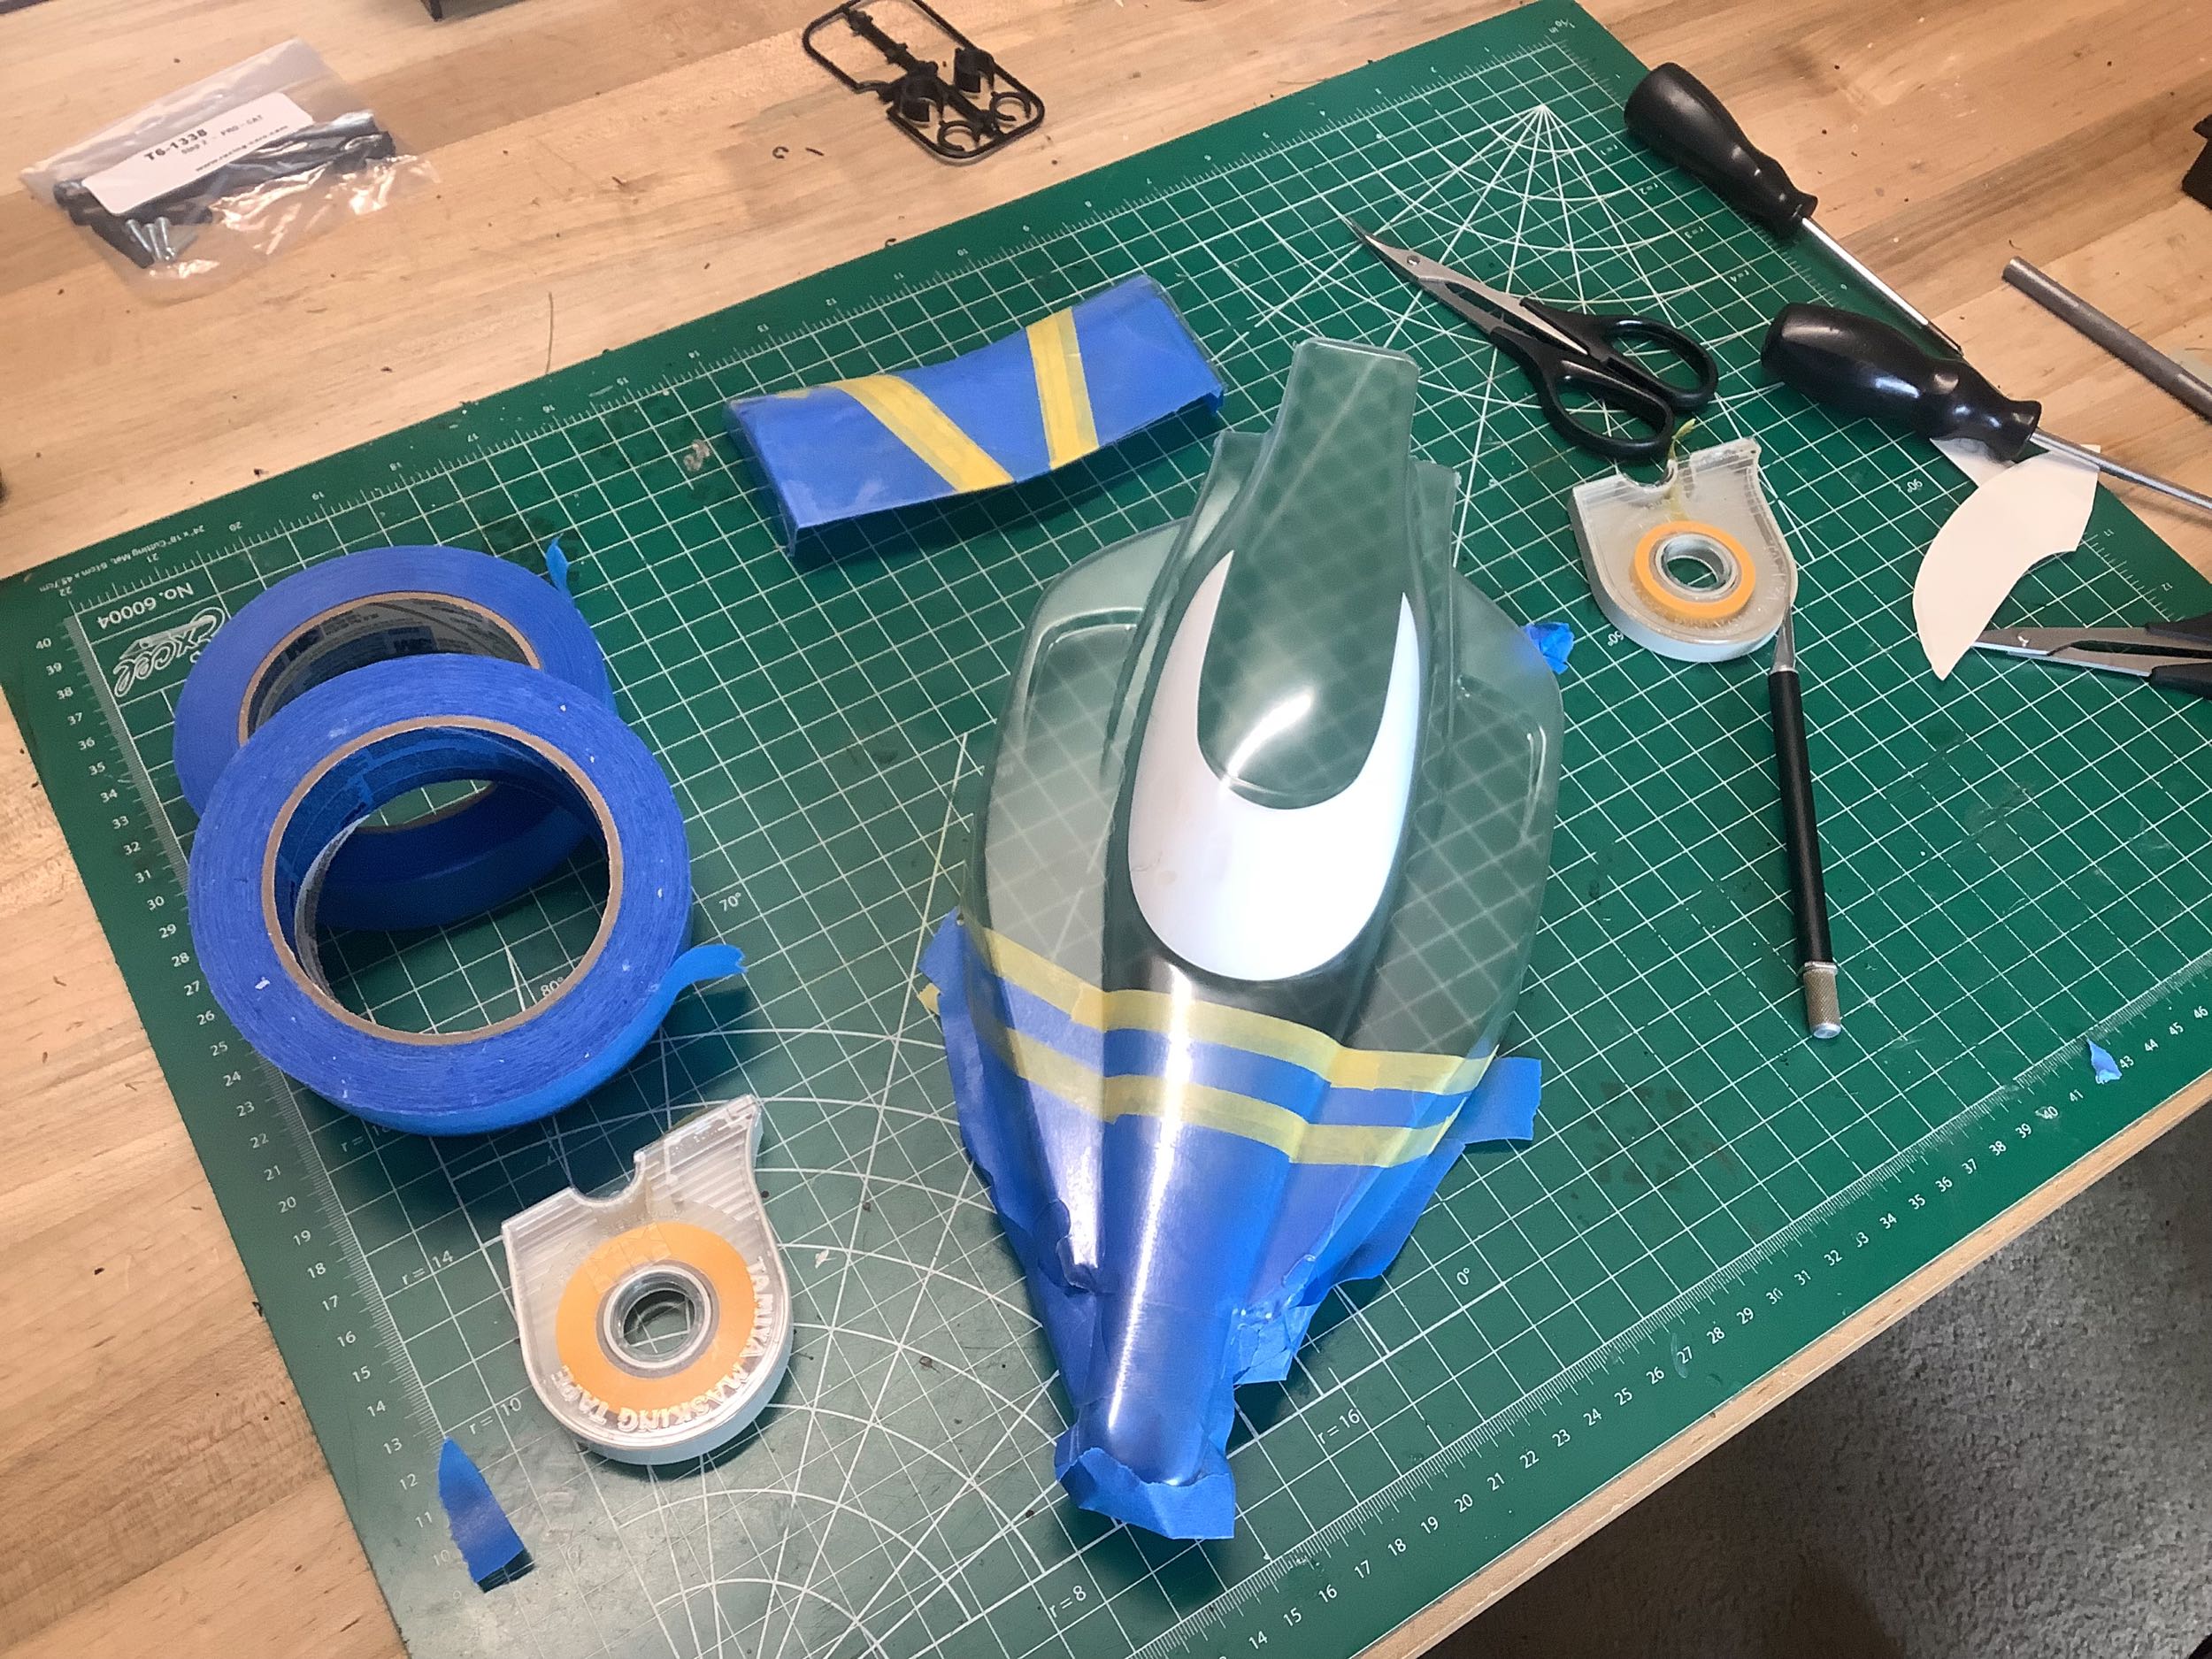
This is not the same body as the XLS. It is a but lower and
swoopier with a more curved window. There is a single window mask
included, but nothing else. I masked of everything but the black
and painted that first (masking shown at left). Then I painted the
red stripe and backed it with white, followed by the yellow areas
backed in white. I smoked the window of the body, then I put and
additional layer of black on the wing so it would look all black from
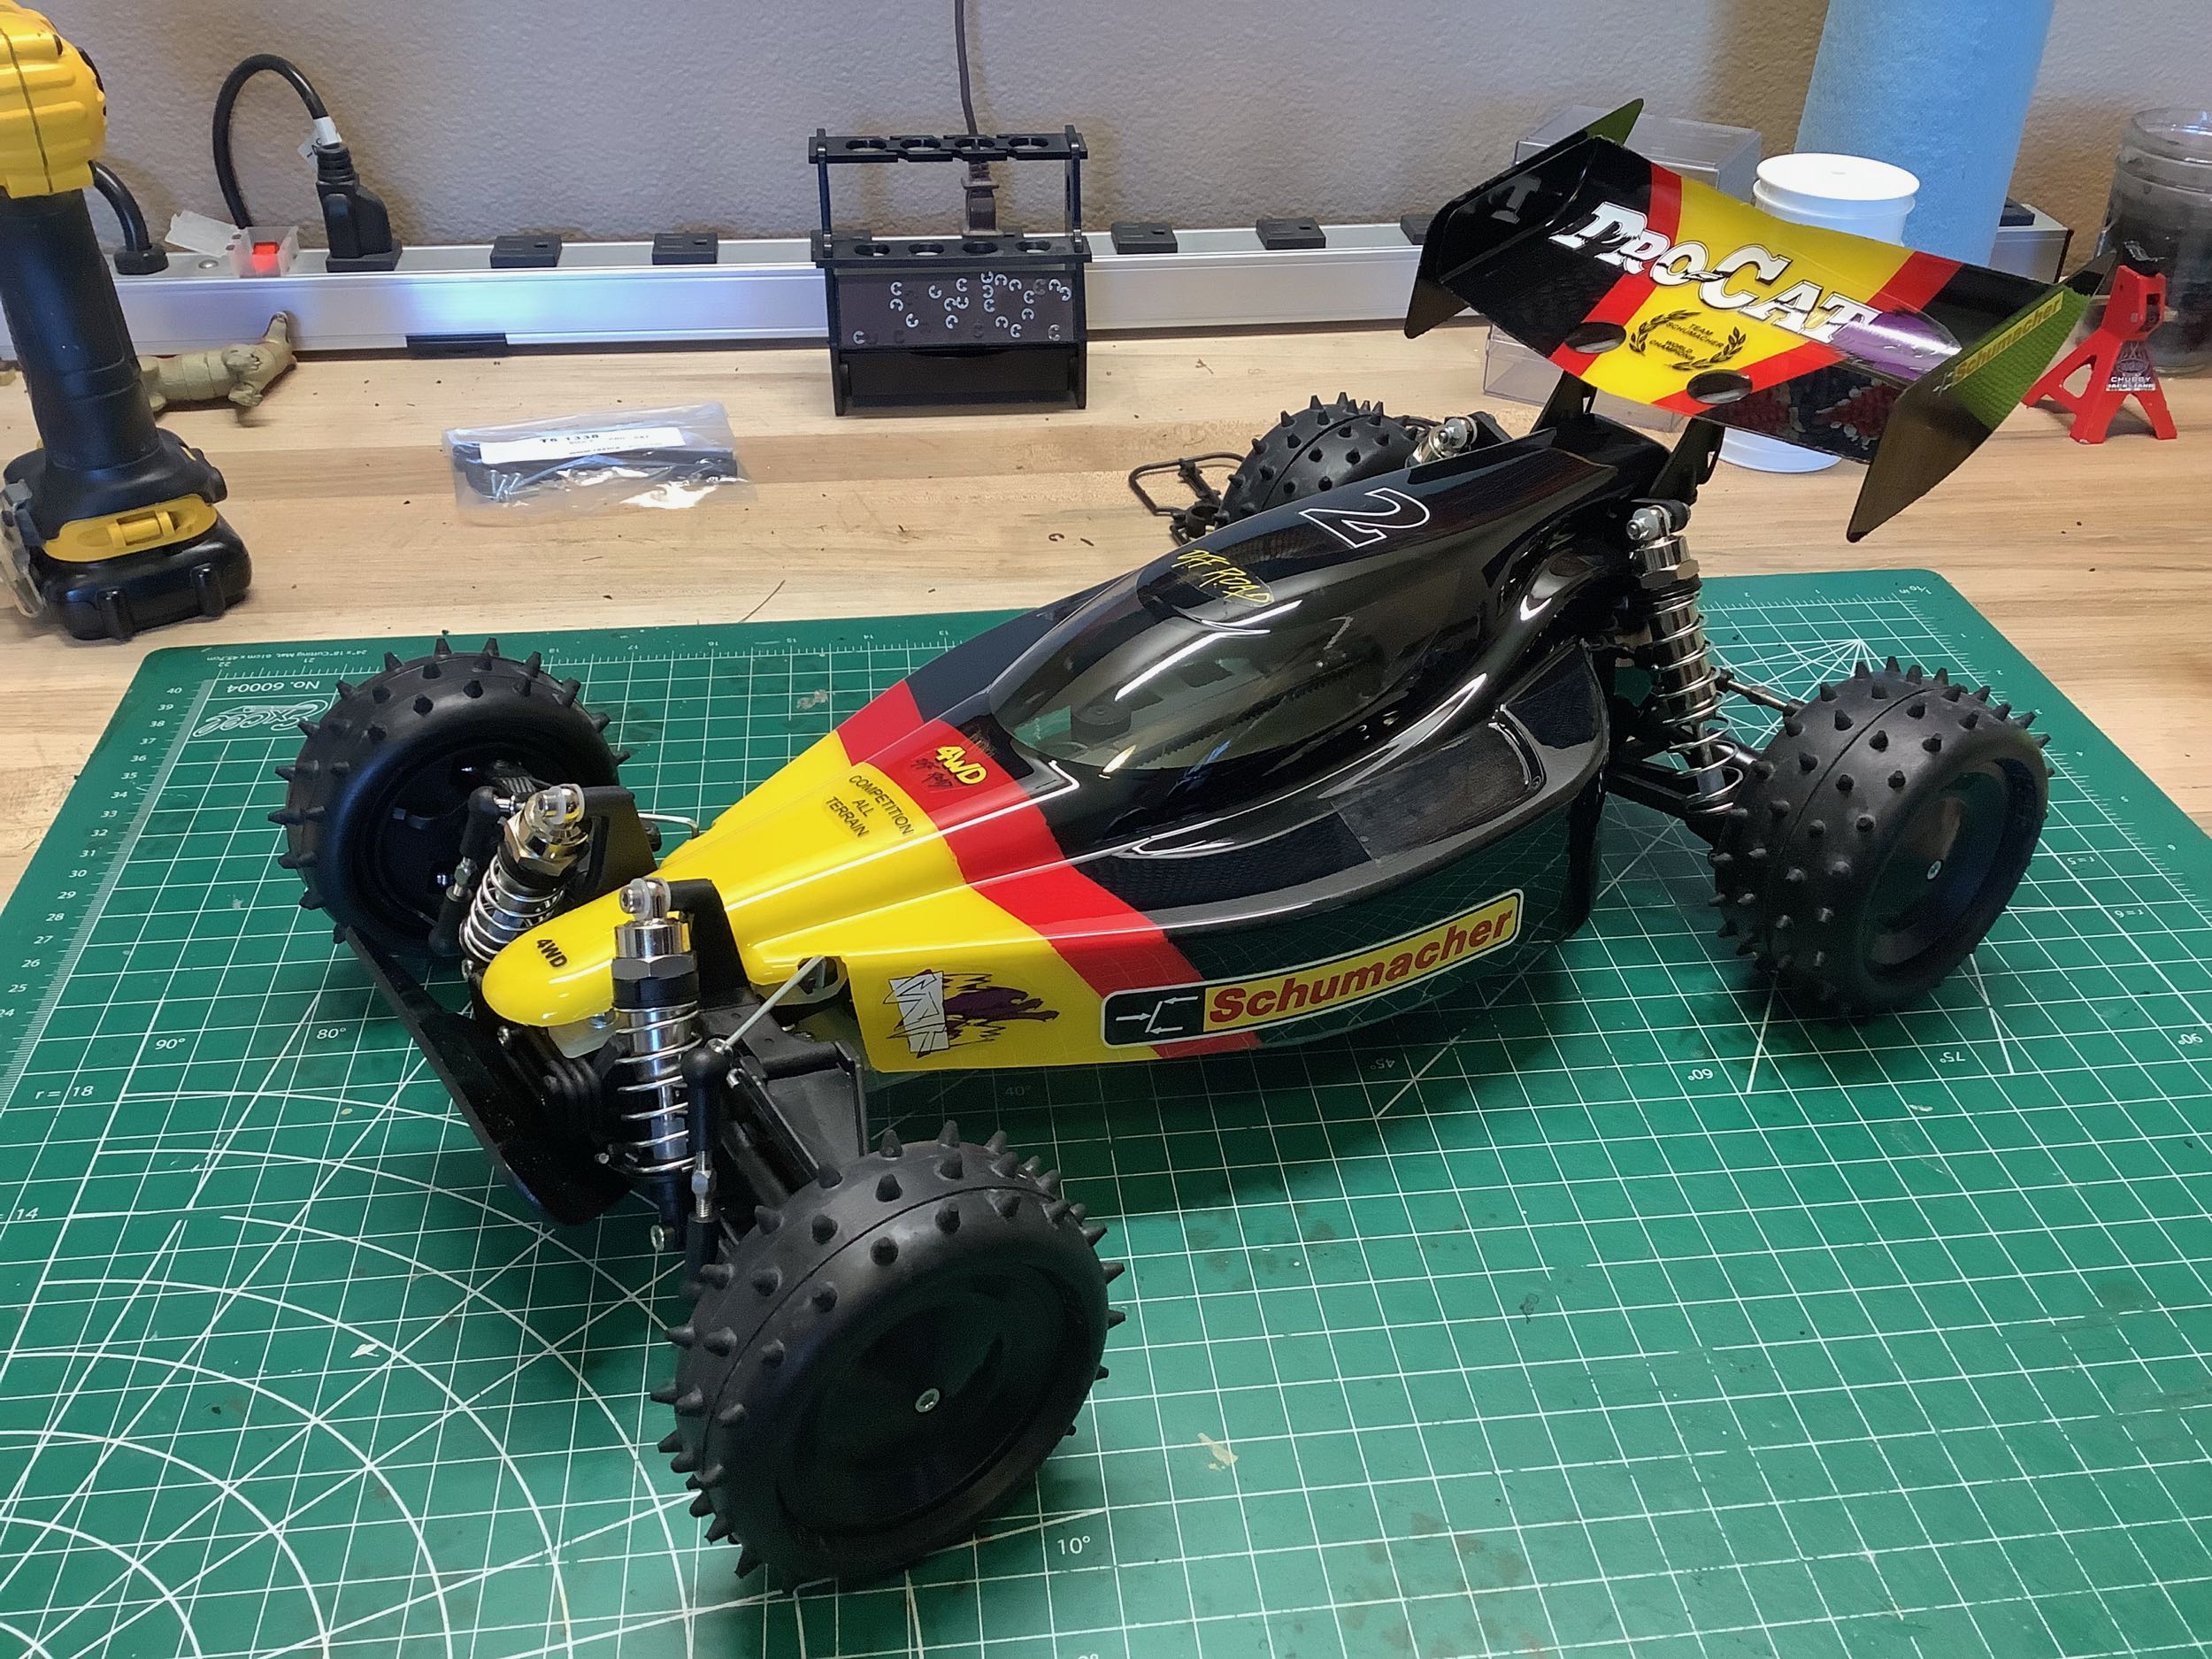
behind. The white backing really made the colors pop. I'm
happy with it. The stickers are a little bland though. The Number 2 is from a surplus Tamiya sheet.
©2026 Eric Albrecht