Kyosho Tomahawk Project
Page 1: Stock Assembly
The chassis of the Tomahawk is nearly identical to that of the
Scorpion which I've already documented in detail. Please see that page for more information. I'll only discuss the relevant differences here.
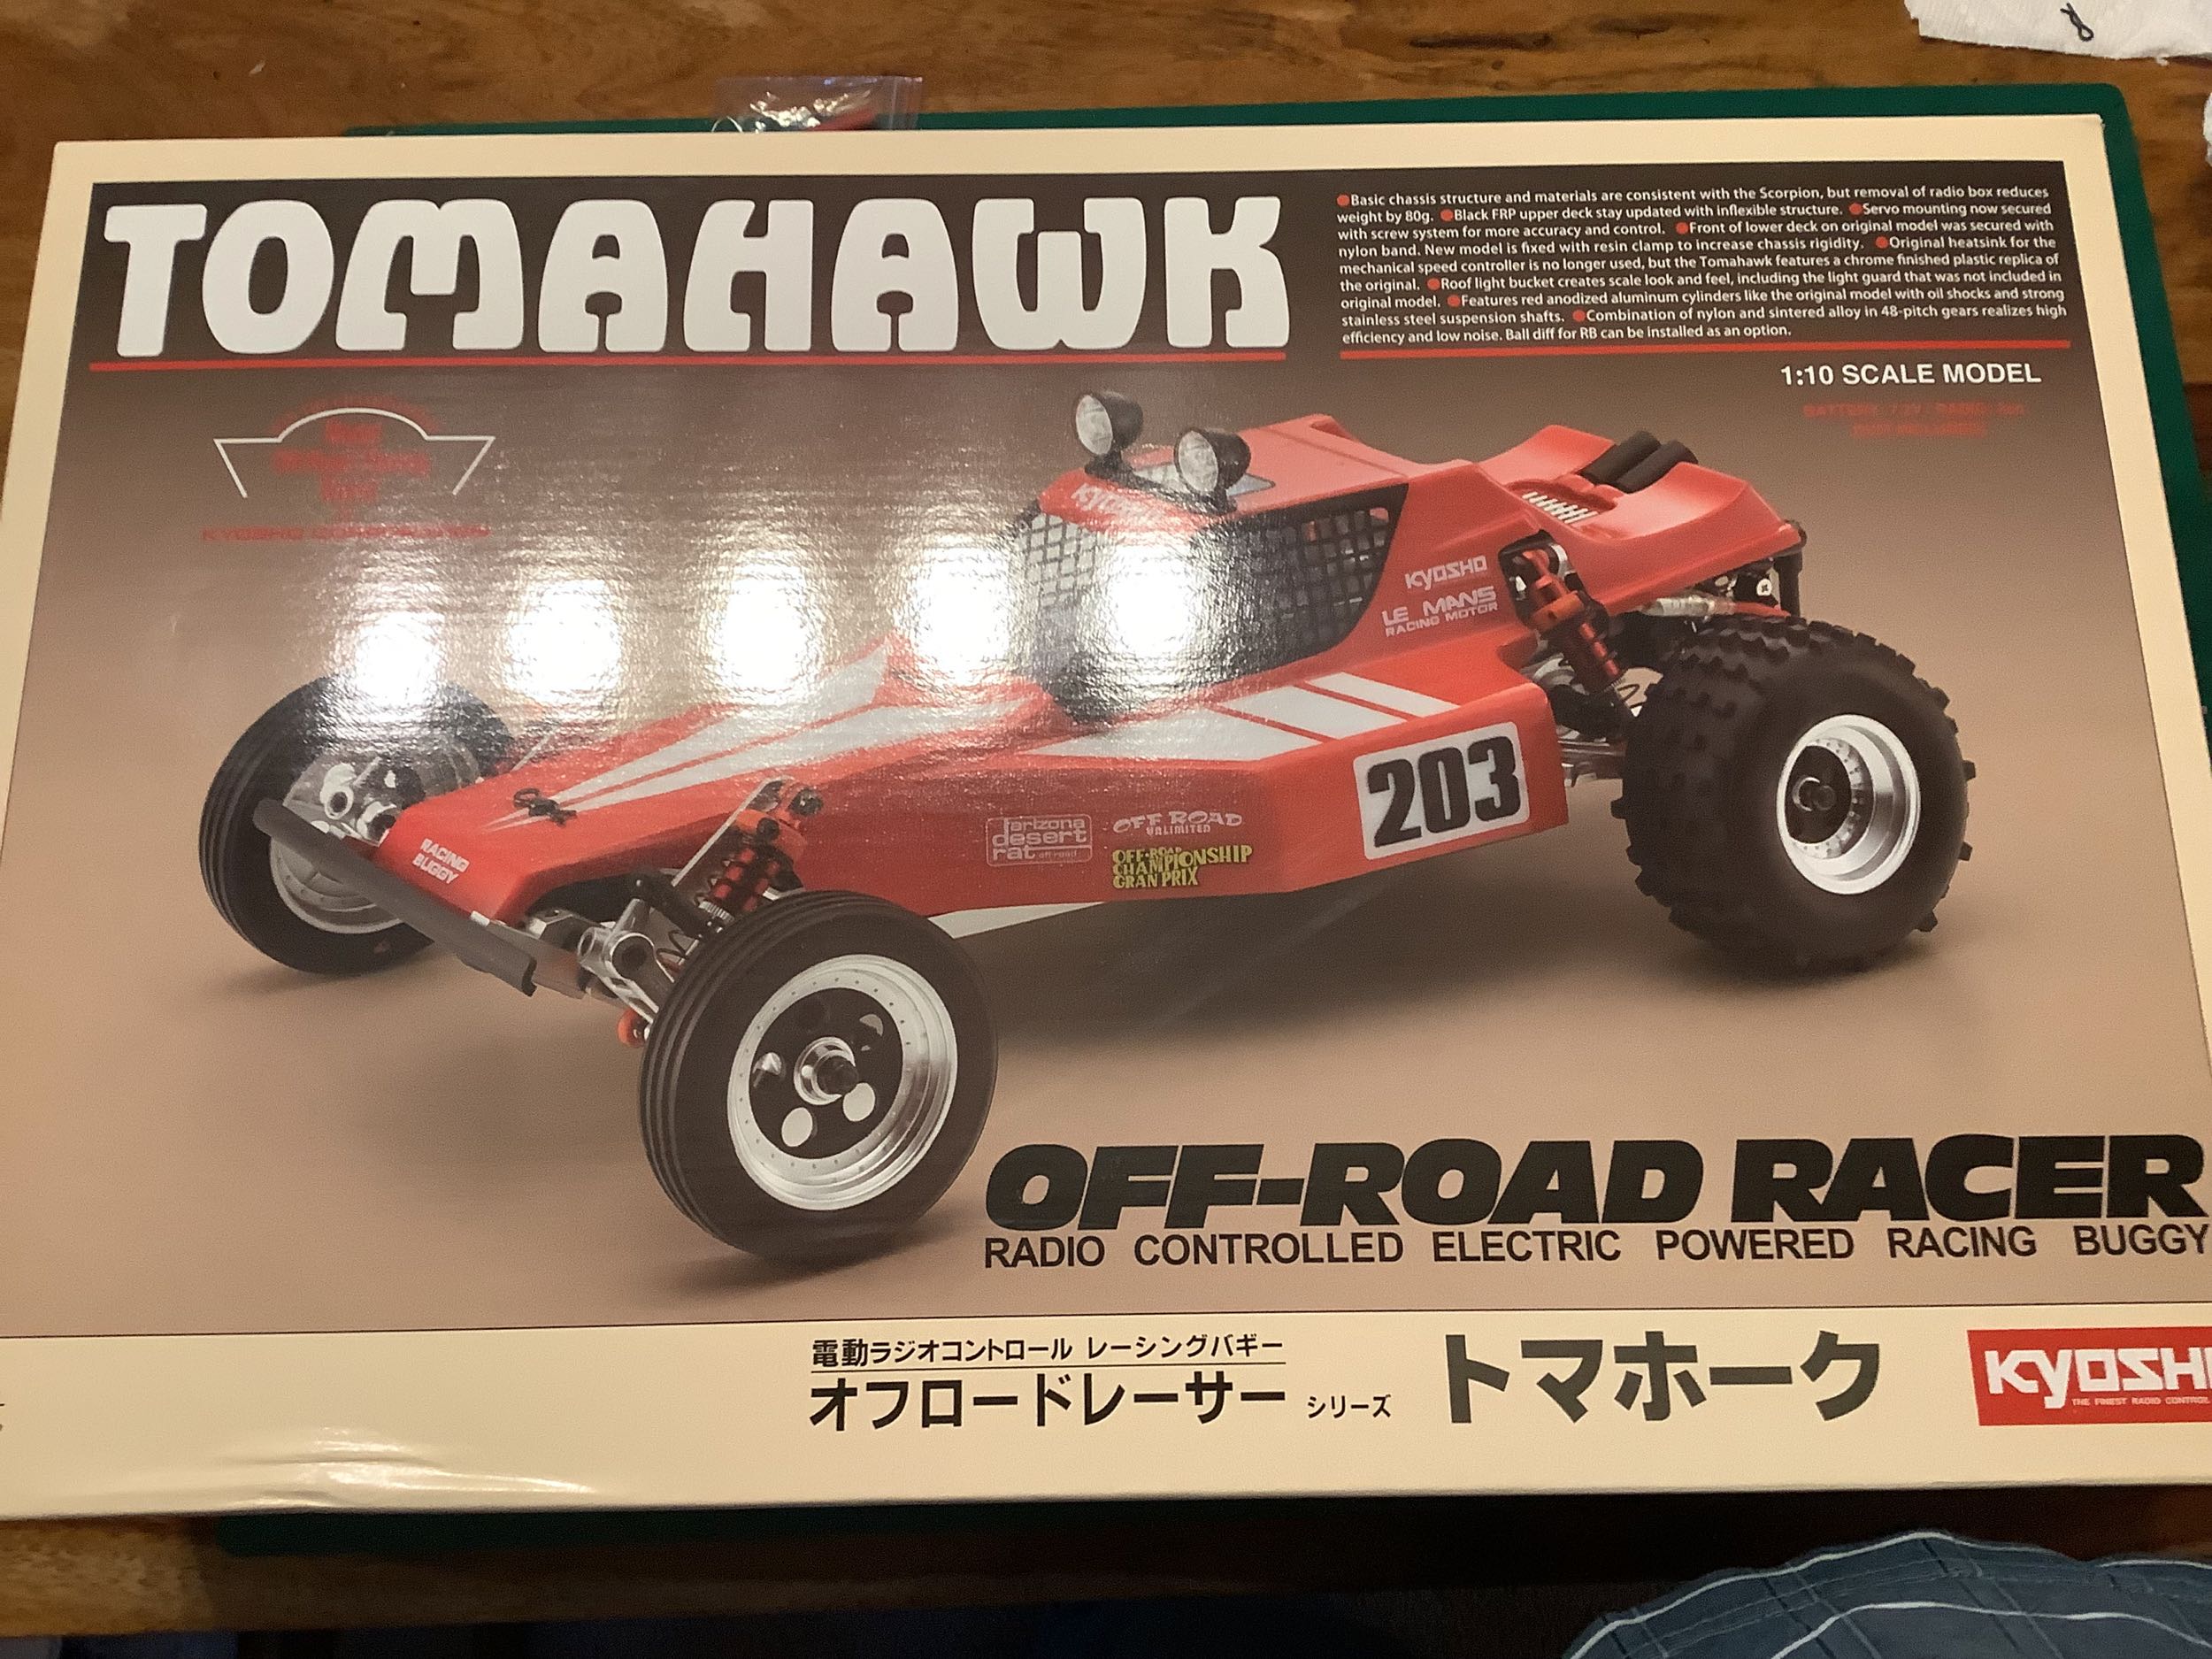
The Tomahawk comes in a box which has a yellowish hue as though it's
been sitting on a hobby store shelf for 30 years. This is a modern
rendition though and even though it was released in 2015, Kyosho has
updated it over the intervening years and is now selling version
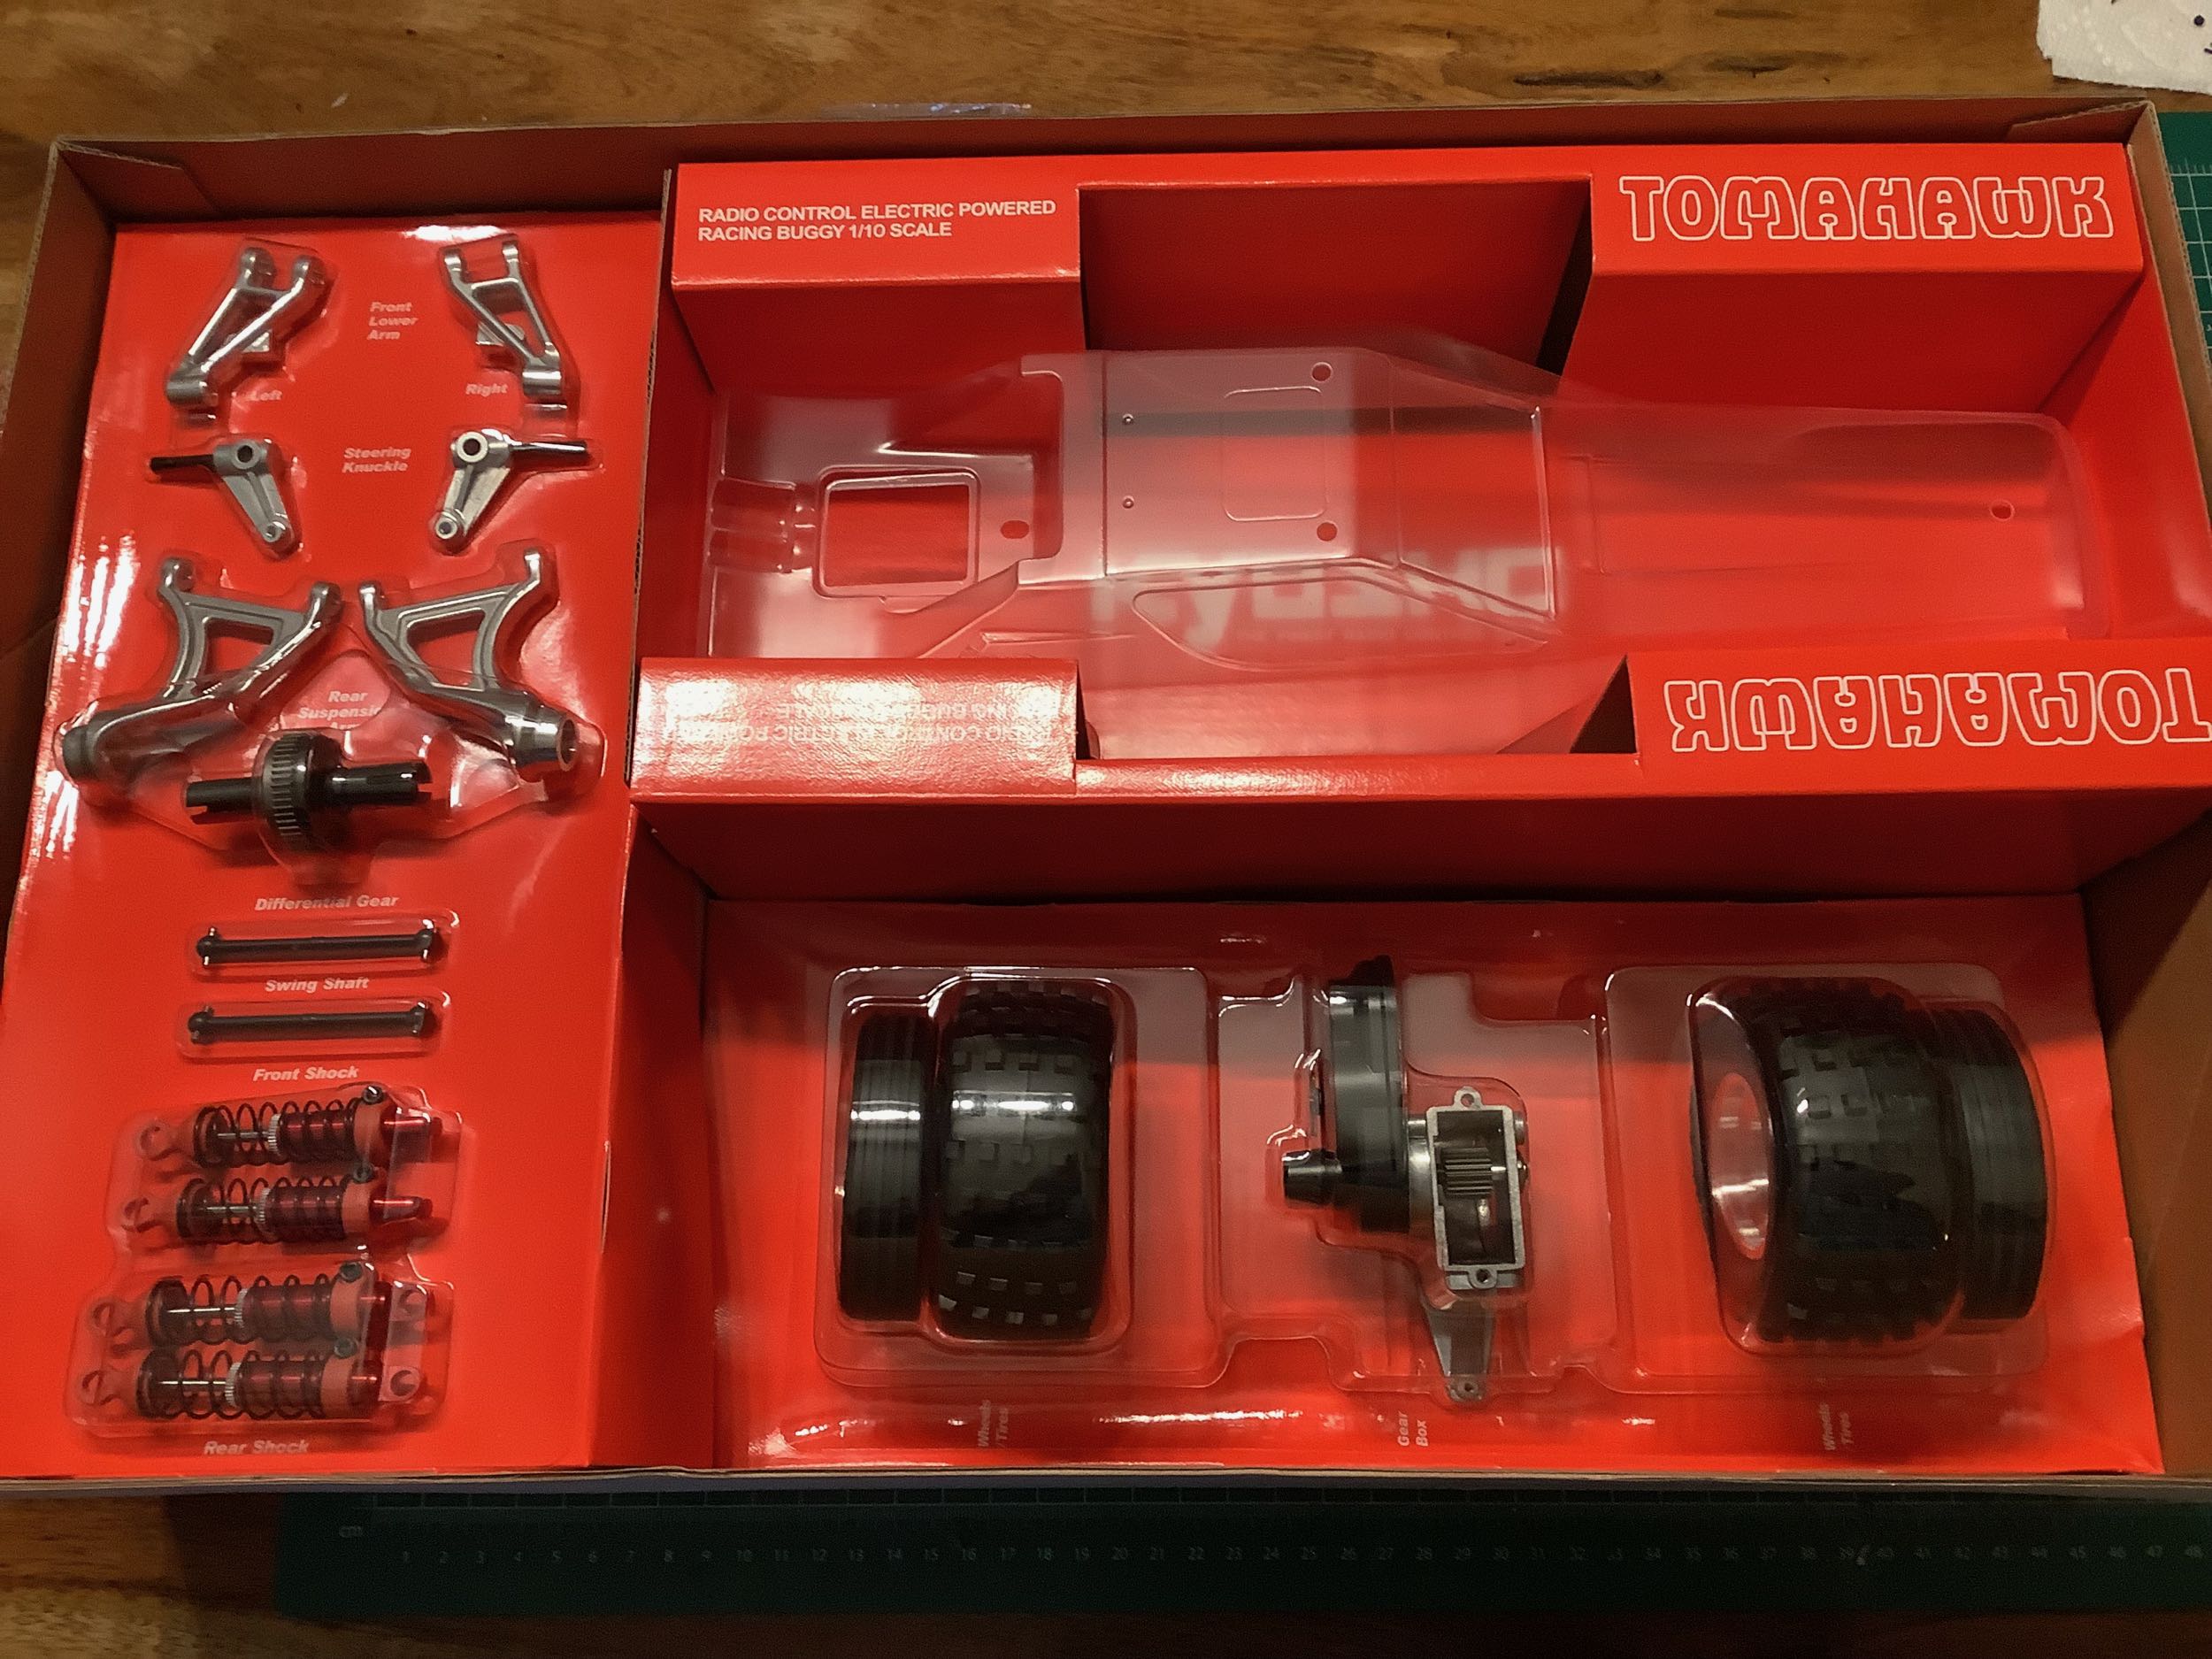
C. On the inside you can see the lovely blister packs that
highlight the suspension parts and the pre-built shocks, differential,
and gearbox. The tires are even installed on the wheels
already. My preference is to do all those things myself, but since
I already did so with the Scorpion I decided to just use these as-is.
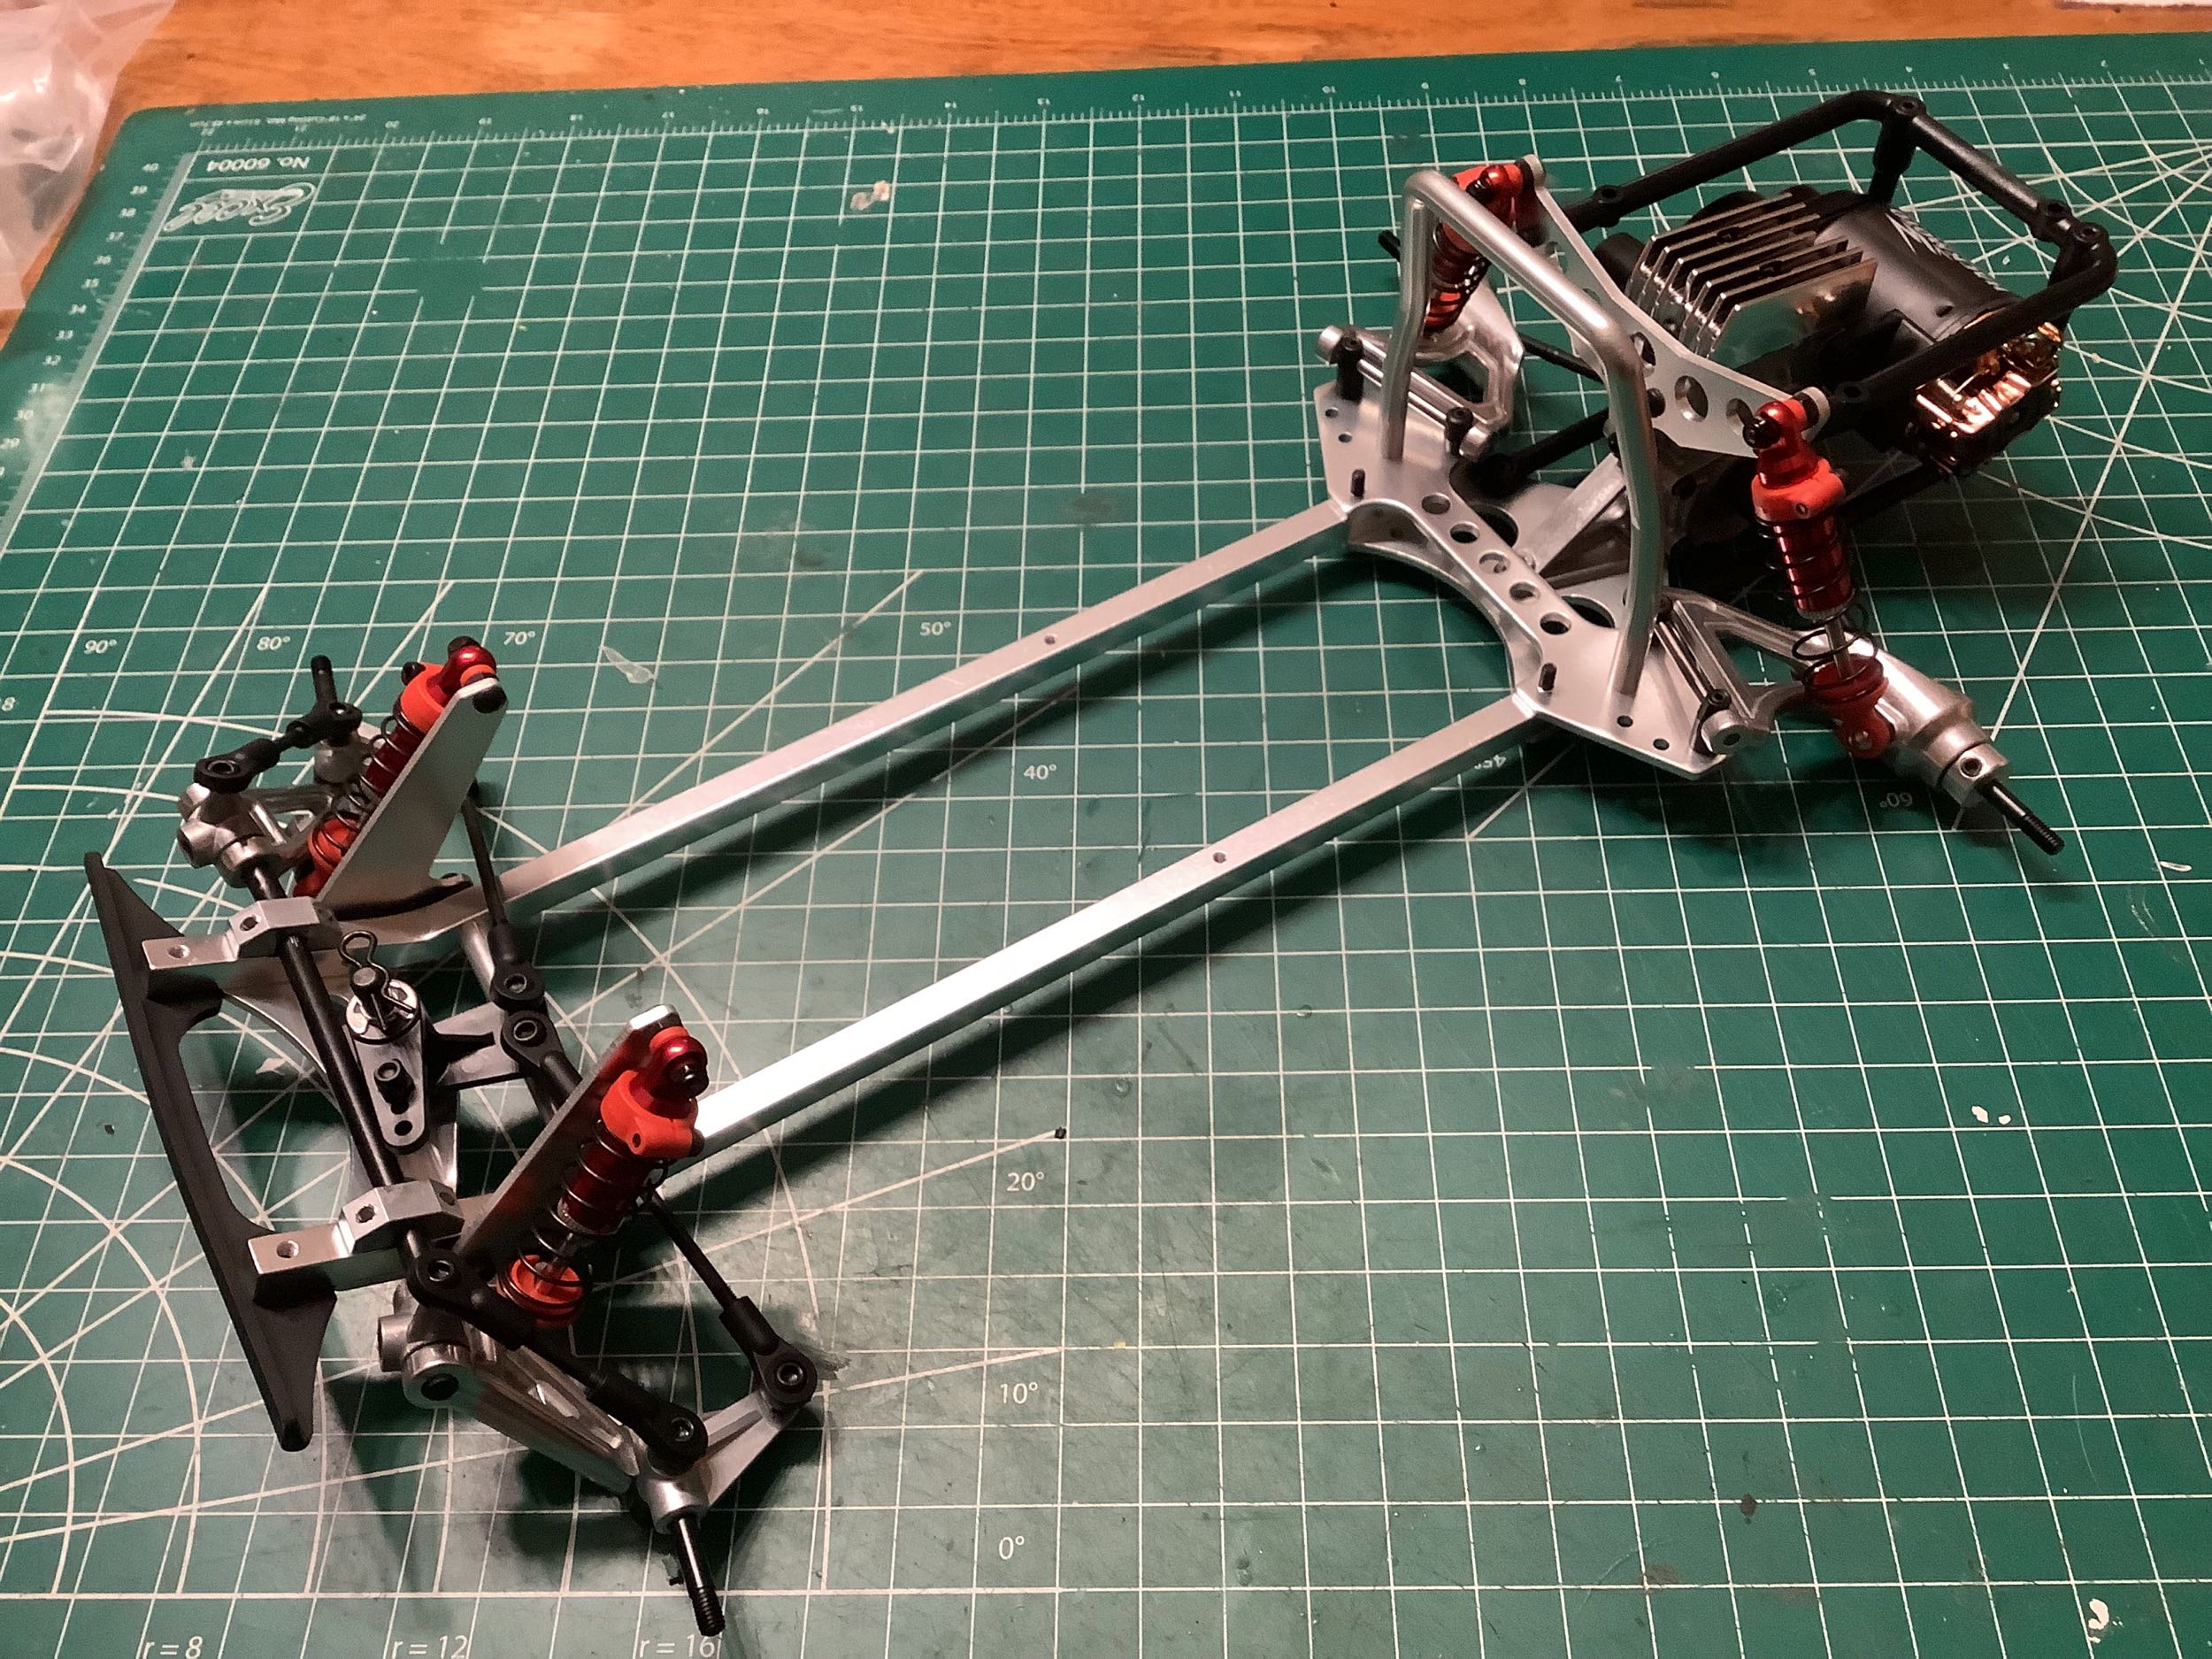
Up to the stage shown on the left, the chassis is nearly identical to
the Scorpion. The bumper is a bit smaller, the shock bodies are a
different color, and the roll bar is shaped a bit different.
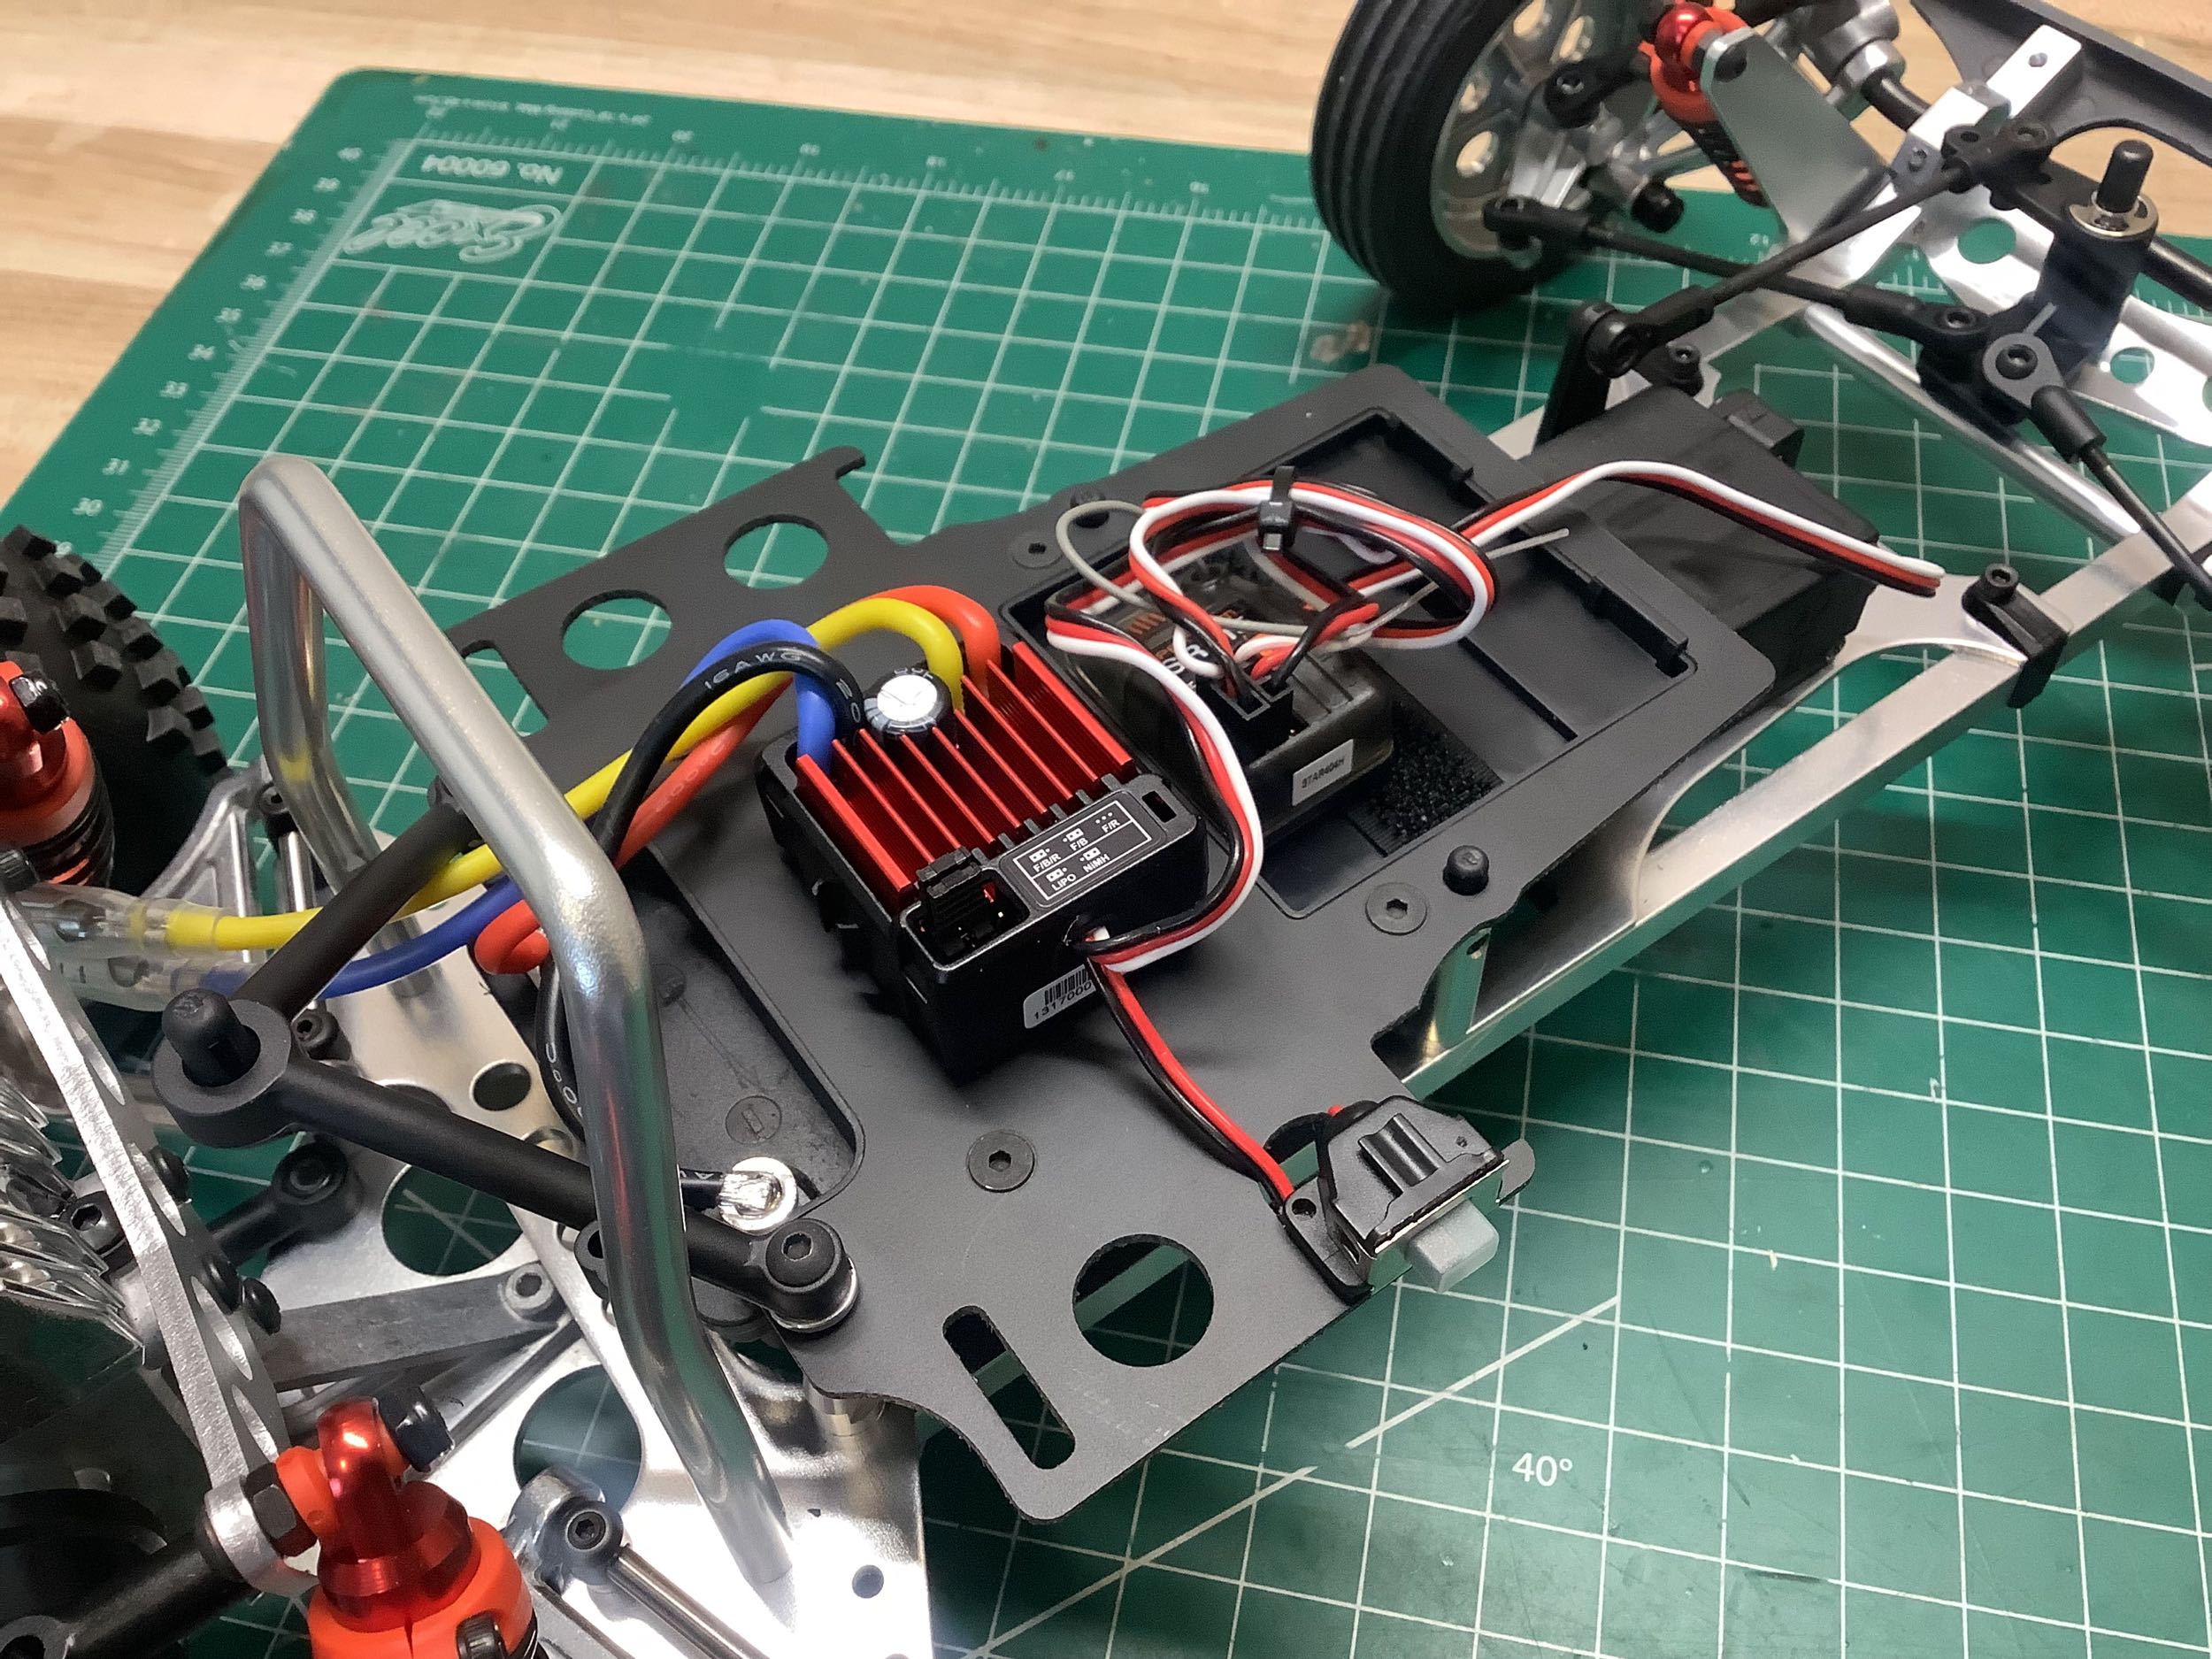
Otherwise it is the same thing. On the right things have changed
though. The Scorpion's large plastic electronics bathtub has been
replaced with a pair of FRP decks. These can be configured for two
different types of batteries. The standard layout is for a
laterally mounted stick pack, but I've chosen the optional longitudinal
bay for a shorty Li-Po. There's really no need for such a battery
in a model like this, but I wanted to differentiate it from the Scorpion
as much as possible.
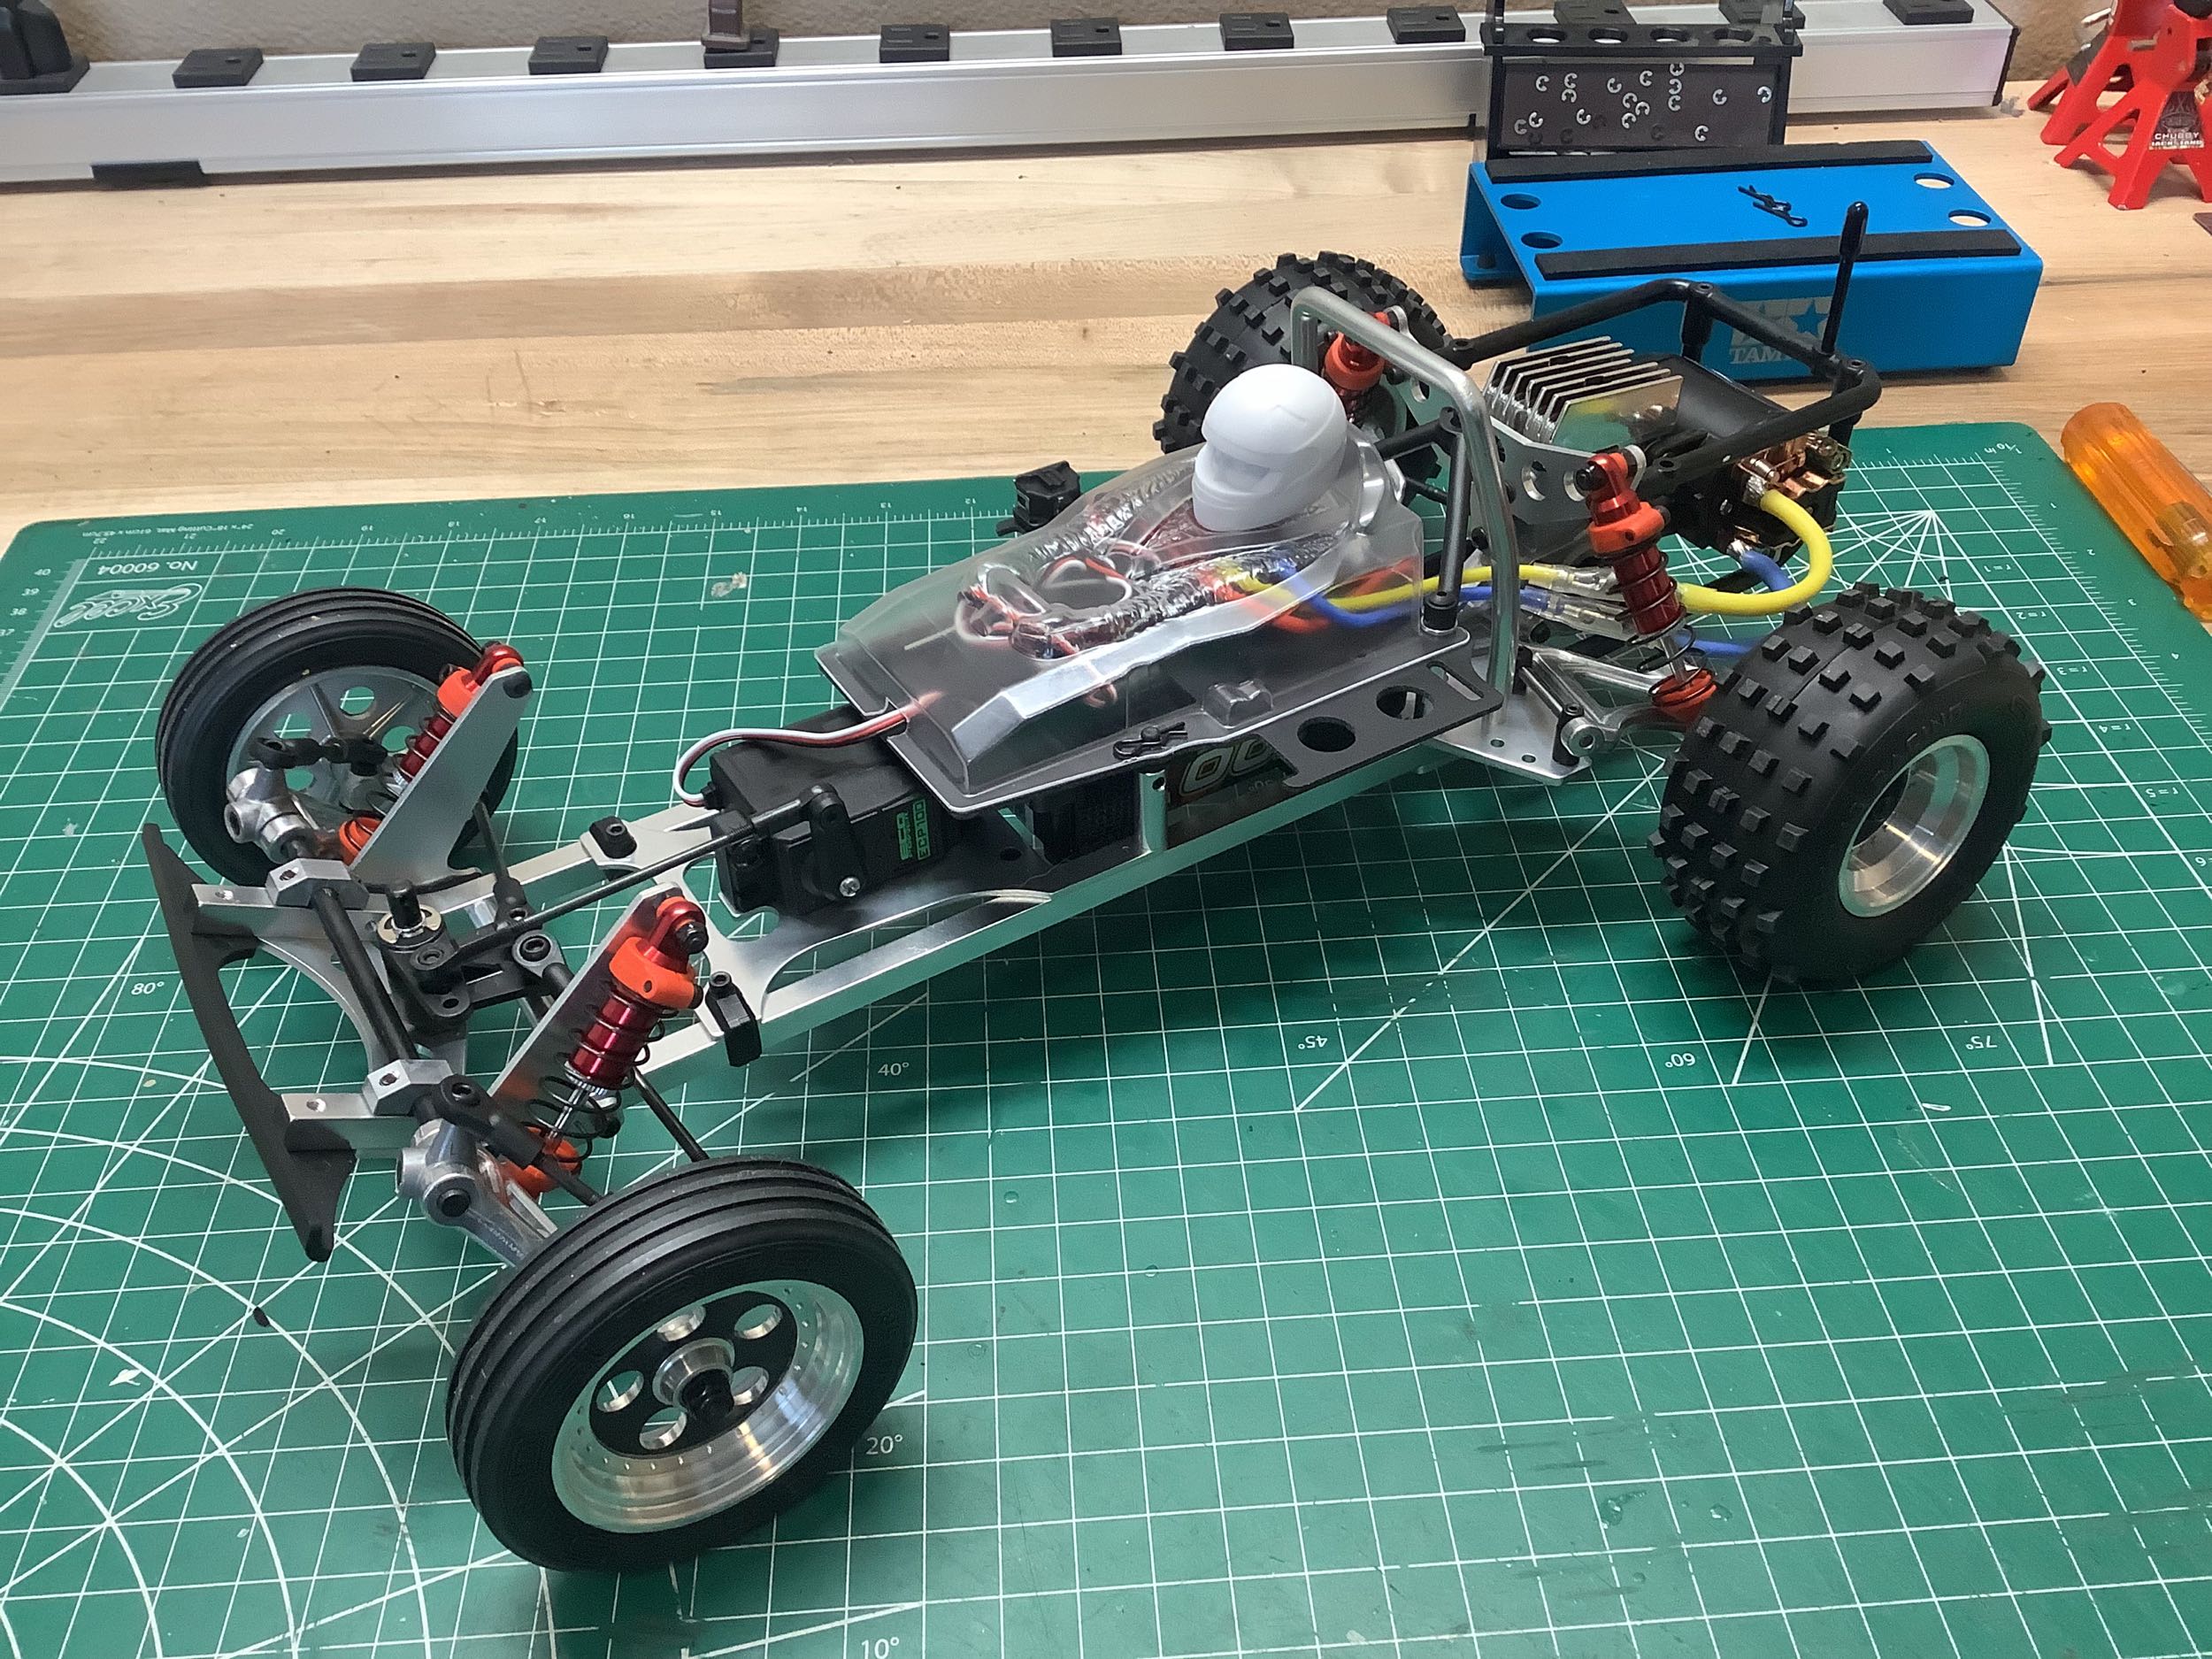
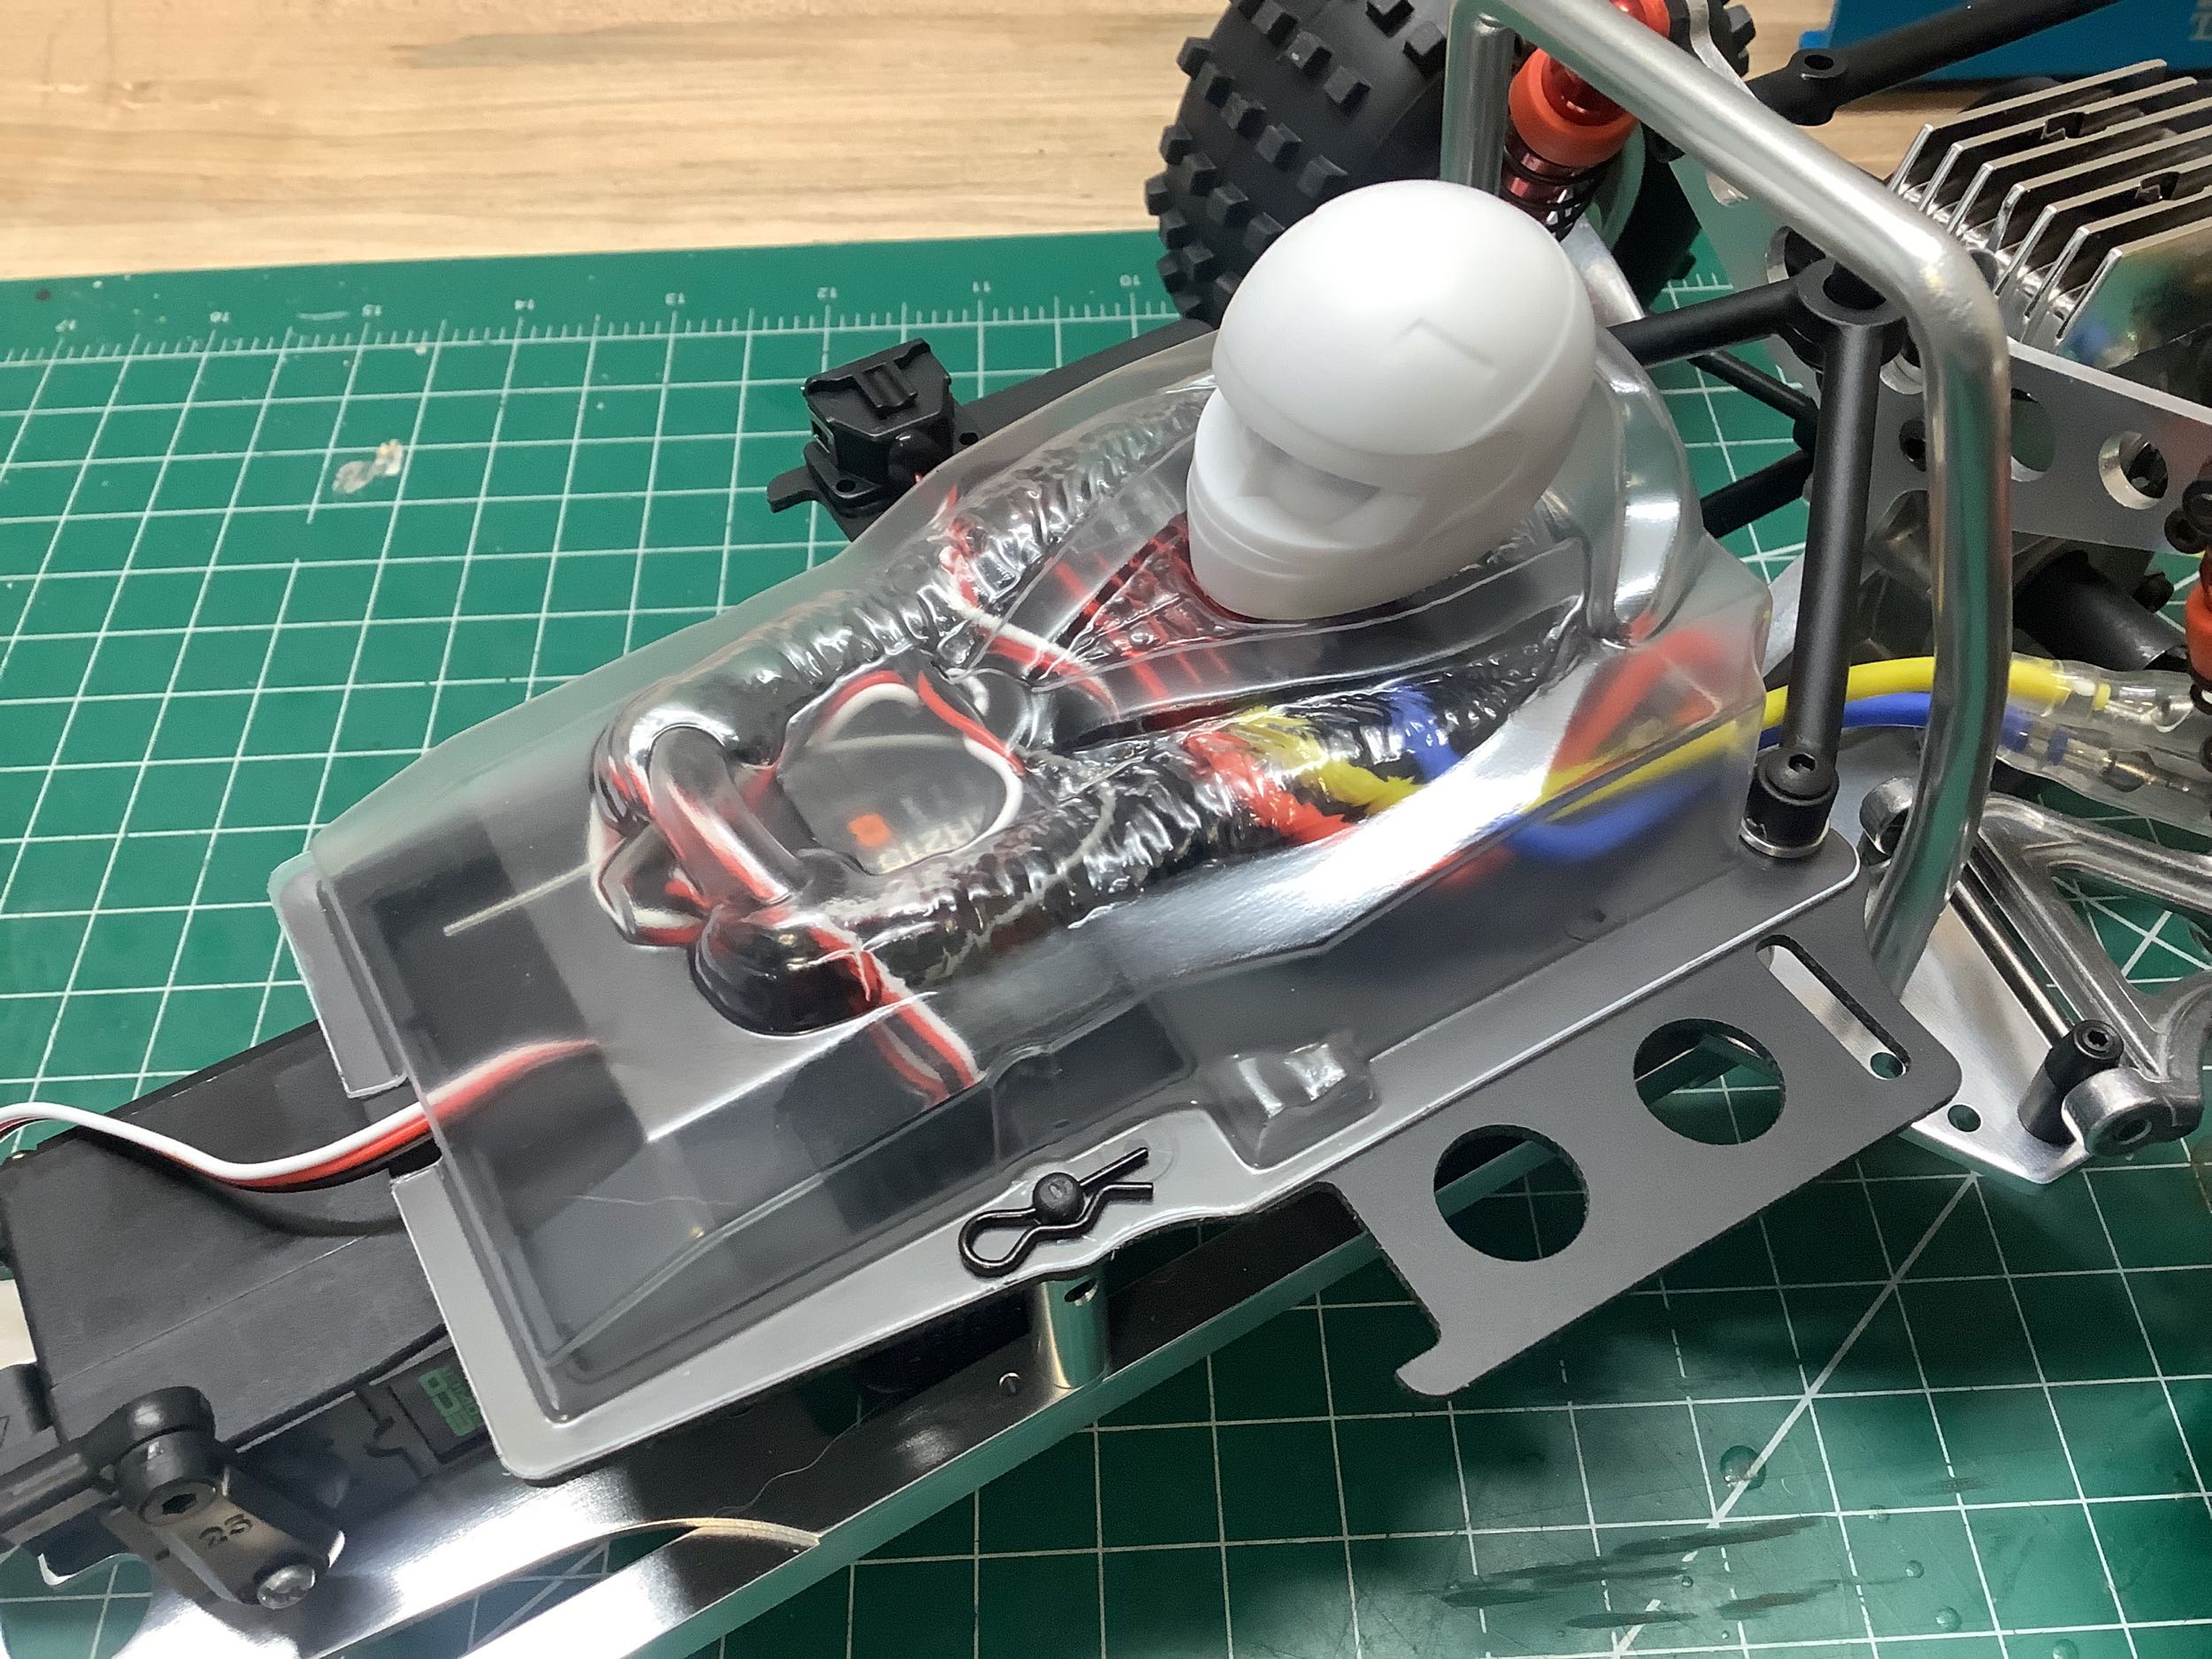
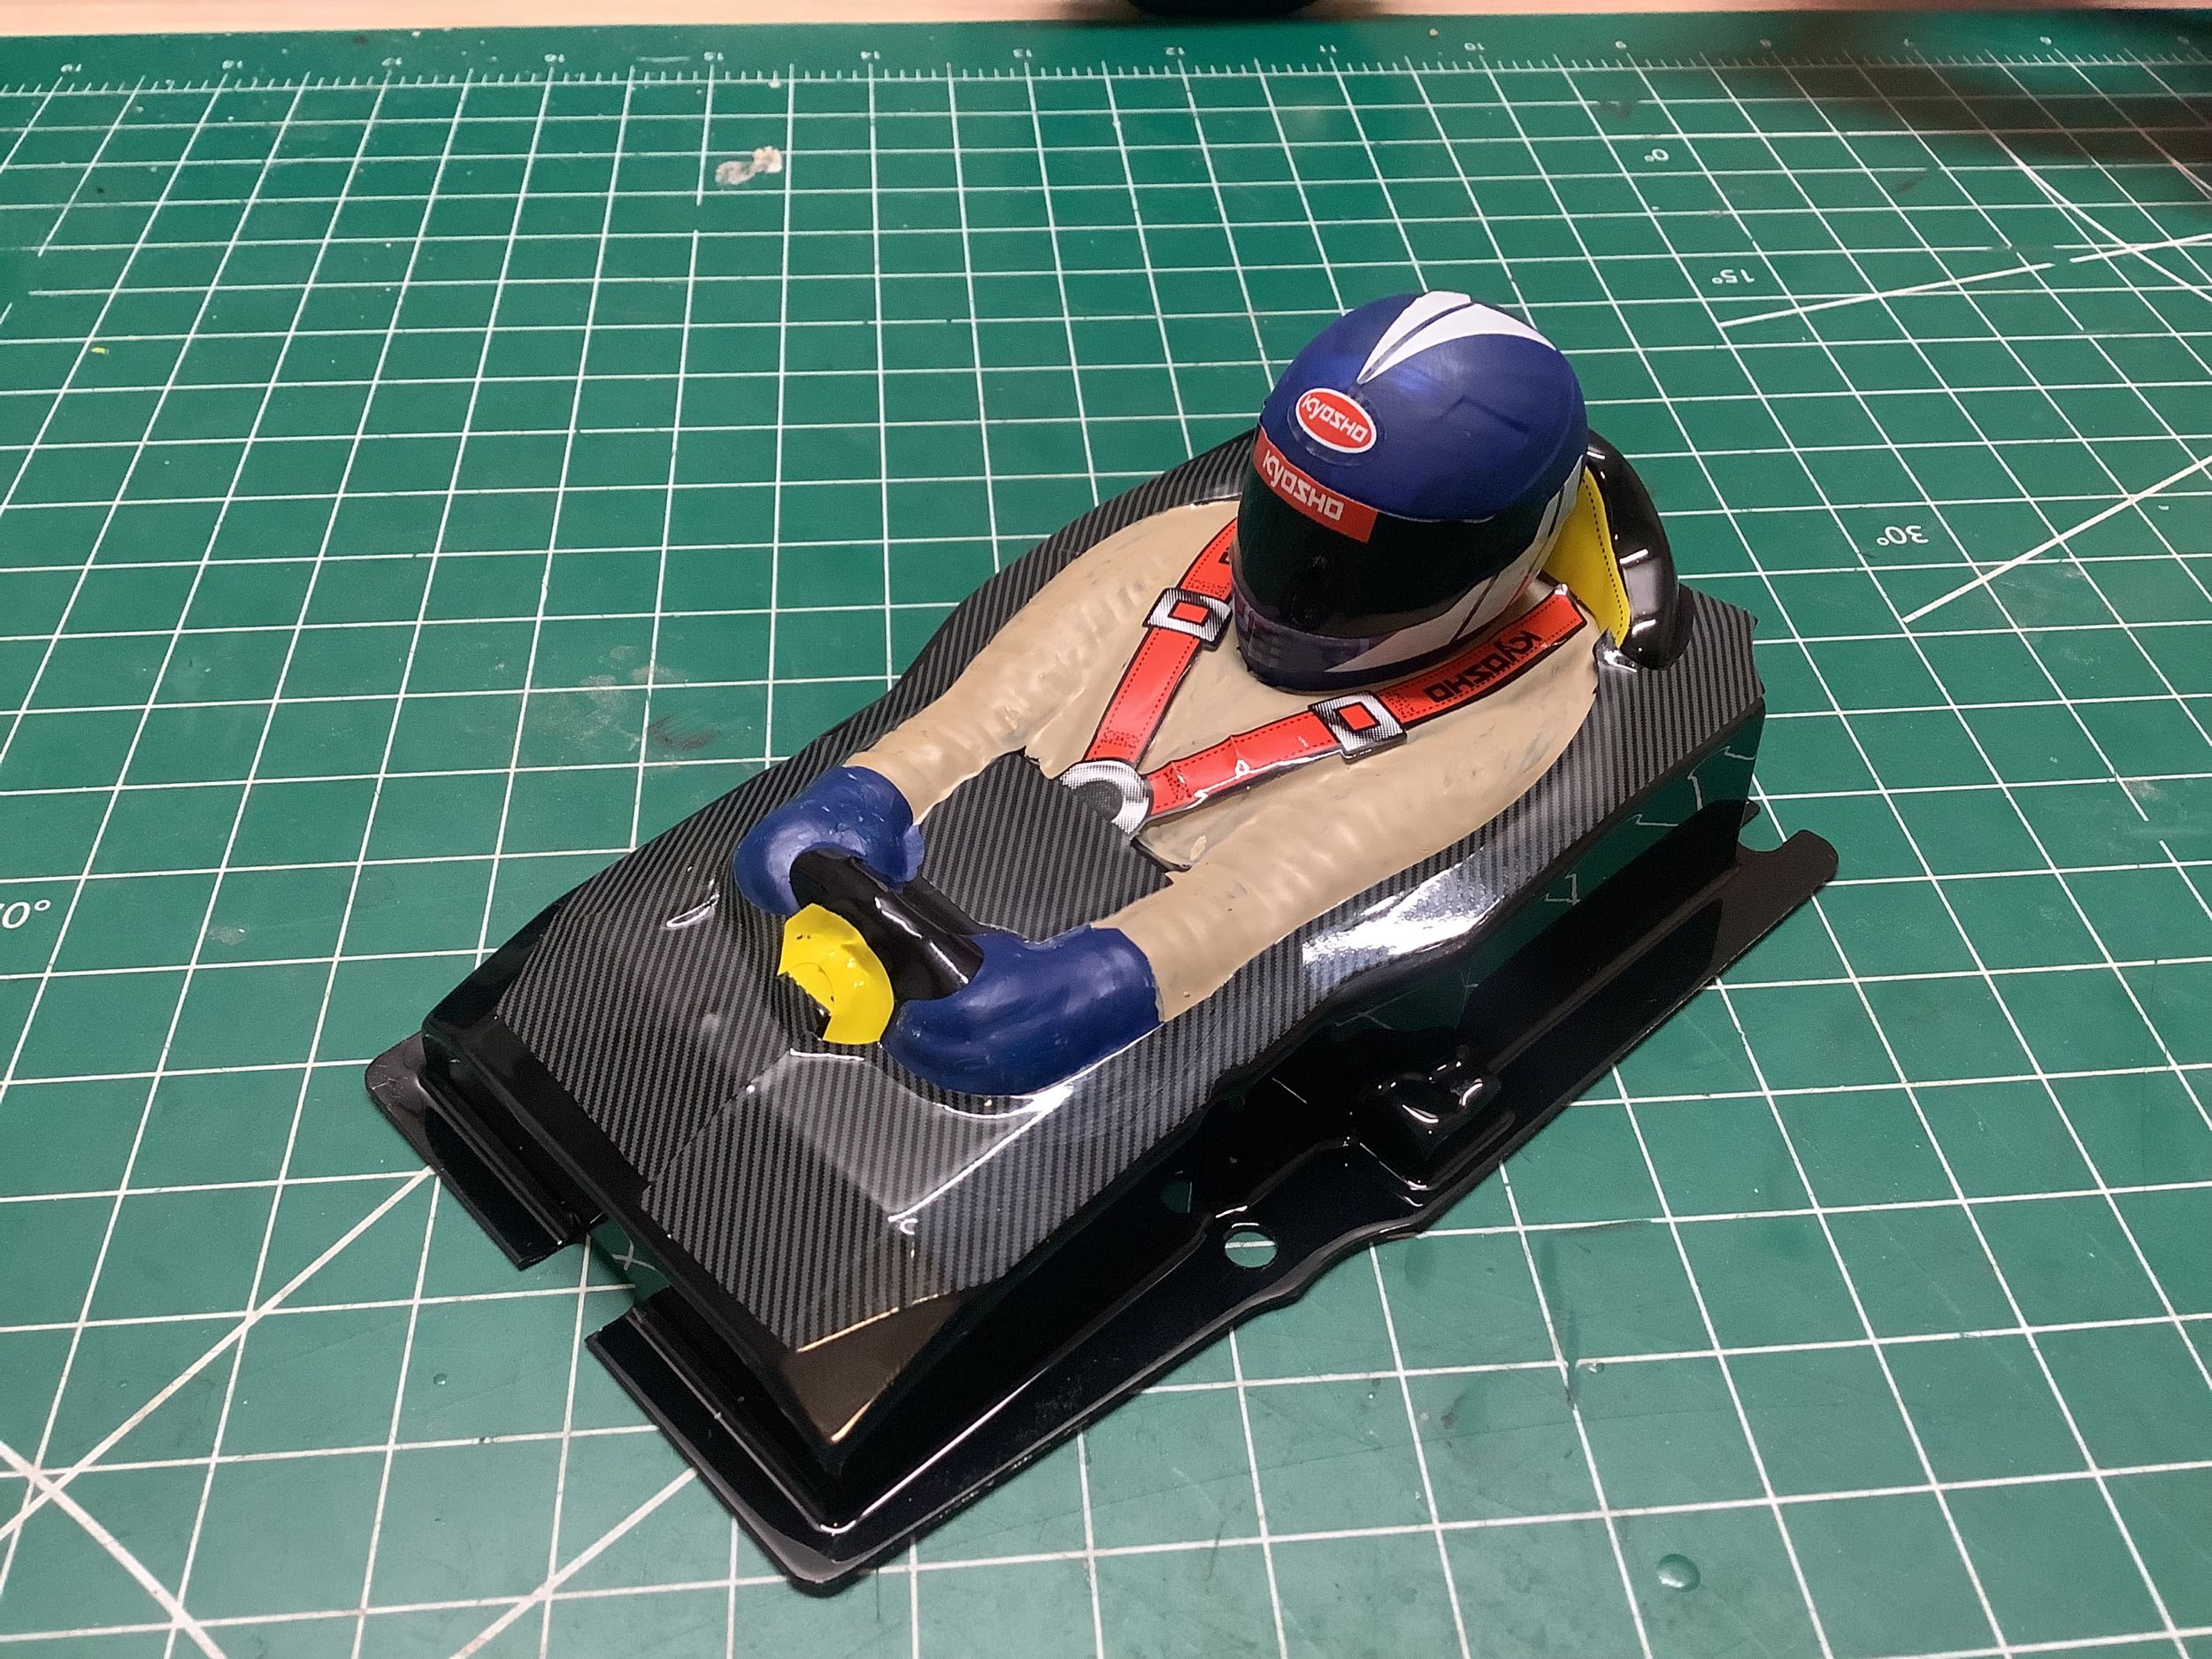
The polycarbonate driver figure hides the electronics which means there
is very limited space available. I was able to squeeze in my
standard ESC and receiver combo as shown.
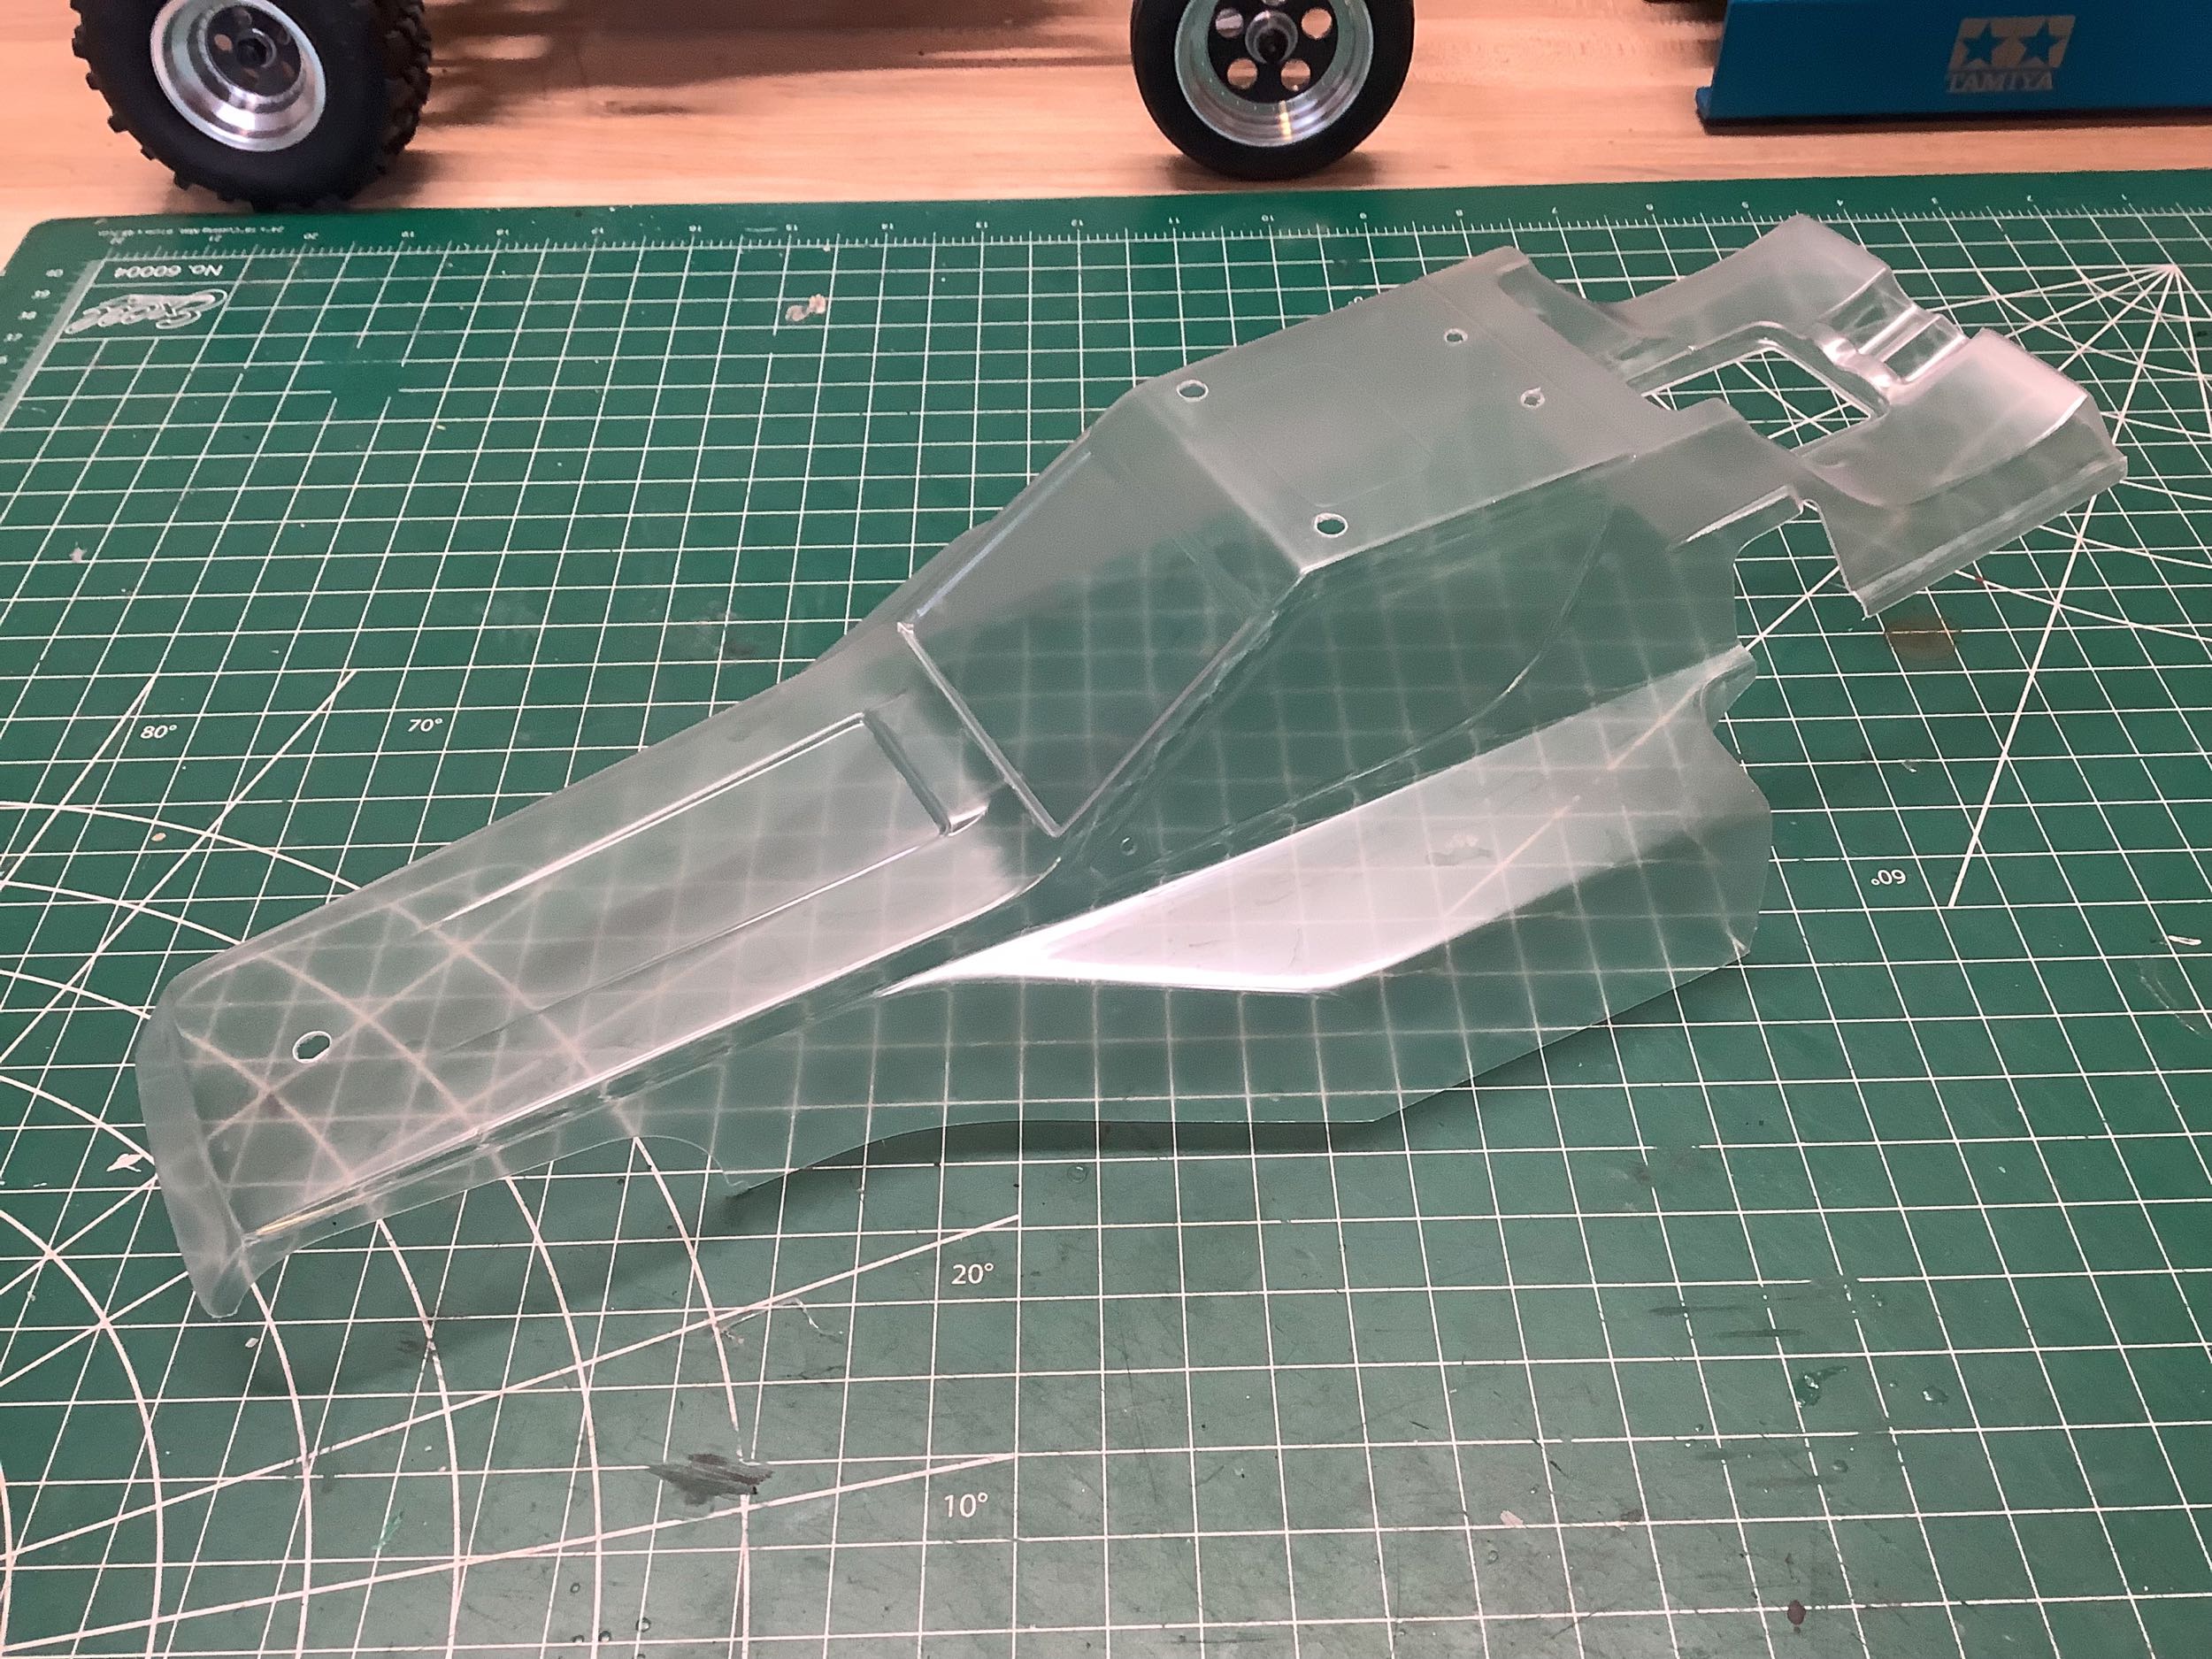
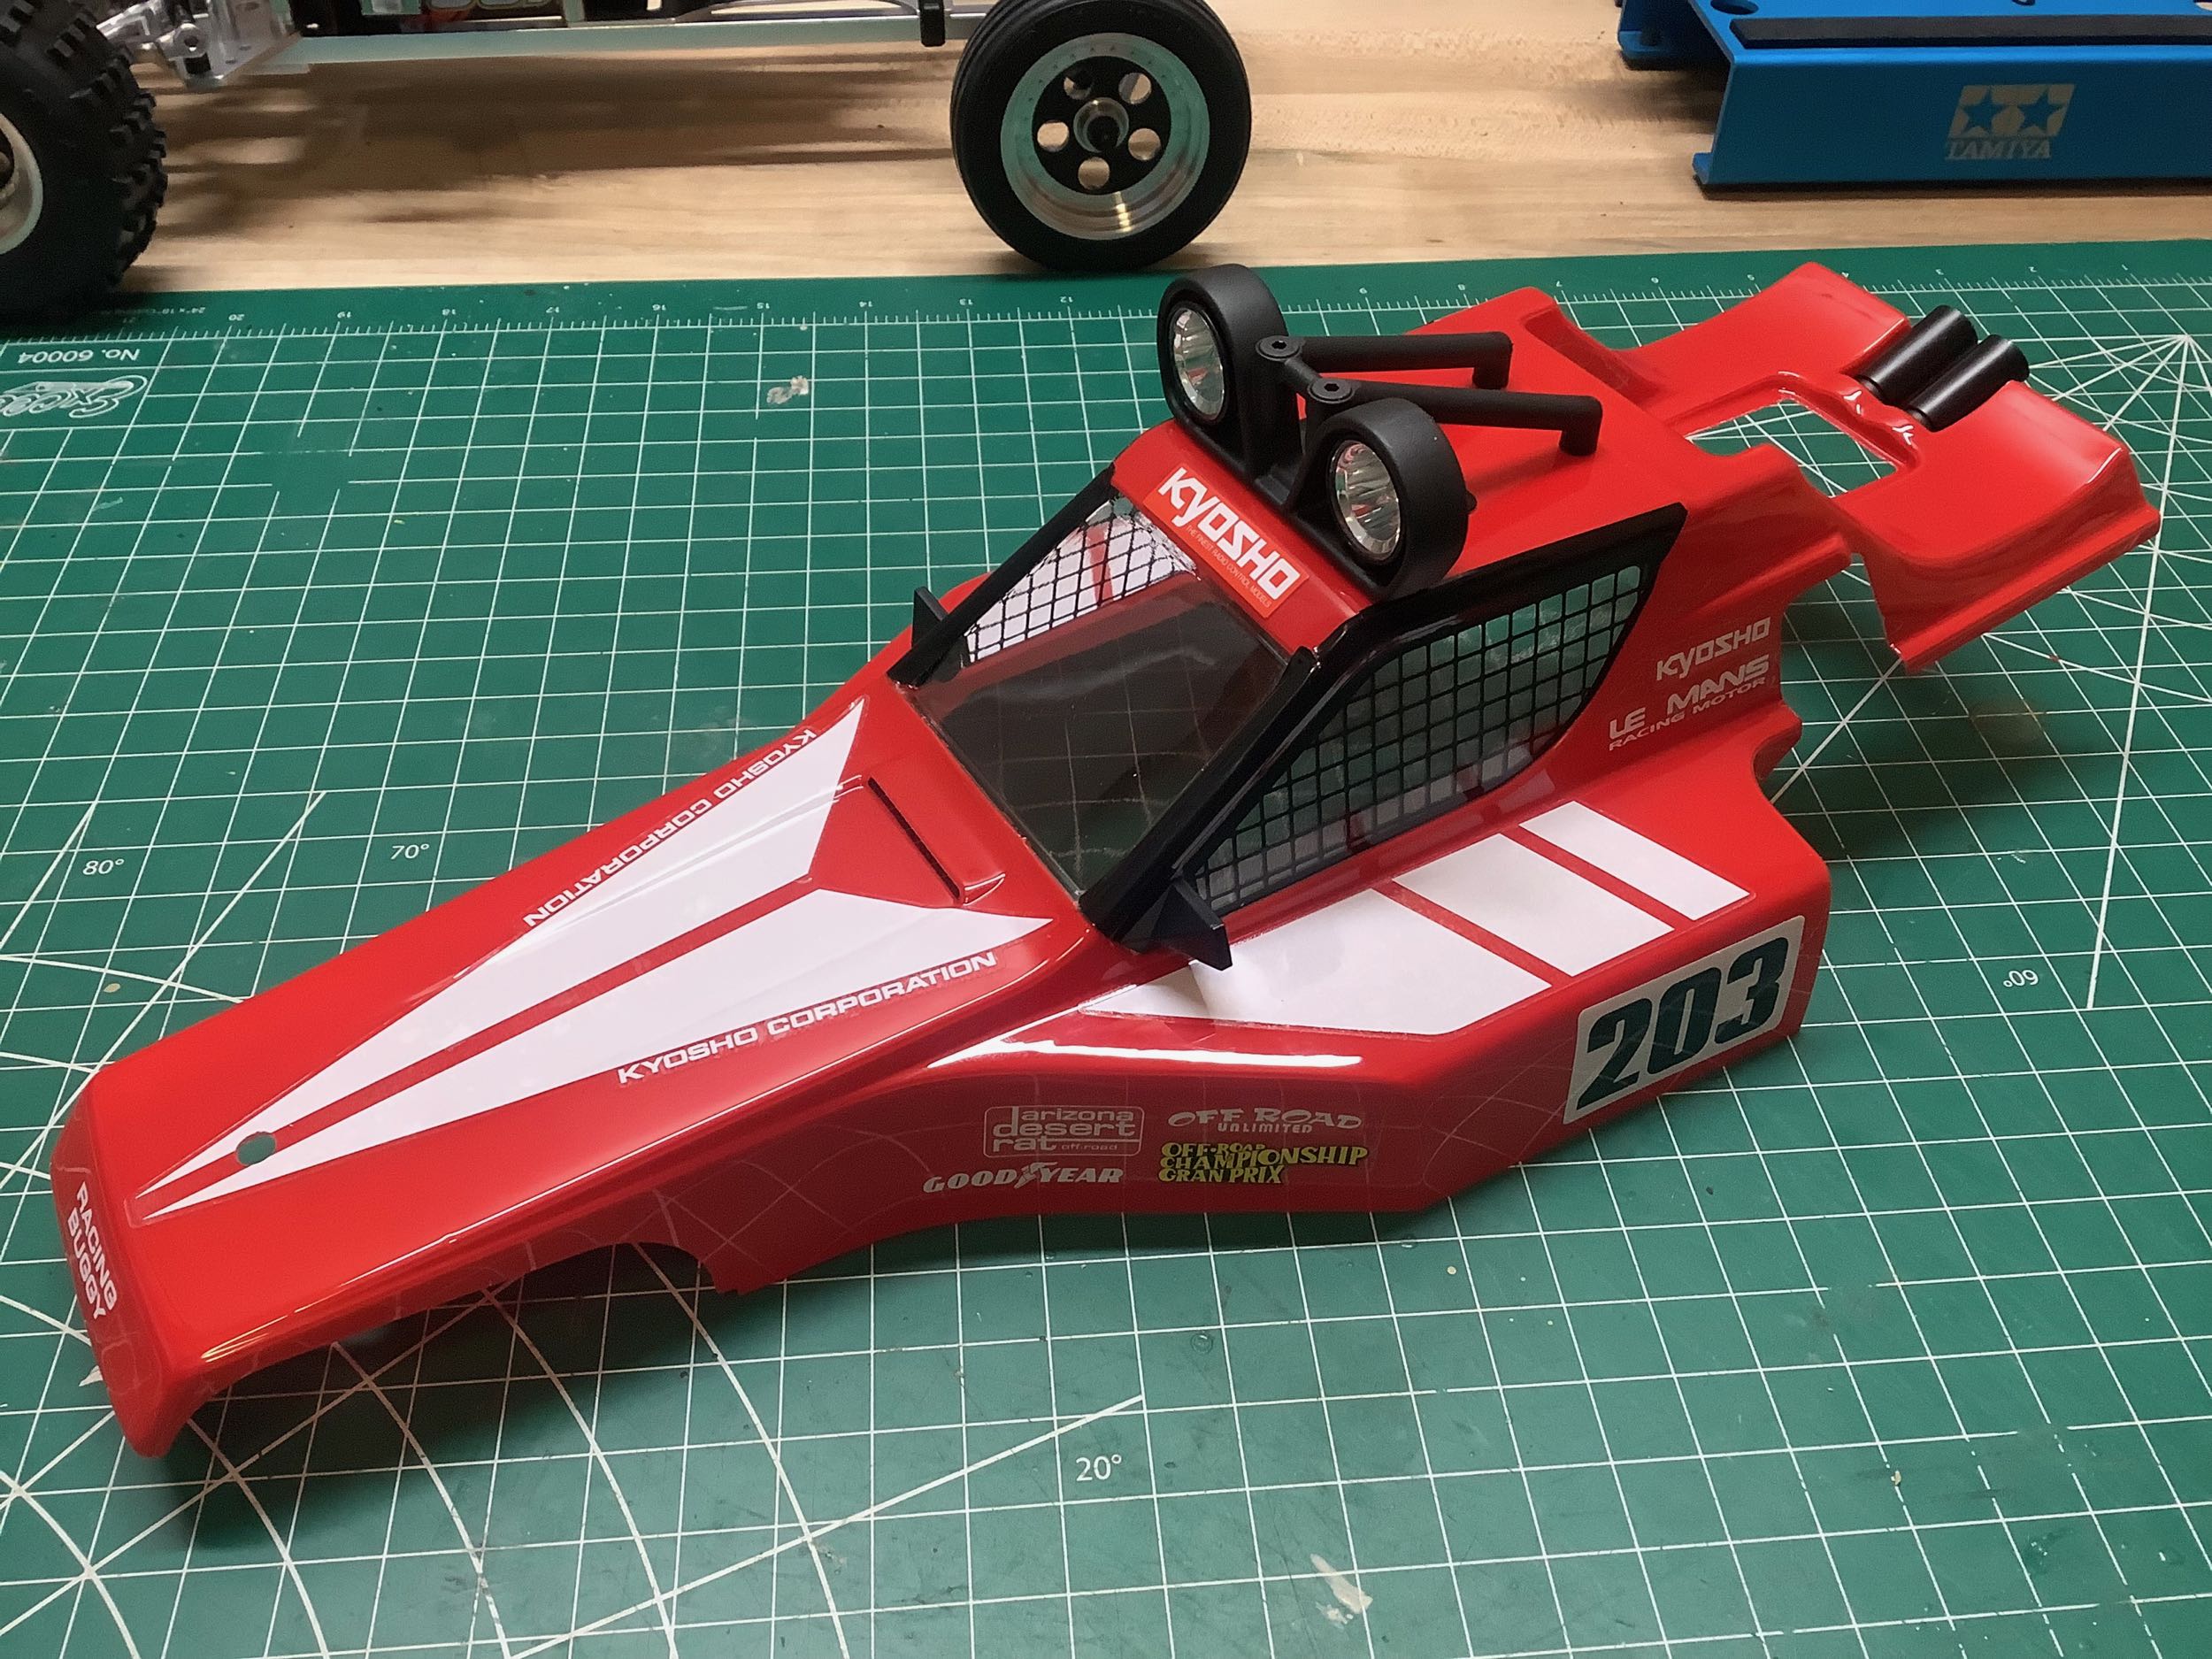
I was pleased to see that the body comes in the box already trimmed (I
hate trimming bodies) and drilled. Those cutouts over the rear
shocks would have been difficult to trim manually. Kyosho also
supplies a pre-cut set of window masks which I've applied on the right
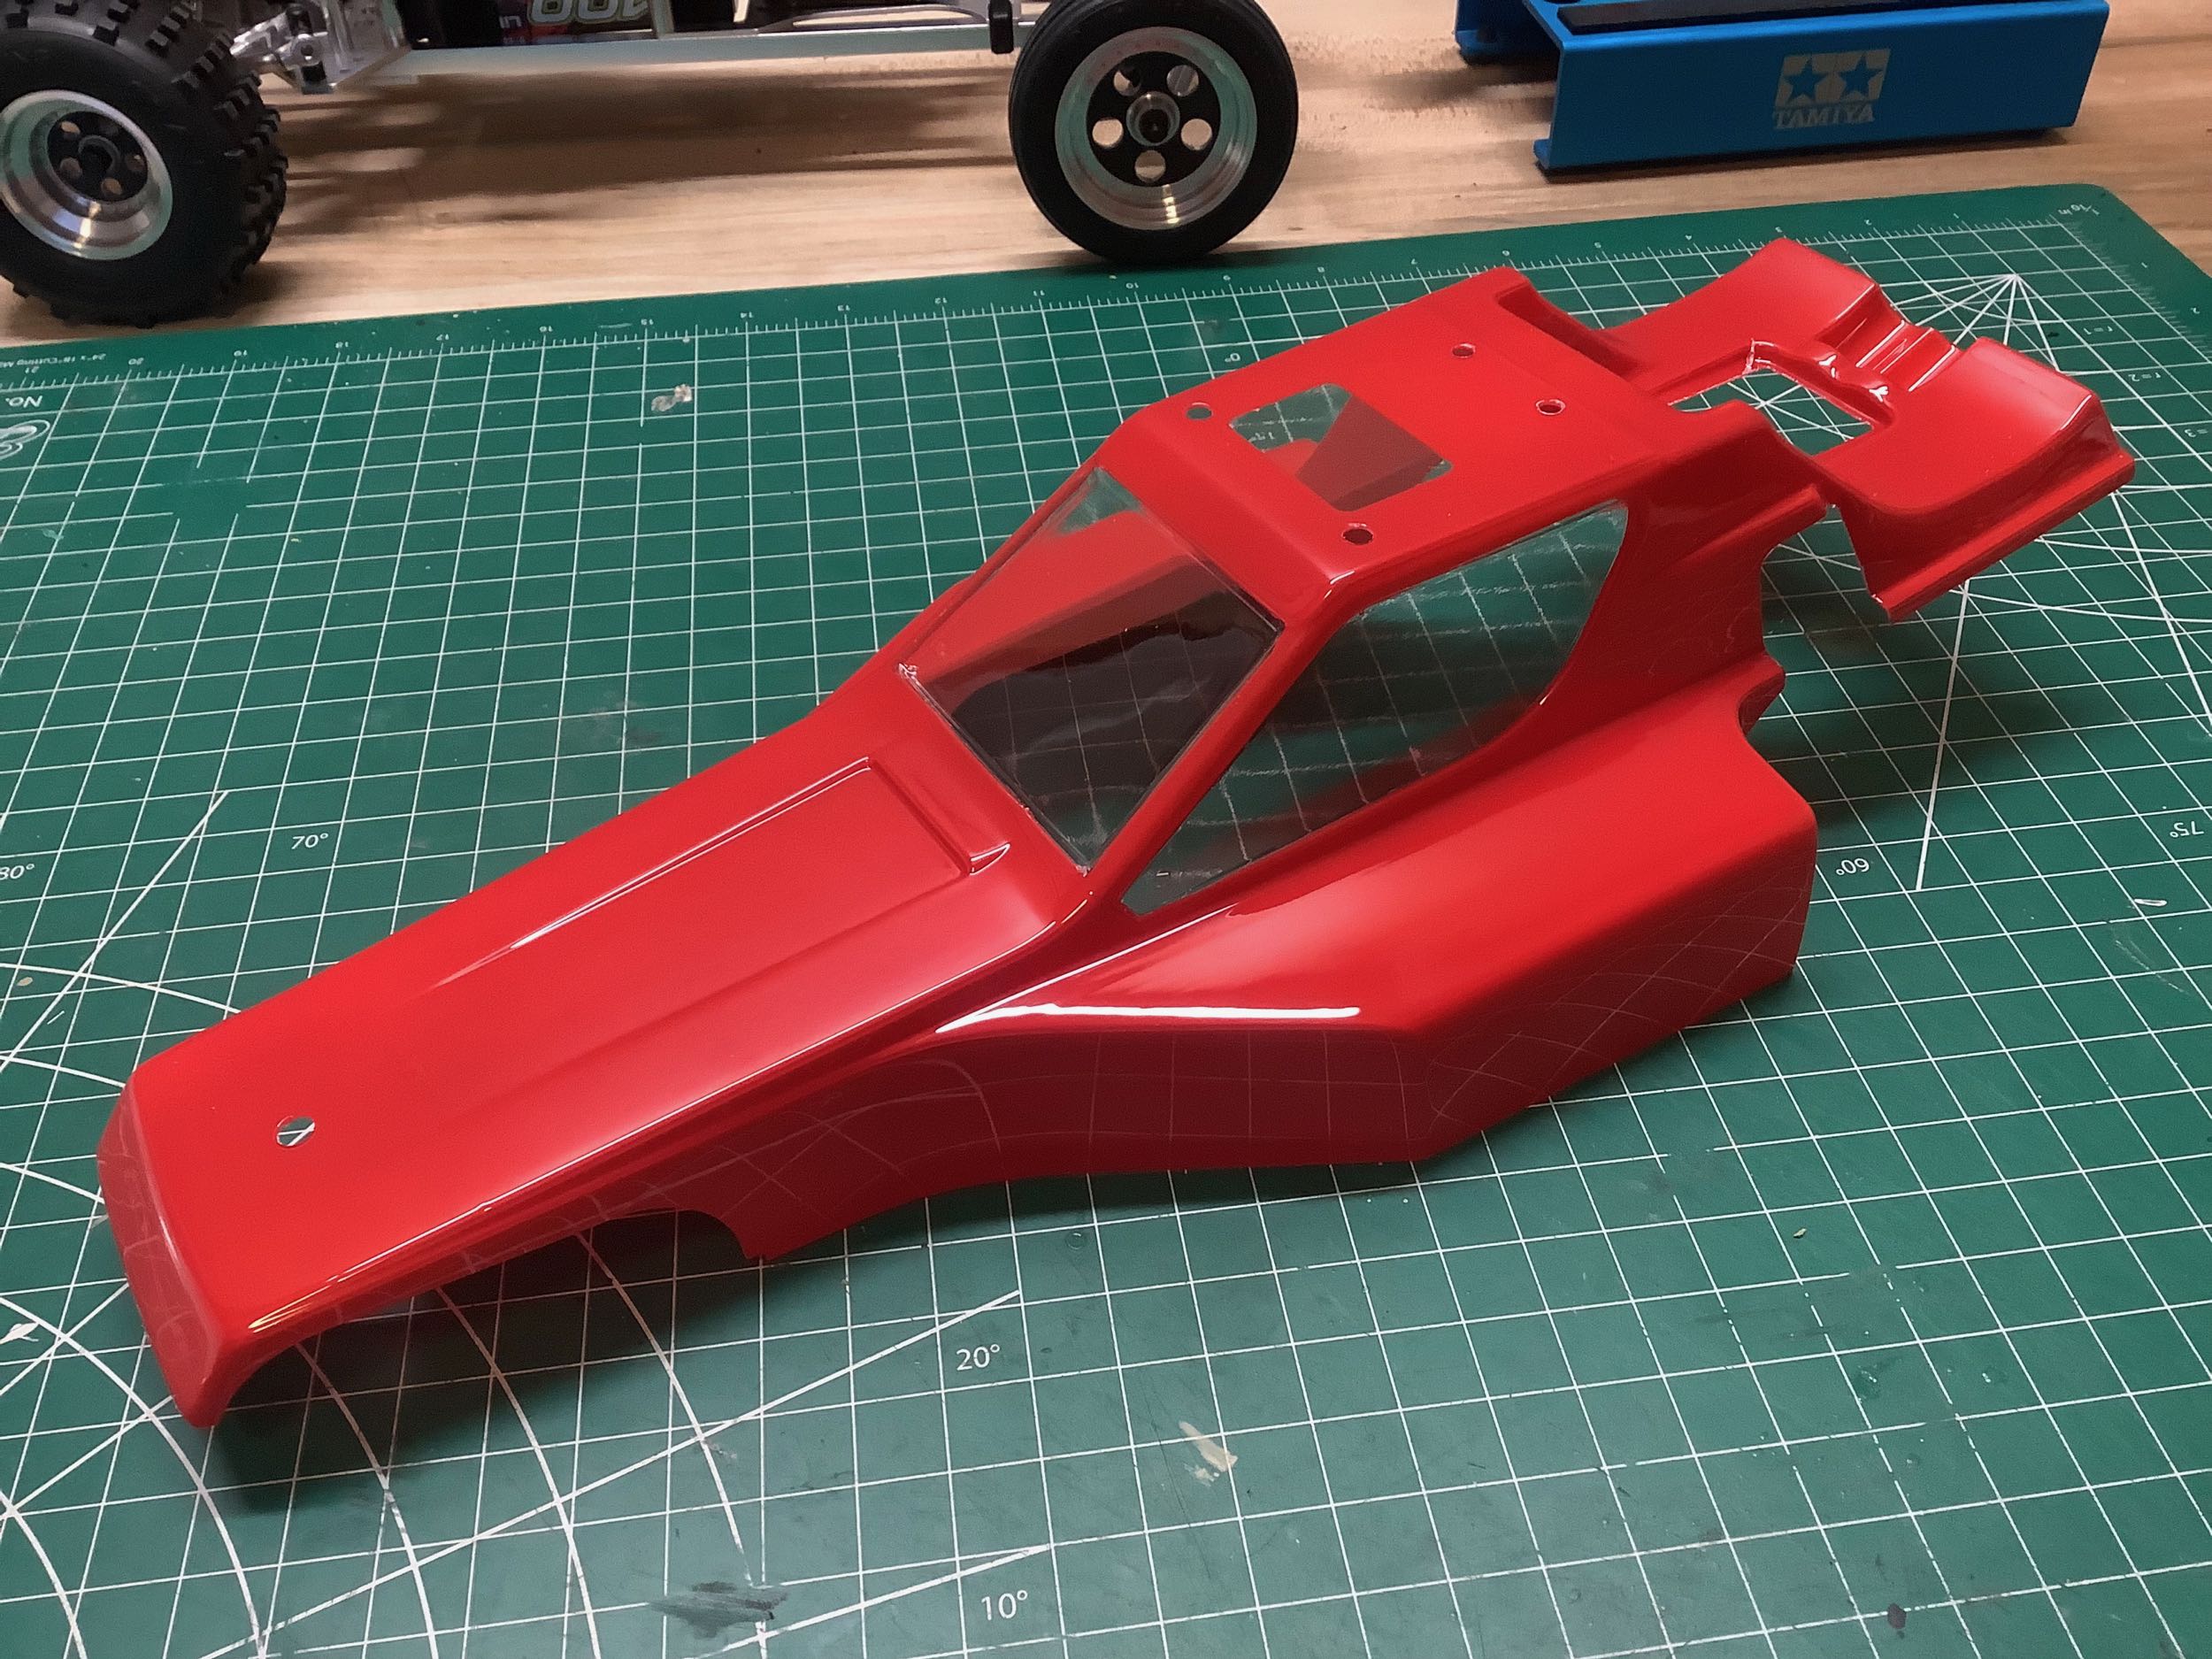
prior to applying the Tamiya red paint. I've backed it in white to
make it as bright as possible.
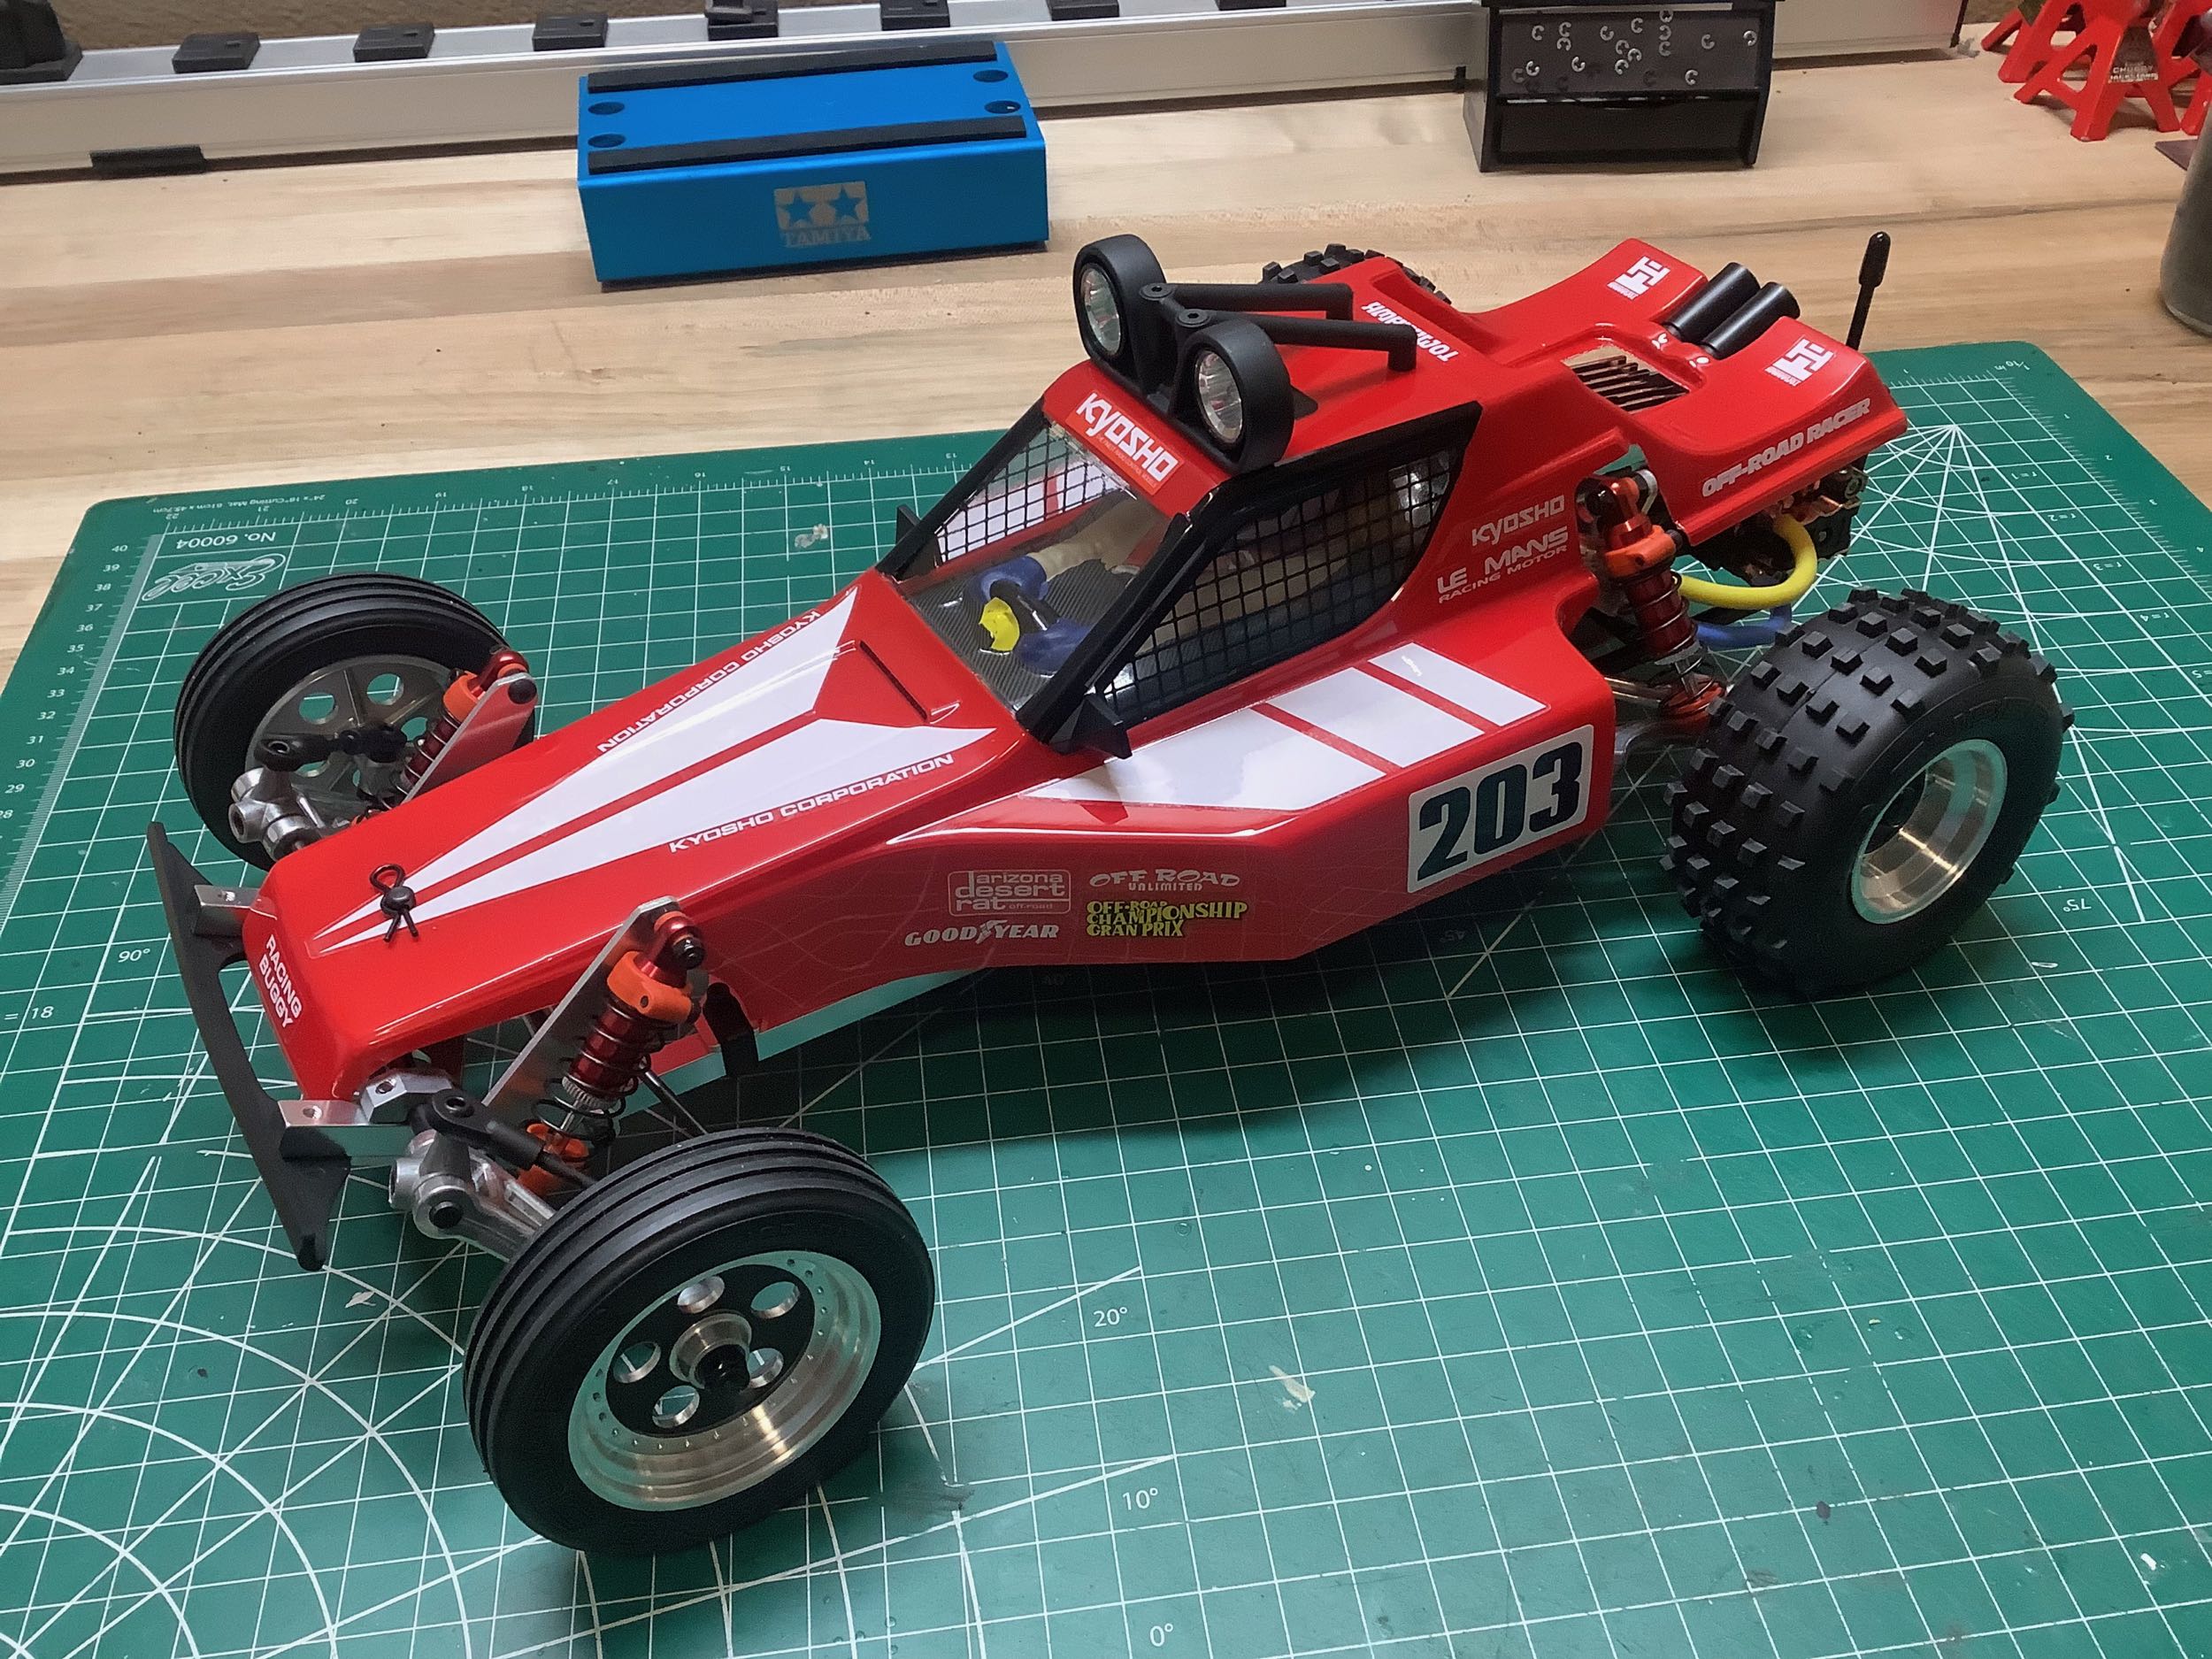
With the window masks and overspray film removed it looks glorious, but
it looks even better once the pre-cut stickers are applied. It is
really nice not to have to trim all those stickers manually. The
side mirrors and exhaust tips have also been added. The standard
build just attaches the spotlights to the roof, but the kit comes with
an optional cage to surround them. Although I have no intention of
flipping the mode over, I probably will anyway so the extra protection
is welcome. It also makes my copy look just a tiny bit different
than others.
I sprayed the driver in black from the back side and then used brushes
to get the body and gloves from the front. The rest of the driver
decoration is stickers. The final result is shown on the
right. This is a good looking vintage buggy!
©2025 Eric Albrecht