Tamiya Saint Dragon Project
Page 1: Assembly
The chassis of the Saint Dragon is almost identical to that of
the Fire Dragon which I've already documented in detail. Please
see that page for more information. I'll only discuss the relevant differences here.
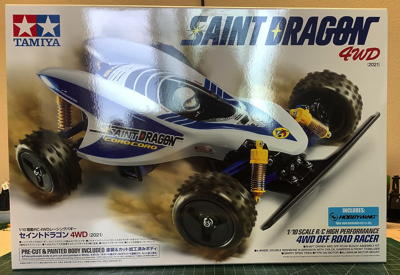
The box for the Saint Dragon doesn't look anything at all like the
original box since the original was a different color and on a different
chassis. Instead of classic hand drawn box art, this one just has
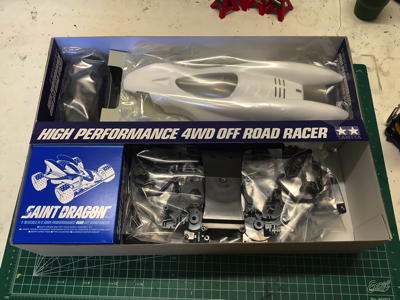
a photograph. The picture on the right shows the contents of the
box. Note the pre-painted and pre-cut body.
The now familiar layout of parts for a Thundershot chassis. There
is nothing unique about the chassis on this buggy, it is totally derived
from previous releases.
The only noticeable change compared to the Fire Dragon is that the Saint
Dragon uses a newer version of the CVA shocks. The Fire Dragon
shocks are shown on the left and the Saint Dragon on the right.
Note how the rod end is shaped differently and the head end cap has a
different texture. The new shocks use a shorter gland without so
many support rings.
These photos compare the rear suspension from the most Fire Dragon
(left), to the Saint Dragon (right). Look as hard you want, I
couldn't find any differences apart from the aforementioned shocks.
The same comparison can be made on the front suspension and you'll
see that everything is the same again apart from the shocks. The
little bracket for the front body post is flipped around, making for one
tiny difference.
The Saint Dragon has a complex body shape, but a simple one color paint
job. I am usually in favor of doing my own work, but I was very
glad not to have to try to cut out this one. The stickers are a
pretty big project given that some of them are very large so great care
must be taken to get them to line up and not have any bubbles. I
did a passable job.
©2022 Eric Albrecht

