Associated RC10 Clear Project
Page 1: Assembly
I've built the RC10 Classic previously and documented it in excruciating detail. This one is
nearly identical so I've only written about the differences here. Please
see my RC10 Classic for full build details.
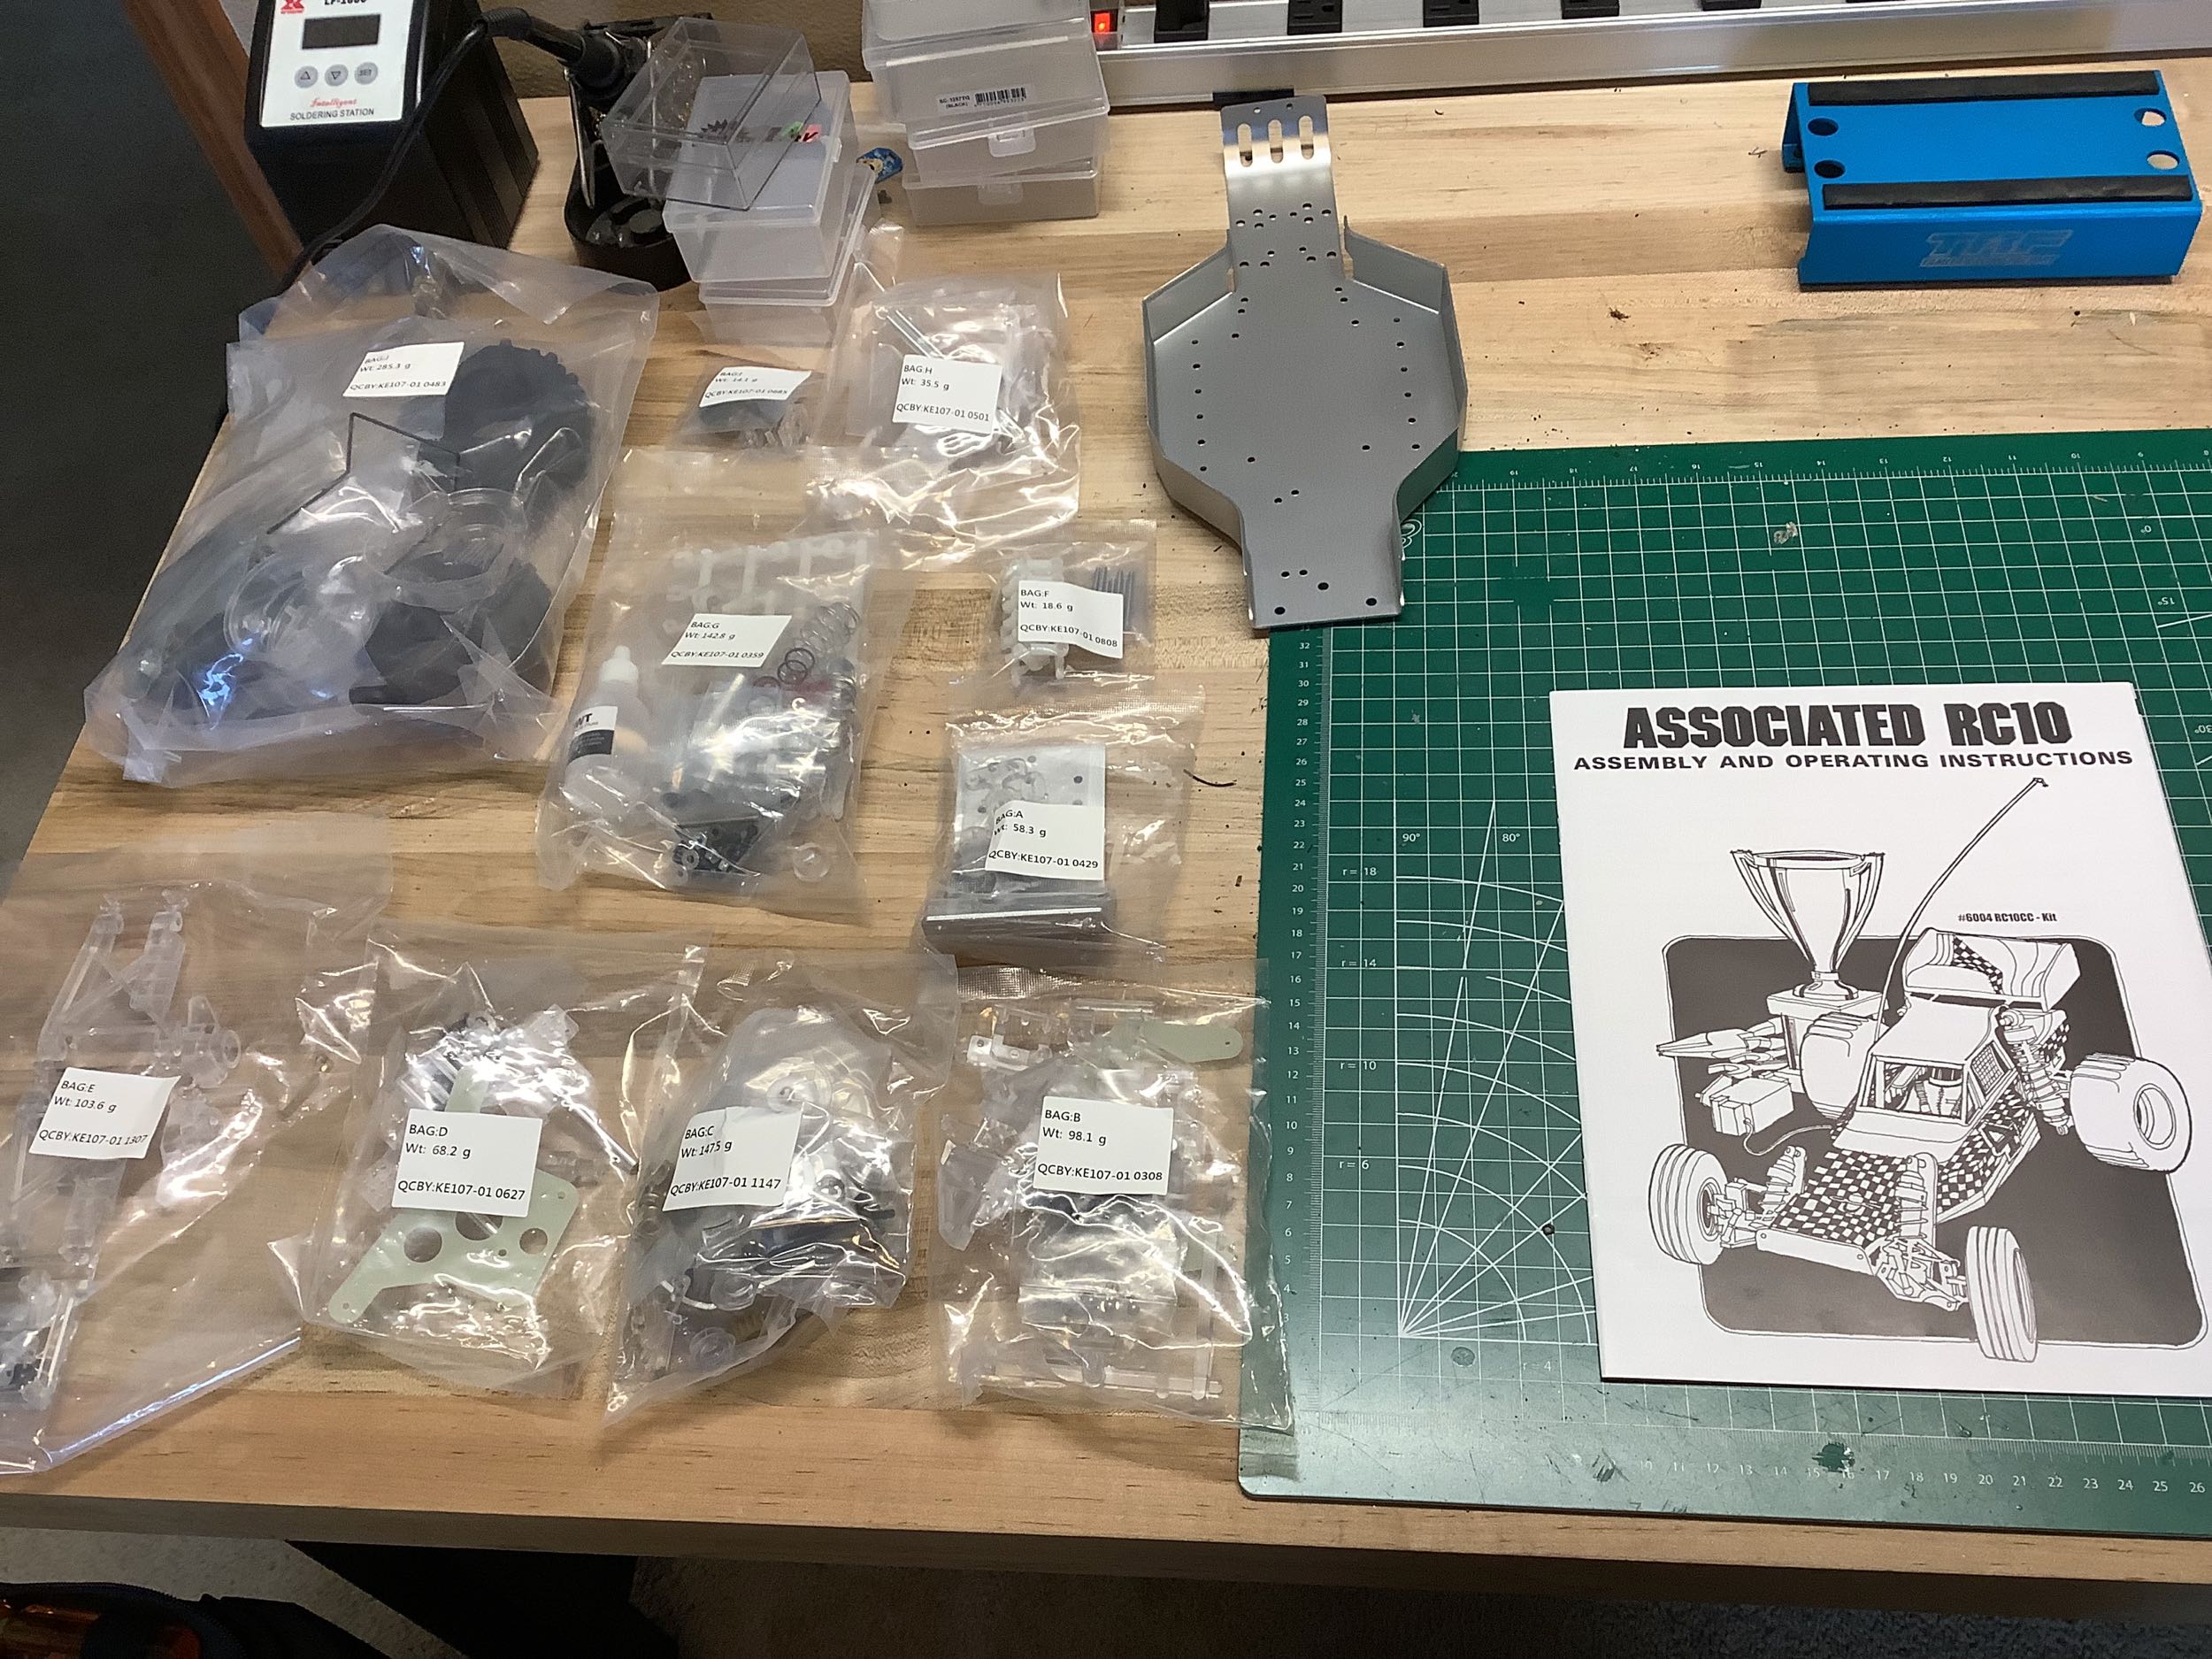
This model comes in the same small rectangular box size as other RC10
products. Inside is the same manual that came with the classic
model, including the errors. All the contents are also pretty much
the same except for the color of the aluminum anodizing and the plastic
parts. The build is split into sections using bags labeled A-G as
shown.
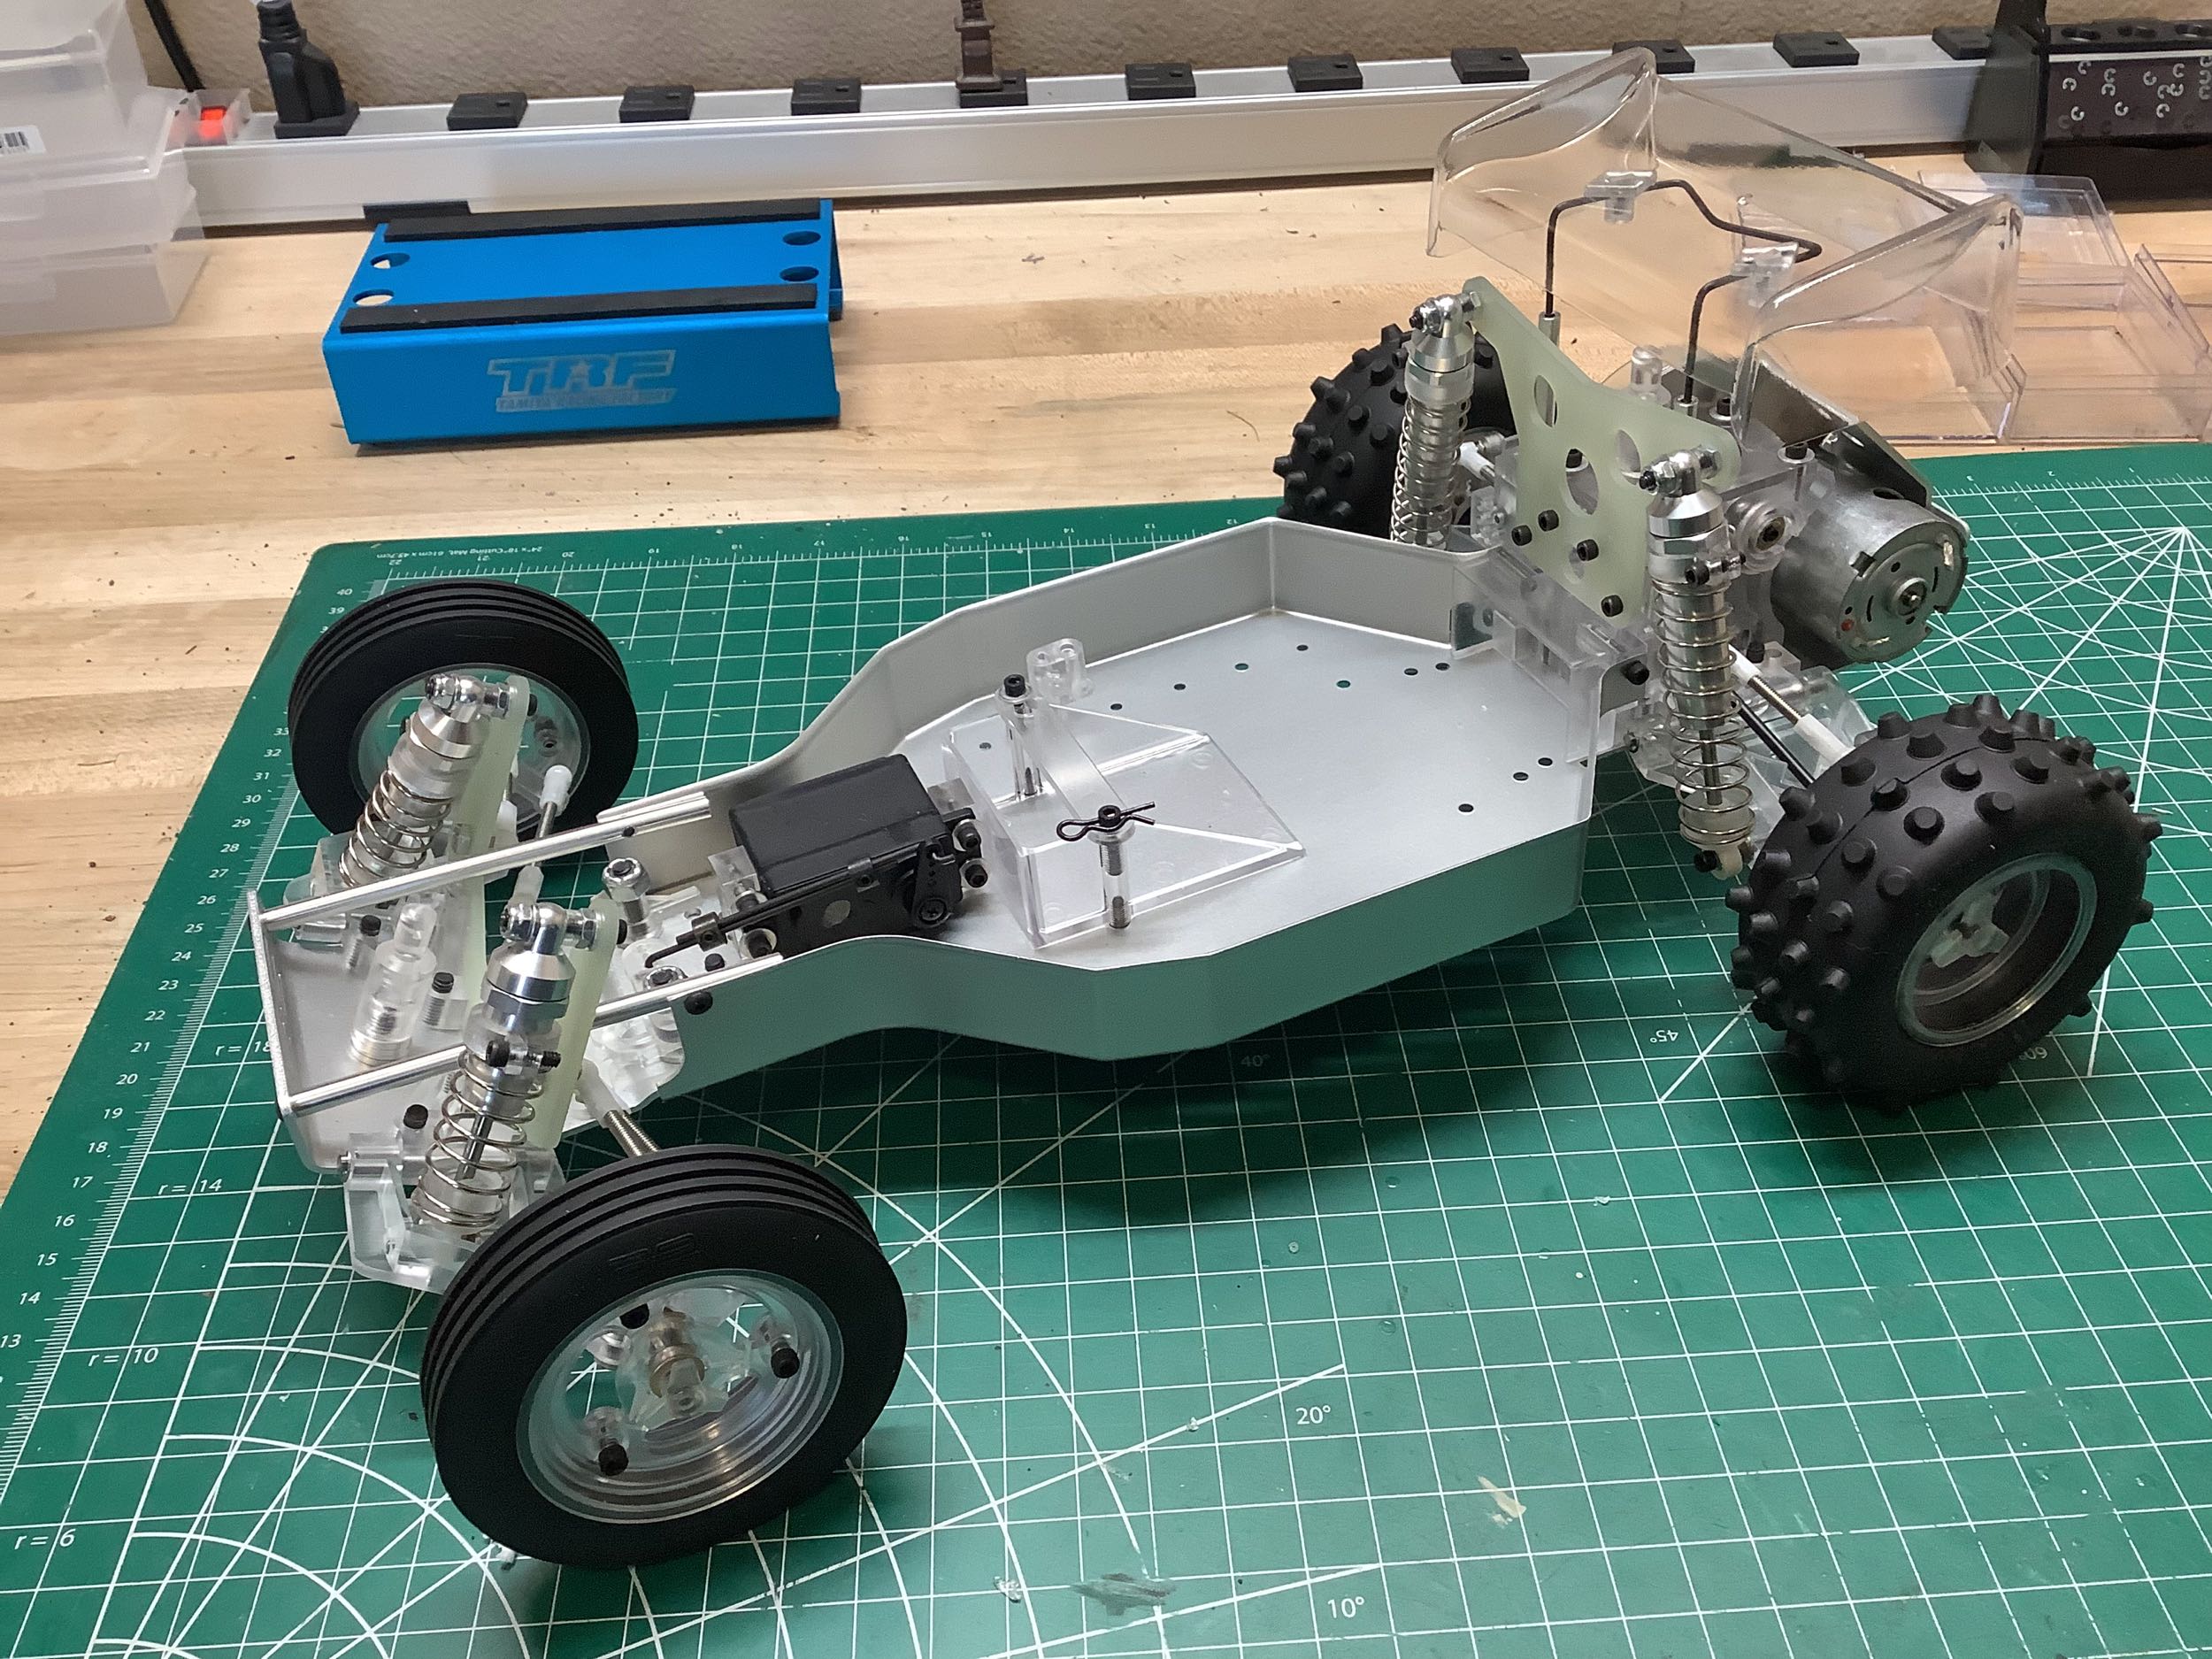
I haven't really photographed the build since I've documented it all
before, but doing it for the second time allowed me to correct a few of
things that didn't work right the first time. I've put a dead
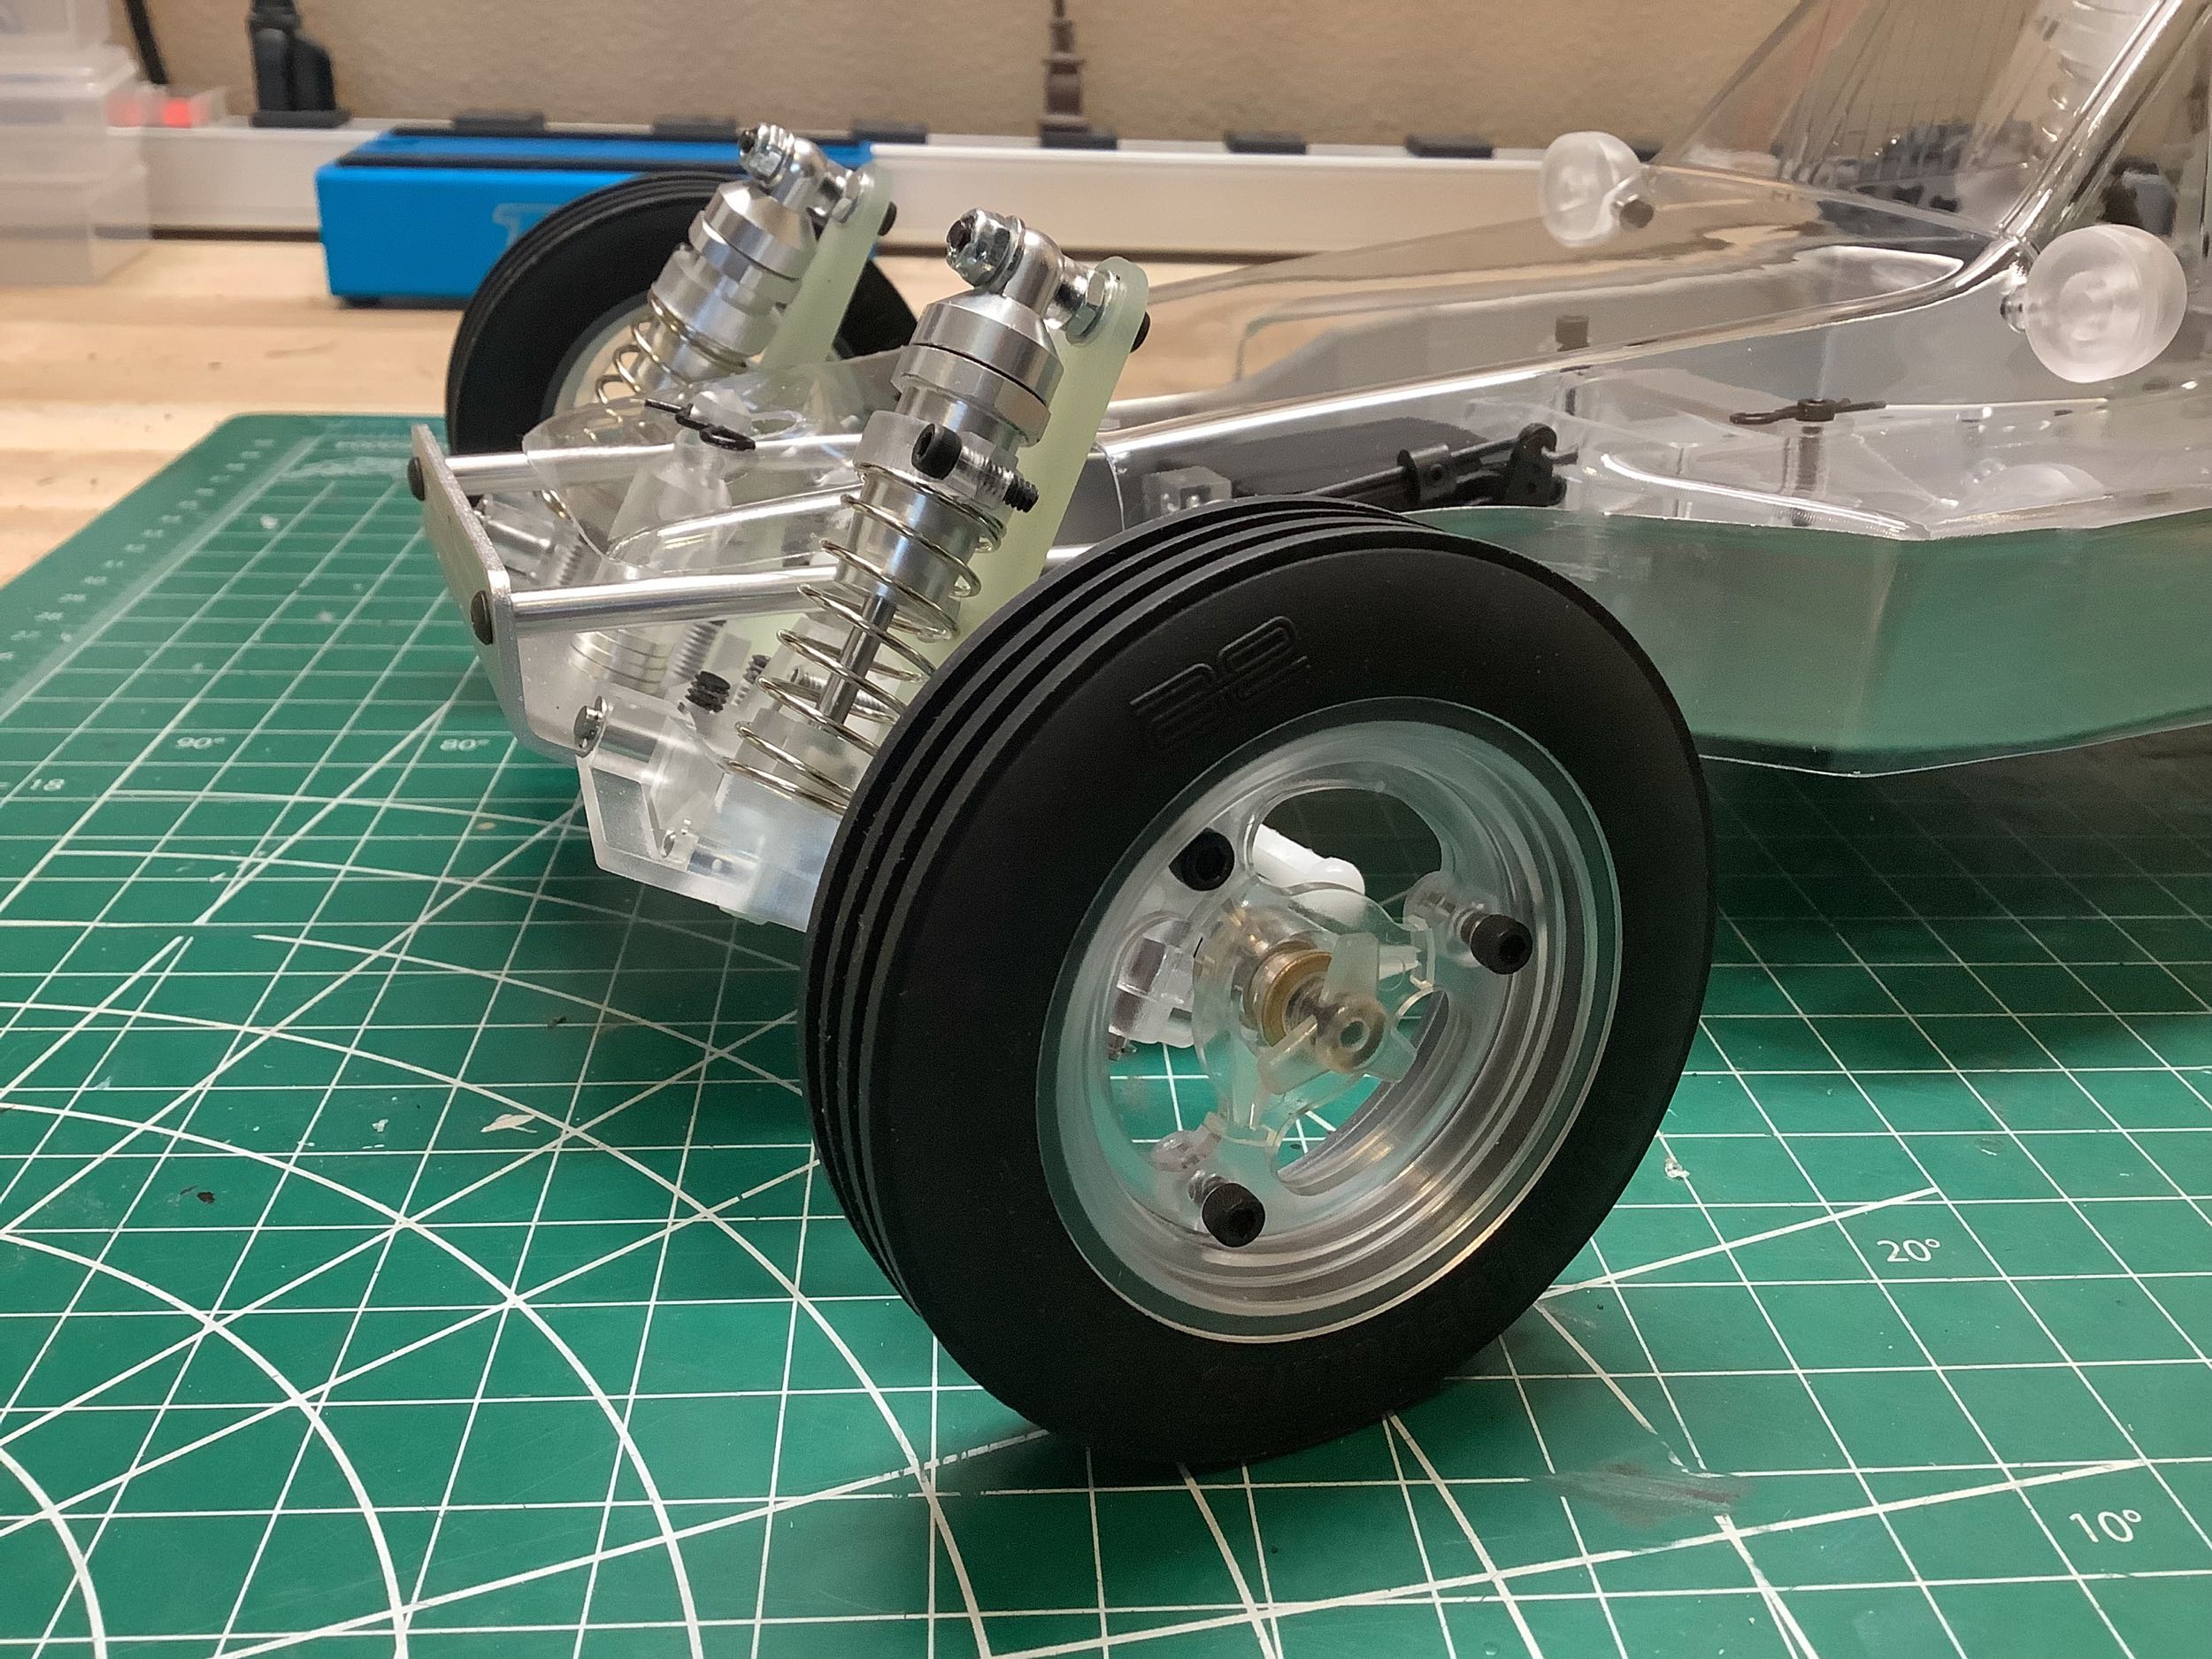
servo in here just to hold the wheels in place. I installed the
plastic spinners on the wheel axles instead of wheel nuts since I won't
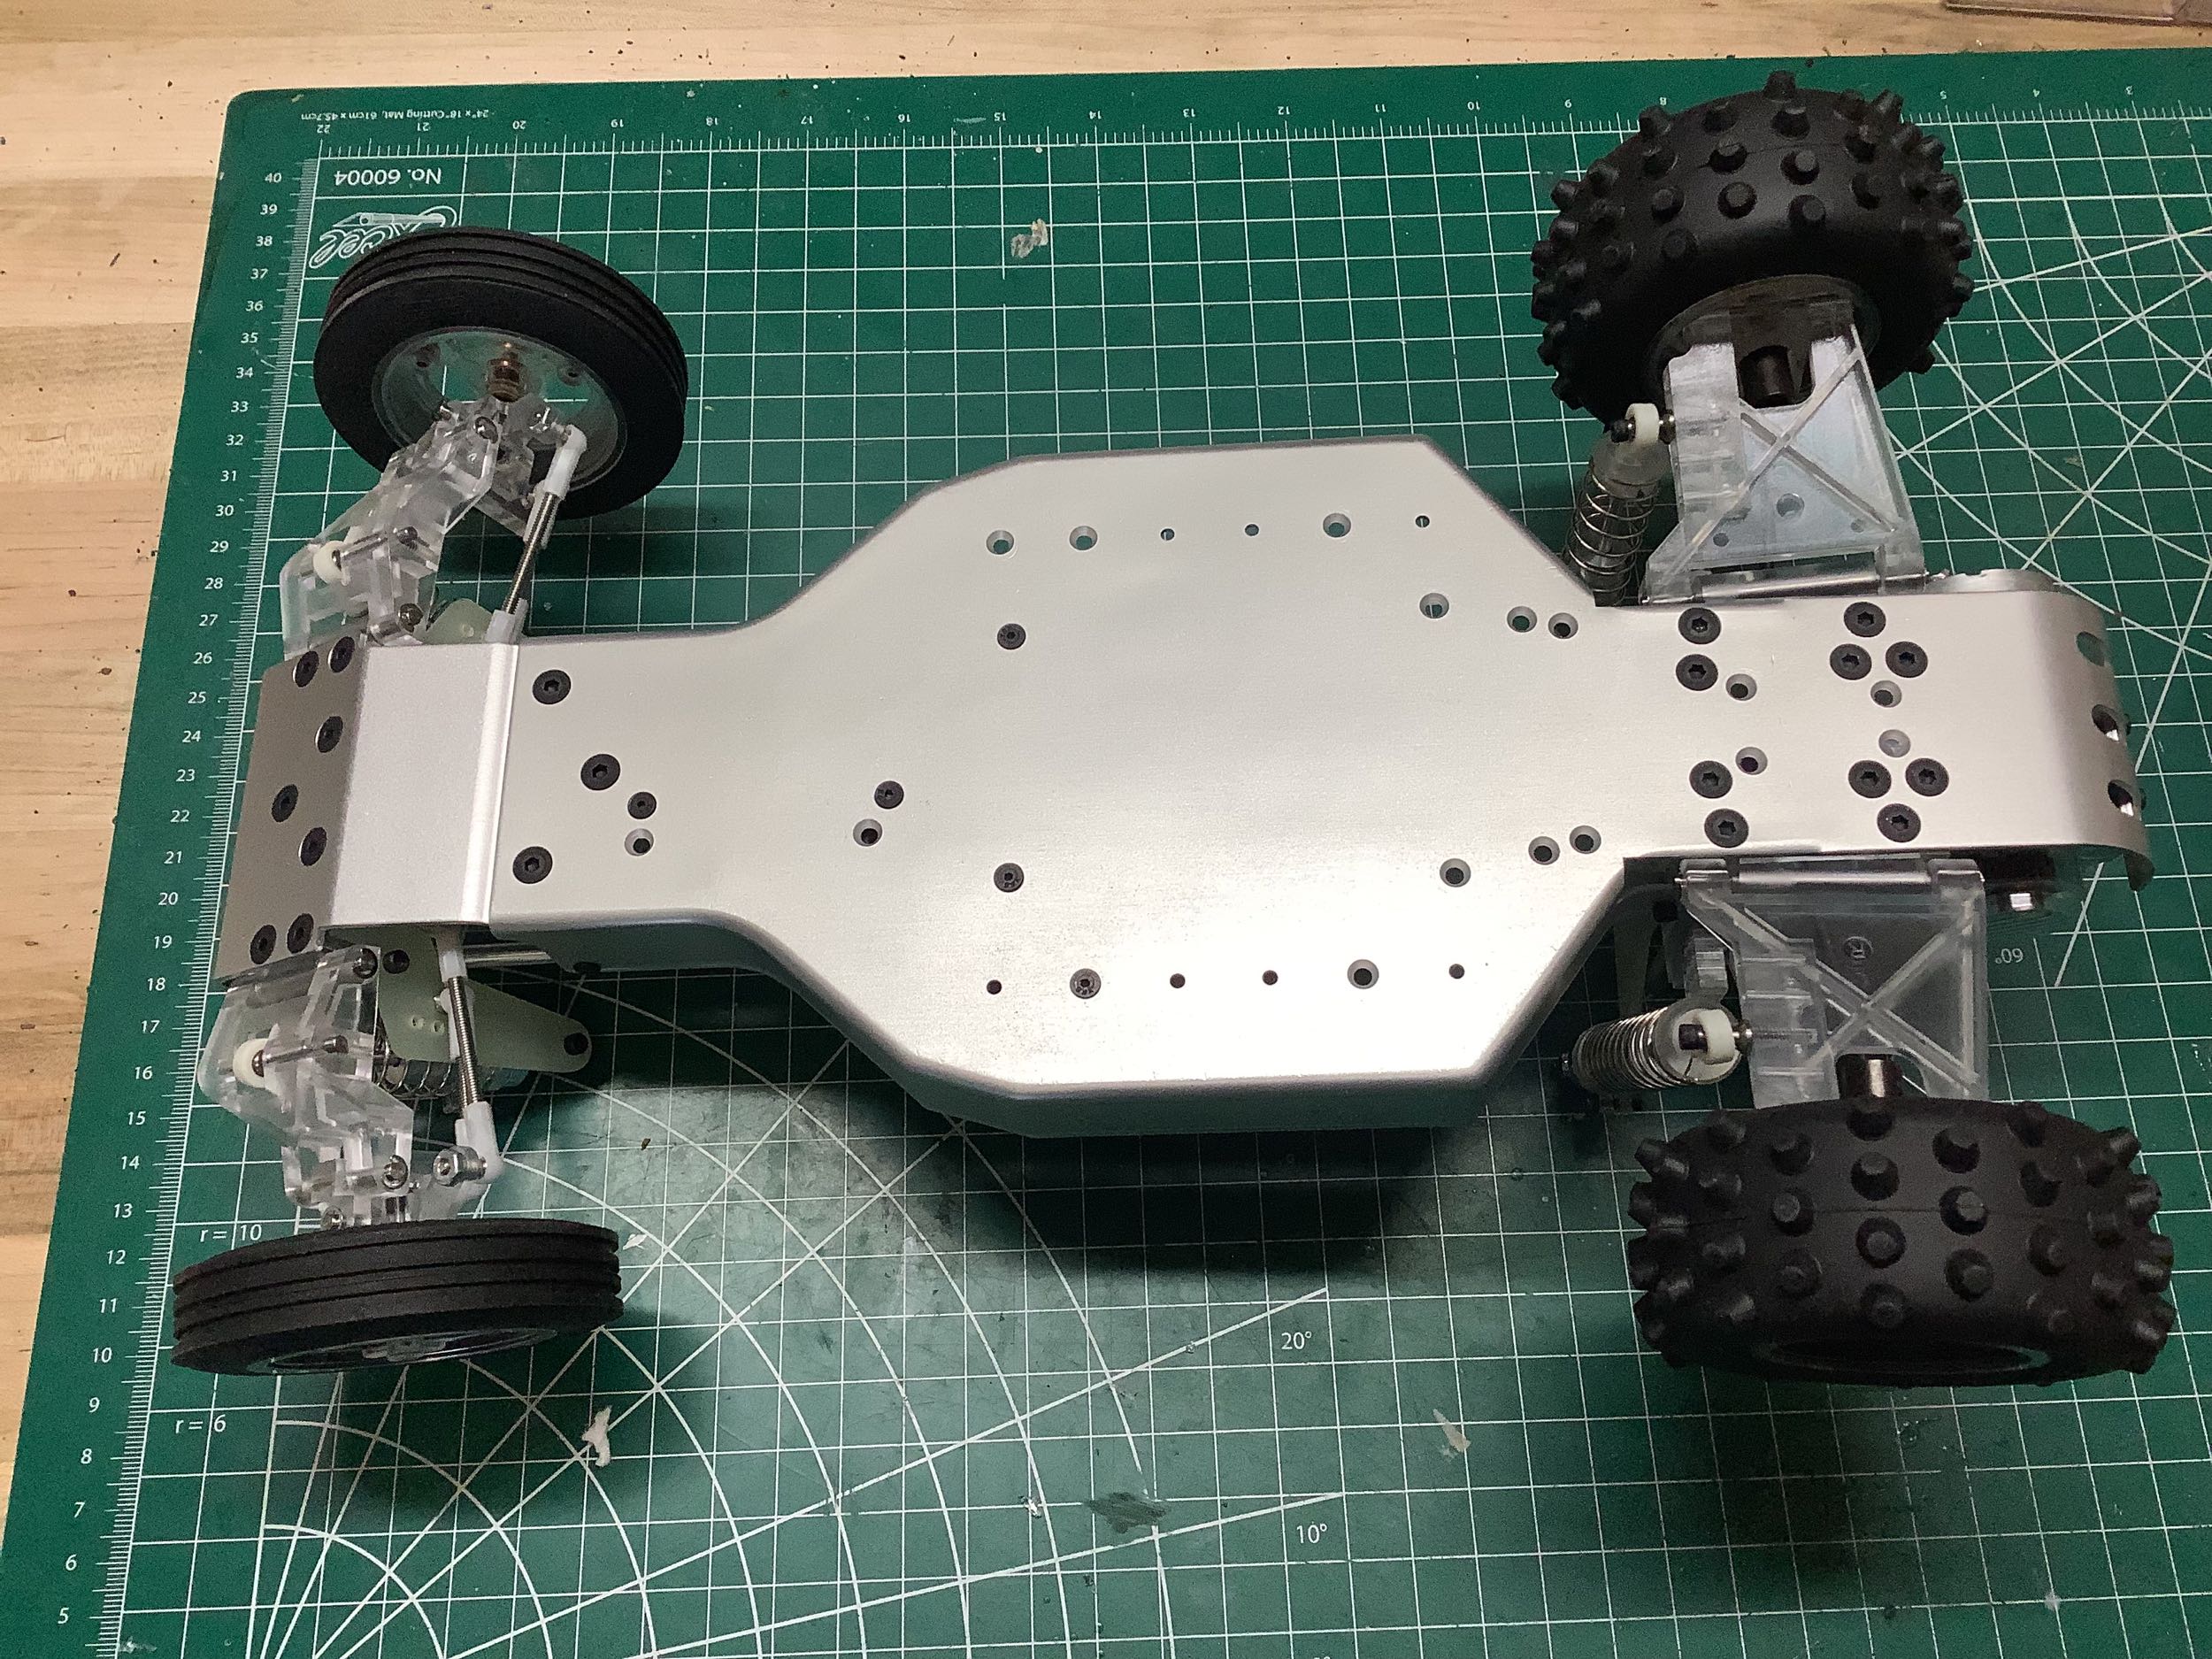
be driving it anyway. The bottom view shows one important
difference which is the use of 8-32 hex screws instead of the previous
aluminum Phillips head screws which were very easy to strip. I was
always really confused by all of the extra holes in the chassis, but I
later learned that those are old battery mounting positions for
transverse stick packs. The extra holes in the back are for the optional stealth transmission.
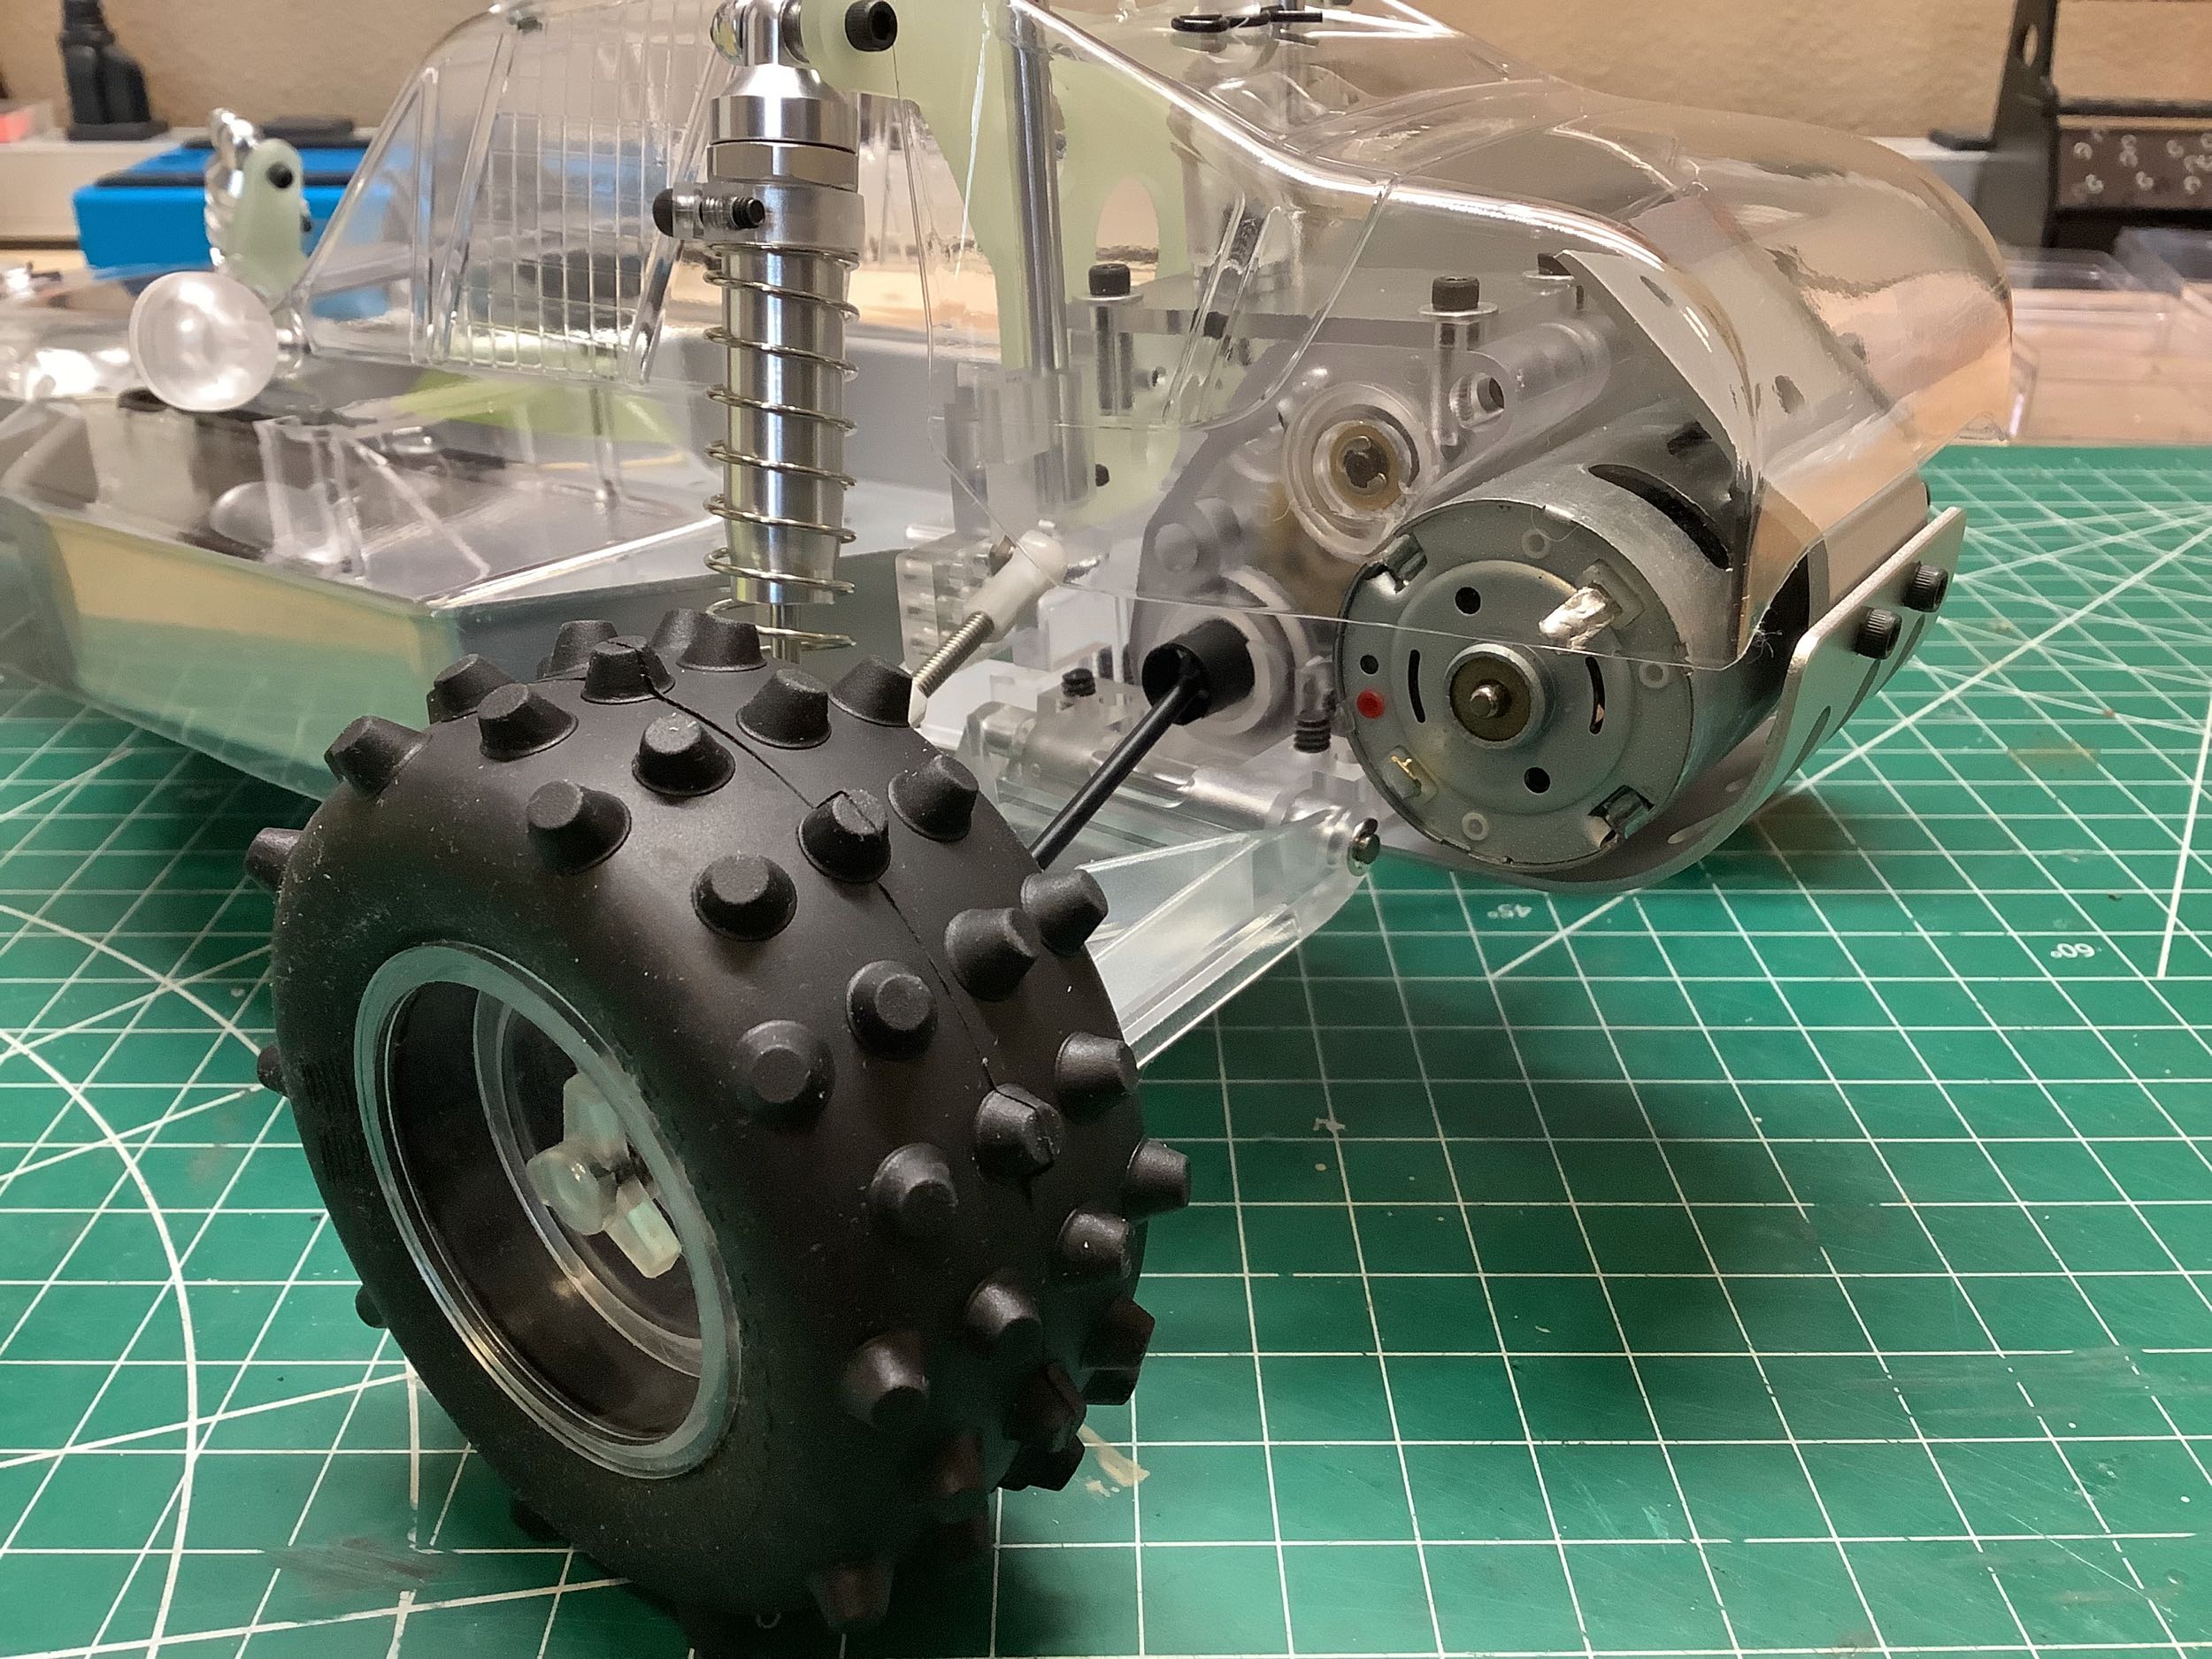
From the rear you can see the plain silver can motor I installed just to
have something there. It seemed to fit with the minimalist
aesthetic of the model. You can also clearly see that the
shocks are plain aluminum and do not have the gold anodize of the
originals. They are otherwise identical.
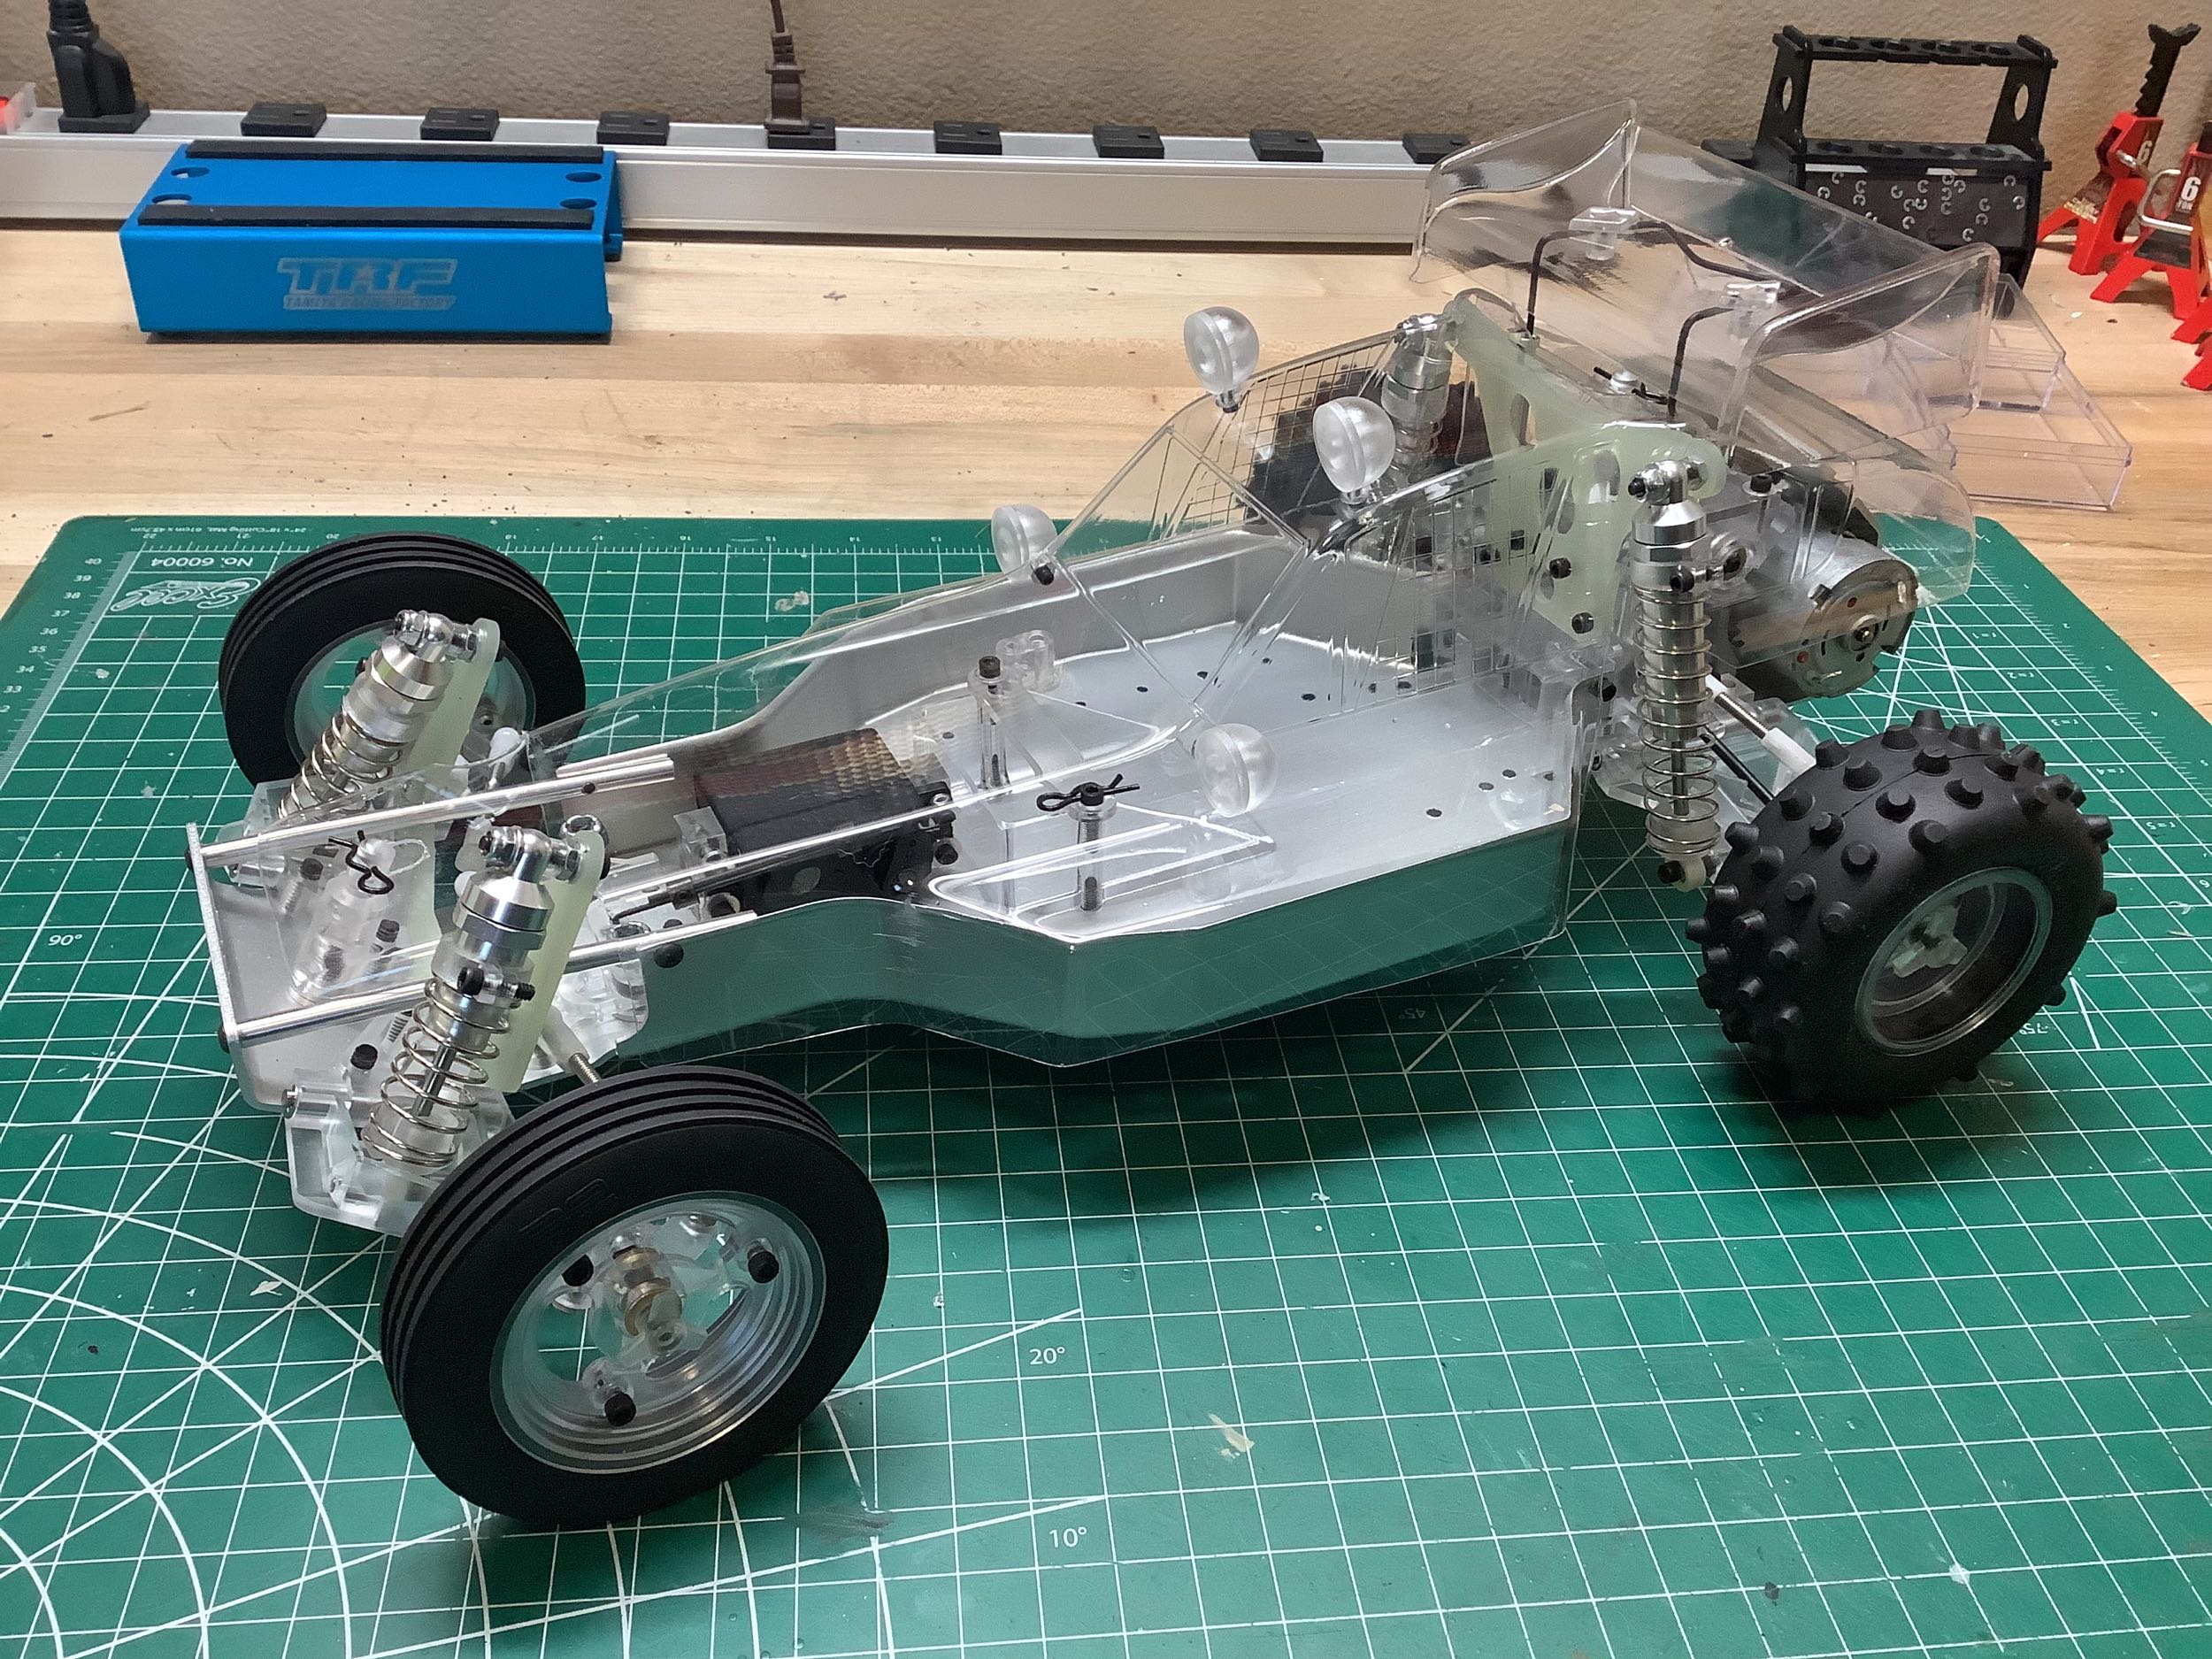
Here is the completed model. Compared to last time, I corrected
the fit of the body over the front mounting post and the rear
shocks. I still find the mounting method of the rear wing absurd
and effectively useless. Looks good though.
©2025 Eric Albrecht