
Page 5: Final Photos
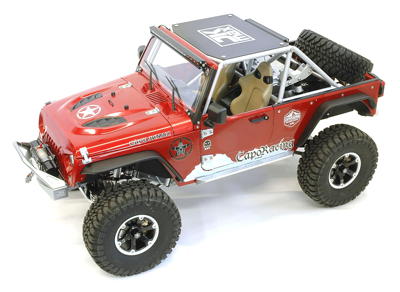
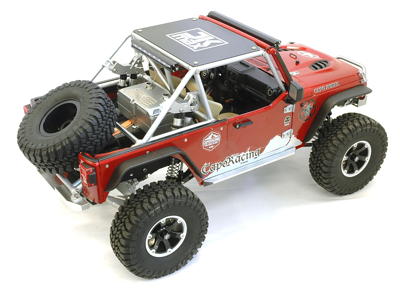
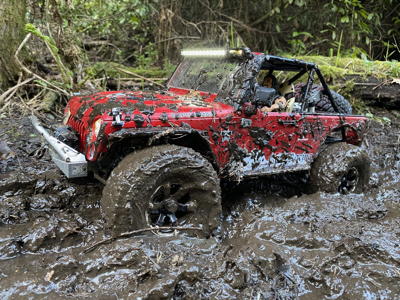
These first photos show the model after the post-fire re-build during which I made a few changes.
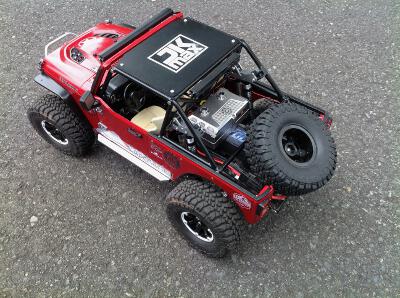
The rest of the photos show the original model from before the fire. You can't argue with how this thing looks. I
really wanted the paint to be special. Originally I was hoping to
have it painted at an automotive shop but then I got impatient and
didn't have the time to find someone so I painted it myself. It
was important to me that the paint looked "deep". I wanted the
kind of look you when you use transparent red paint on a lens and it is
still wet: a combination of translucent and opaque. I chose a
Testor's candy metallic red which is a partially transparent
paint. This would allow the metallic silver primer to show
through. Unfortunately for me, I think the can was quite old
because the propellant was weak and therefore there was a lot of
splatter and orange peel. The very last piece I painted used a
second can and that one was fine. I wish I had started with
it. I then put on a few coats of clear lacquer after the decals
were applied. There is no official decal placement so I just chose
some spots I thought looked good, and also added a few stickers which
came with the electronic products I had installed. I primed the
bead lock rings in white with the intention to paint them, but I ended
up really liking the white look. The roof is flat black. The
seats were painted with desert tan to look like leather. Note
that these photos were all taken prior to the Phase 2 and Phase 3
upgrades.


