Kyosho Fantom EP Project
Page 1: Assembly
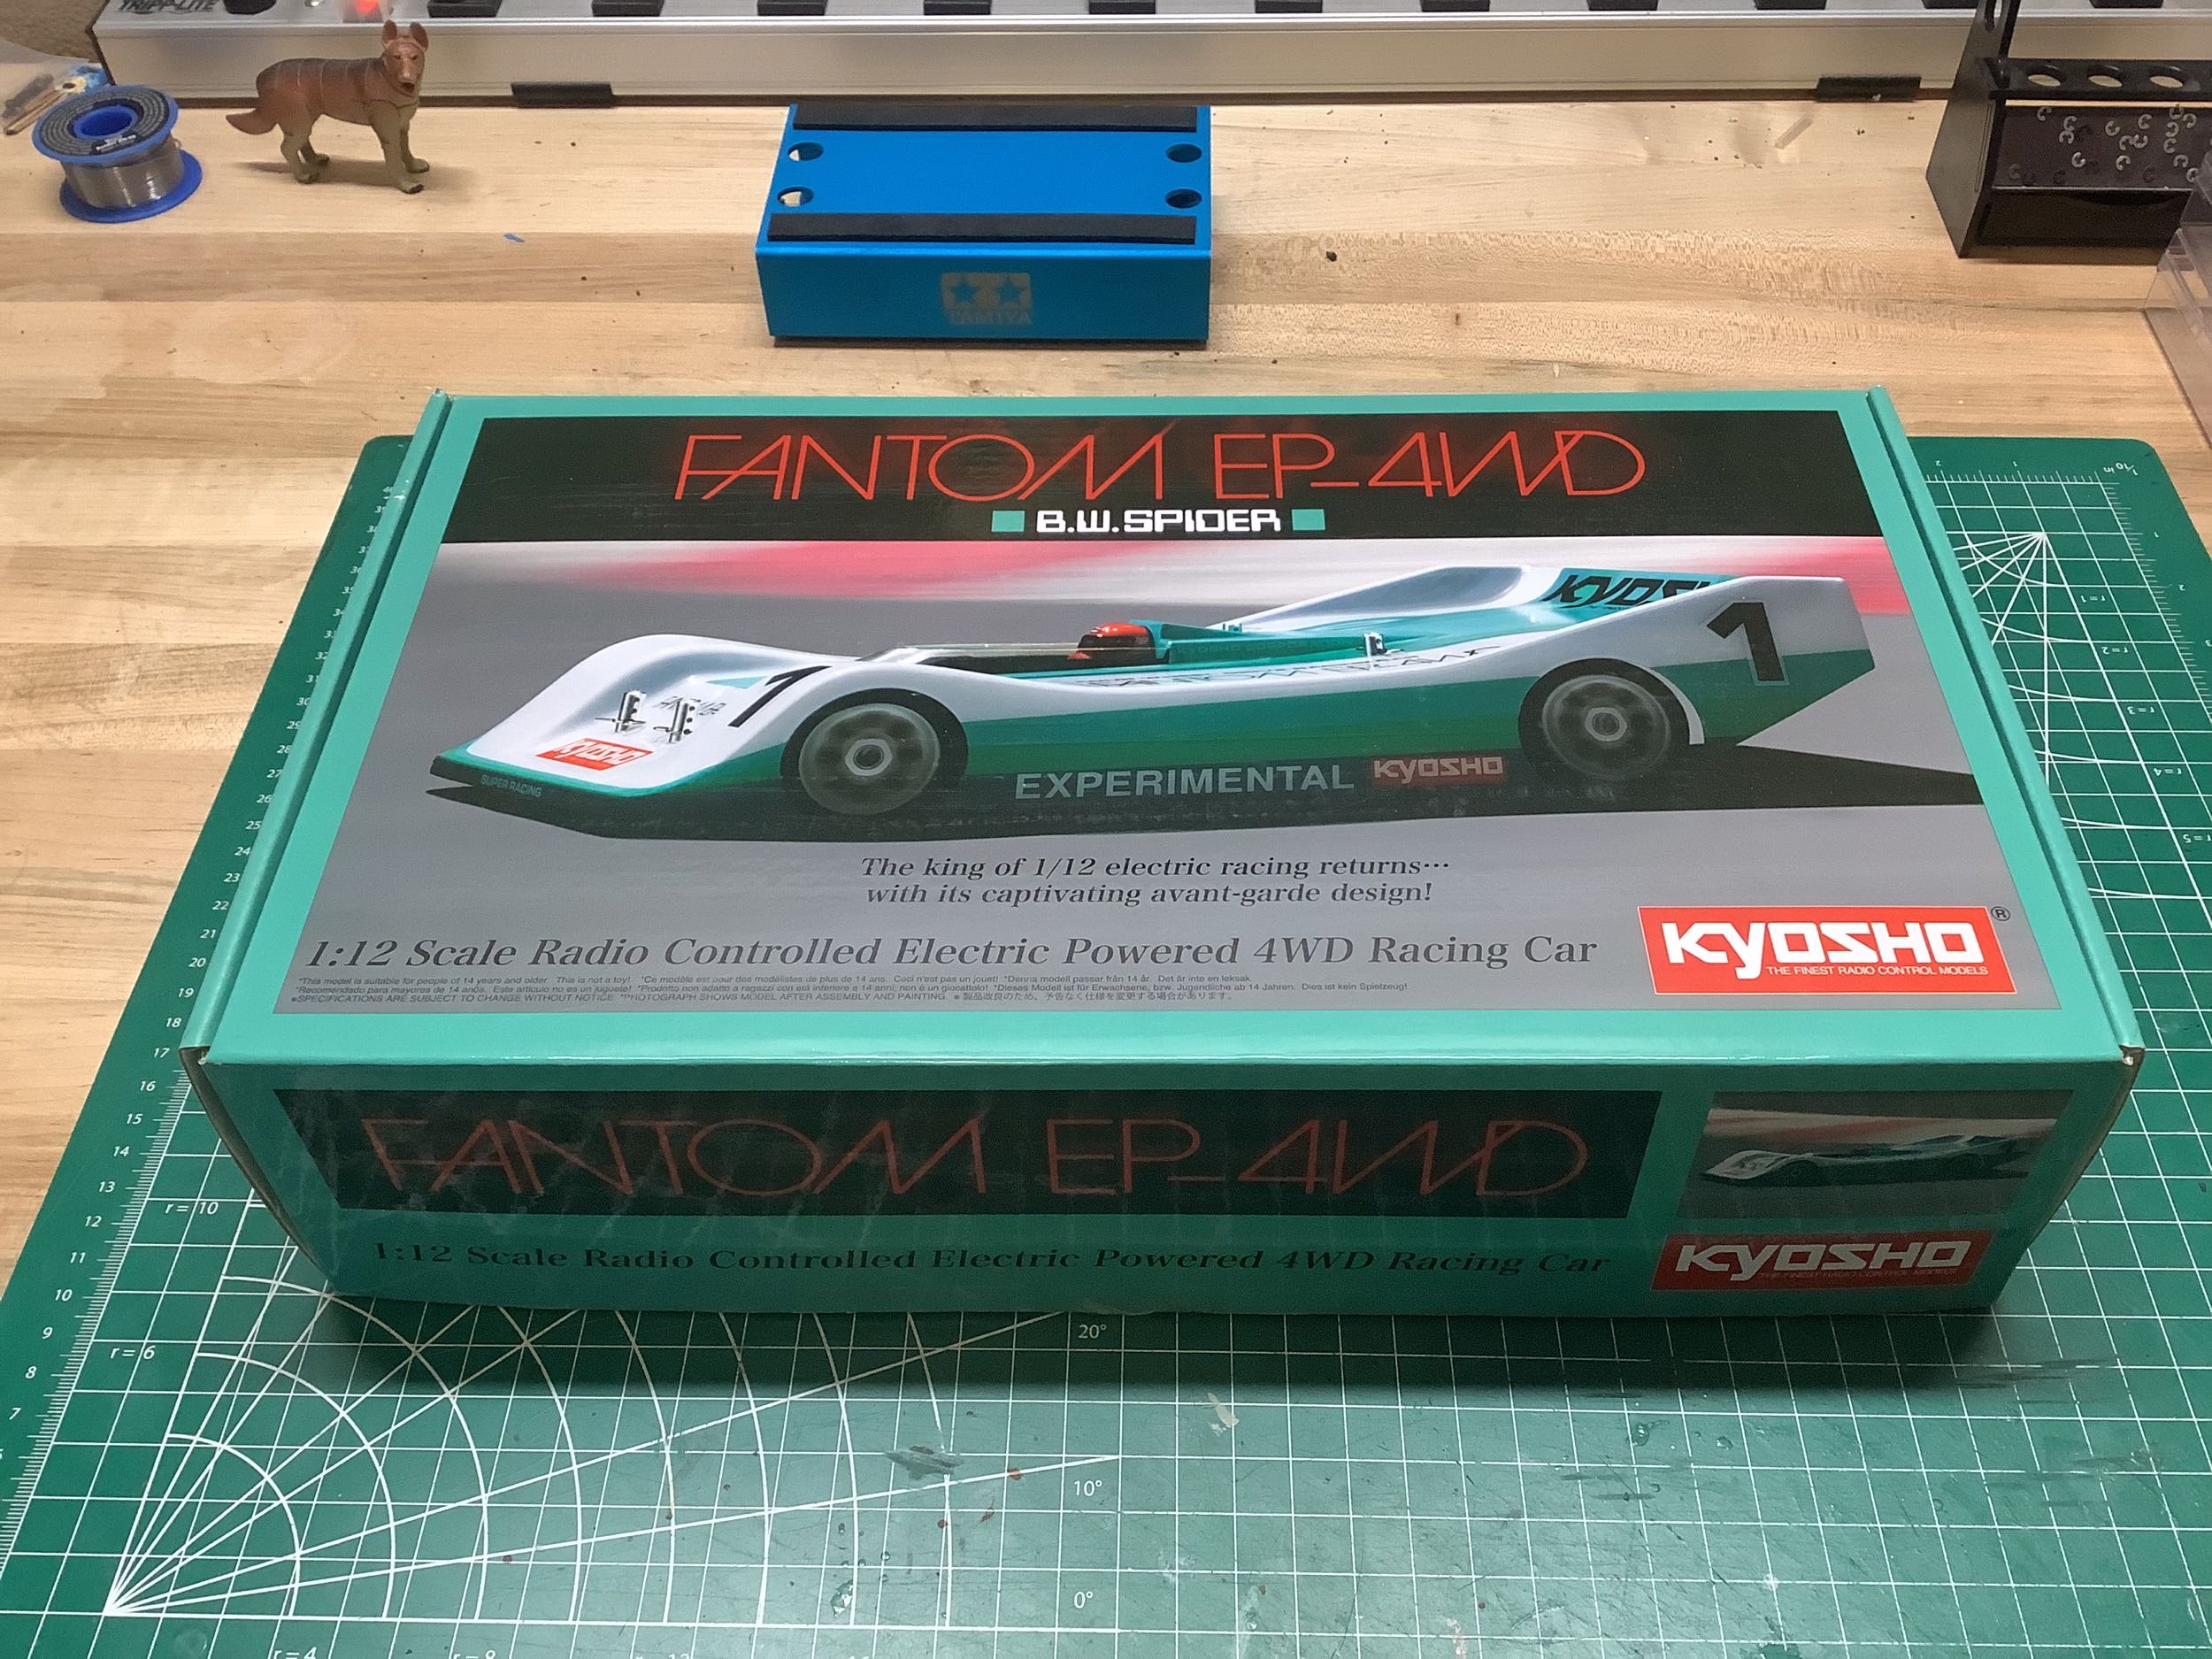
It doesn't take a very big box to house a 1/12 pan car. This is a
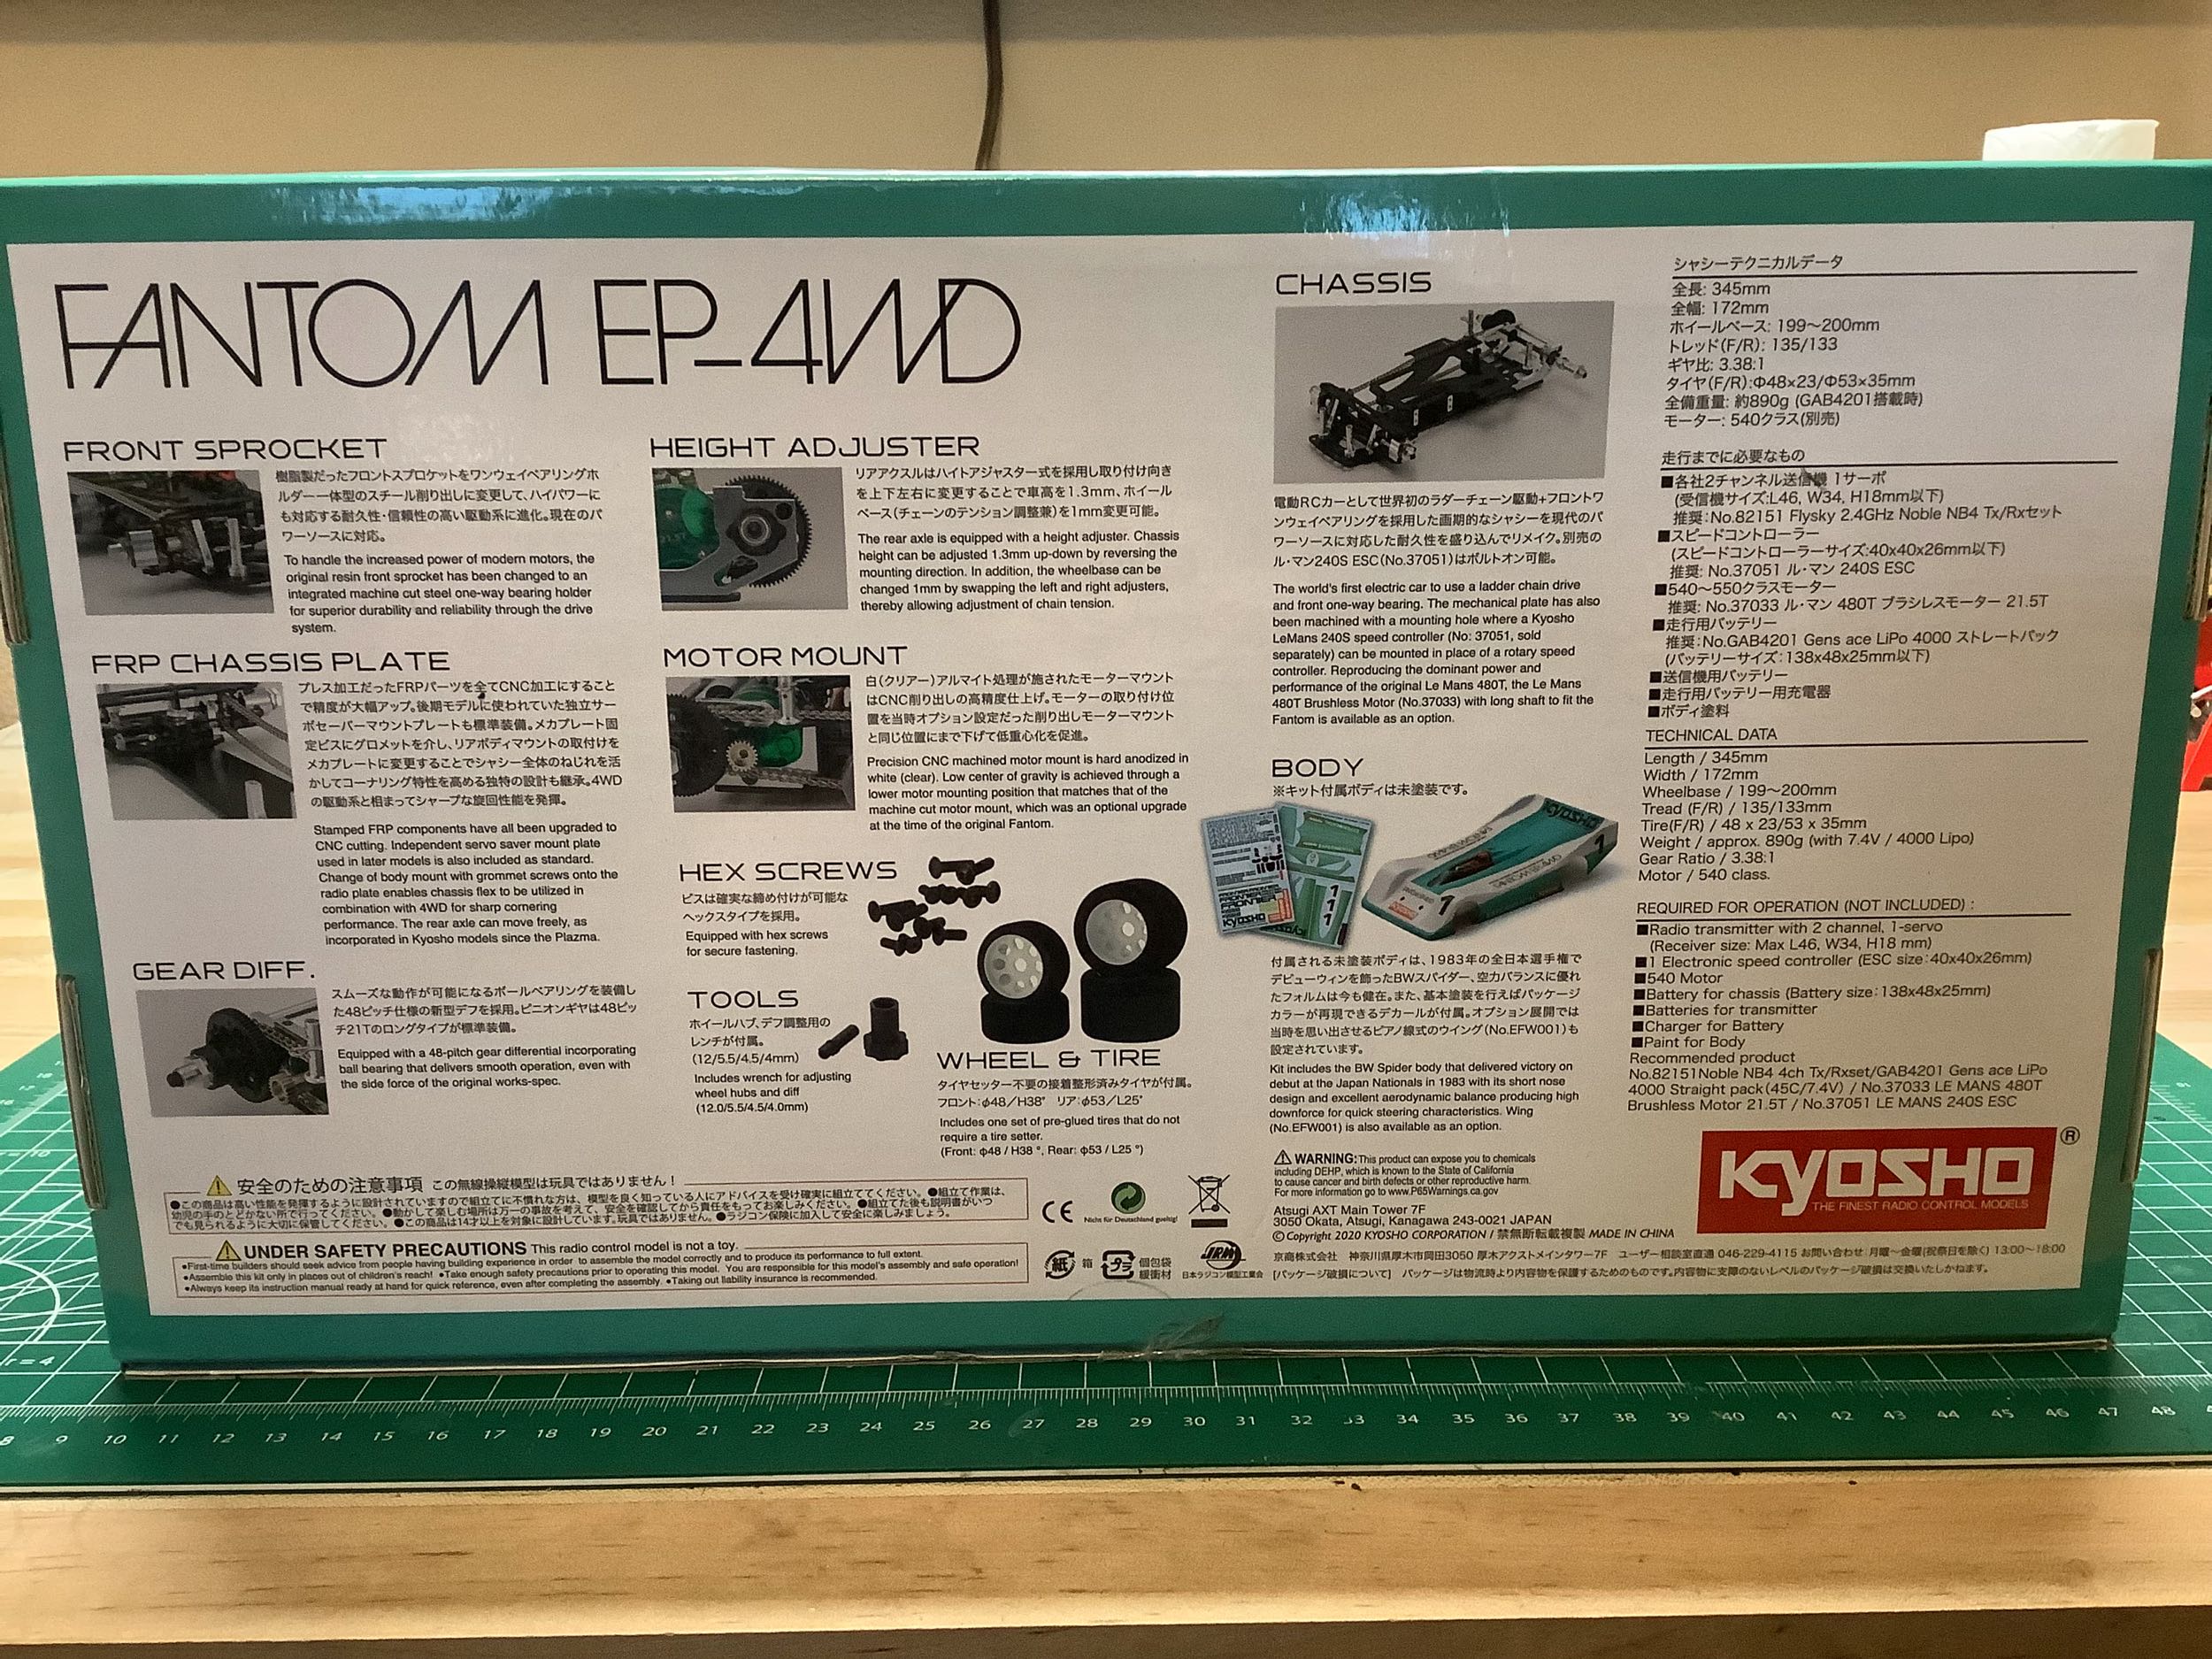
nicely printed box though, and there are lots of details about the model
on the back cover. The box has flaps which means it is
re-closable and could actually be used for storage and transport of the
completed car, if desired.
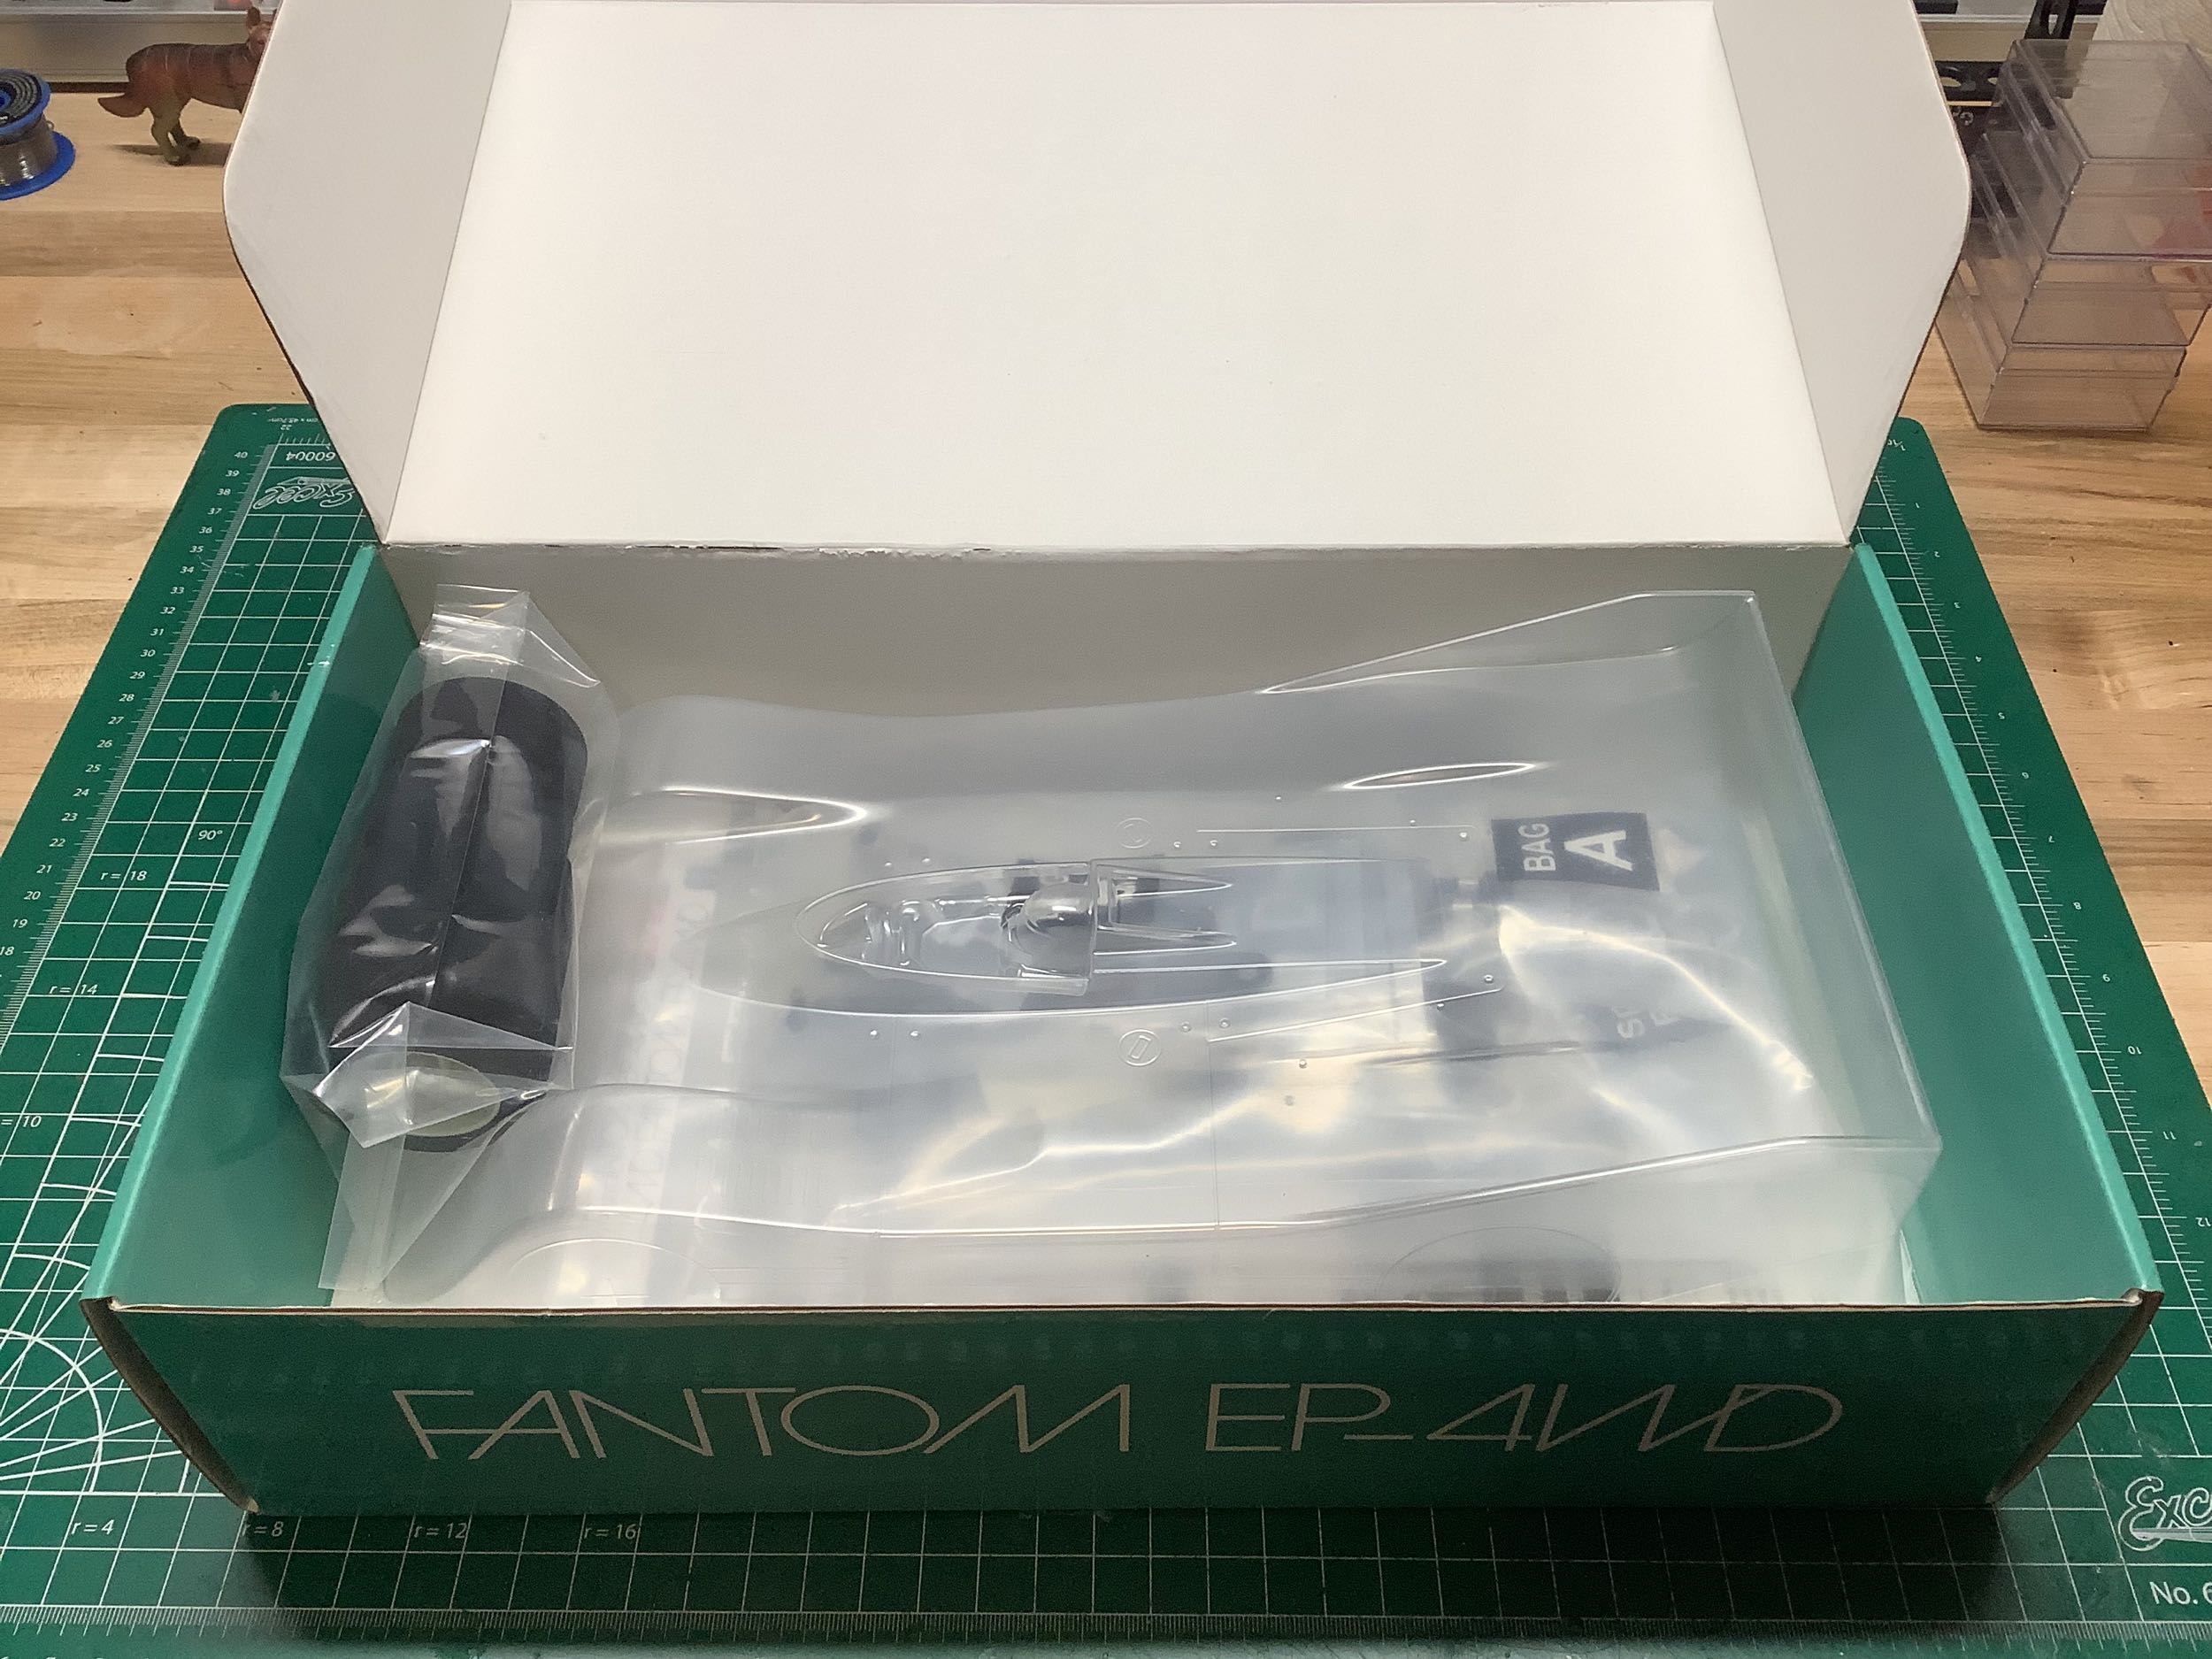
Even though the box is small, it's not nearly full. The body fills
most of the space and the parts are all stashed beneath. The
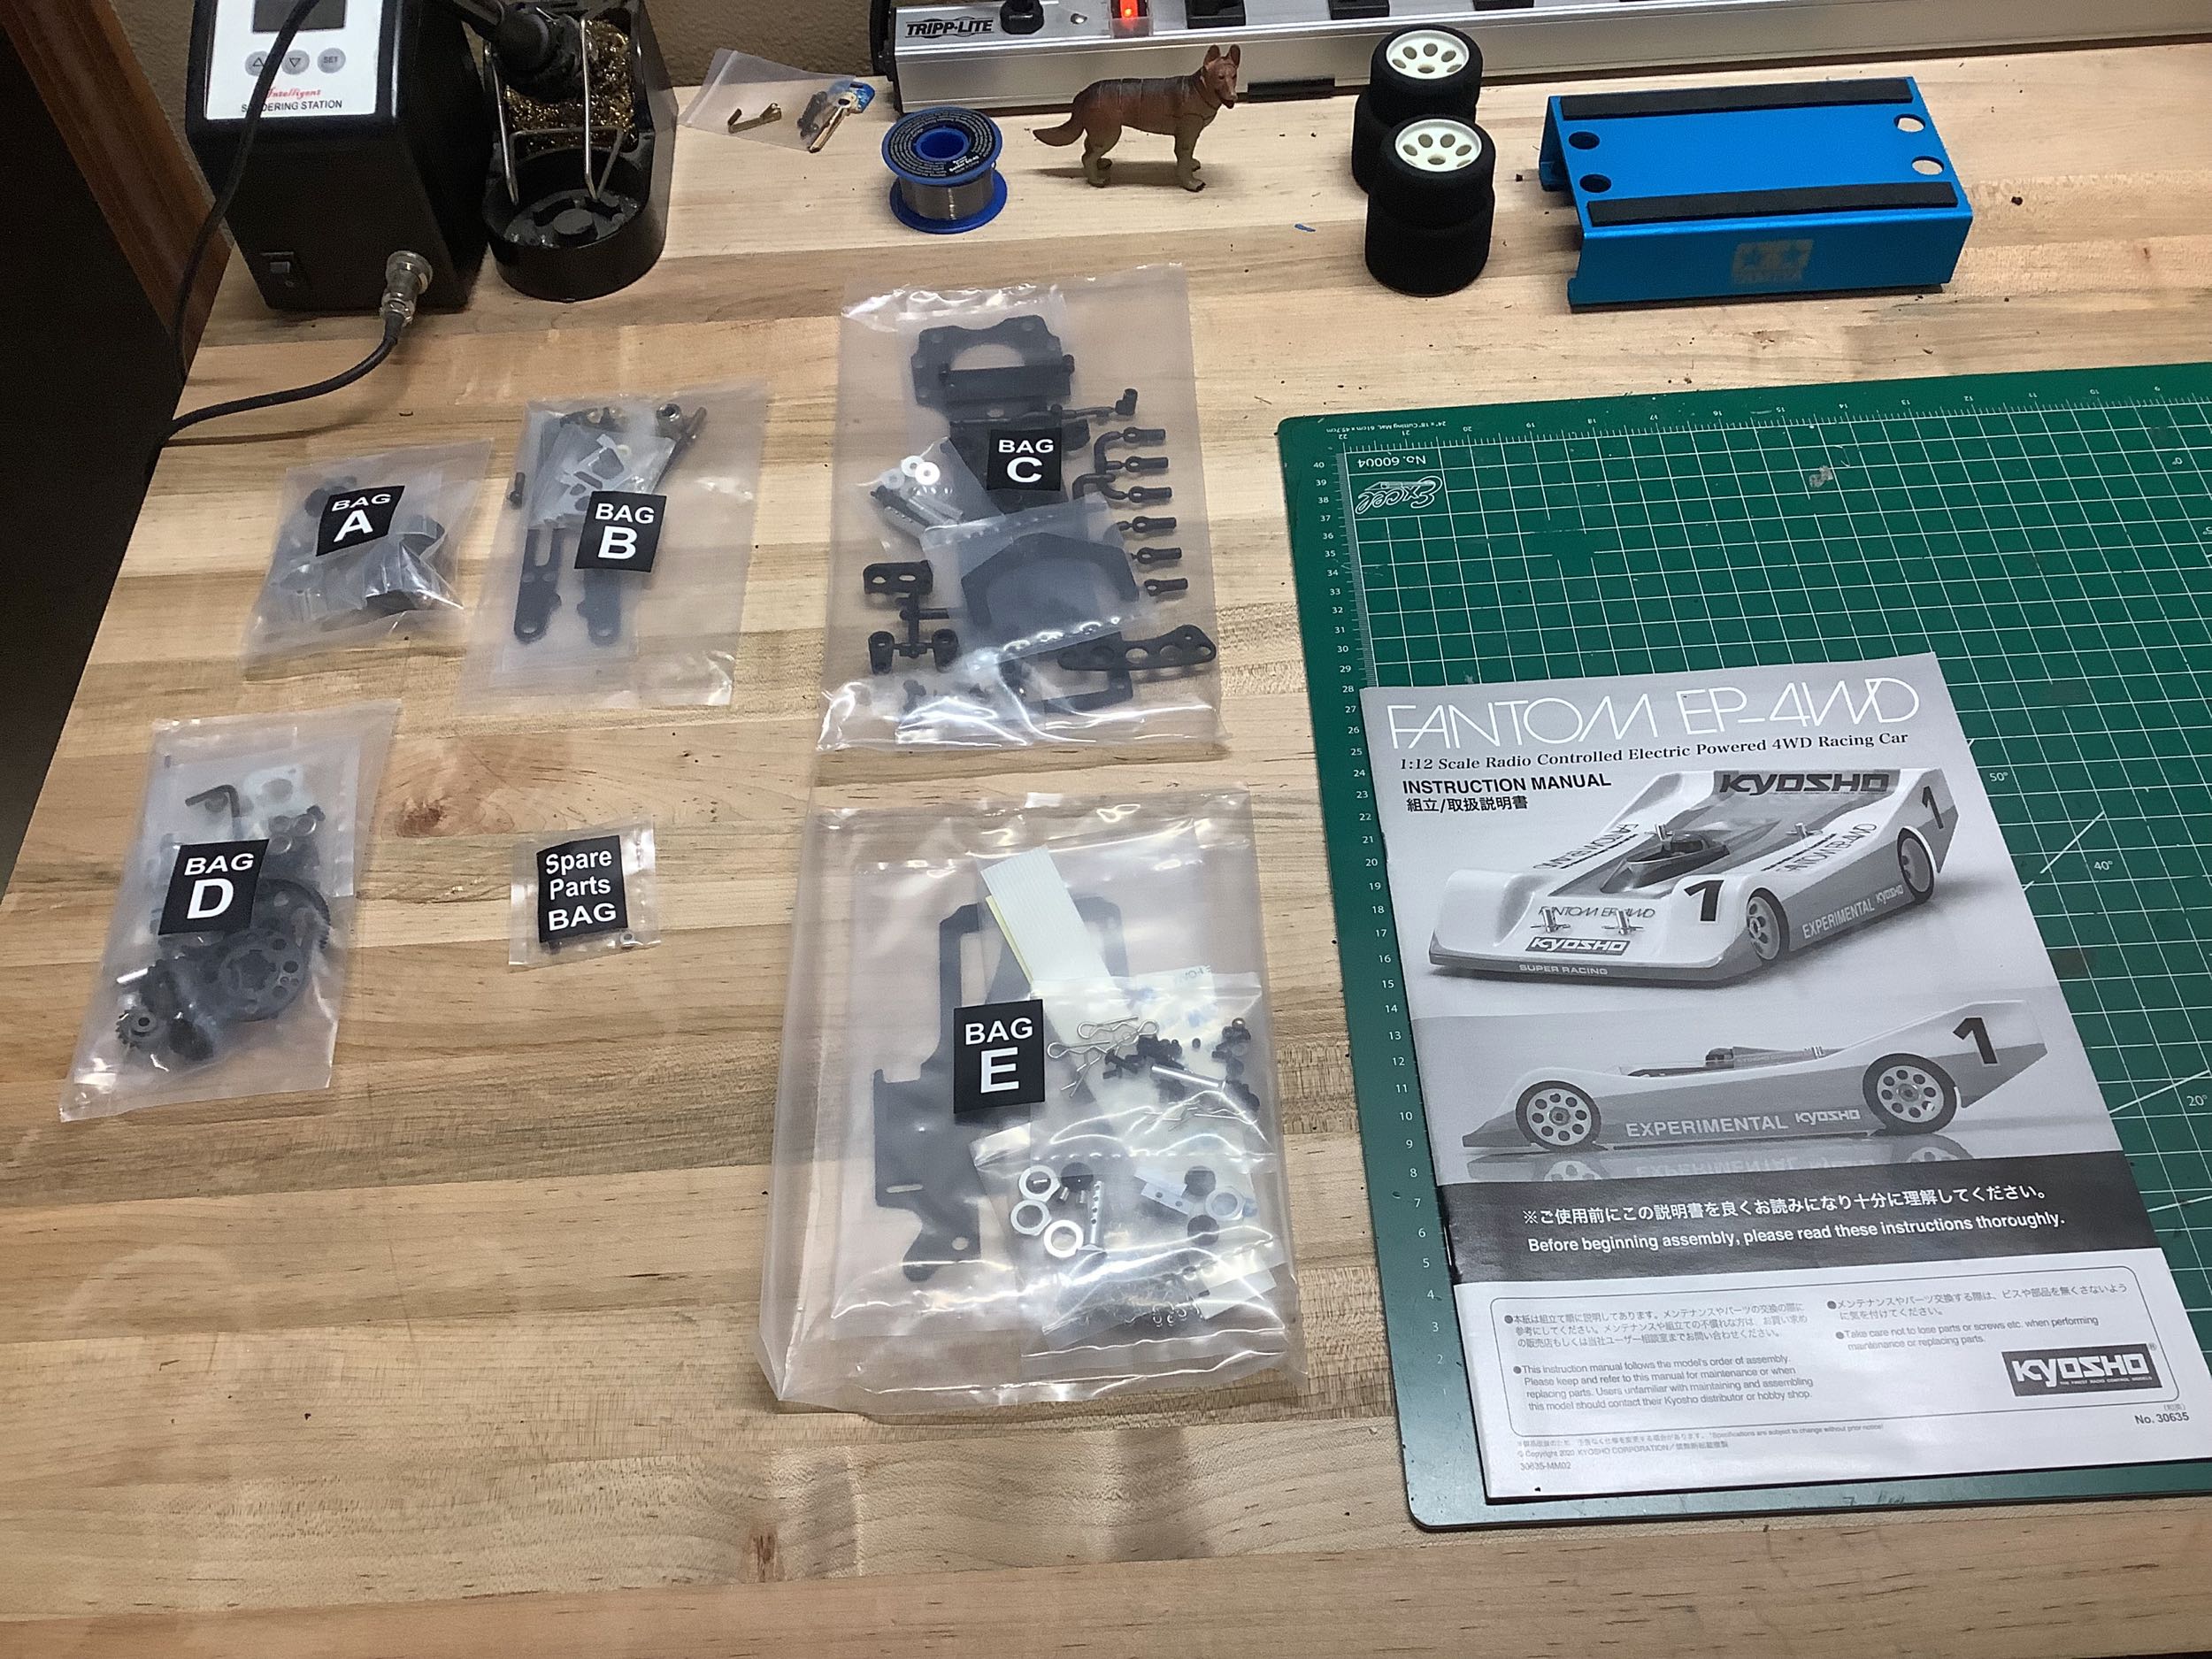
parts are sorted into bags A-E as shown. There is not much here!
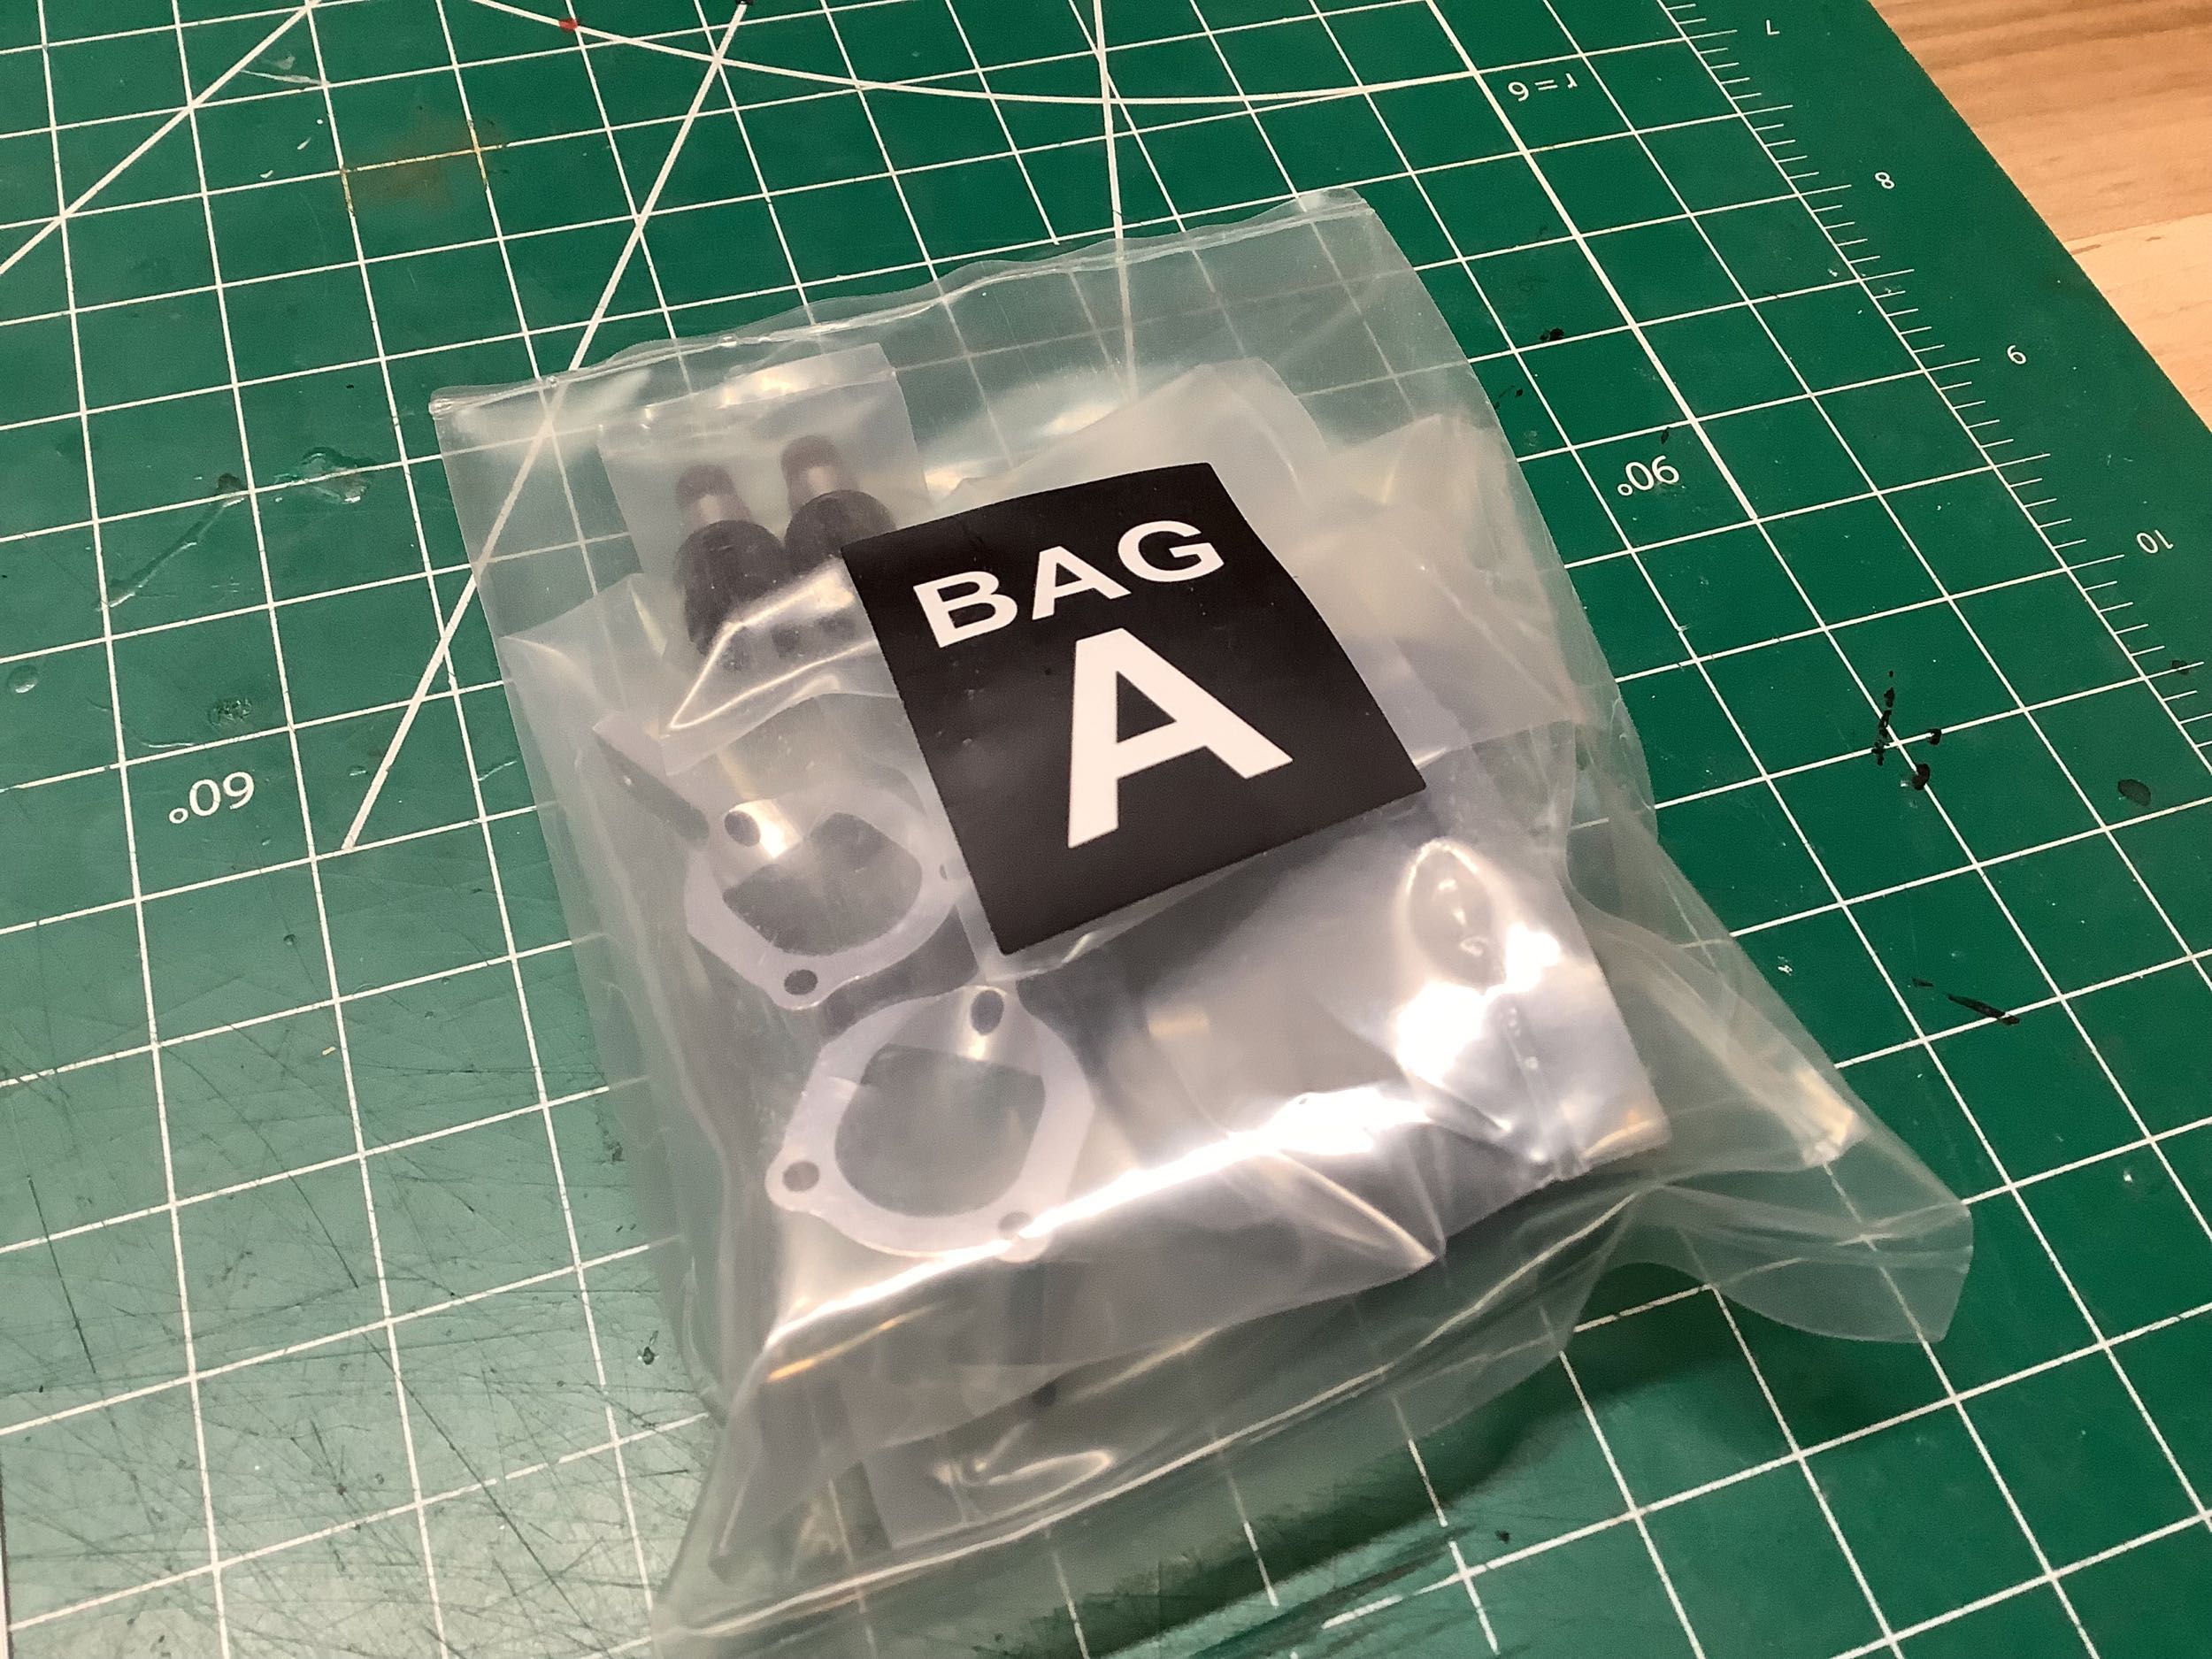
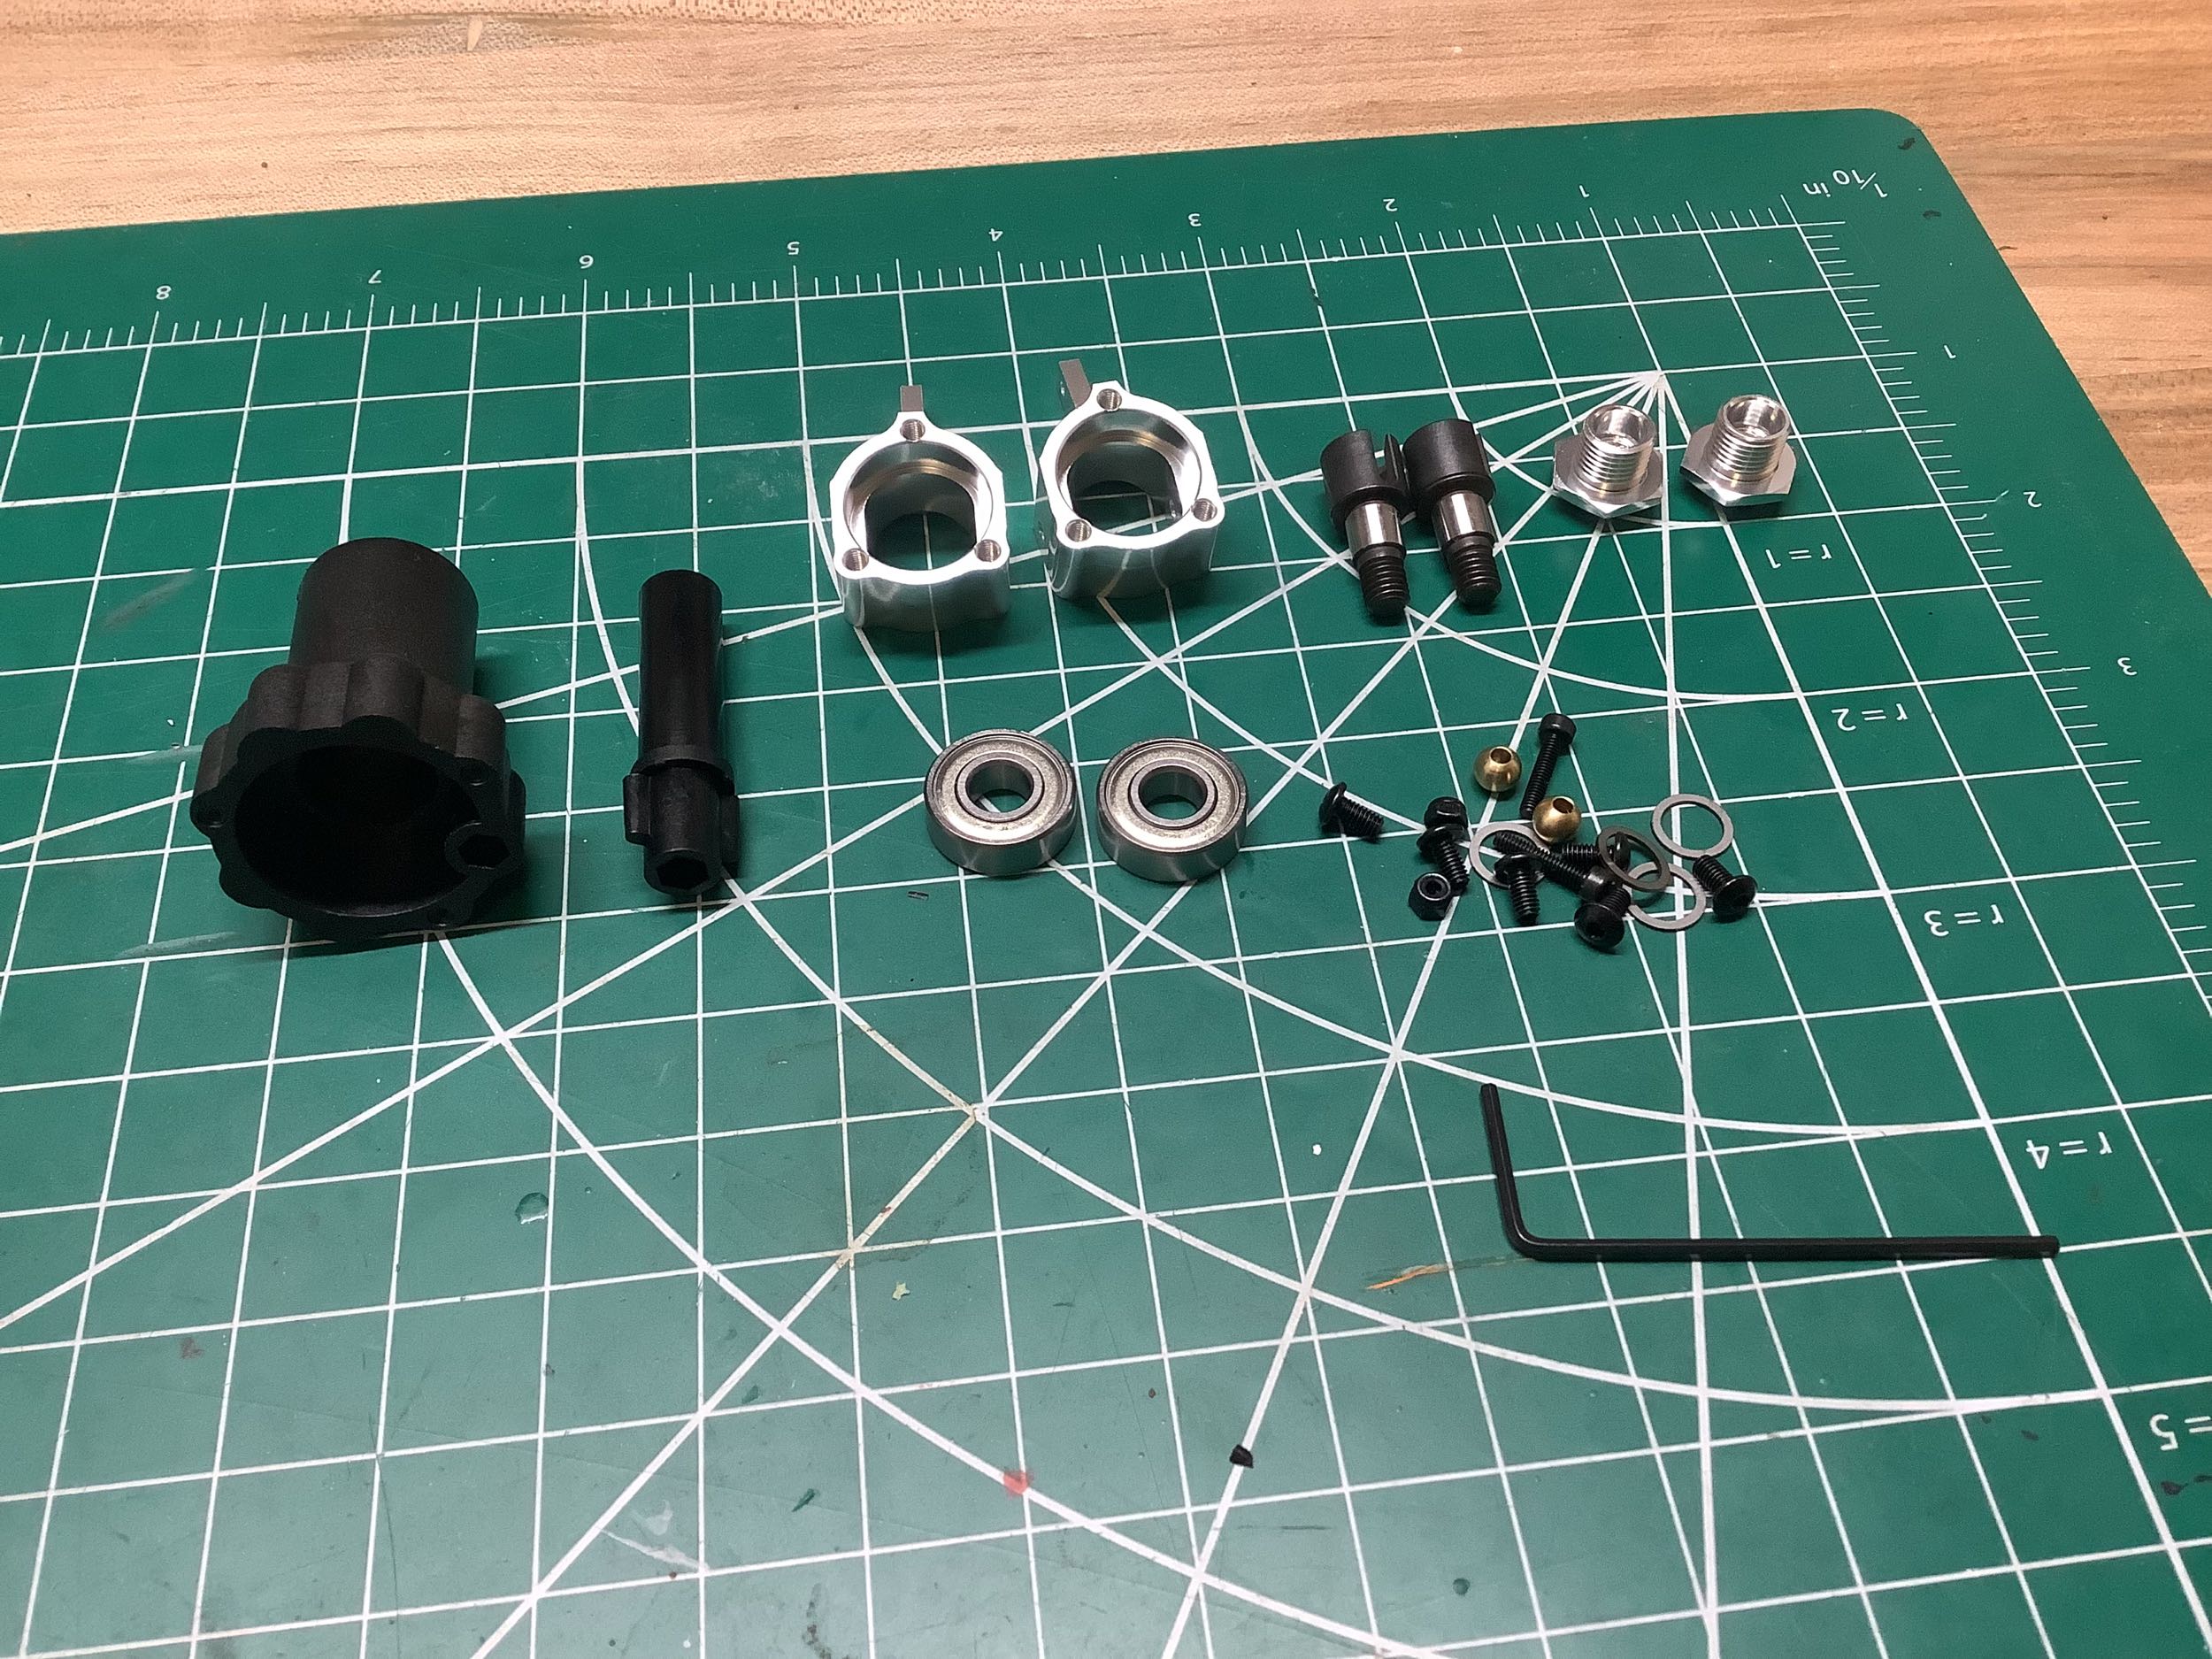
Here are the contents of Bag A which include the parts for the front
knuckles and some tools. That big plastic tool on the left is a
wheel wrench to install the unusual sized nuts on the wheels (12mm).
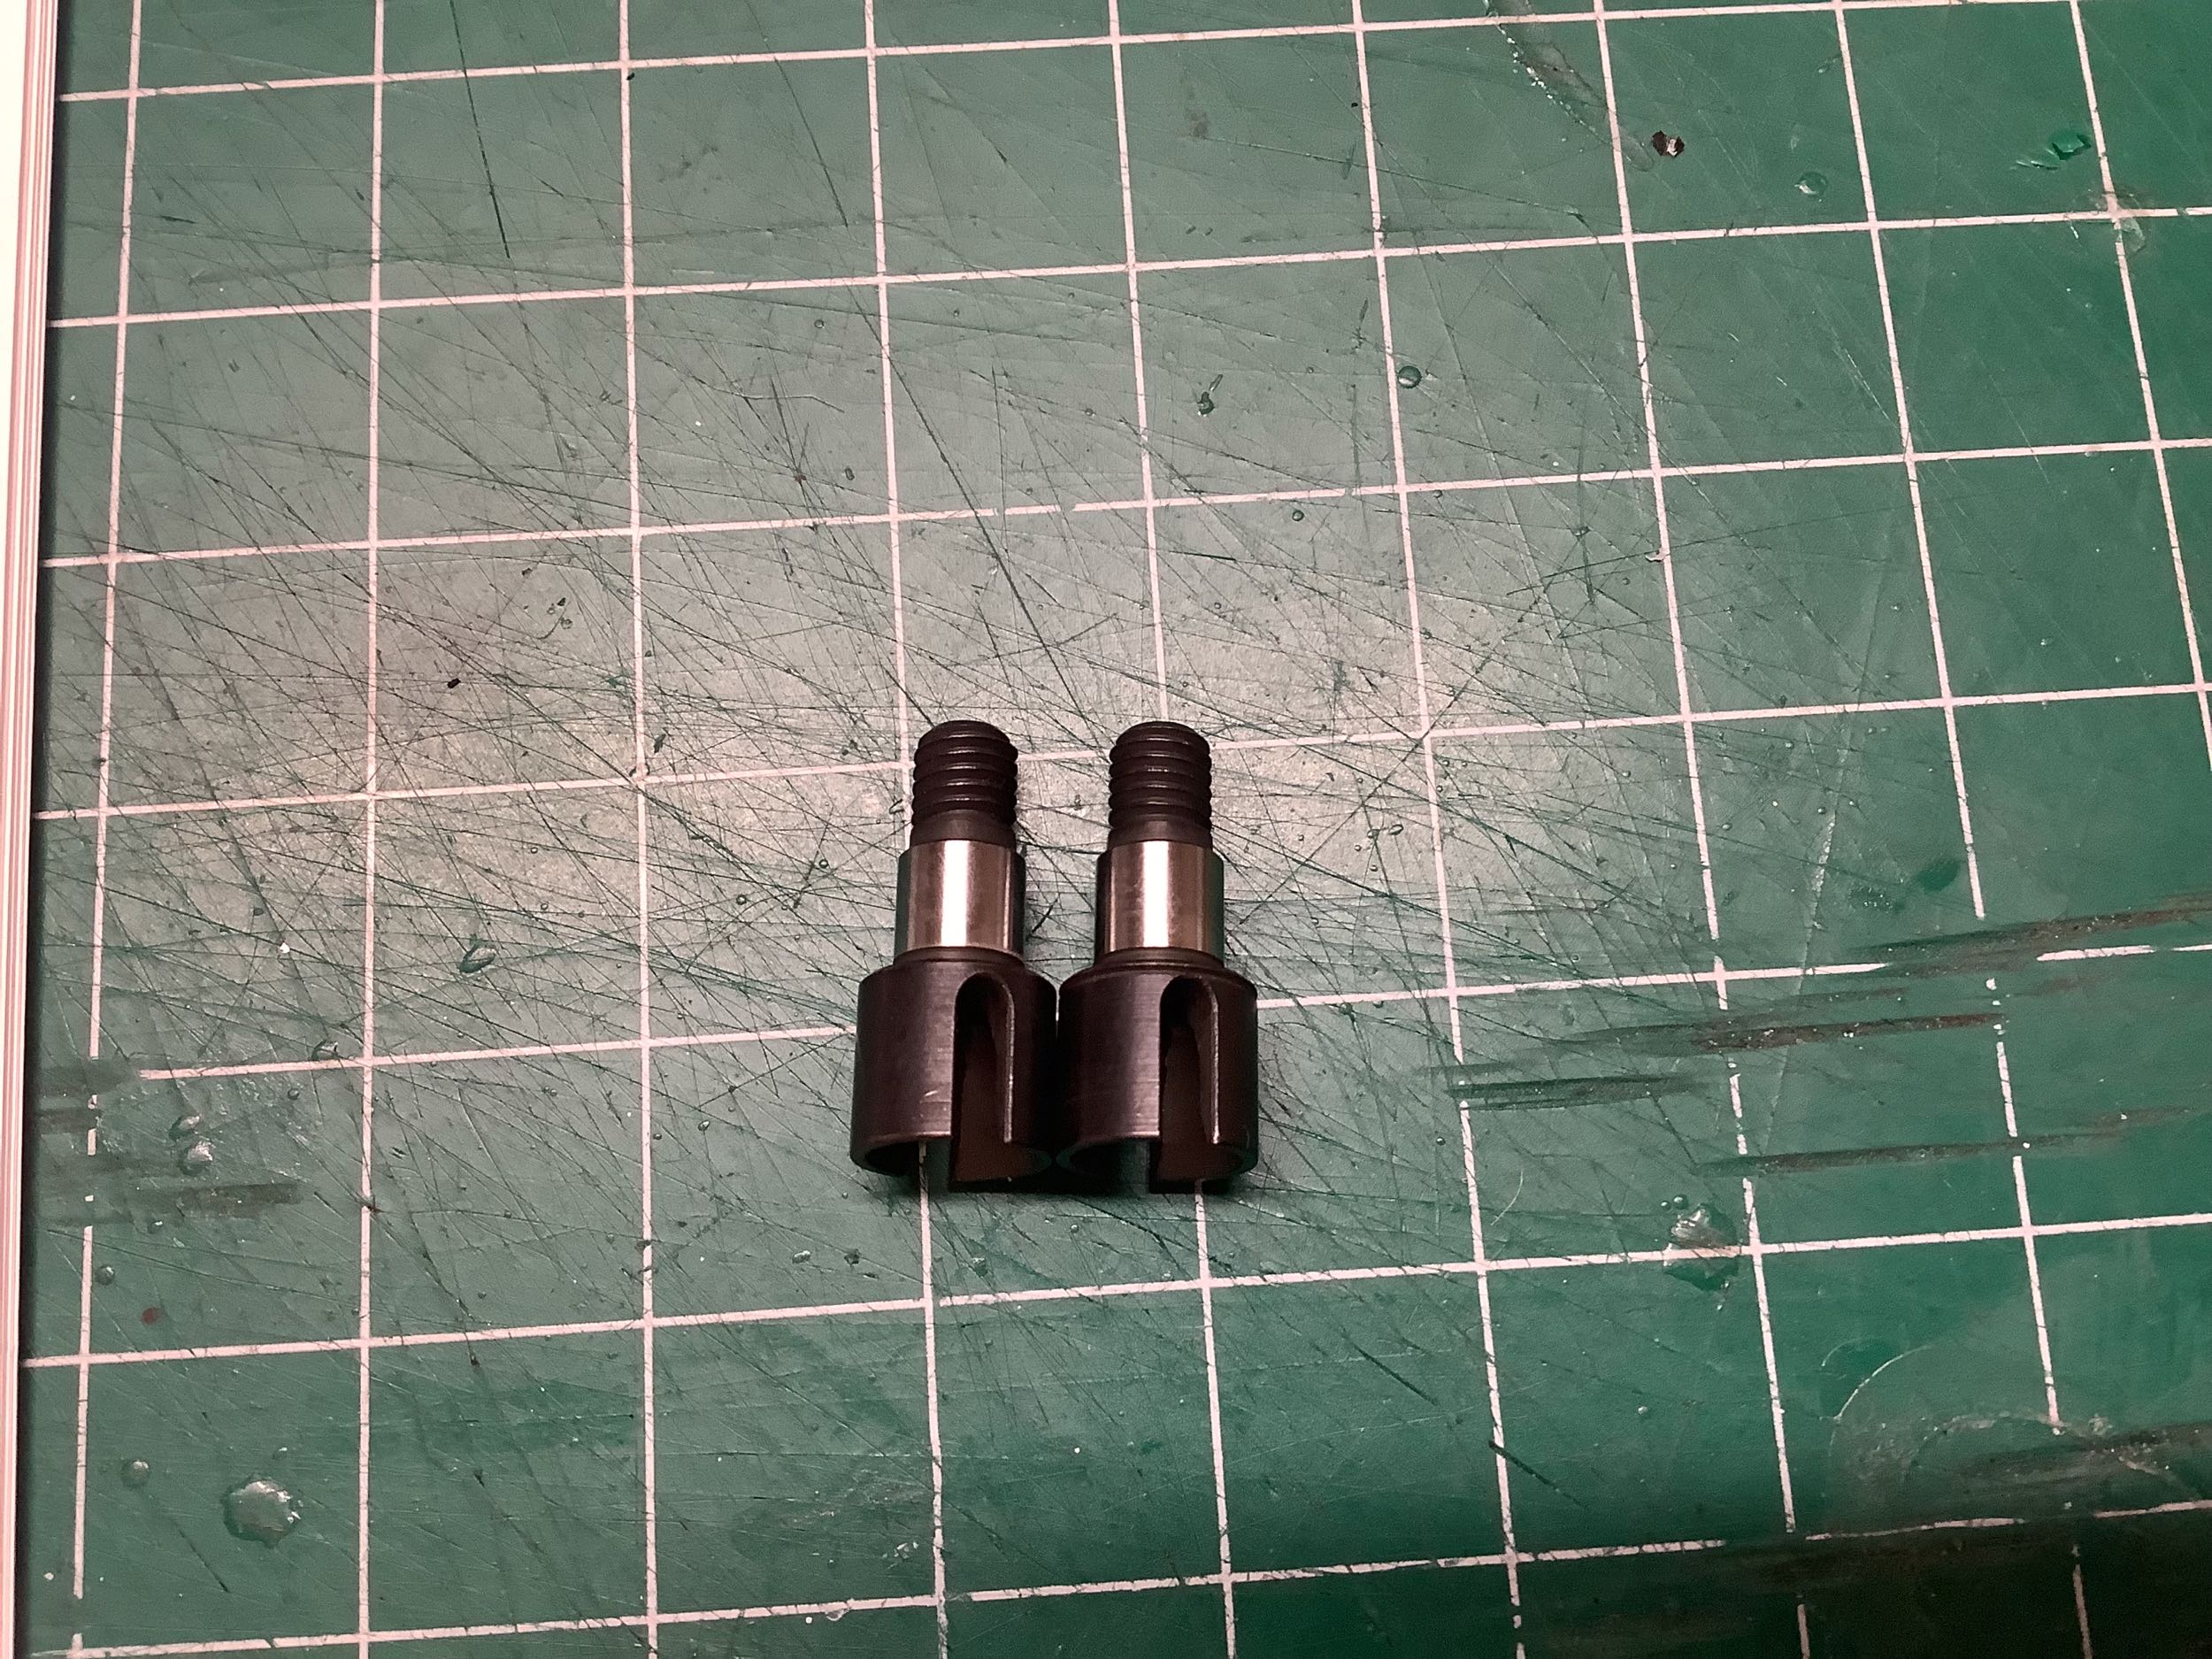
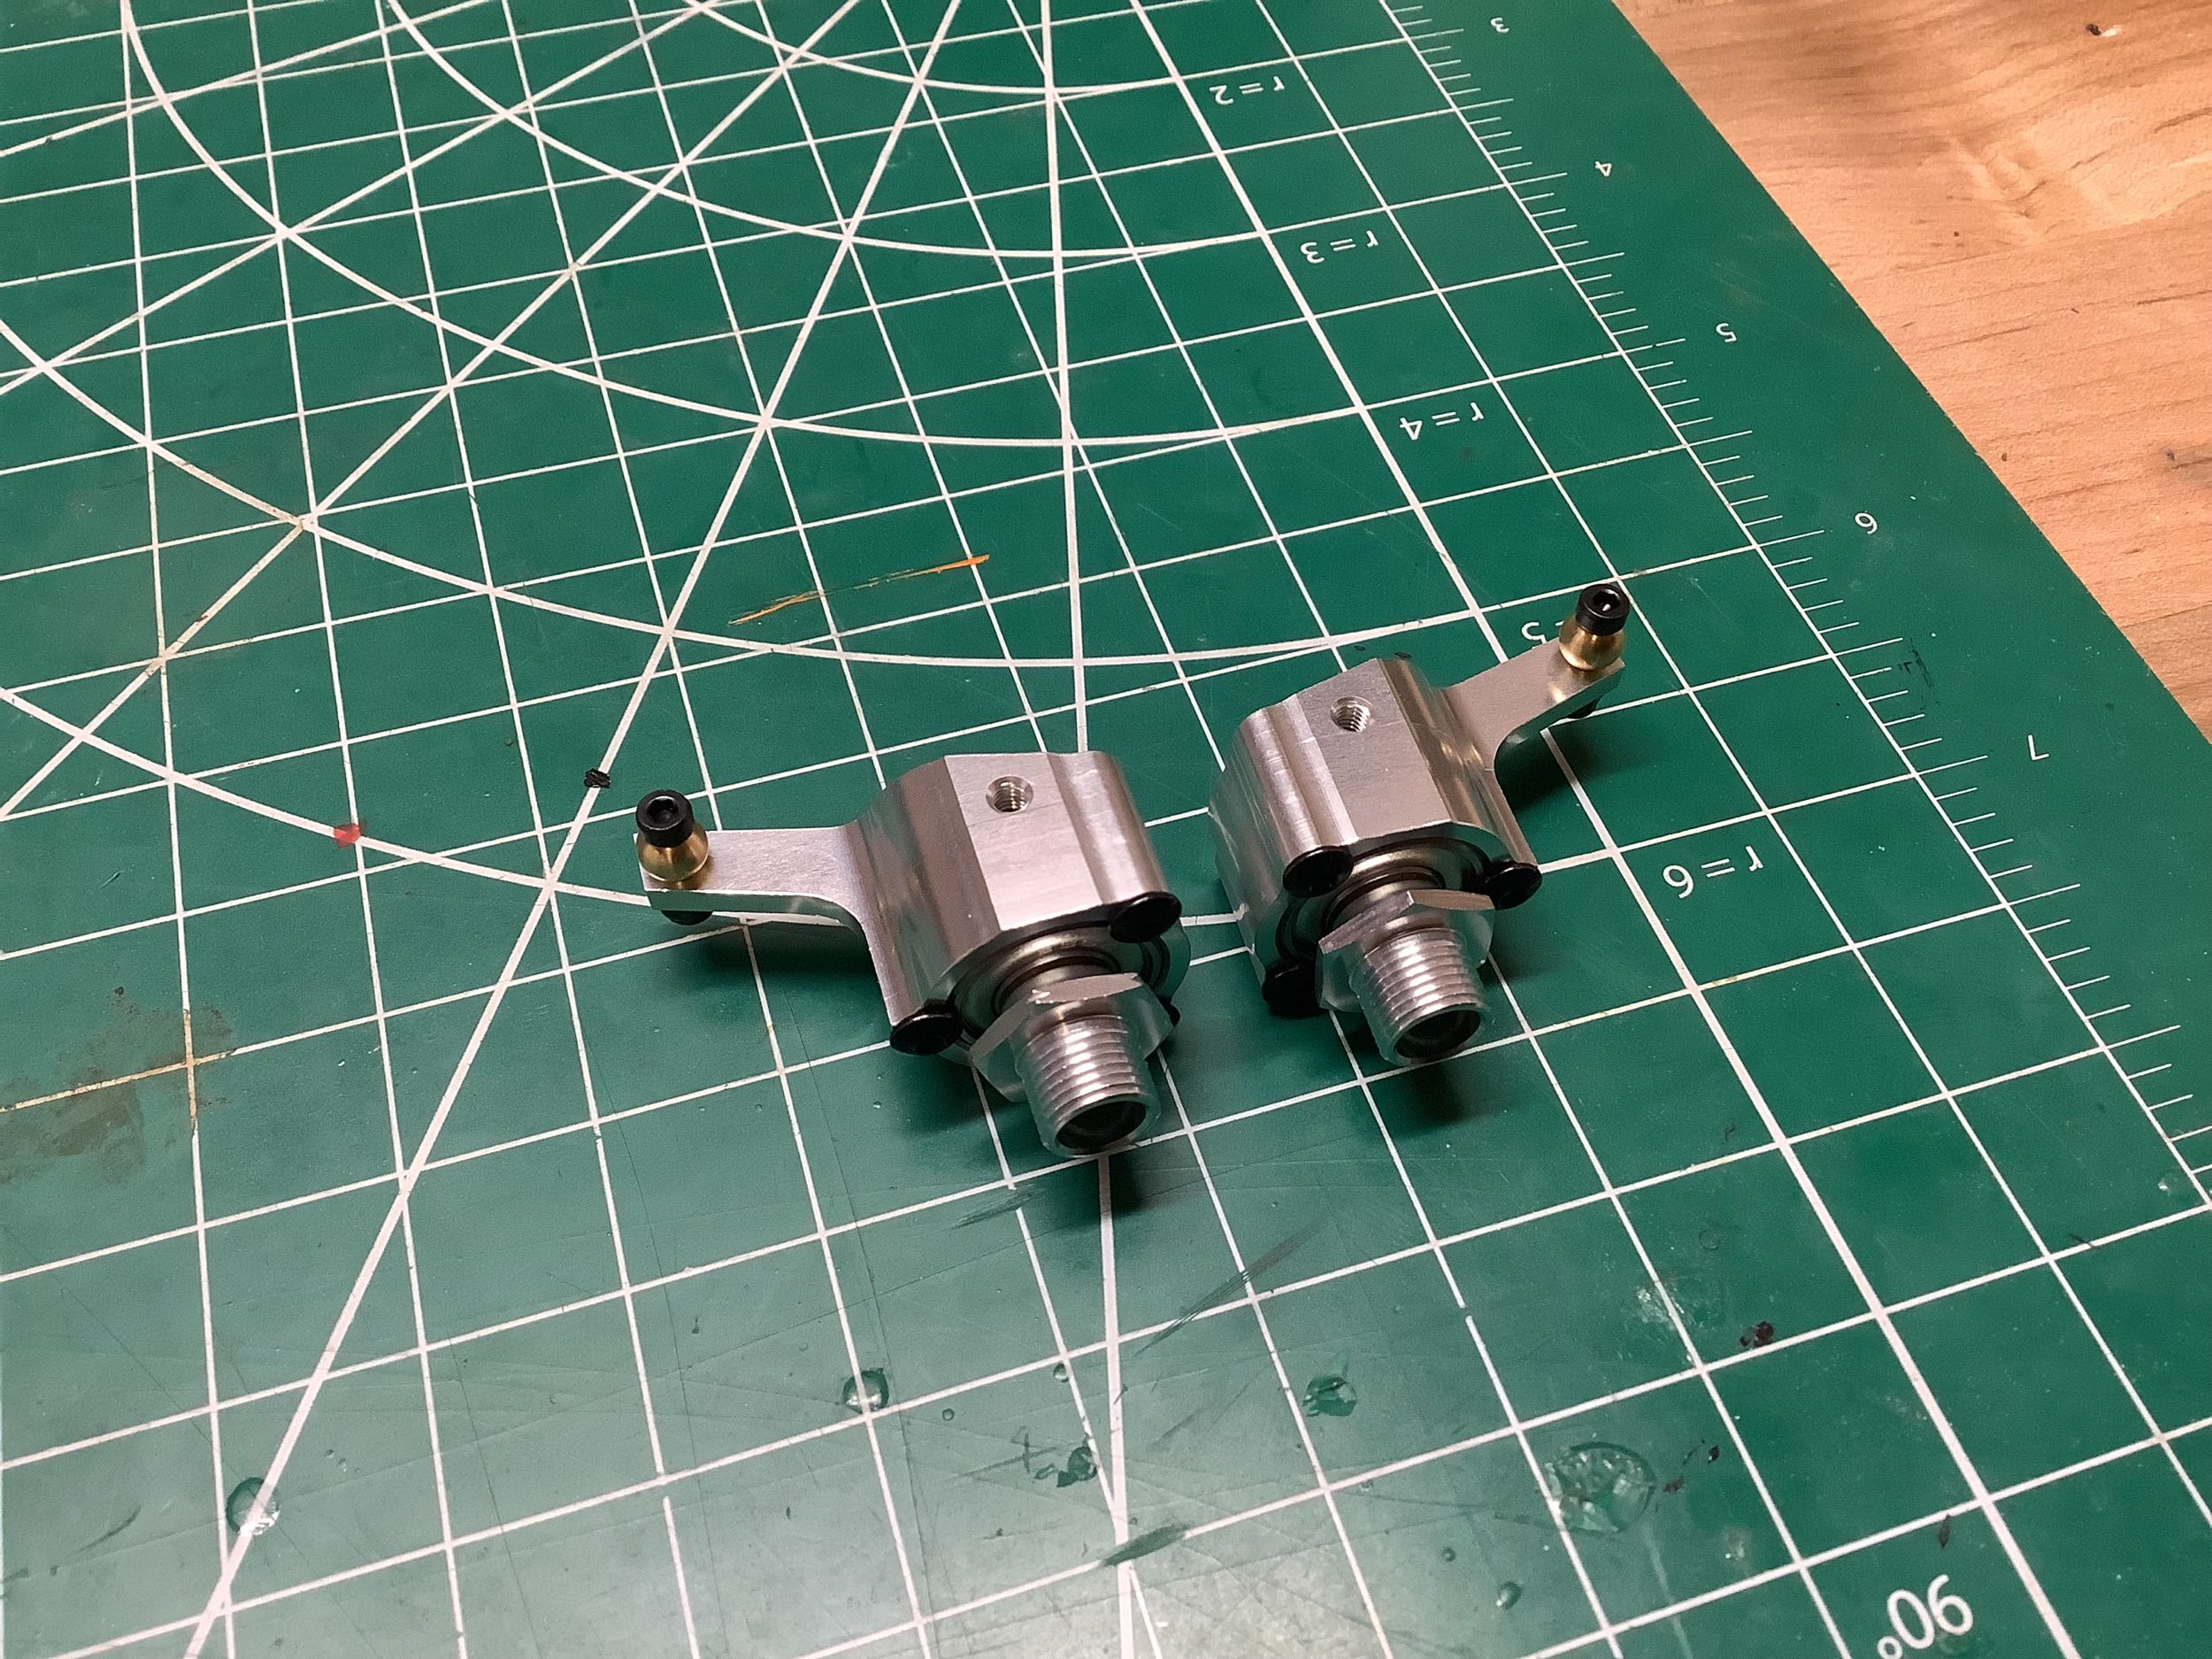
The stubby wheel axles are hardened steel, and the knuckles are machined
aluminum. If you look very closely at the axles, you may notice
that one of them is reverse threaded. This goes on the right side
of vehicle and is intended to prevent the hub from becoming loose while
driving. There is only a single bearing on each side which means
not much weight can be supported, but they are at least quite large
(6x15mm). An optional dual bearing setup is available.
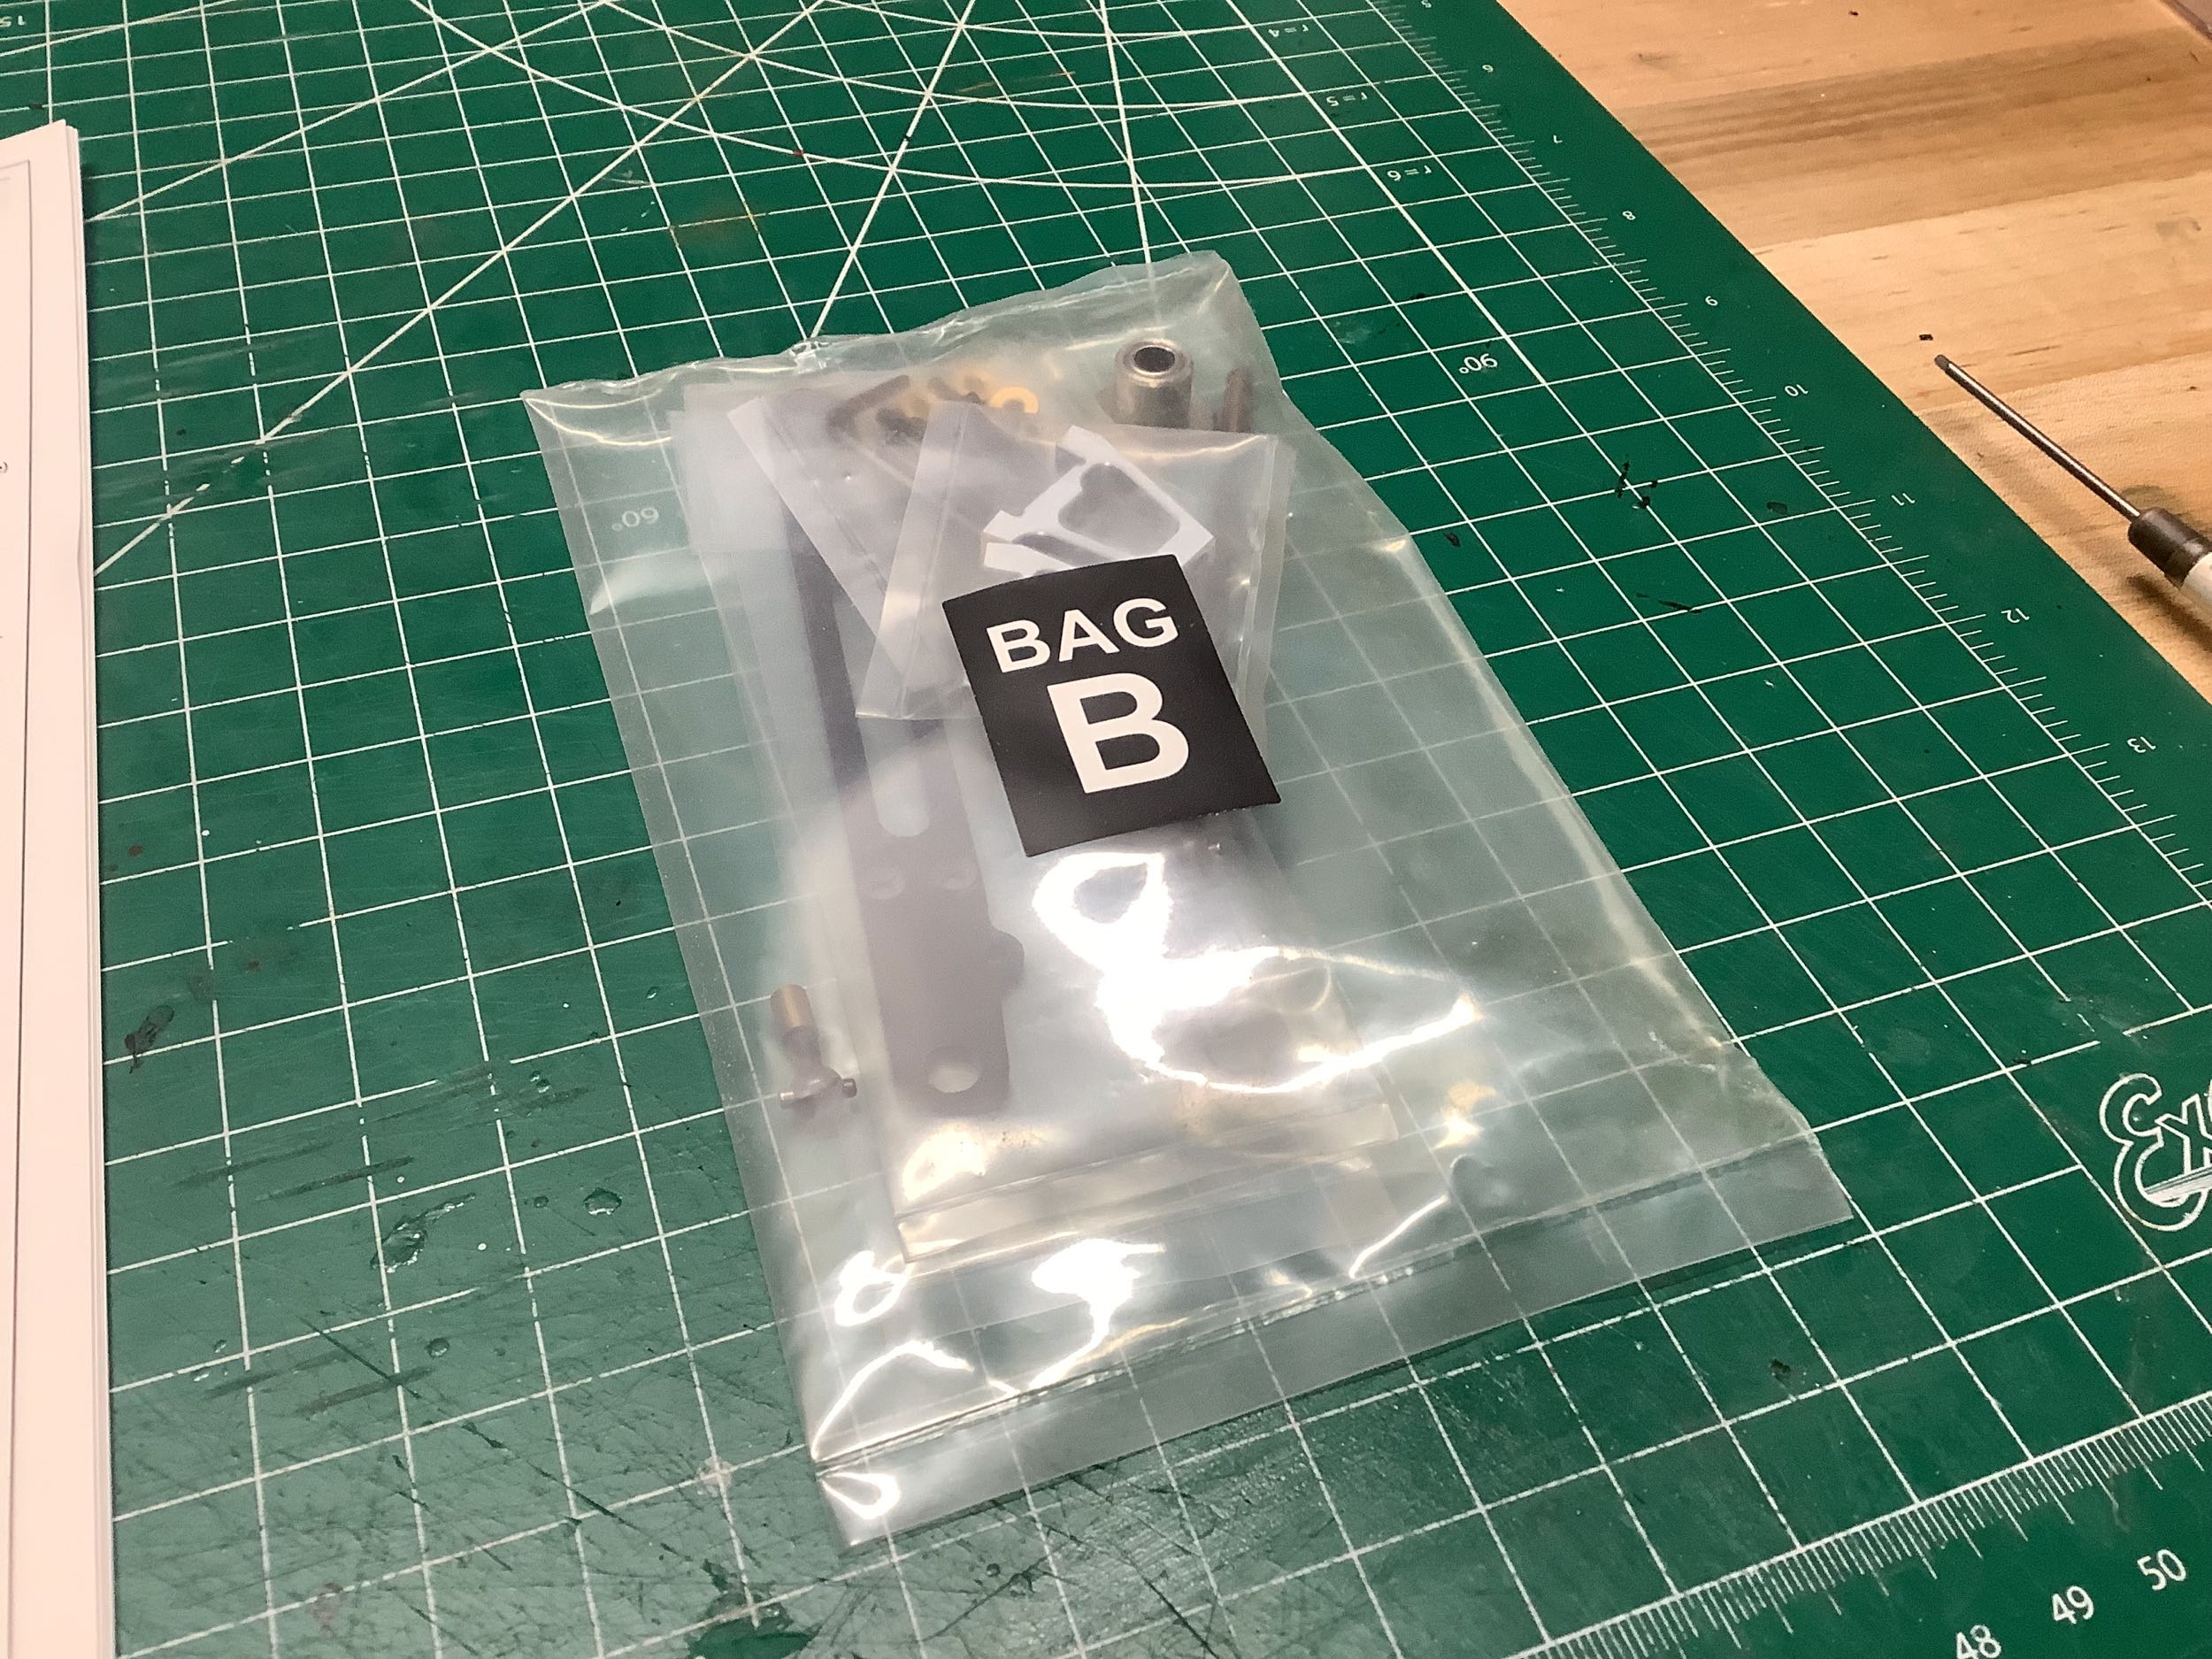
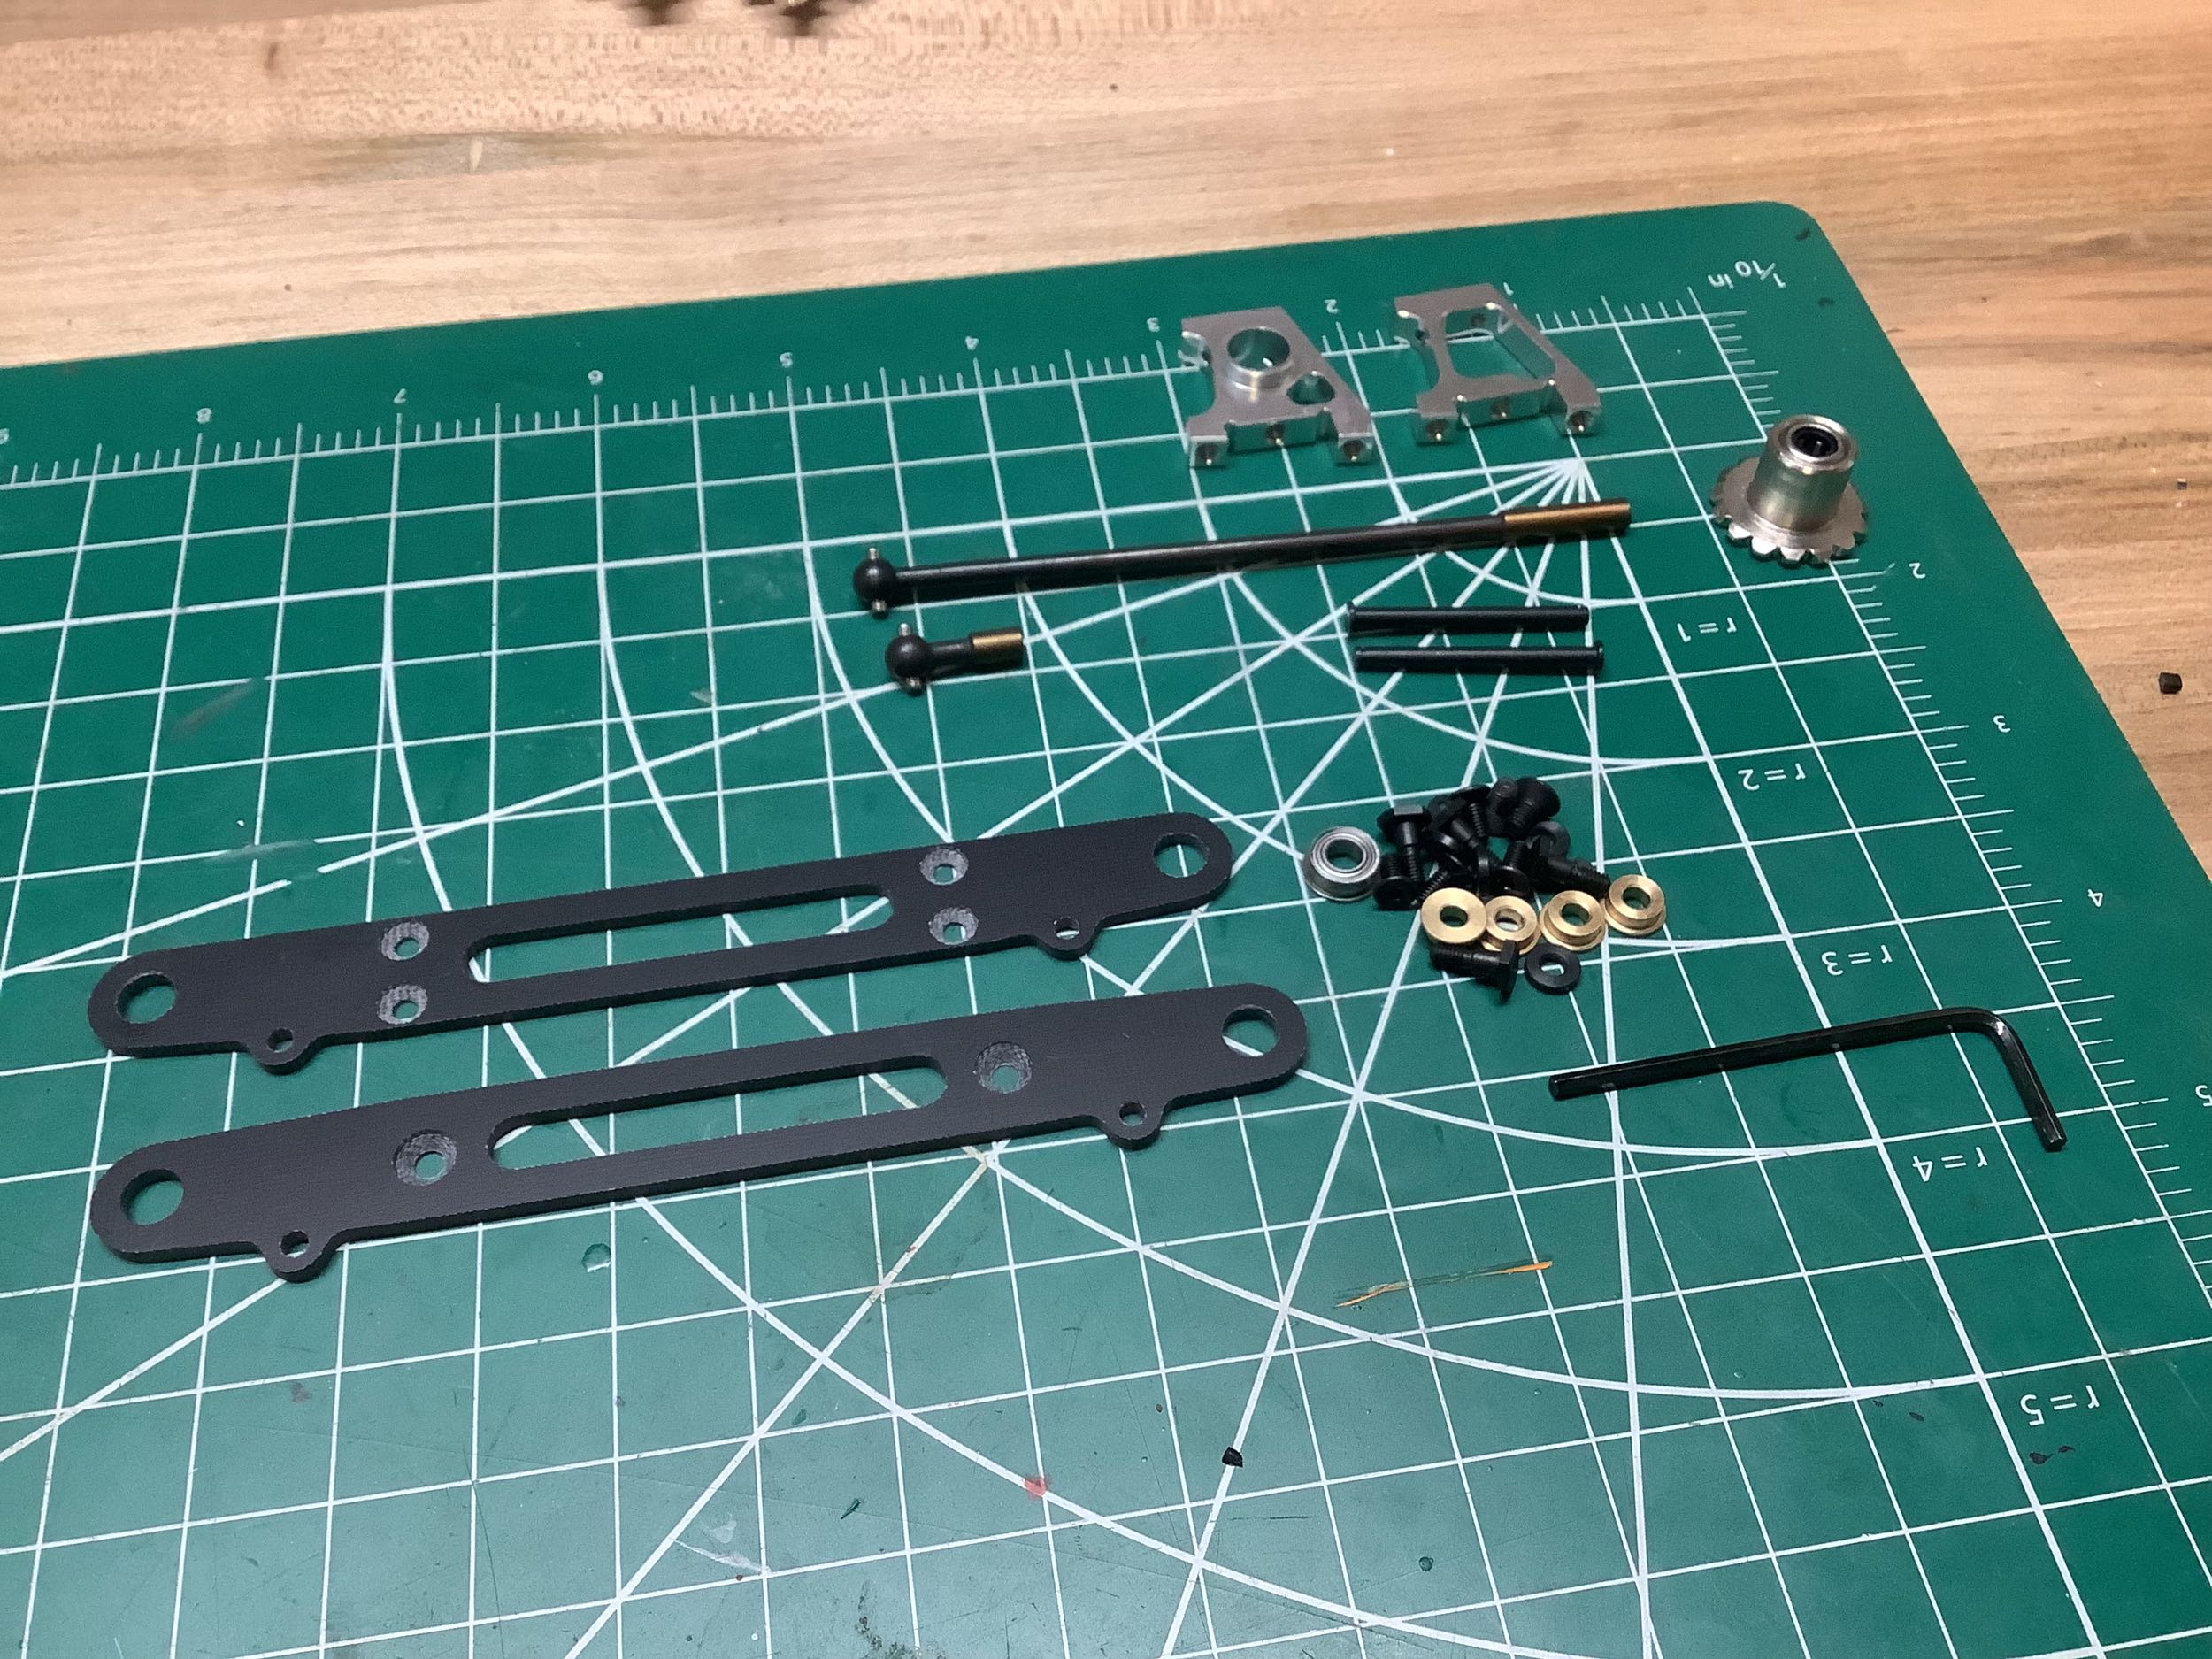
Bag B contains the rest of the parts for the front "suspension". I
use that word loosely since there are no springs. The main
lateral supports are FRP plates and the kingpin bushings are bronze.
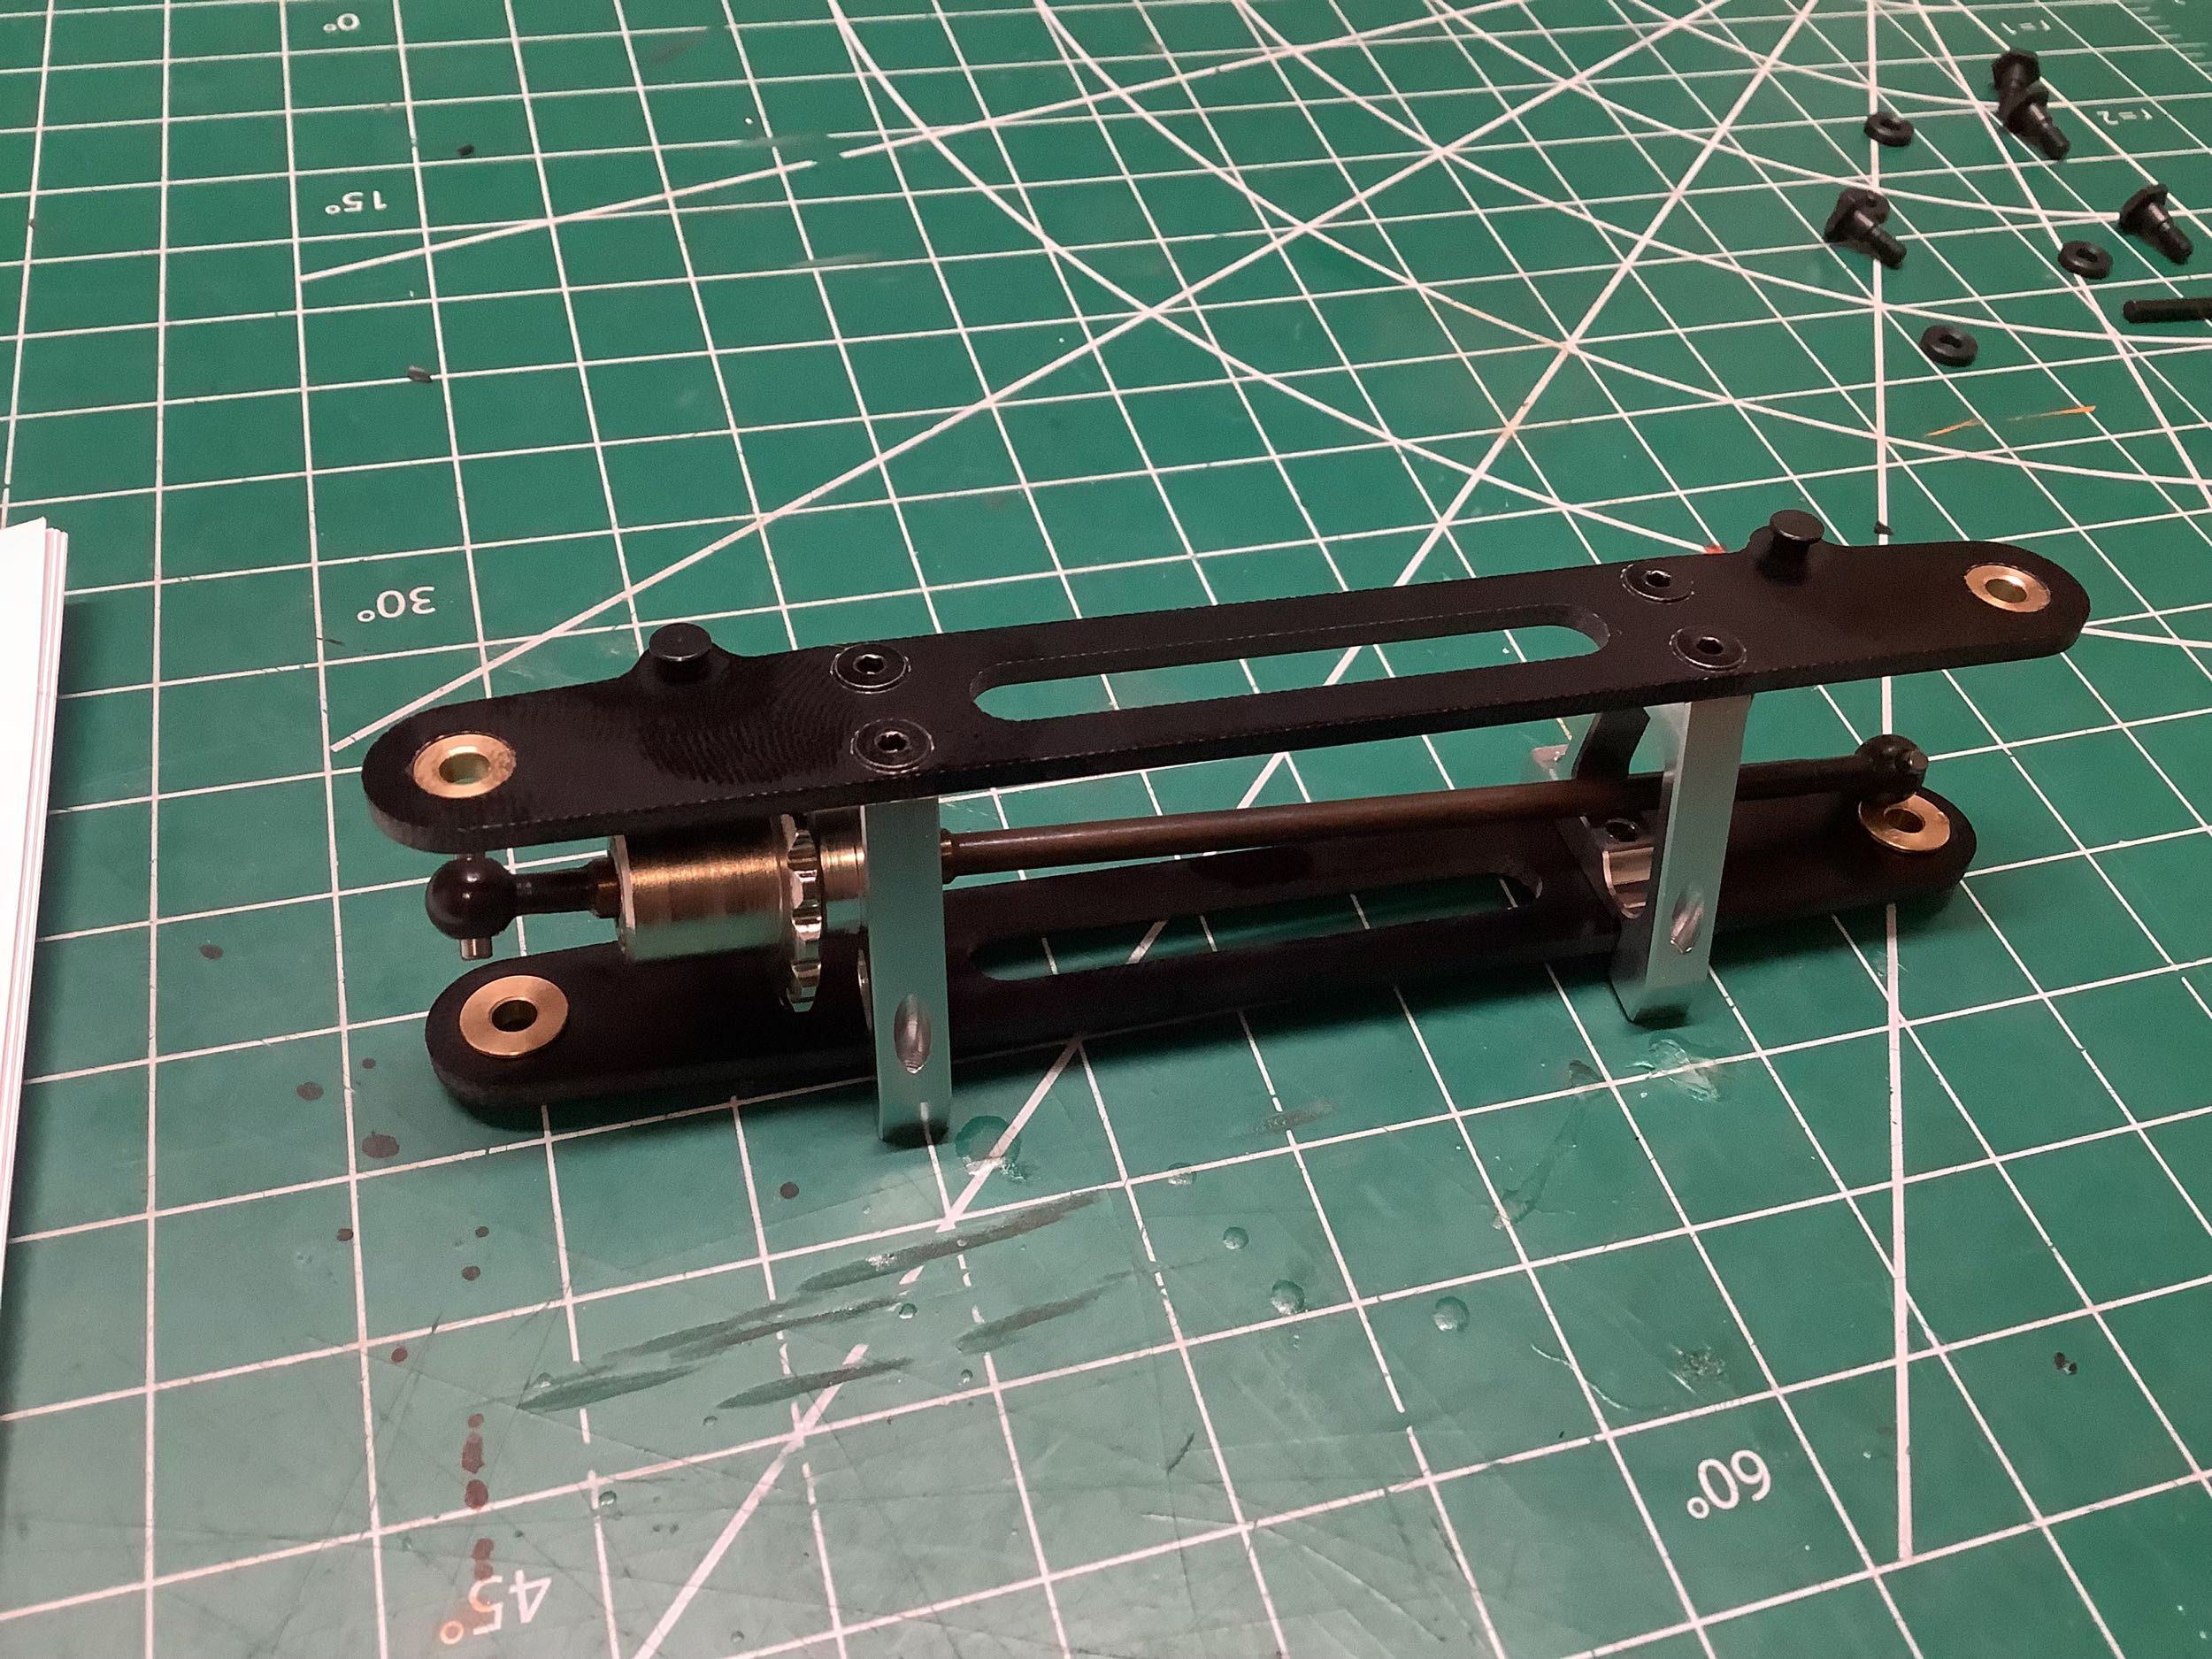
The front chain sprocket has a pair of one-way bearings inside it, one
for either side. The axle on the sprocket side (right) is super
stubby, while the one on the other side goes all the way across.
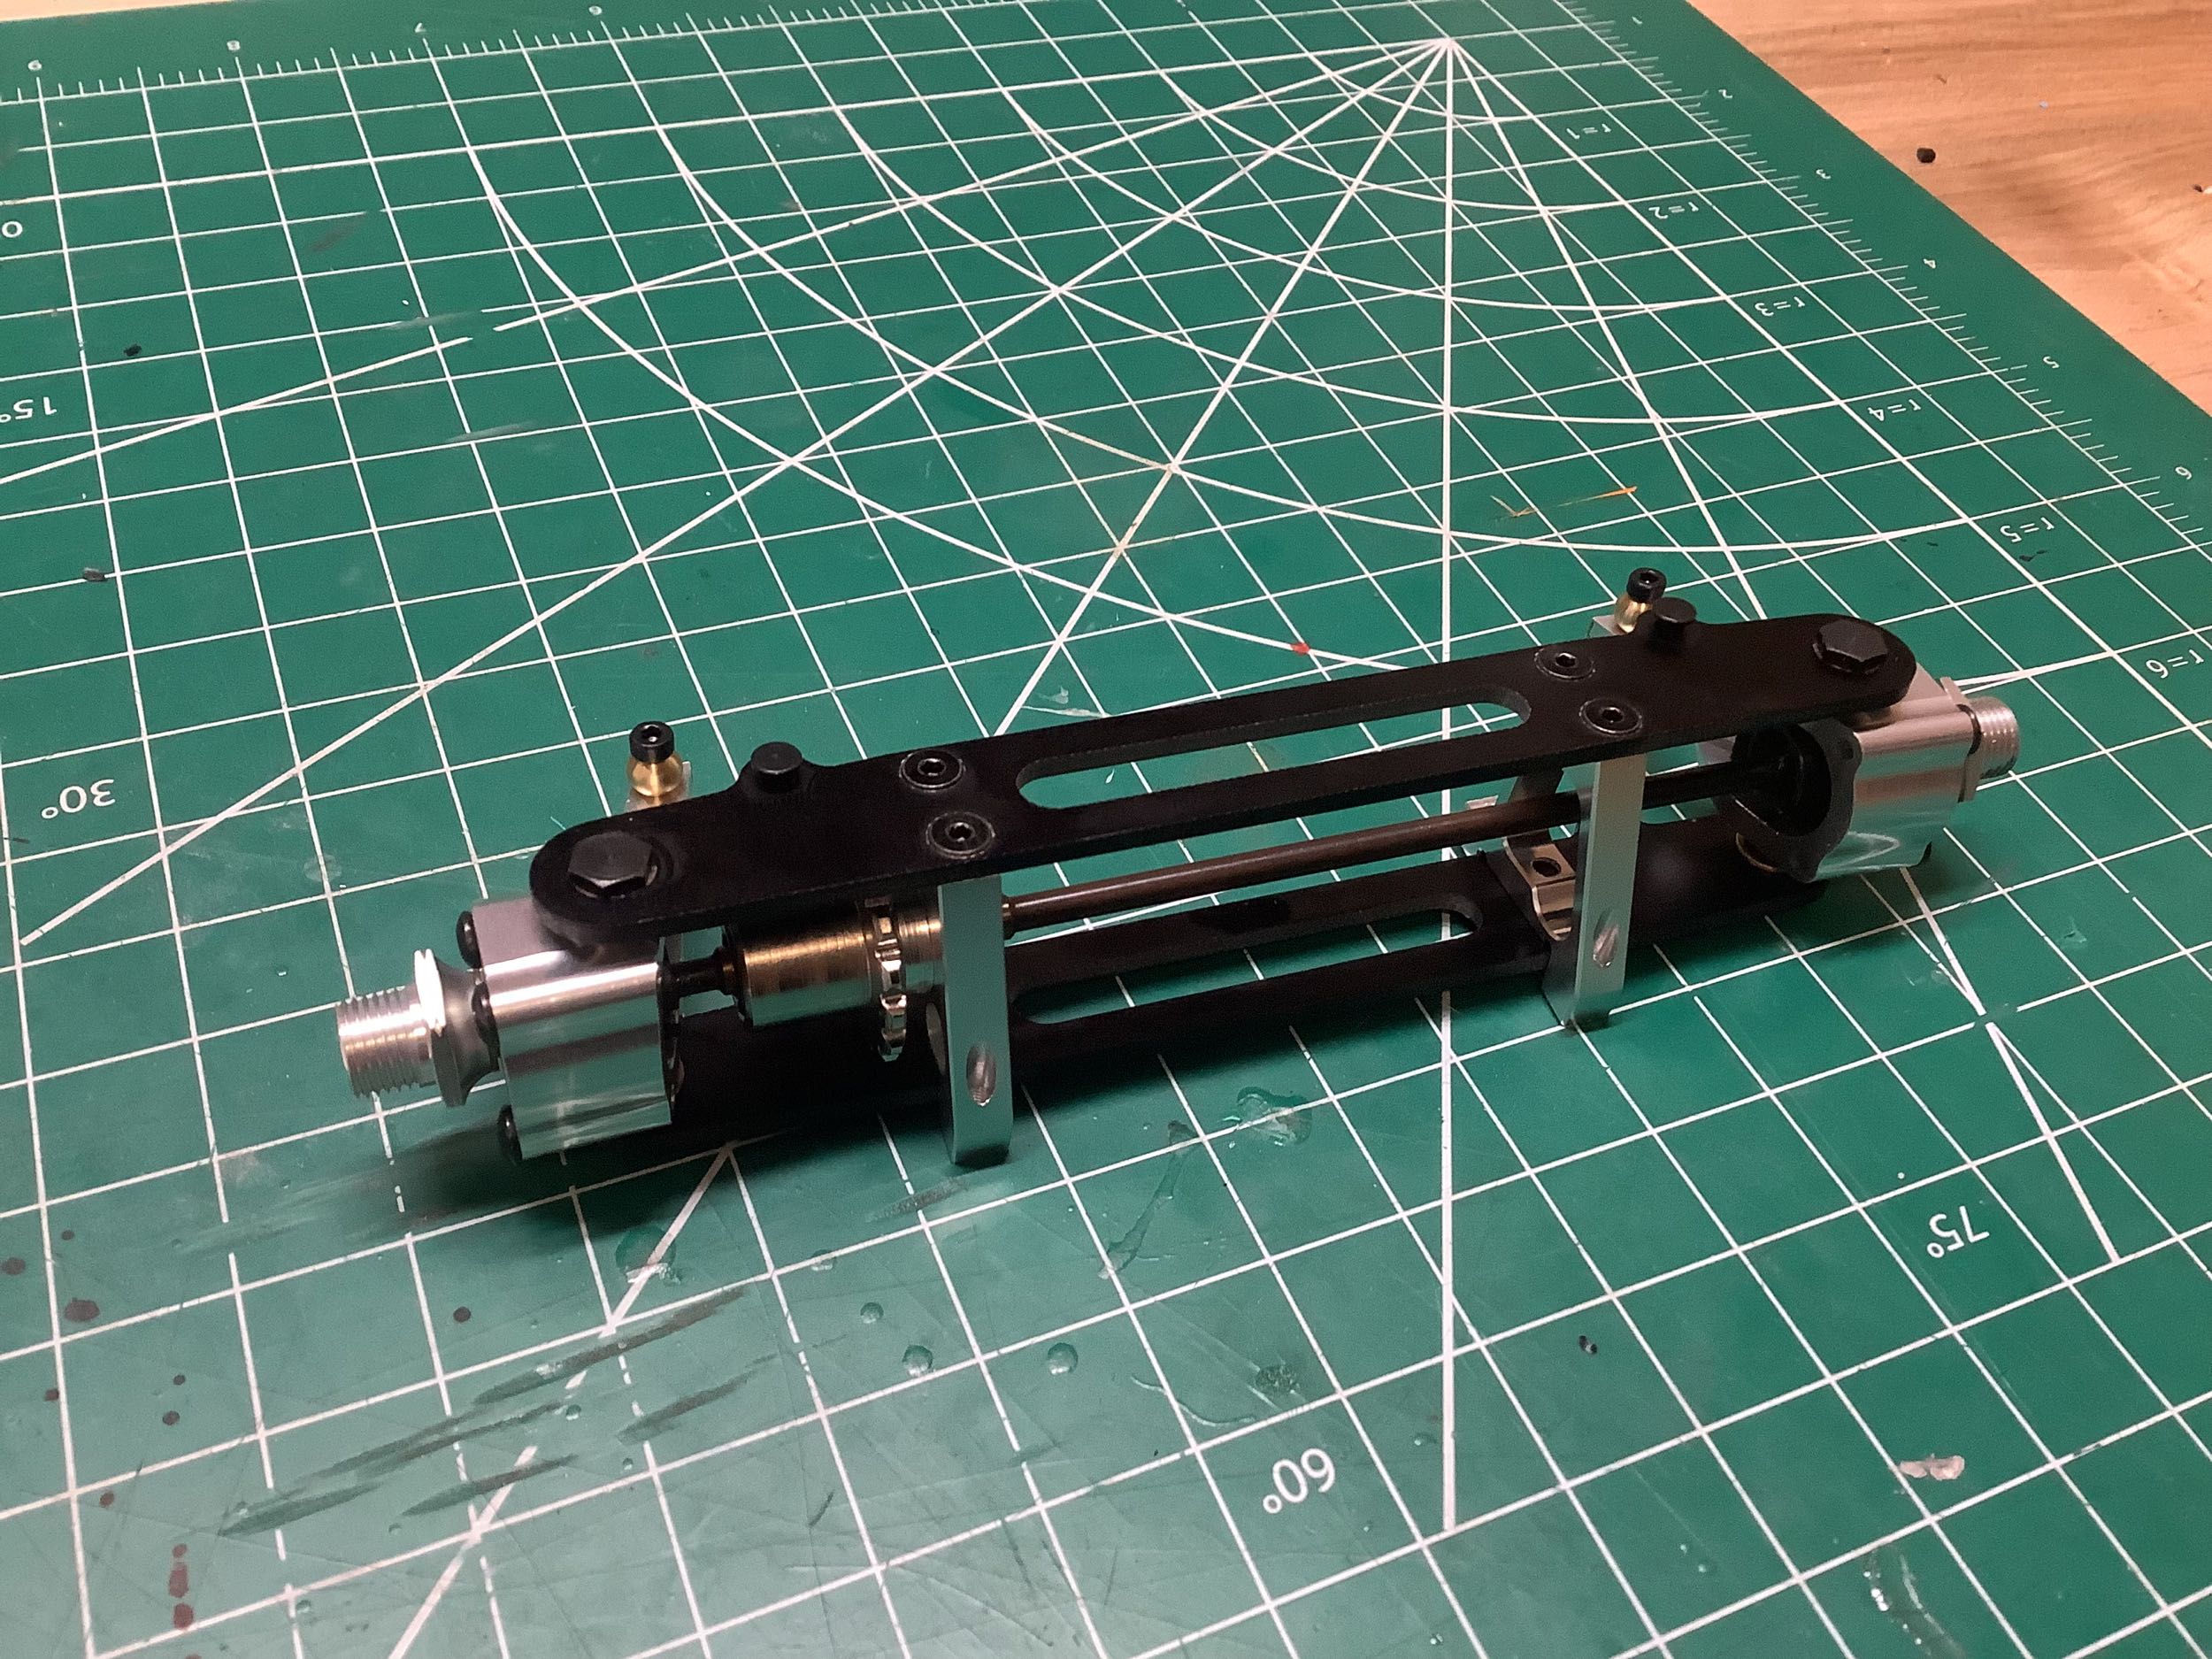
The dog bones ends only need to accommodate steering angles, no
suspension movement which is why everything can be locked to the lateral
axis.
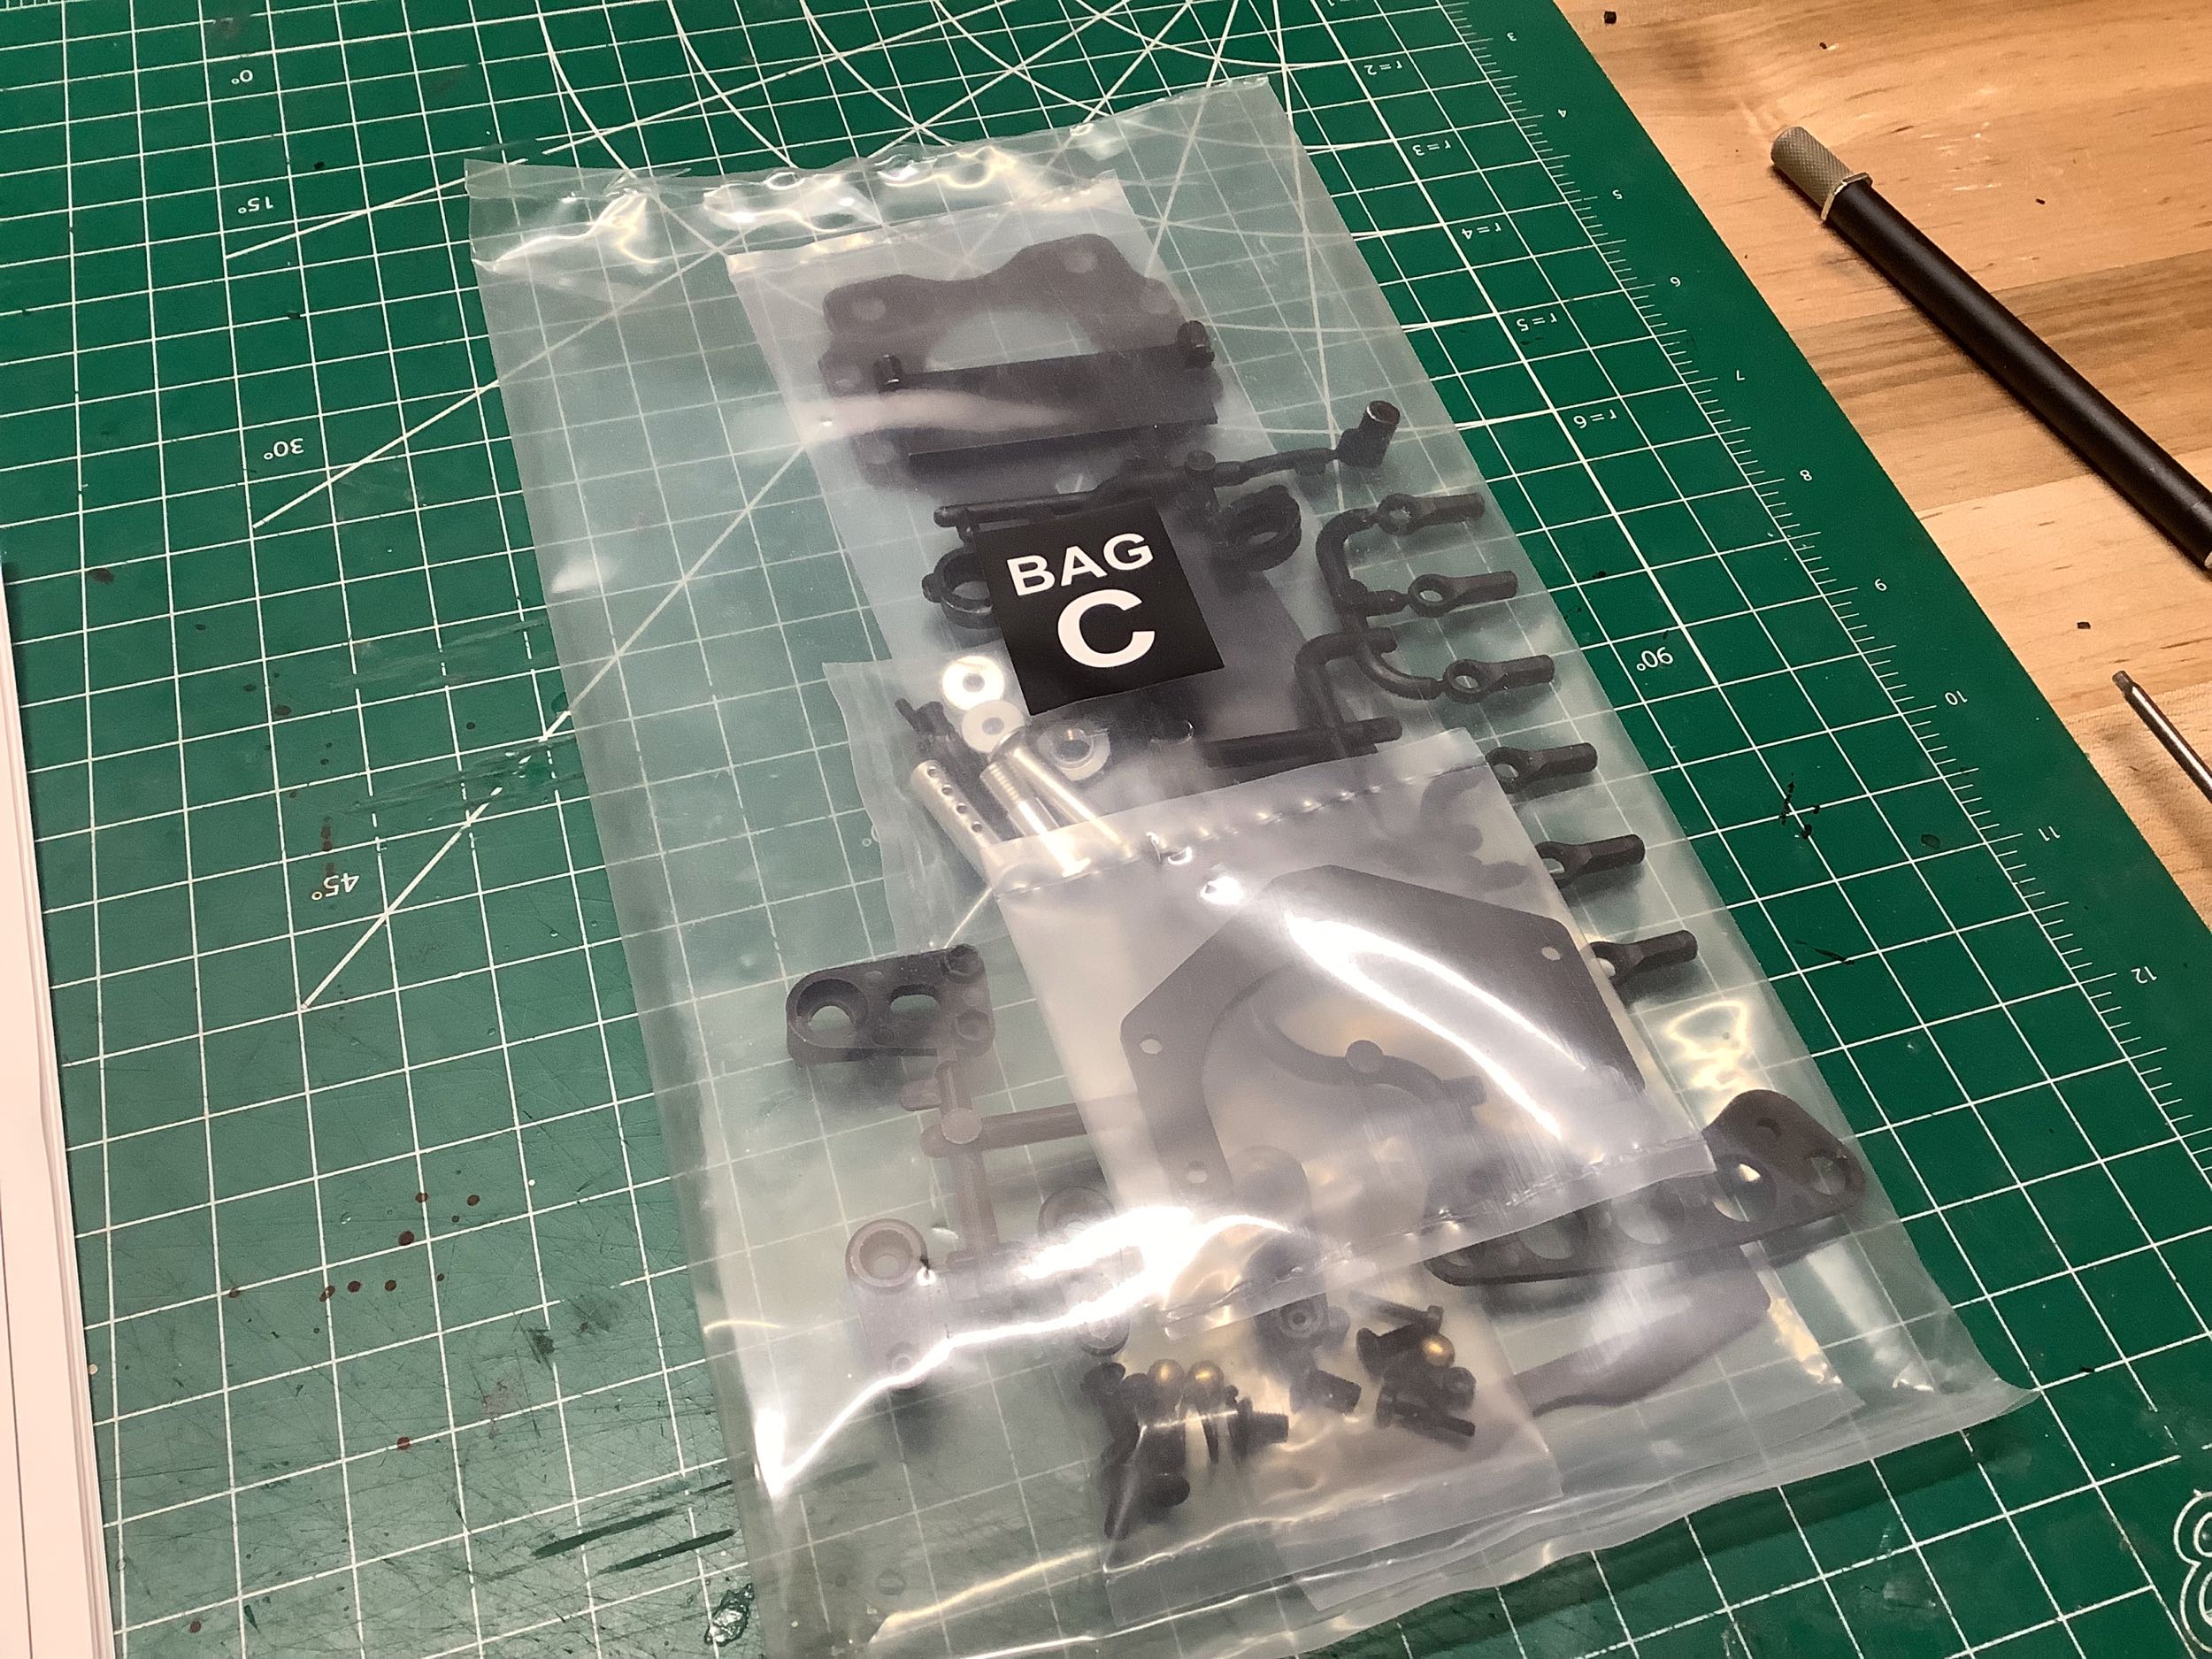
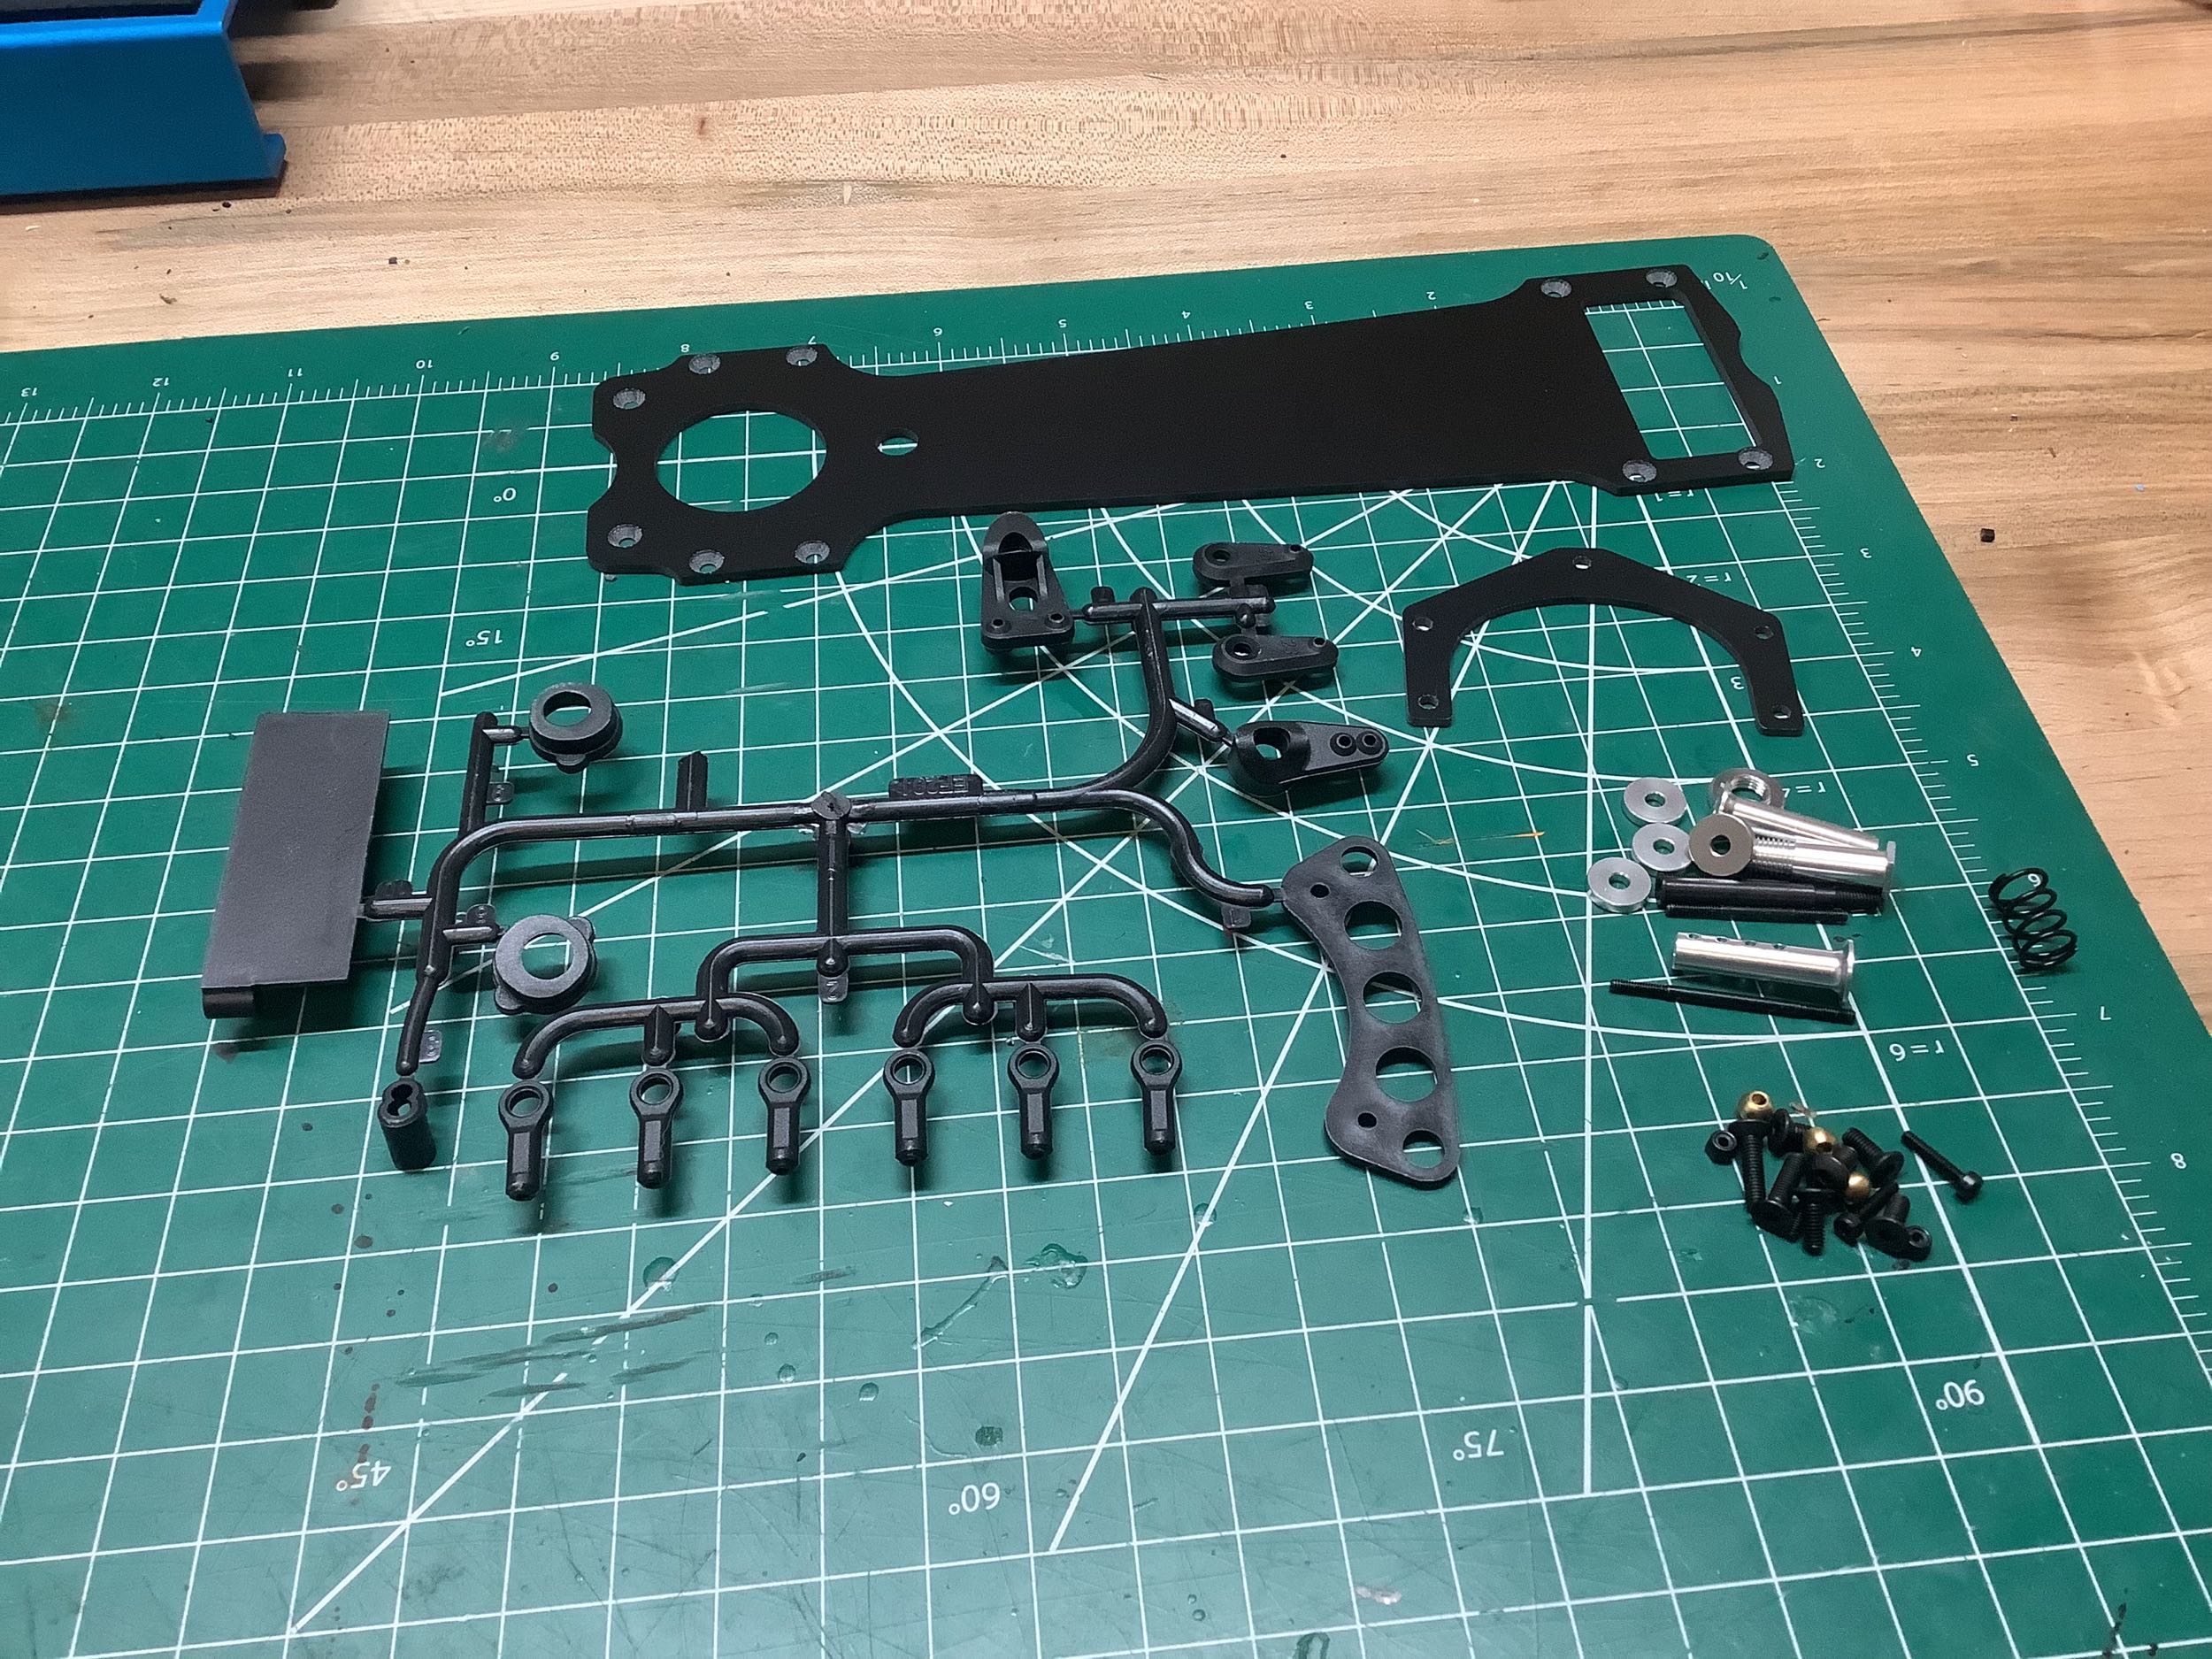
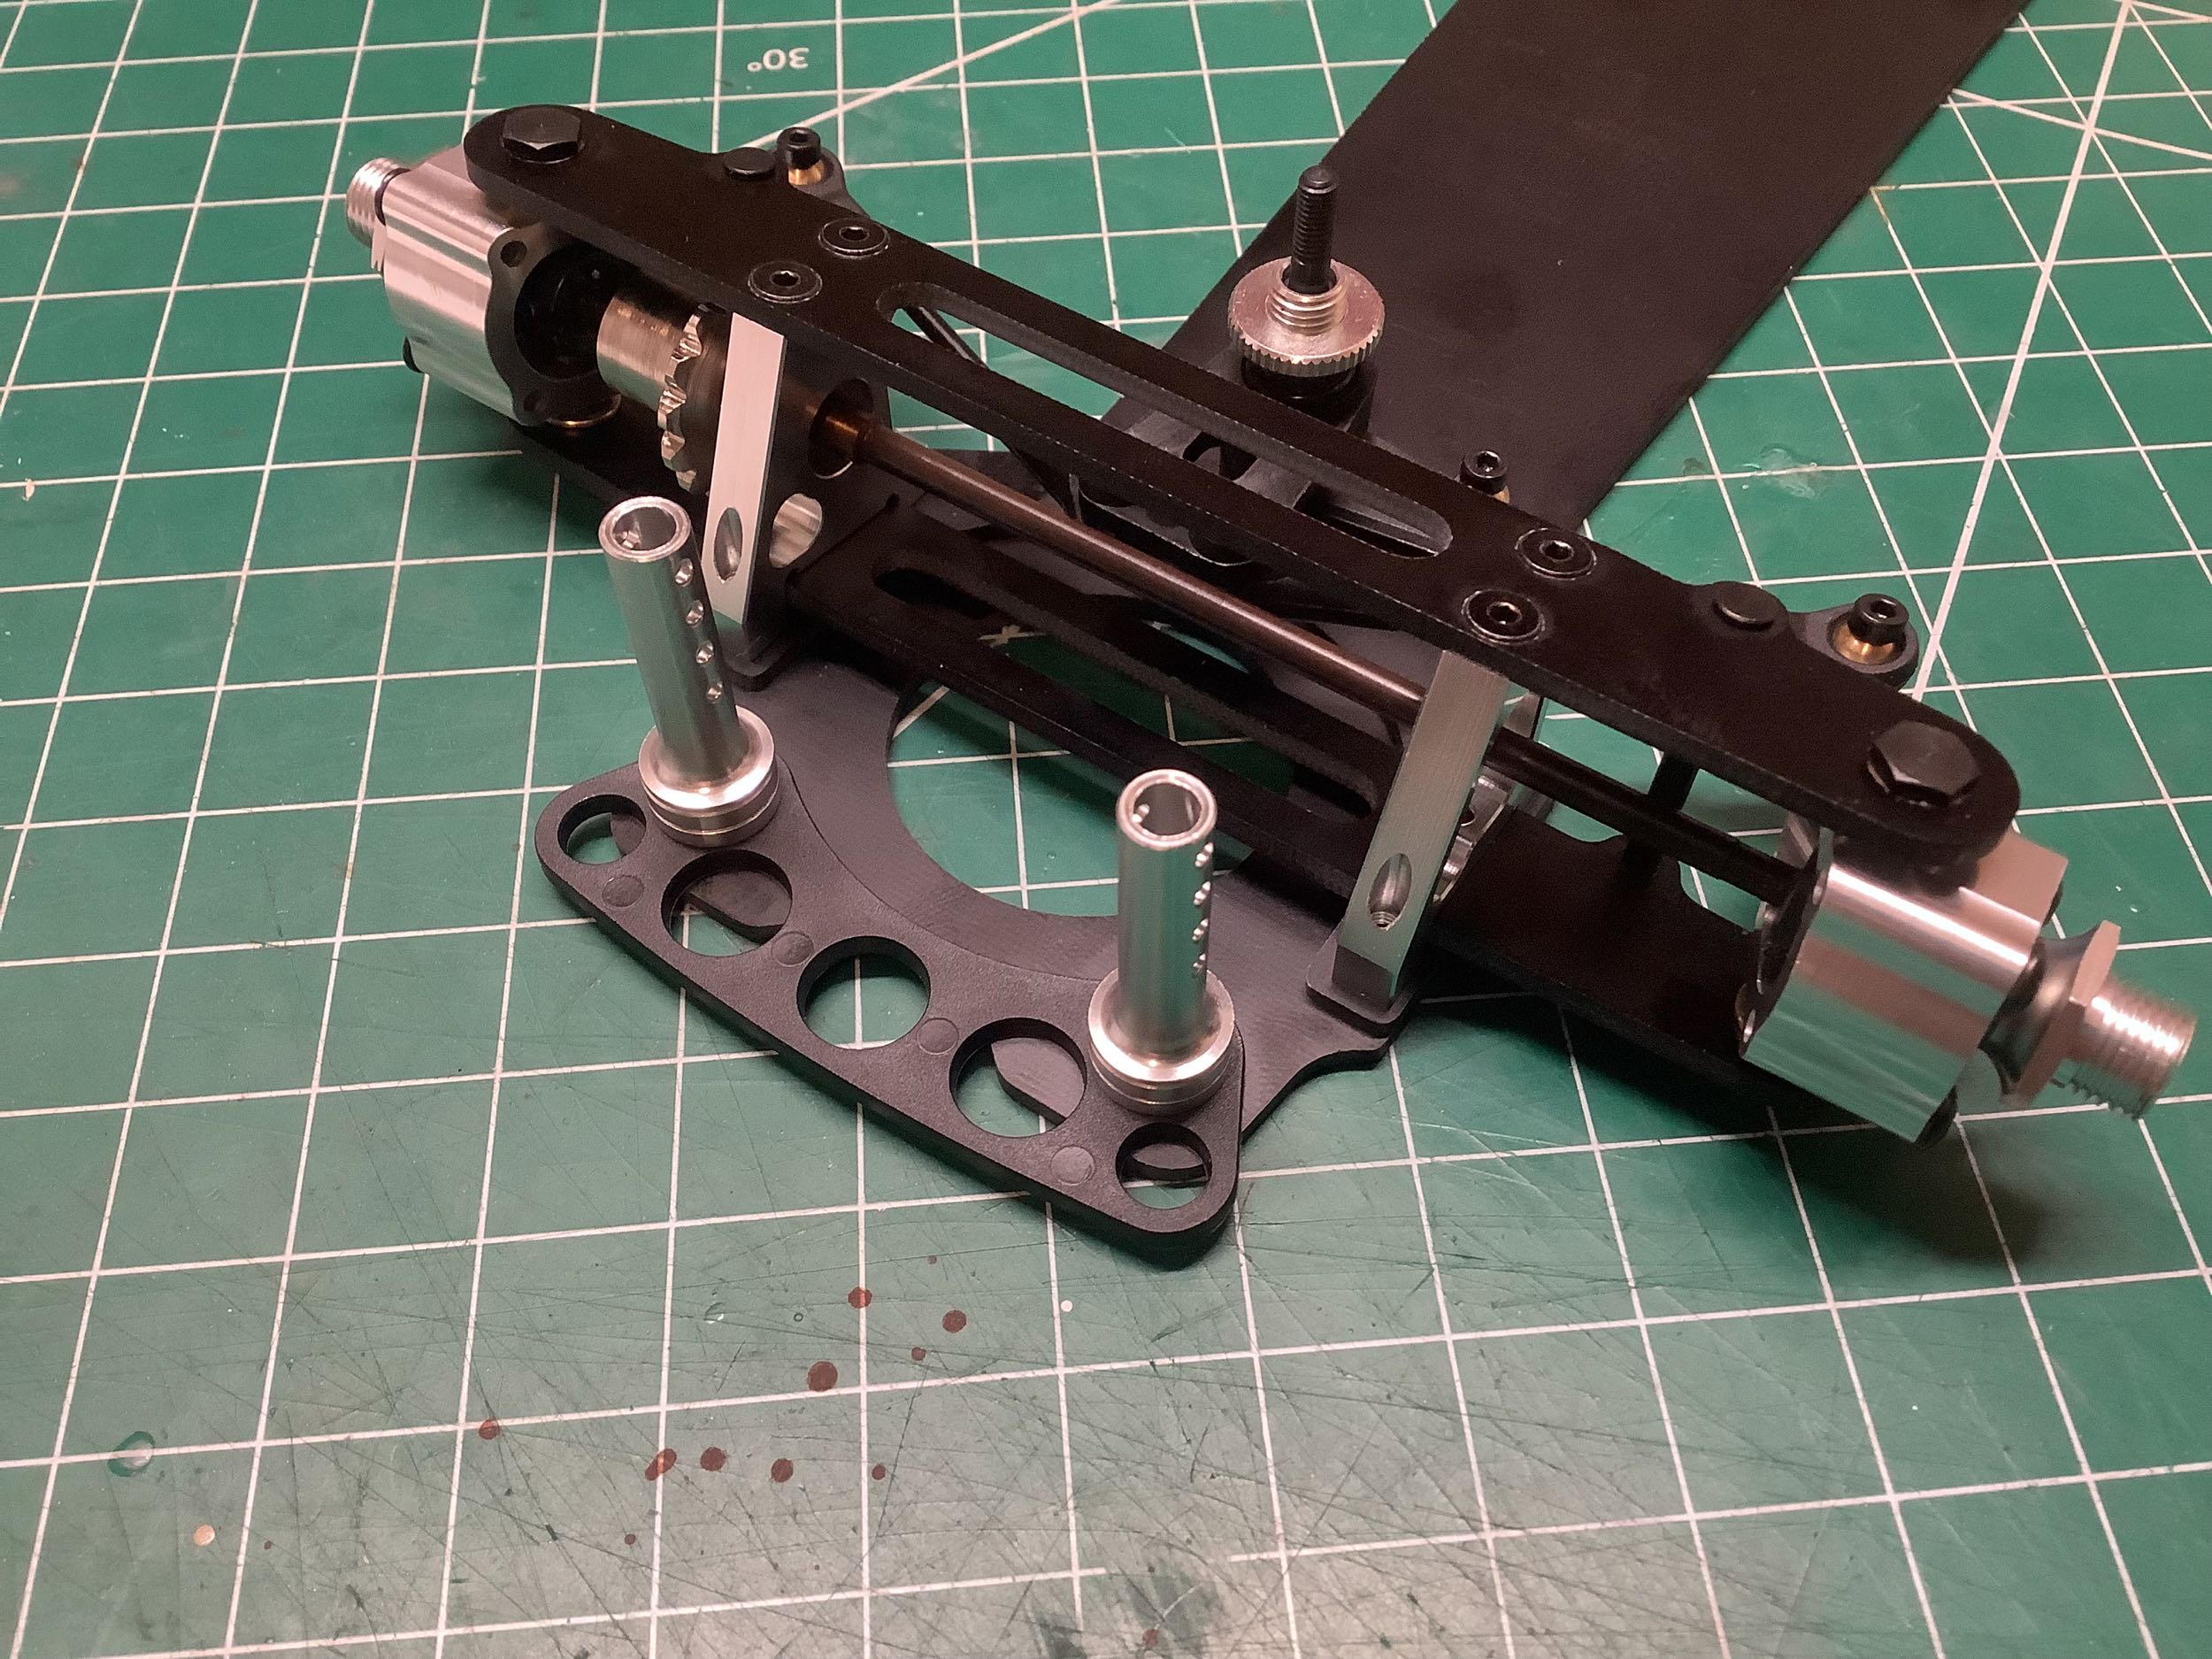
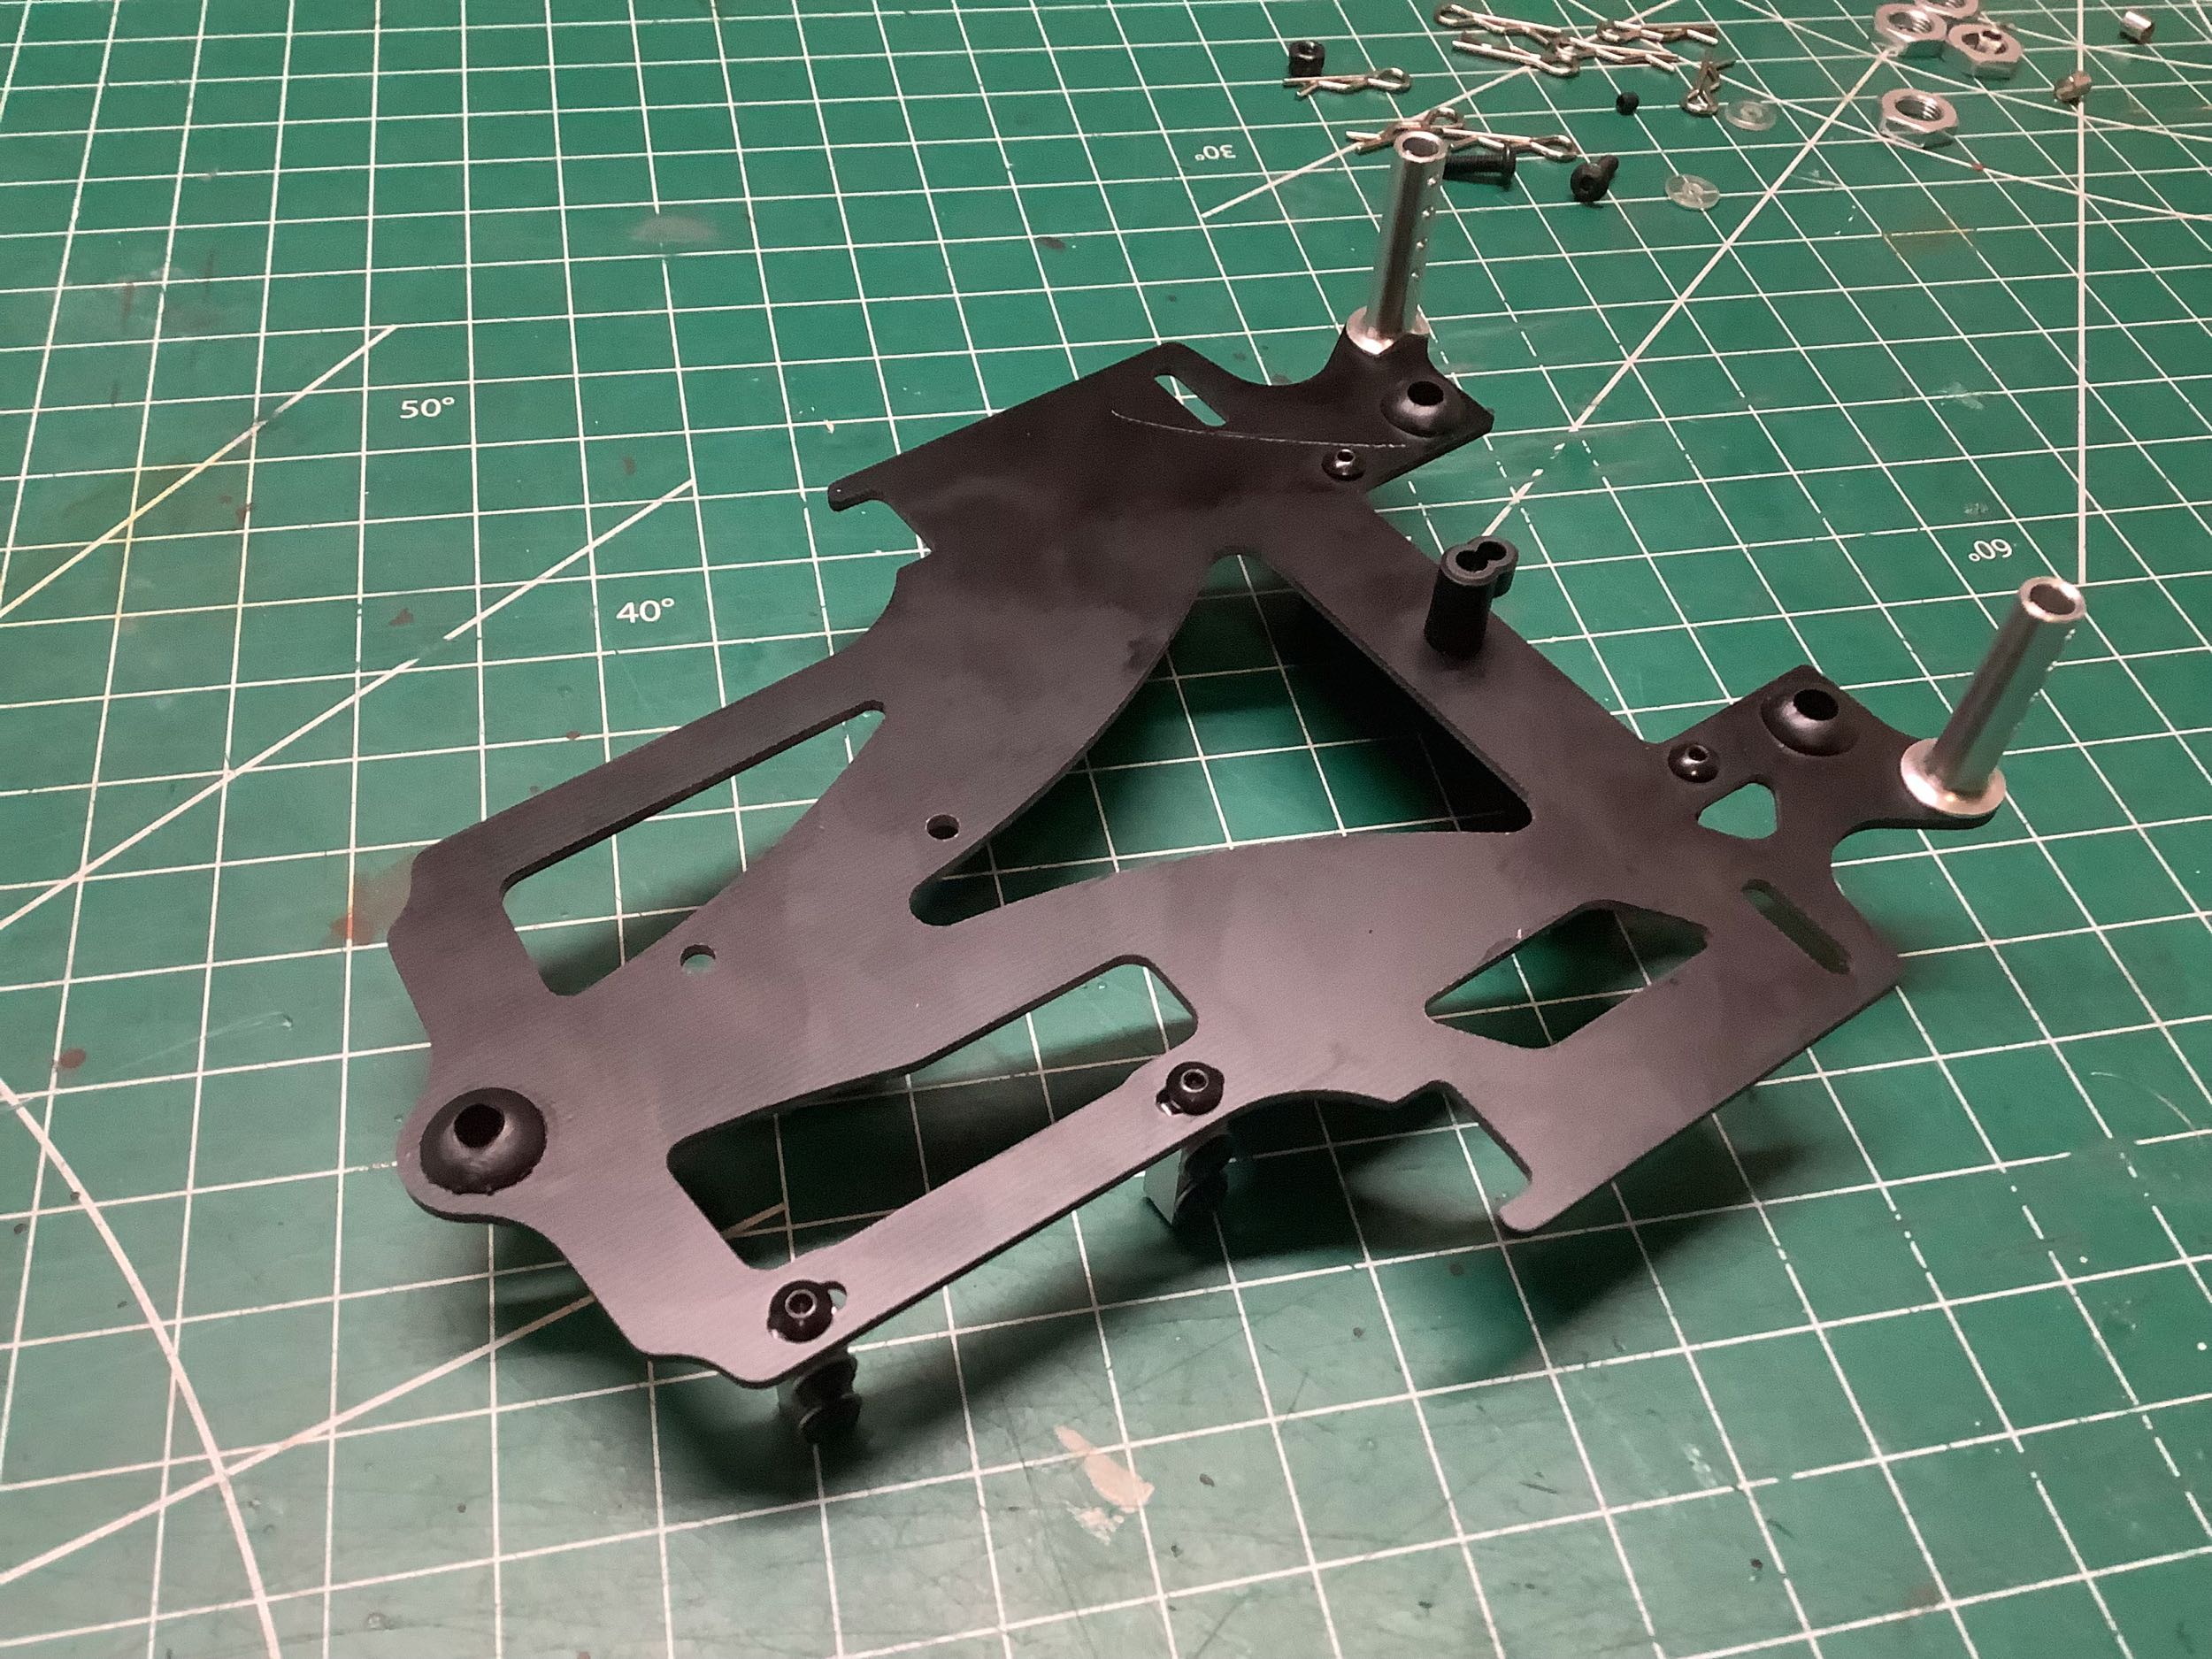
Bag C contains the first plastic parts, but also the lower FRP chassis plate and some aluminum body posts.
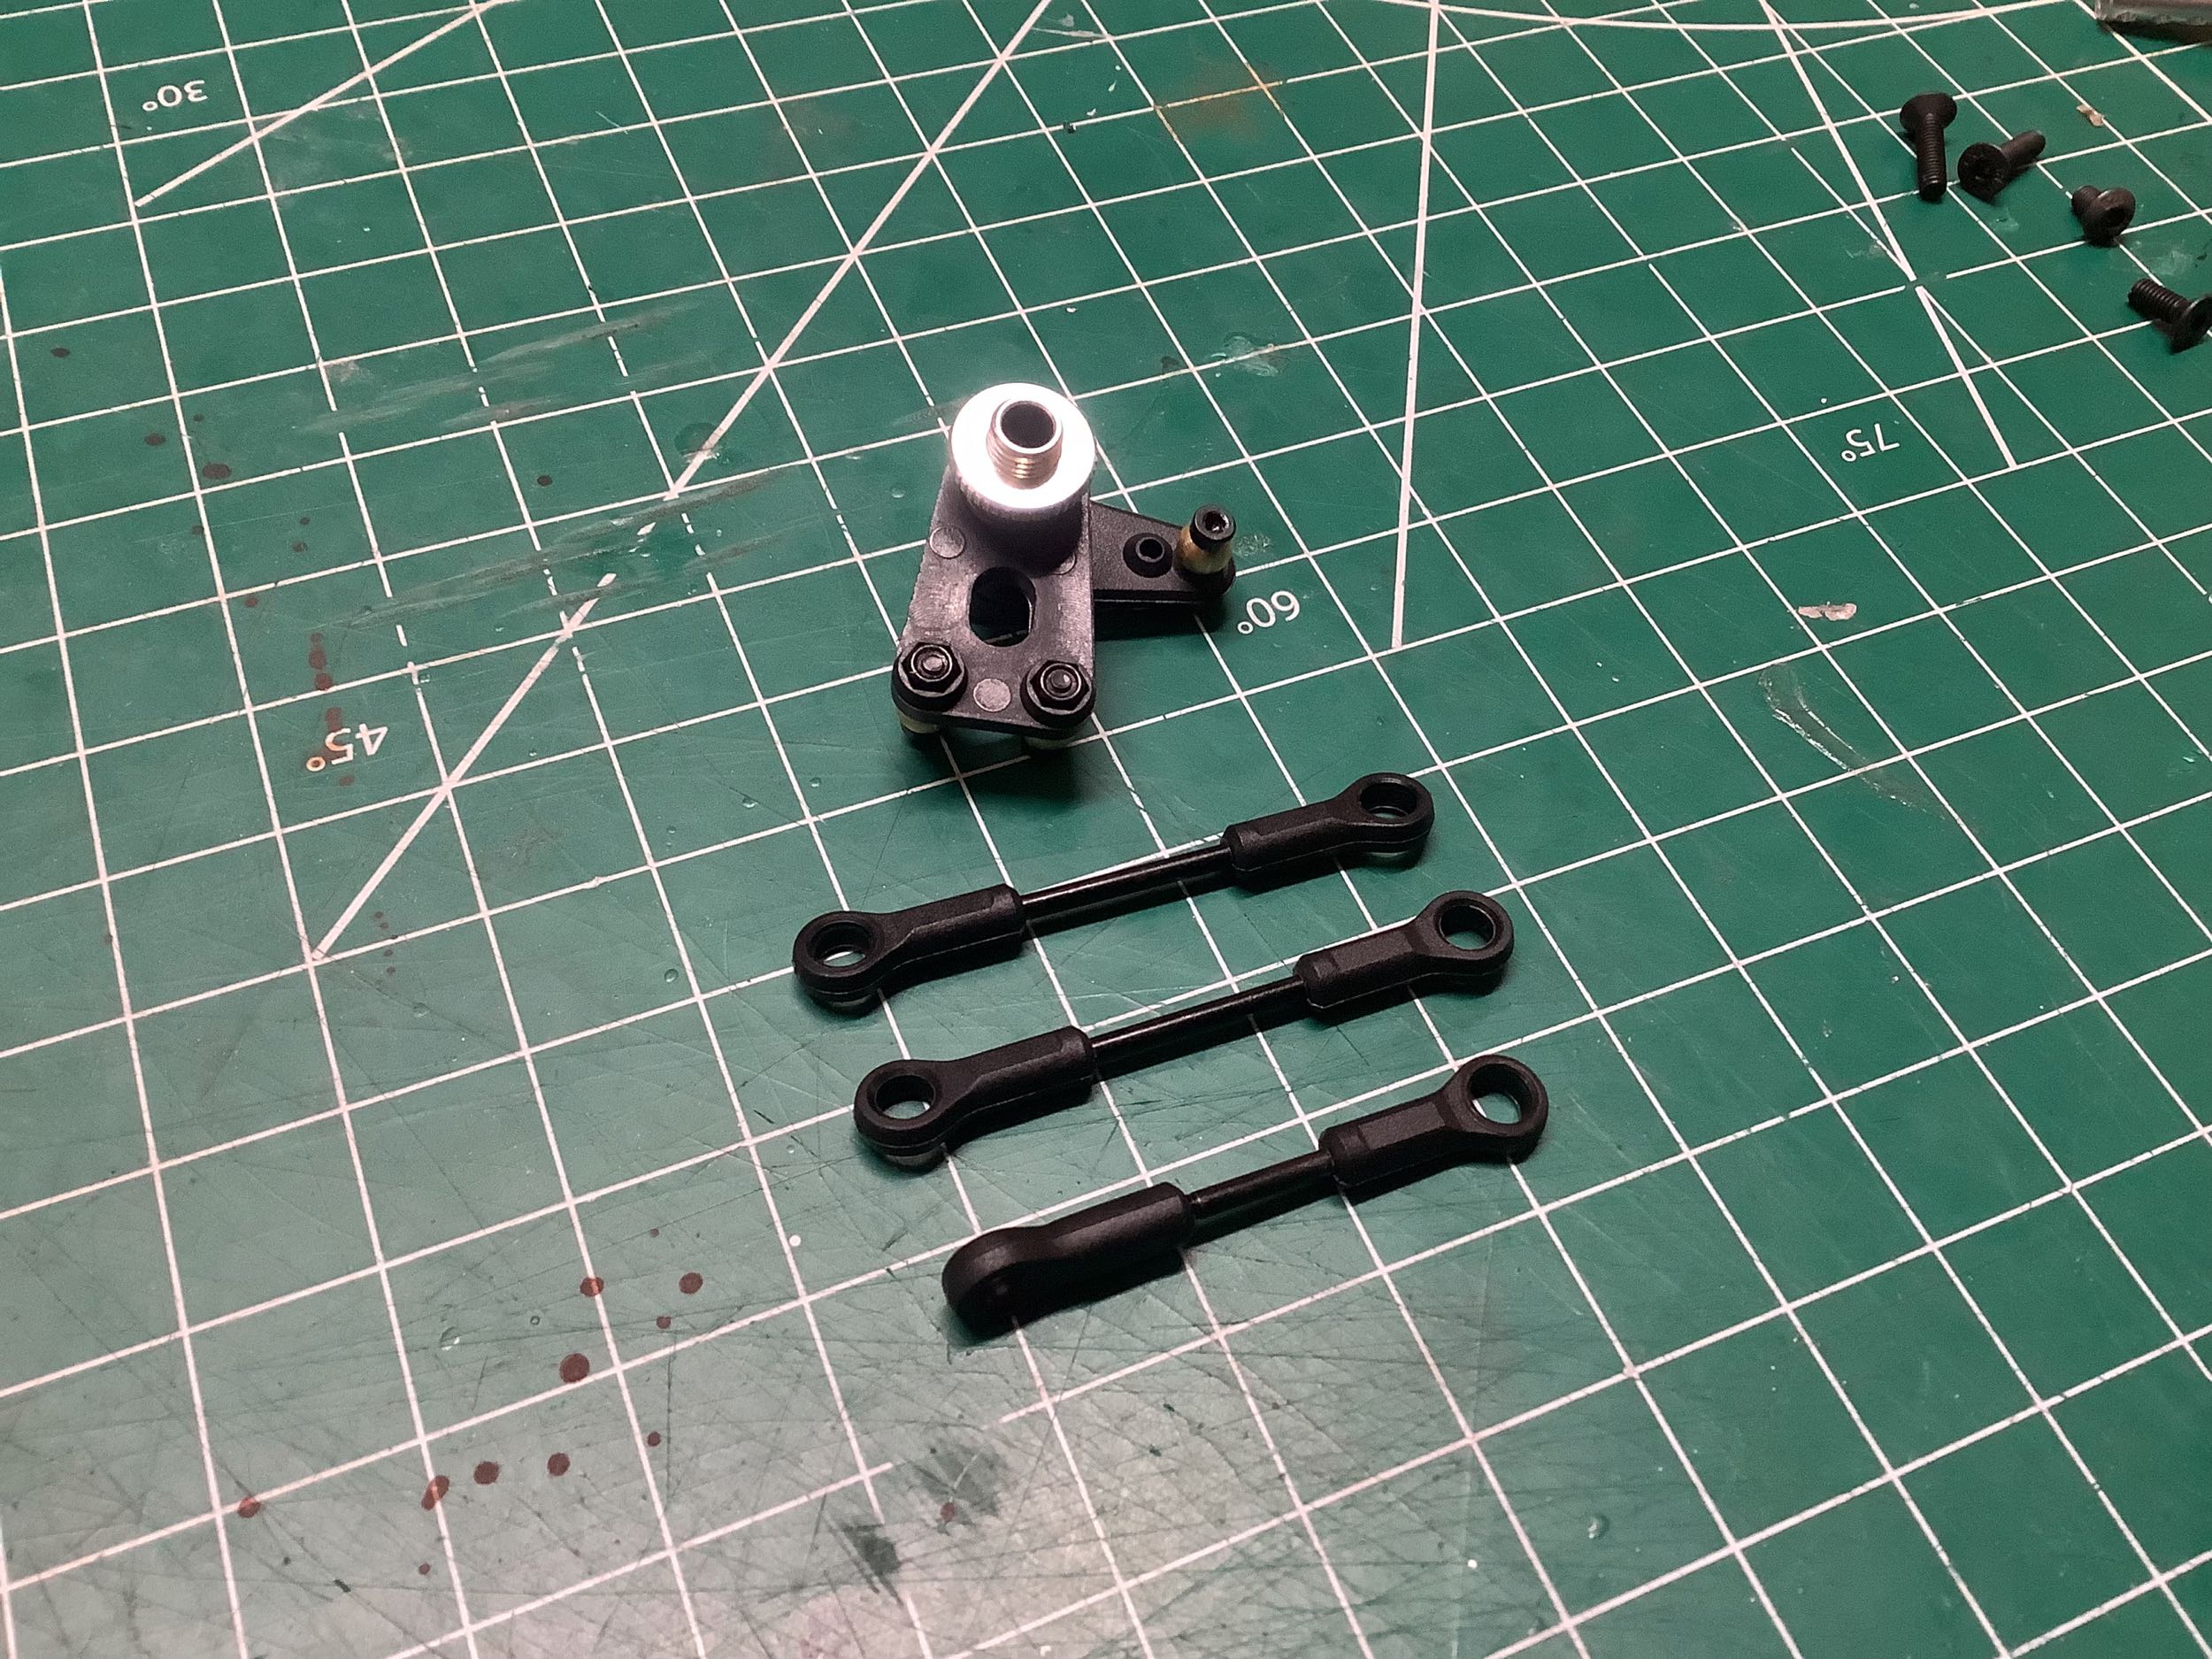
The servo saver goes a center post; no dual bell cranks here. The
steering links are simple threaded rods. The whole front assembly
then just bolts the chassis with 4 machine screws.
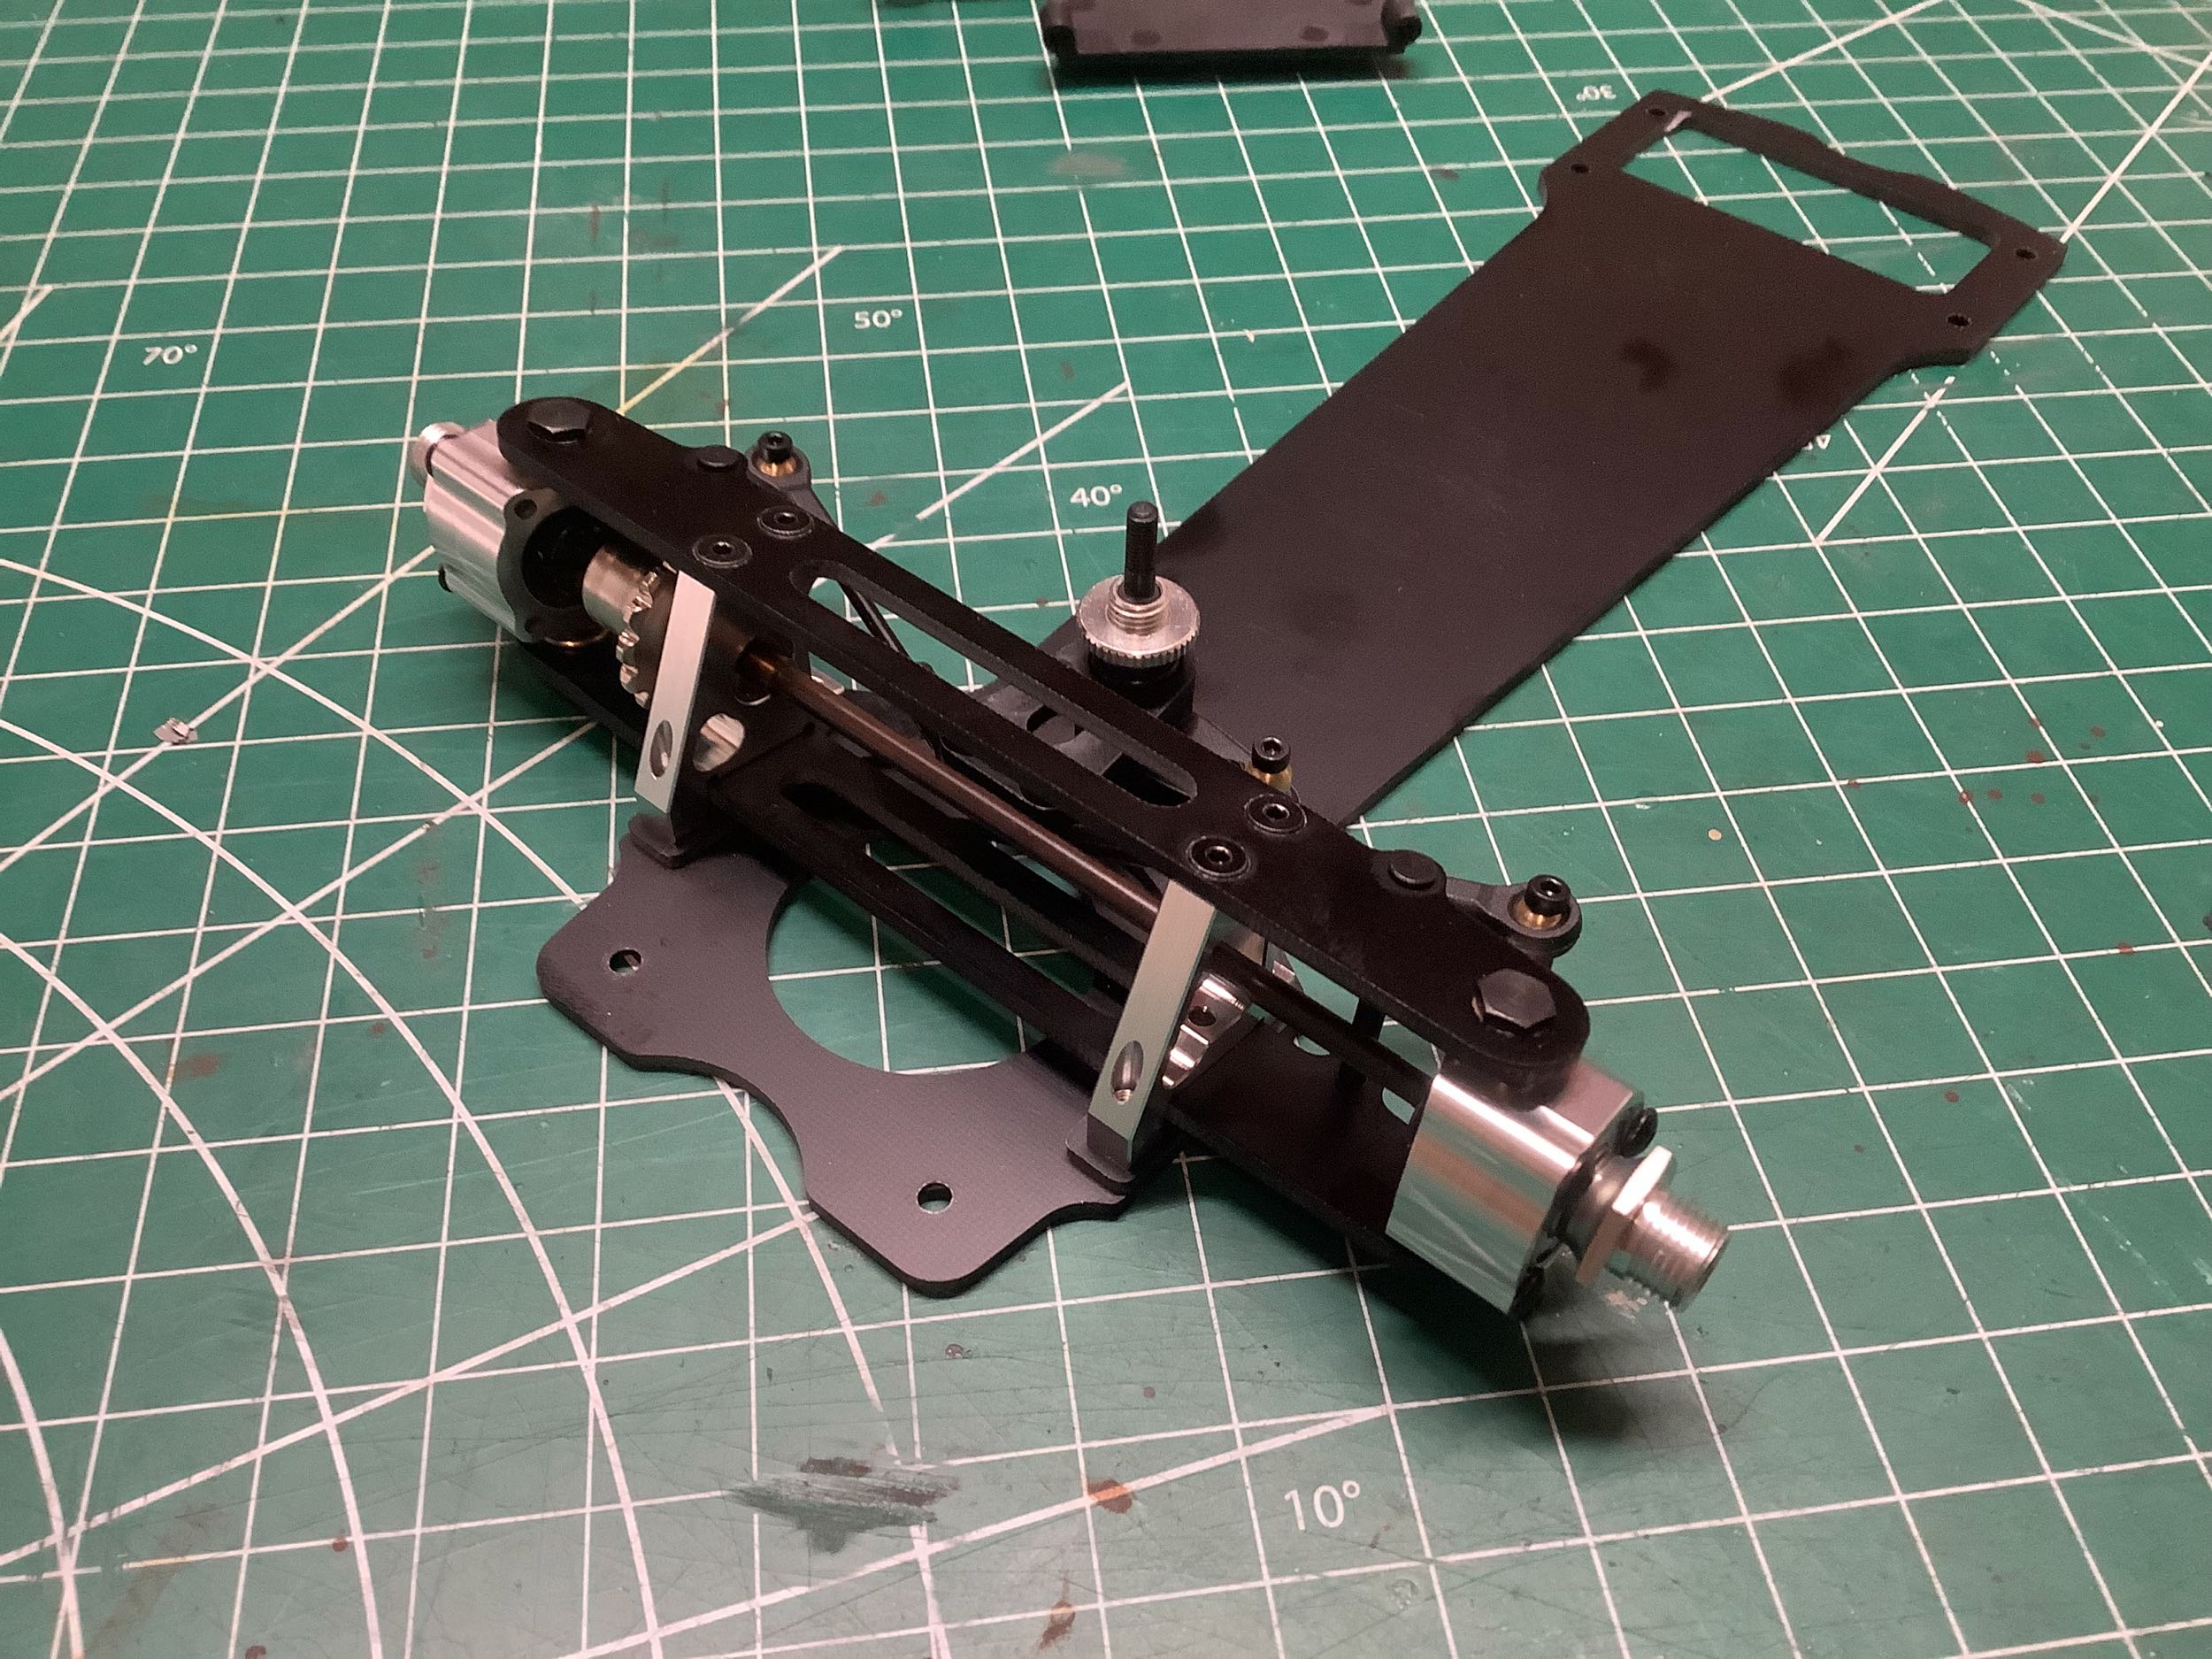
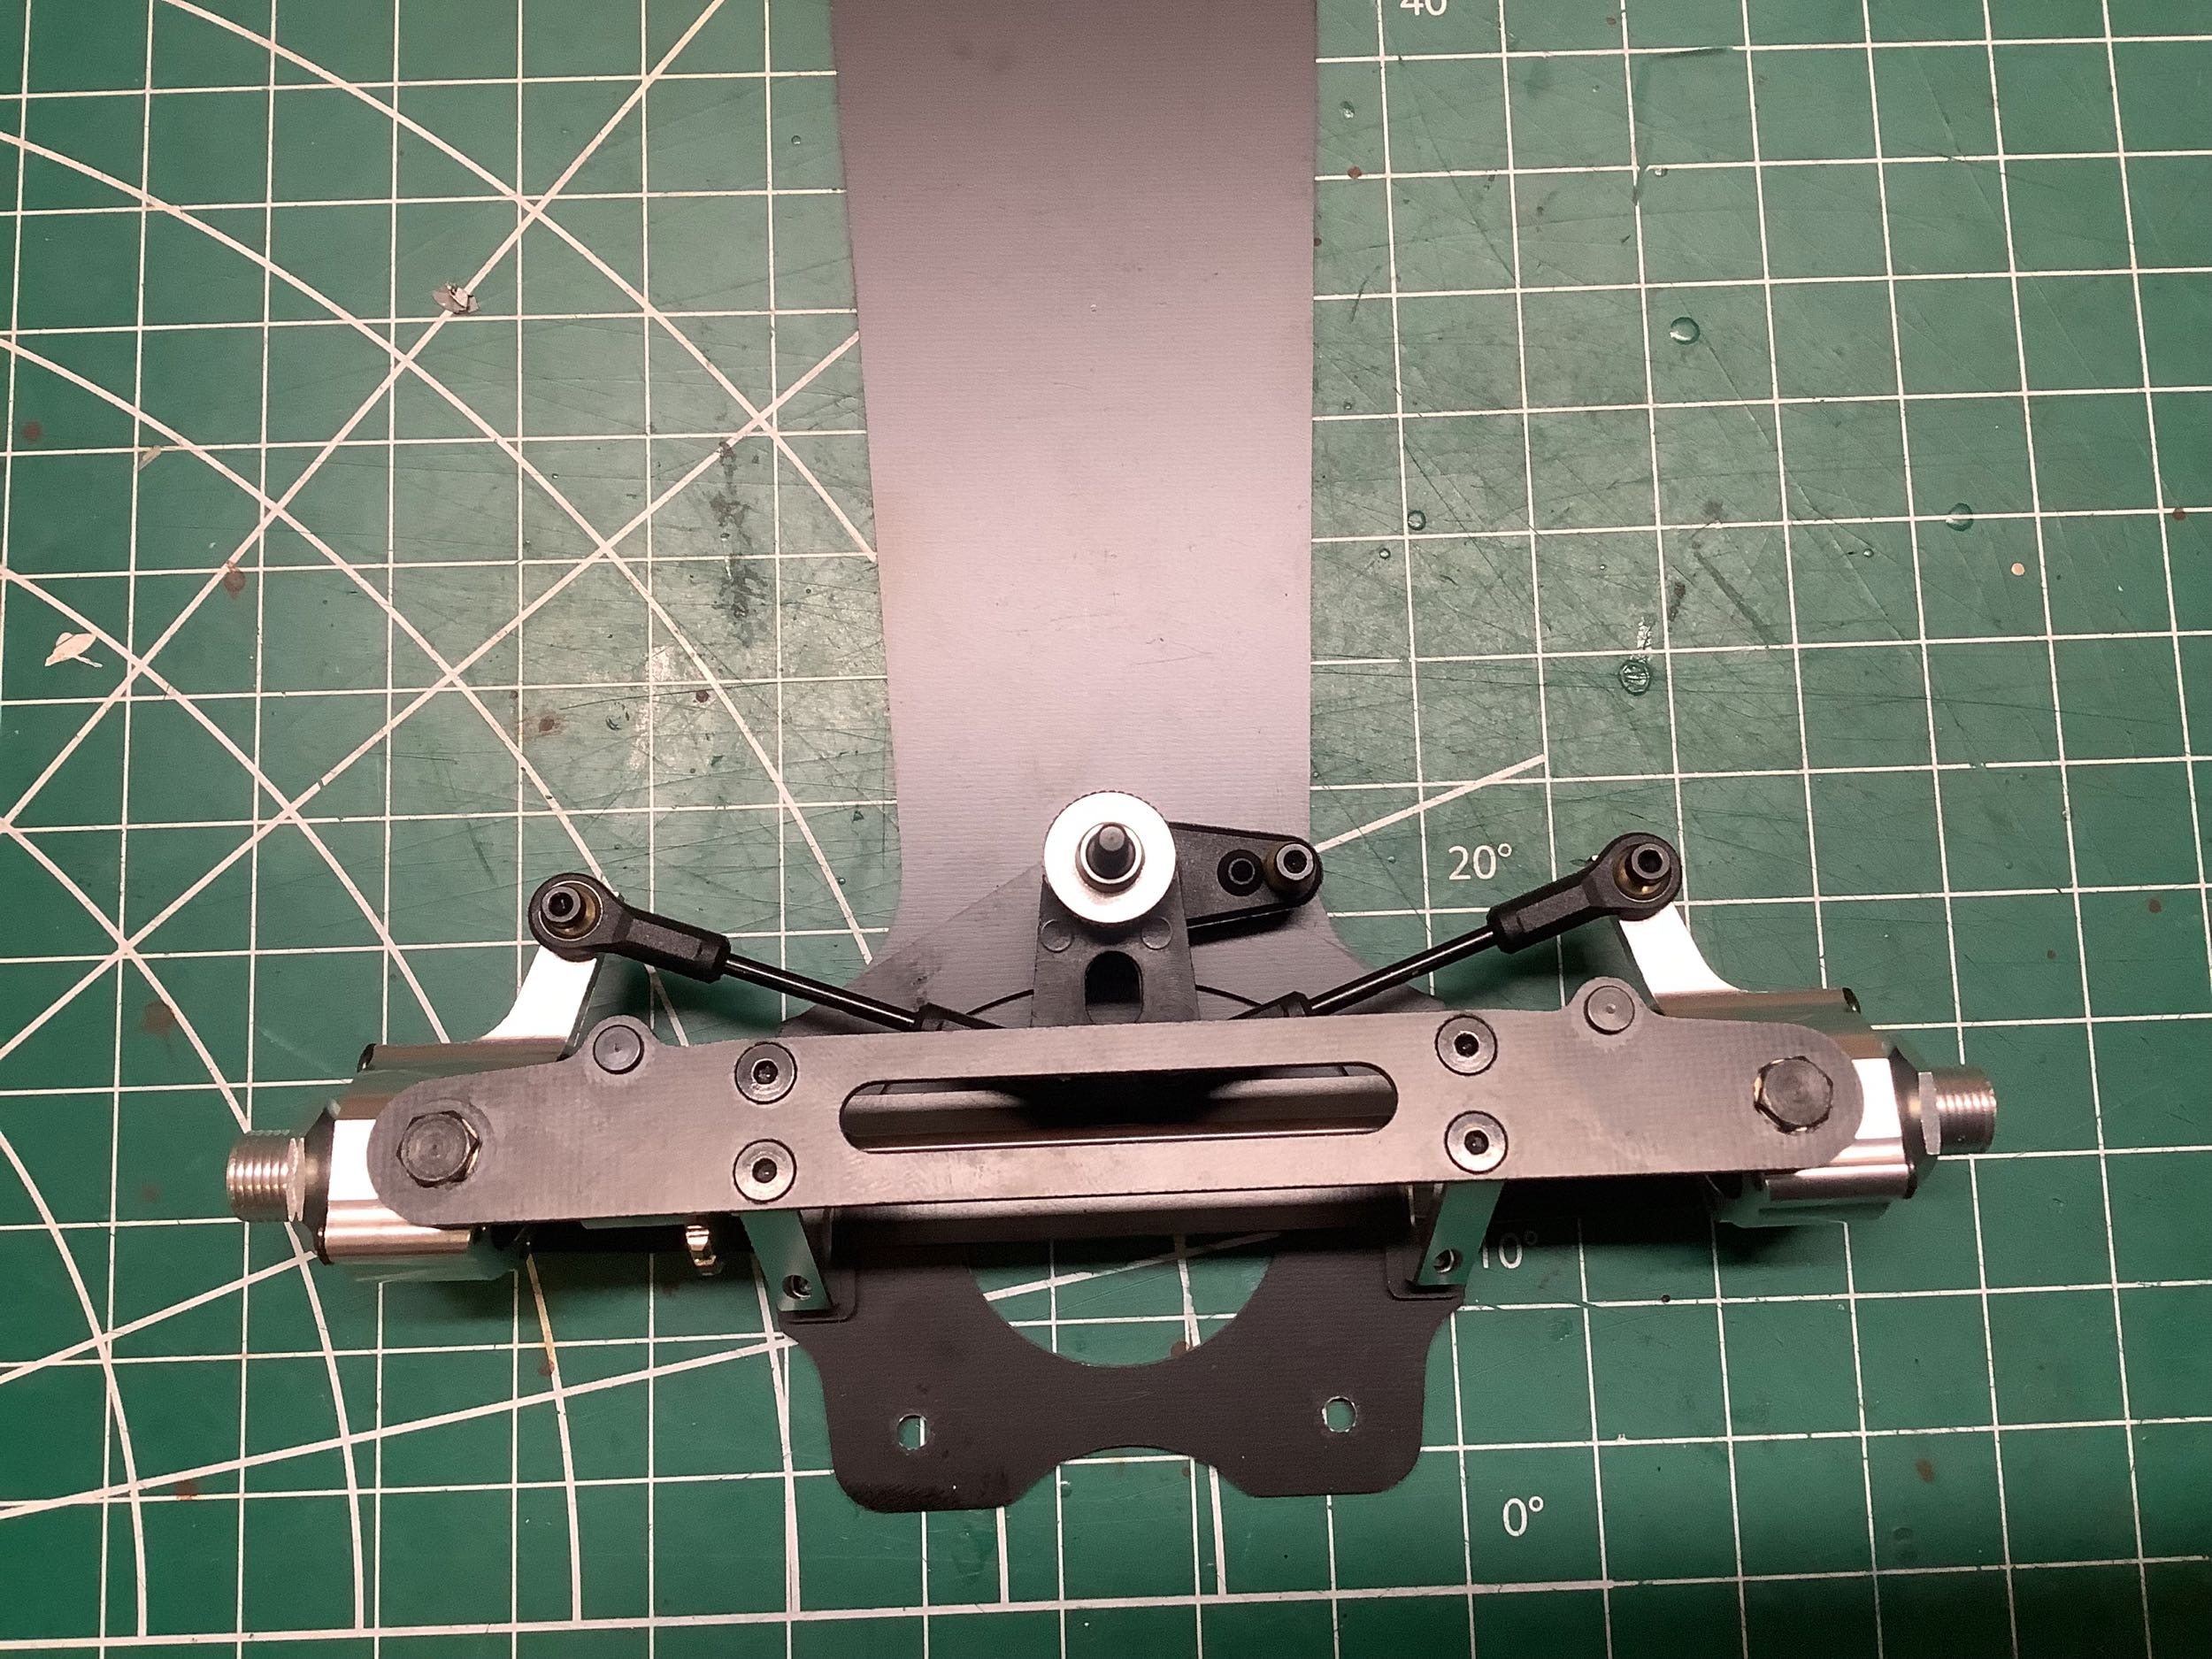
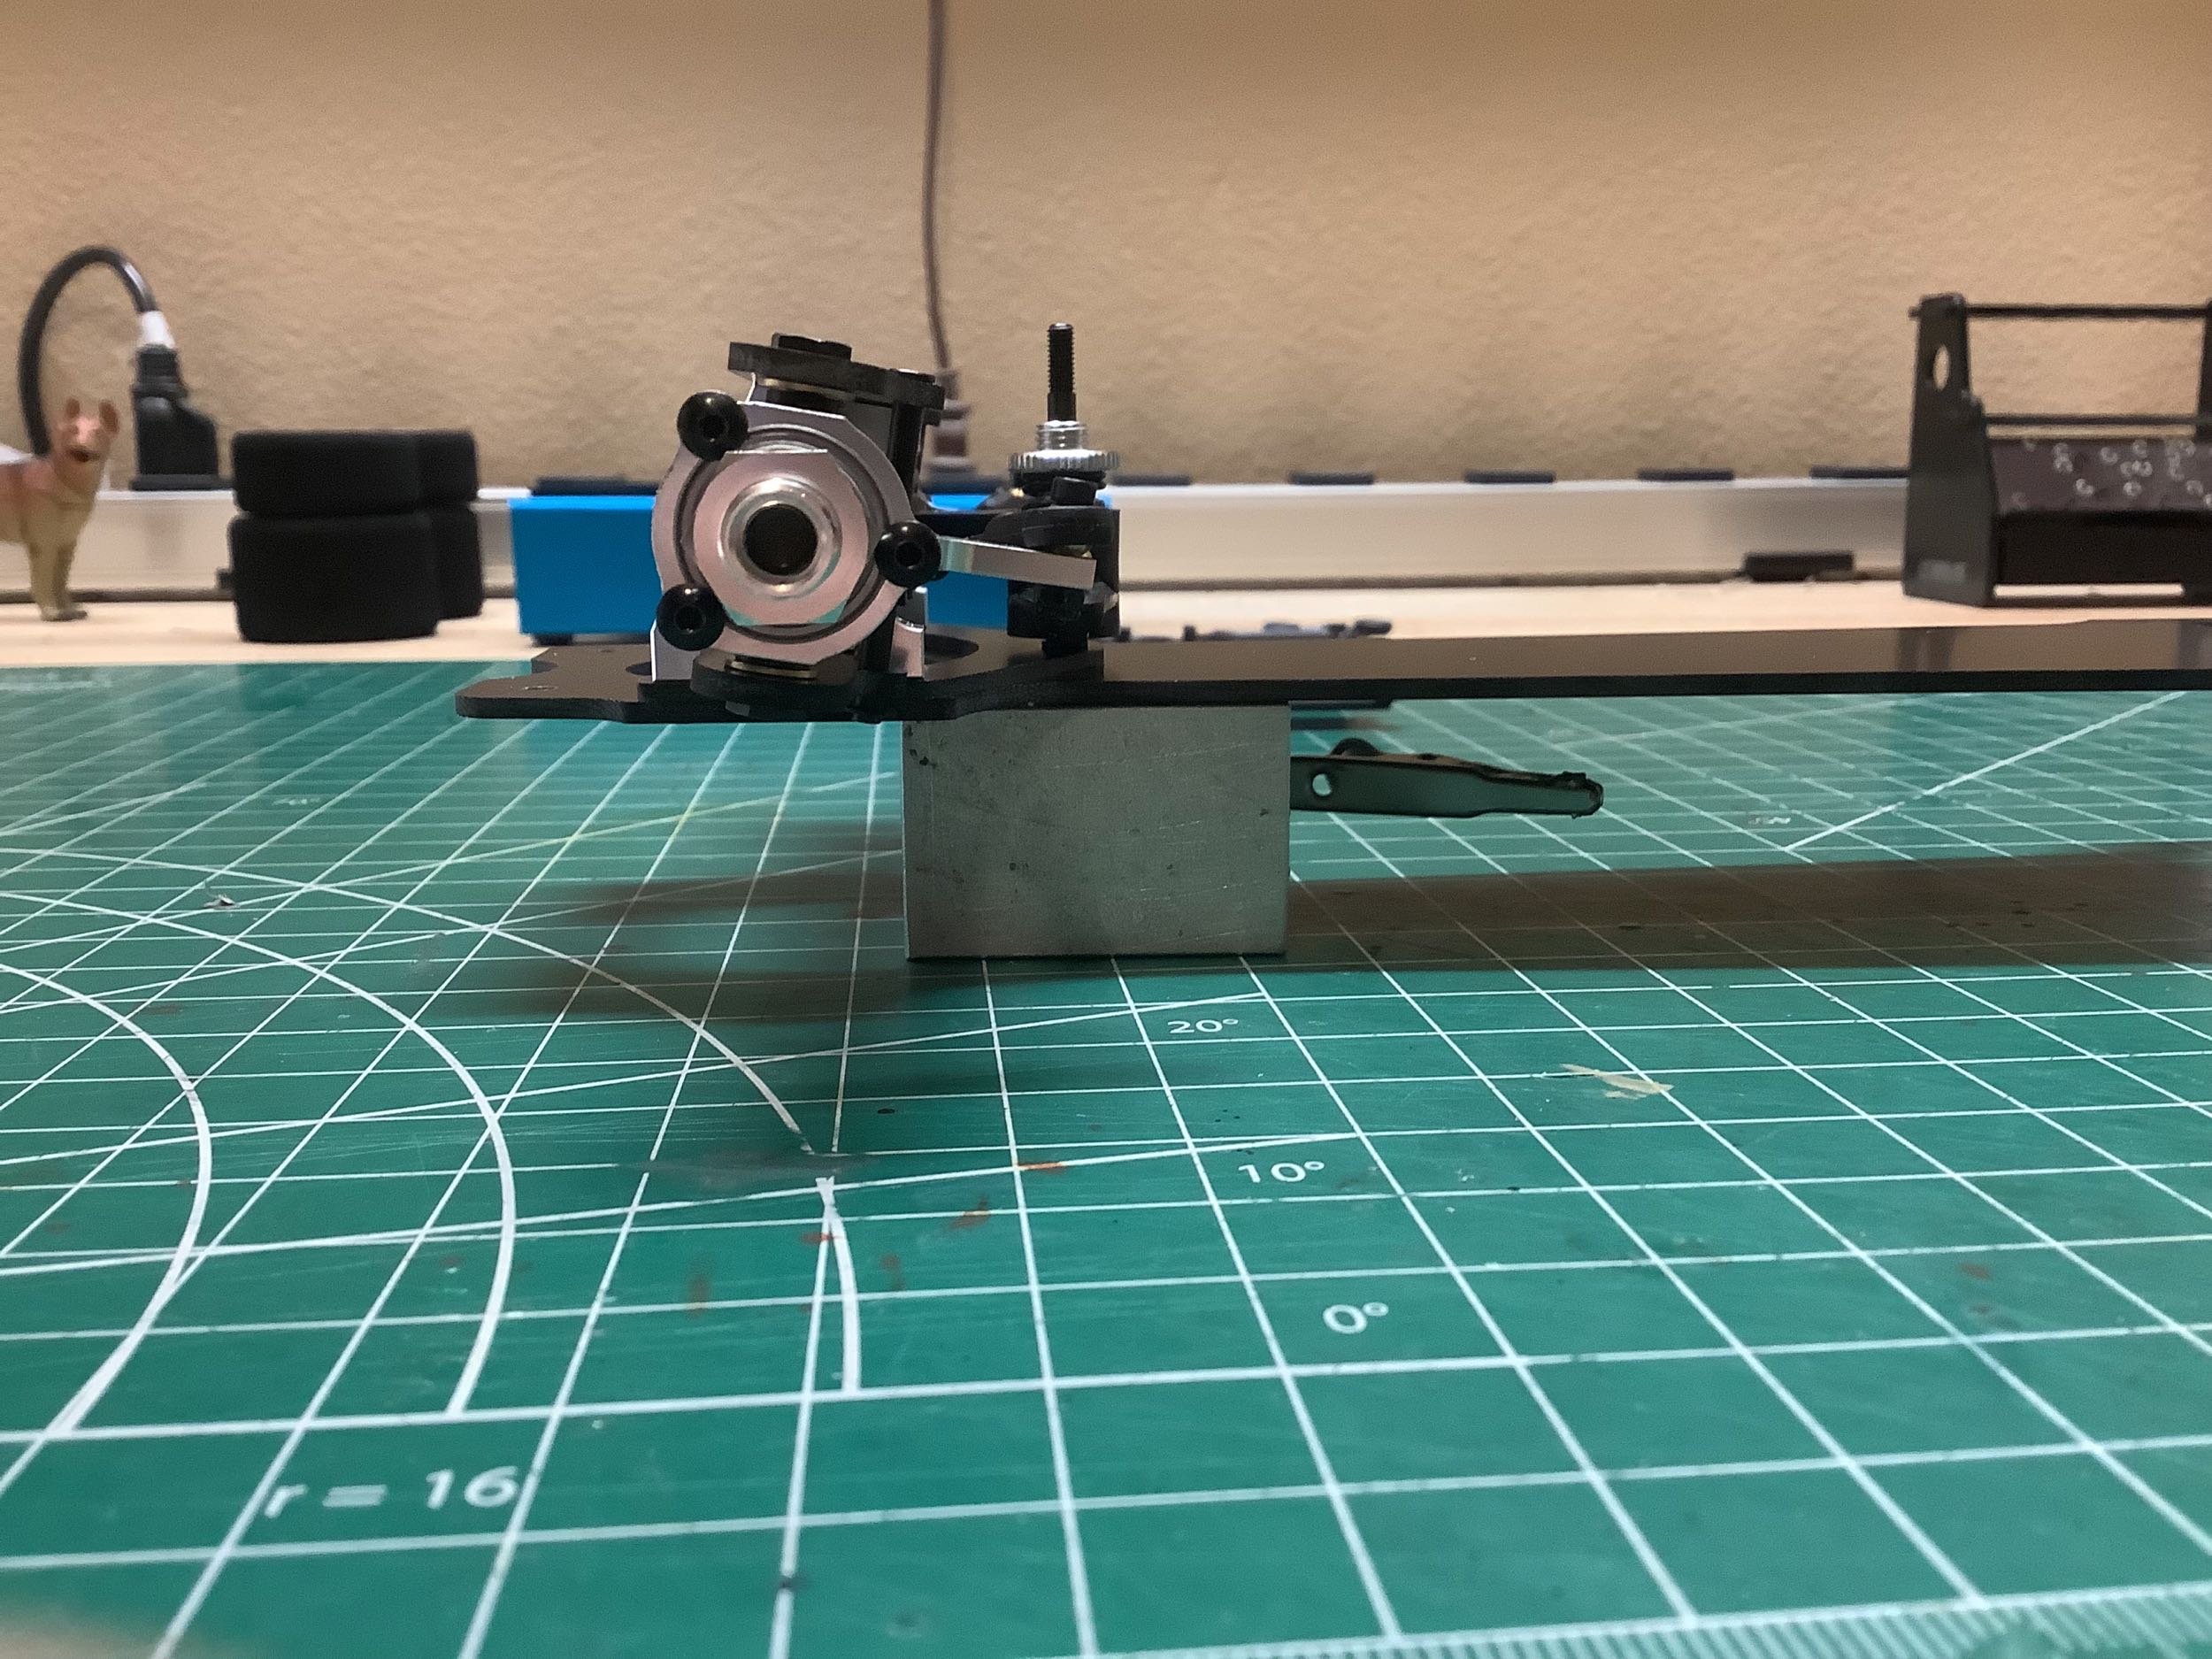
These pictures highlight some steering geometry. From above you
can see the steep angle of the steering links, but they are still
perpendicular to the cranks on the knuckles which are angled sharply
inward. From the side you can see that whole assembly is tilted
backward resulting in a caster angle.
The front "bumper" is nothing more than a bit of plastic. It won't
do much in a collision. The body posts are 6mm in diameter which
seems excessive.
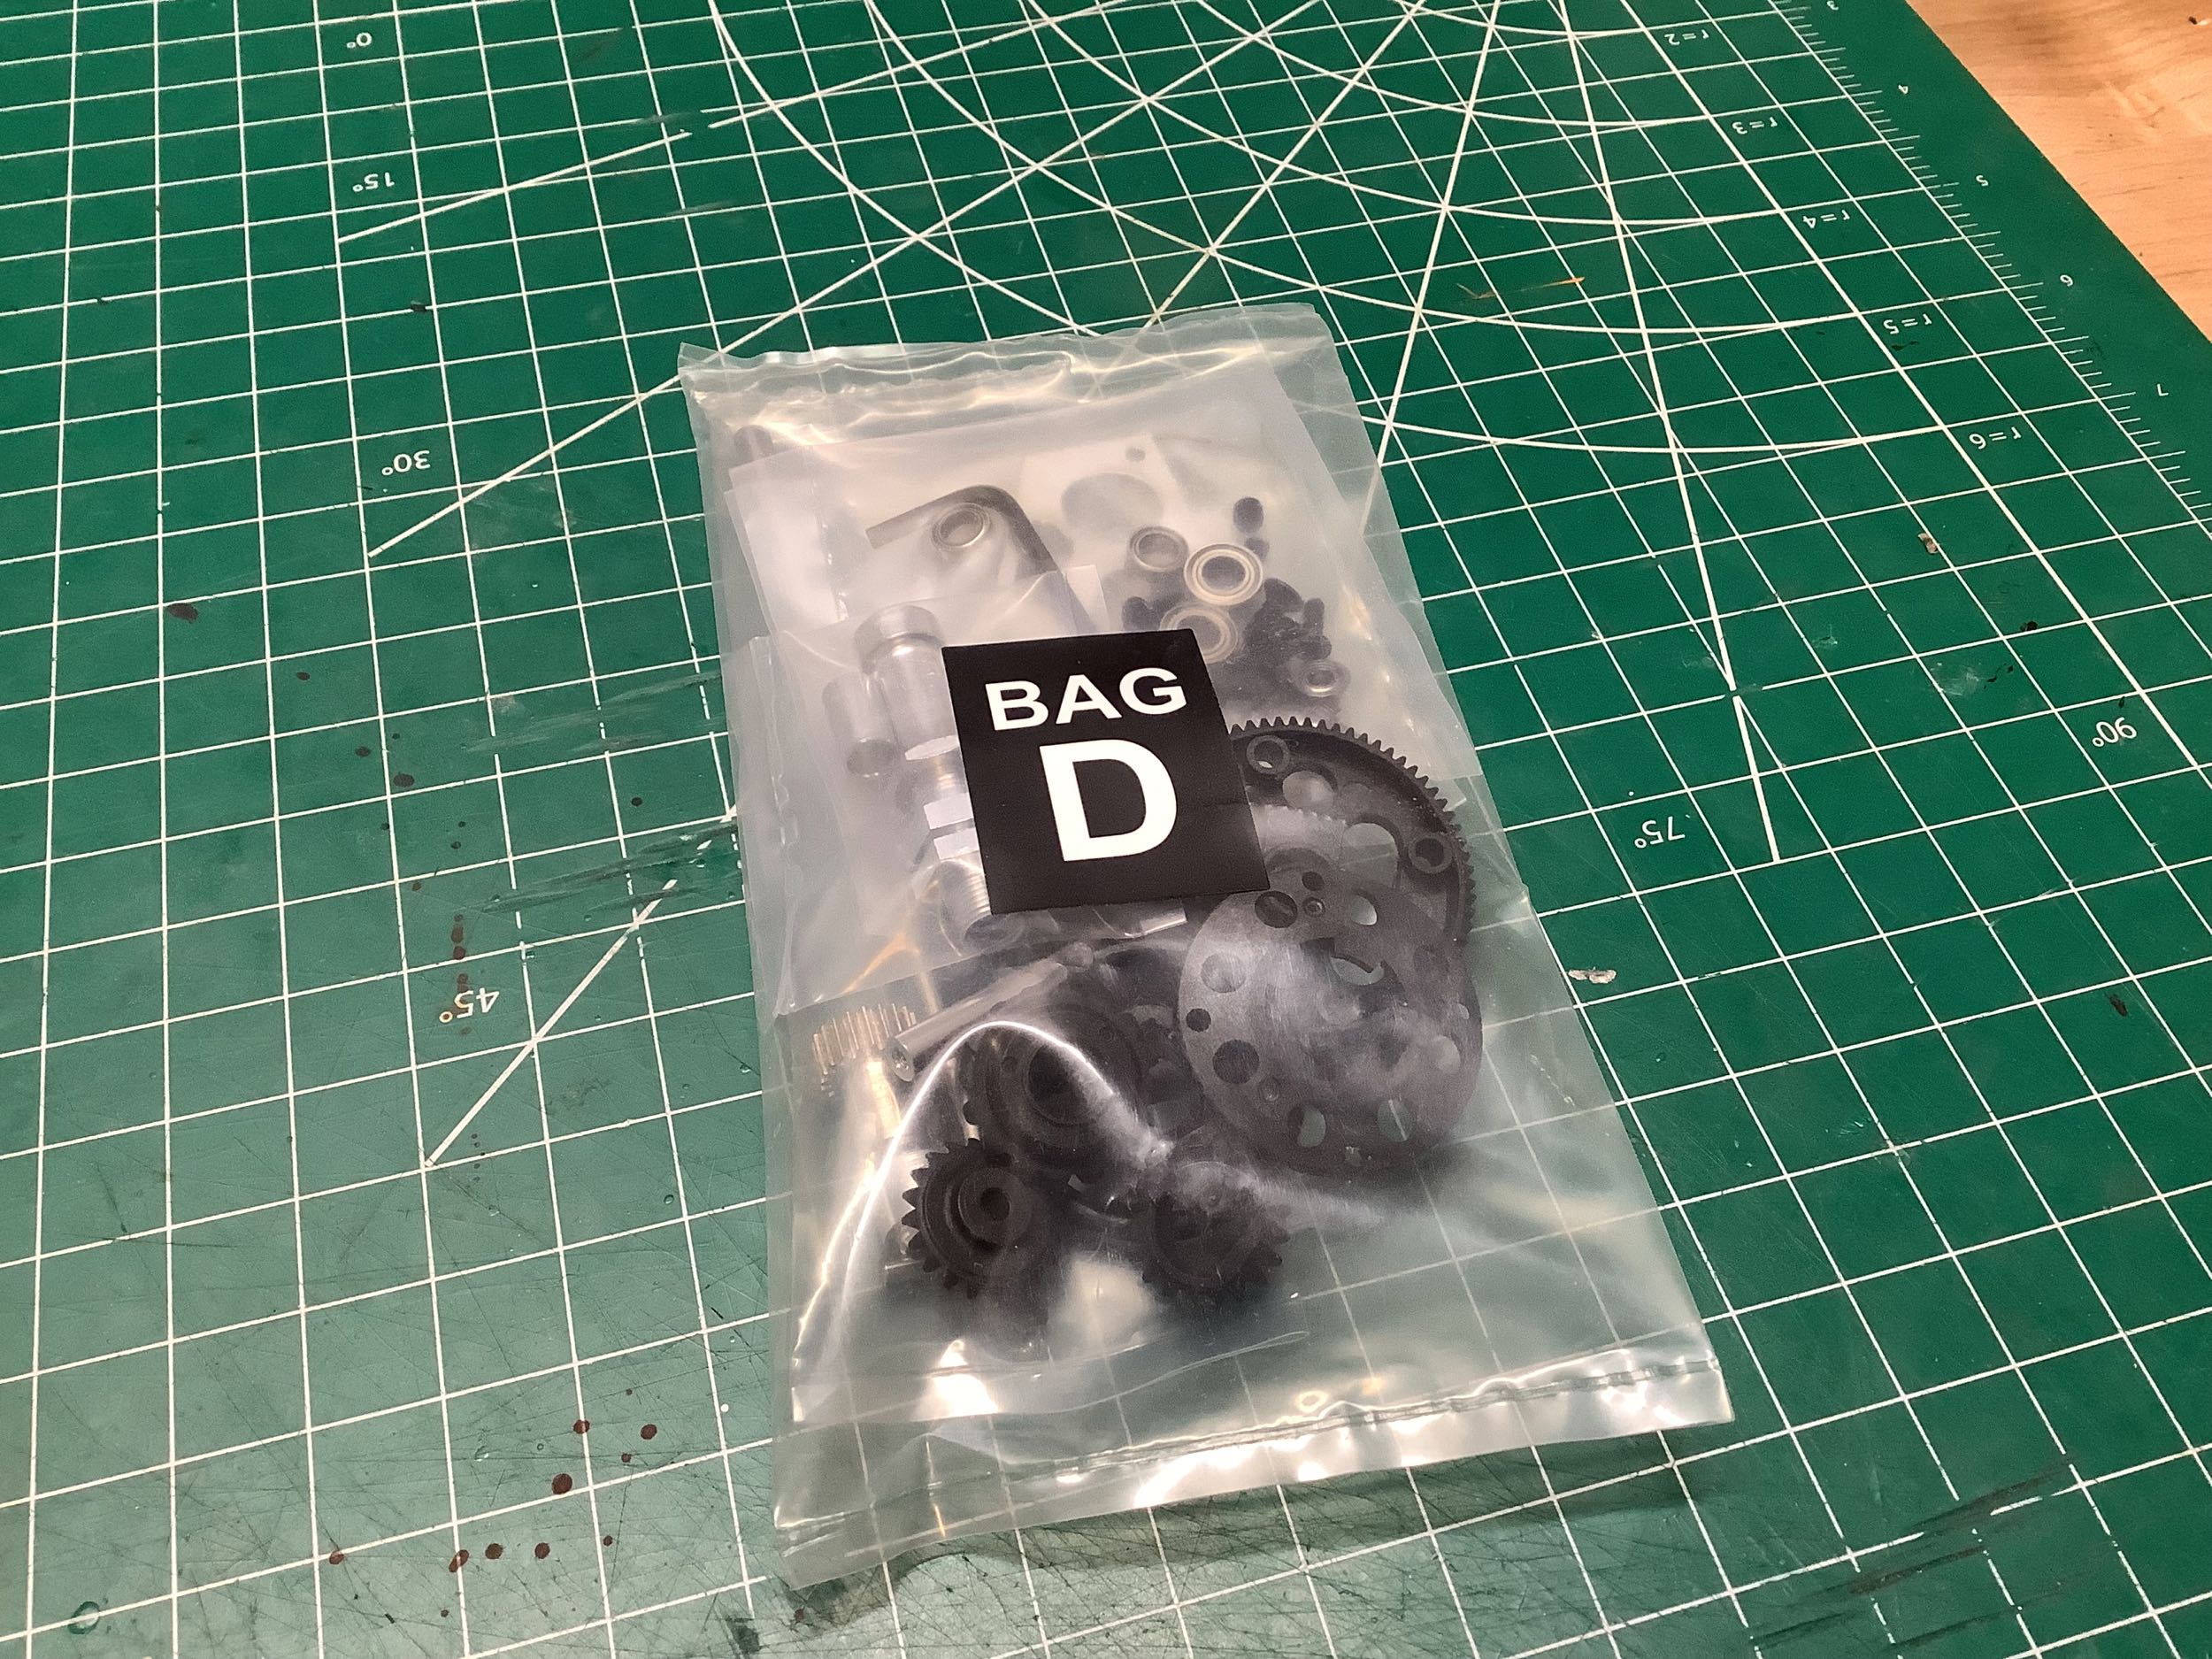
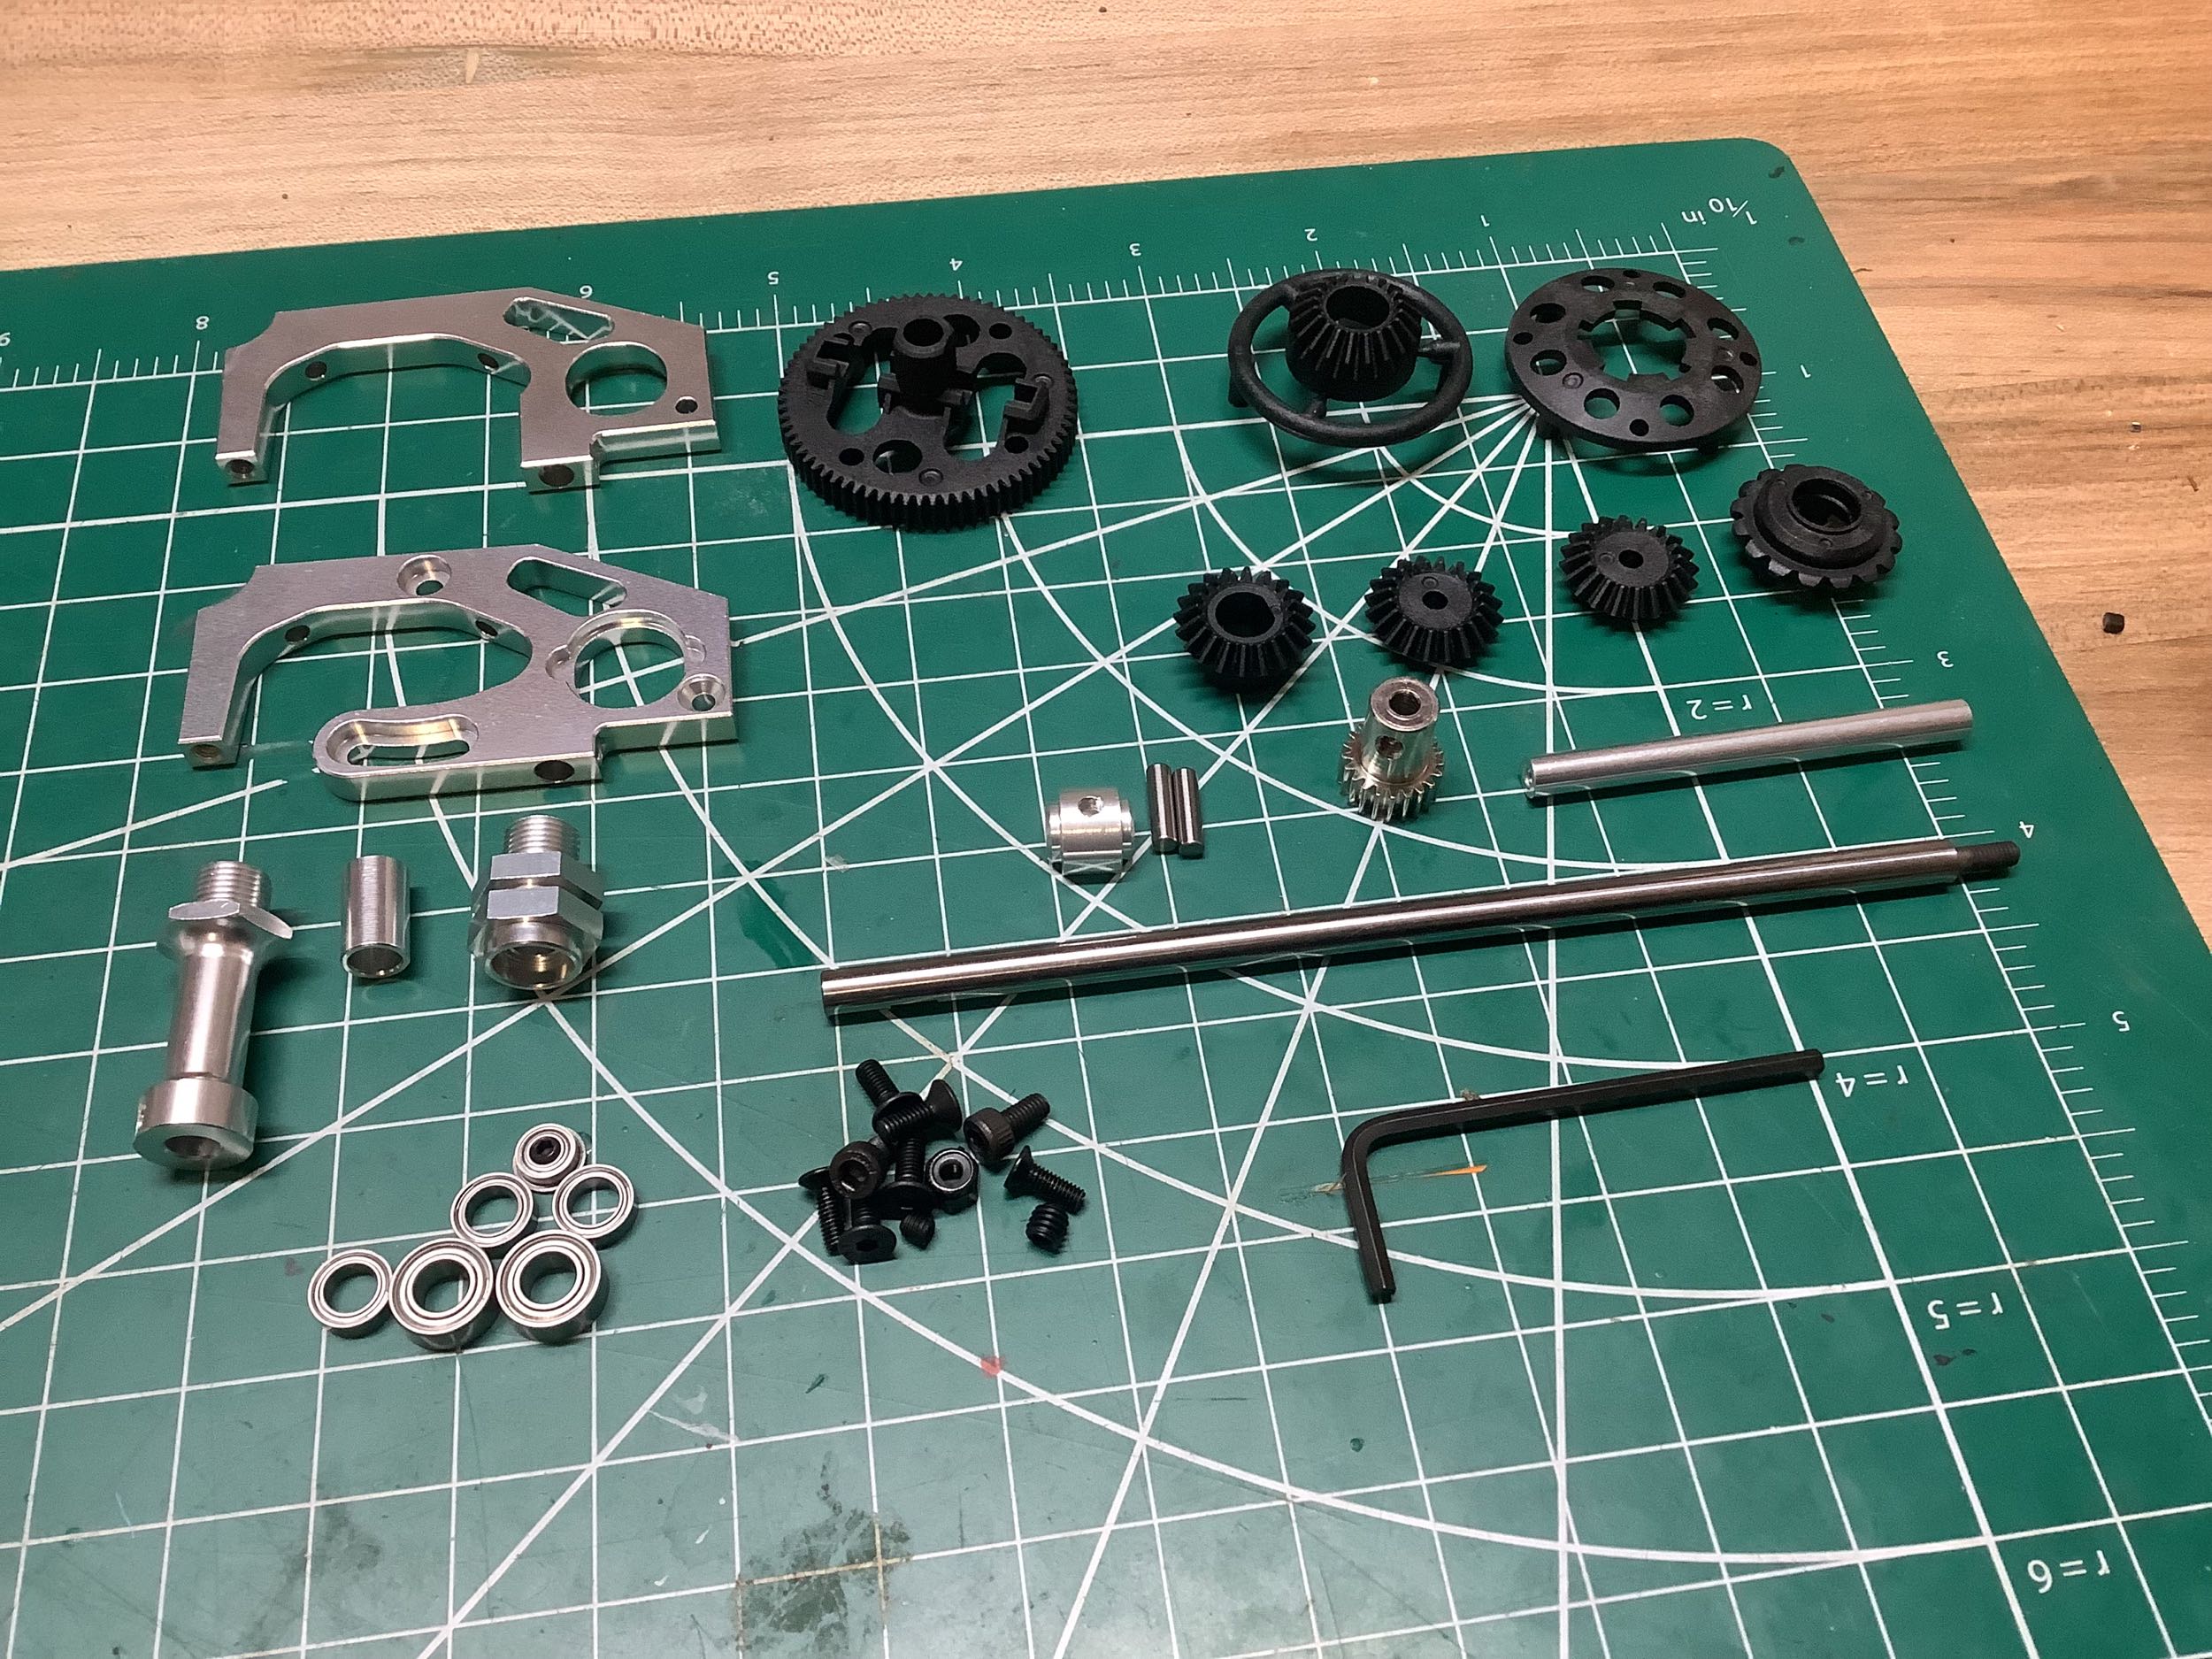
Bad D contains all the parts for the rear axle and motor mount.
There are some lovely machined aluminum parts here and a long steel
axle.
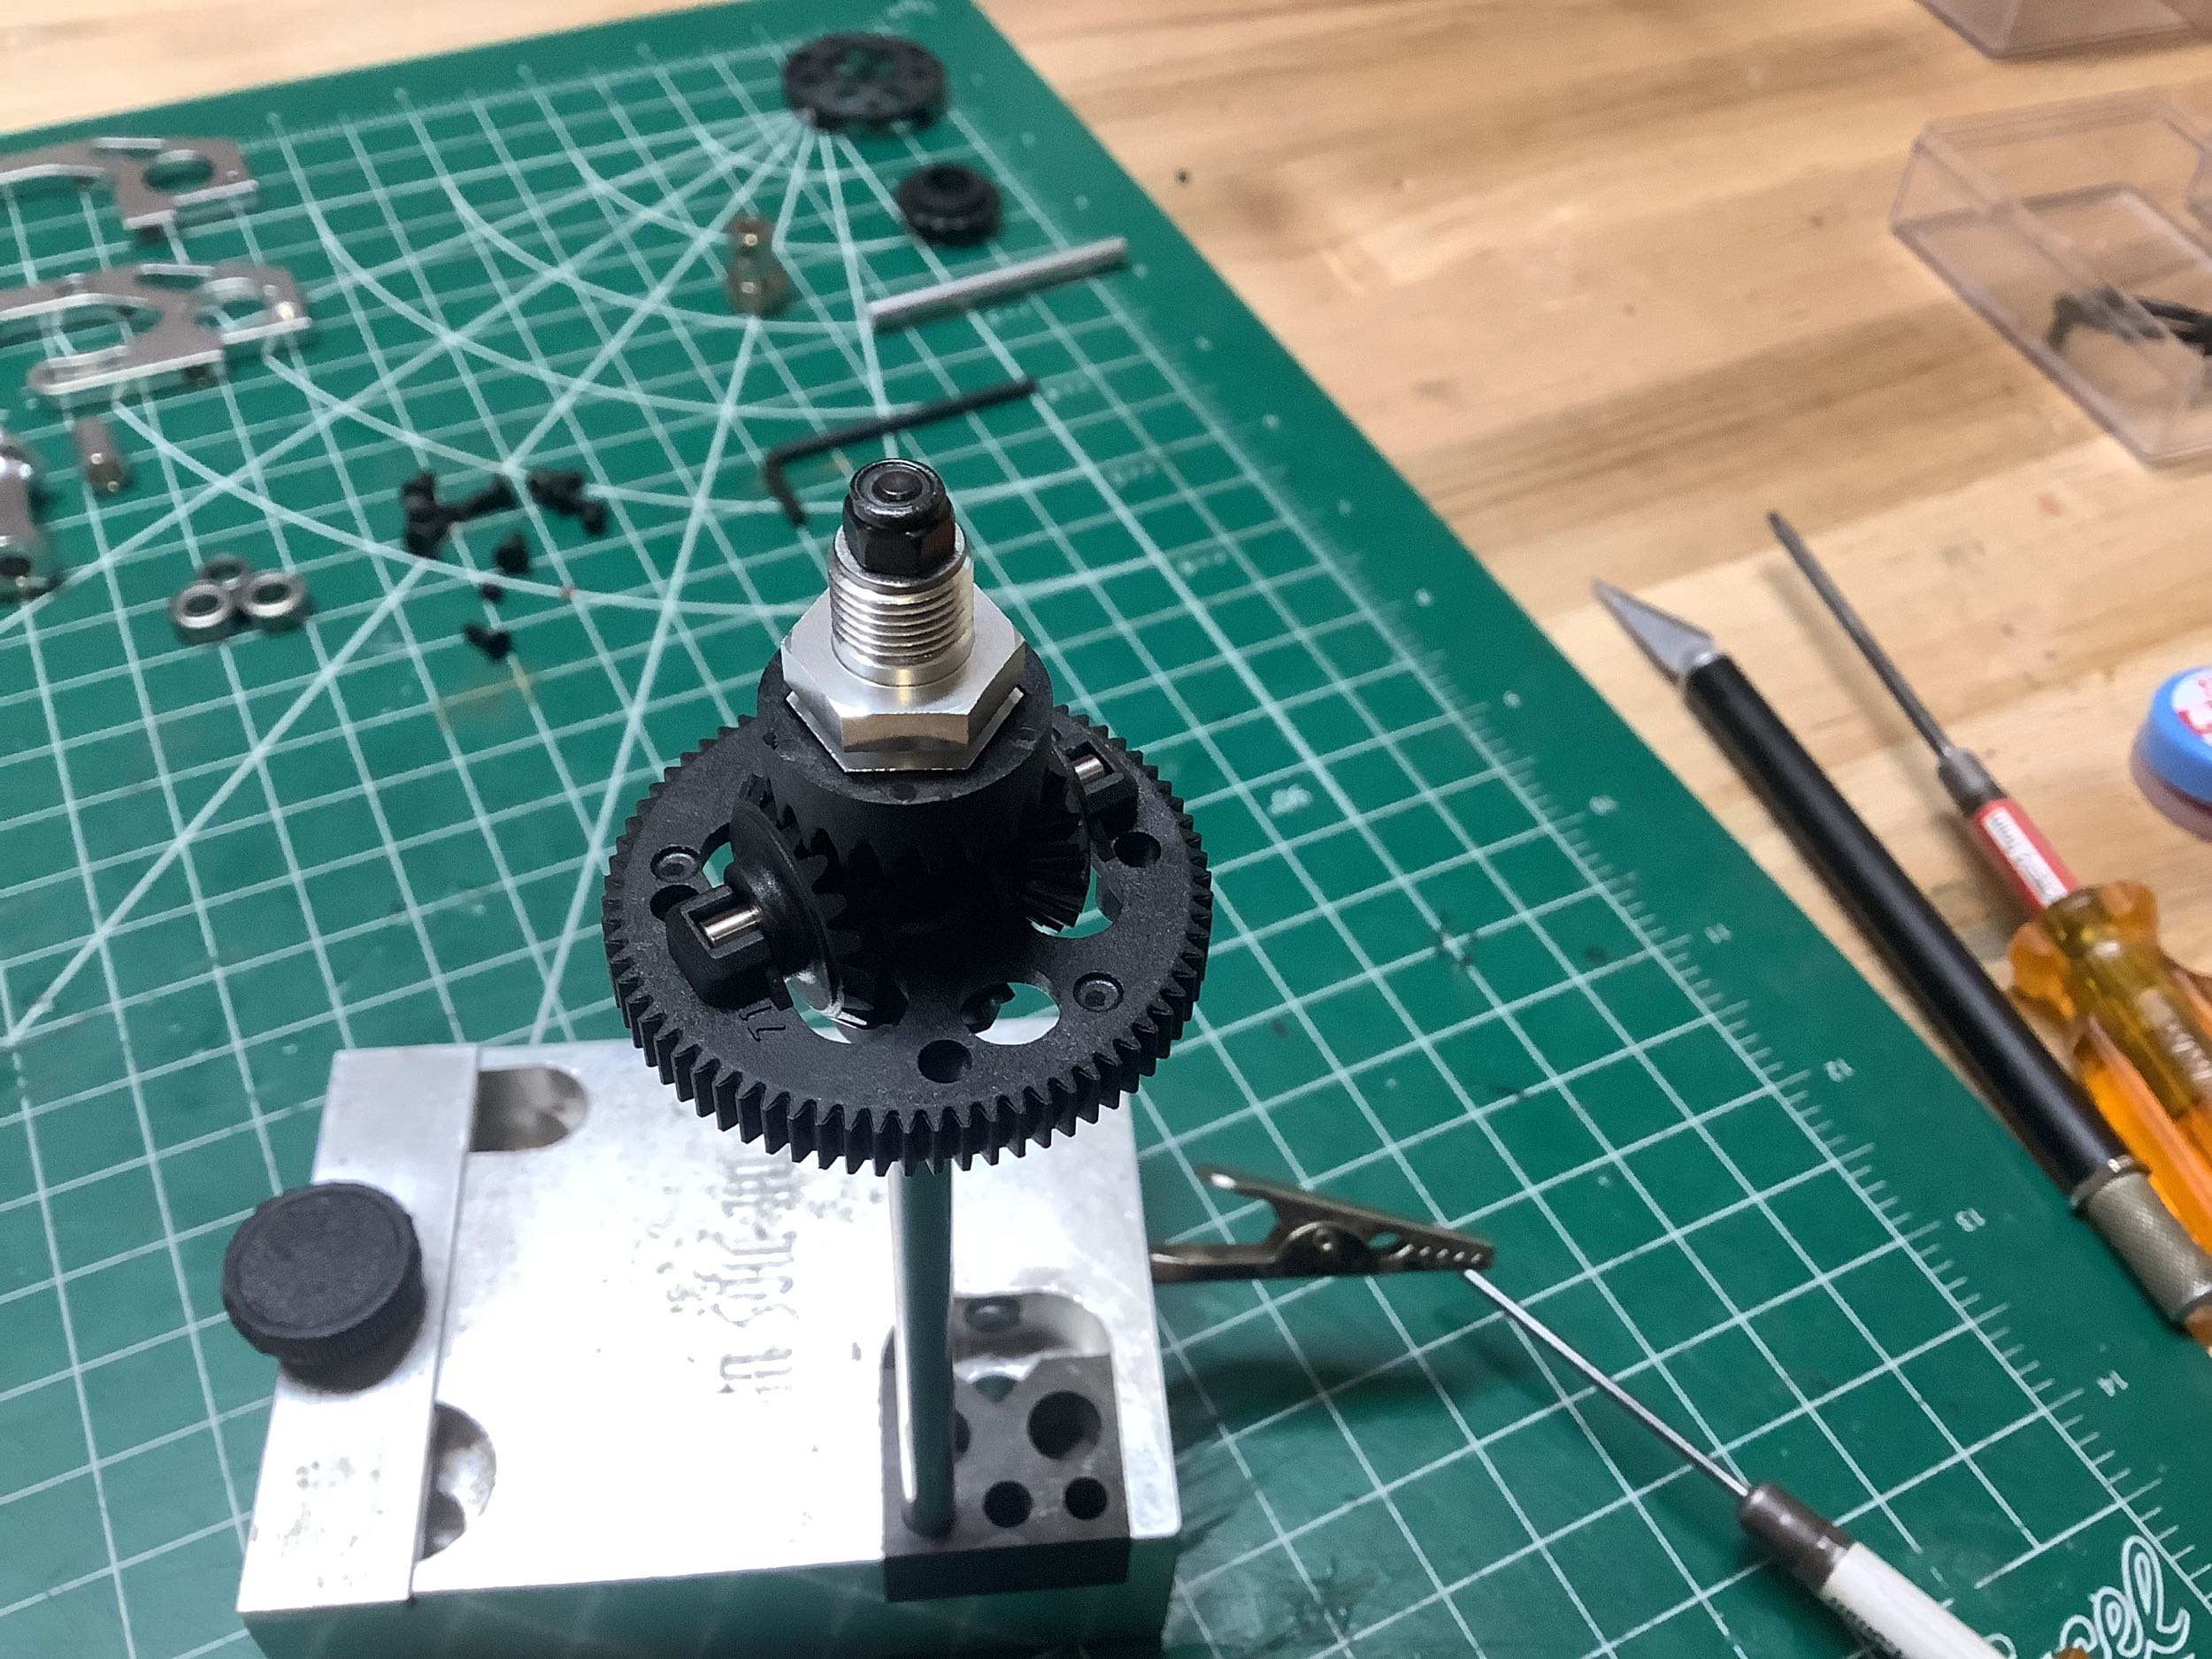
The differential is built into the spur gear and is easiest to build
vertically so everything stays together until the nut is
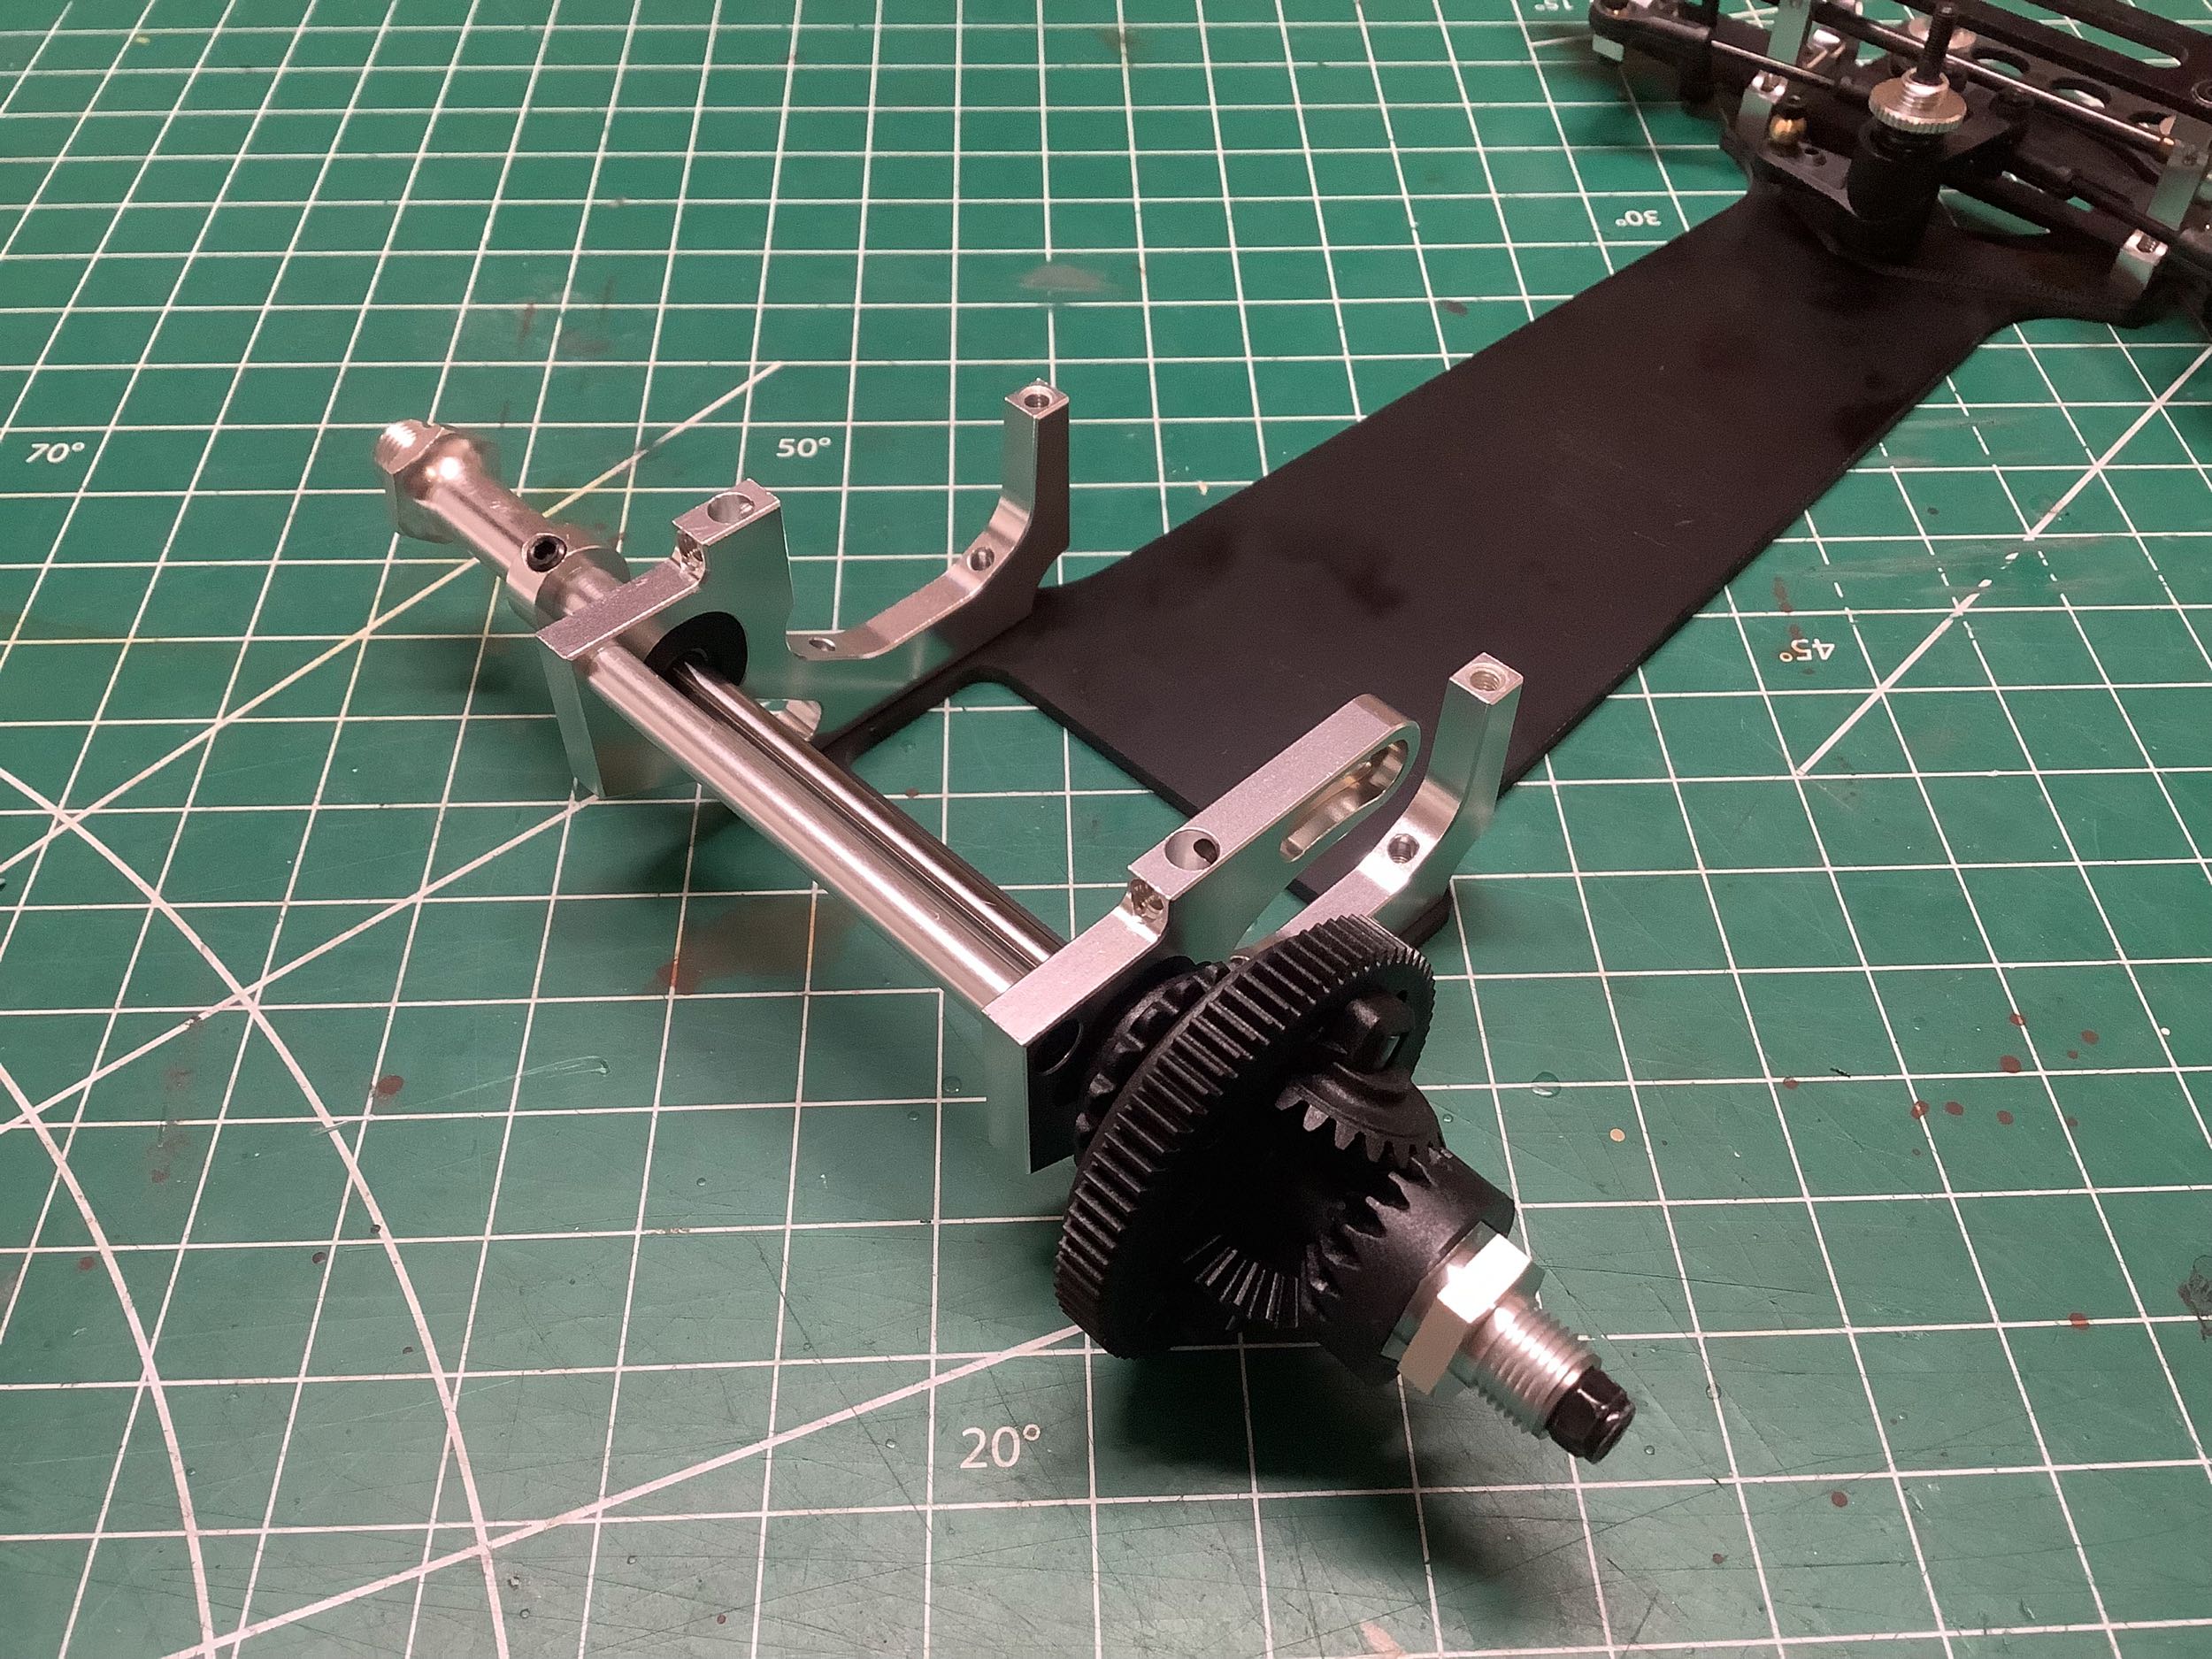
installed. The wheel hub on the right side attaches directly to
the right differential gear, while the left differential gear is locked
to the axle to drive the wheel on the other side. There are
eccentric bushings supporting the bearings which allow changes in chain
tension or ride height by flipping them over or swapping them.
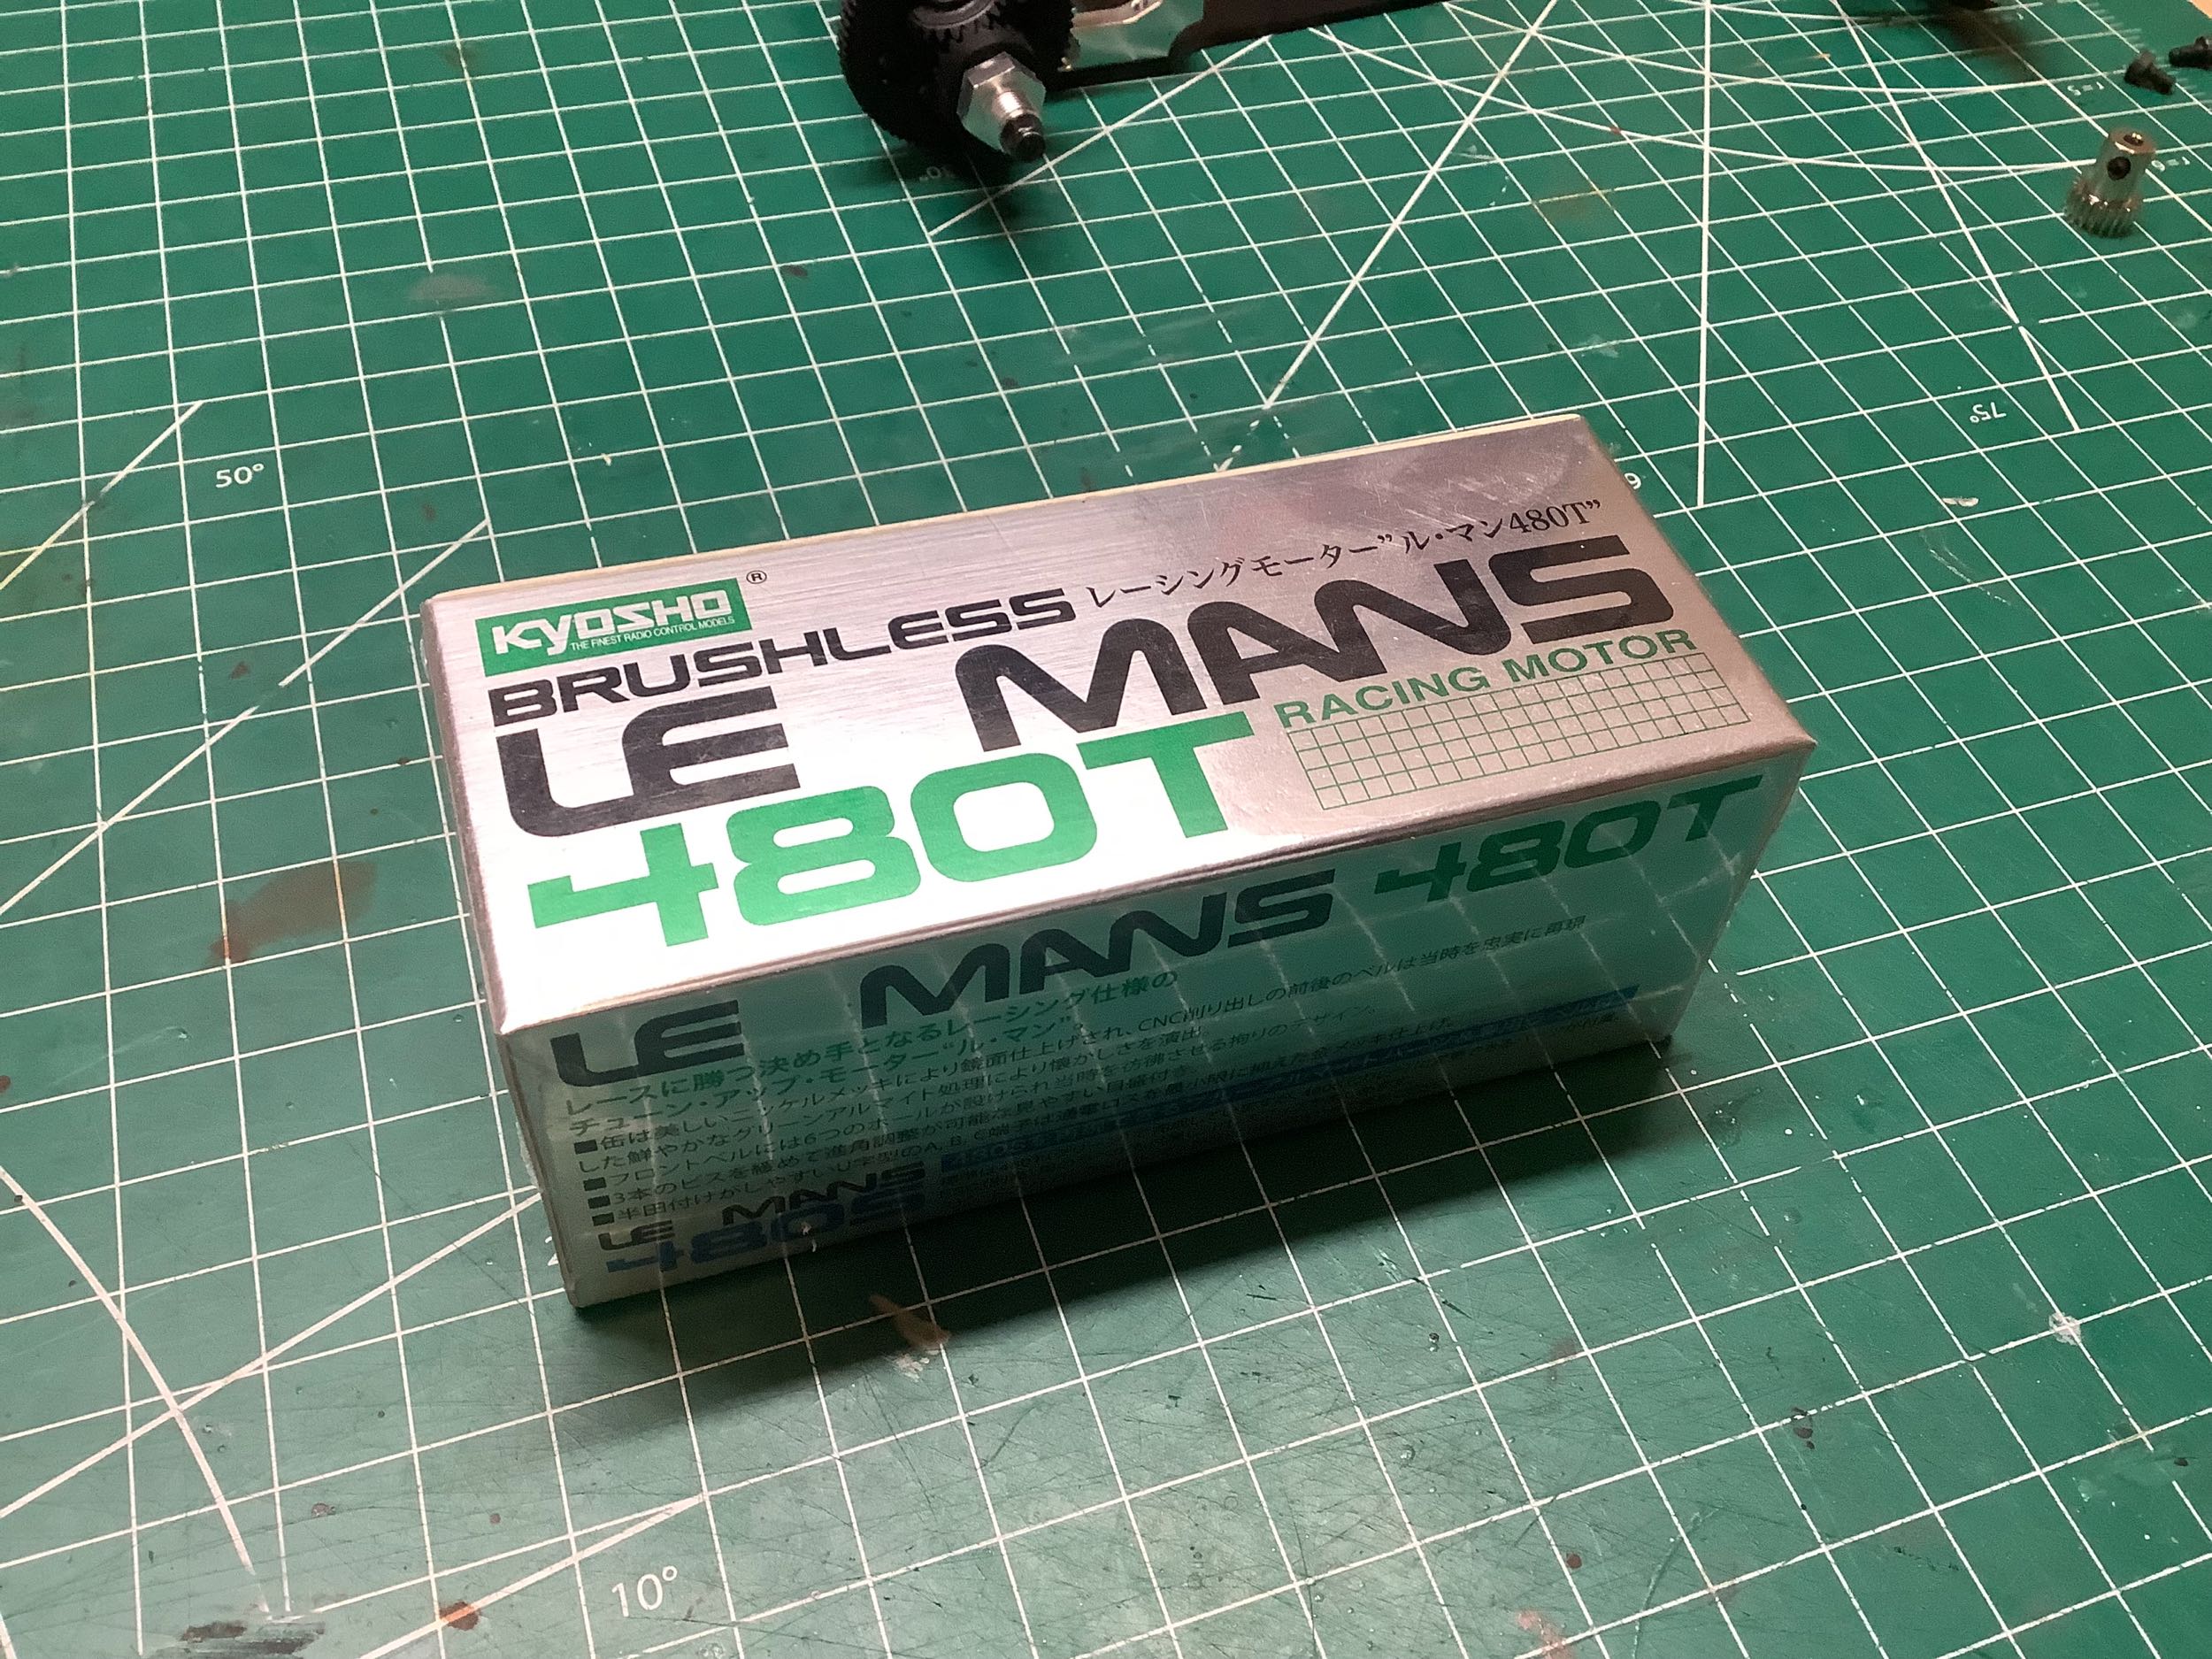
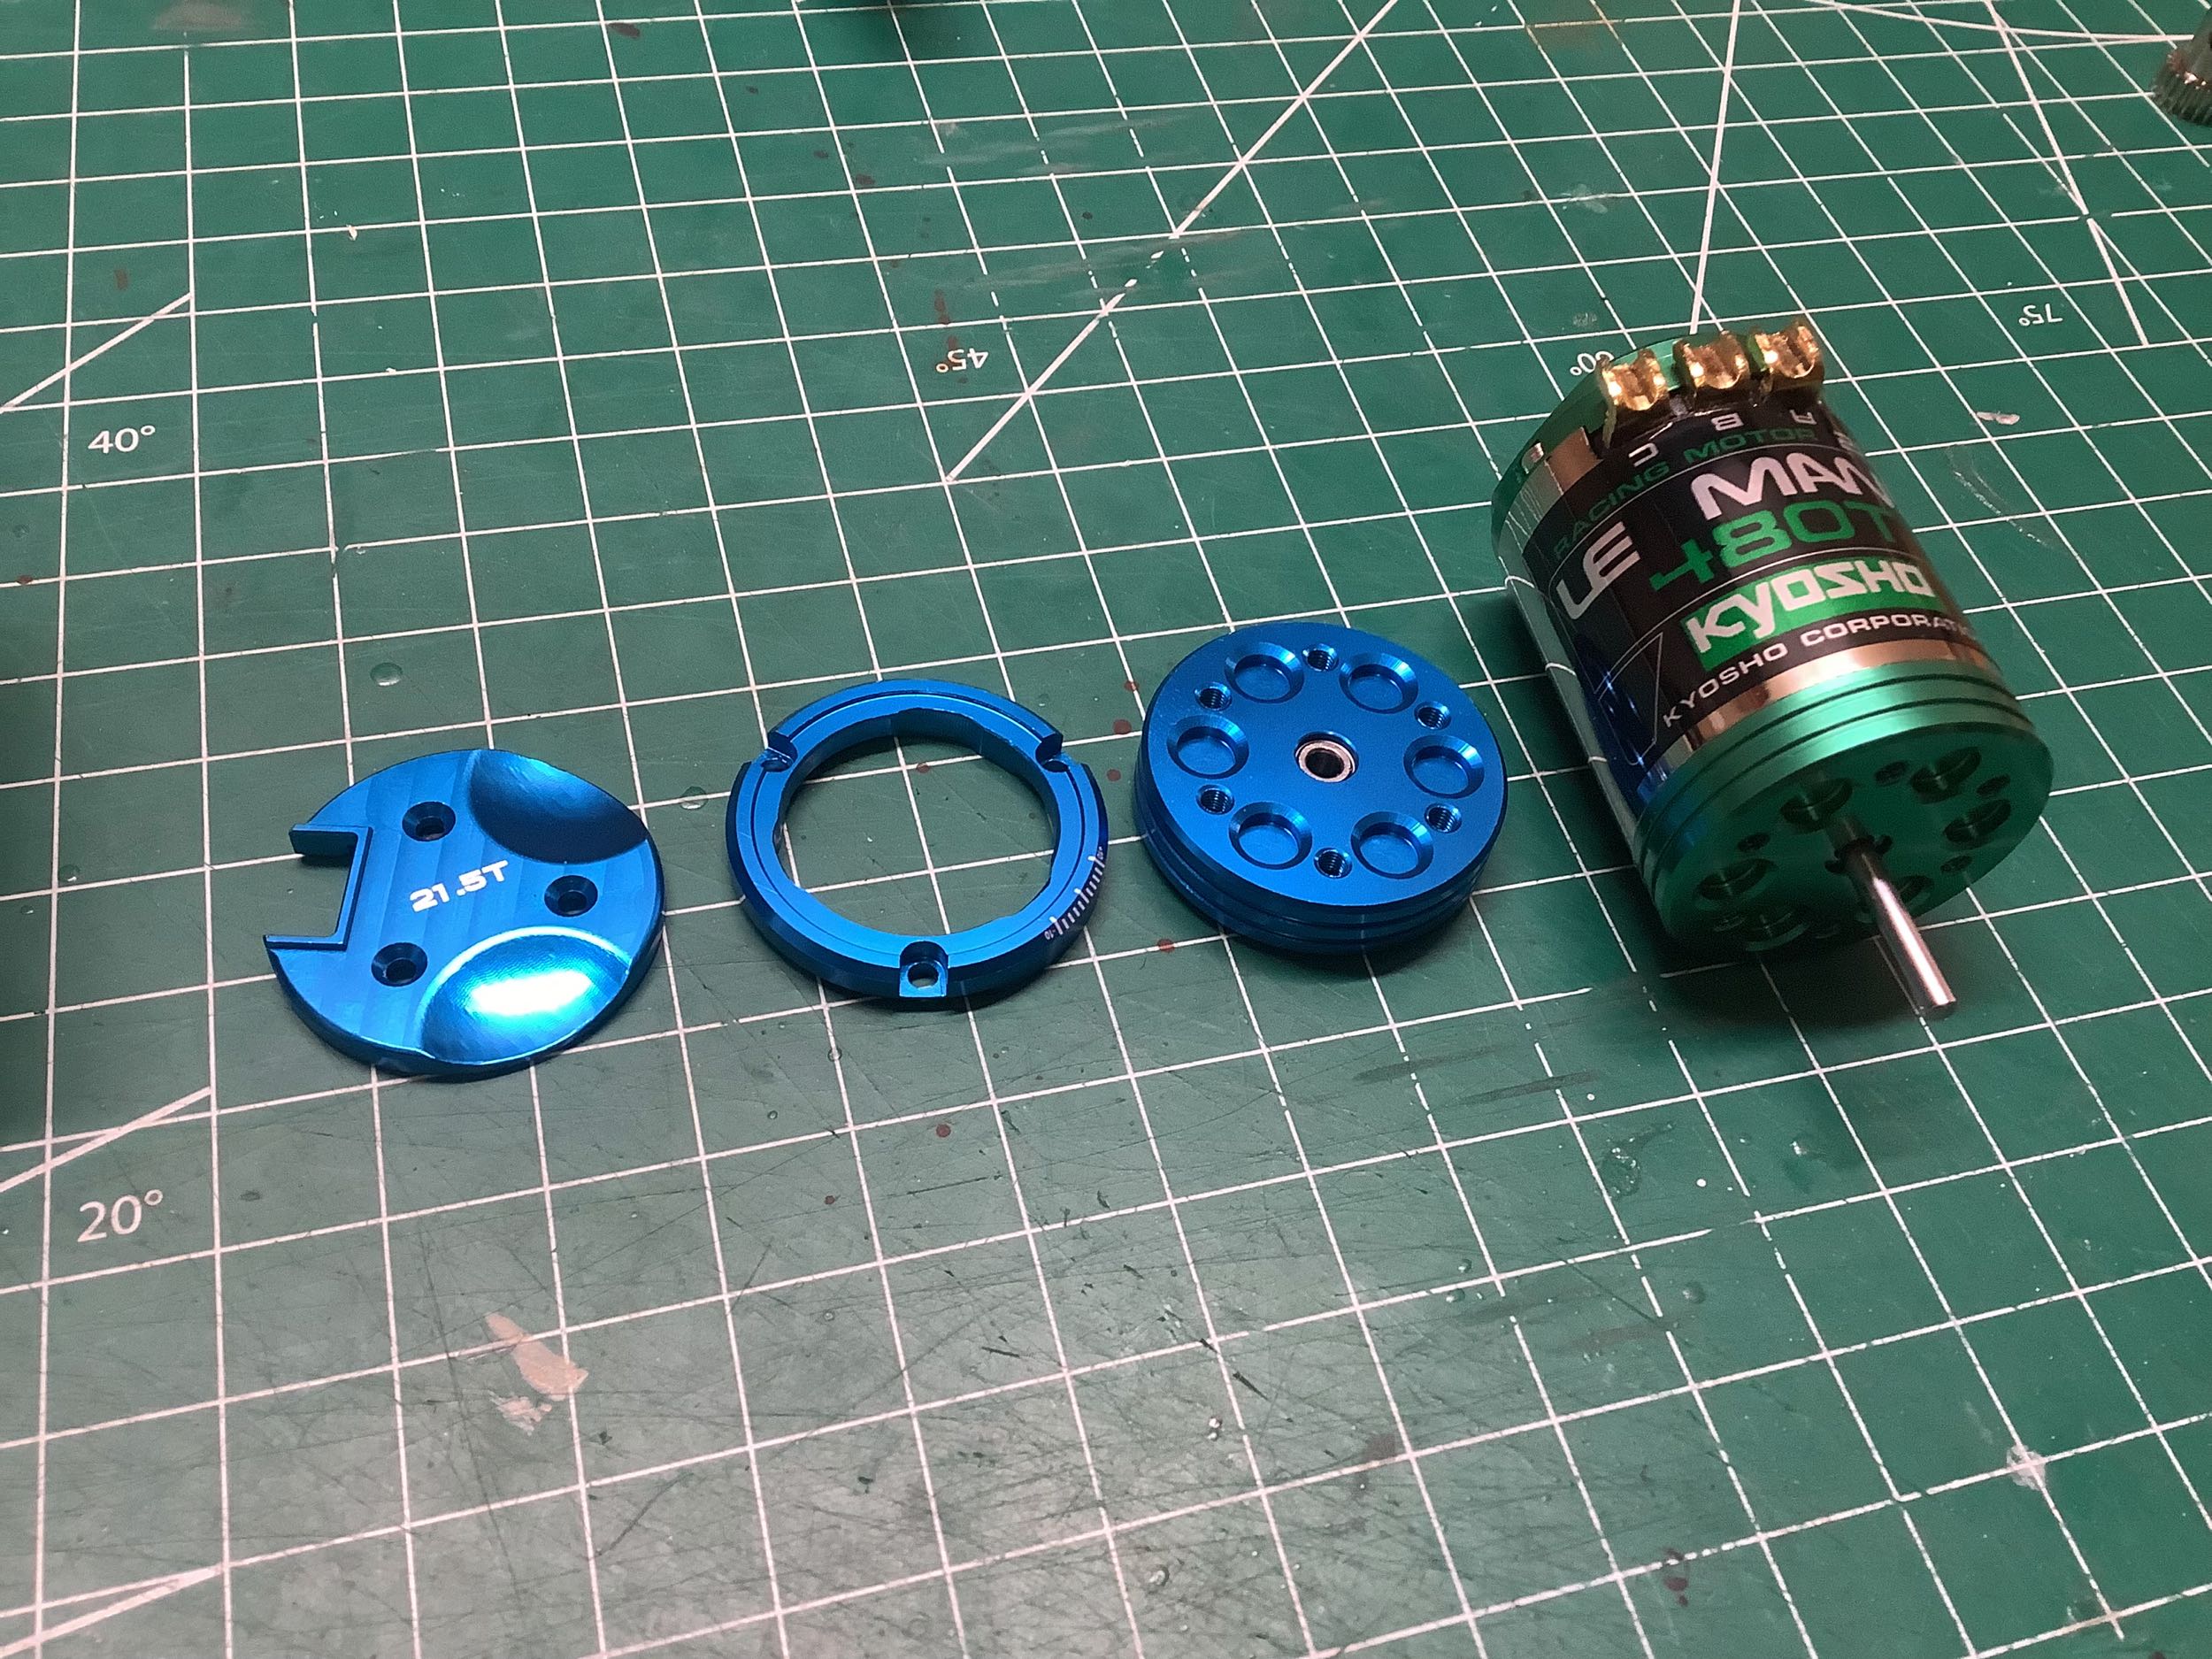
The Le Mans 480T motor is a thing of beauty. Out of the box the
green end bells are installed, but it comes with an optional set of blue
parts to convert it to a 480S. This is a 21.5T motor, so not very
high speed (14,430rpm @ 7.4V).
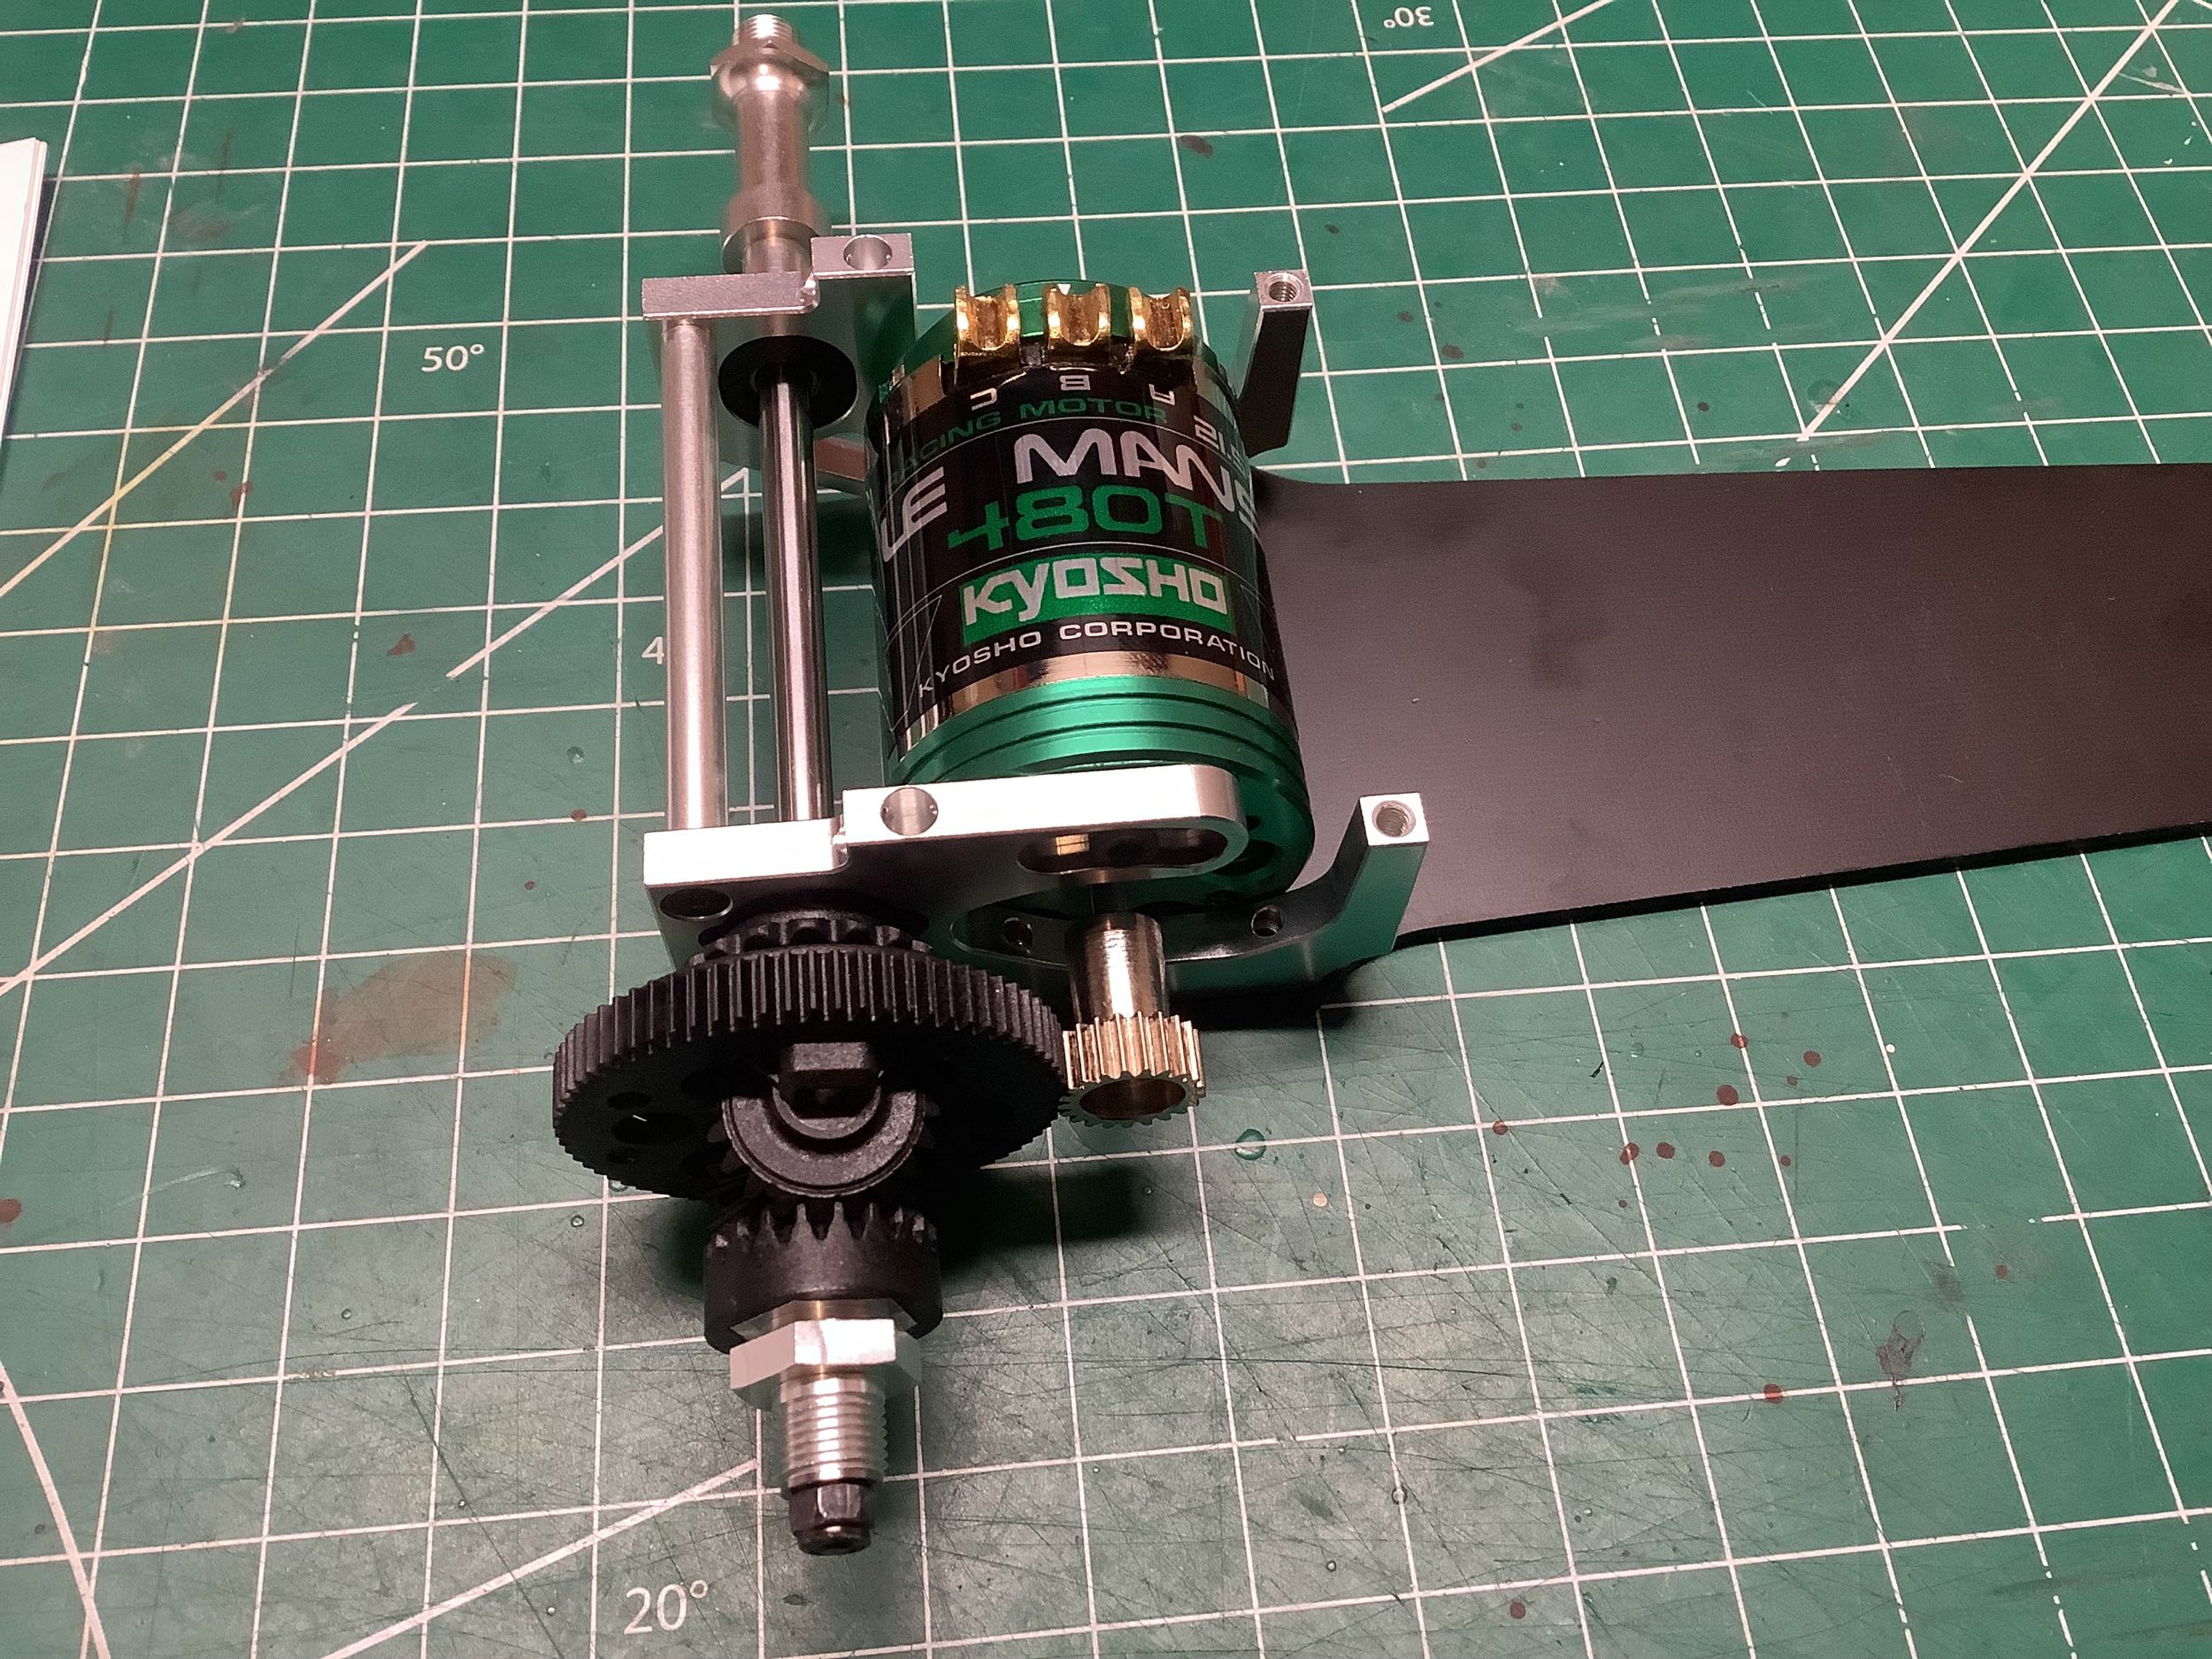
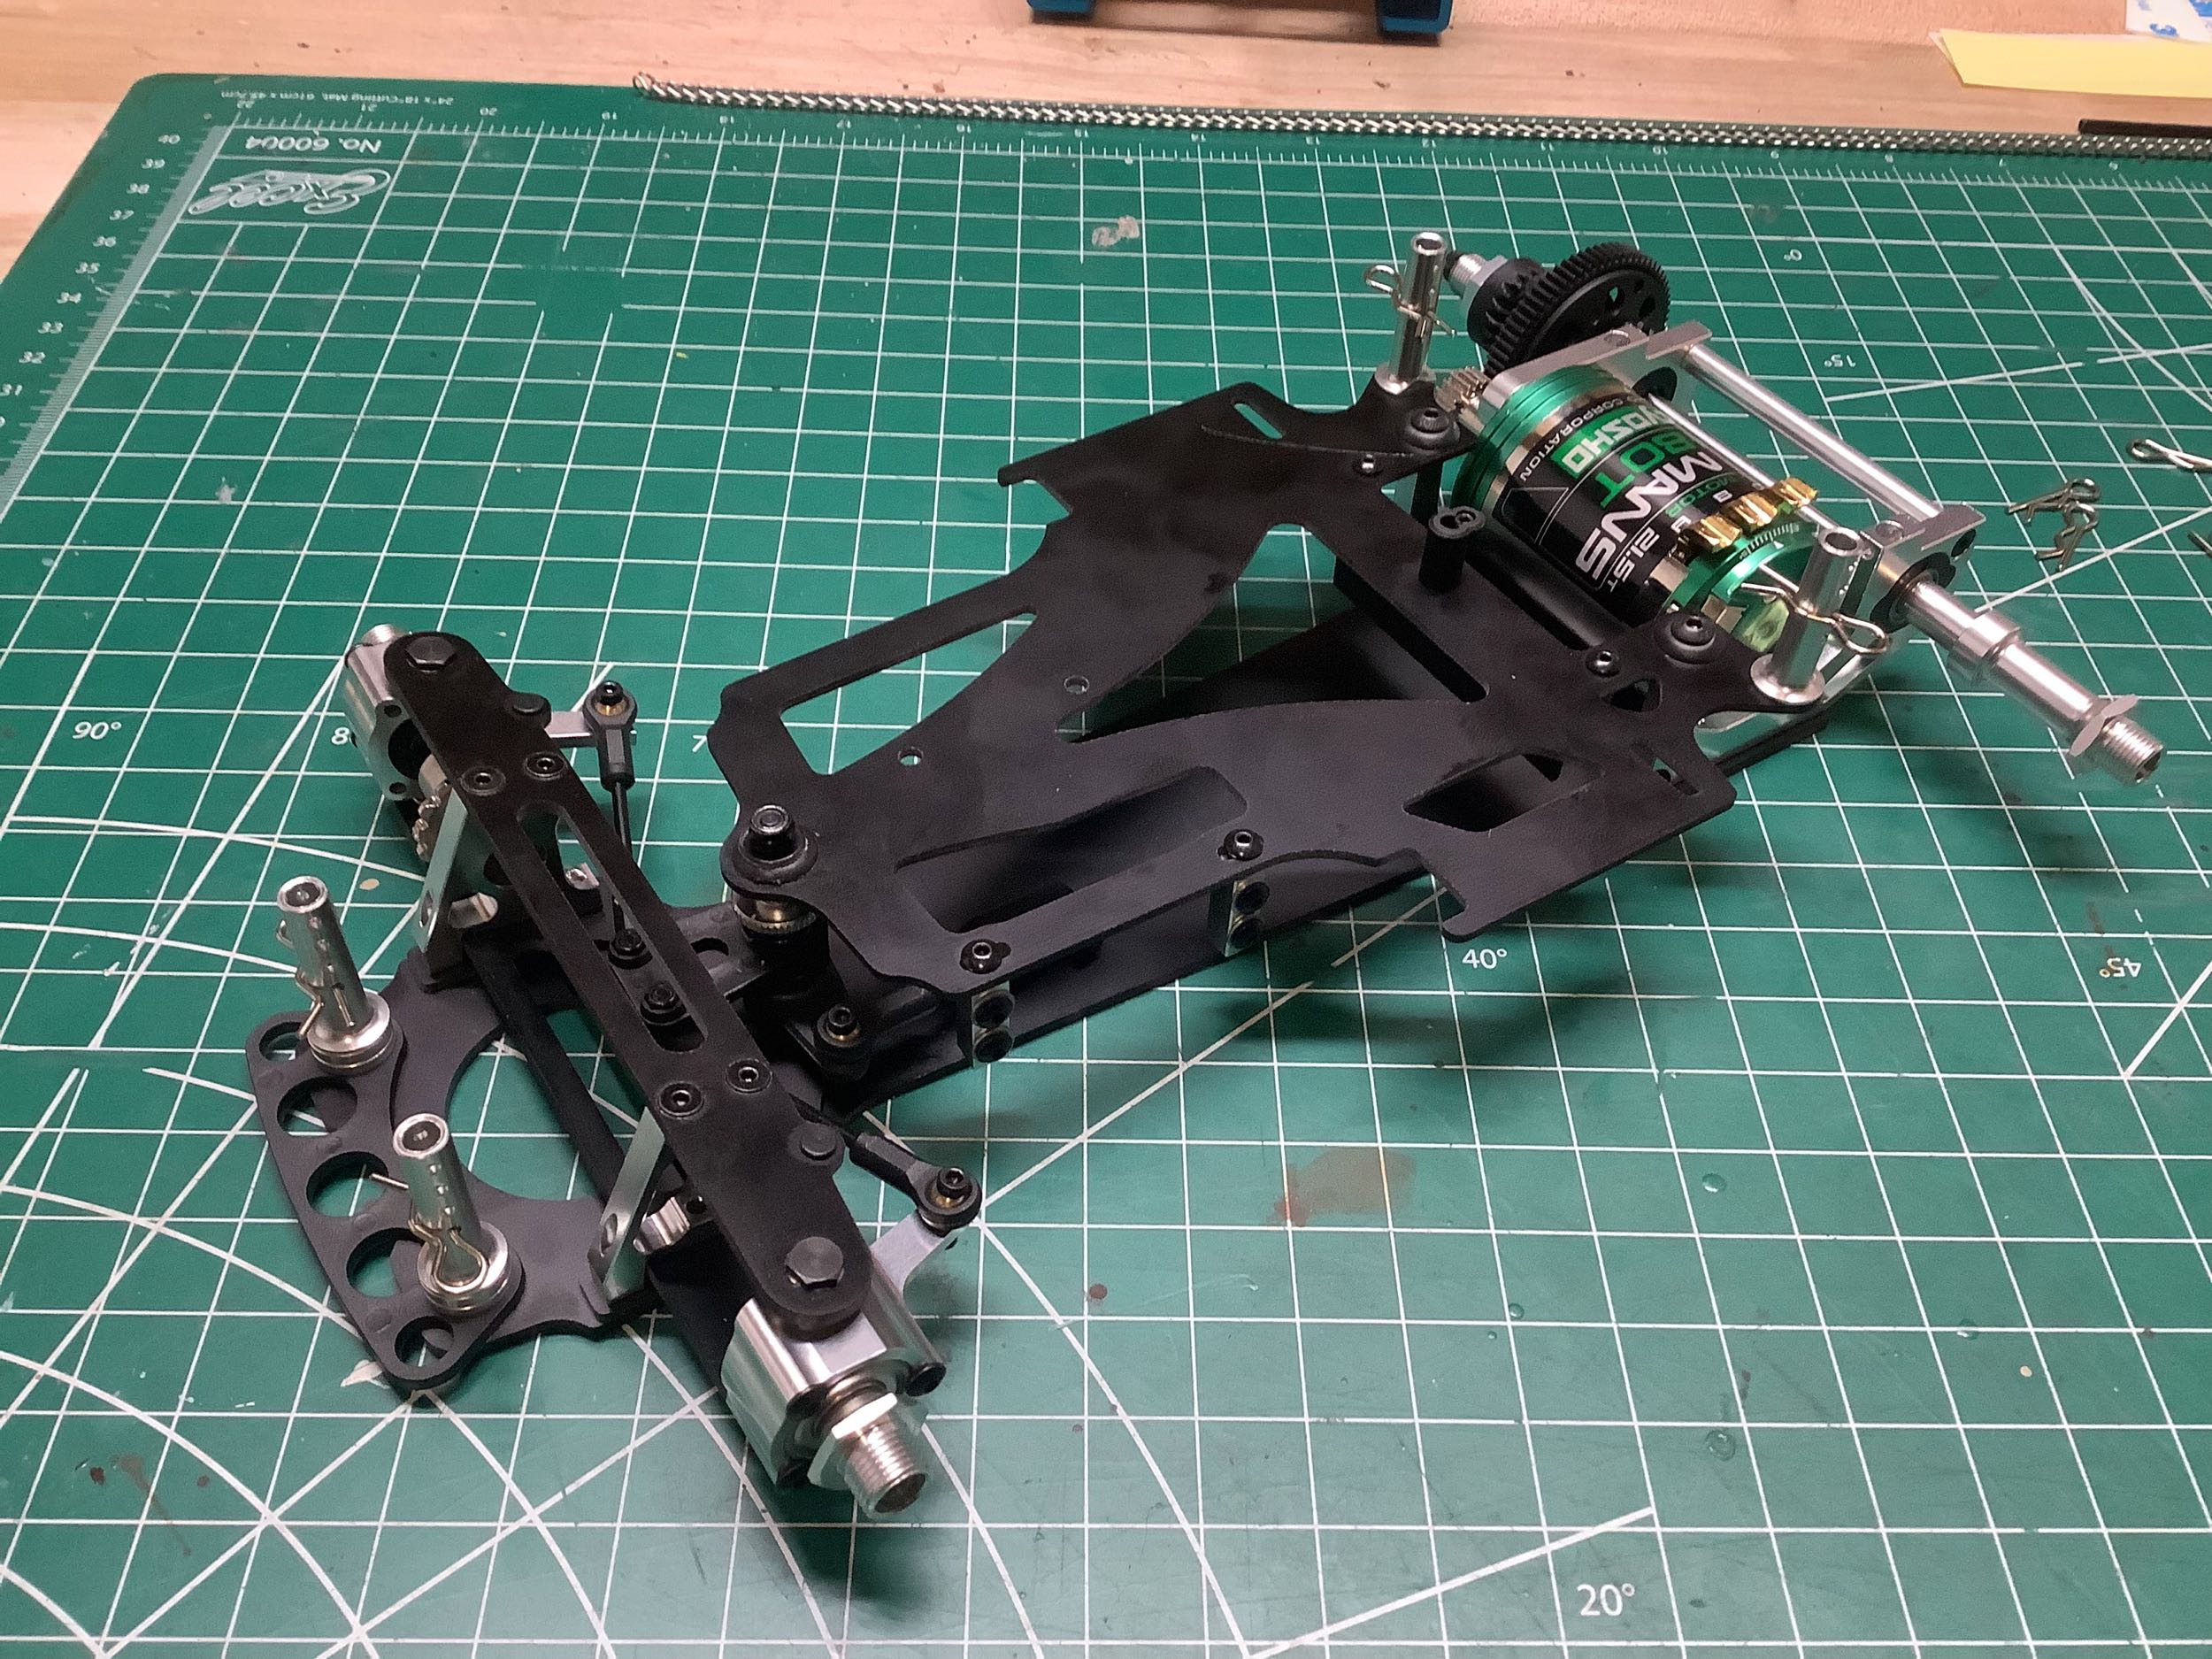
That motor sits so low that it needs a slot in the chassis. It
drives the spur gear directly with a long 21T pinion. Pinions from
14T to 27T are possible.
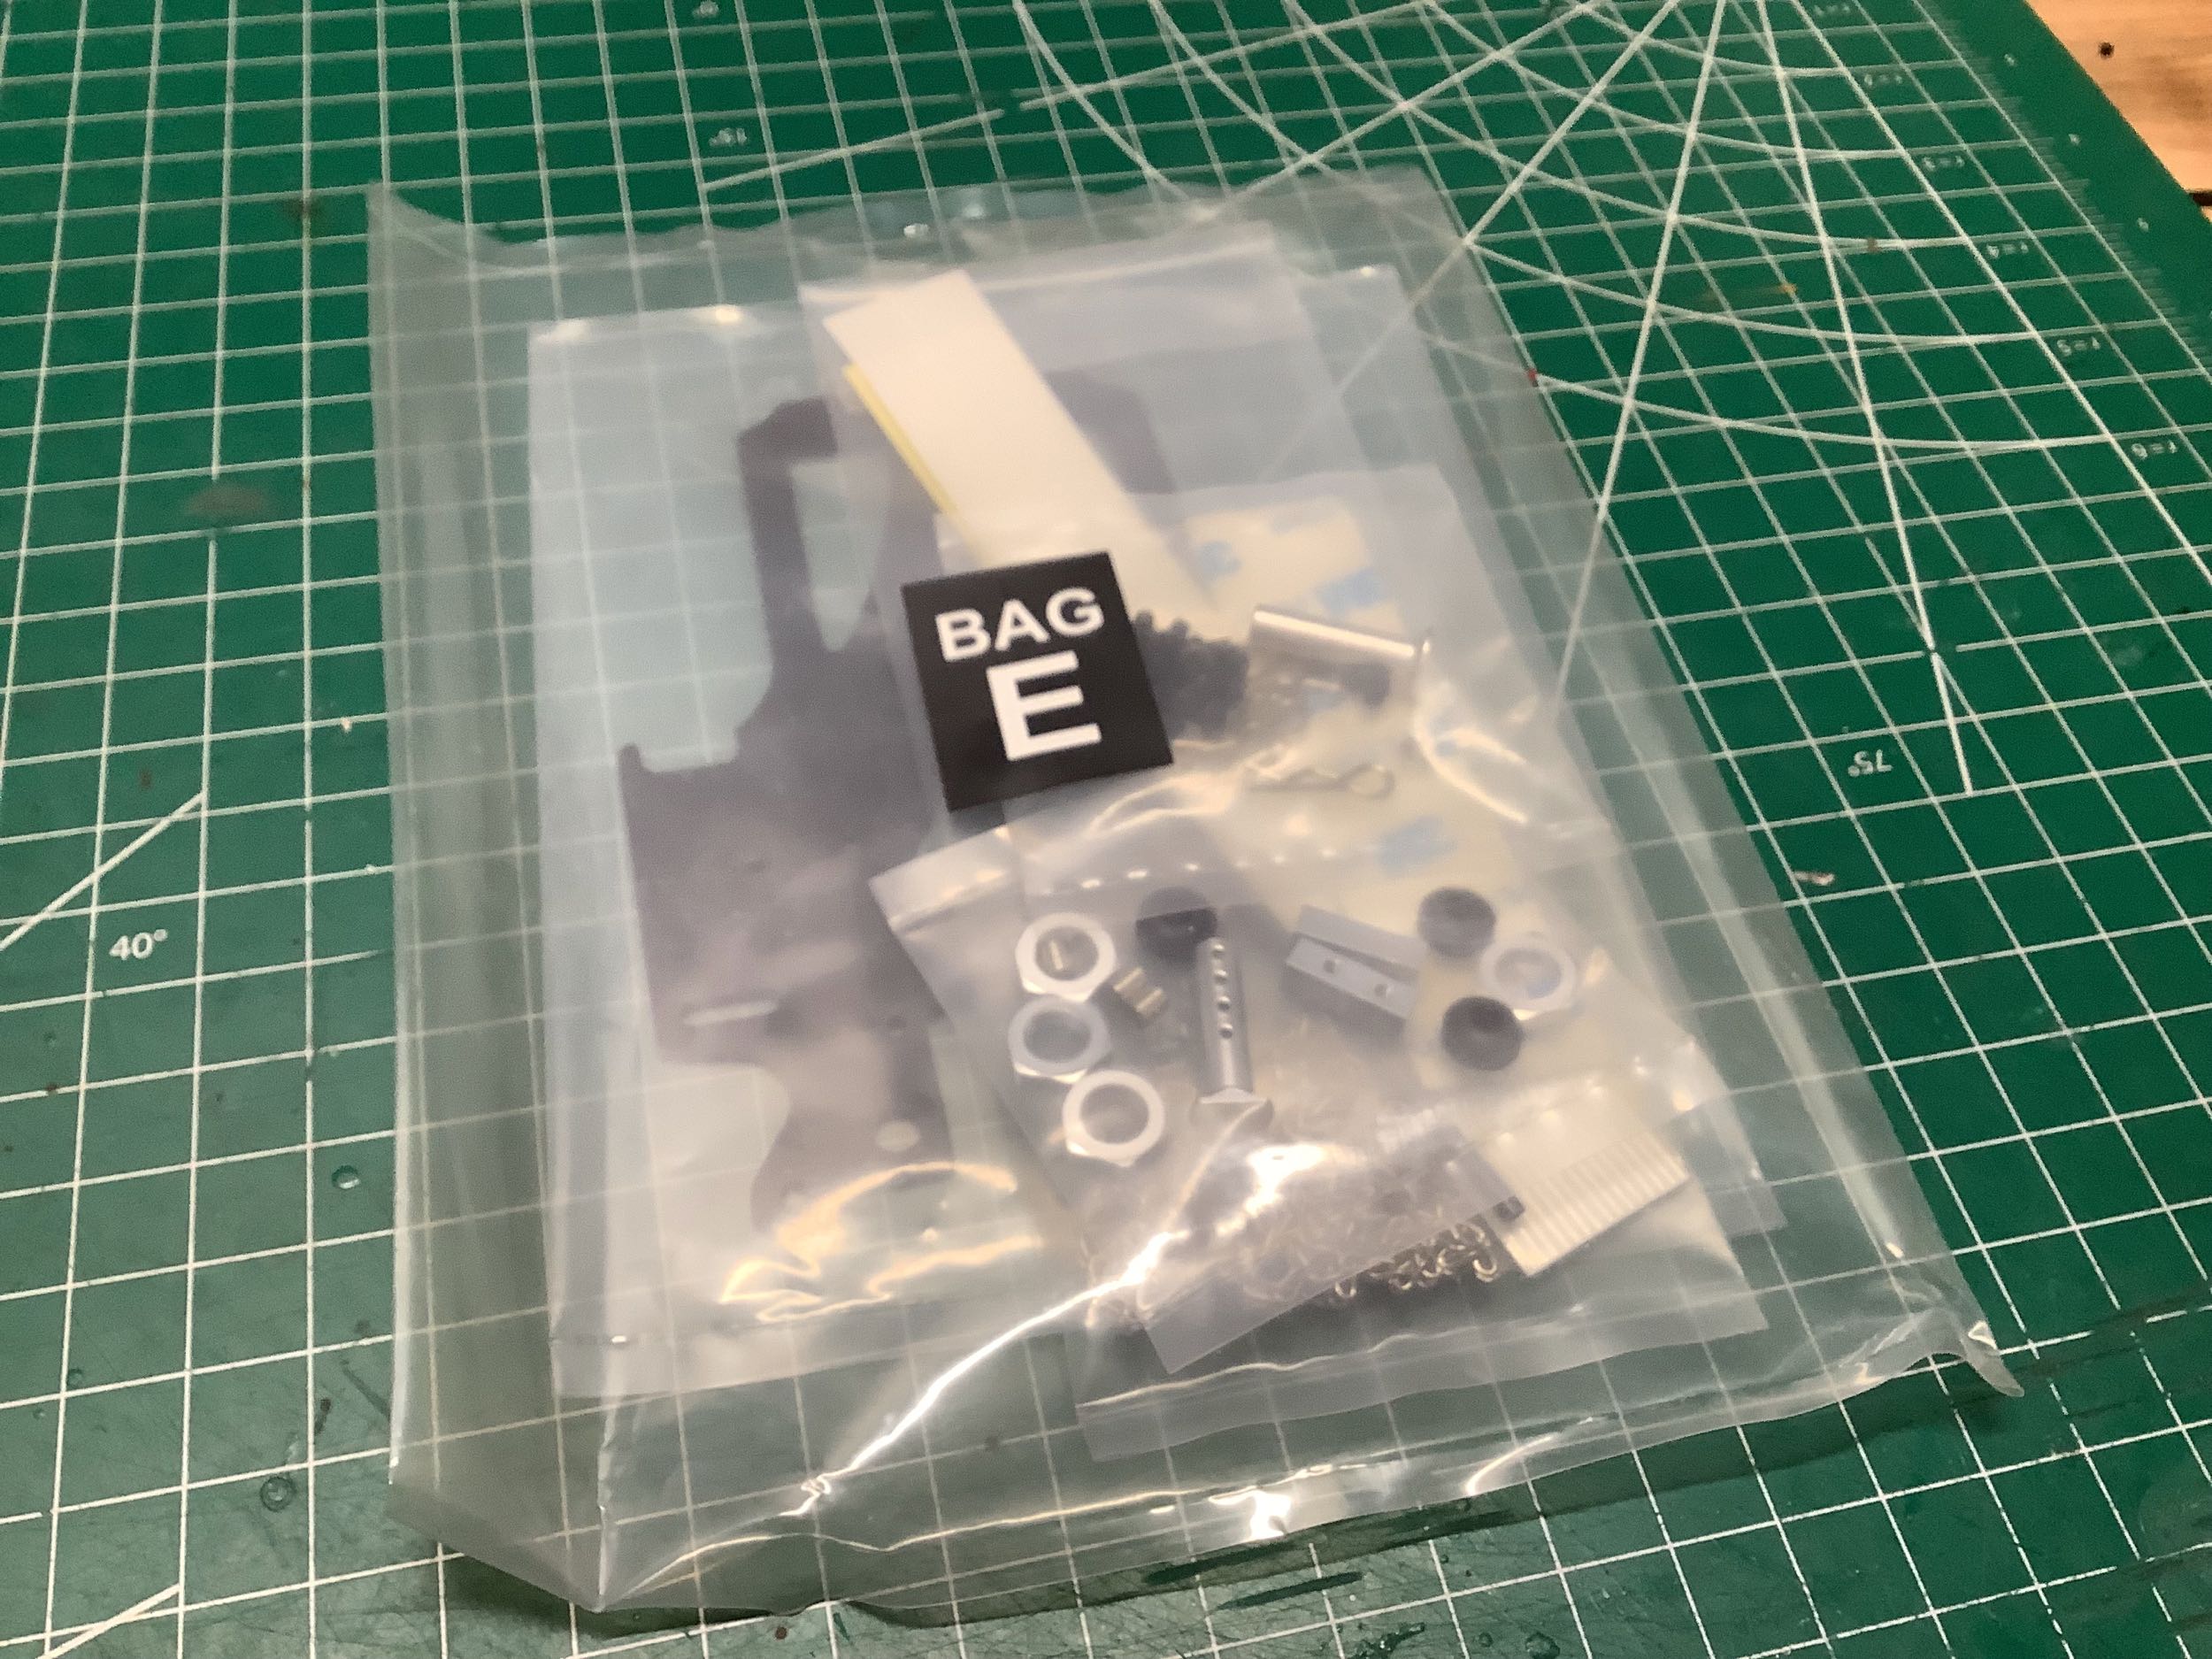
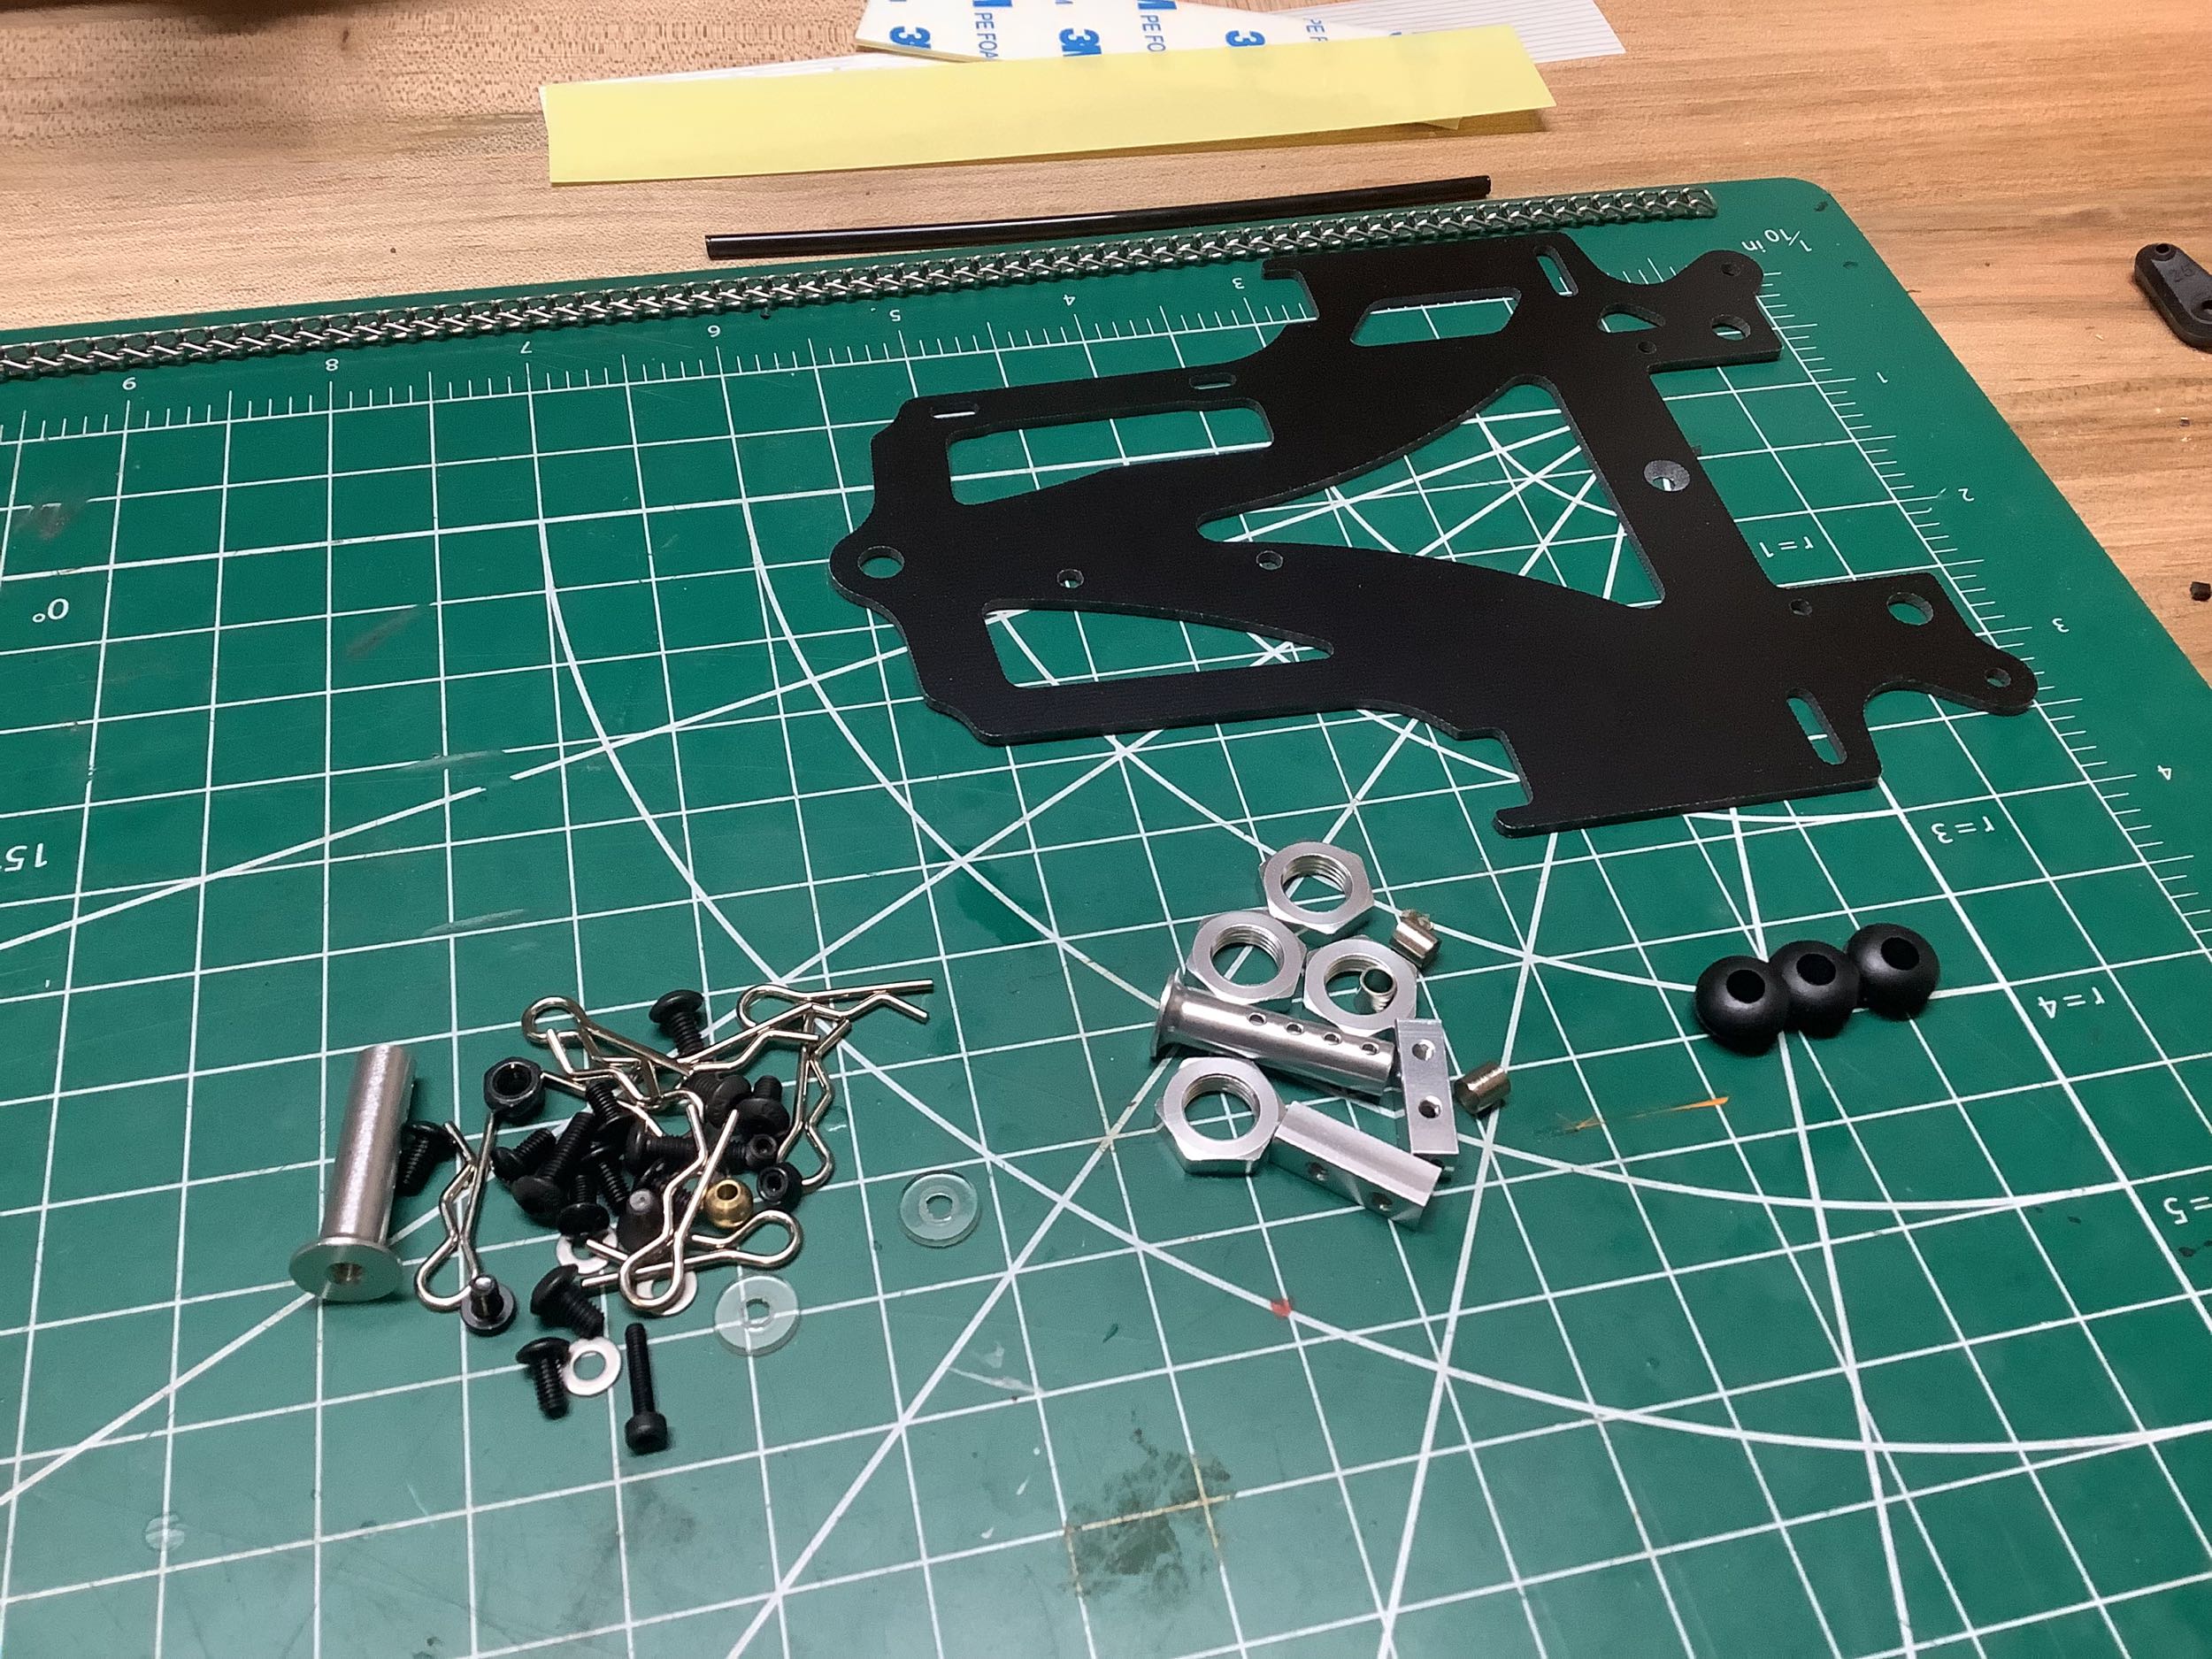
Bag E has the parts for the upper deck and the installation of the steering servo.
Those rubber grommets were almost impossible to install into the holes
of the upper deck. Very painful. The use of rubber grommets
means that the upper deck is not intended to be structural. The
lower deck needs to be able to flex to provide minimal suspension
action. The servo will be attached here (I didn't have it yet) and
the battery will be secured with my least favorite method: tape.
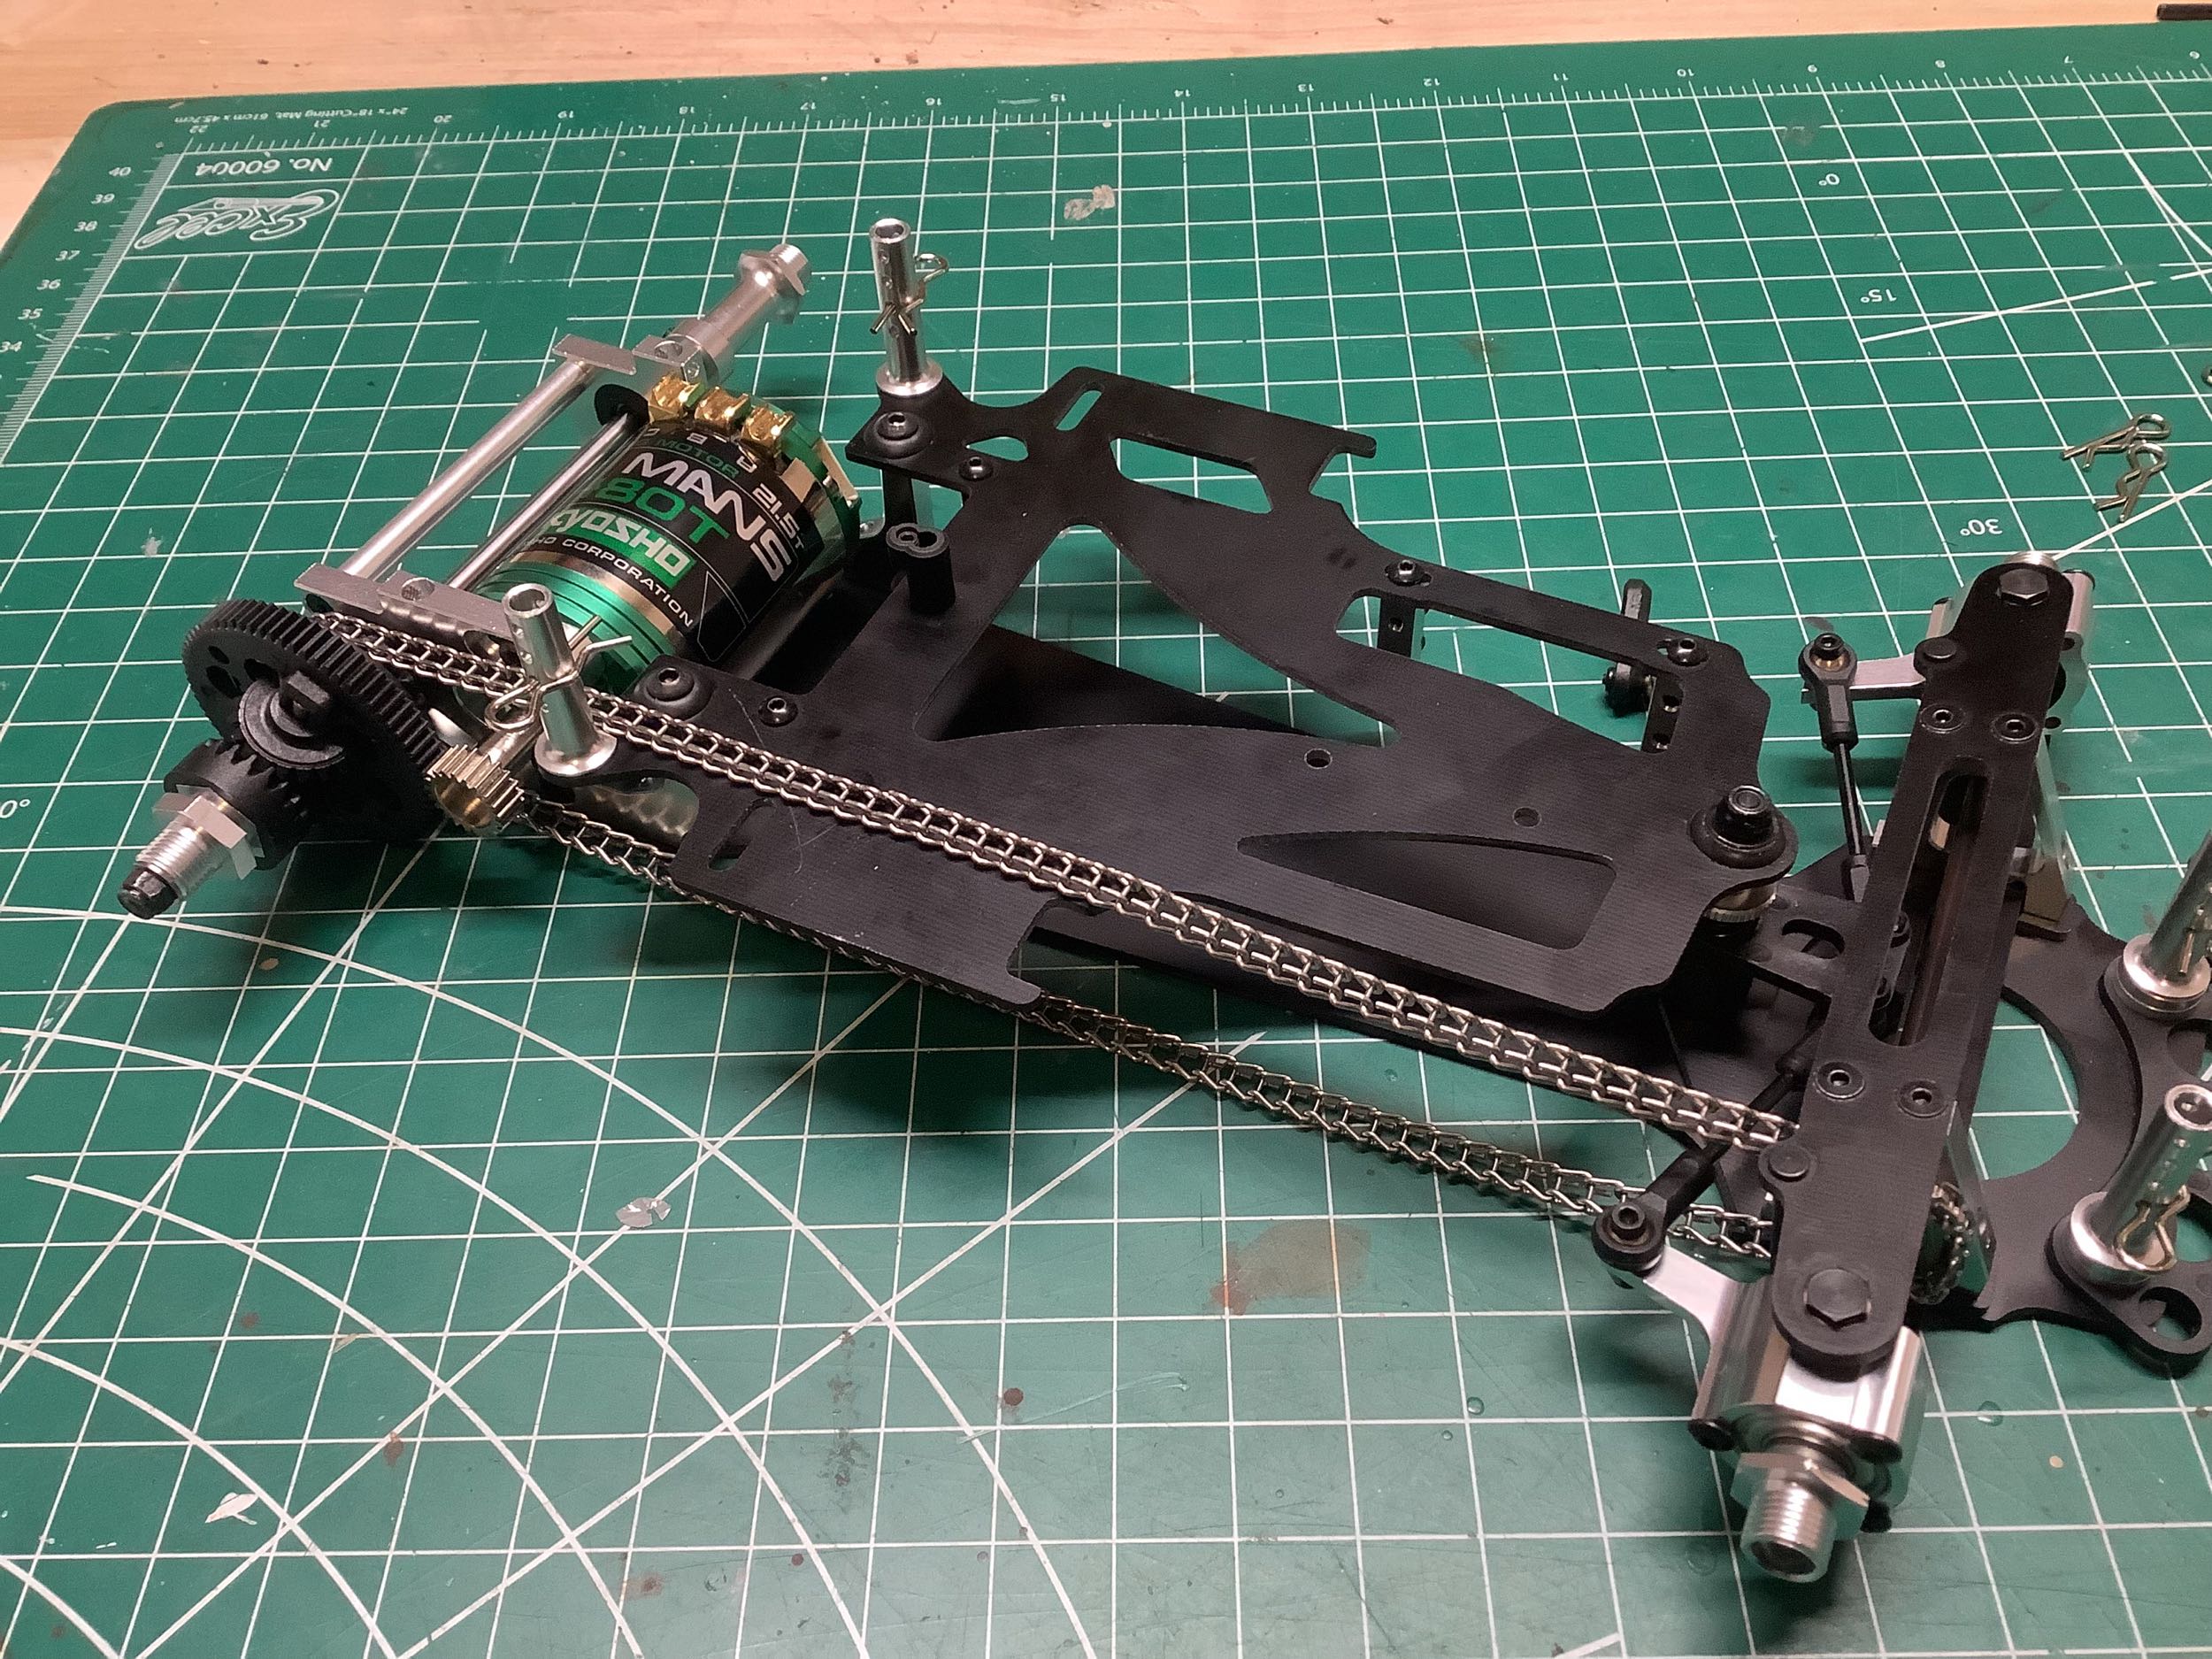
Installing the chain is an exercise in patience. It comes out of
the box intentionally long. Several links need to be removed by
bending the tabs with a long nose pliers. The open chain then
needs to be closed up by hooking the ends together and crimping the
tabs. This is not easy. A difference of a single link makes a
huge difference. If the chain is too long it will drag on the
ground and possibly slip. If it is too short you won't be able to
get the ends together, or if you do it will have a lot of
friction. There is no guarantee that either extreme is just
right. If not, you need to take apart the rear axle and change the
eccentrics. I had to do all of these things to get it to
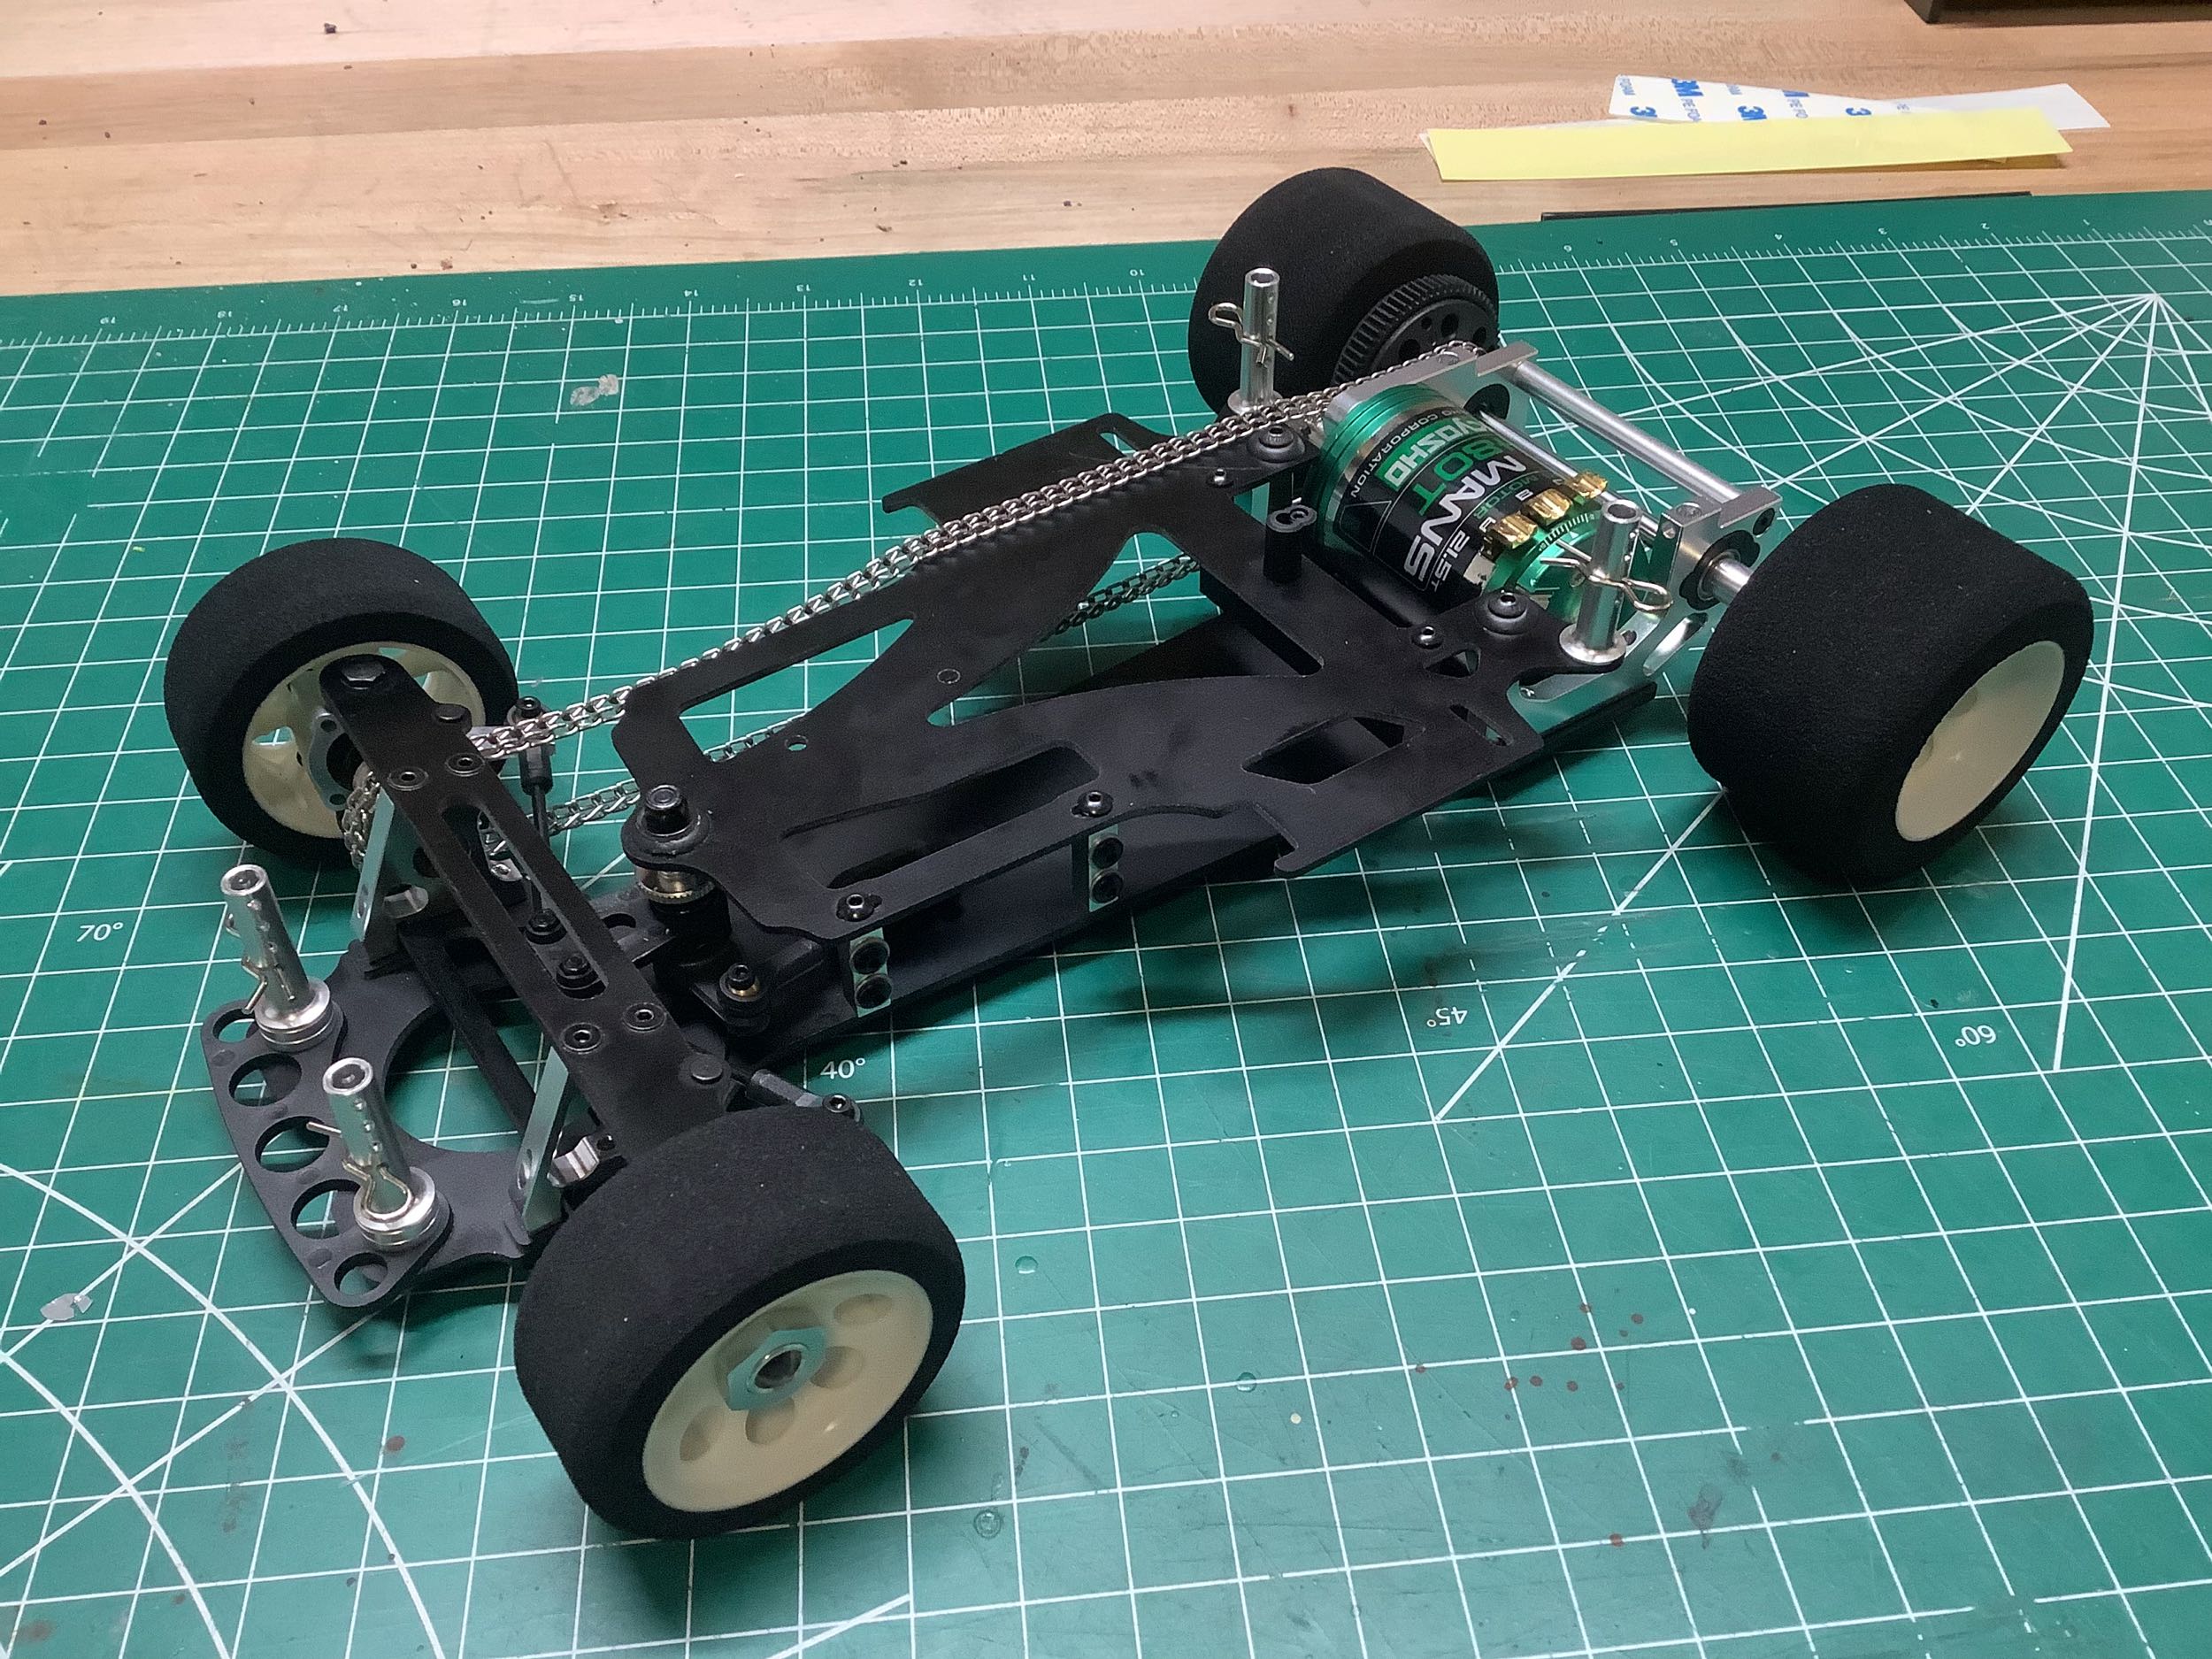
fit. After that I installed the wheels which thankfully already
had the tires installed. Foam tires don't last very long
(especially outdoors), so the whole wheel/tire combo will need to be
replaced at some point.
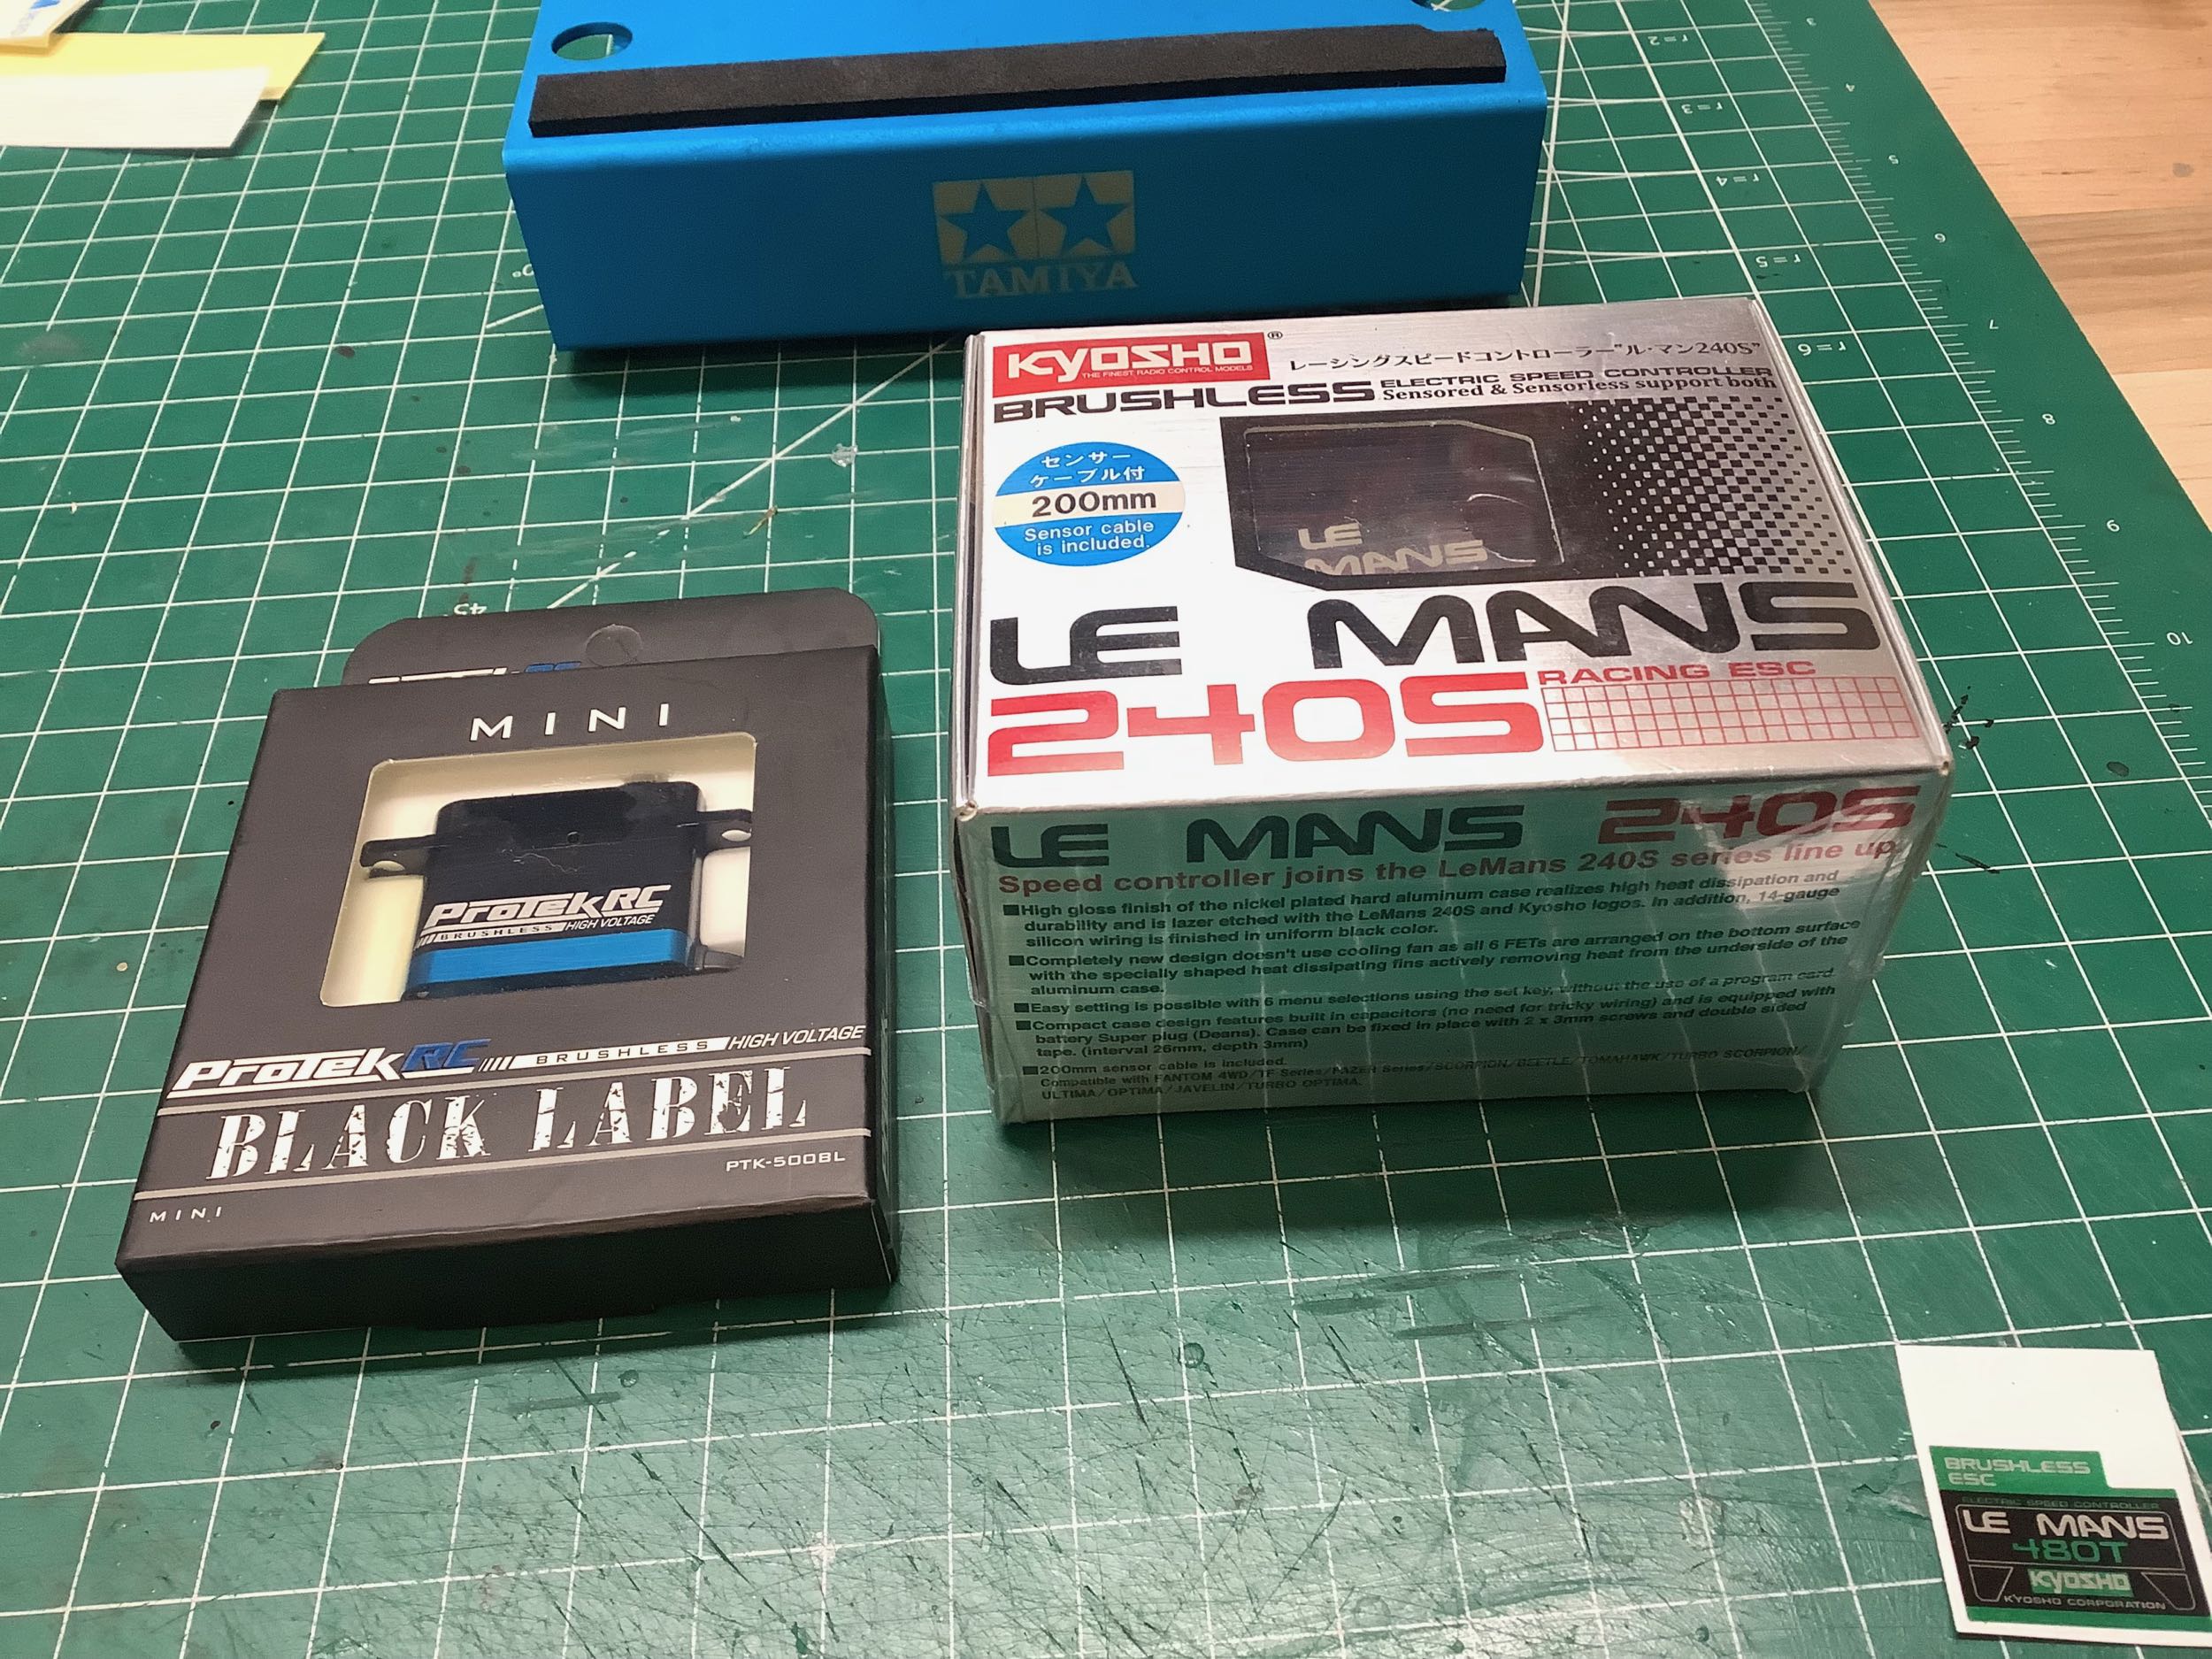
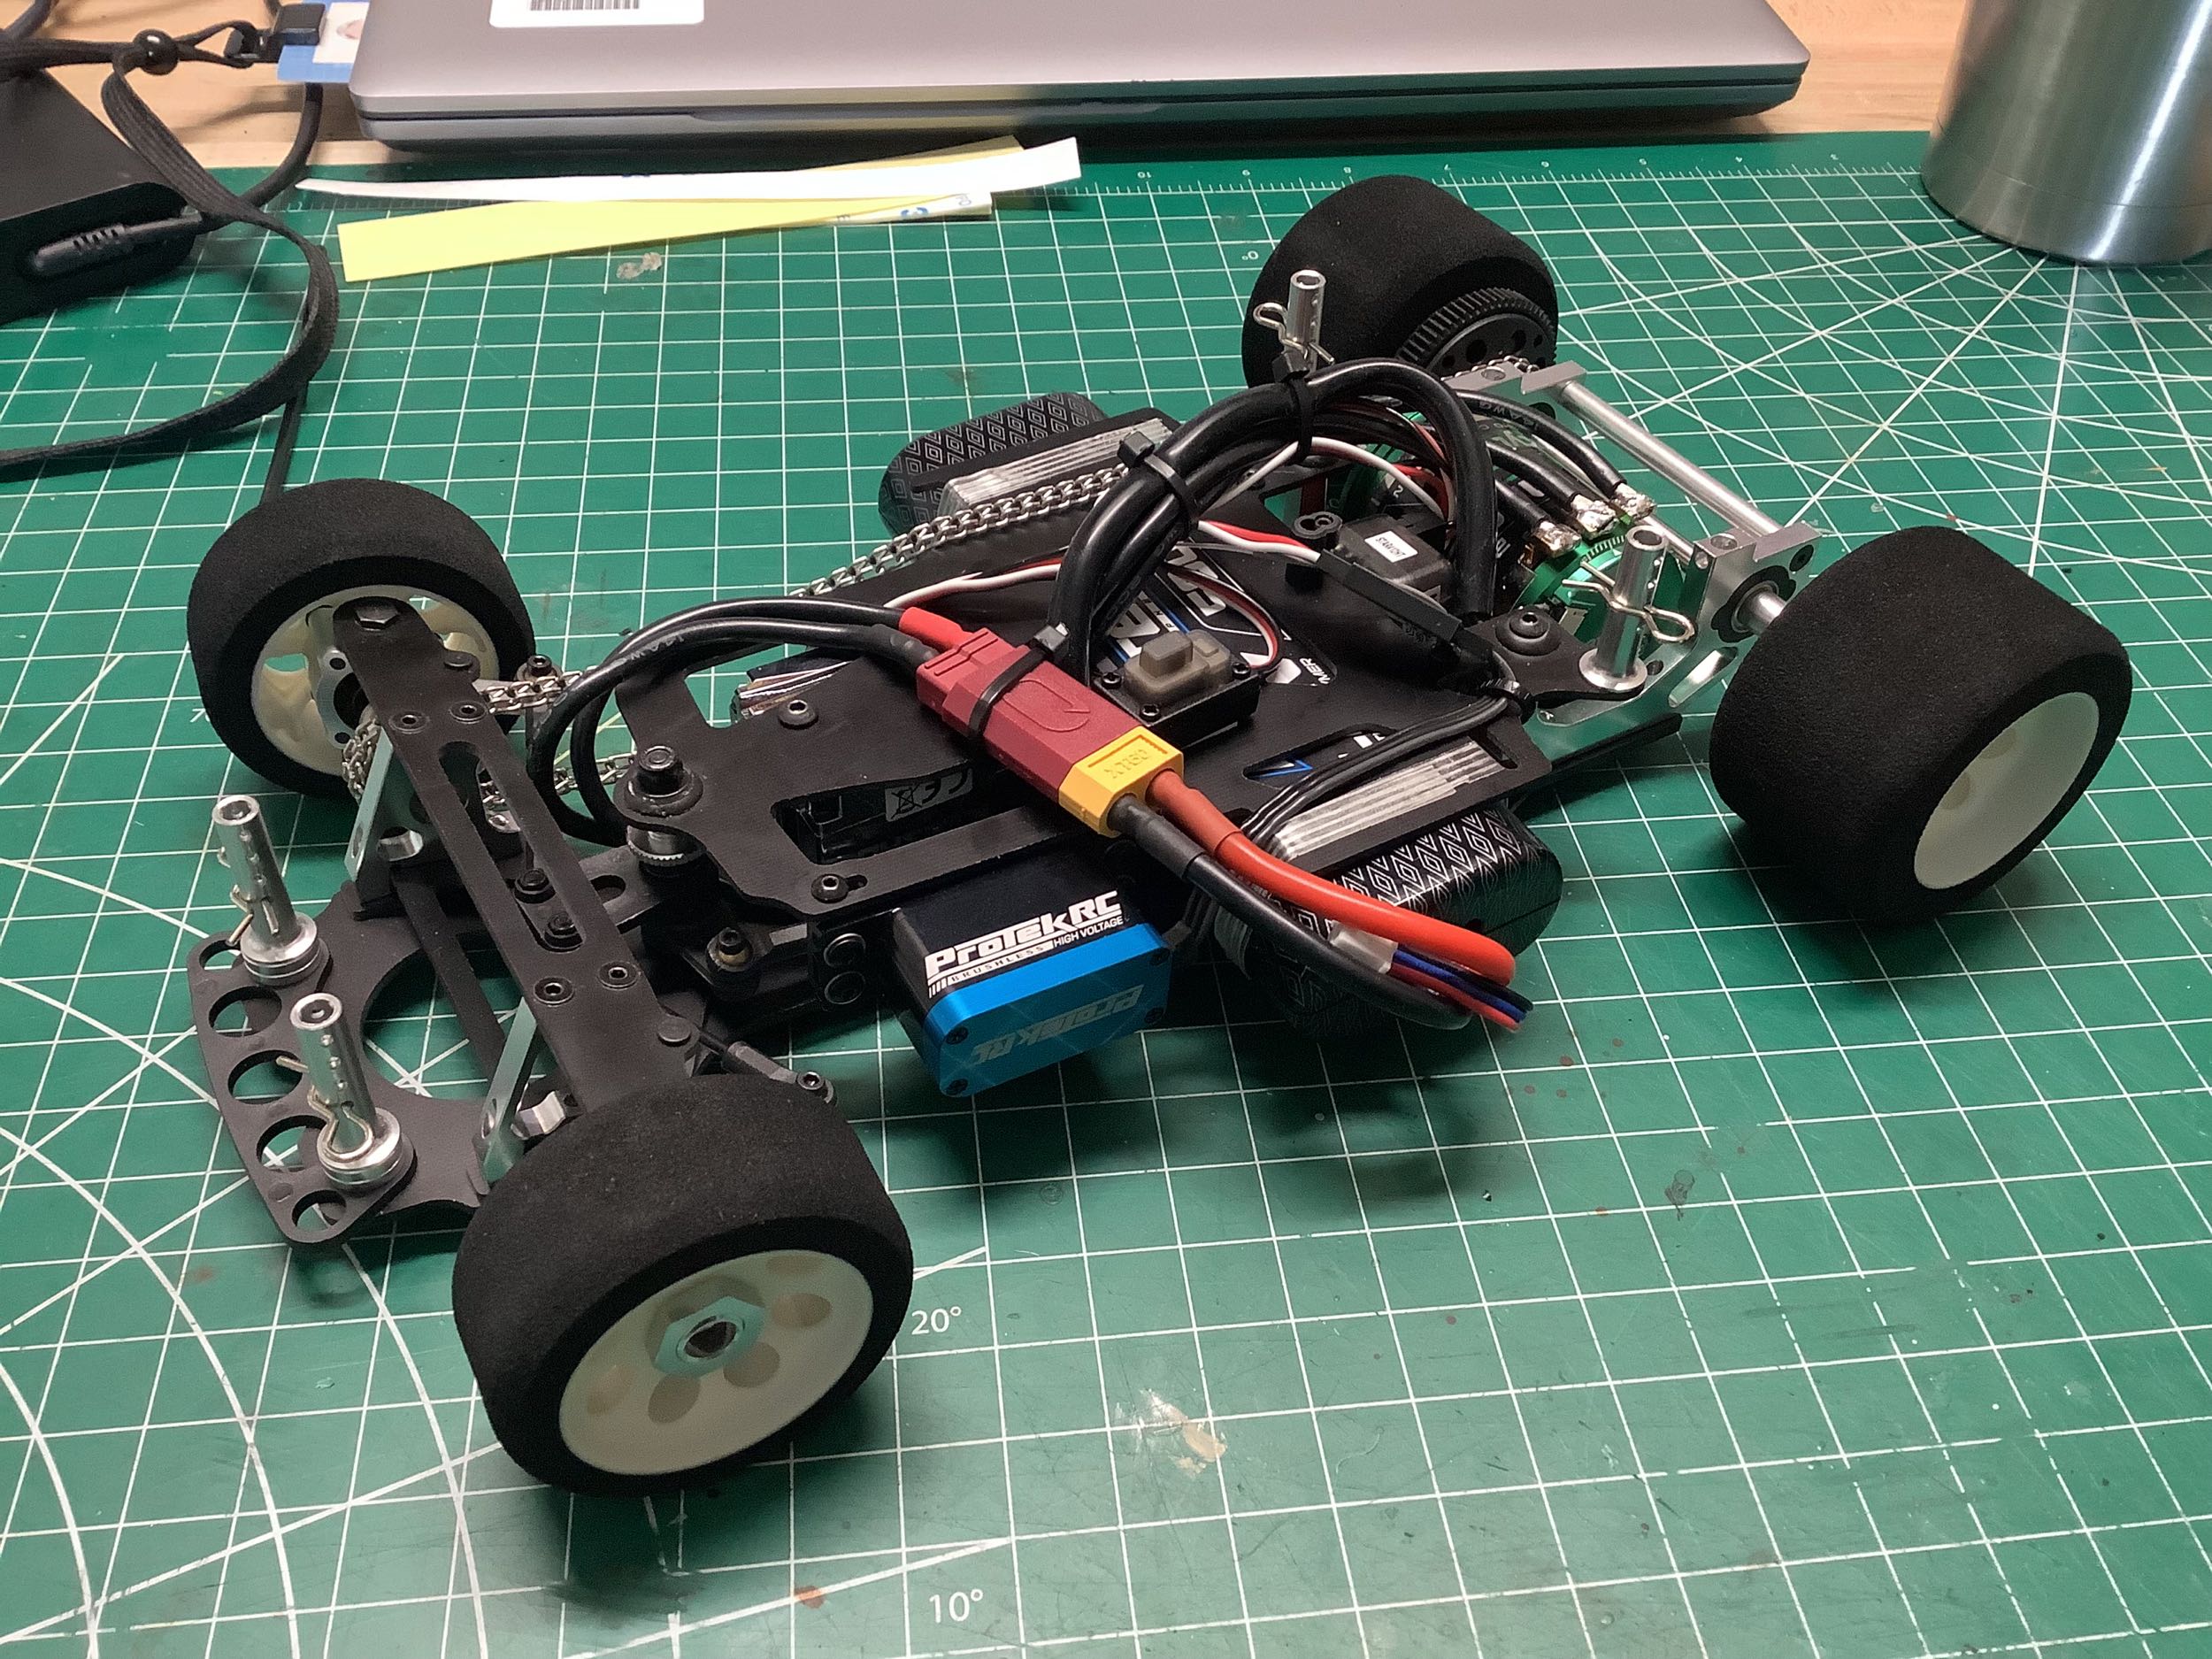
Eventually the ESC and the mini servo showed up, allowing me to complete
the electronics installation. There is not much room here, and
the chassis is really provisioned specifically for the Le Mans 240S
ESC. The wires need to be kept very short because there is very
little room for them under the body. The way I had it in this
picture was actually not good enough and I had to make some changes when
the body was ready.
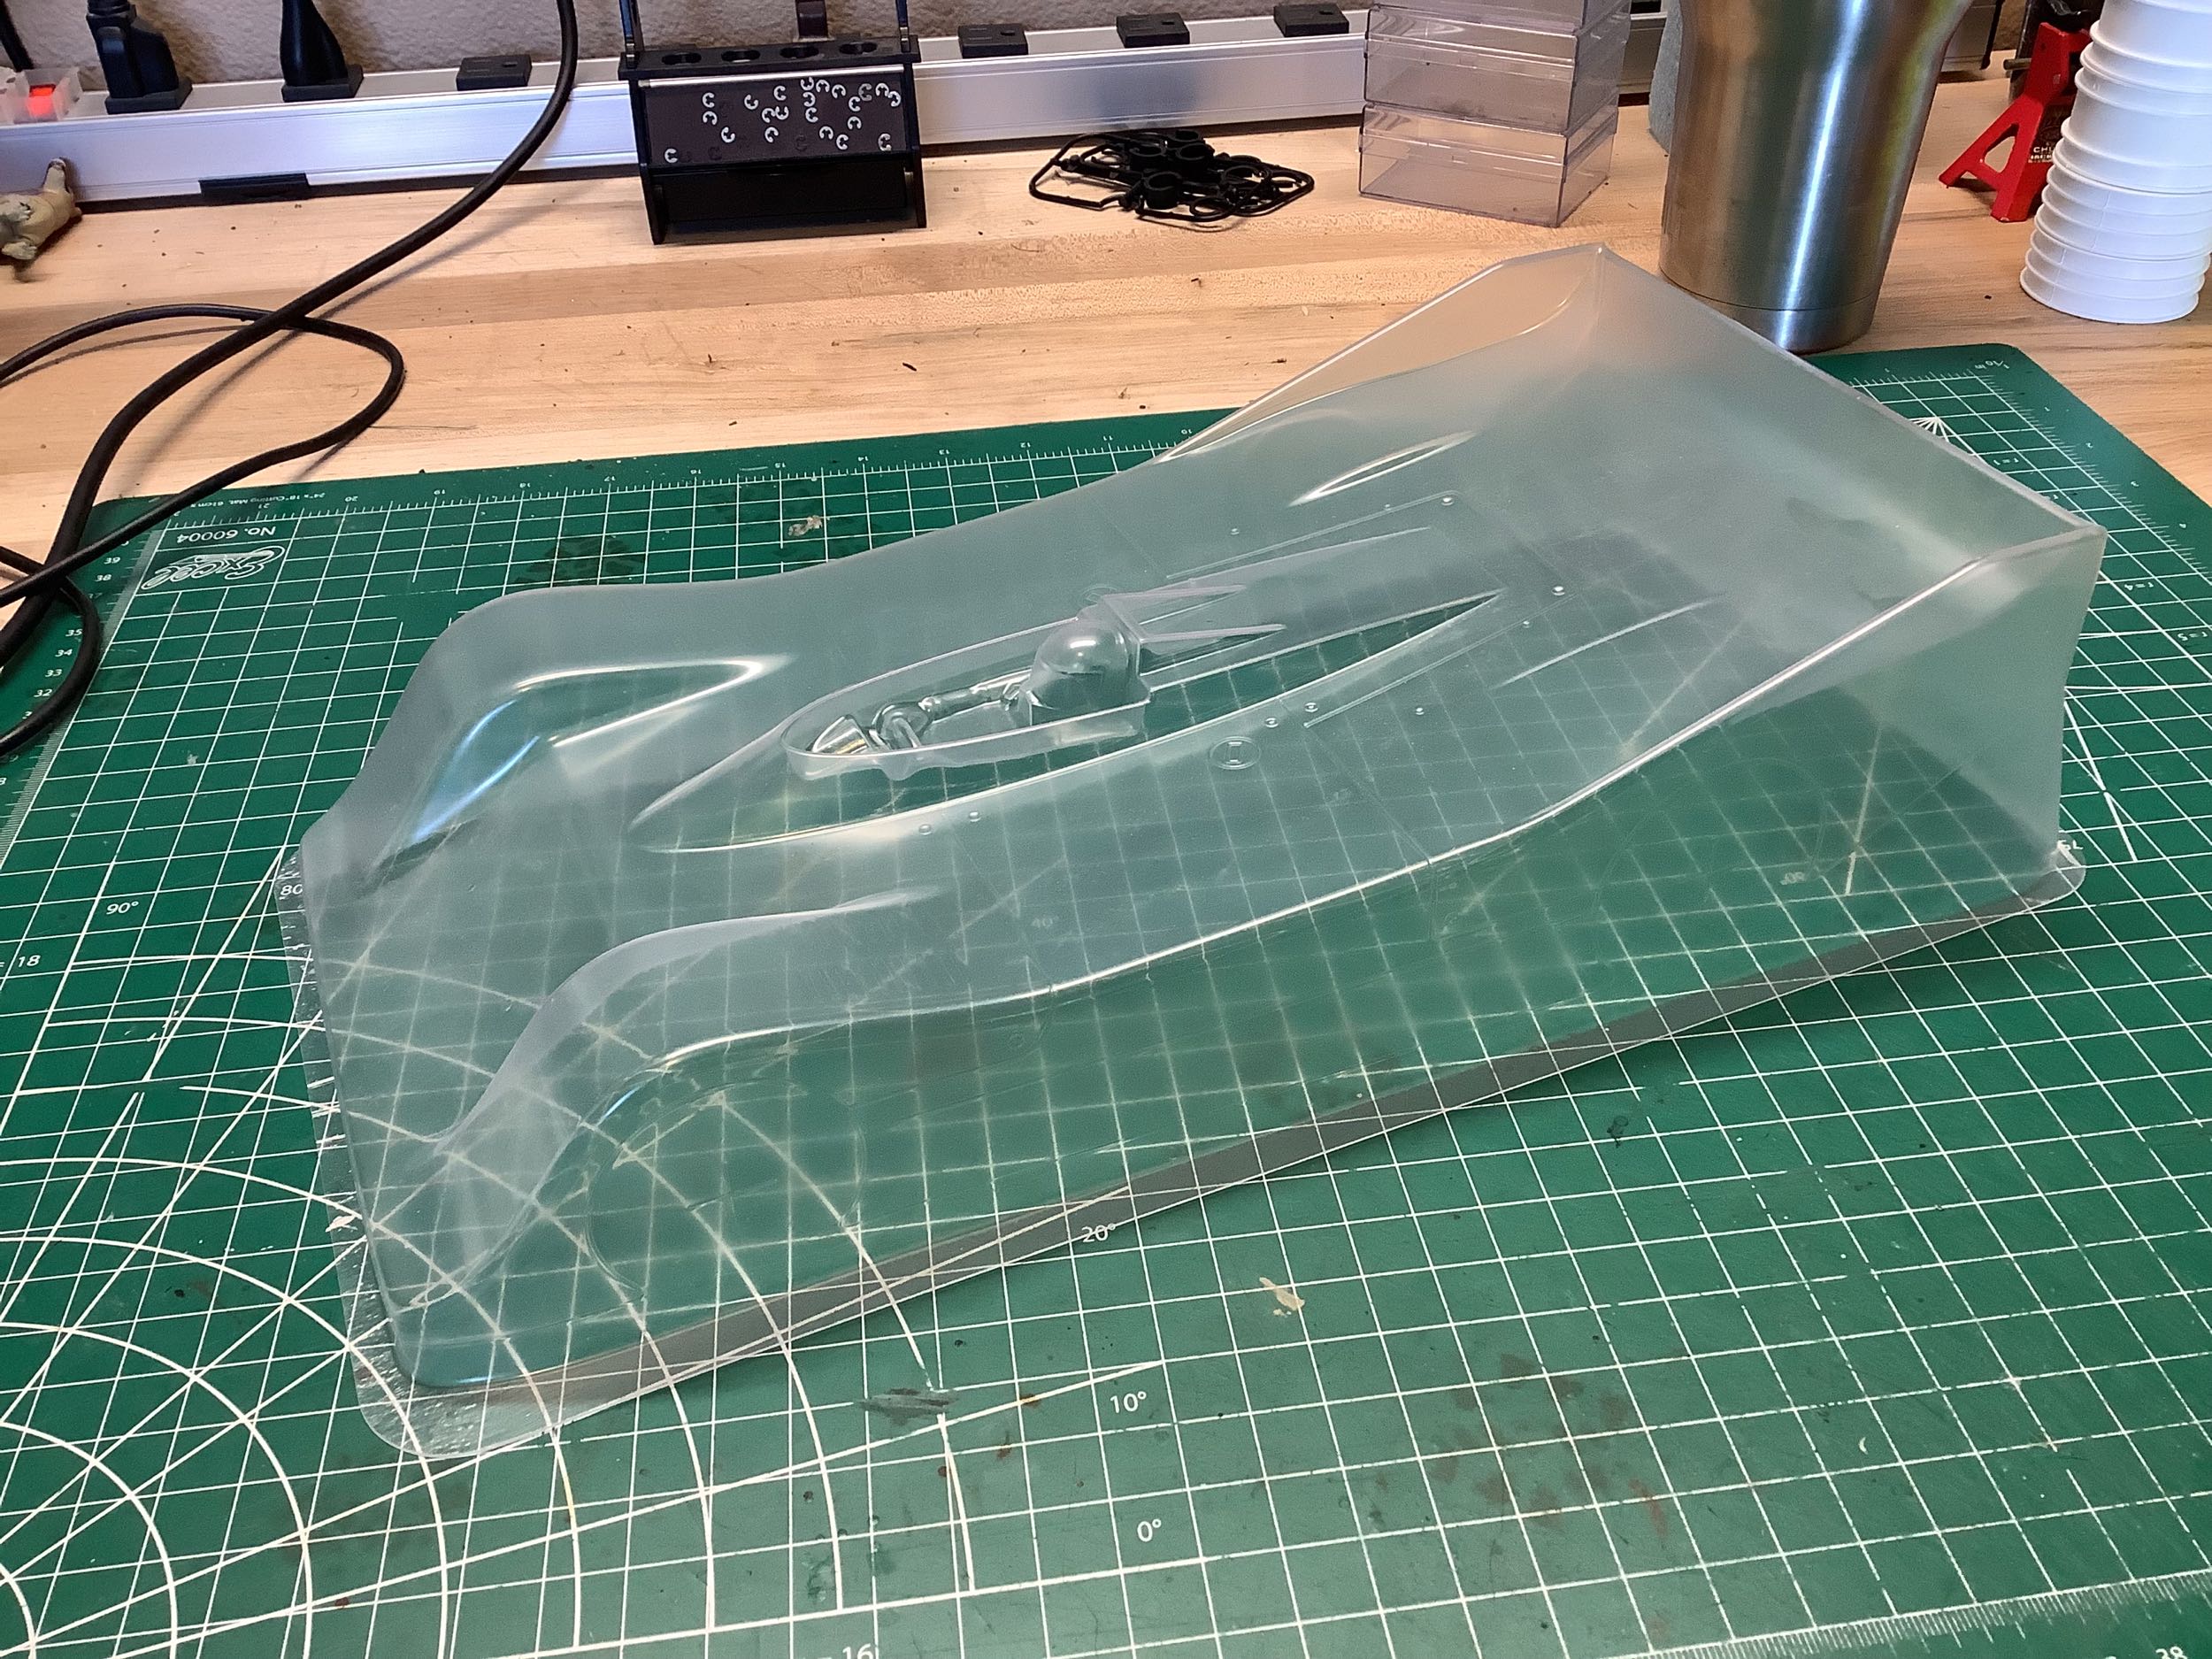
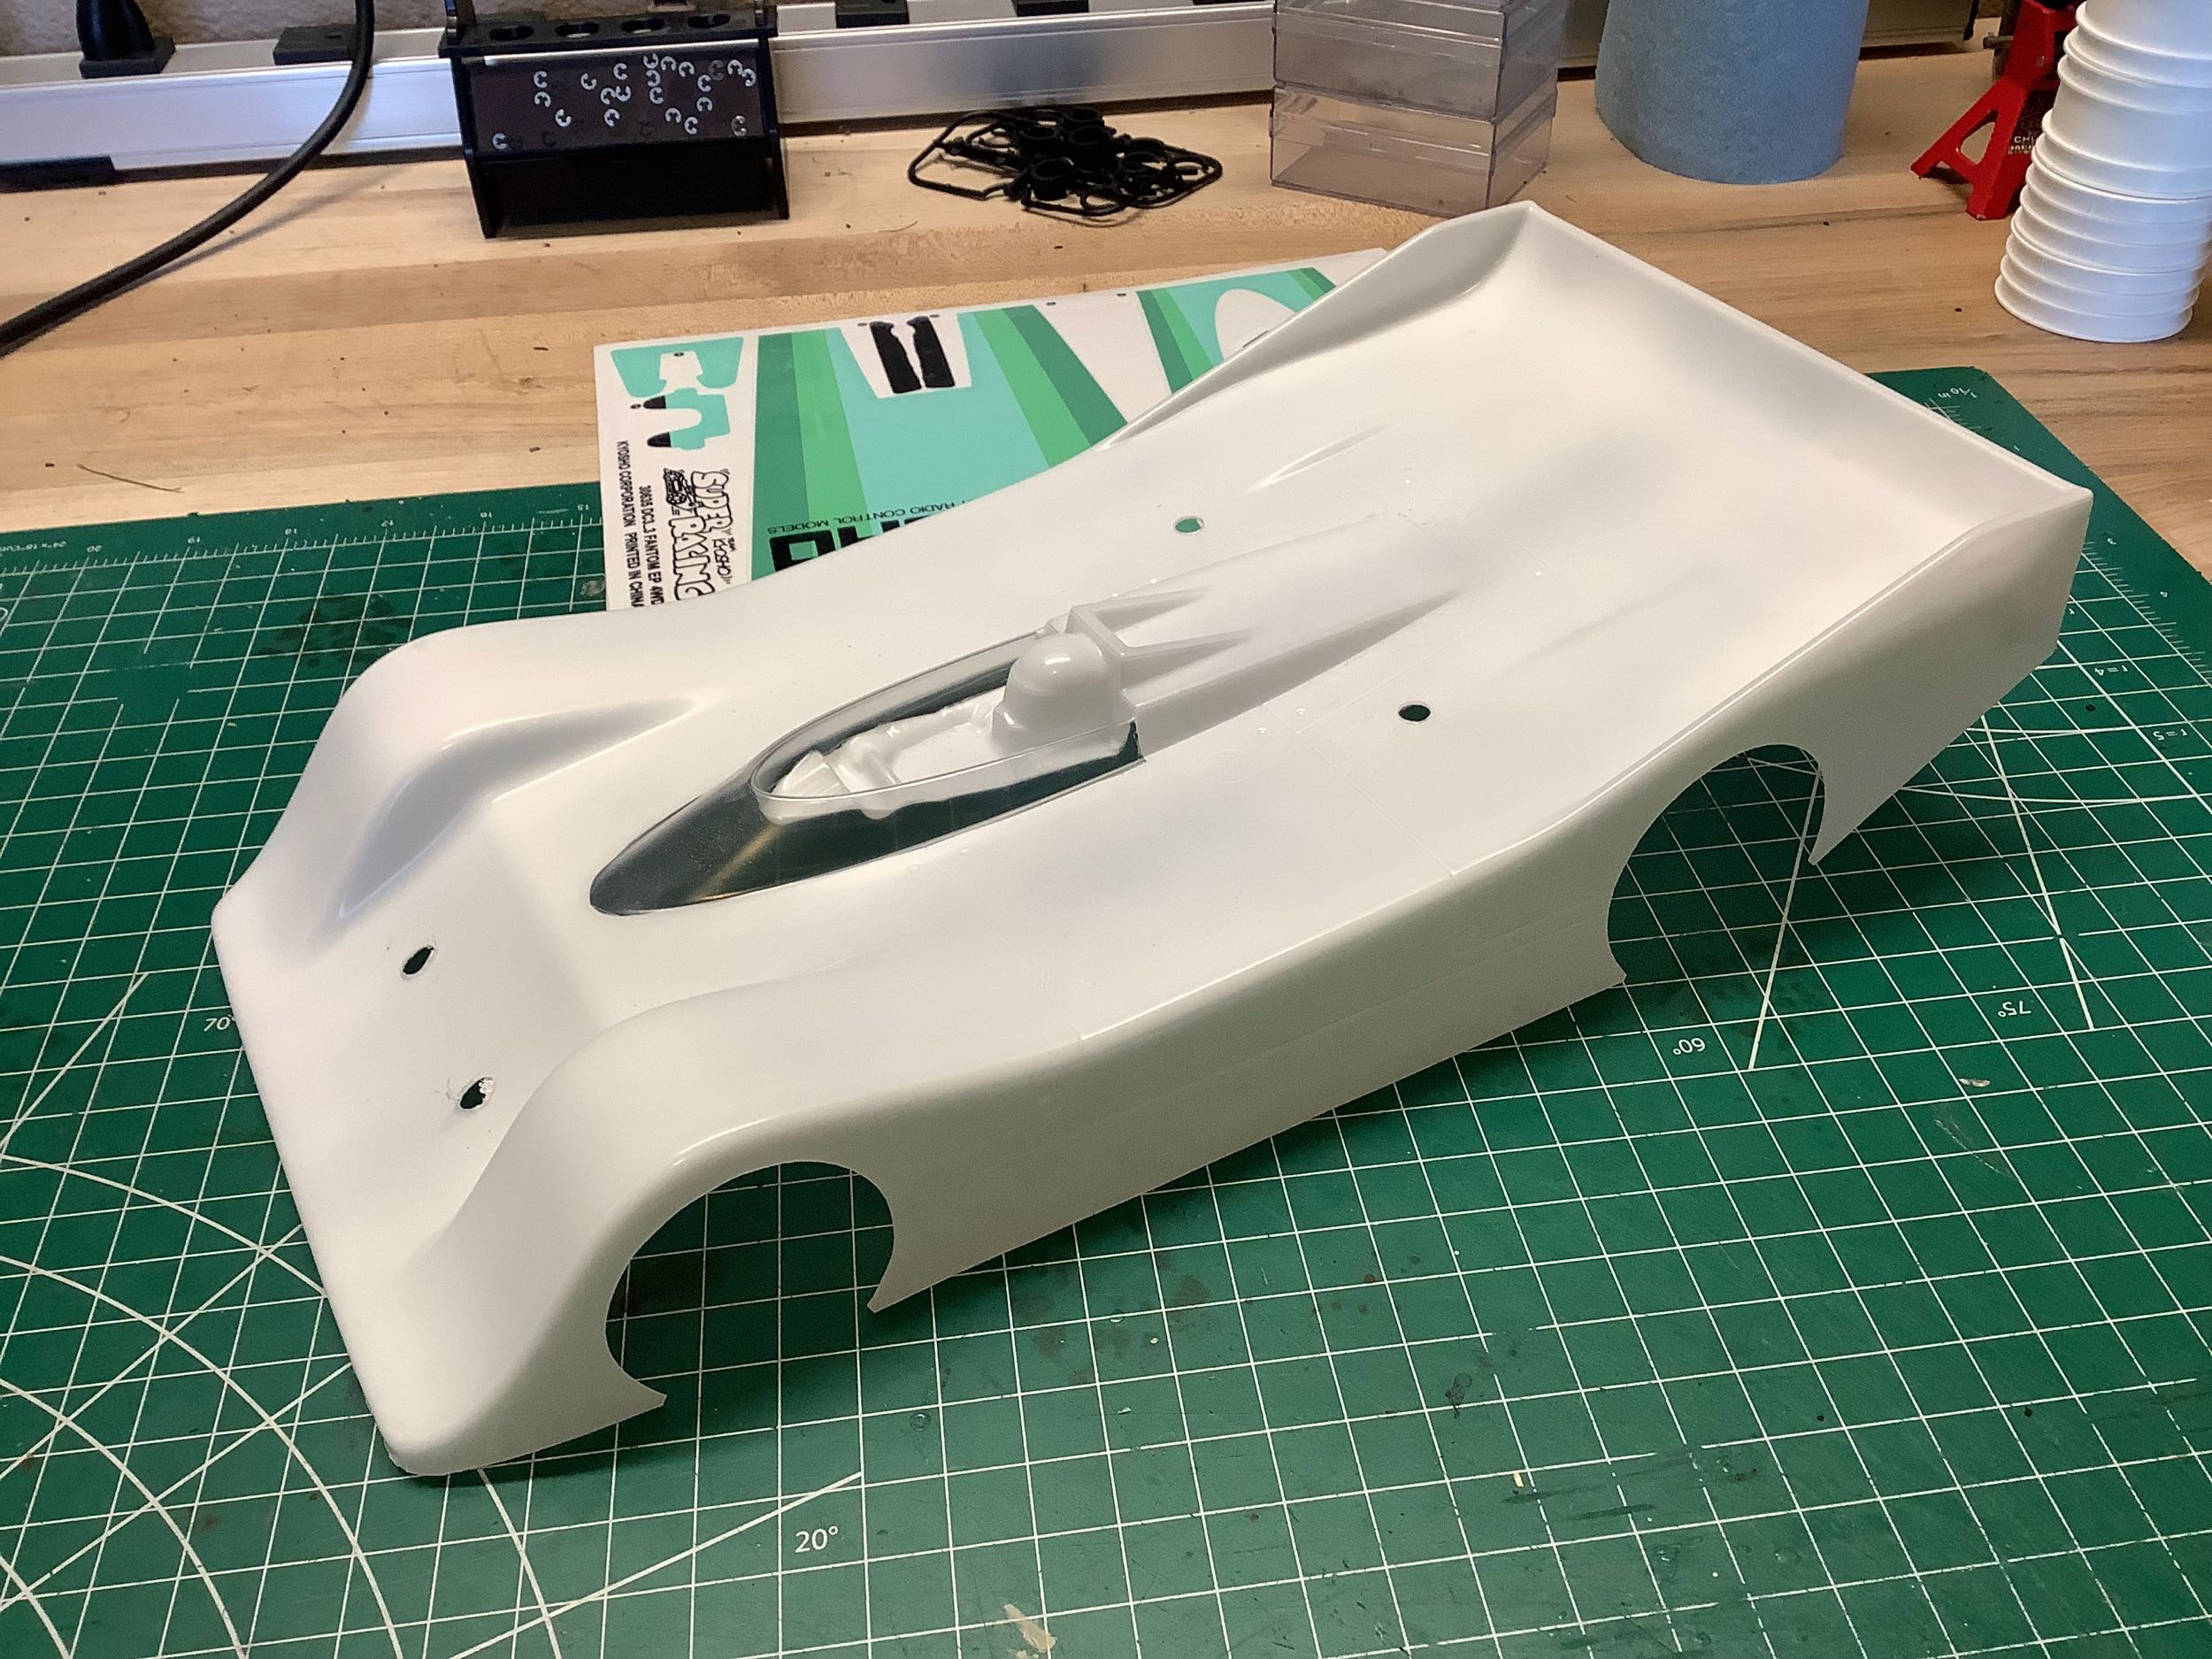
Time to cut out the body. I dislike this part so much that the
chassis sat on my shelf for about 2 months before I got around to
it. It actually wasn't that bad. The wheel arches can be
done easily with a curved Lexan scissors. Once fitting to the
model, it became apparent how little room there was for wires and I had
to make some adjustments.
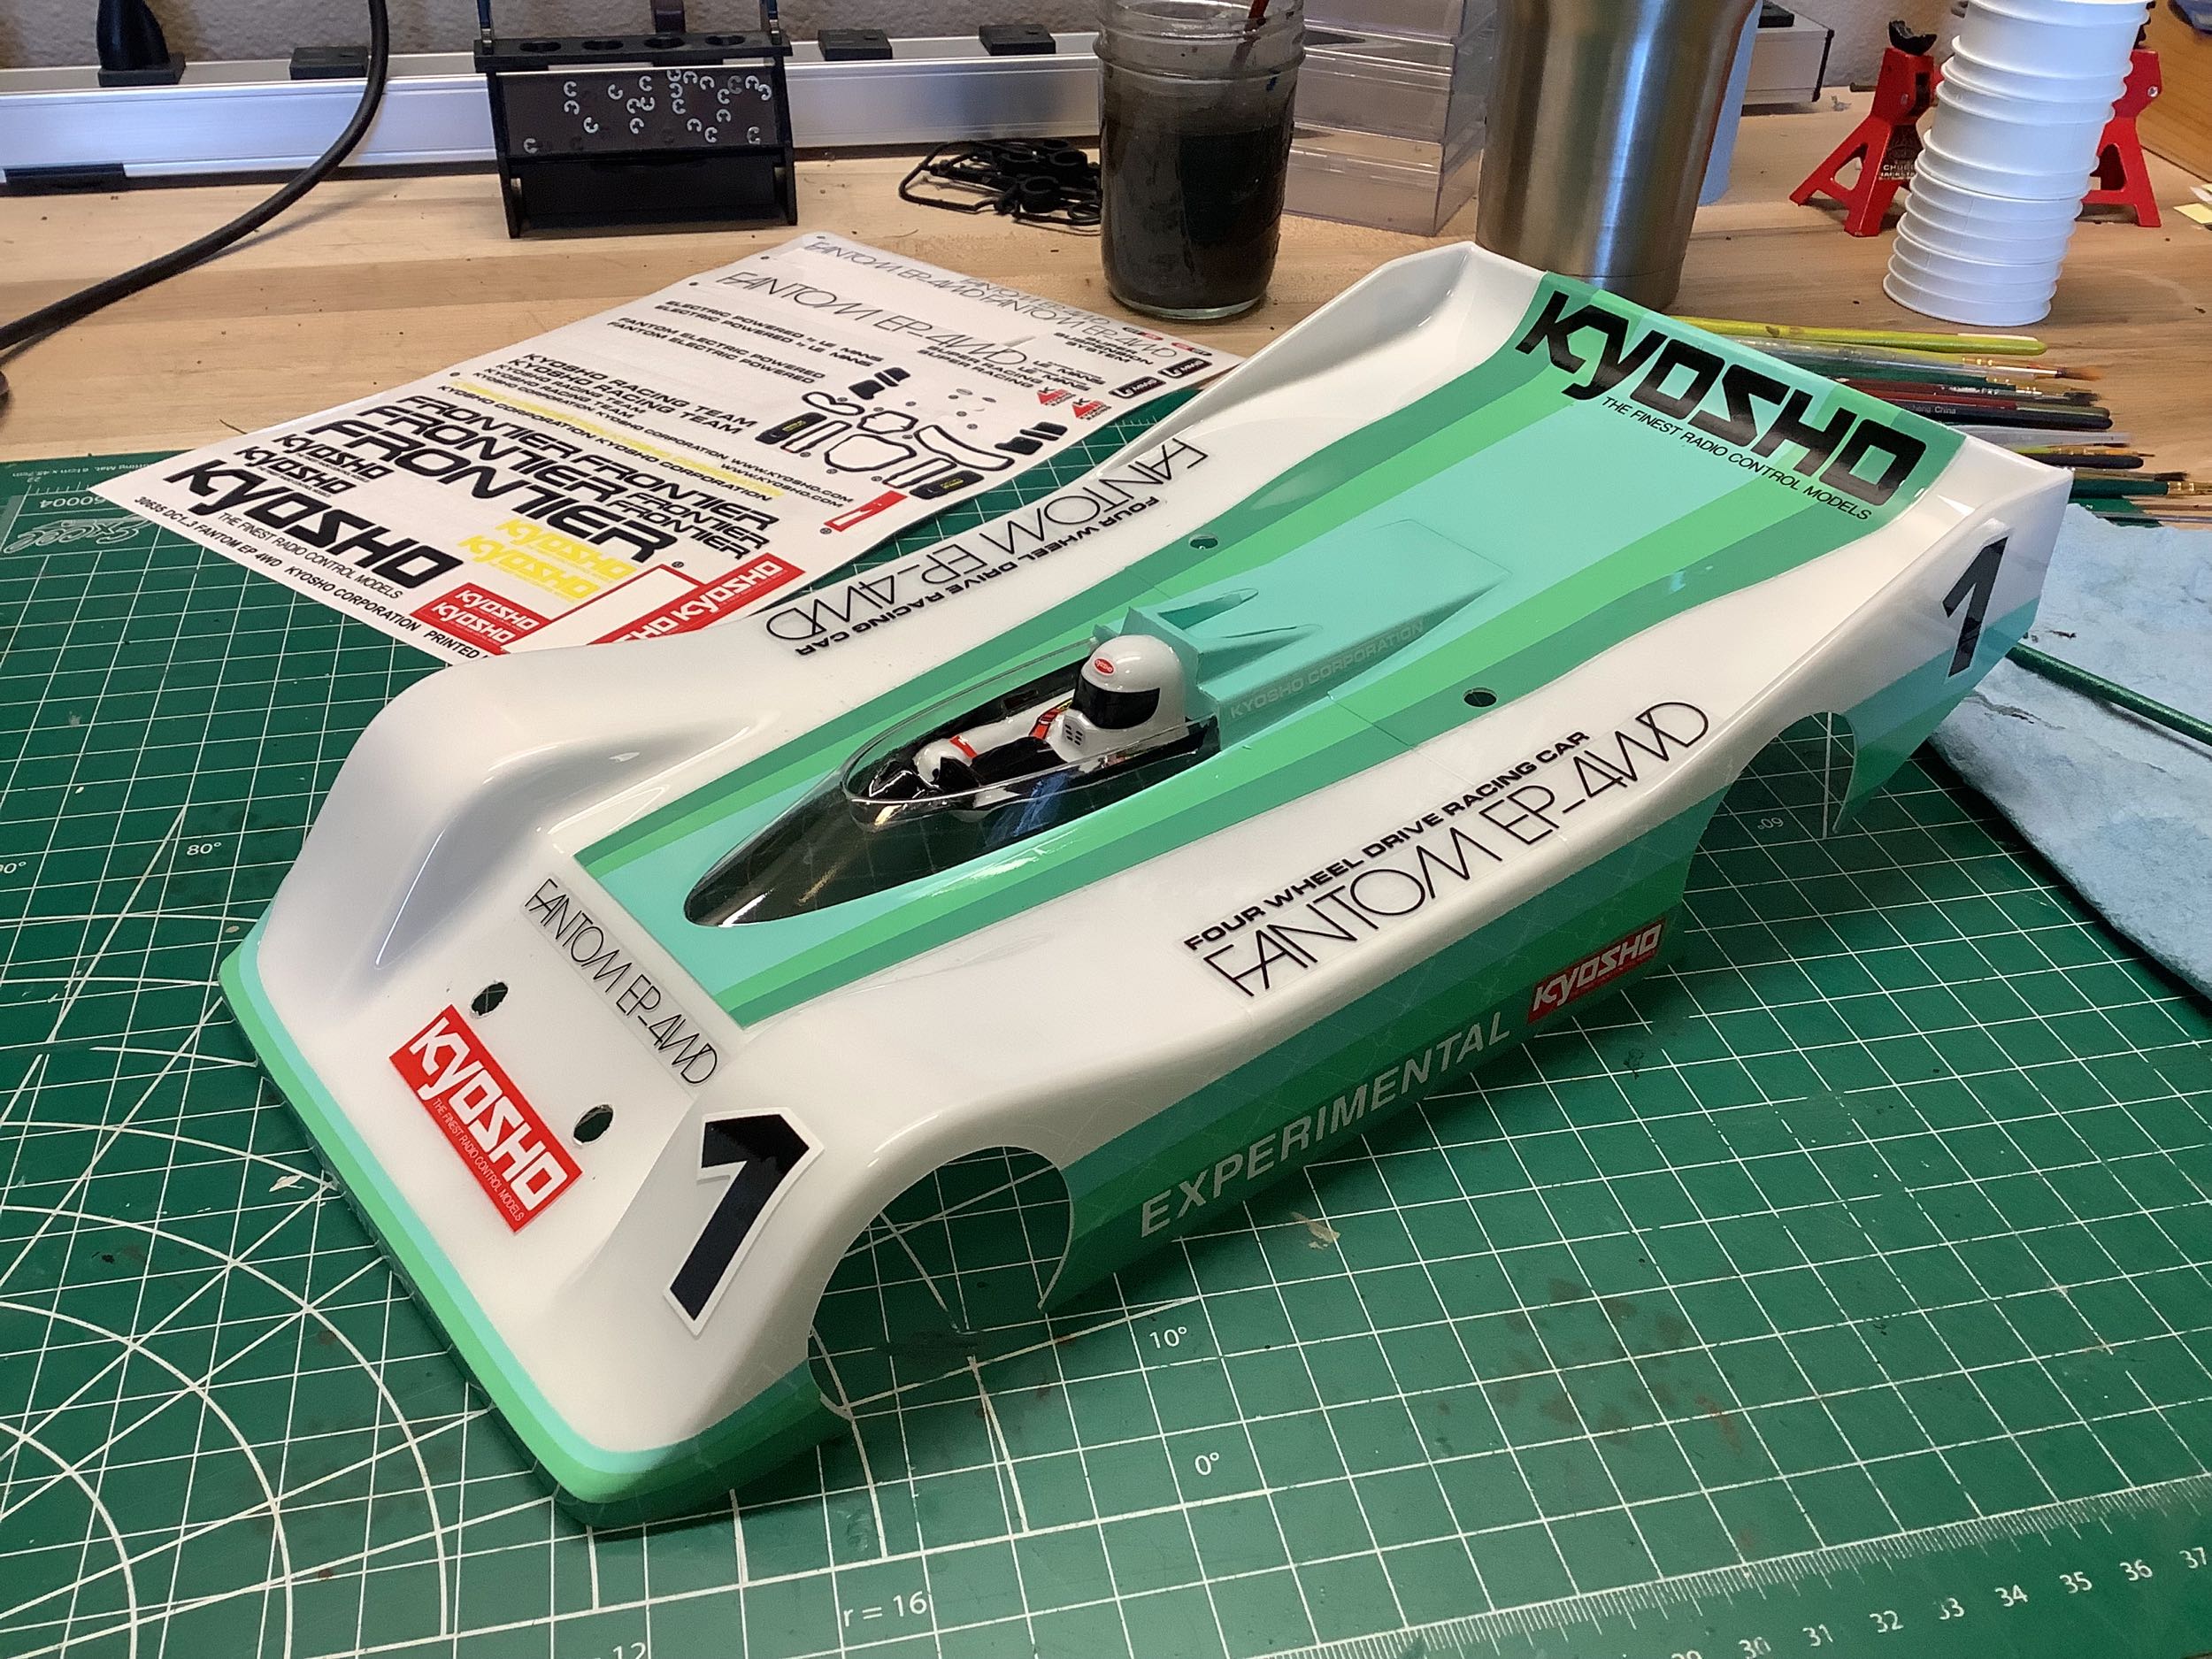
I was under the impression that the whole car was just painted white,
but not so. There's a "window" in front of the driver that has to
be masked, and it is a very difficult task to do so because there is no
access for big fingers. It took a long time but came out OK.
Almost everything else you see is stickers including all the pin
stripes. As you attempt to attach the stickers, you'll find
yourself saying "these aren't the right size". In fact they are exactly
the right geometric size, the problem is you. You are not perfect
and therefore nothing is going to line up quite right. The
stickers really need to be somewhat oversized to accommodate this.
That means you're never going to be entirely happy with the
livery. Incidentally, I'm 95% sure that the model pictured on the
box was actually done with paint and not with stickers which is why it
looks so good. I used a little bit of brush paint on the outside
to cover some black areas around the driver. You were also
supposed to paint his arms and helmet, but I couldn't be bothered.
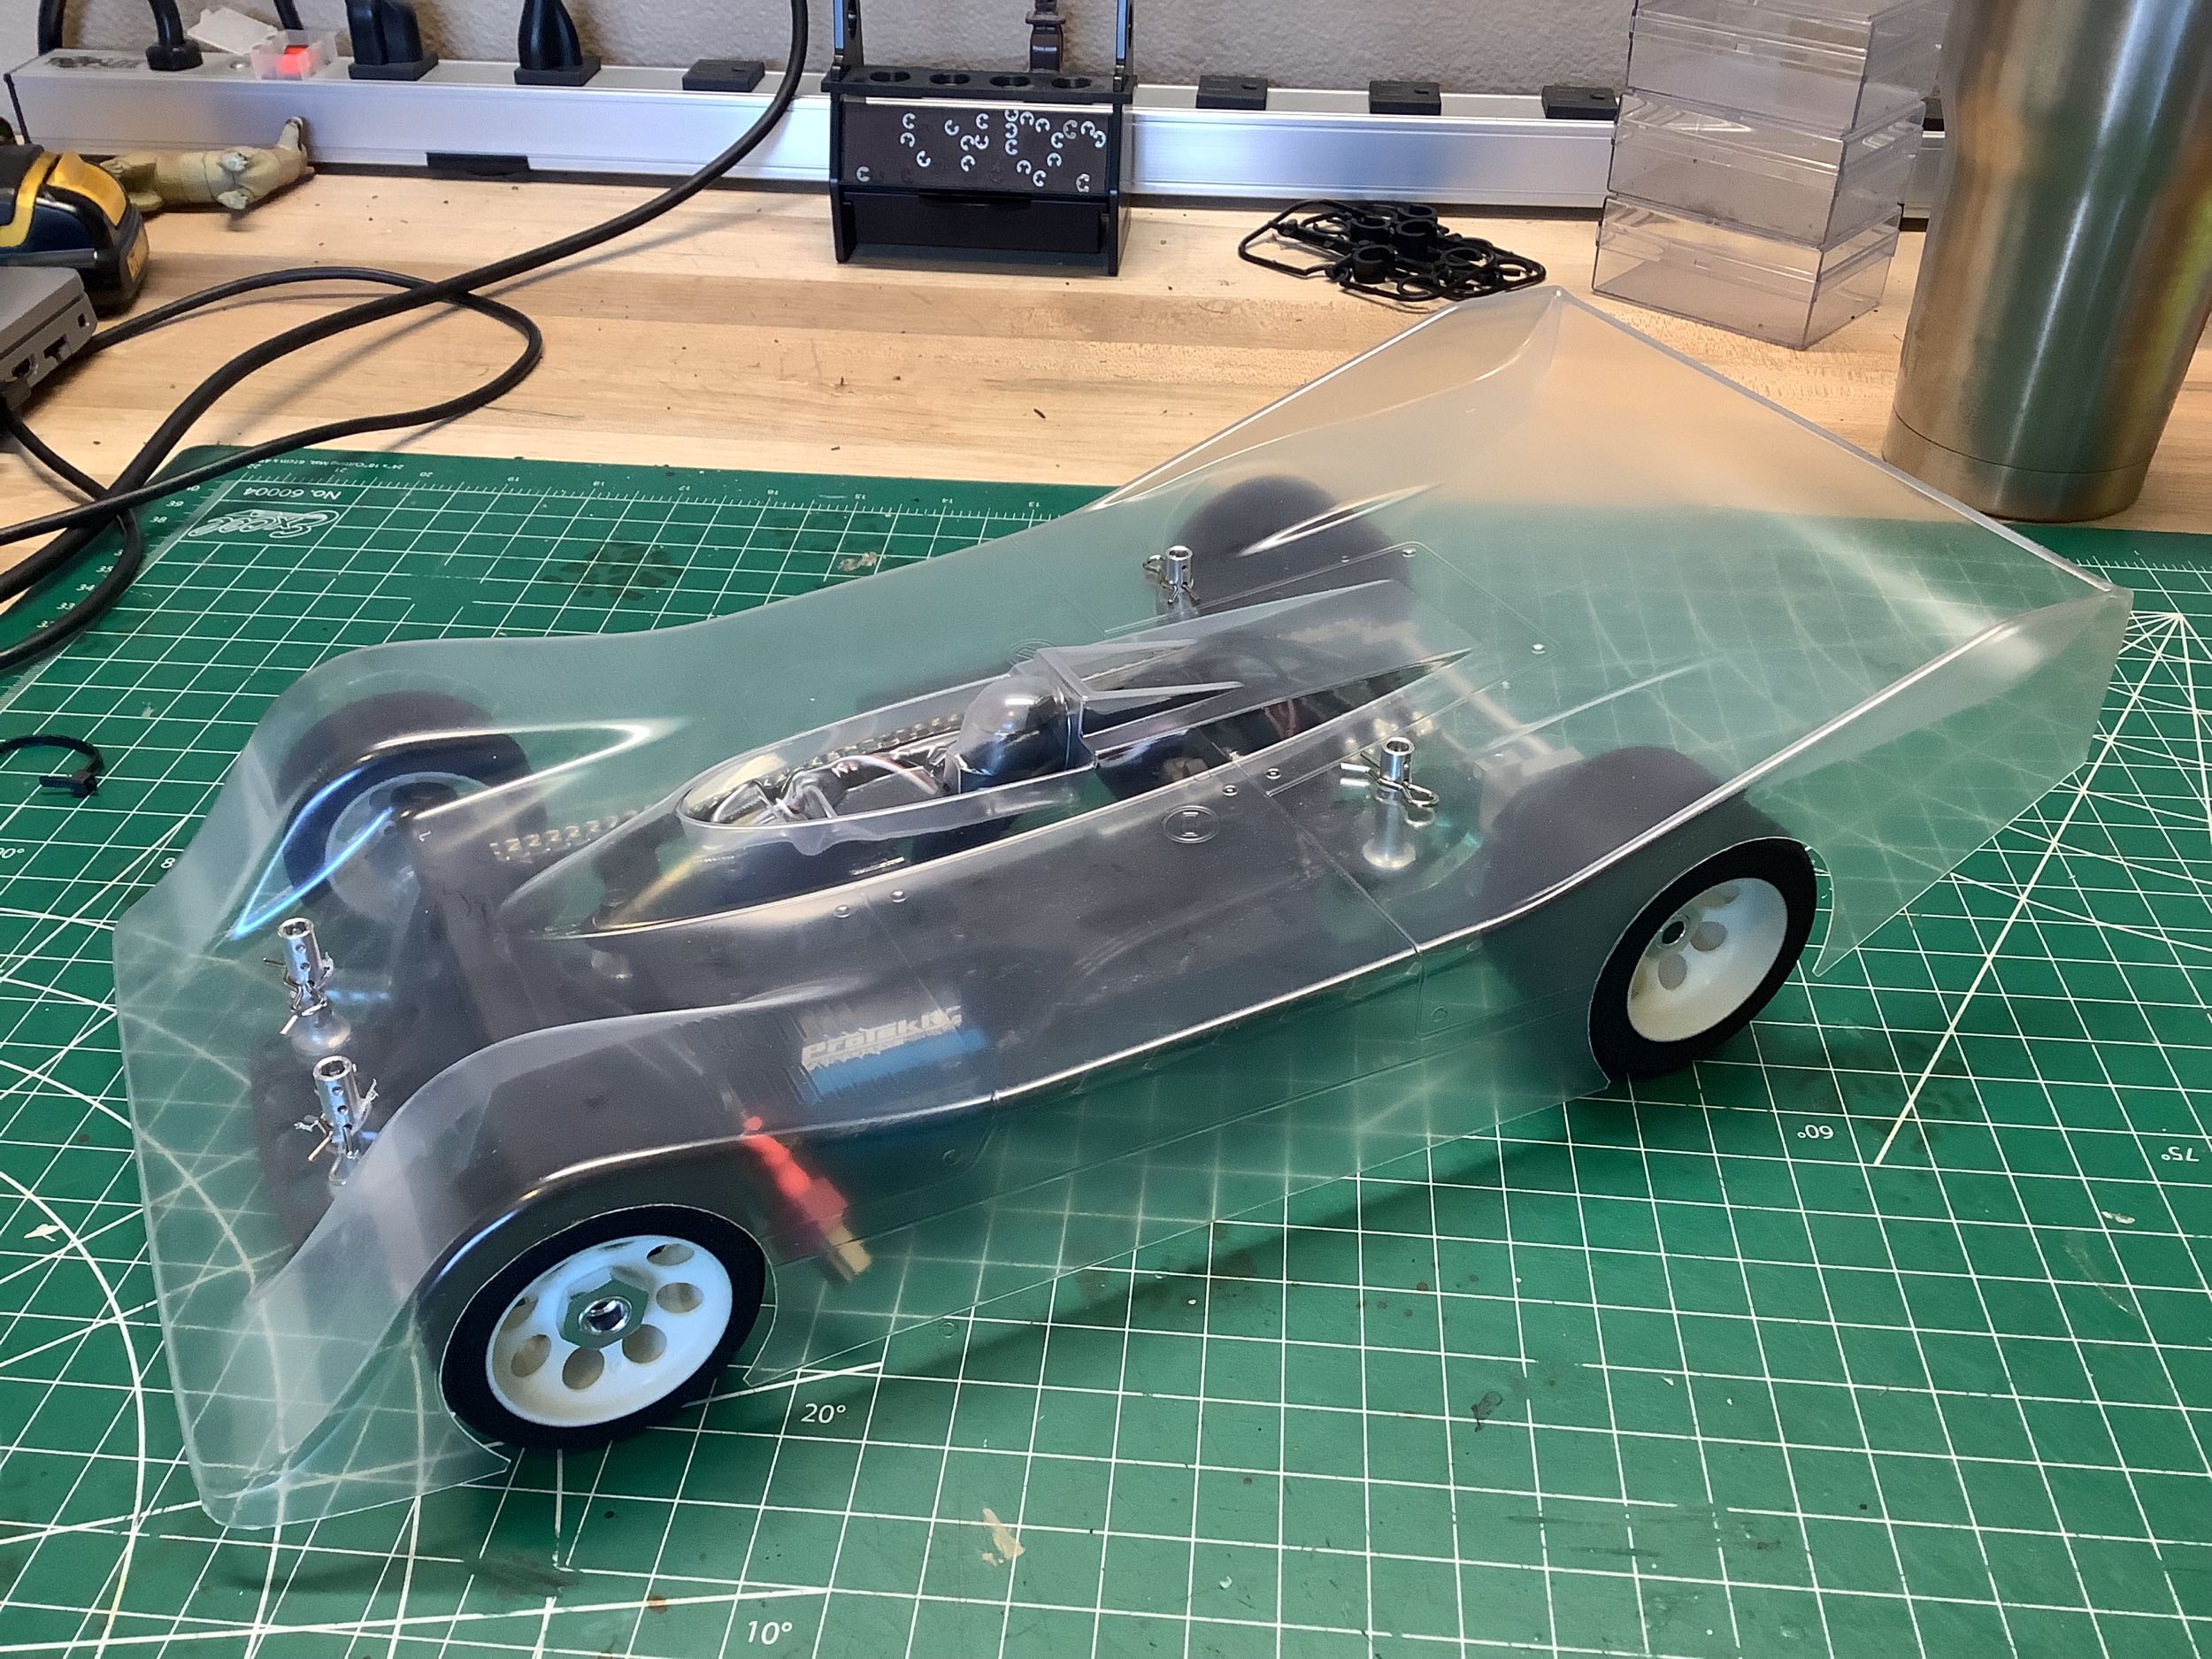
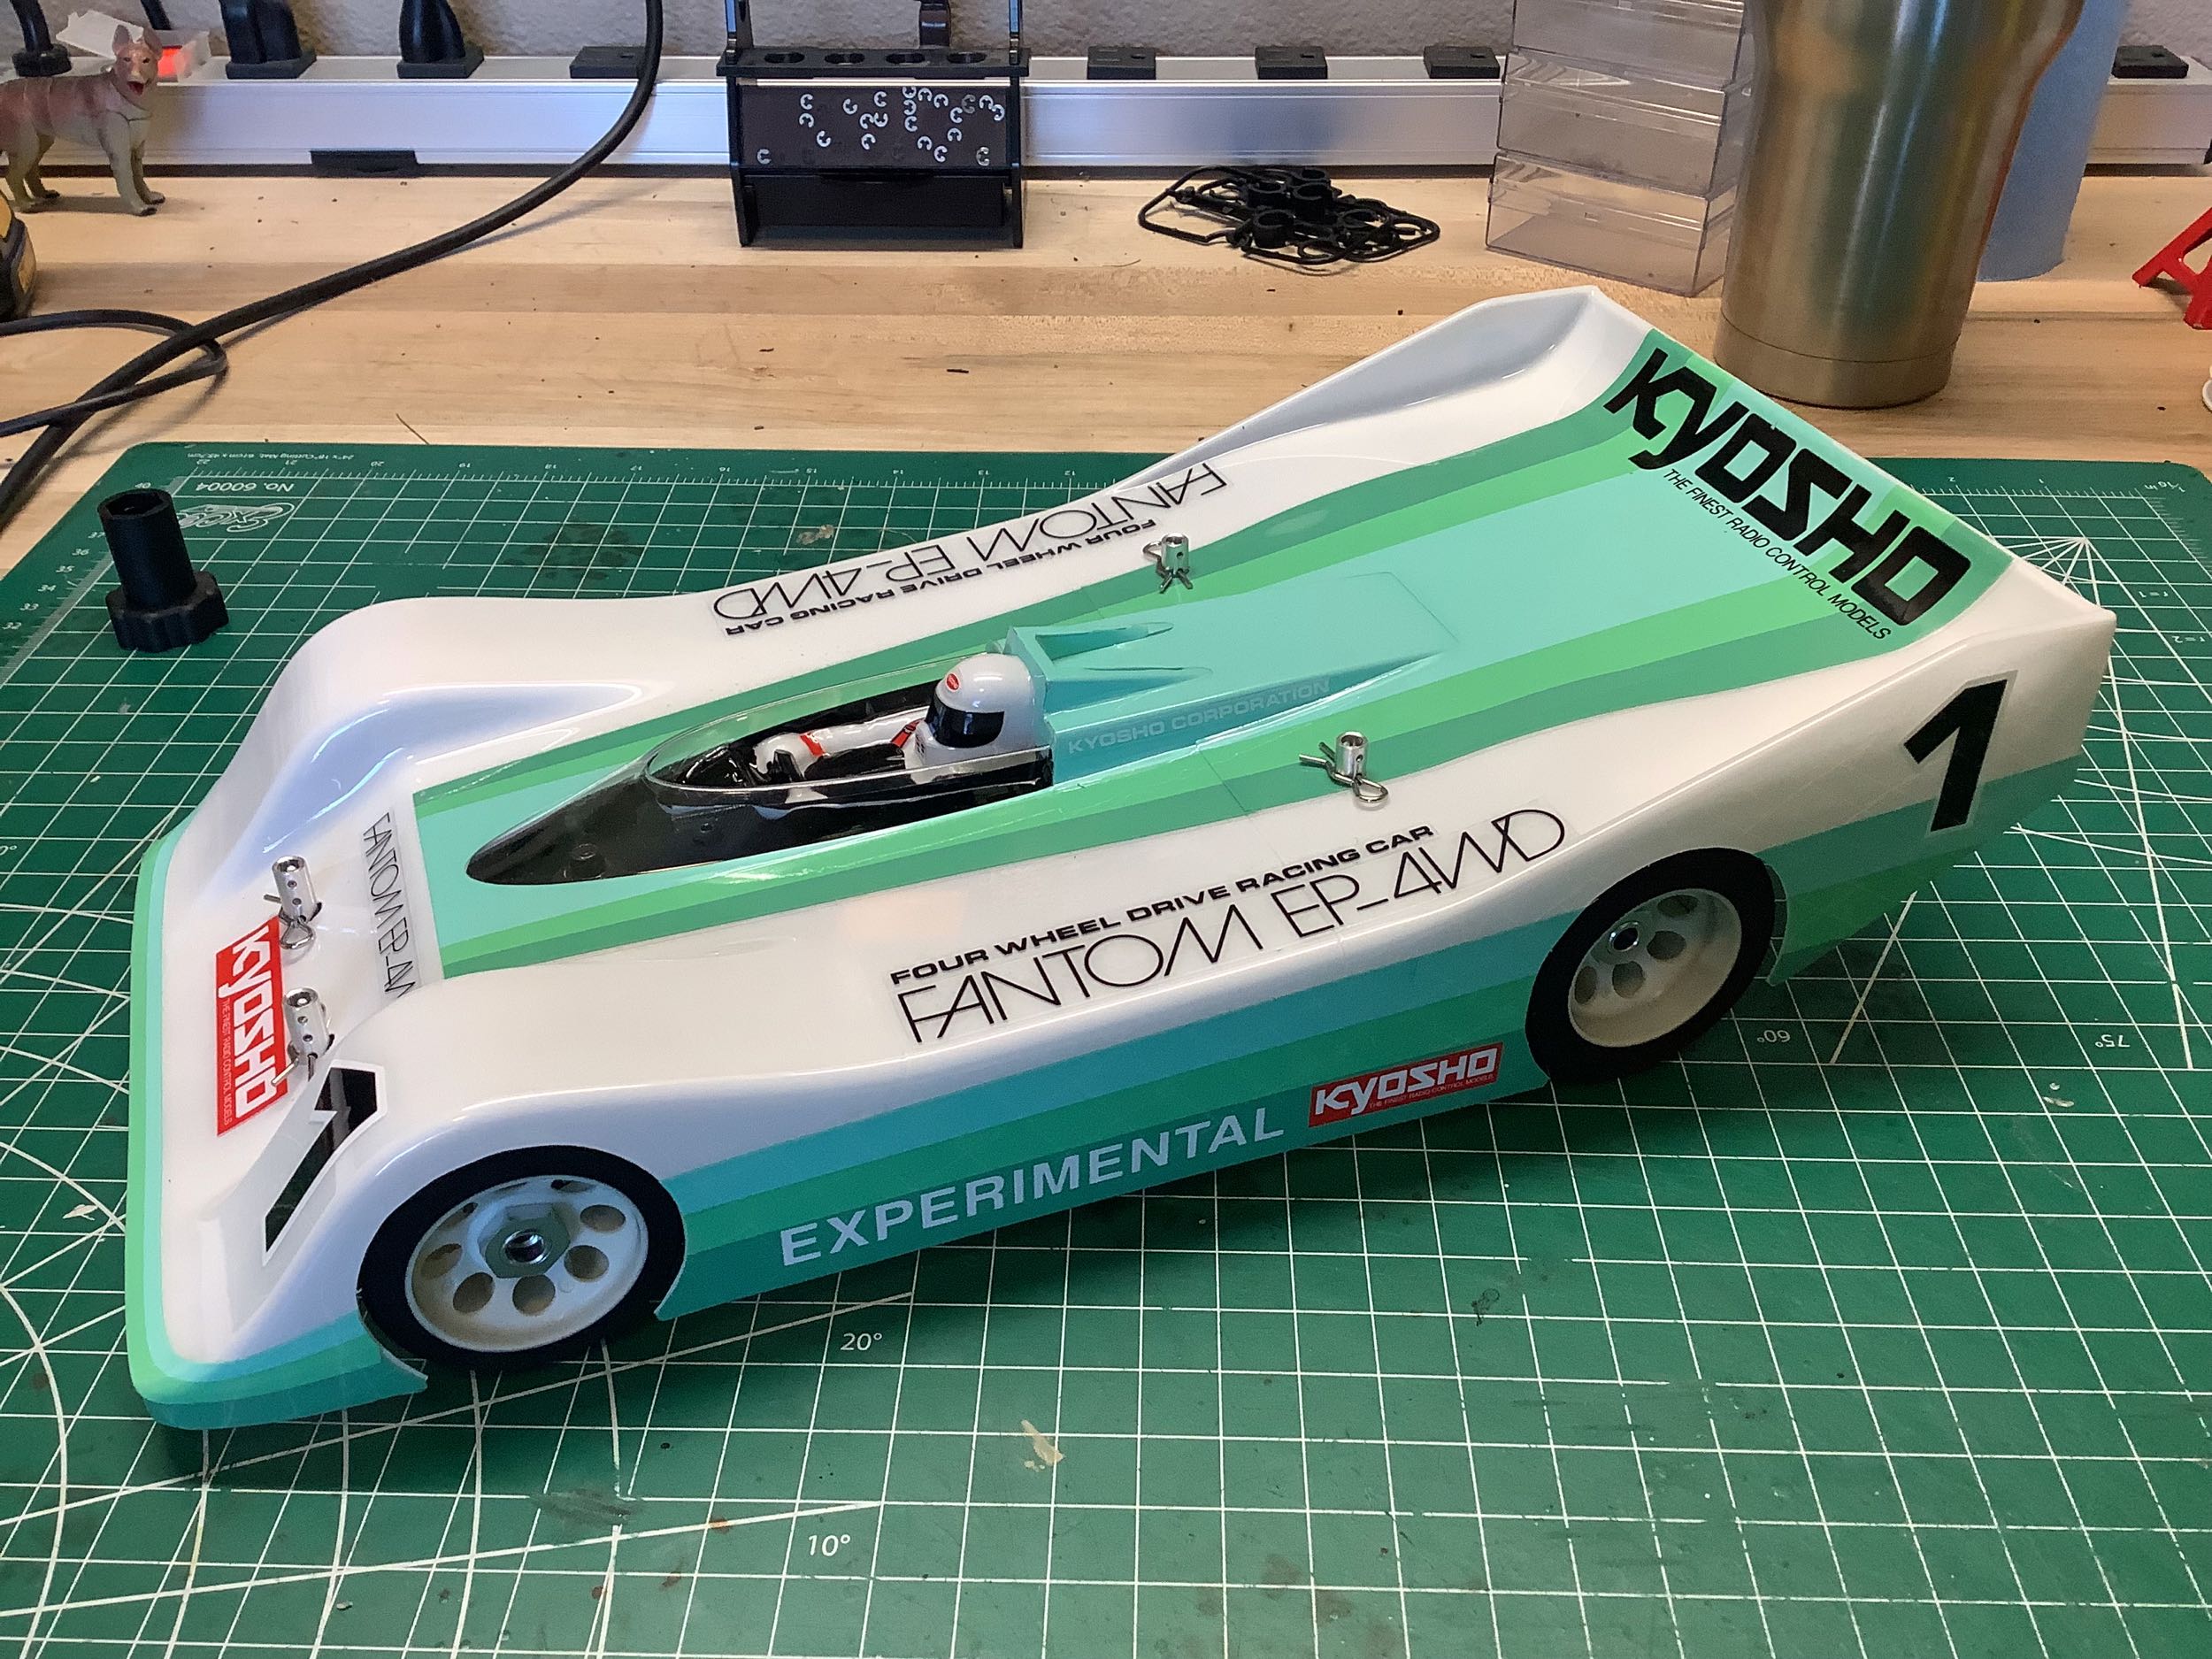
Here is the completed body on the chassis. You really can't see
the chassis at all apart from the tires, and the body hangs far behind
the back of the chassis.
©2026 Eric Albrecht