Kyosho Fantom EP EXT Gold Project
Page 1: Assembly
I previously built the regular Fantom EP and wrote about it
extensively. I will only detail the differences here. Please
see the original page for more detail on the base model.
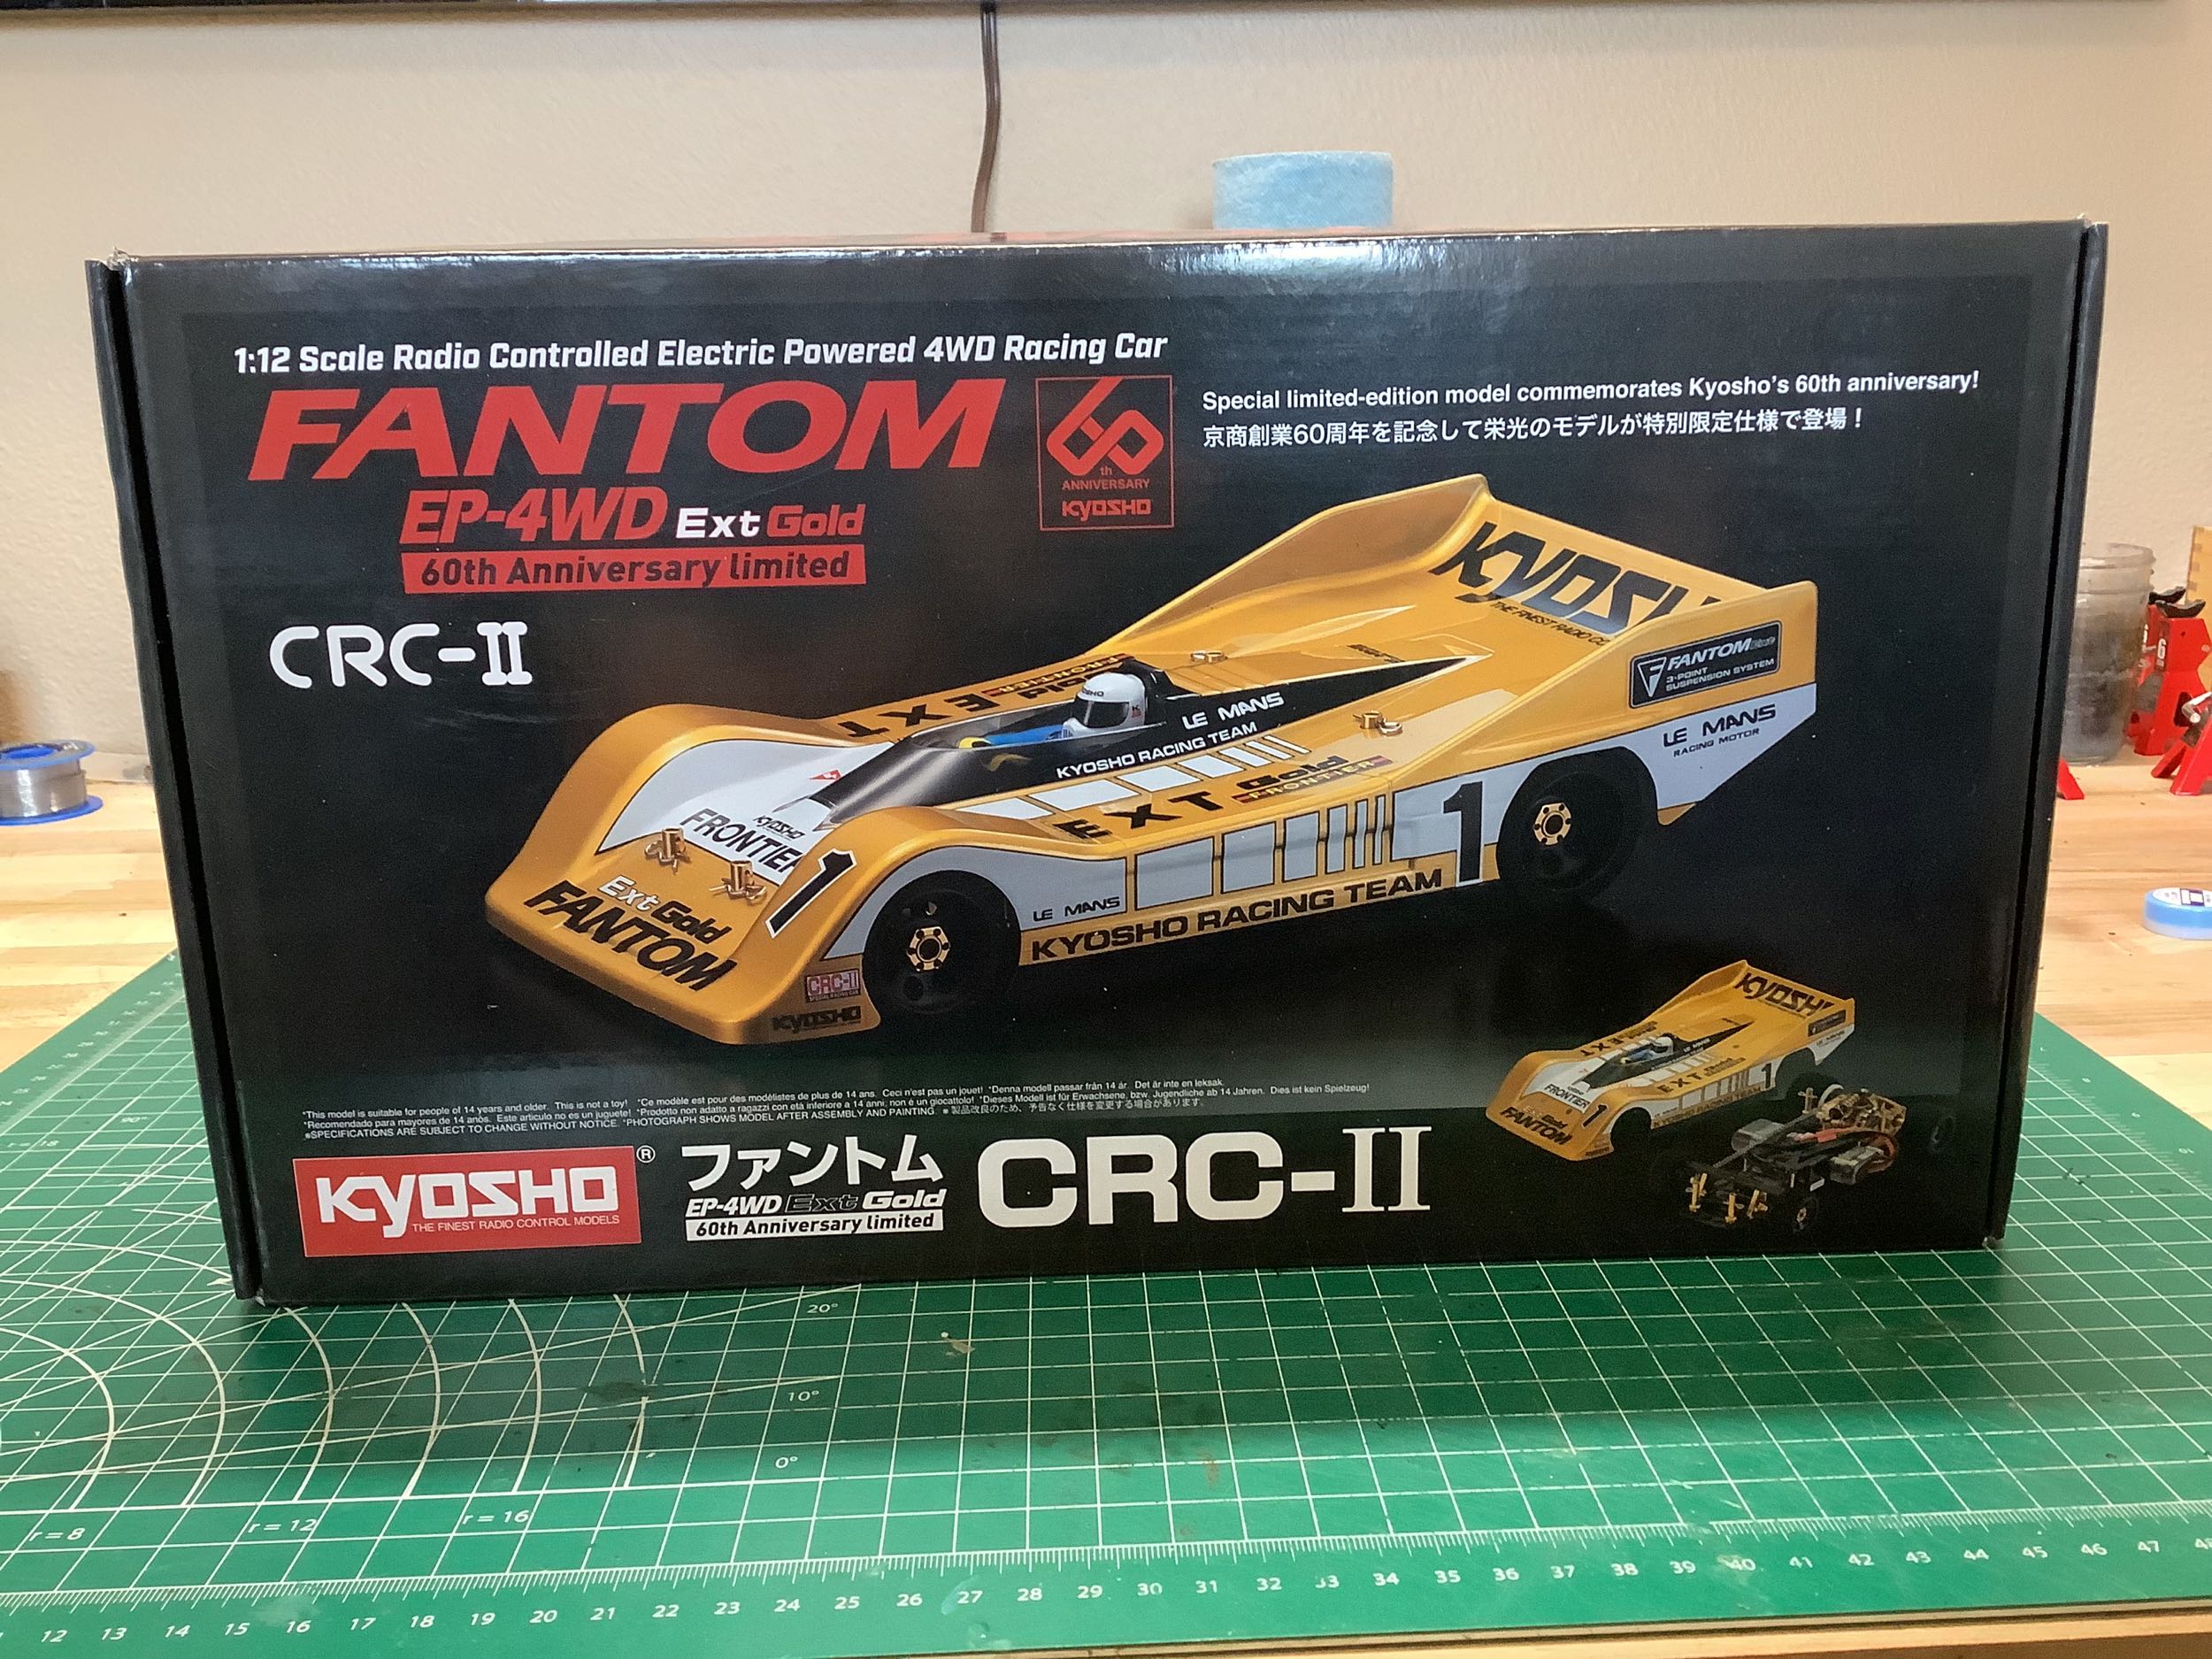
The Fantom EP Ext comes in a box exactly the same size and shape as the
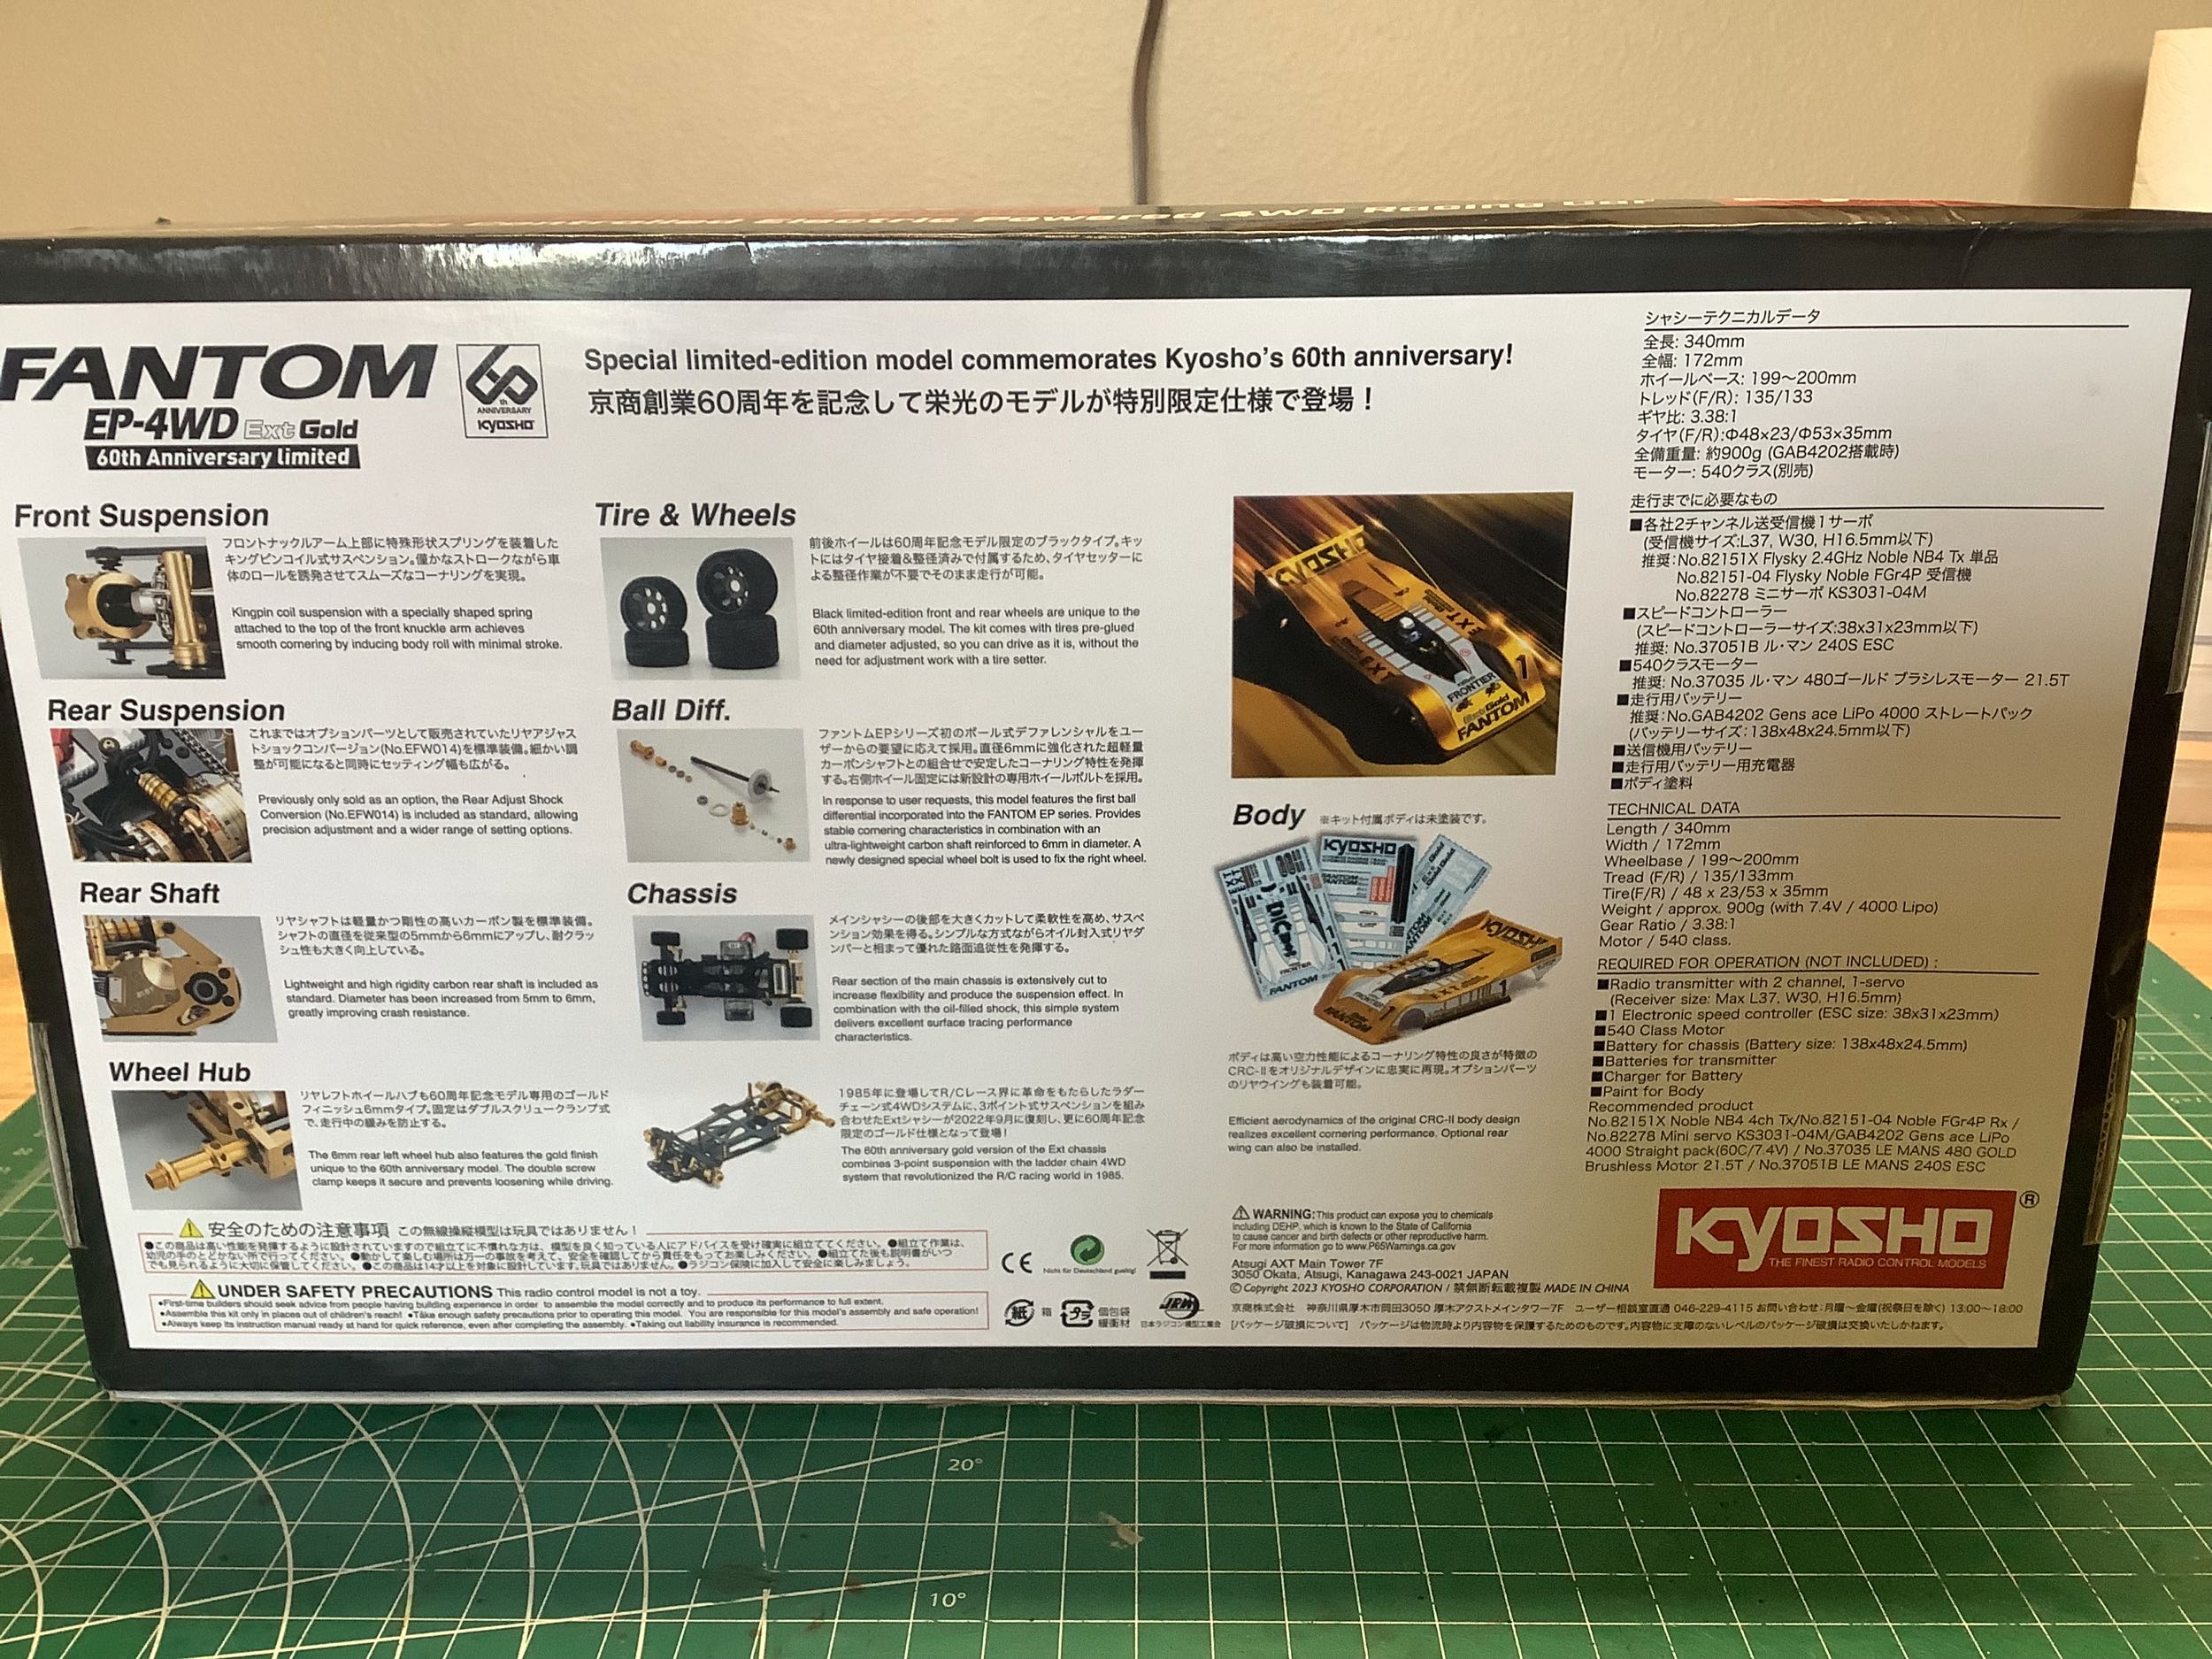
one from the regular Fantom. The back cover highlights many of the
special features of this edition.
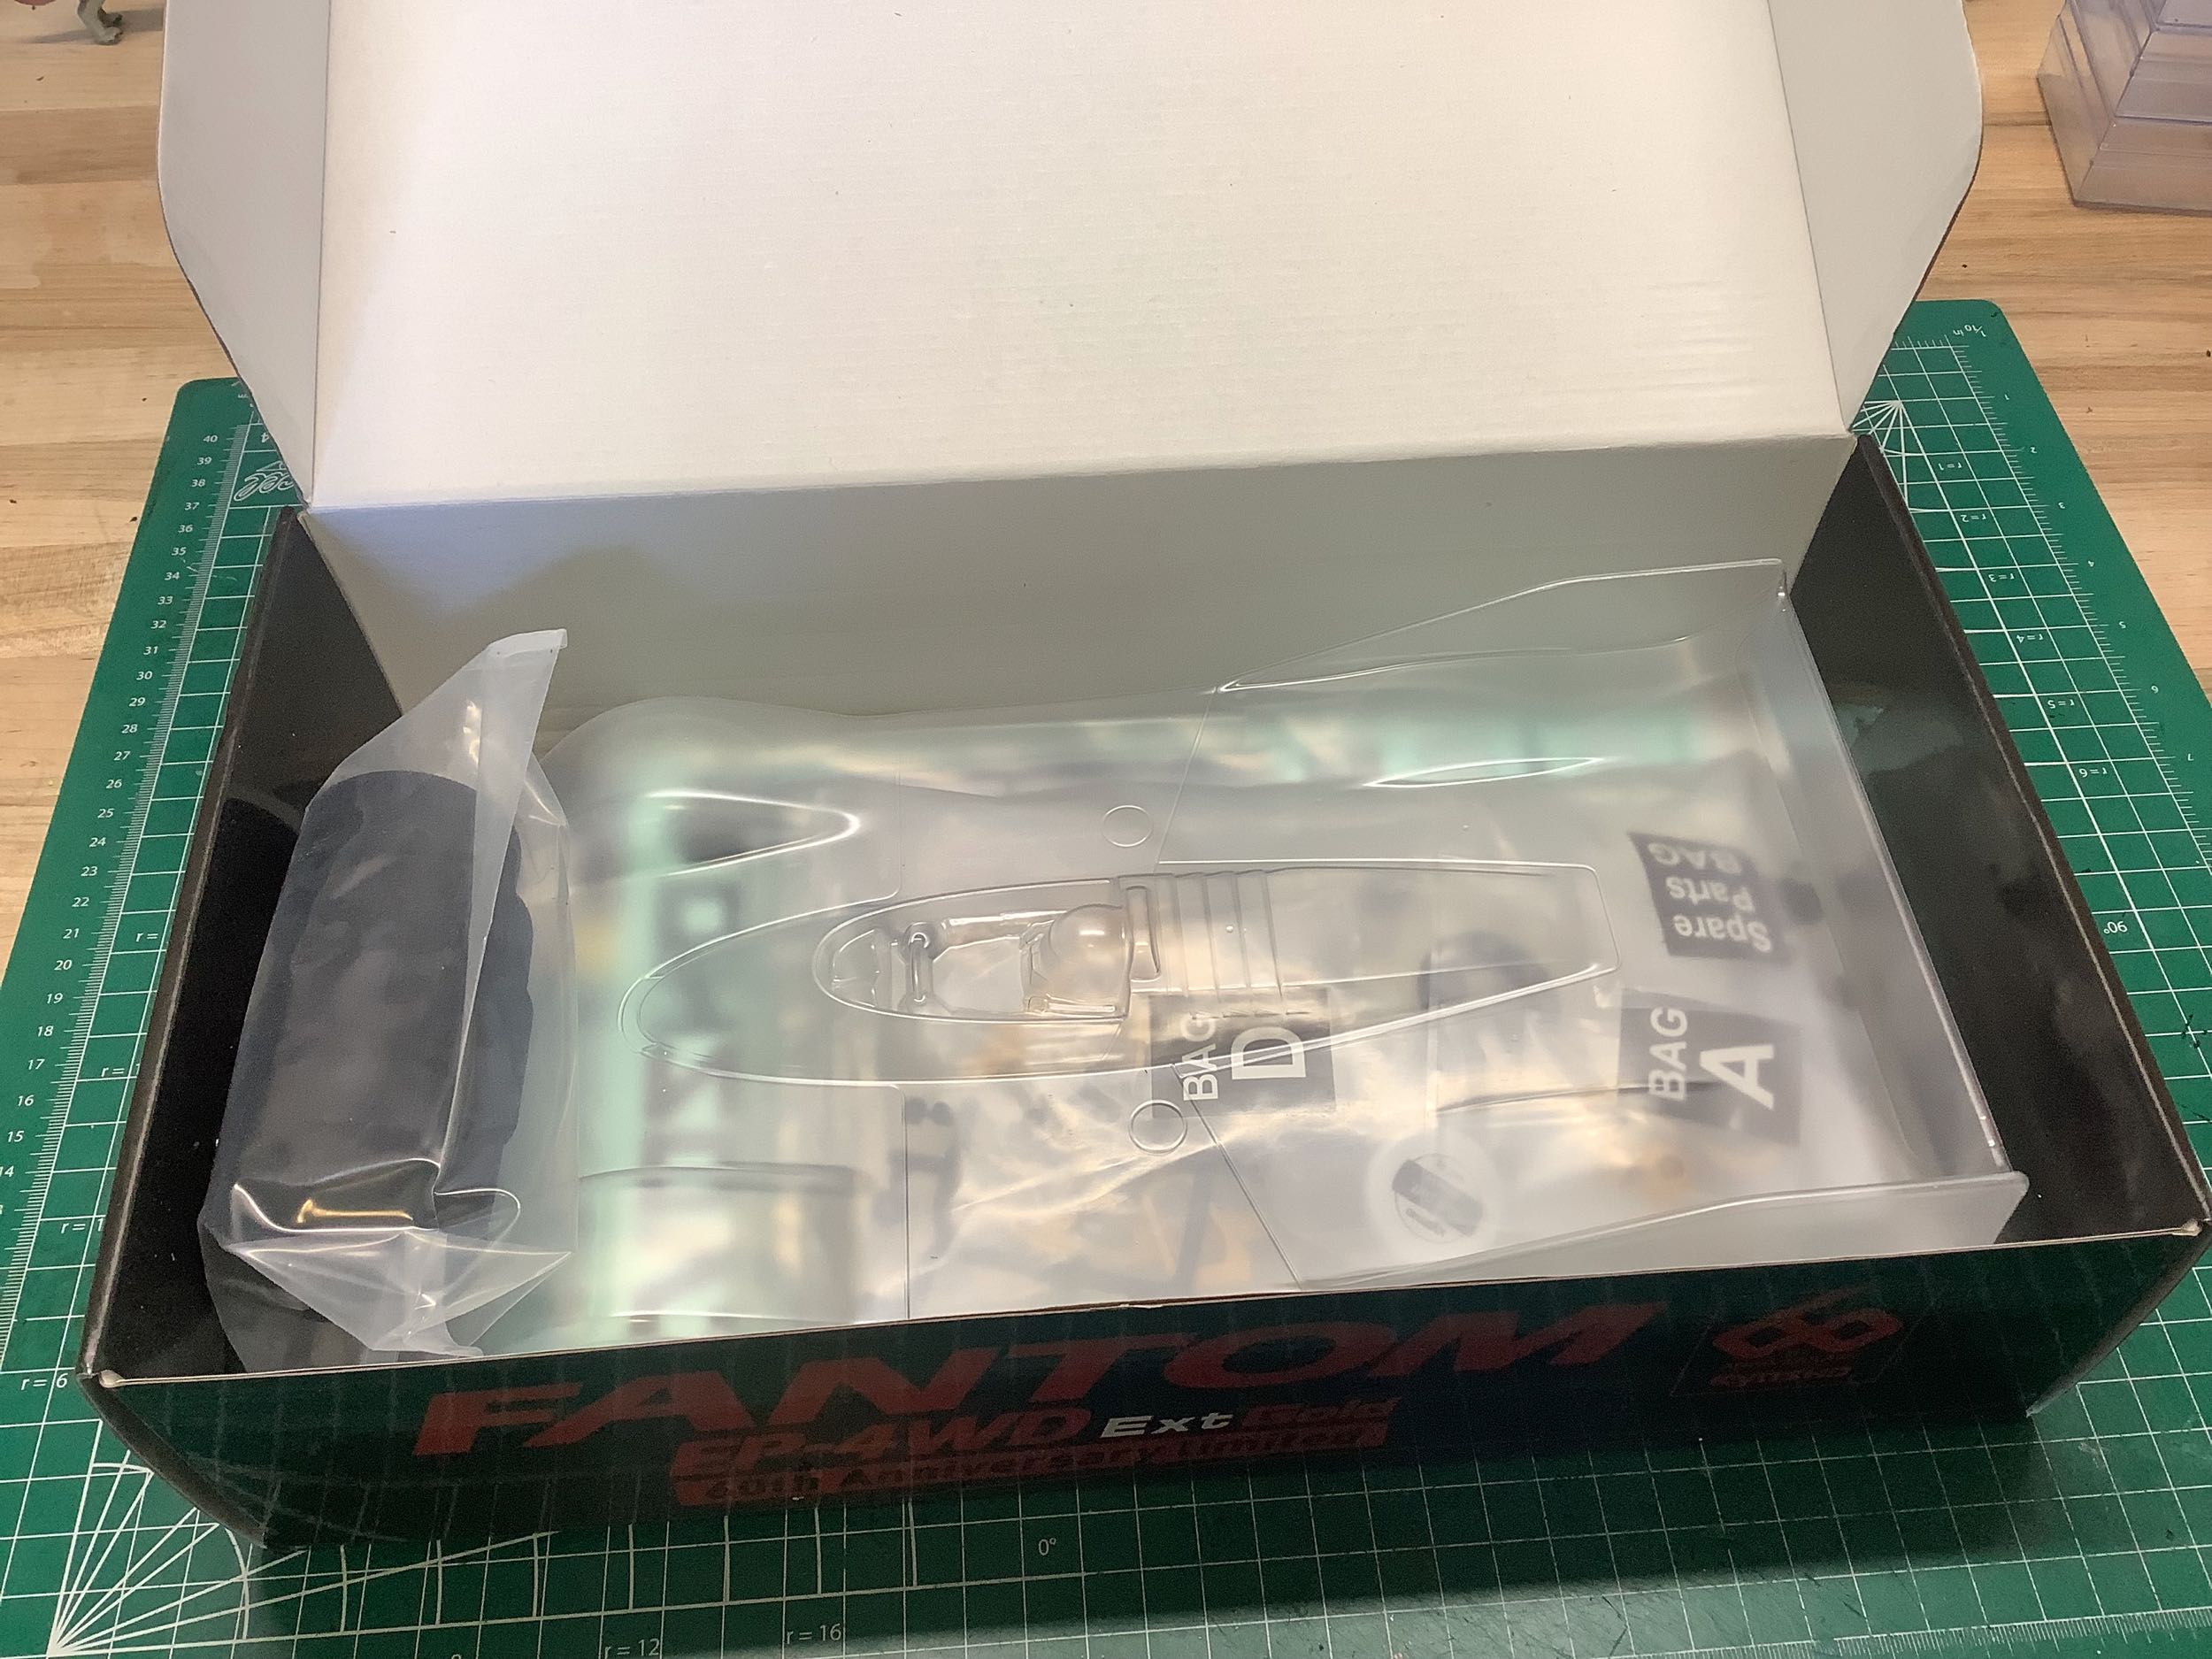
The inside of the box is dominated by the body and pre-mounted
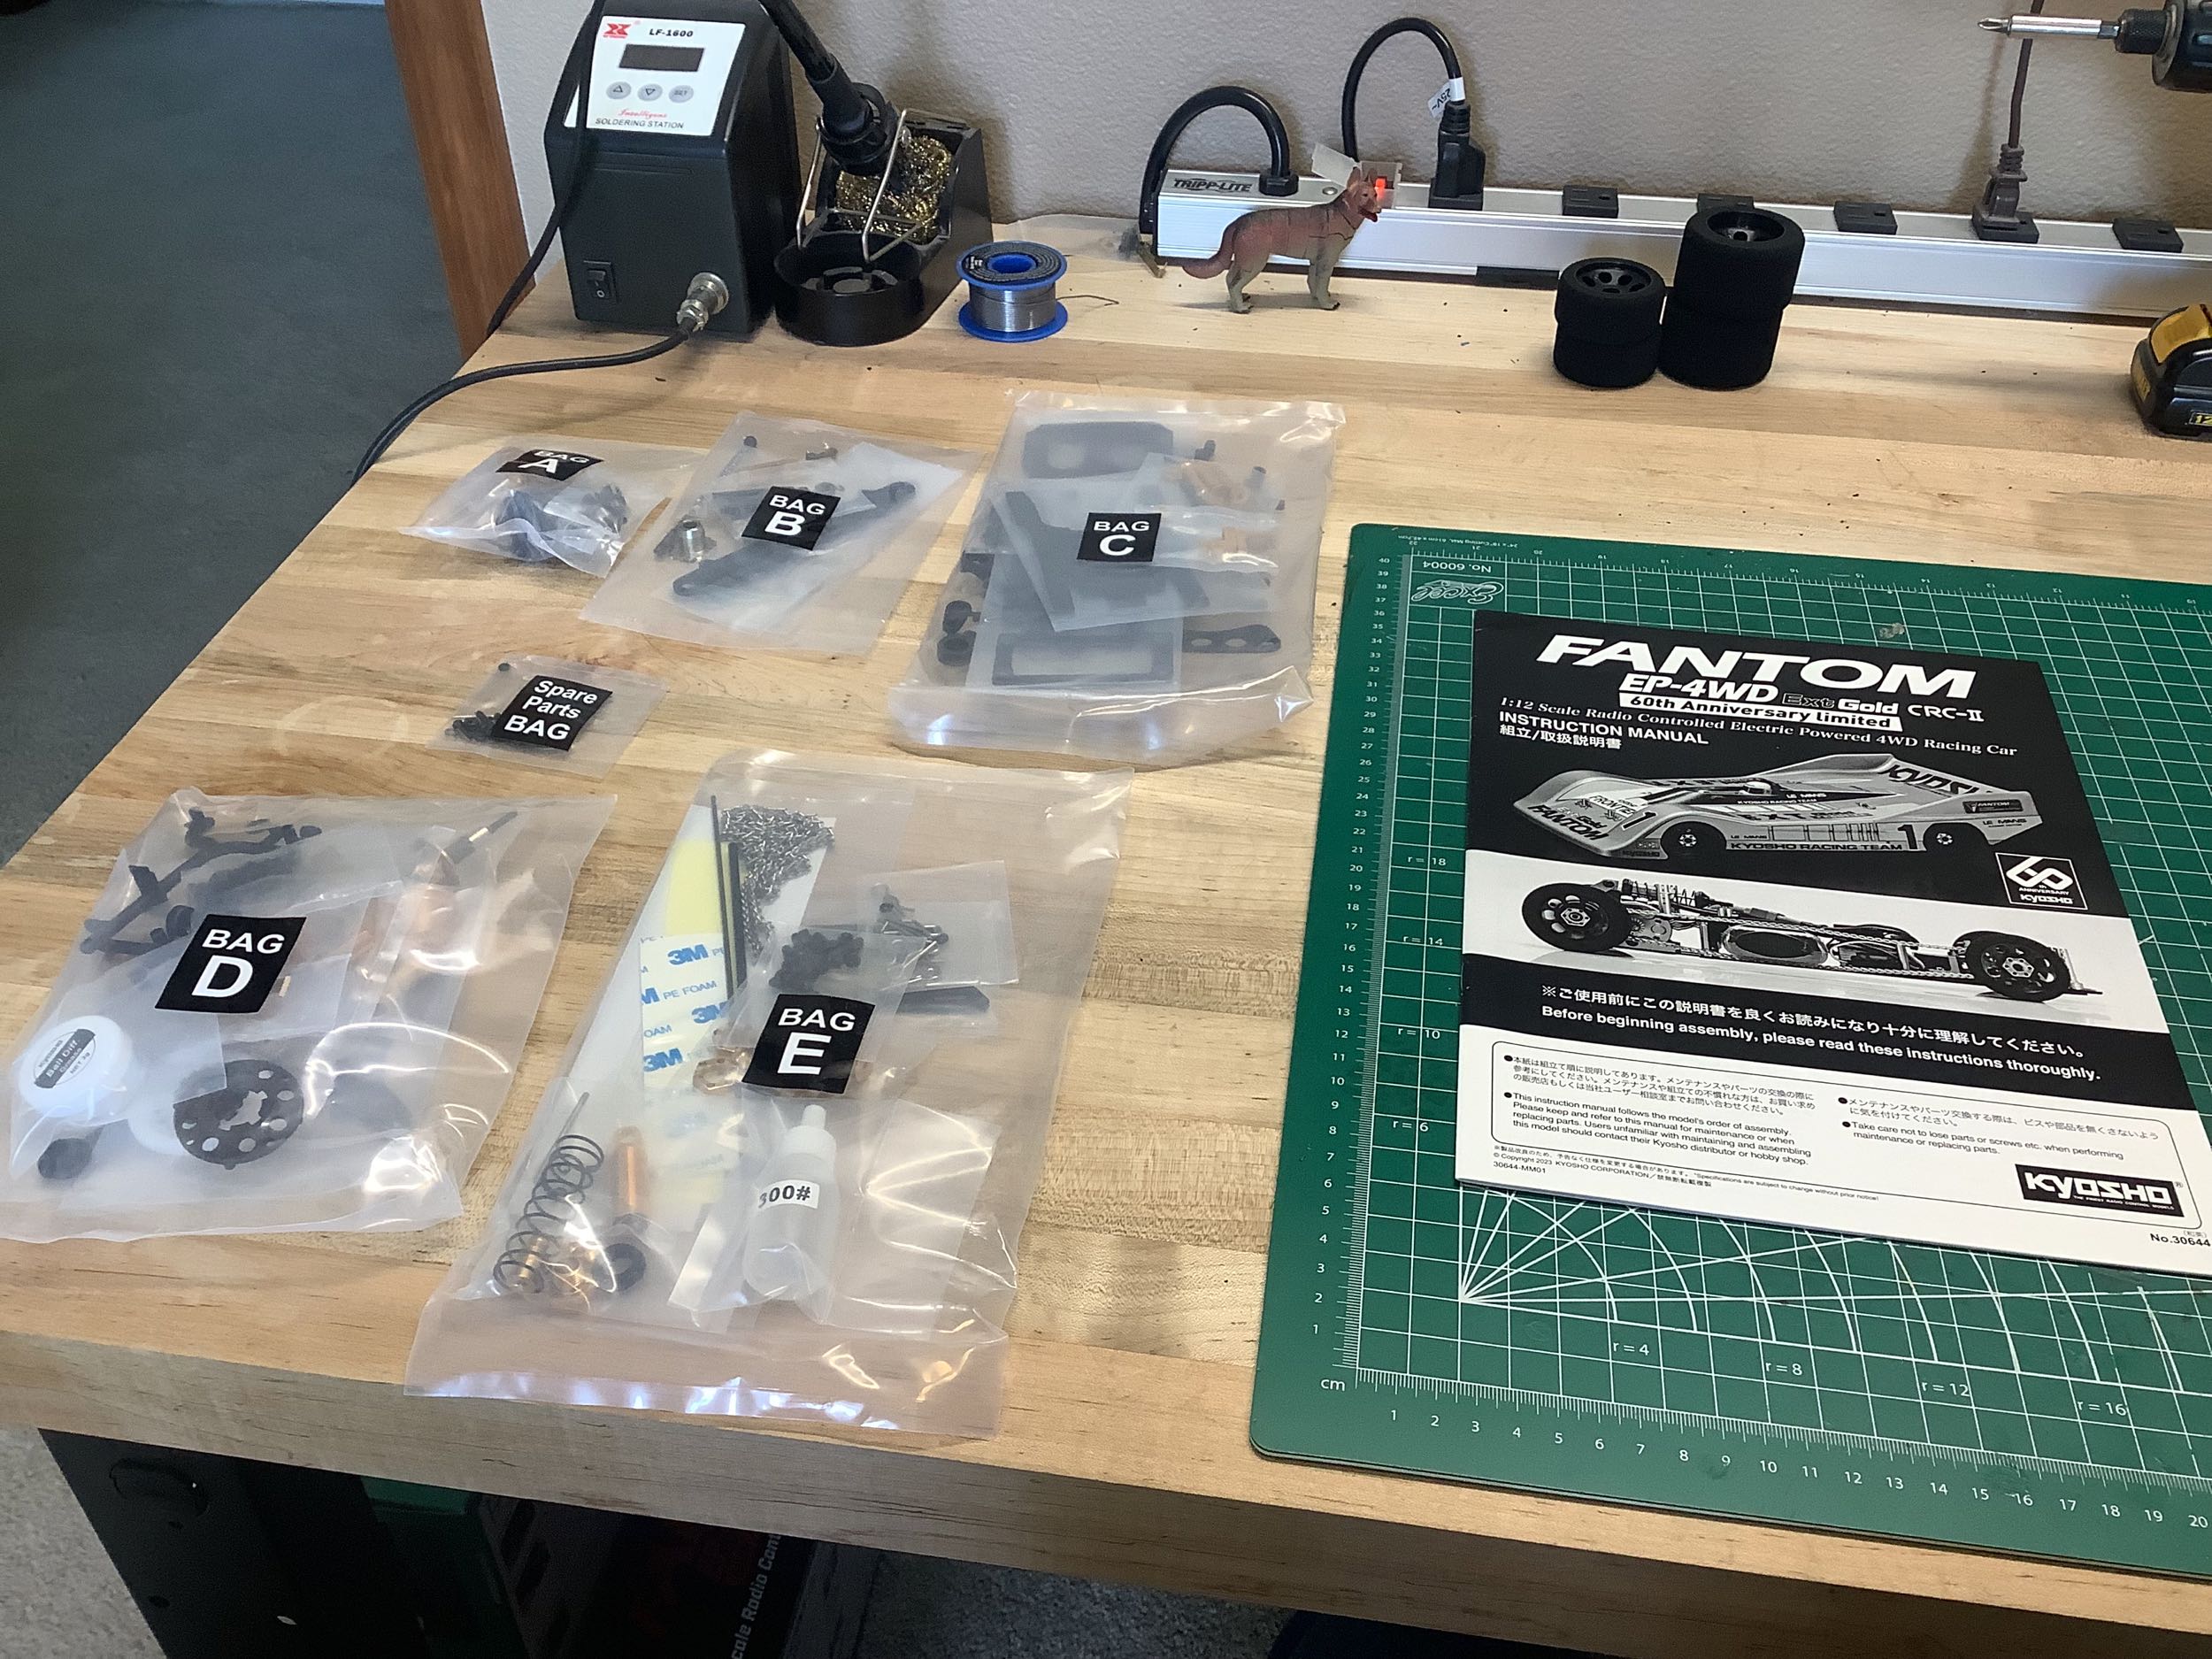
tires. On the right you can see the minimal number of parts sorted
into five sequentially labeled bags.
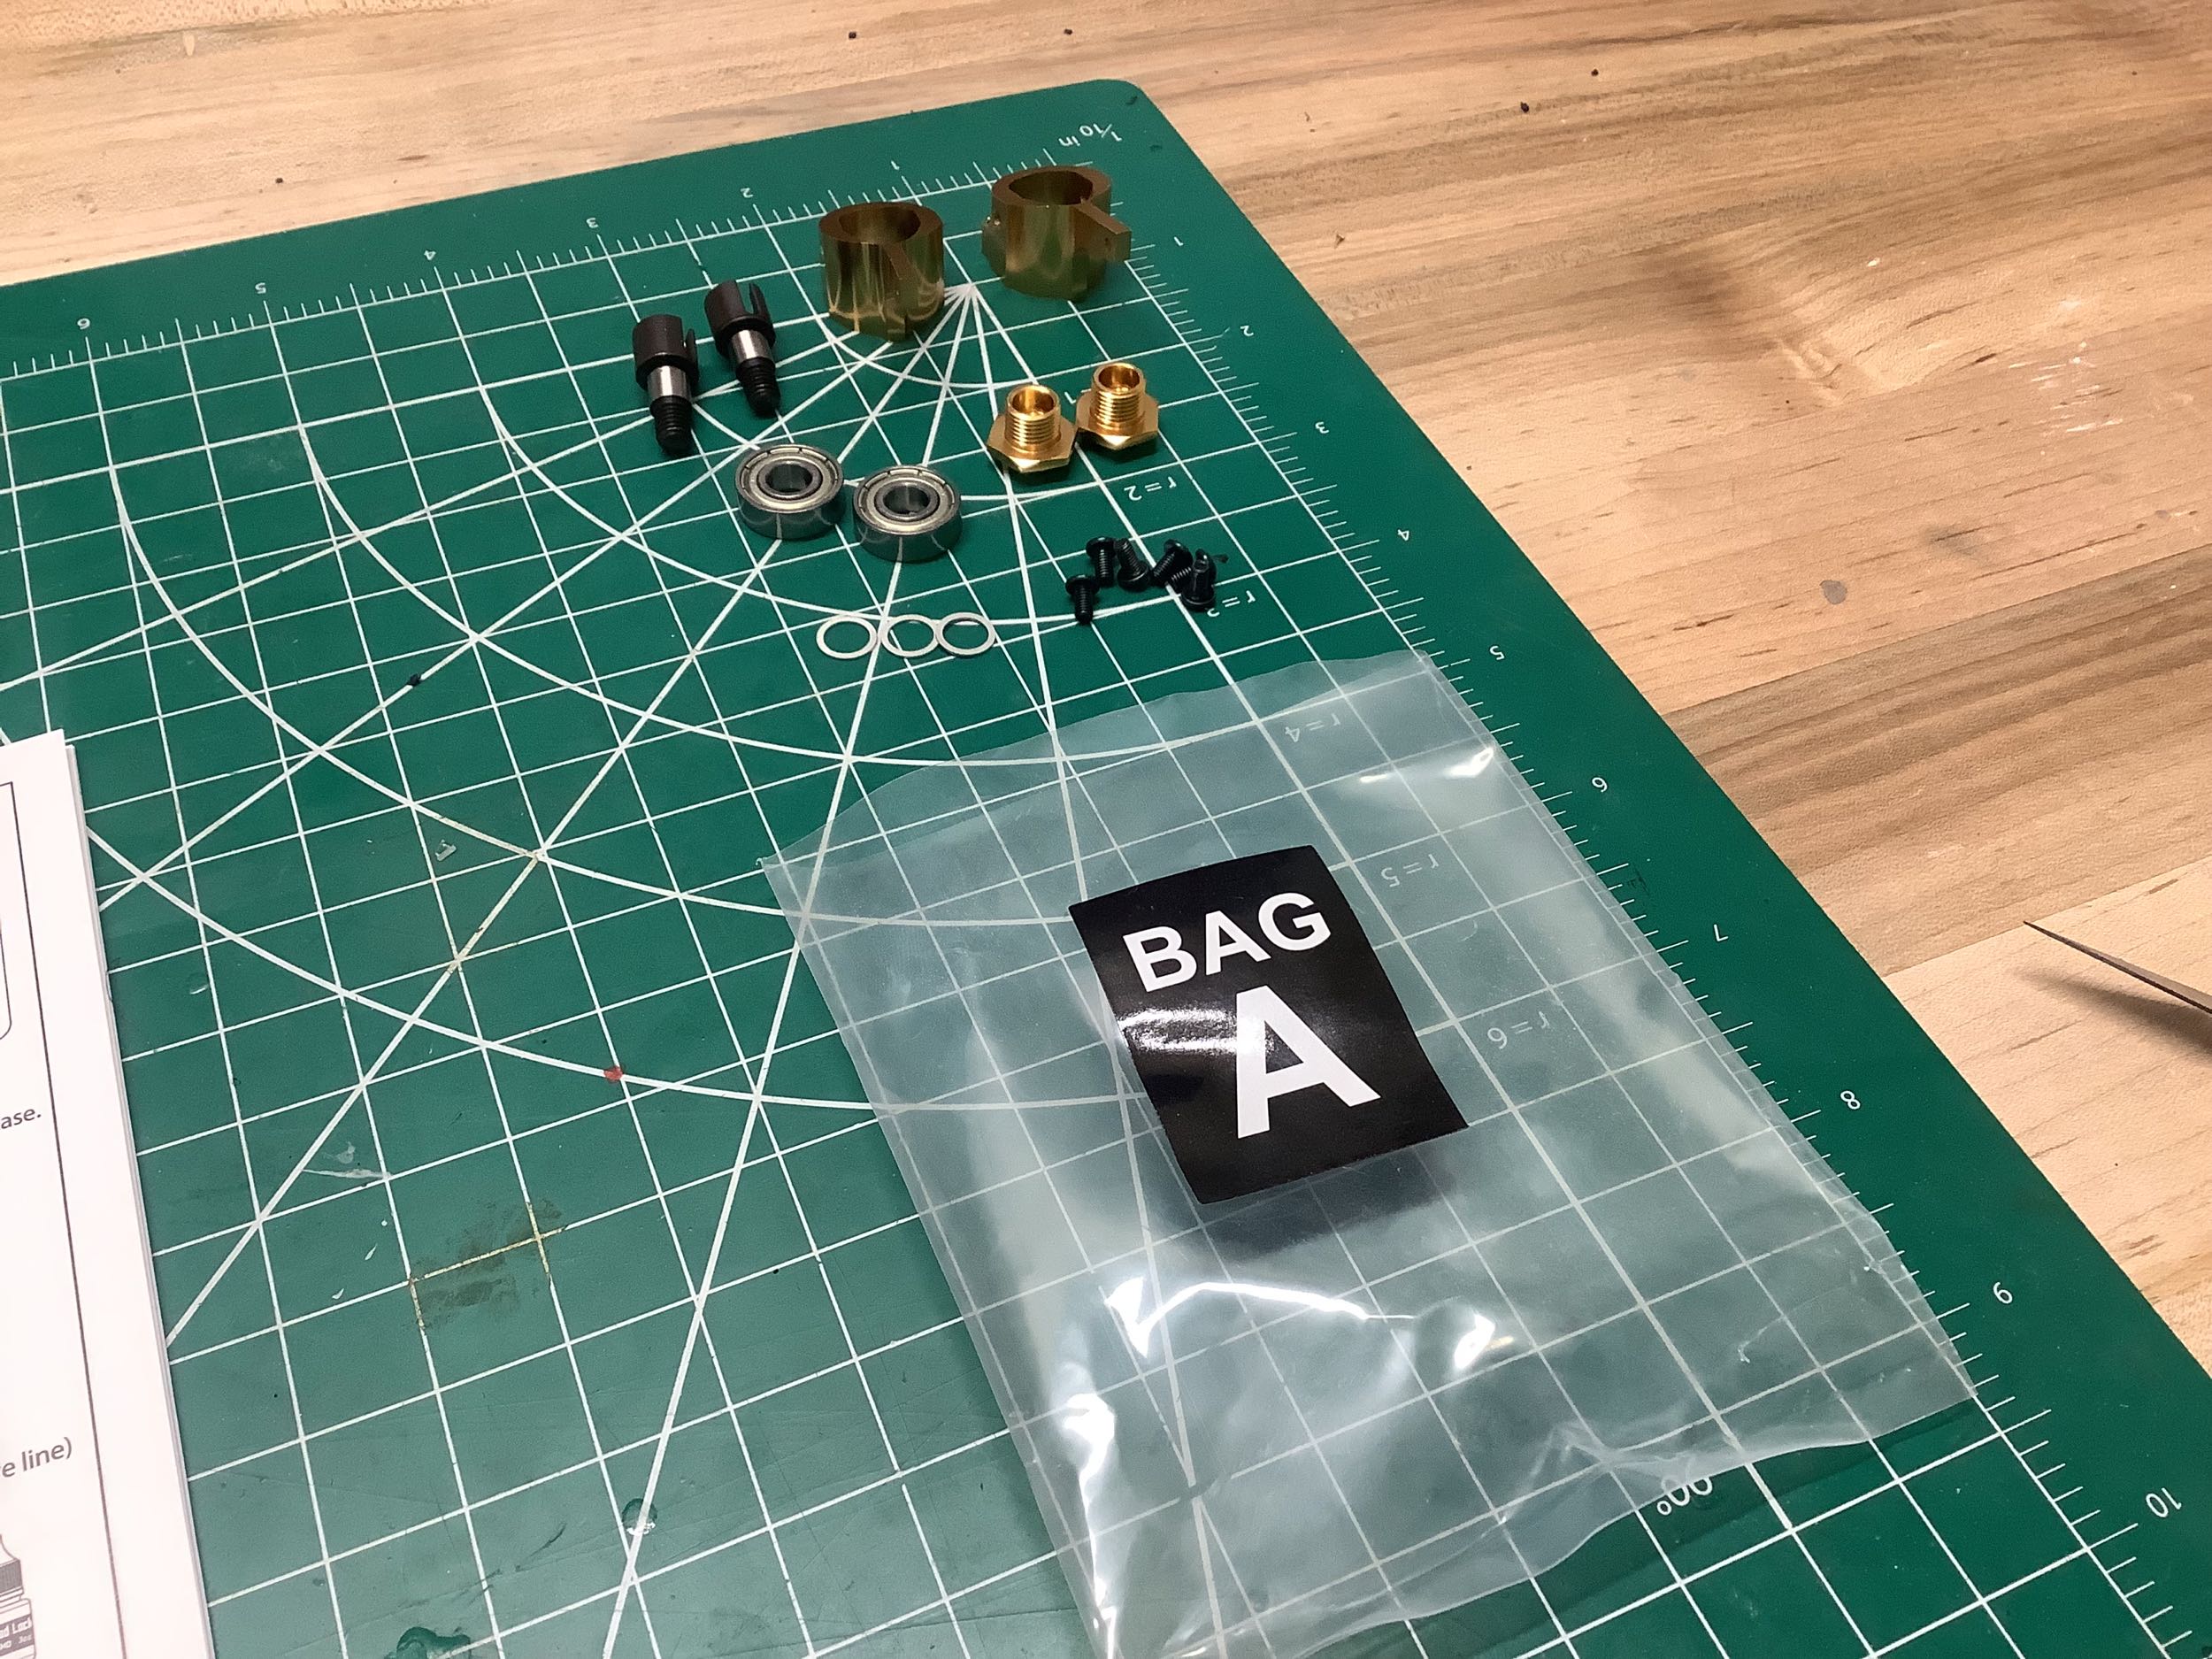
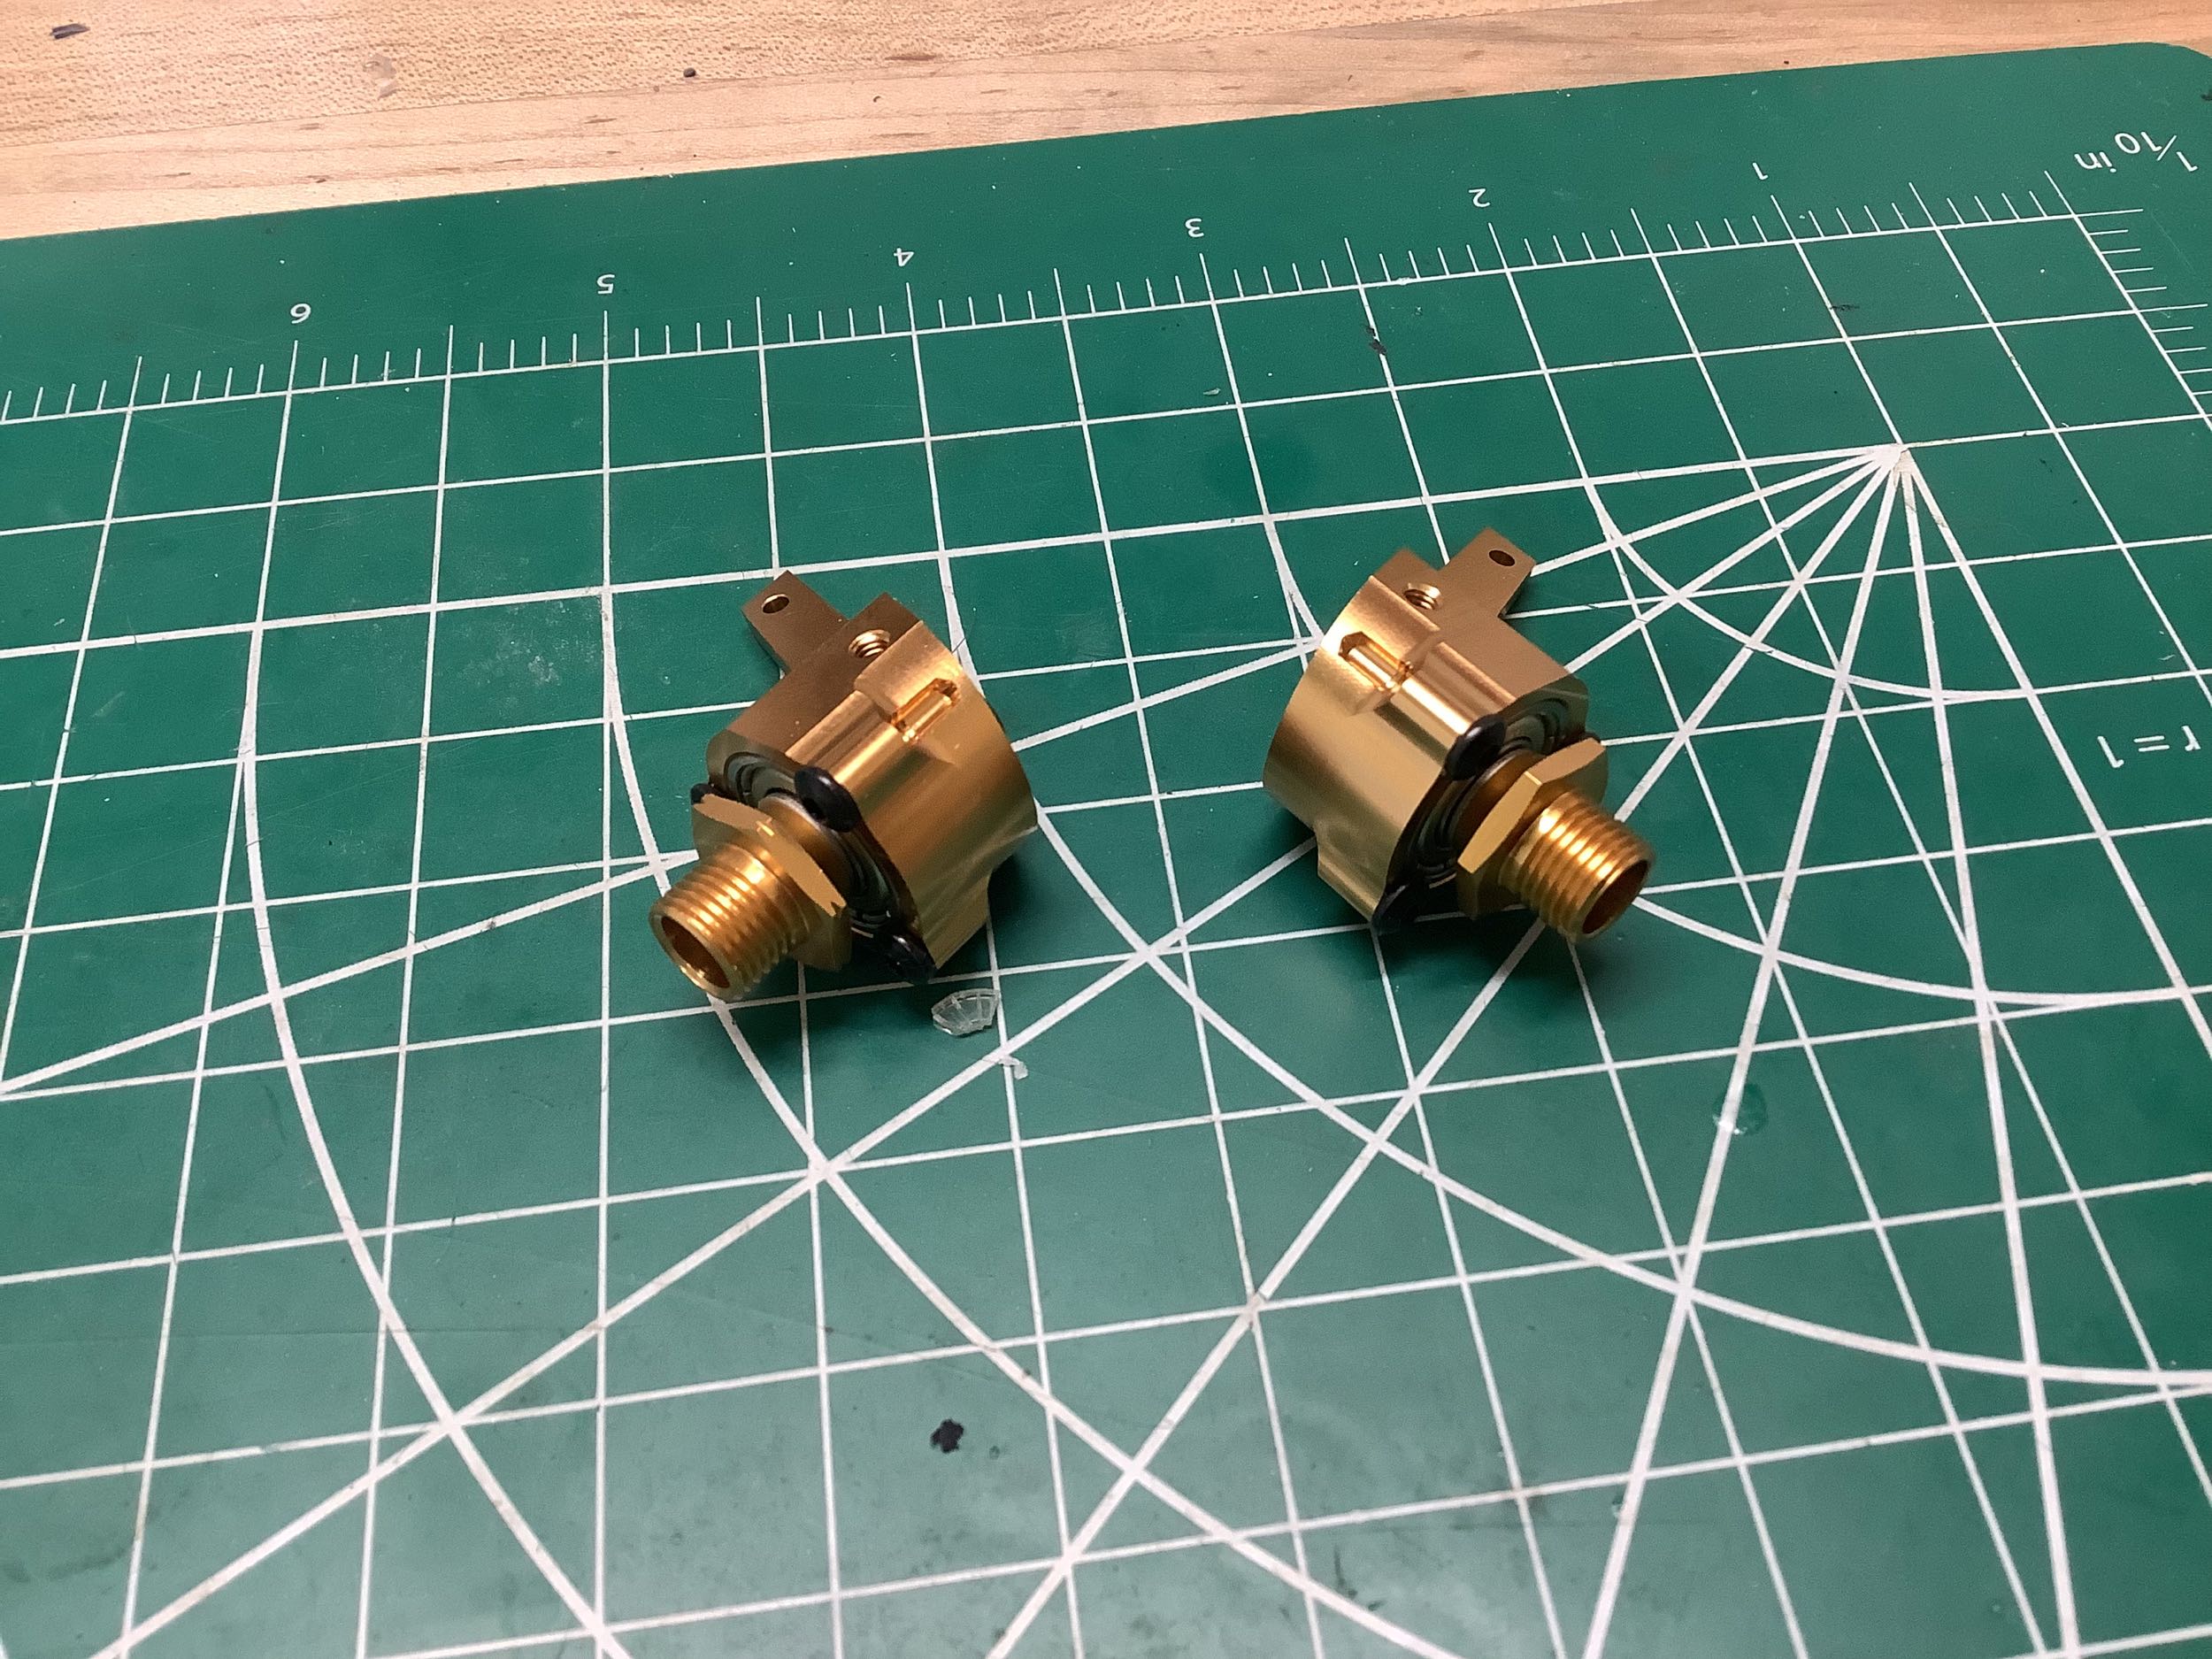
Bag A has the parts for the front knuckles. Apart from the gold
color, these seem just like the ones from the regular Fantom.
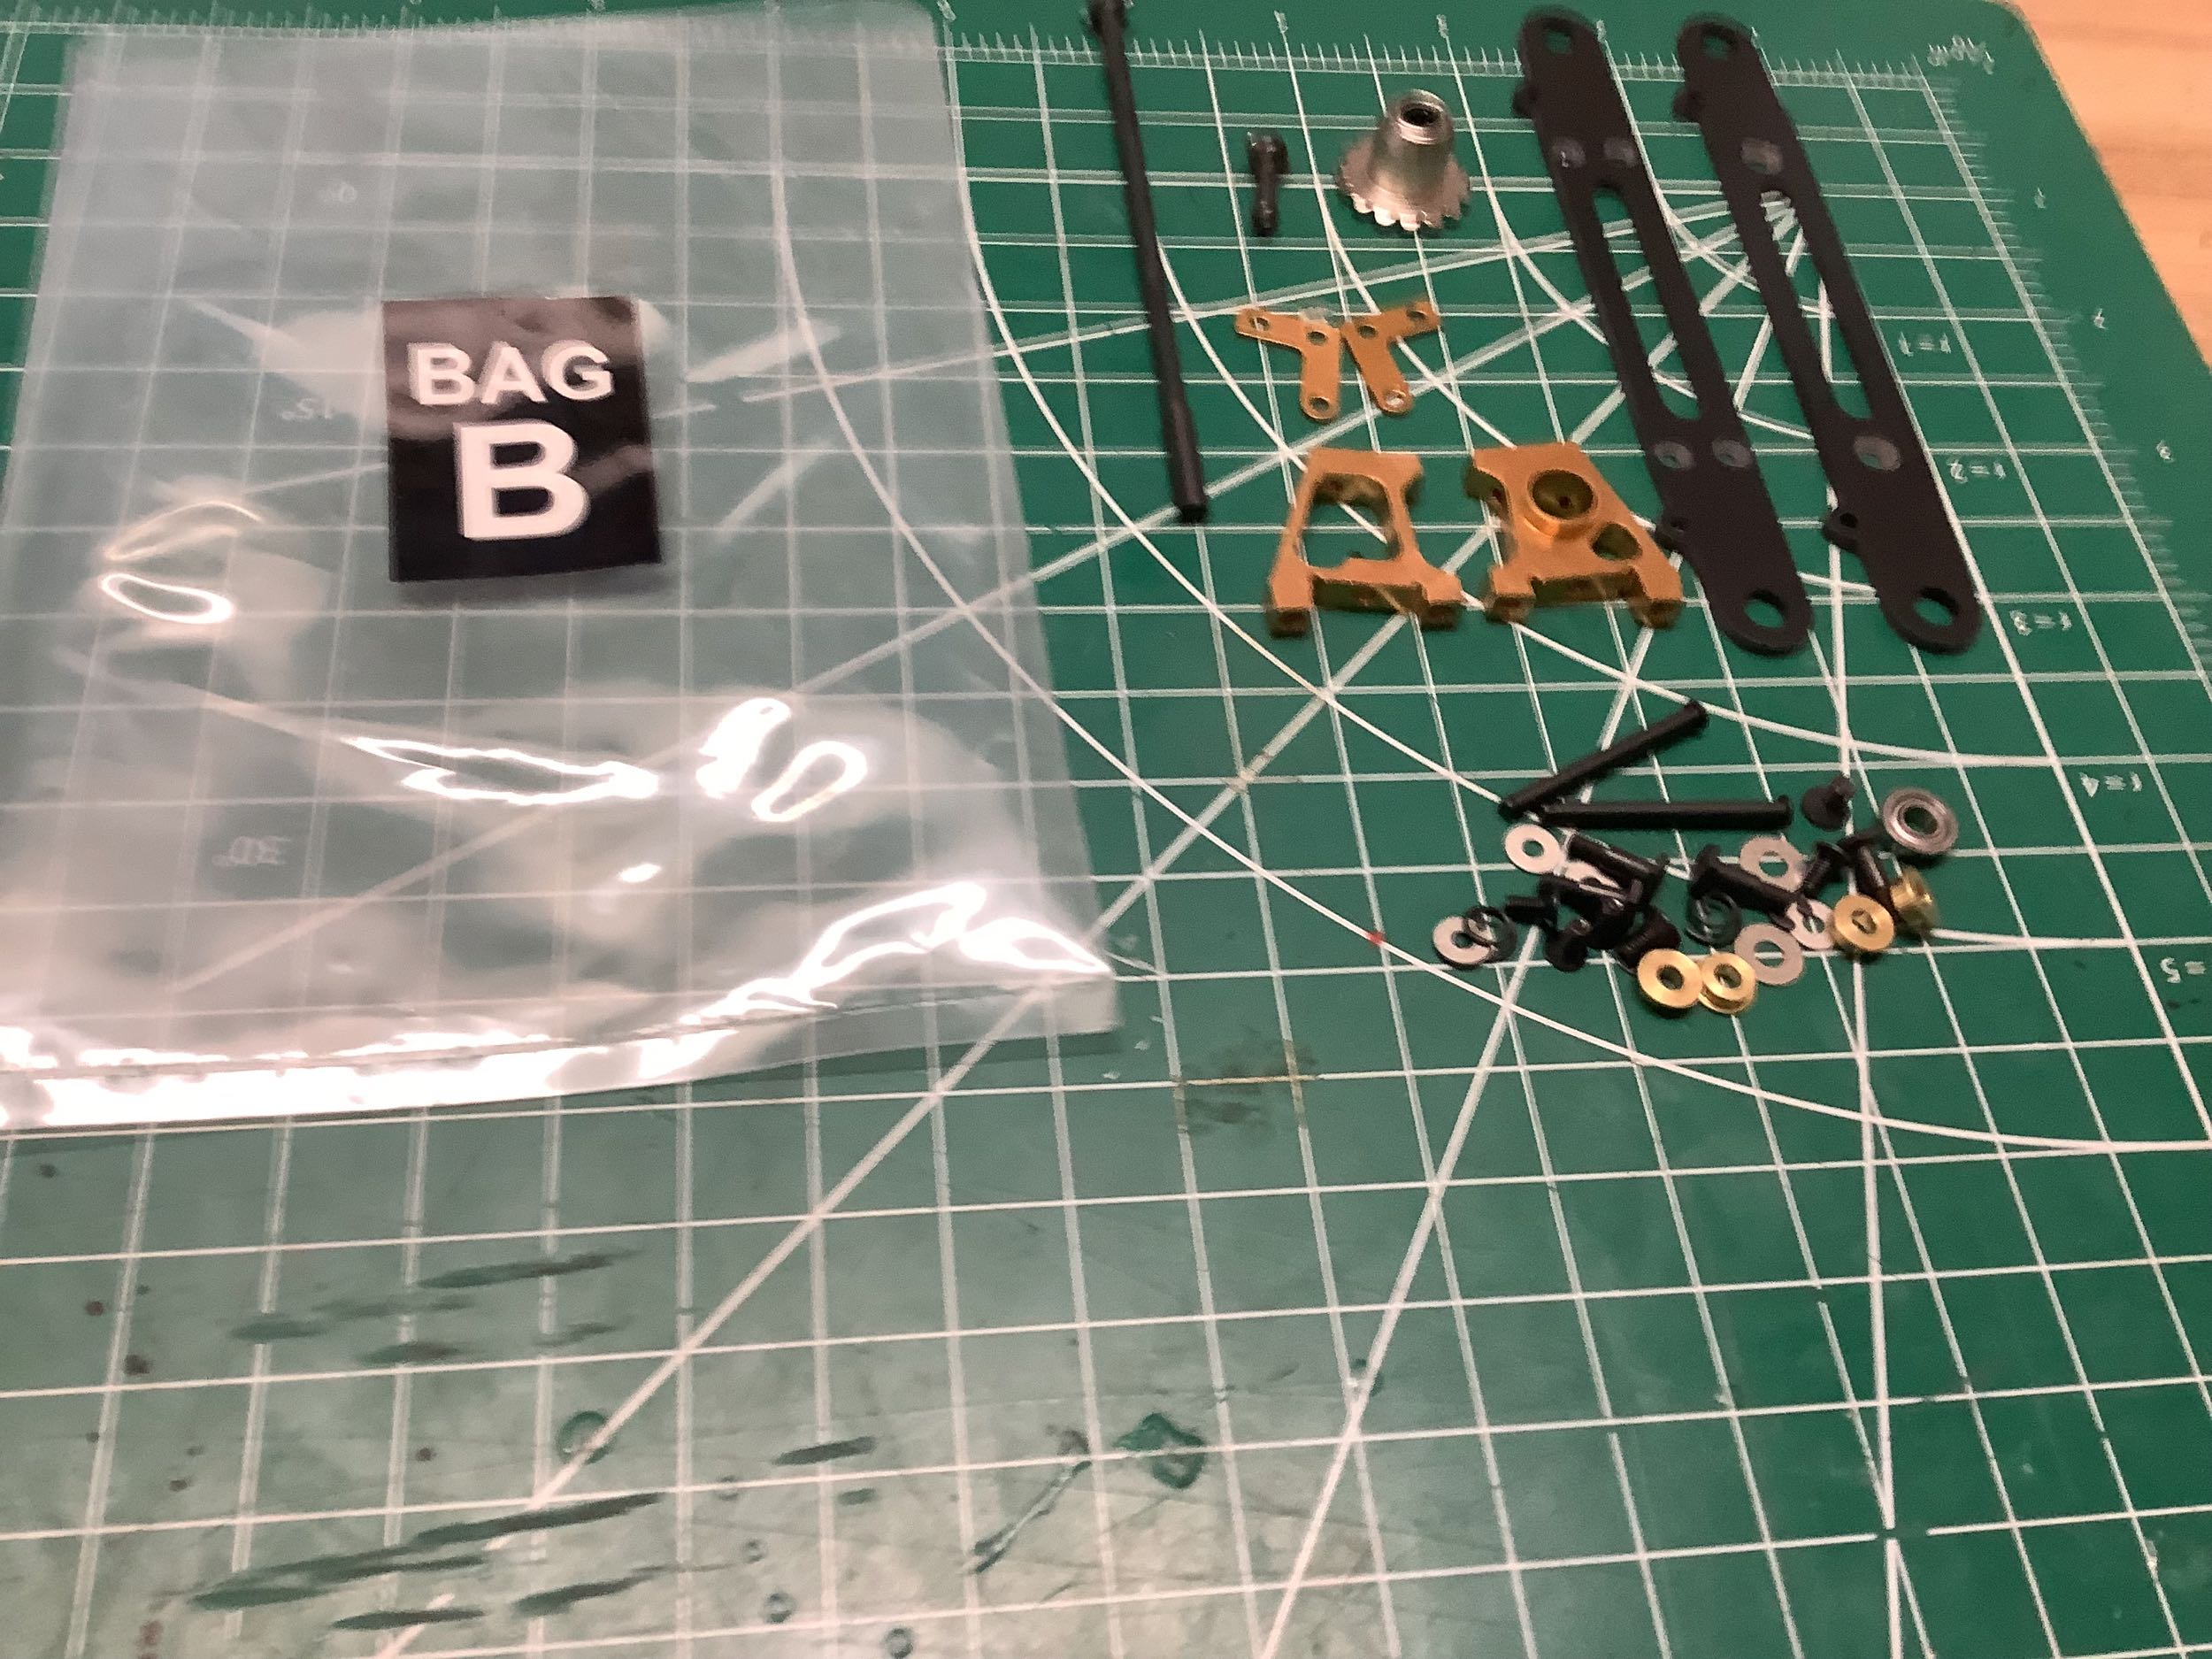
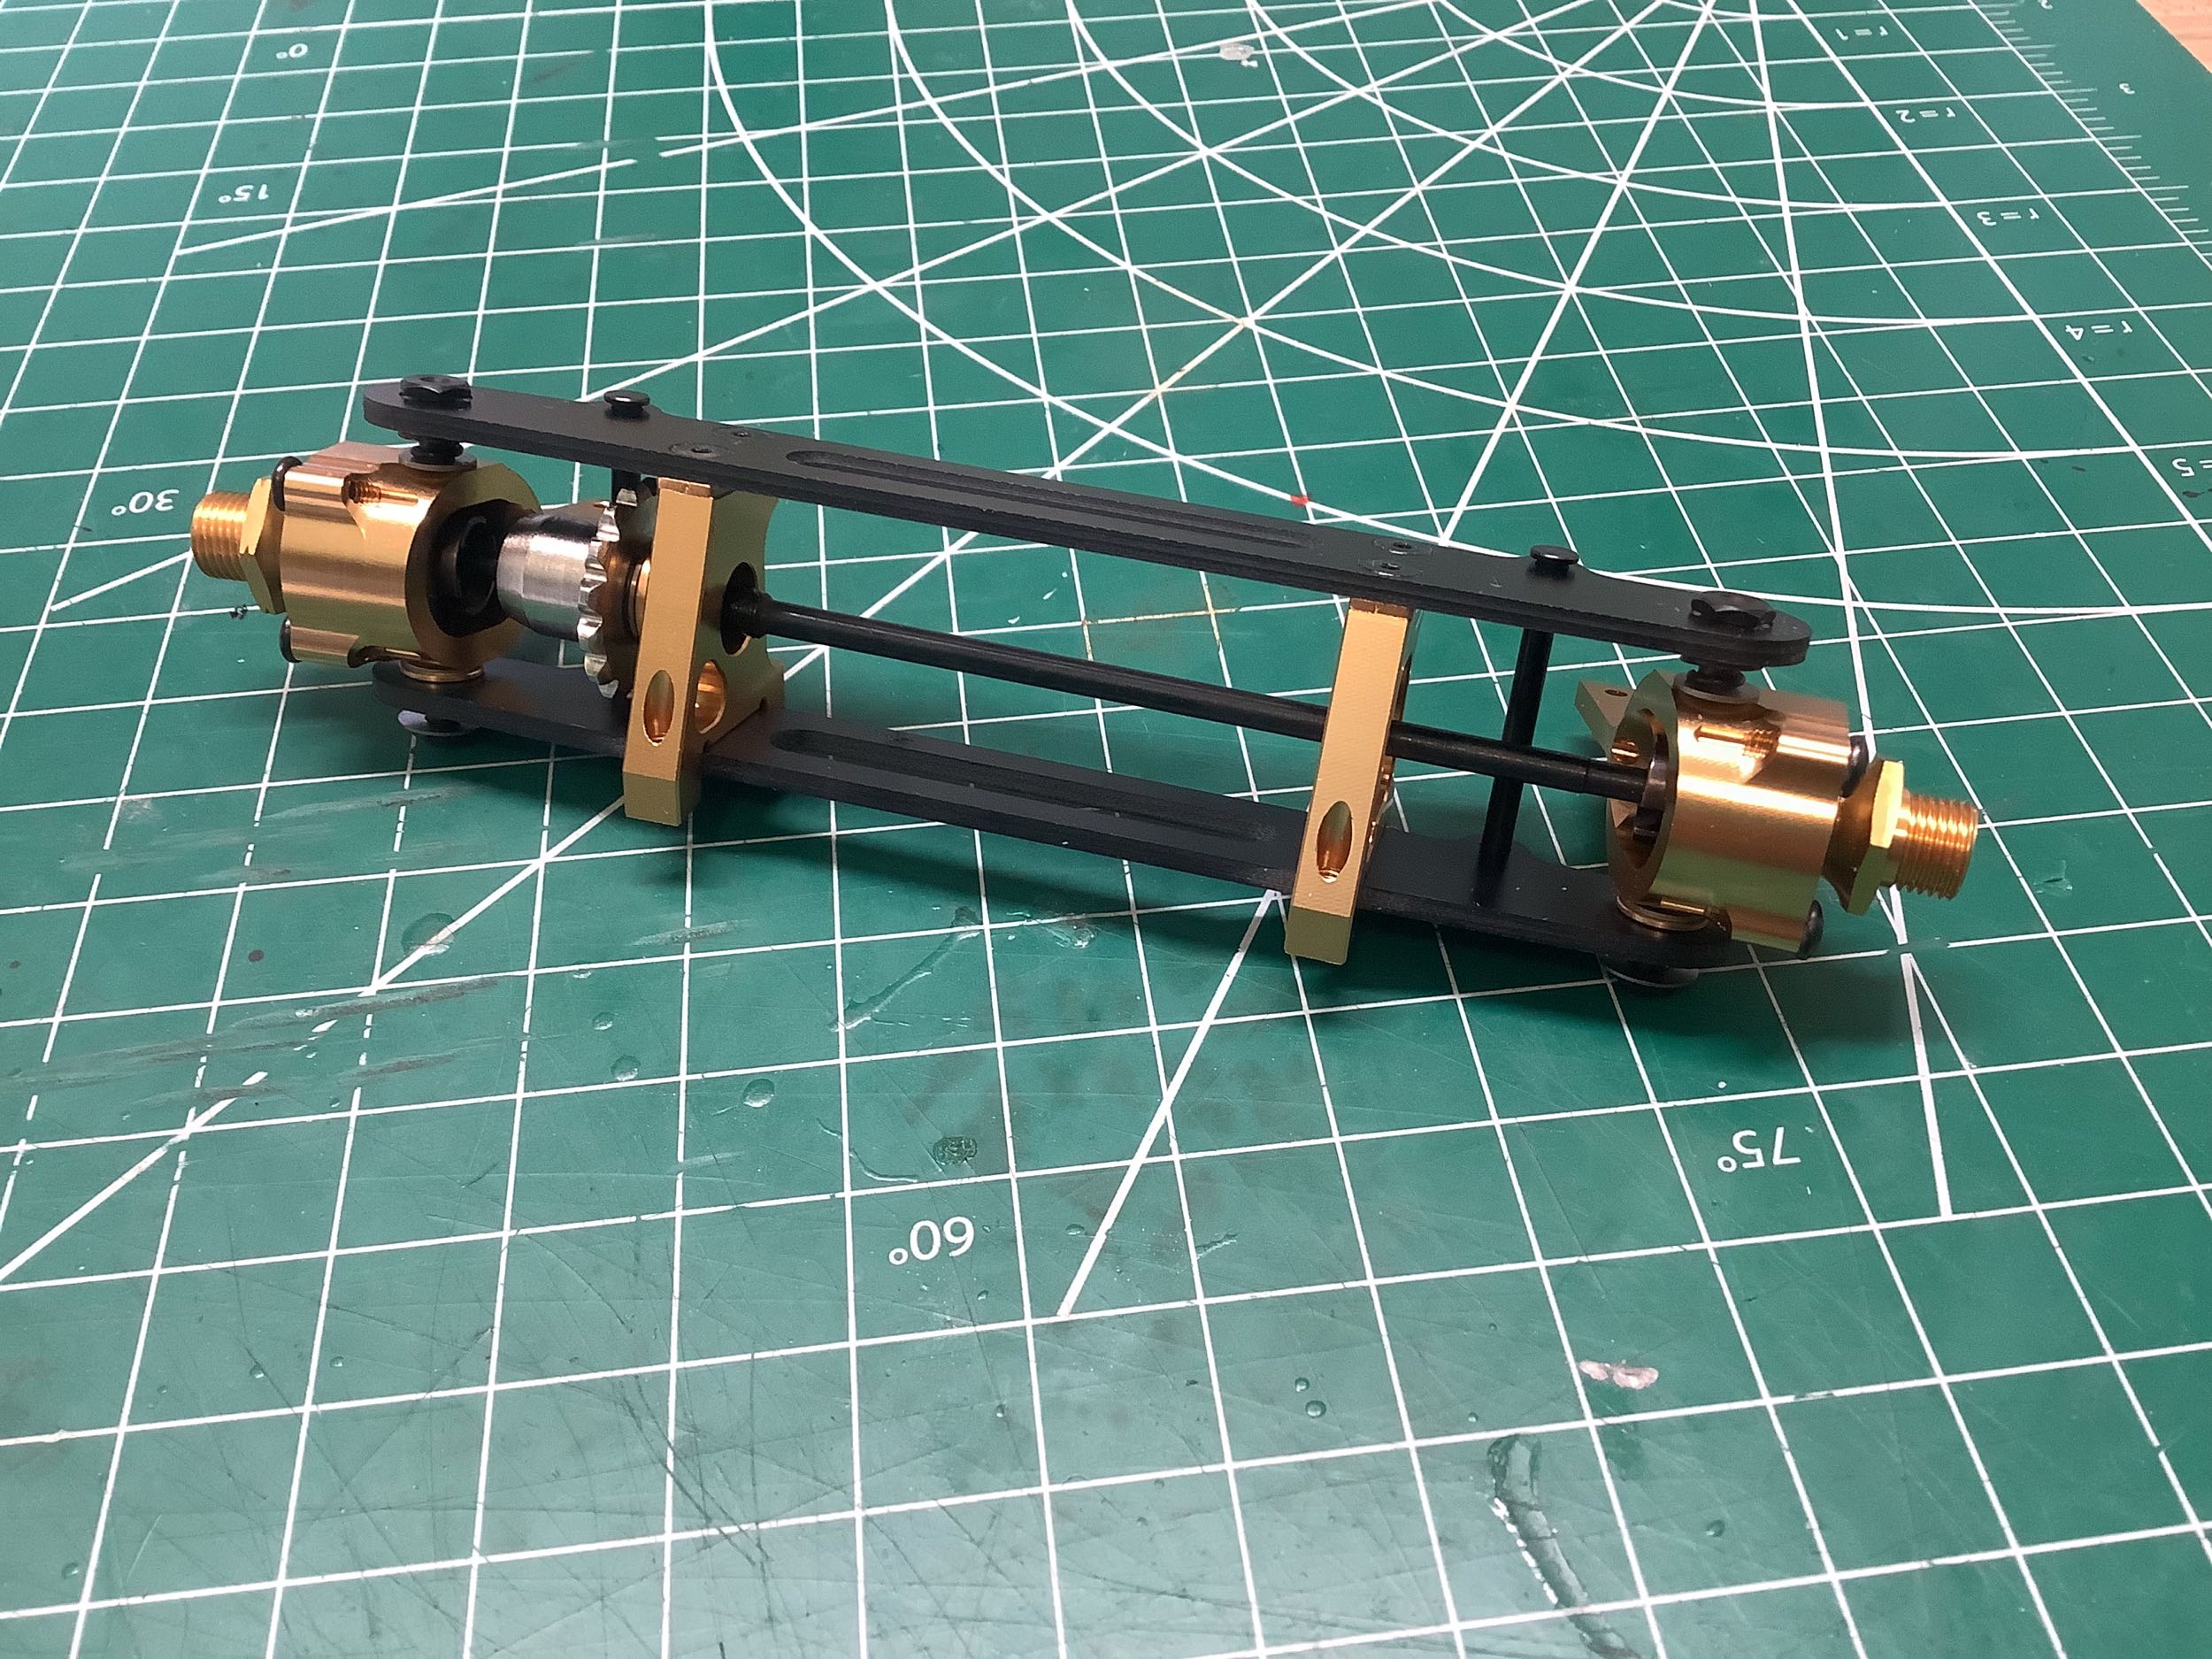
Bag B has the parts for the front axle. There is still a one-way bearing and some FRP here, but some changes are hiding.
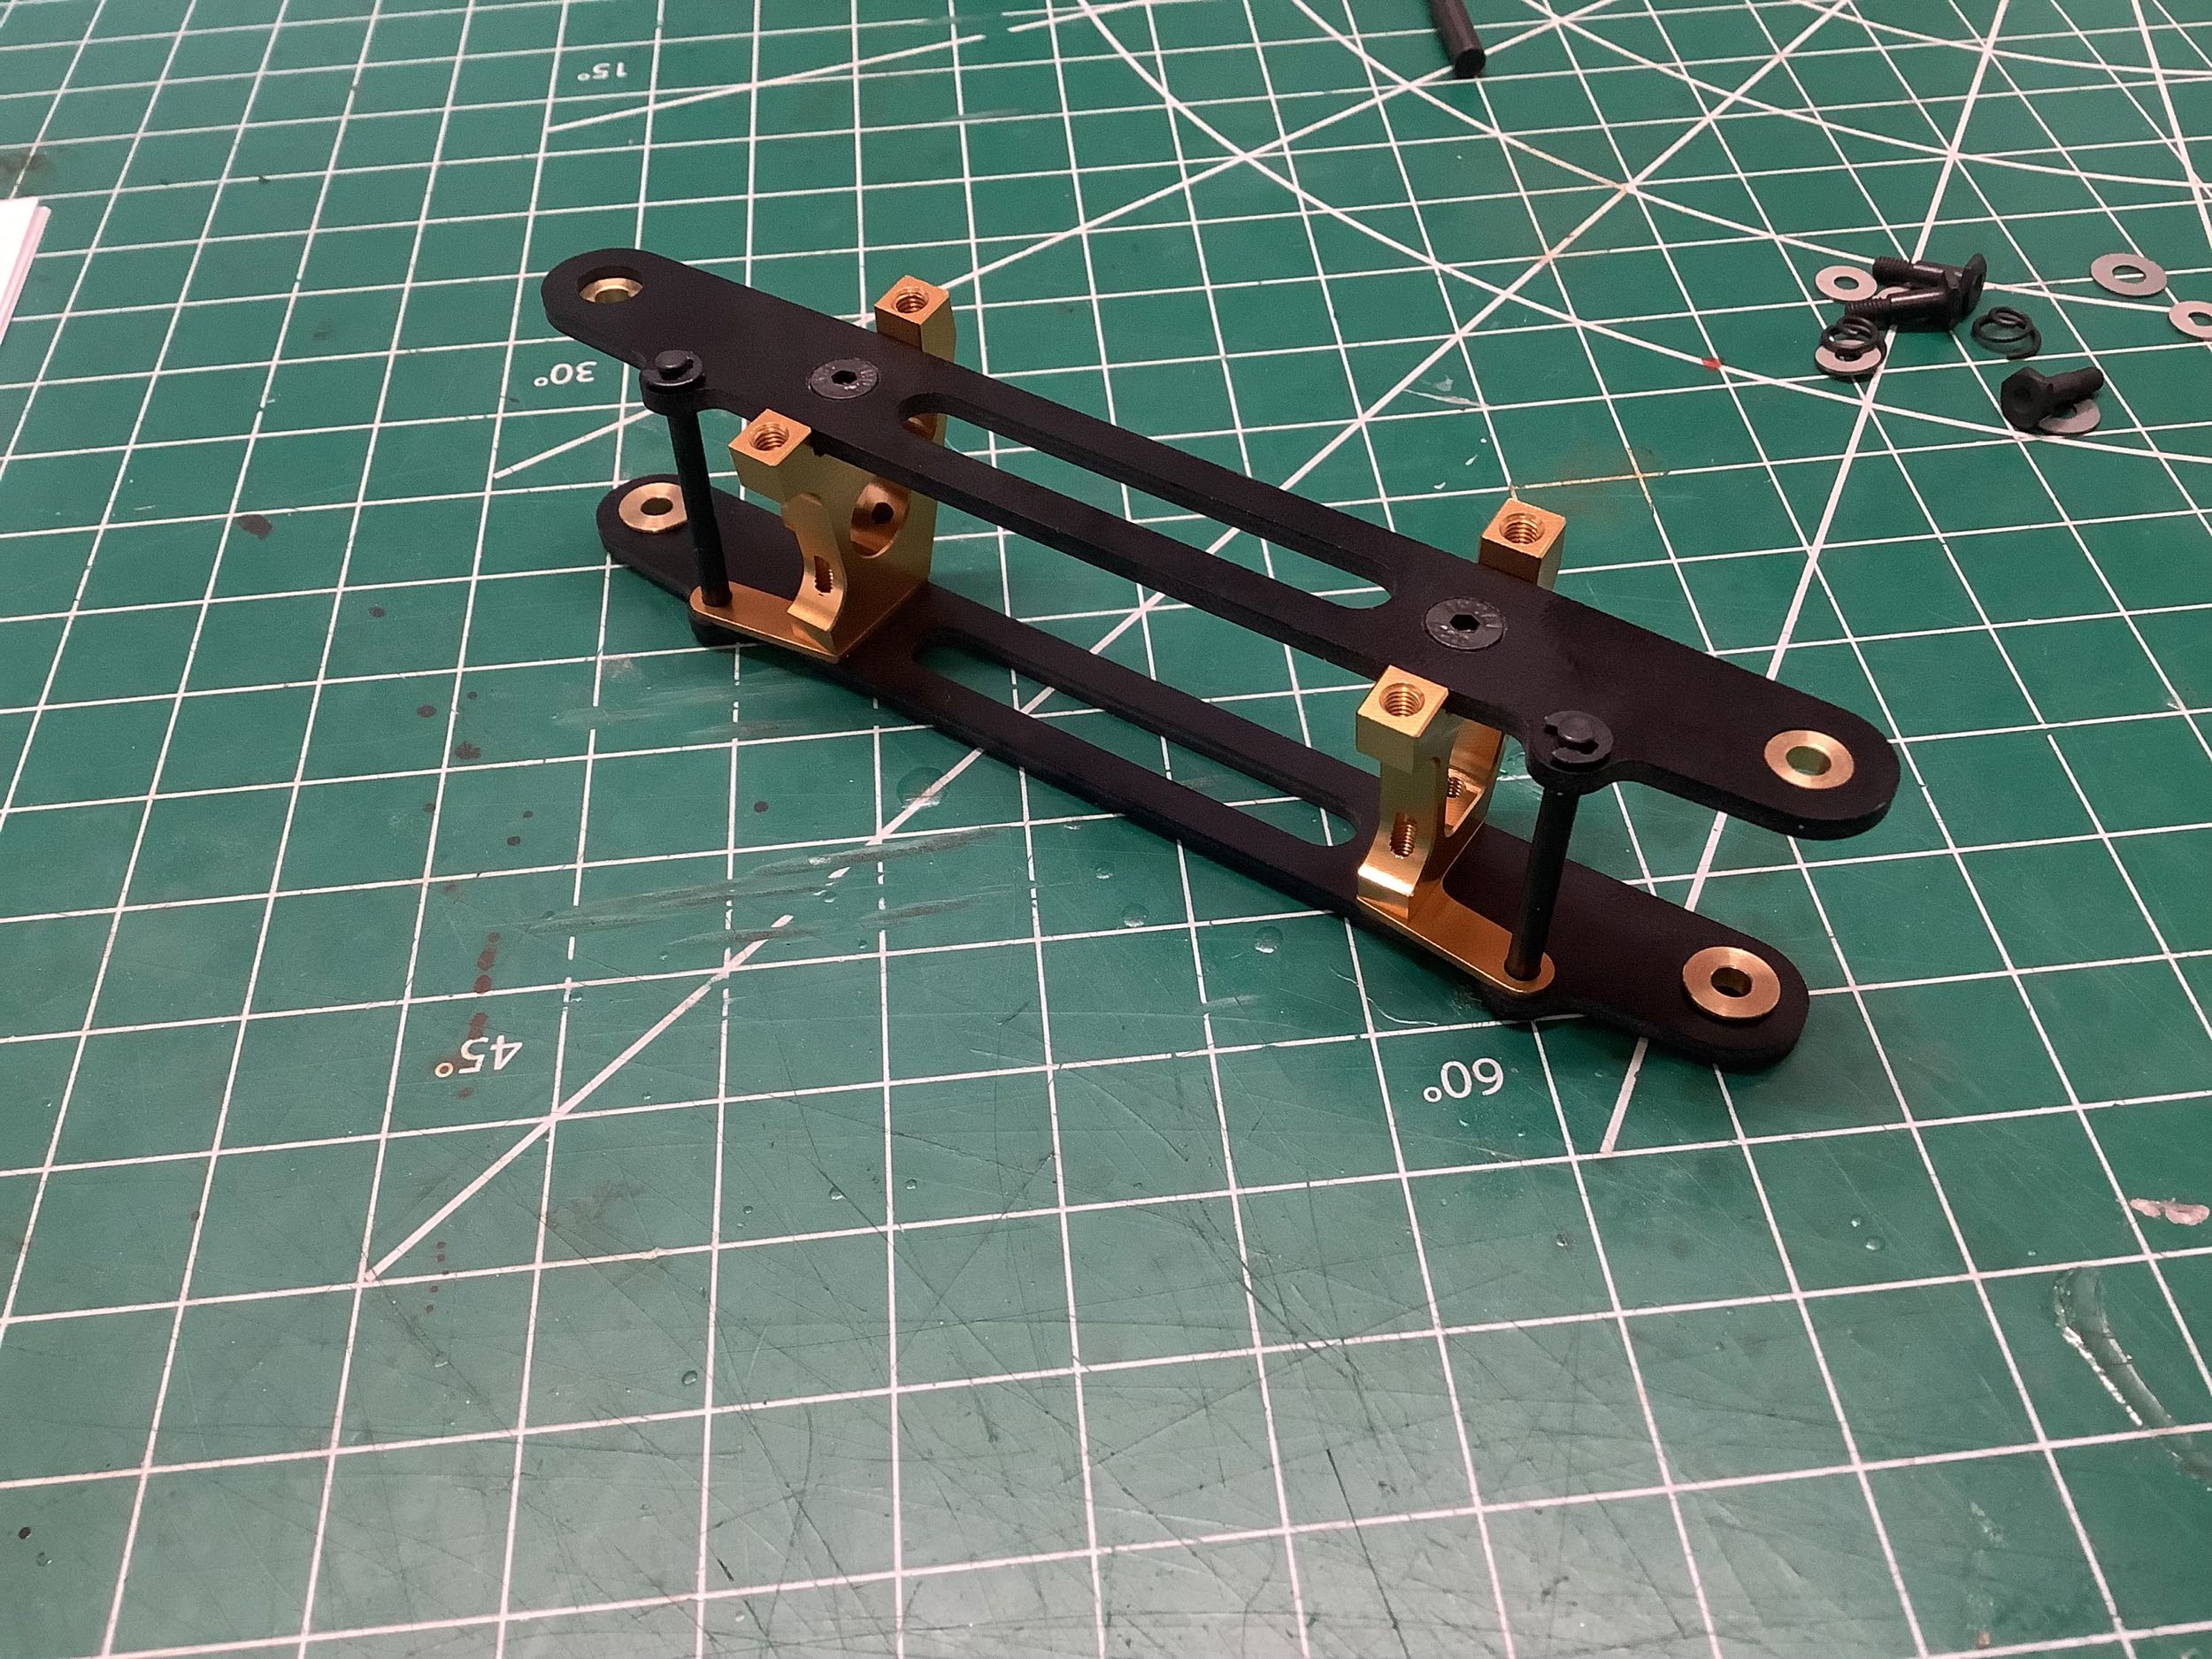
The front axle might seem just like before, but it isn't. From a
plan view you can see the tiny springs sitting on top of knuckles that
allow minimal vertical suspension travel (with no damping).
Because the axles can move up and down independently, they can't just
pass straight through the one-way bearing. The right hand stubby
axle now has a ball end to allow this motion.
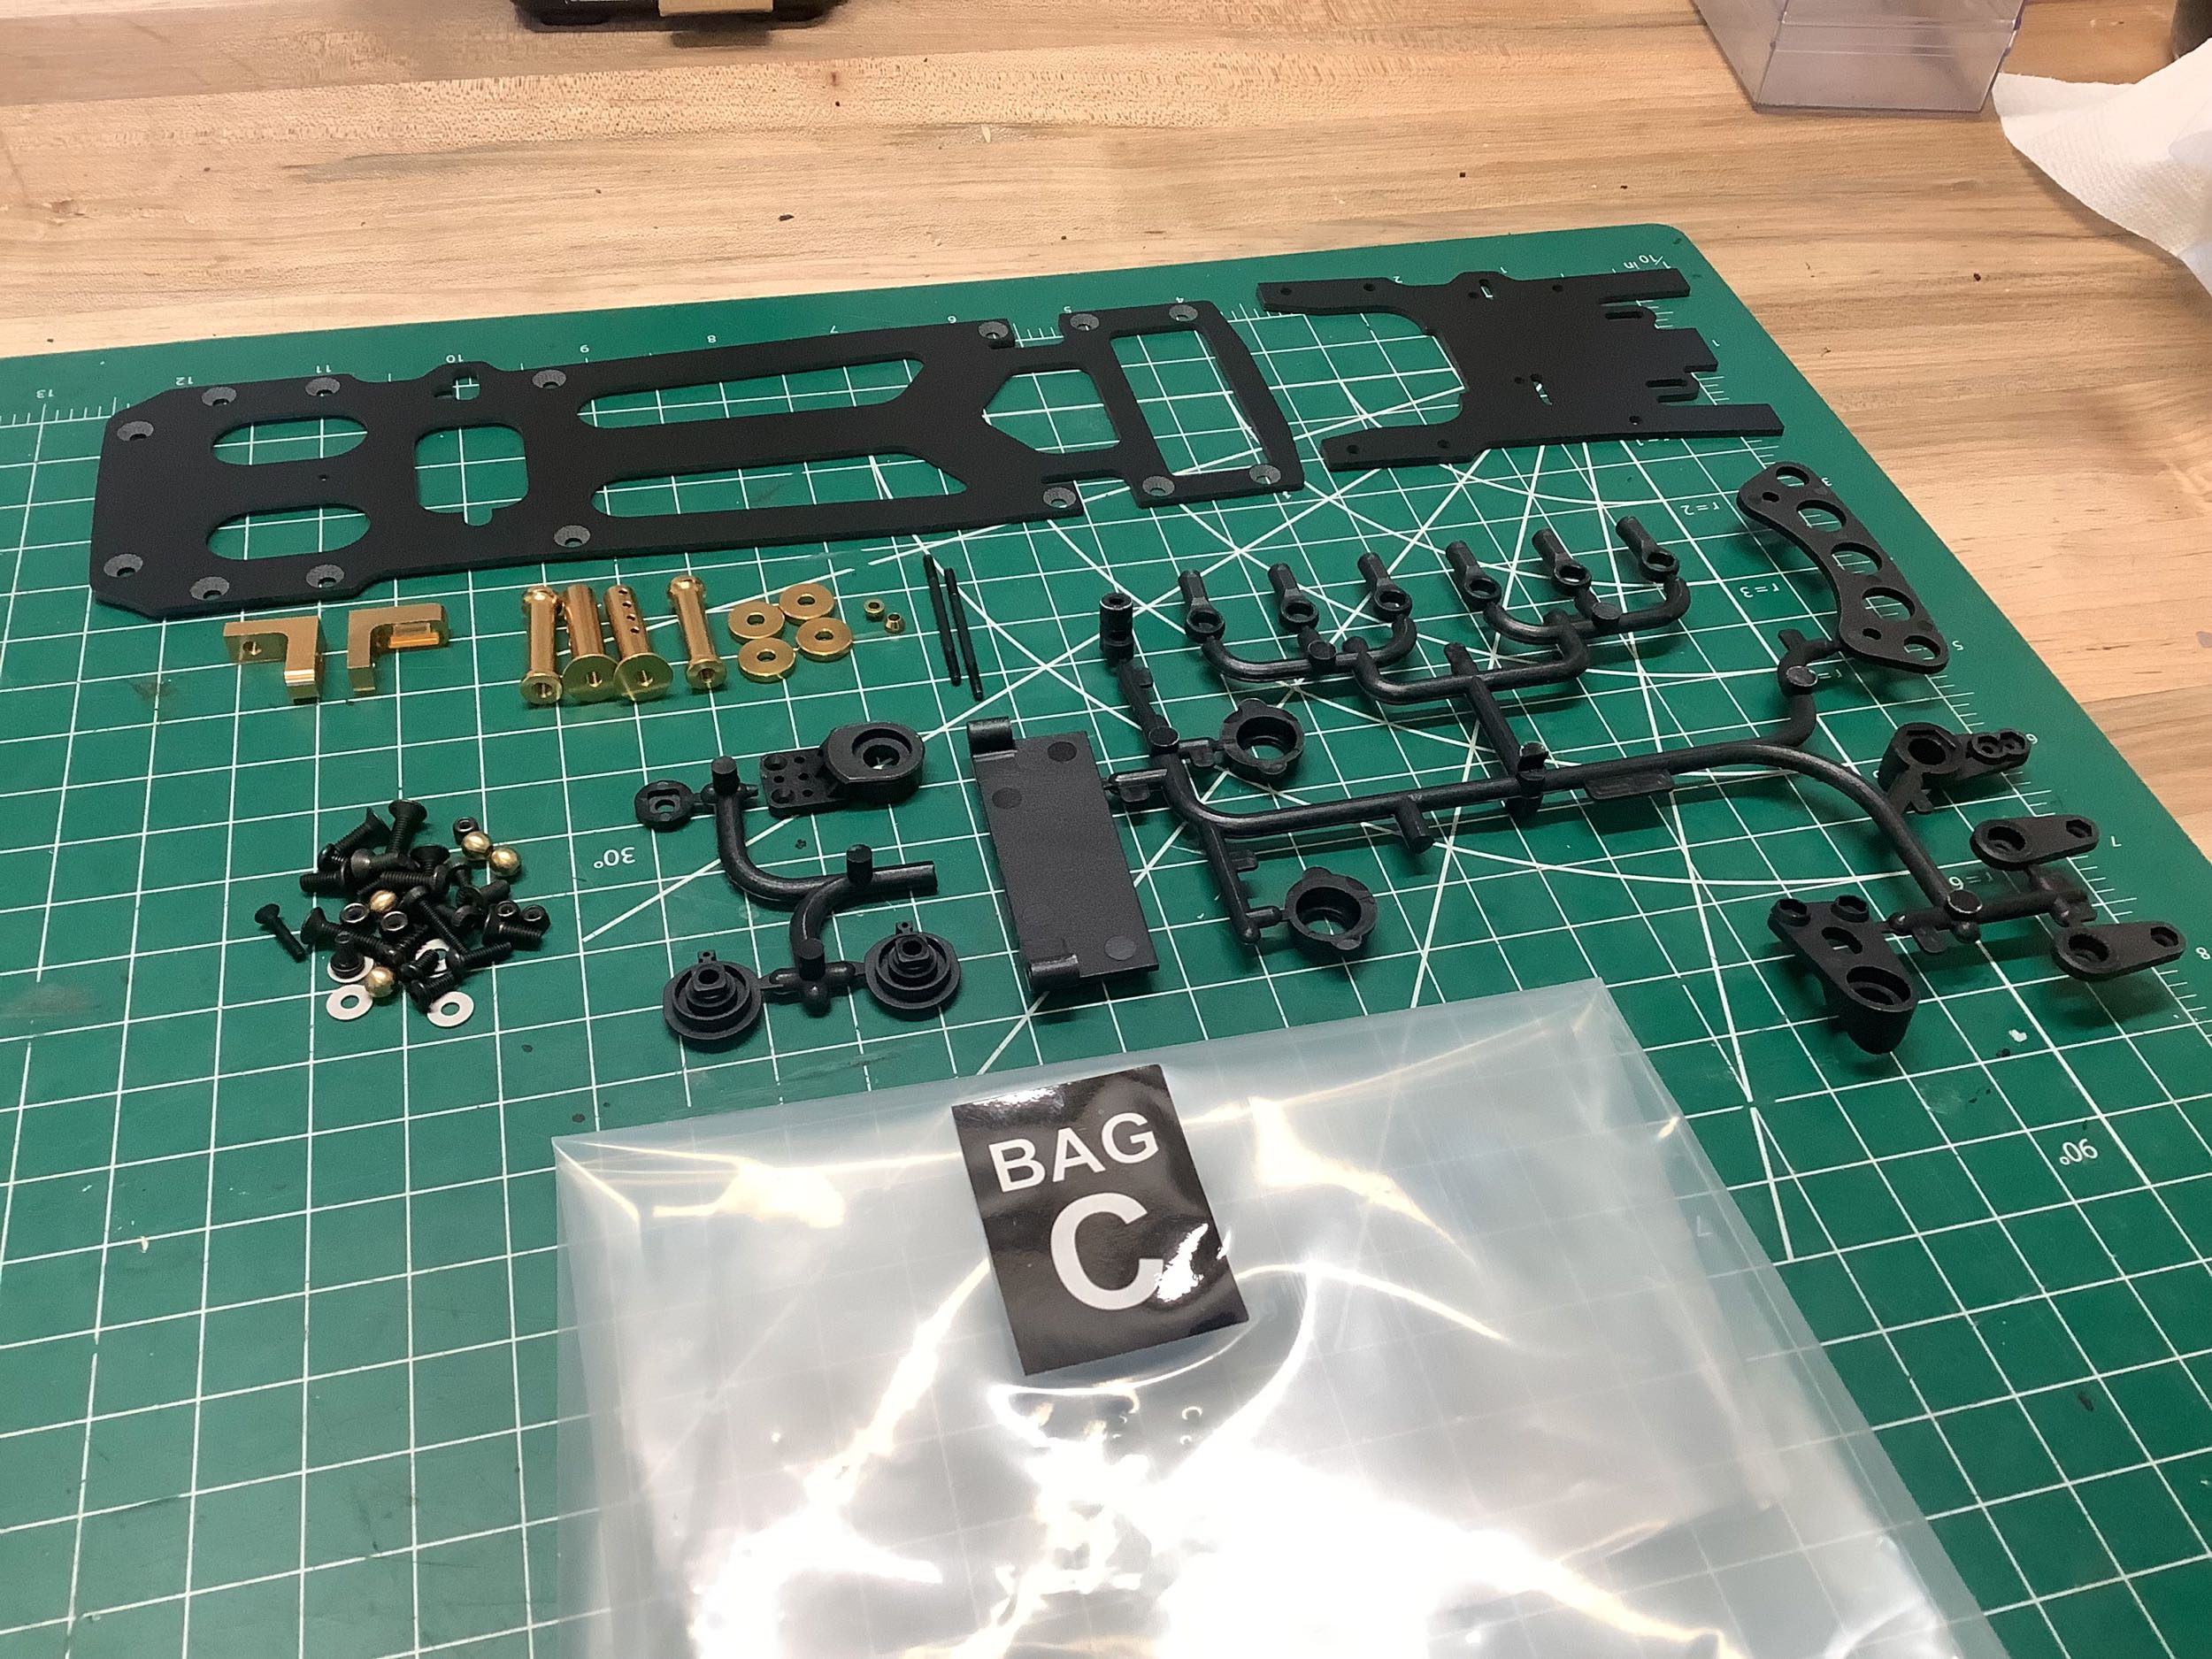
Bag C contains the parts for the steering and lower chassis. The chassis plates are still FRP.
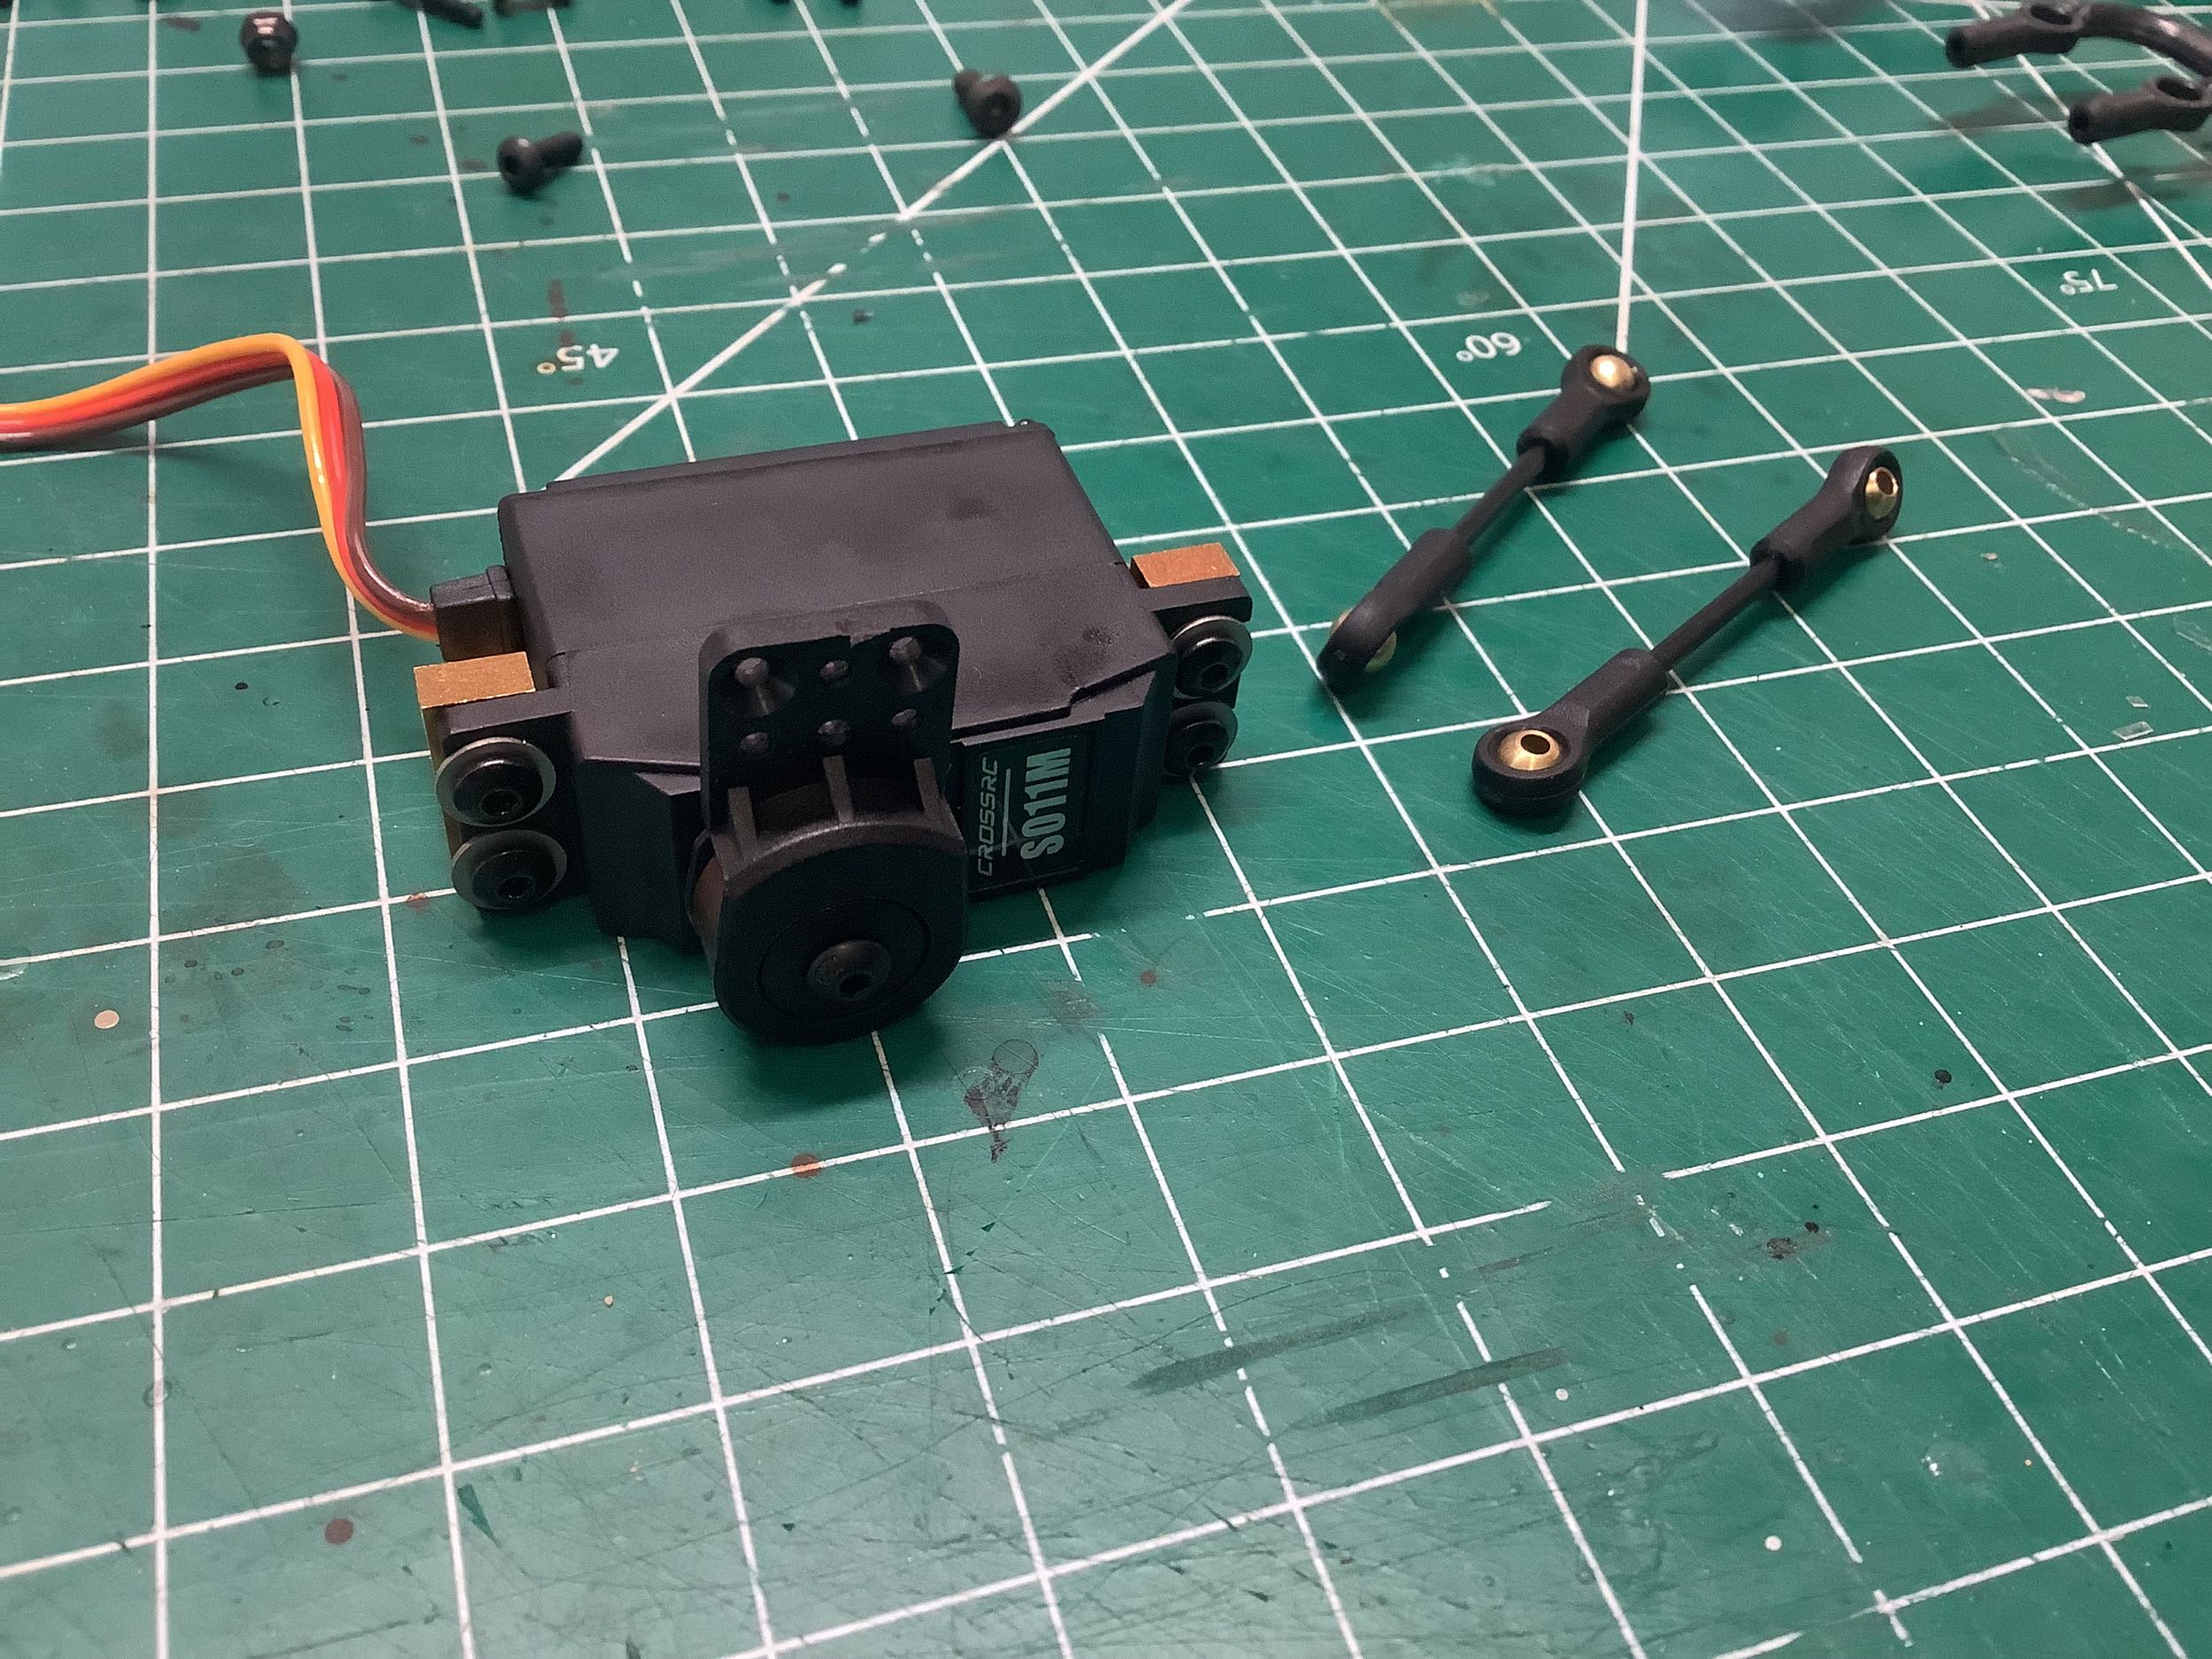
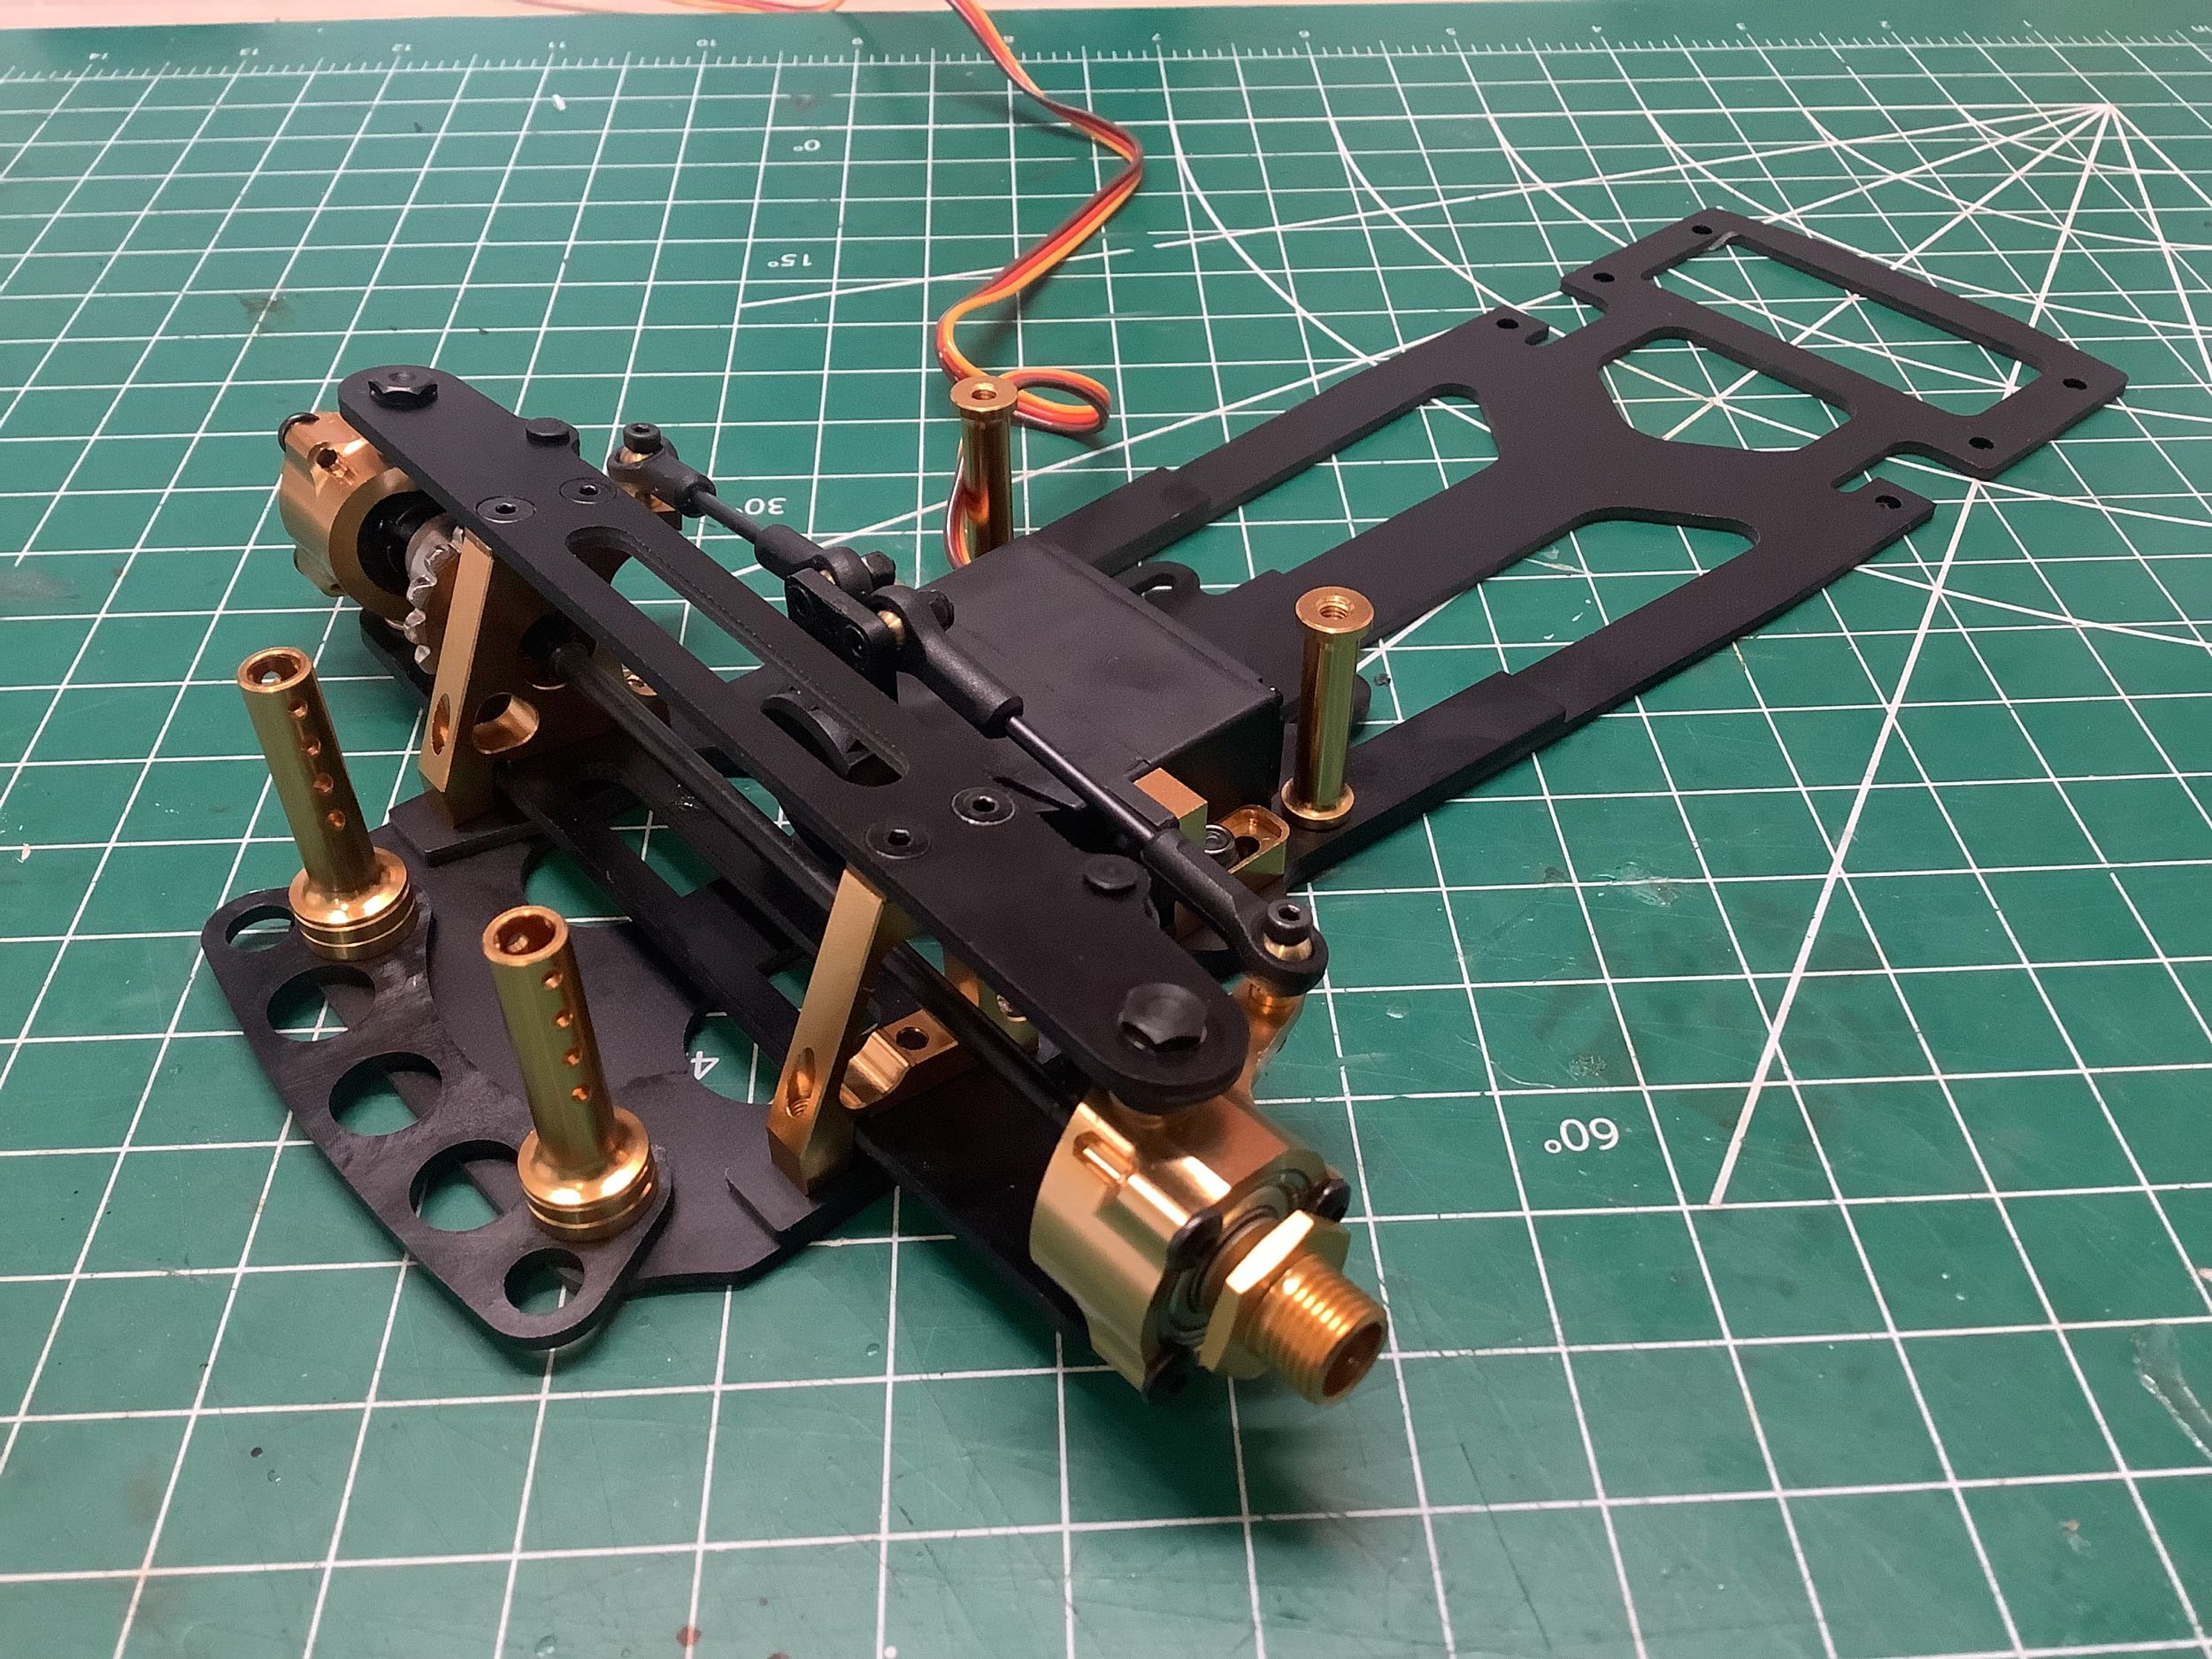
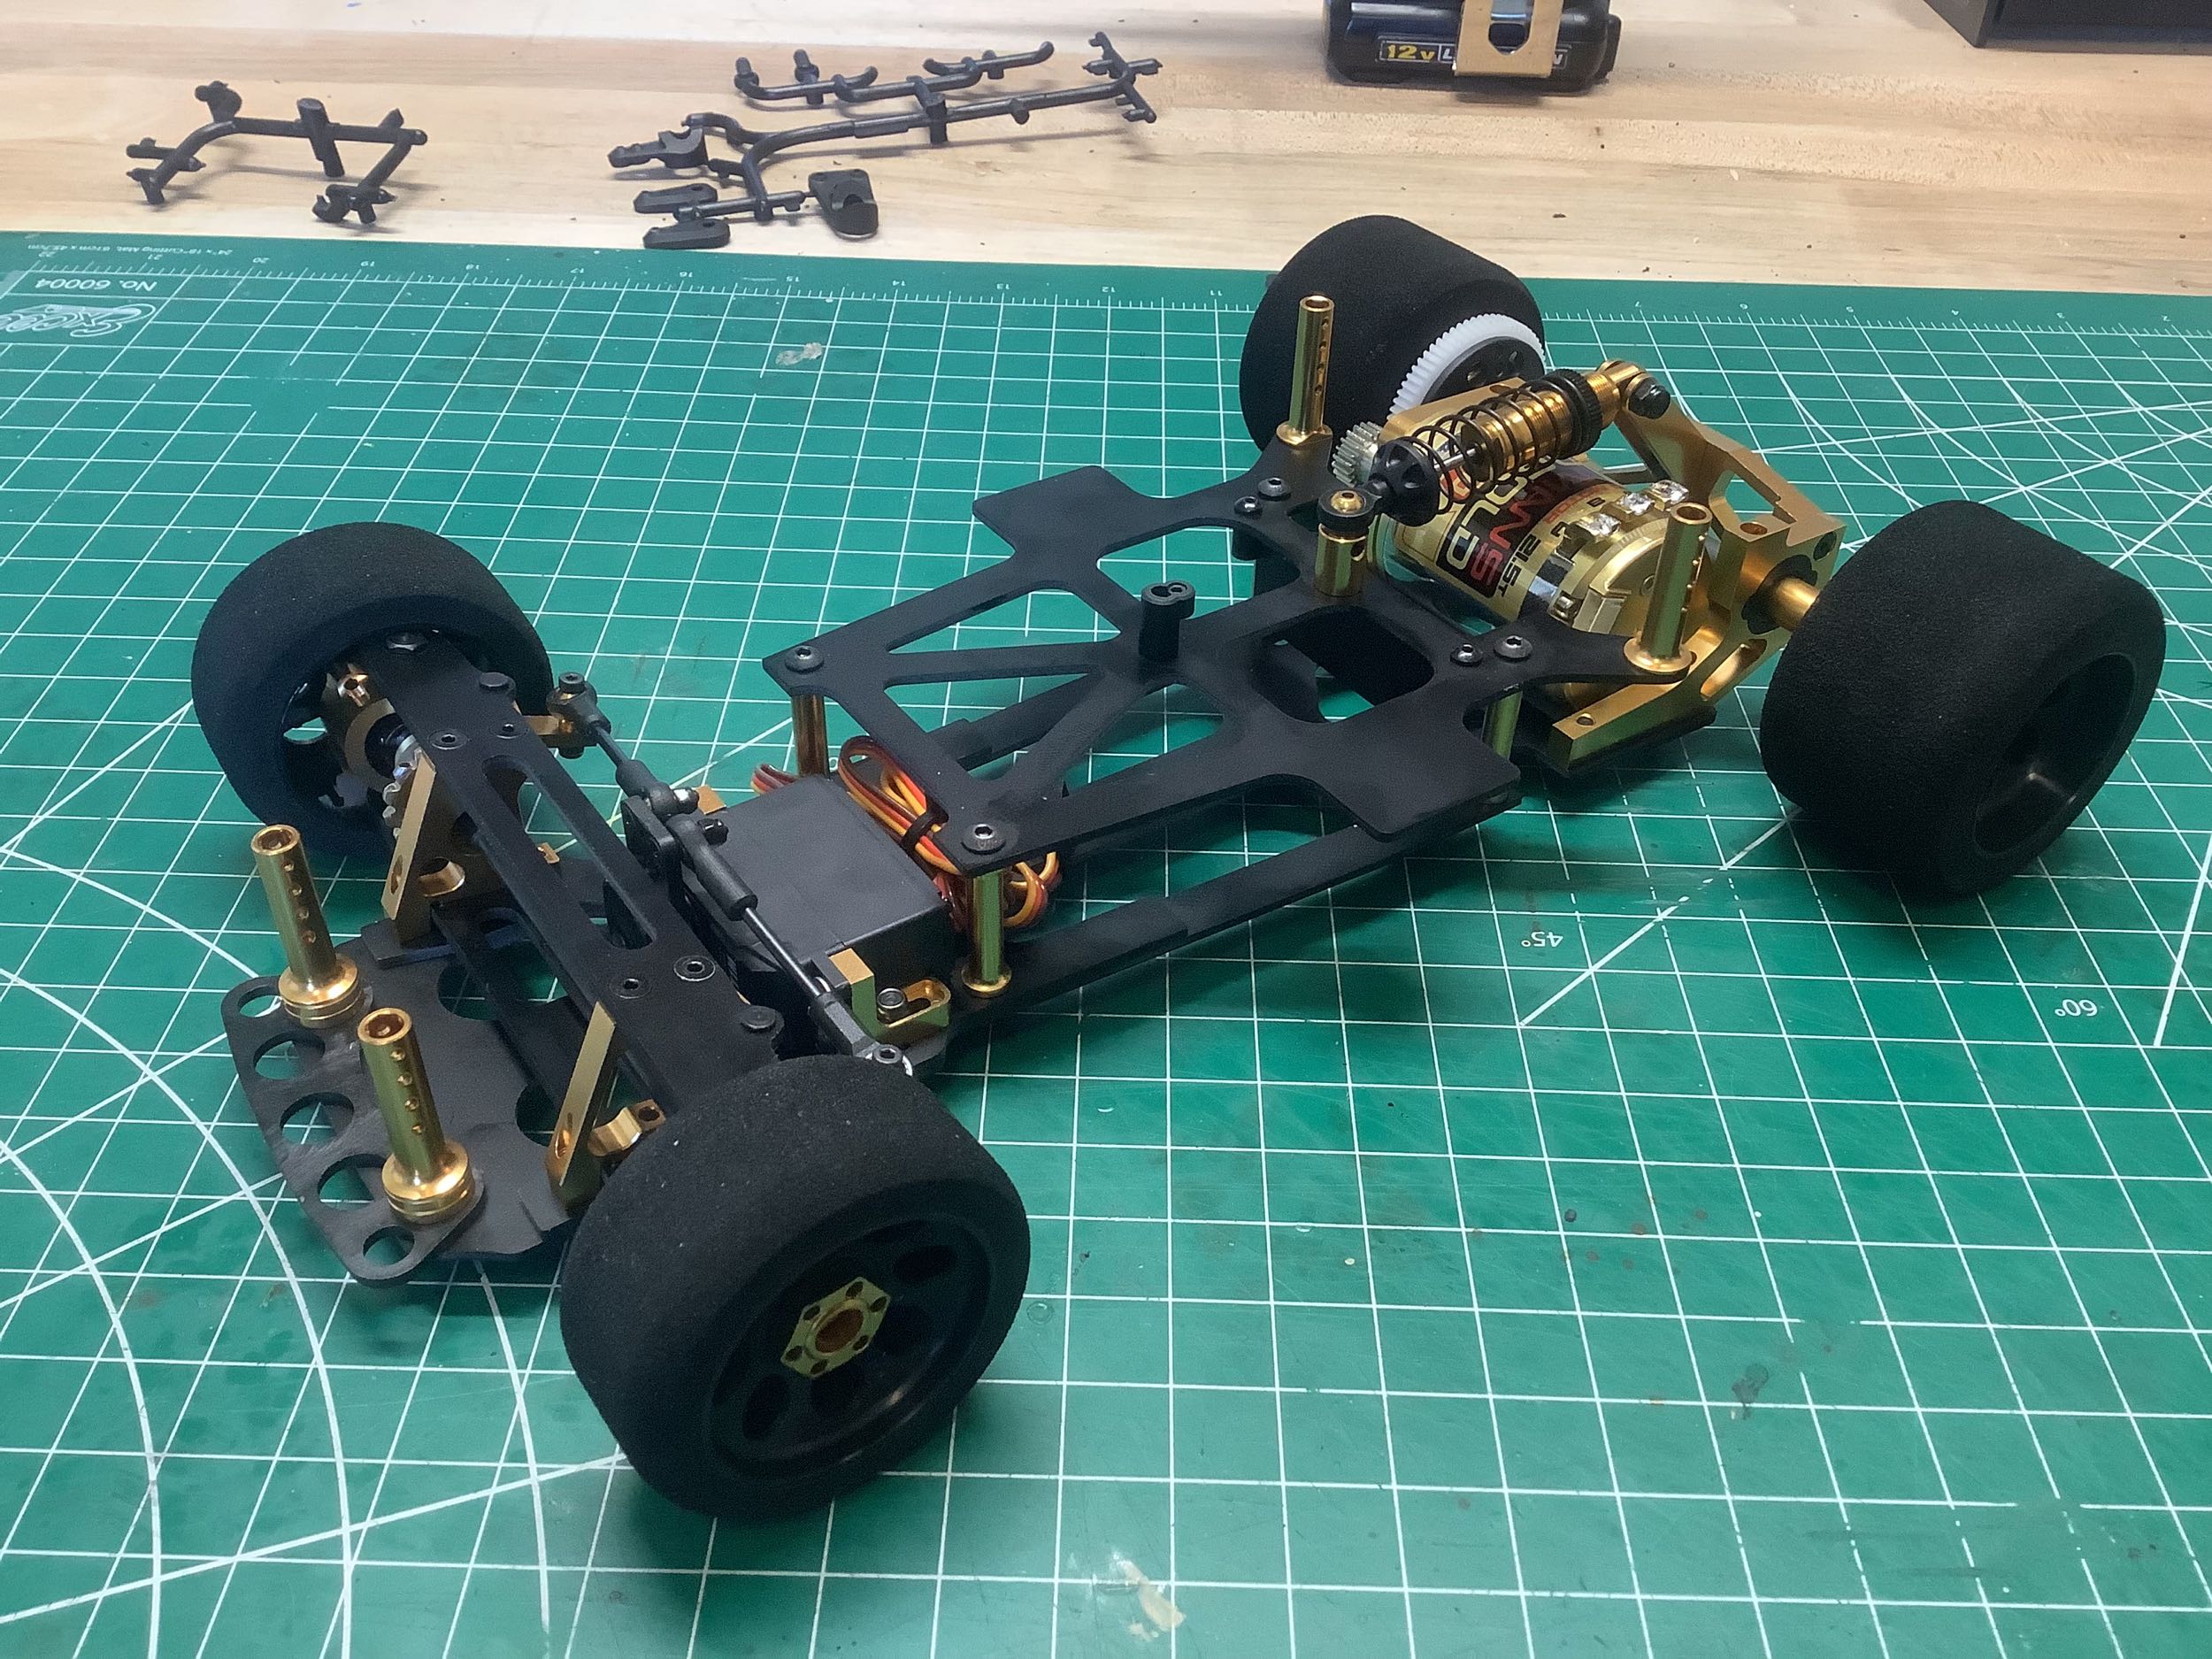
The chassis still uses a mini servo, but where it was previously
suspended from the upper chassis plate, it is now attached to the lower
and has the steering arms at a much more reasonable angle. The servo
saver is now mounted directly to the servo instead of the chassis.
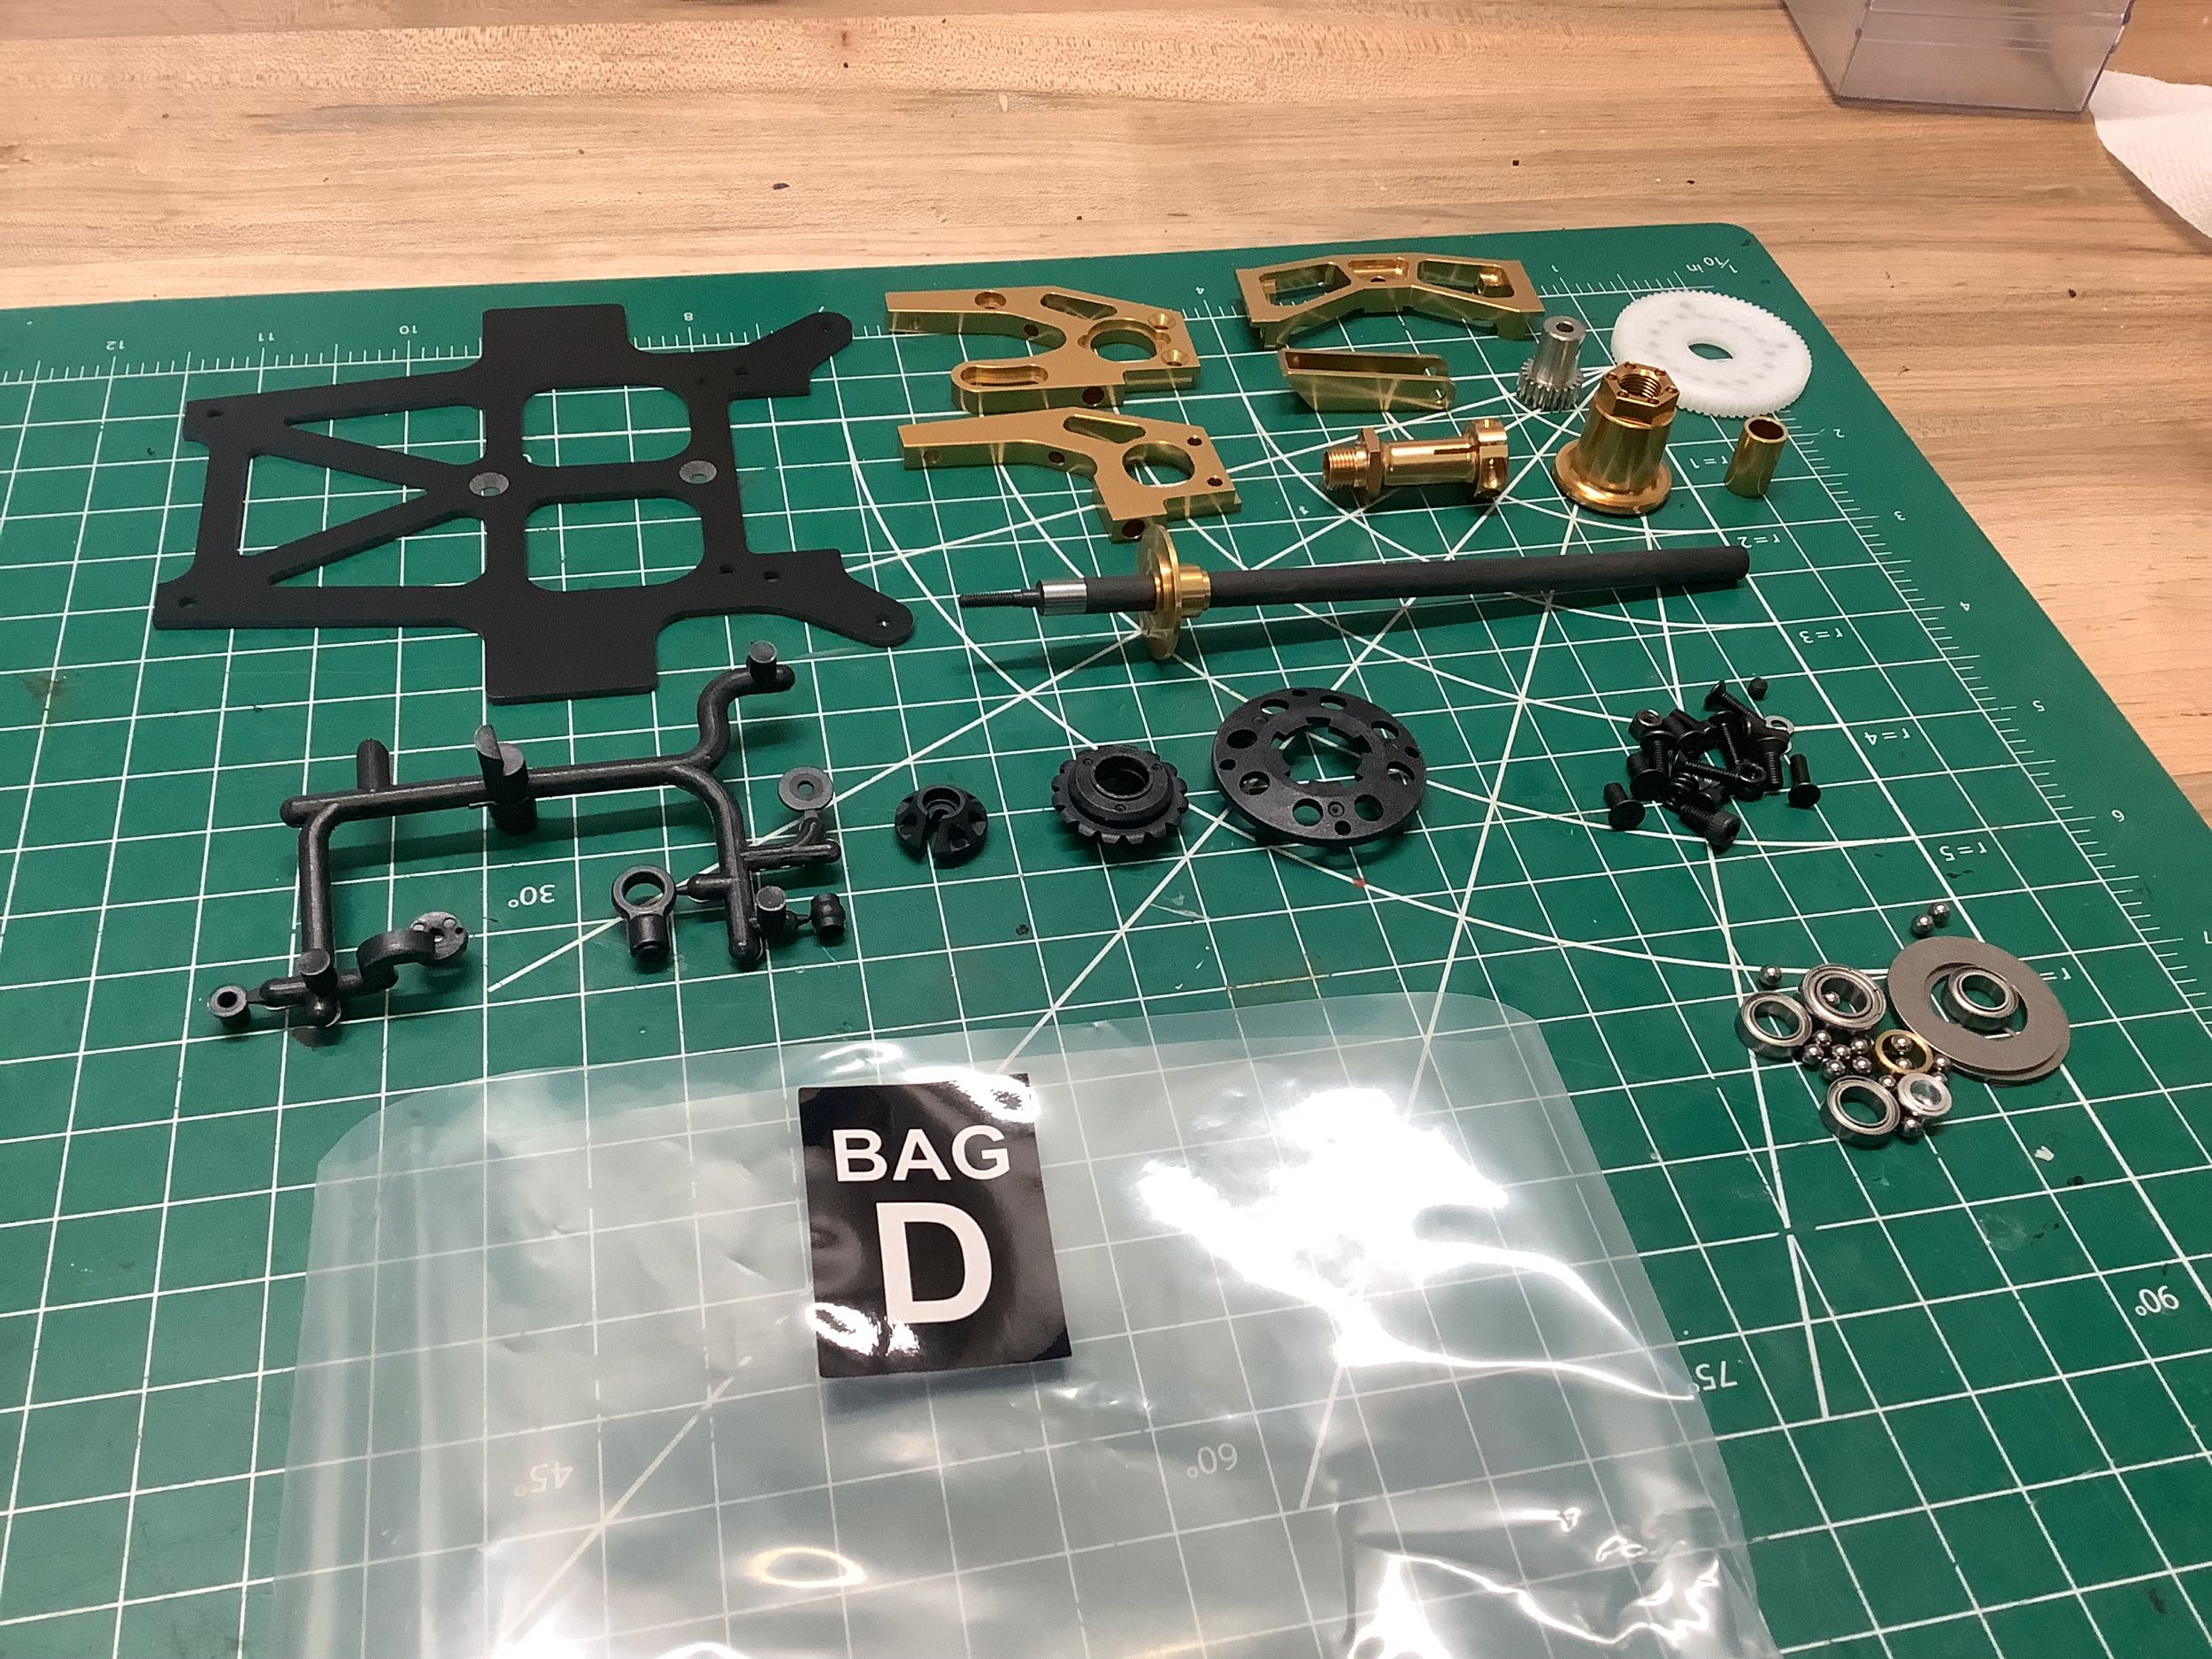
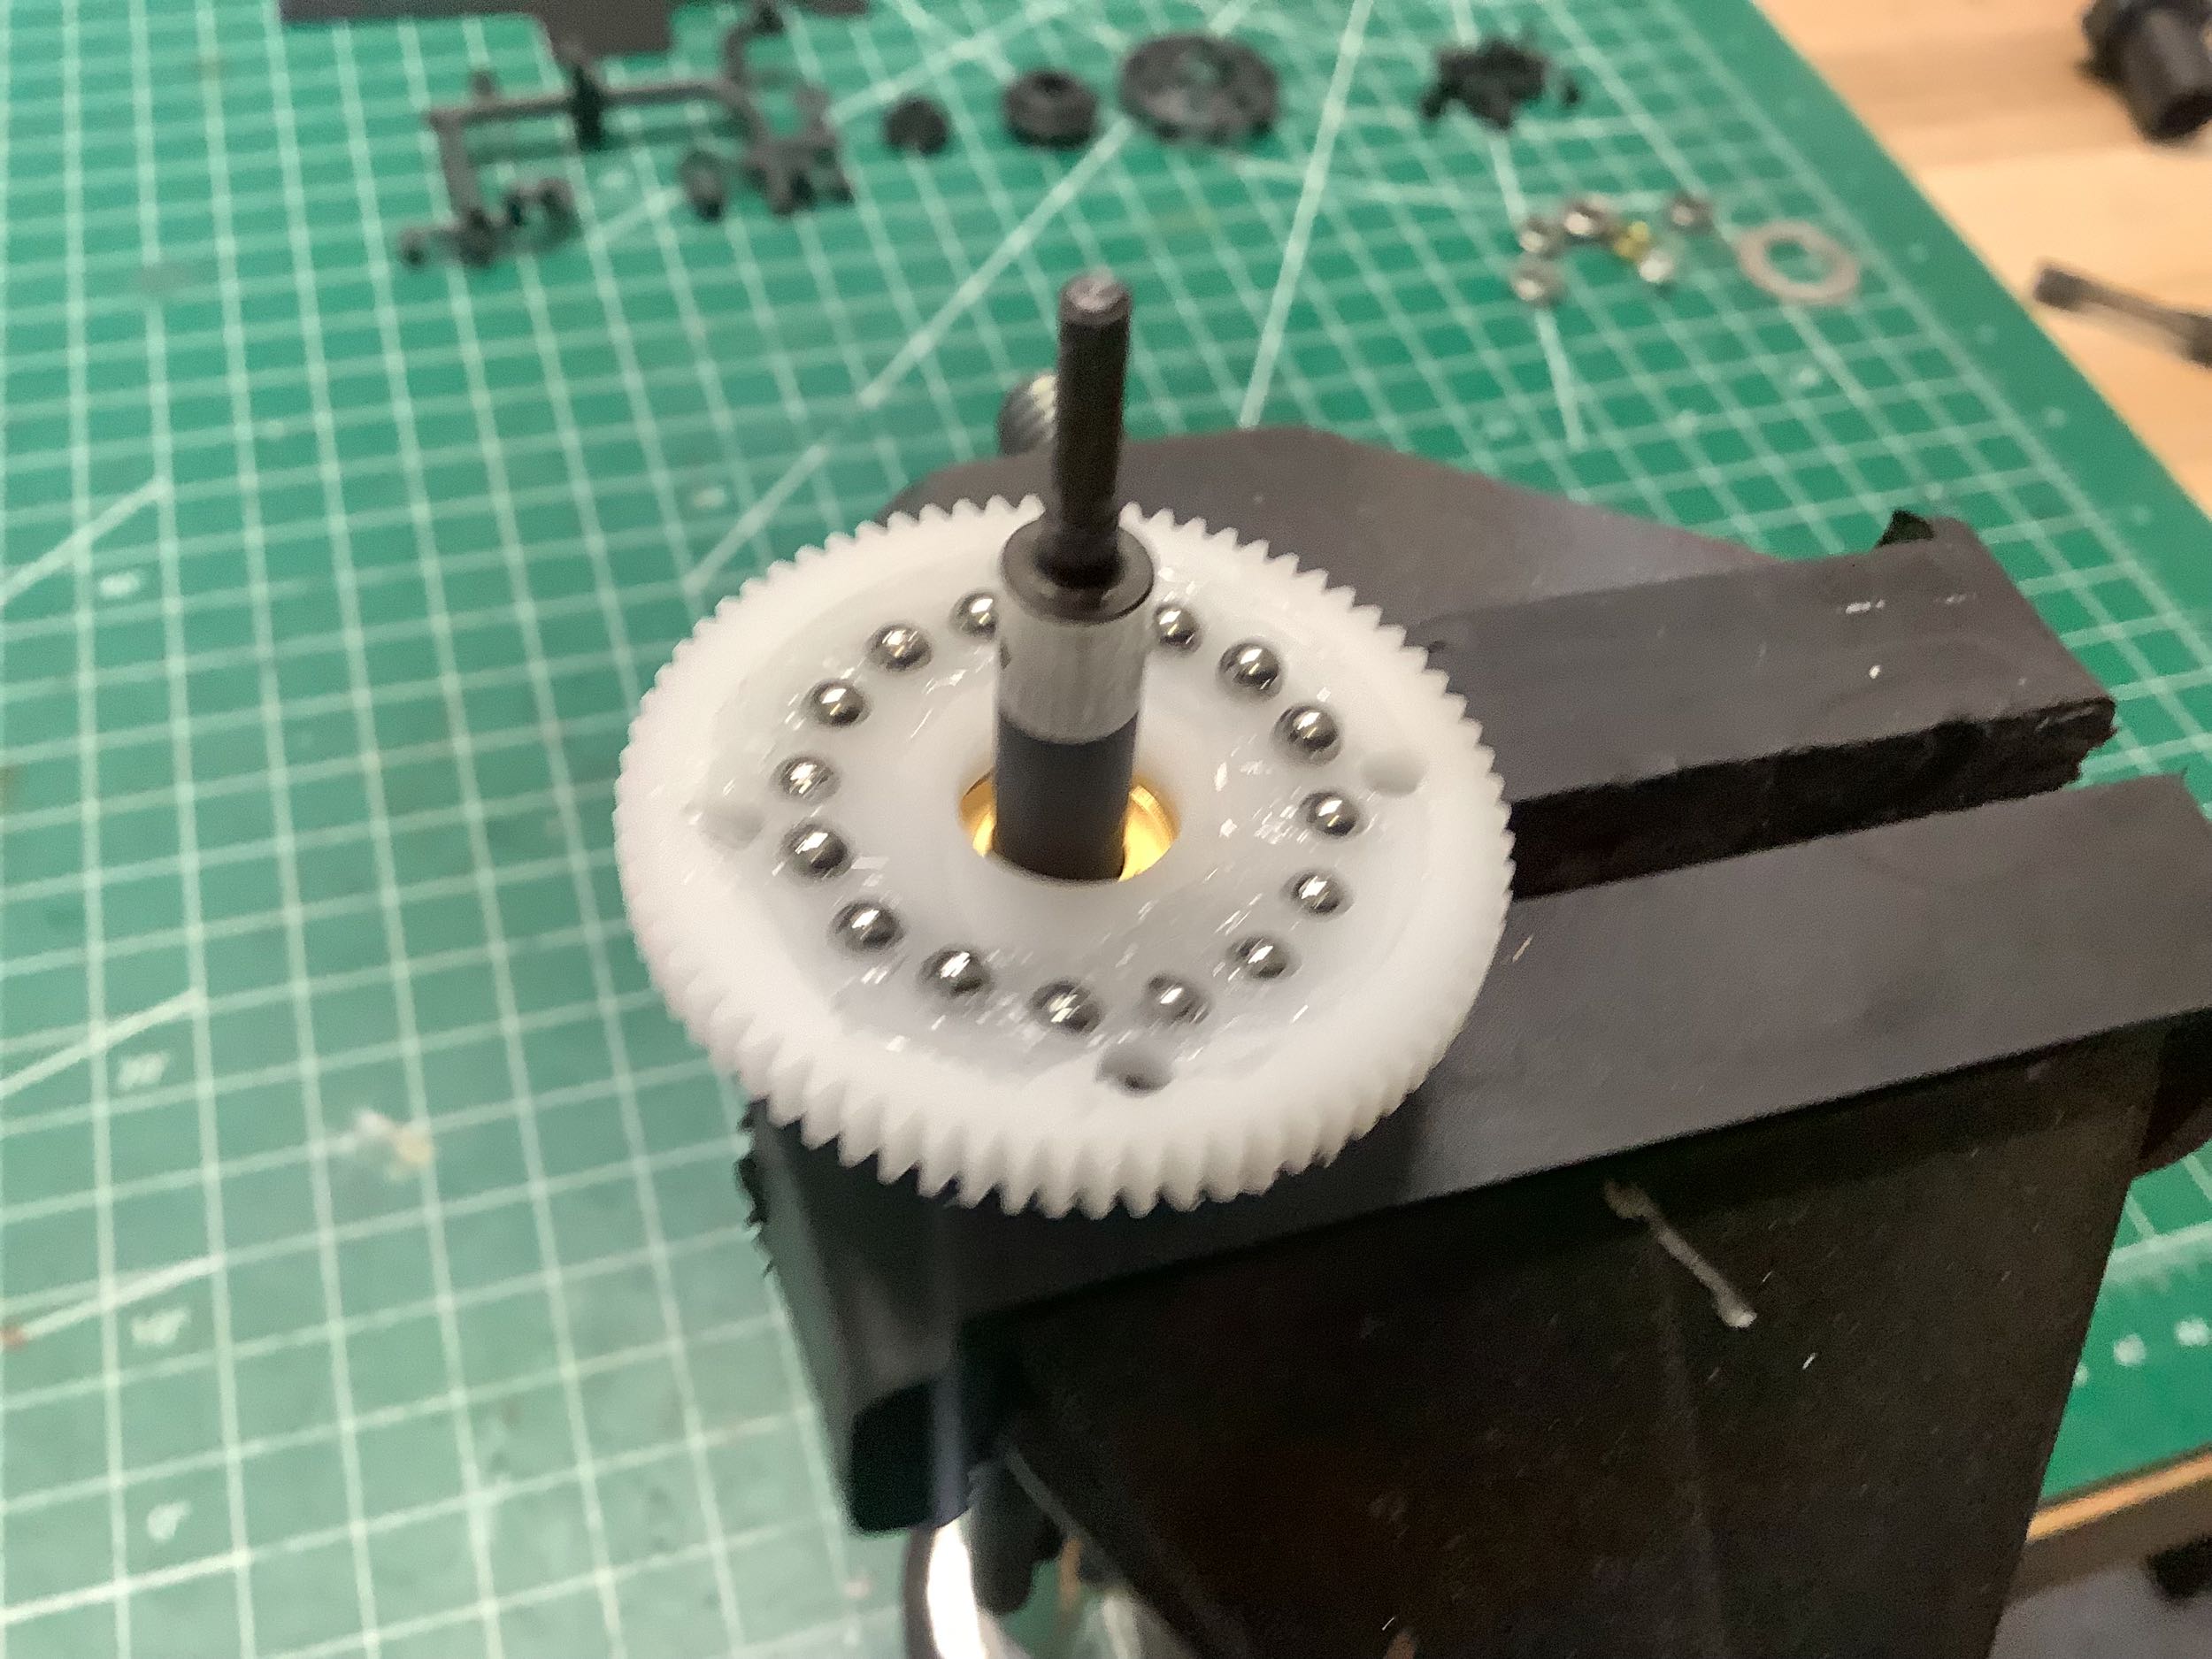
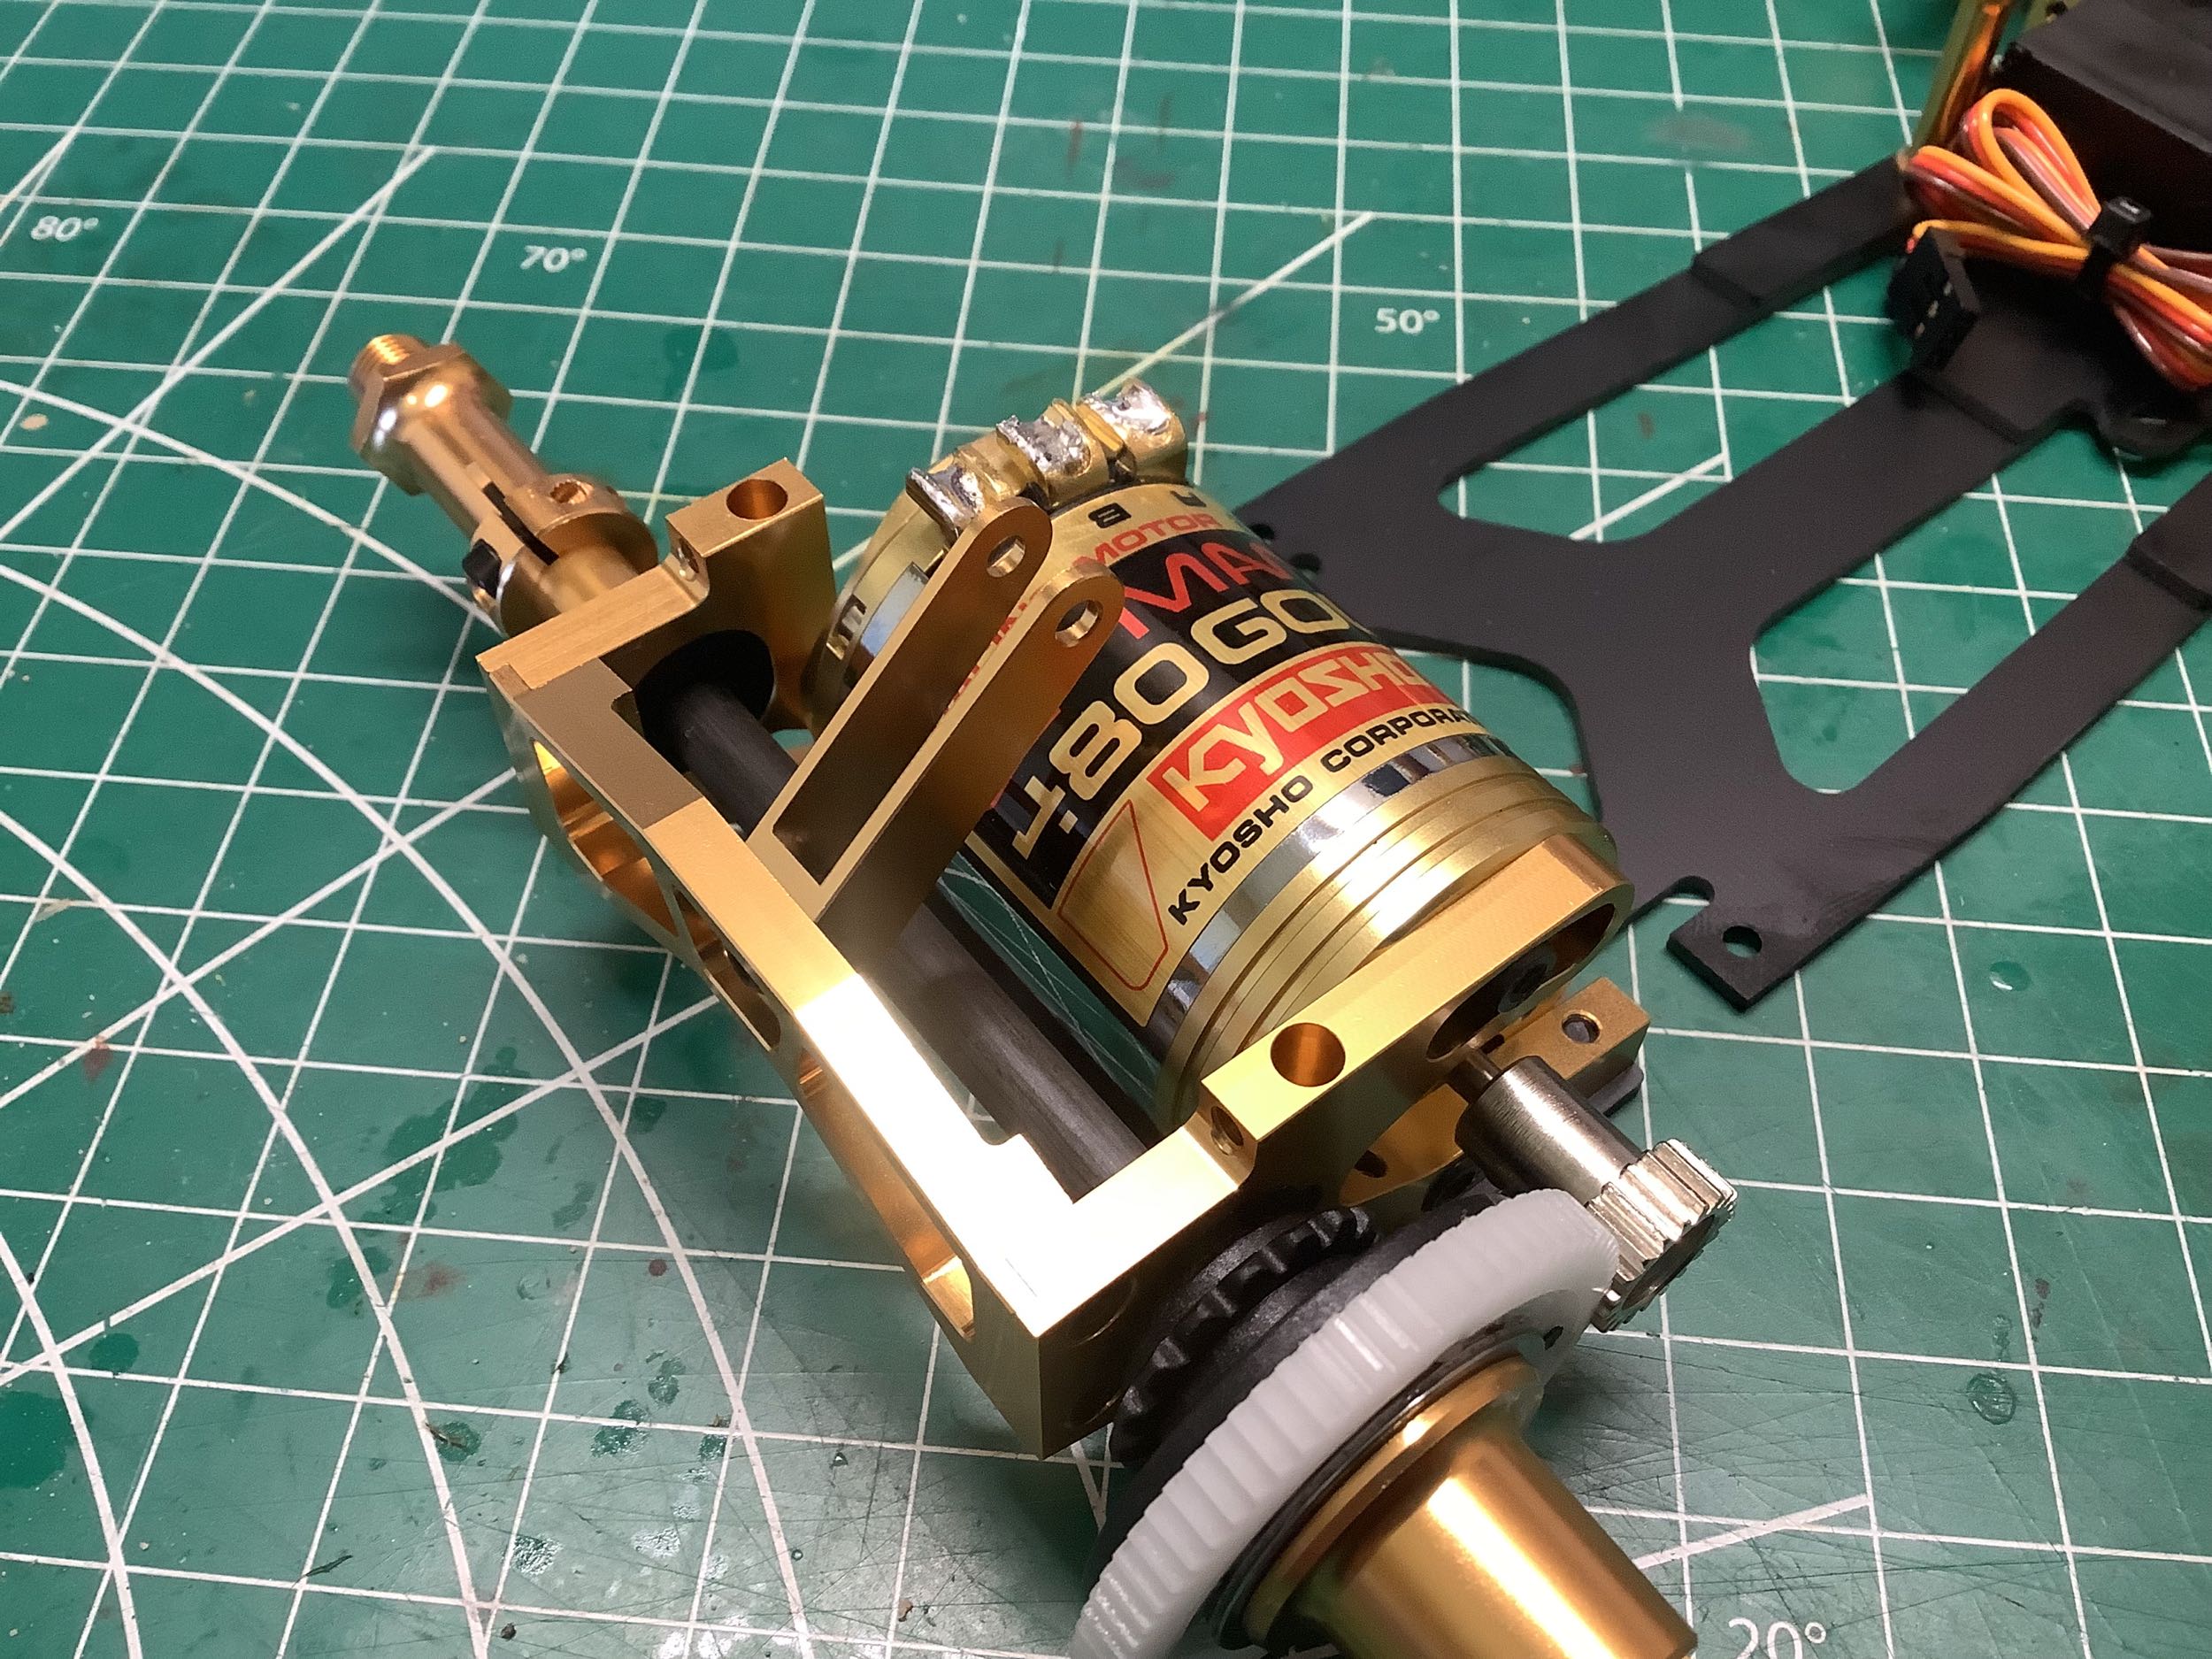
Bag D has the parts for the rear axle. Both the regular Fantom and
the Ext used a gear differential, but this gold edition switches to a
ball differential as shown.
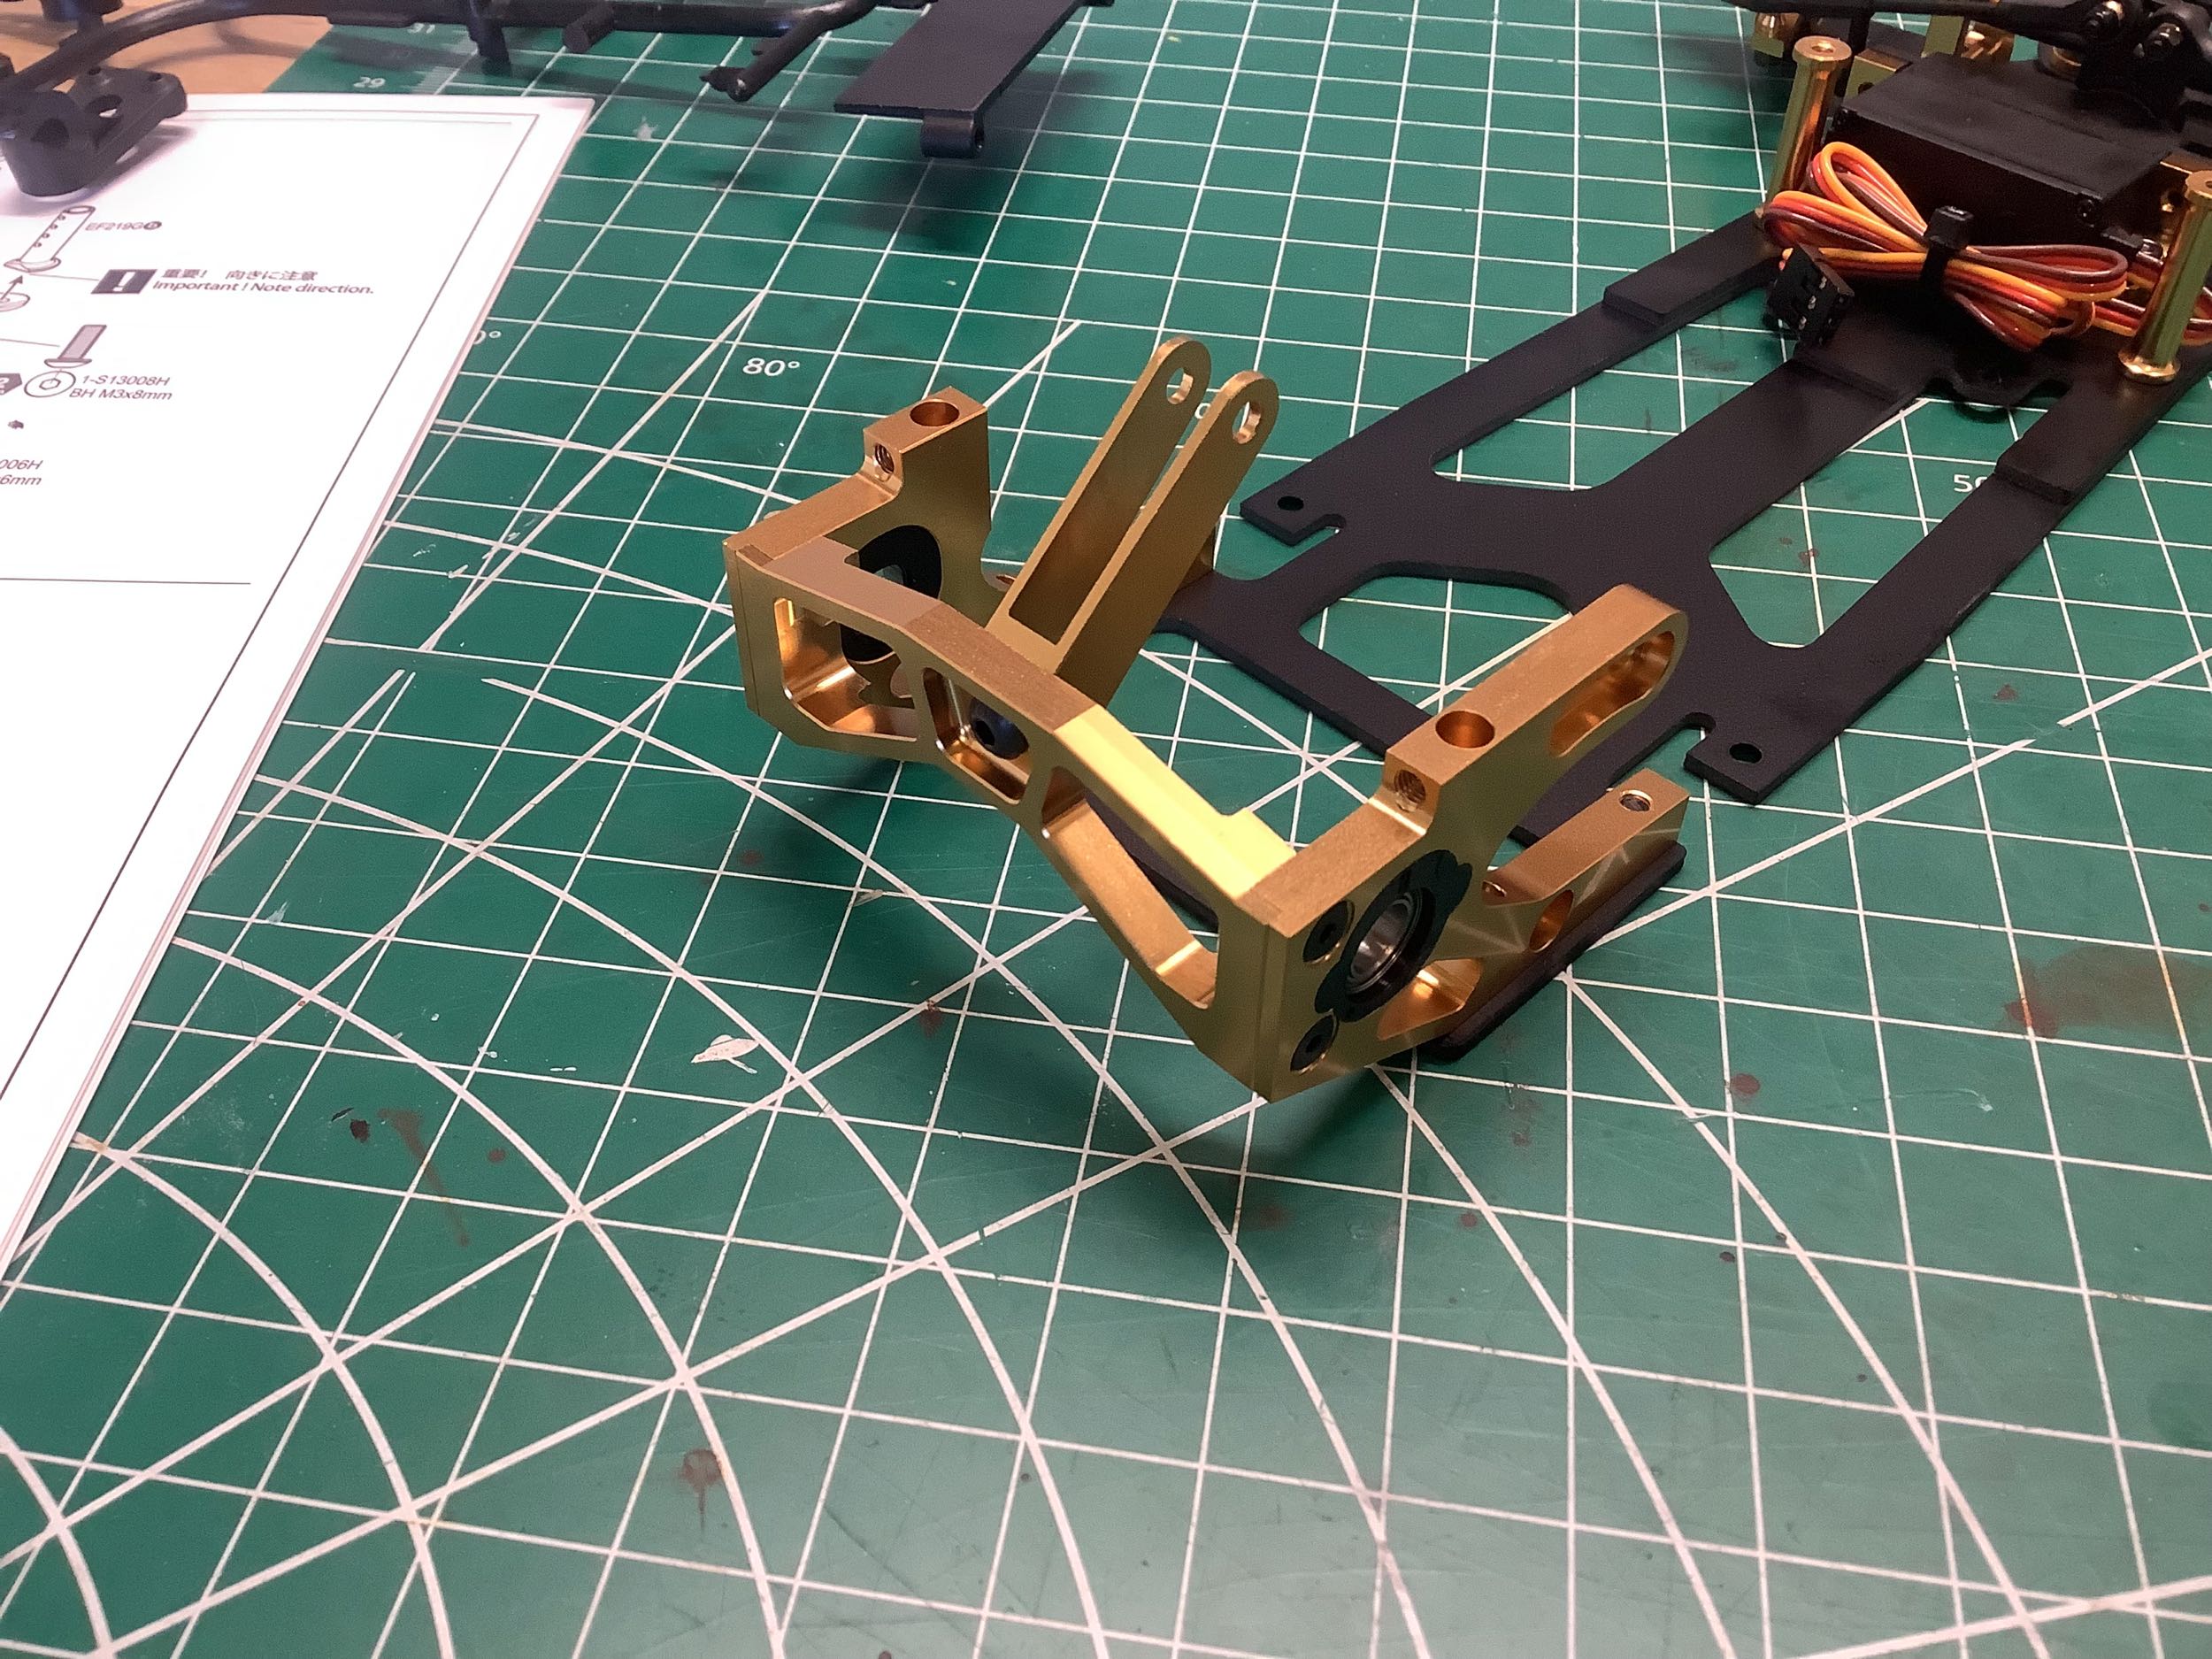
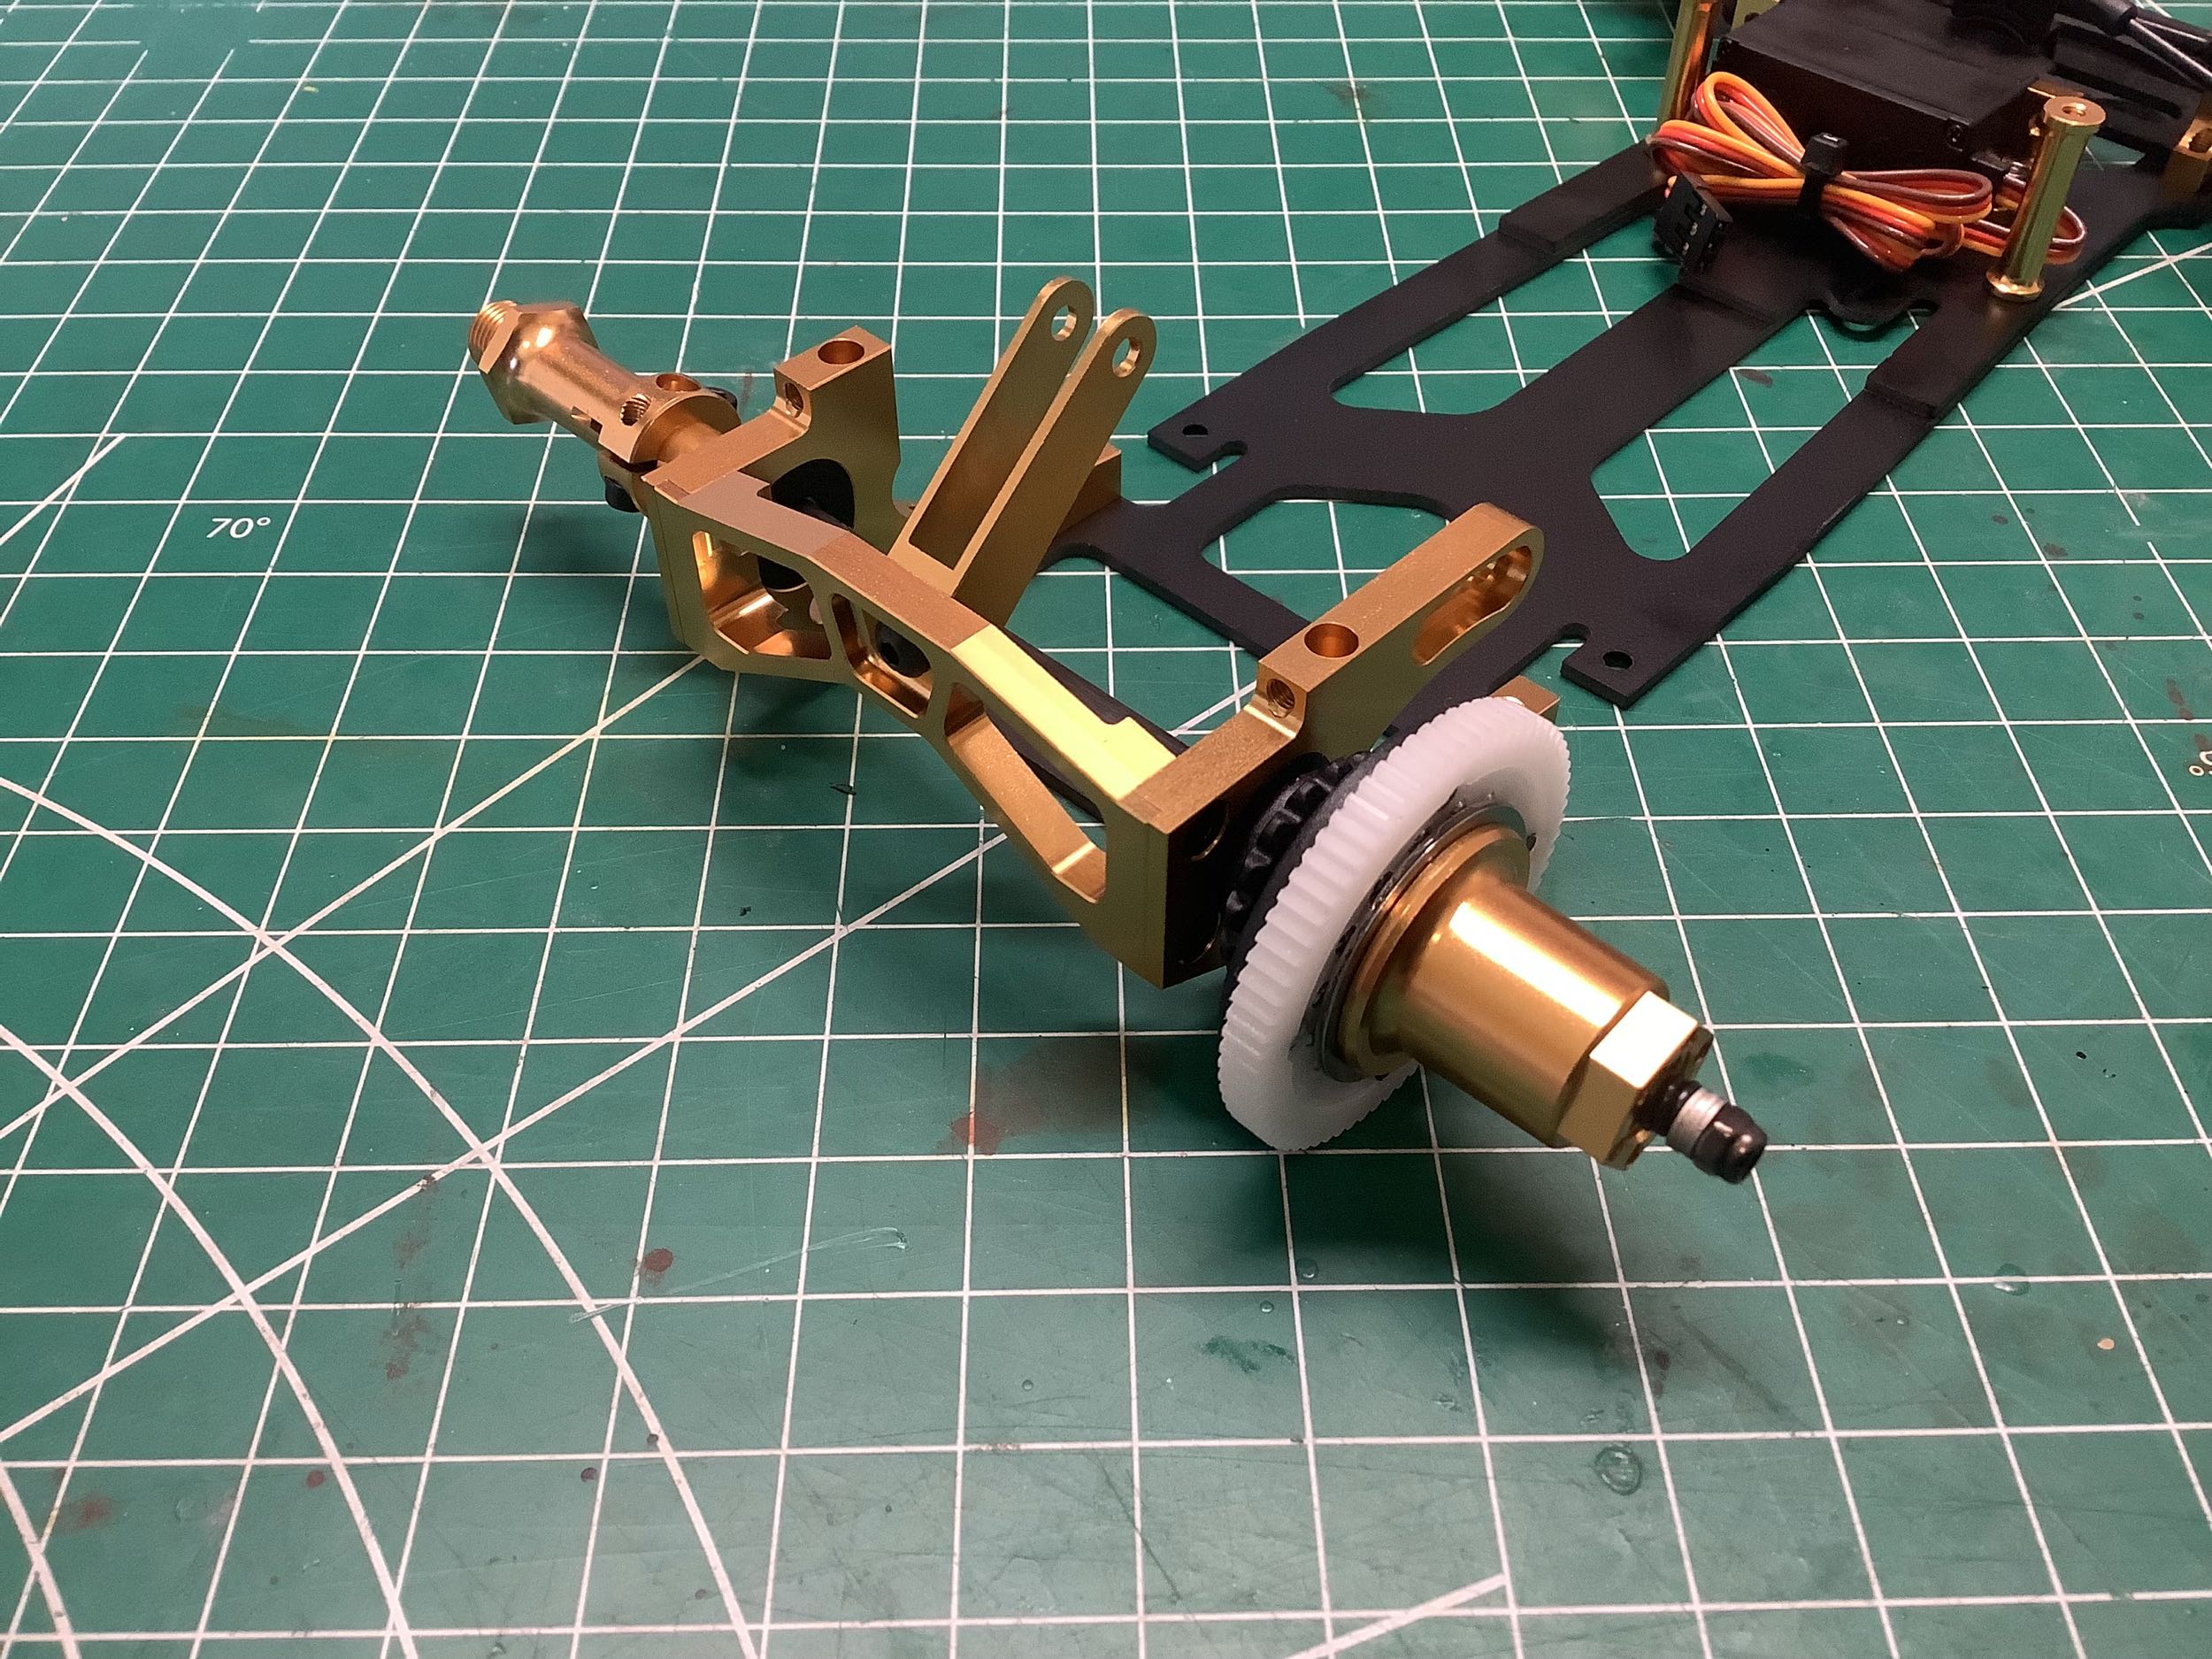
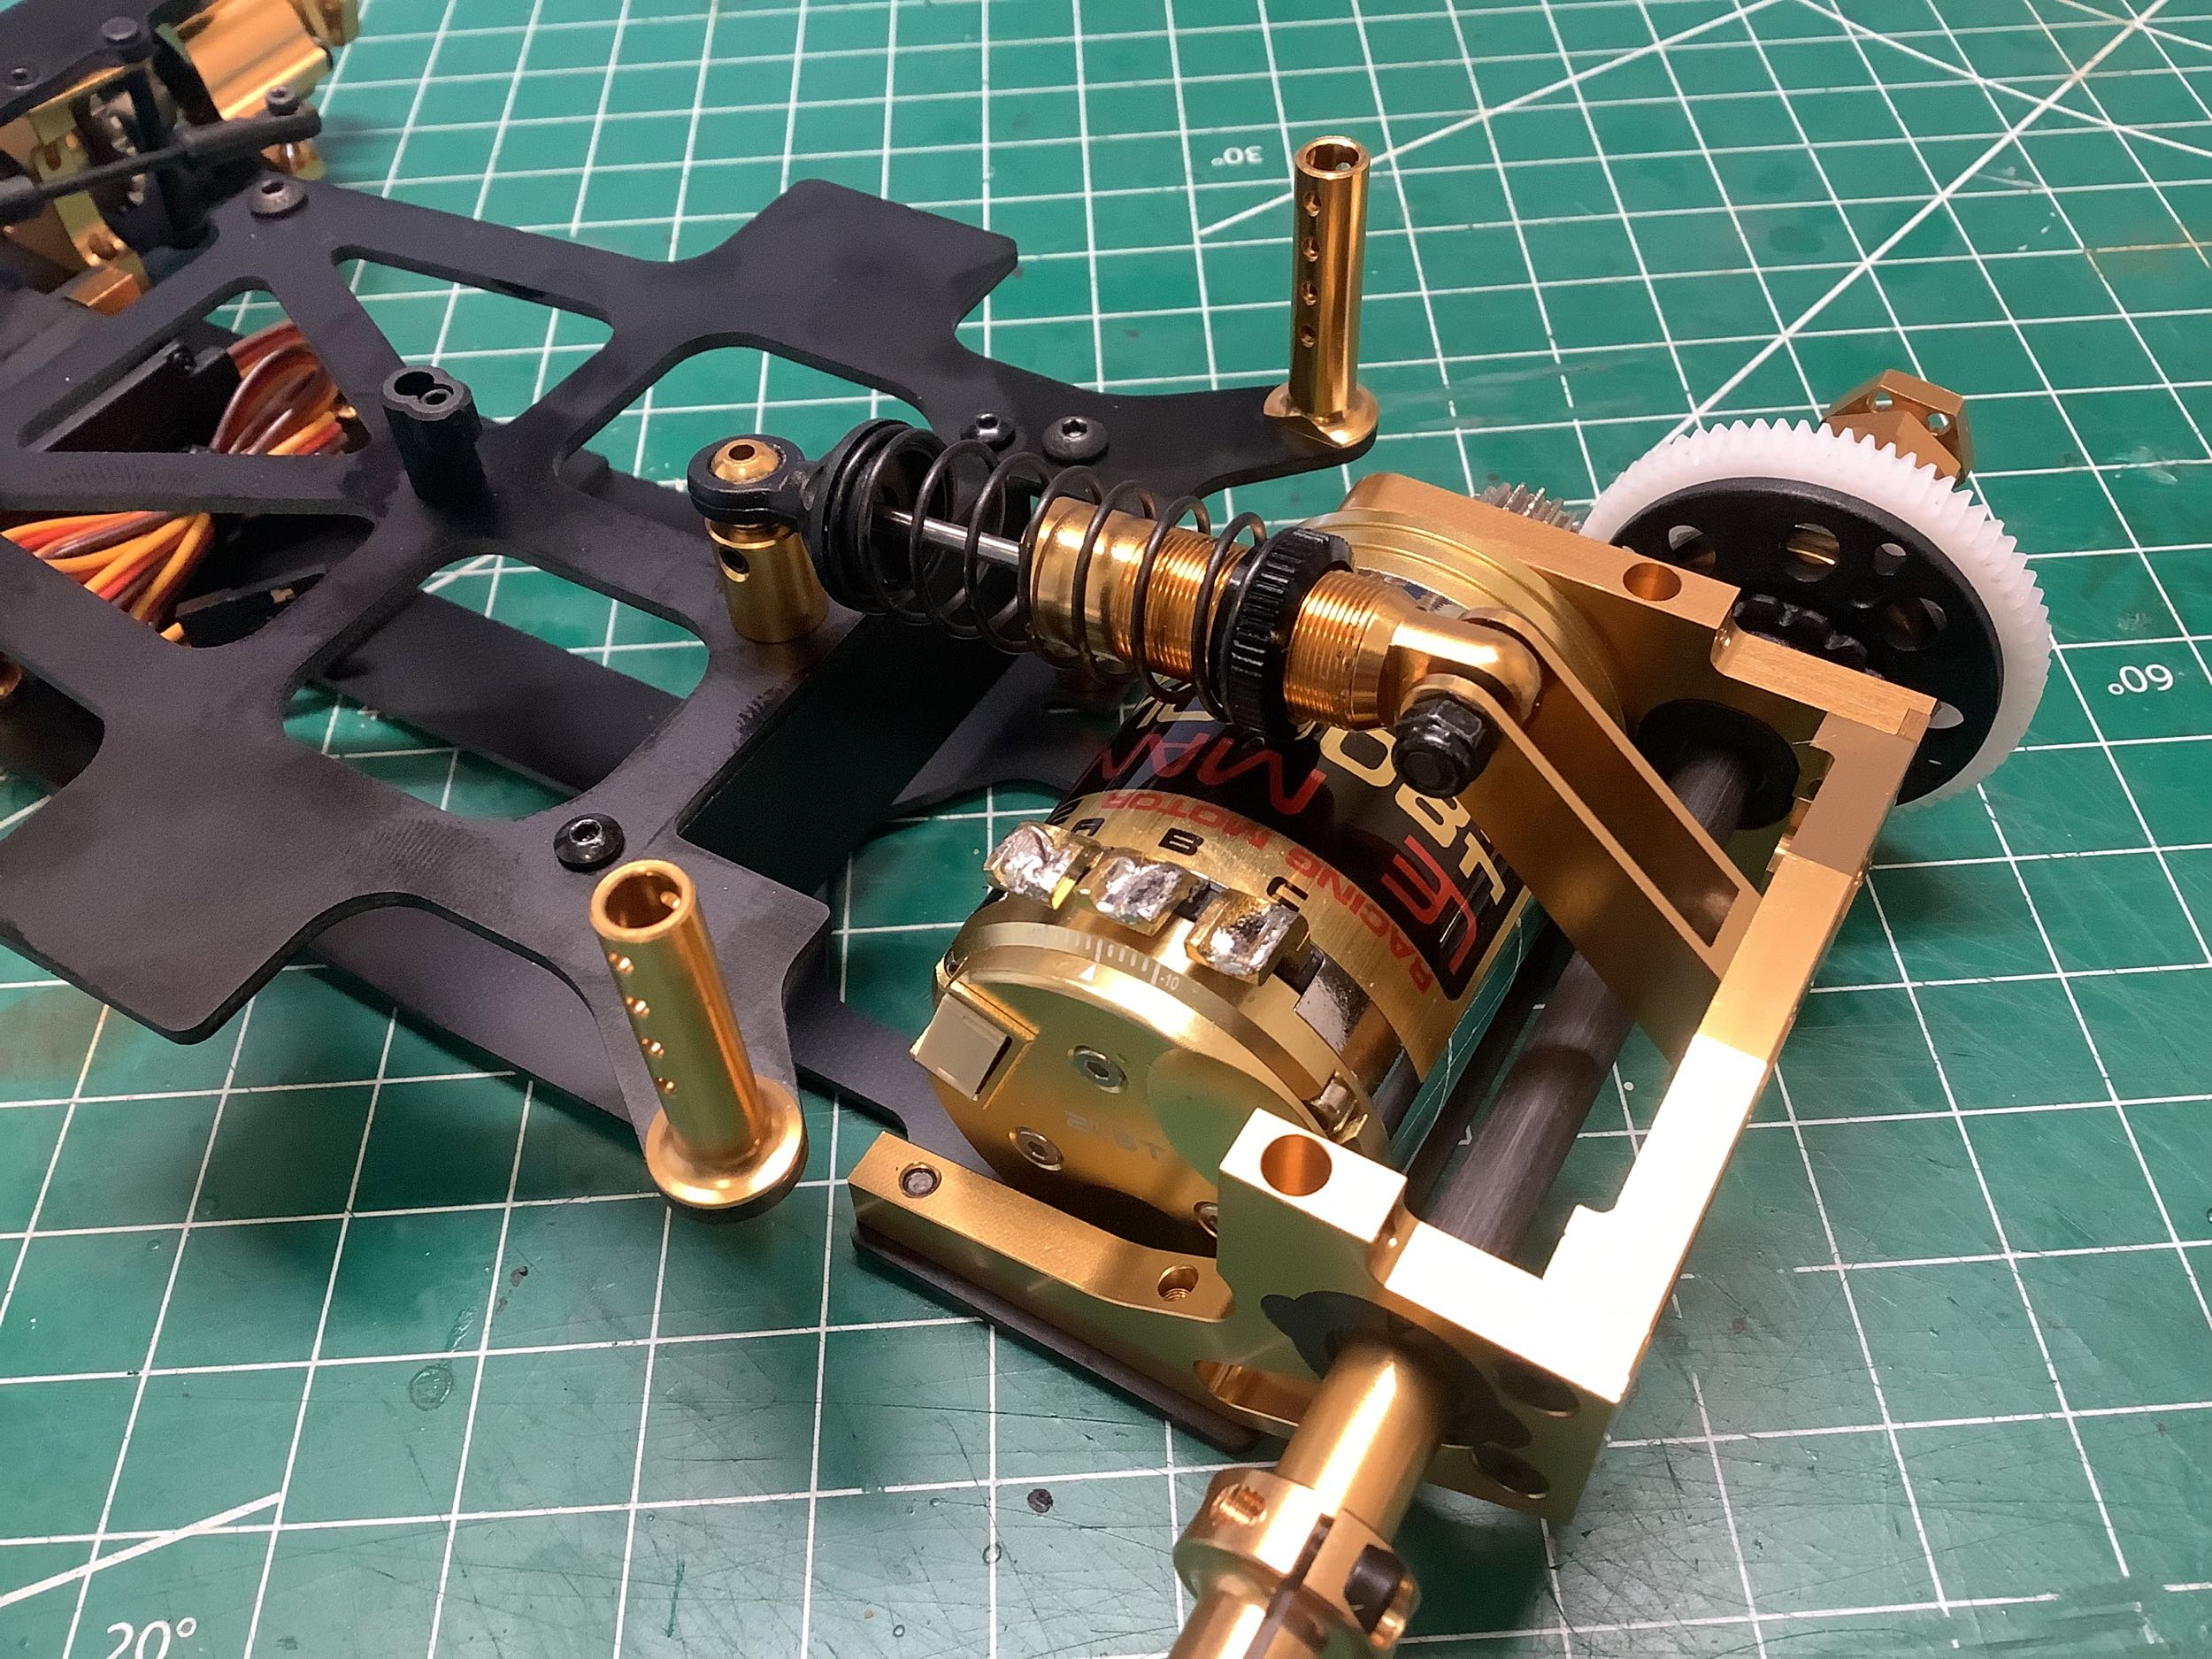
Compared to the standard Fantom, you can see the very obvious addition
of a tall clevis to attach the damper. Less obvious from the
photos is the rear carbon axle which is vastly lighter than the standard
steel.
Even though I'm not running this model, there was no way I could resist
including the stunning gold Le Mans 480 motor. It was made to go
here.
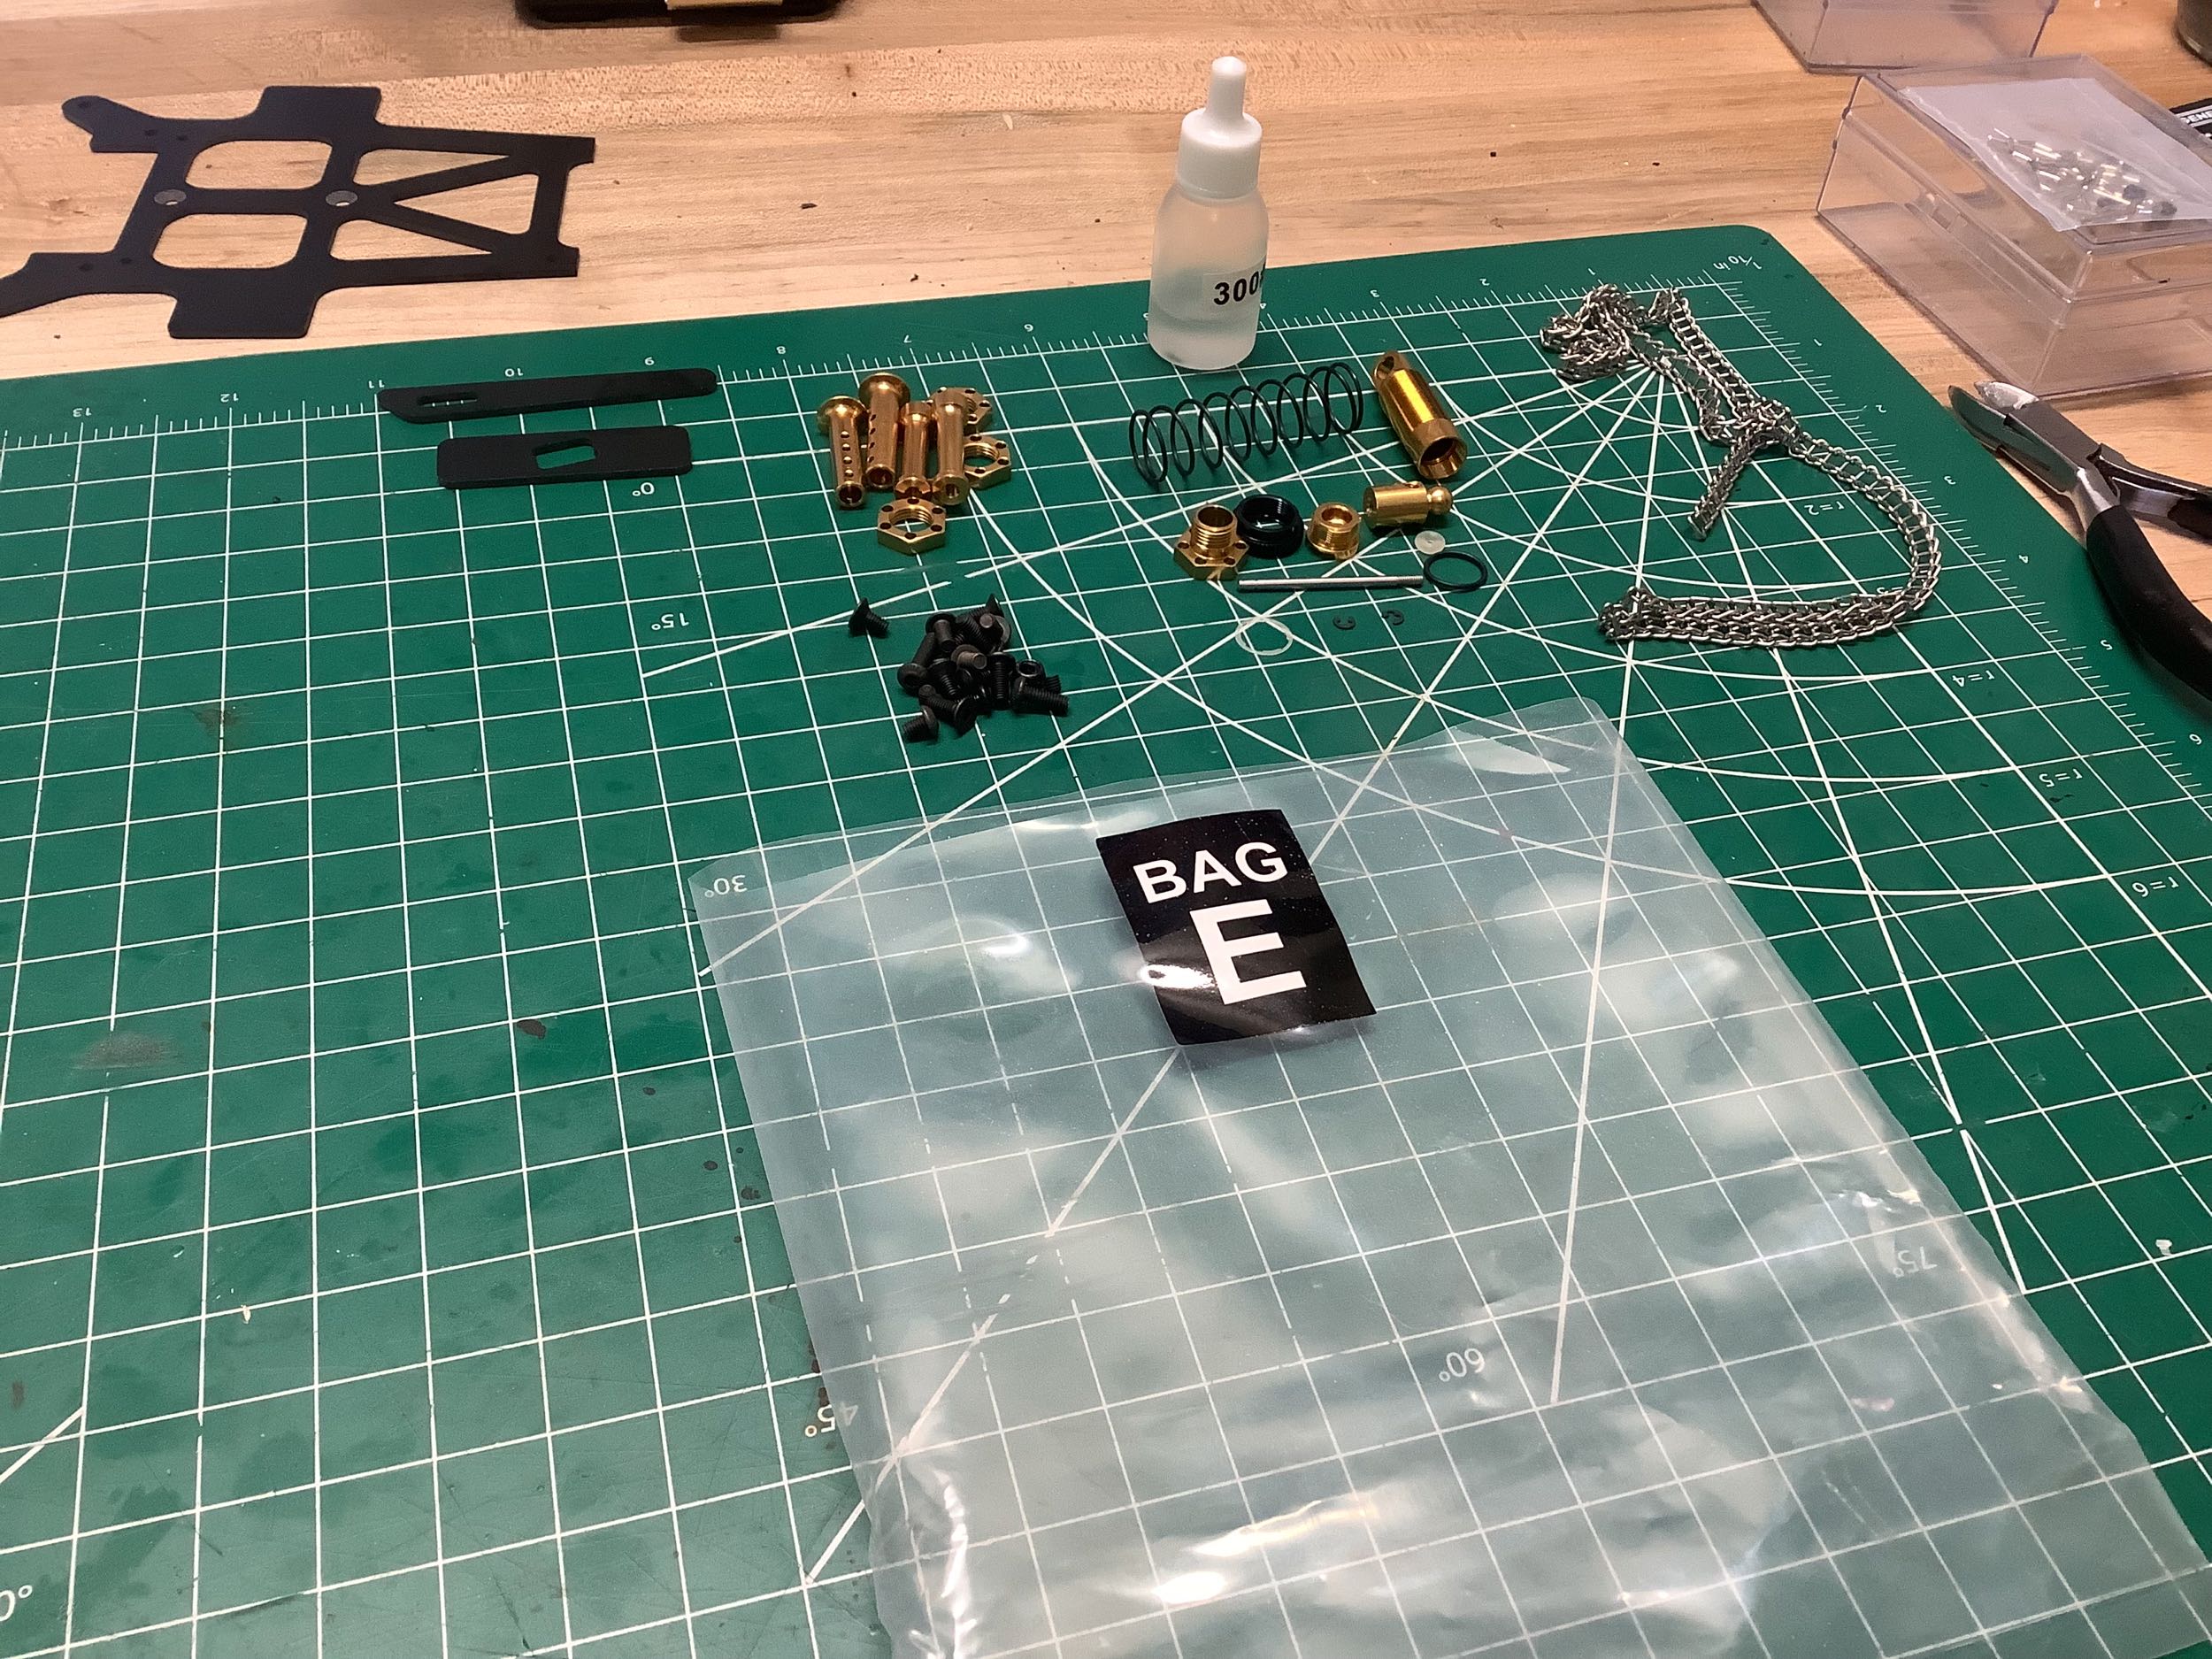
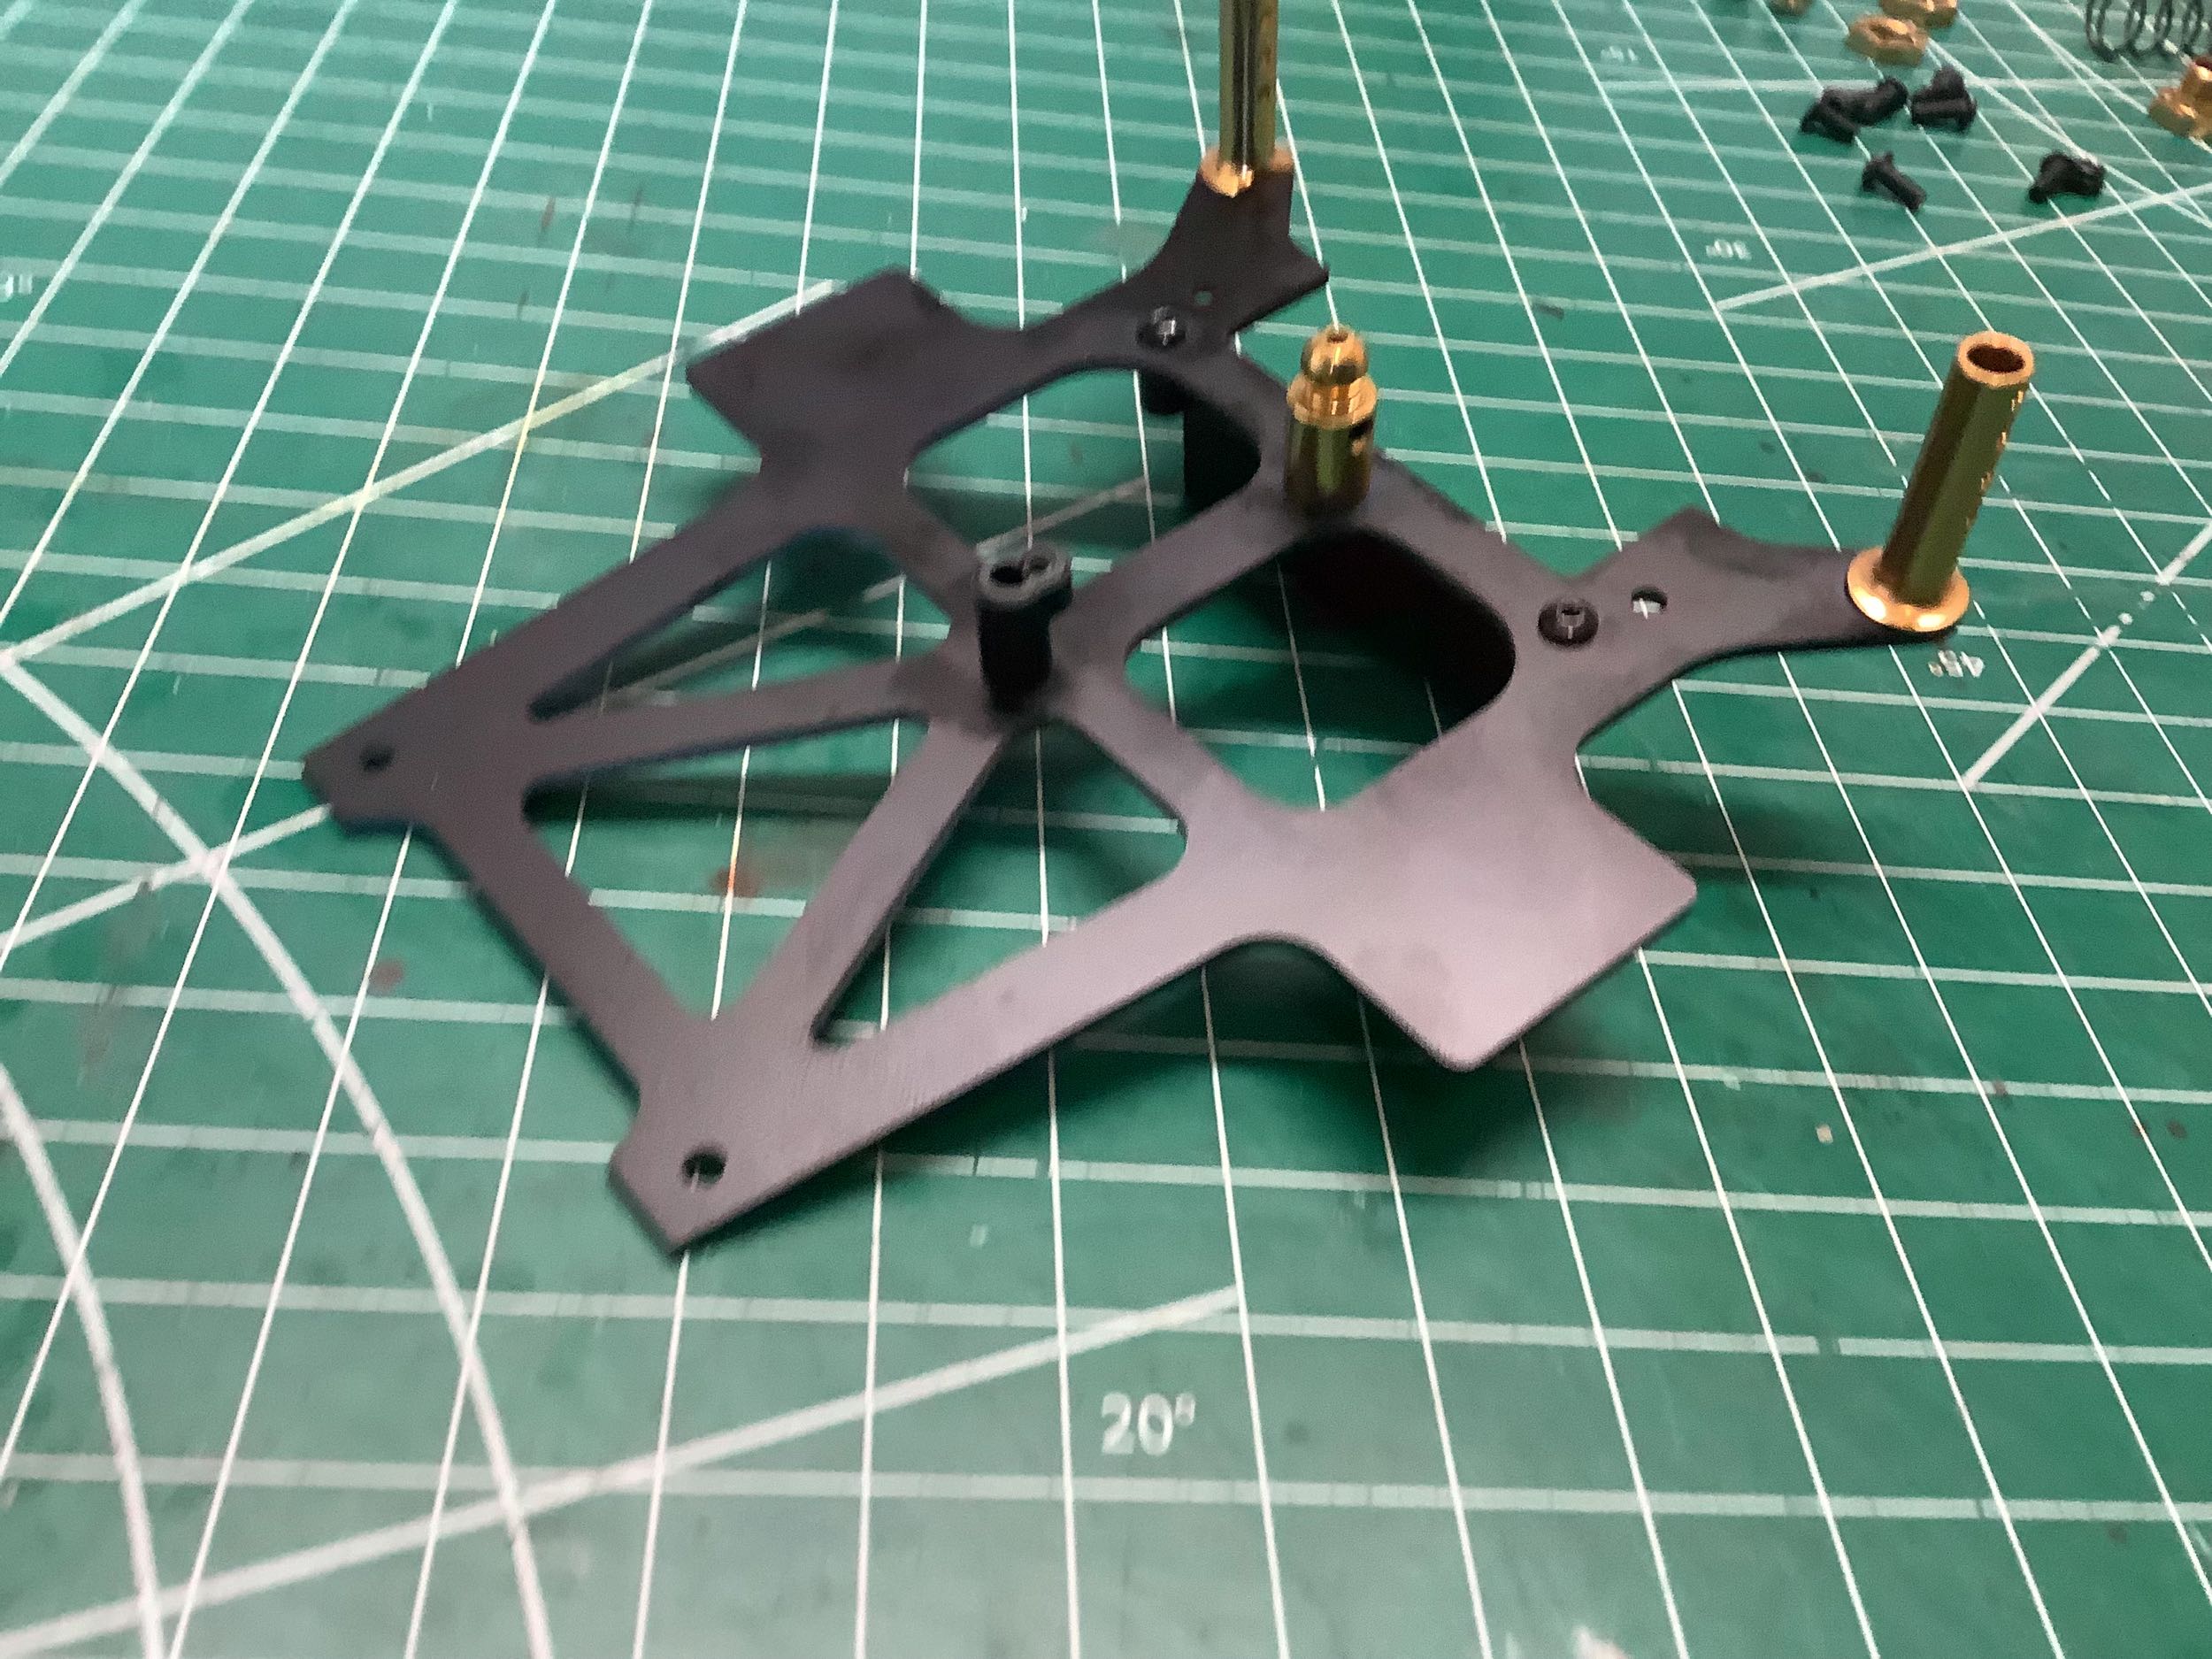
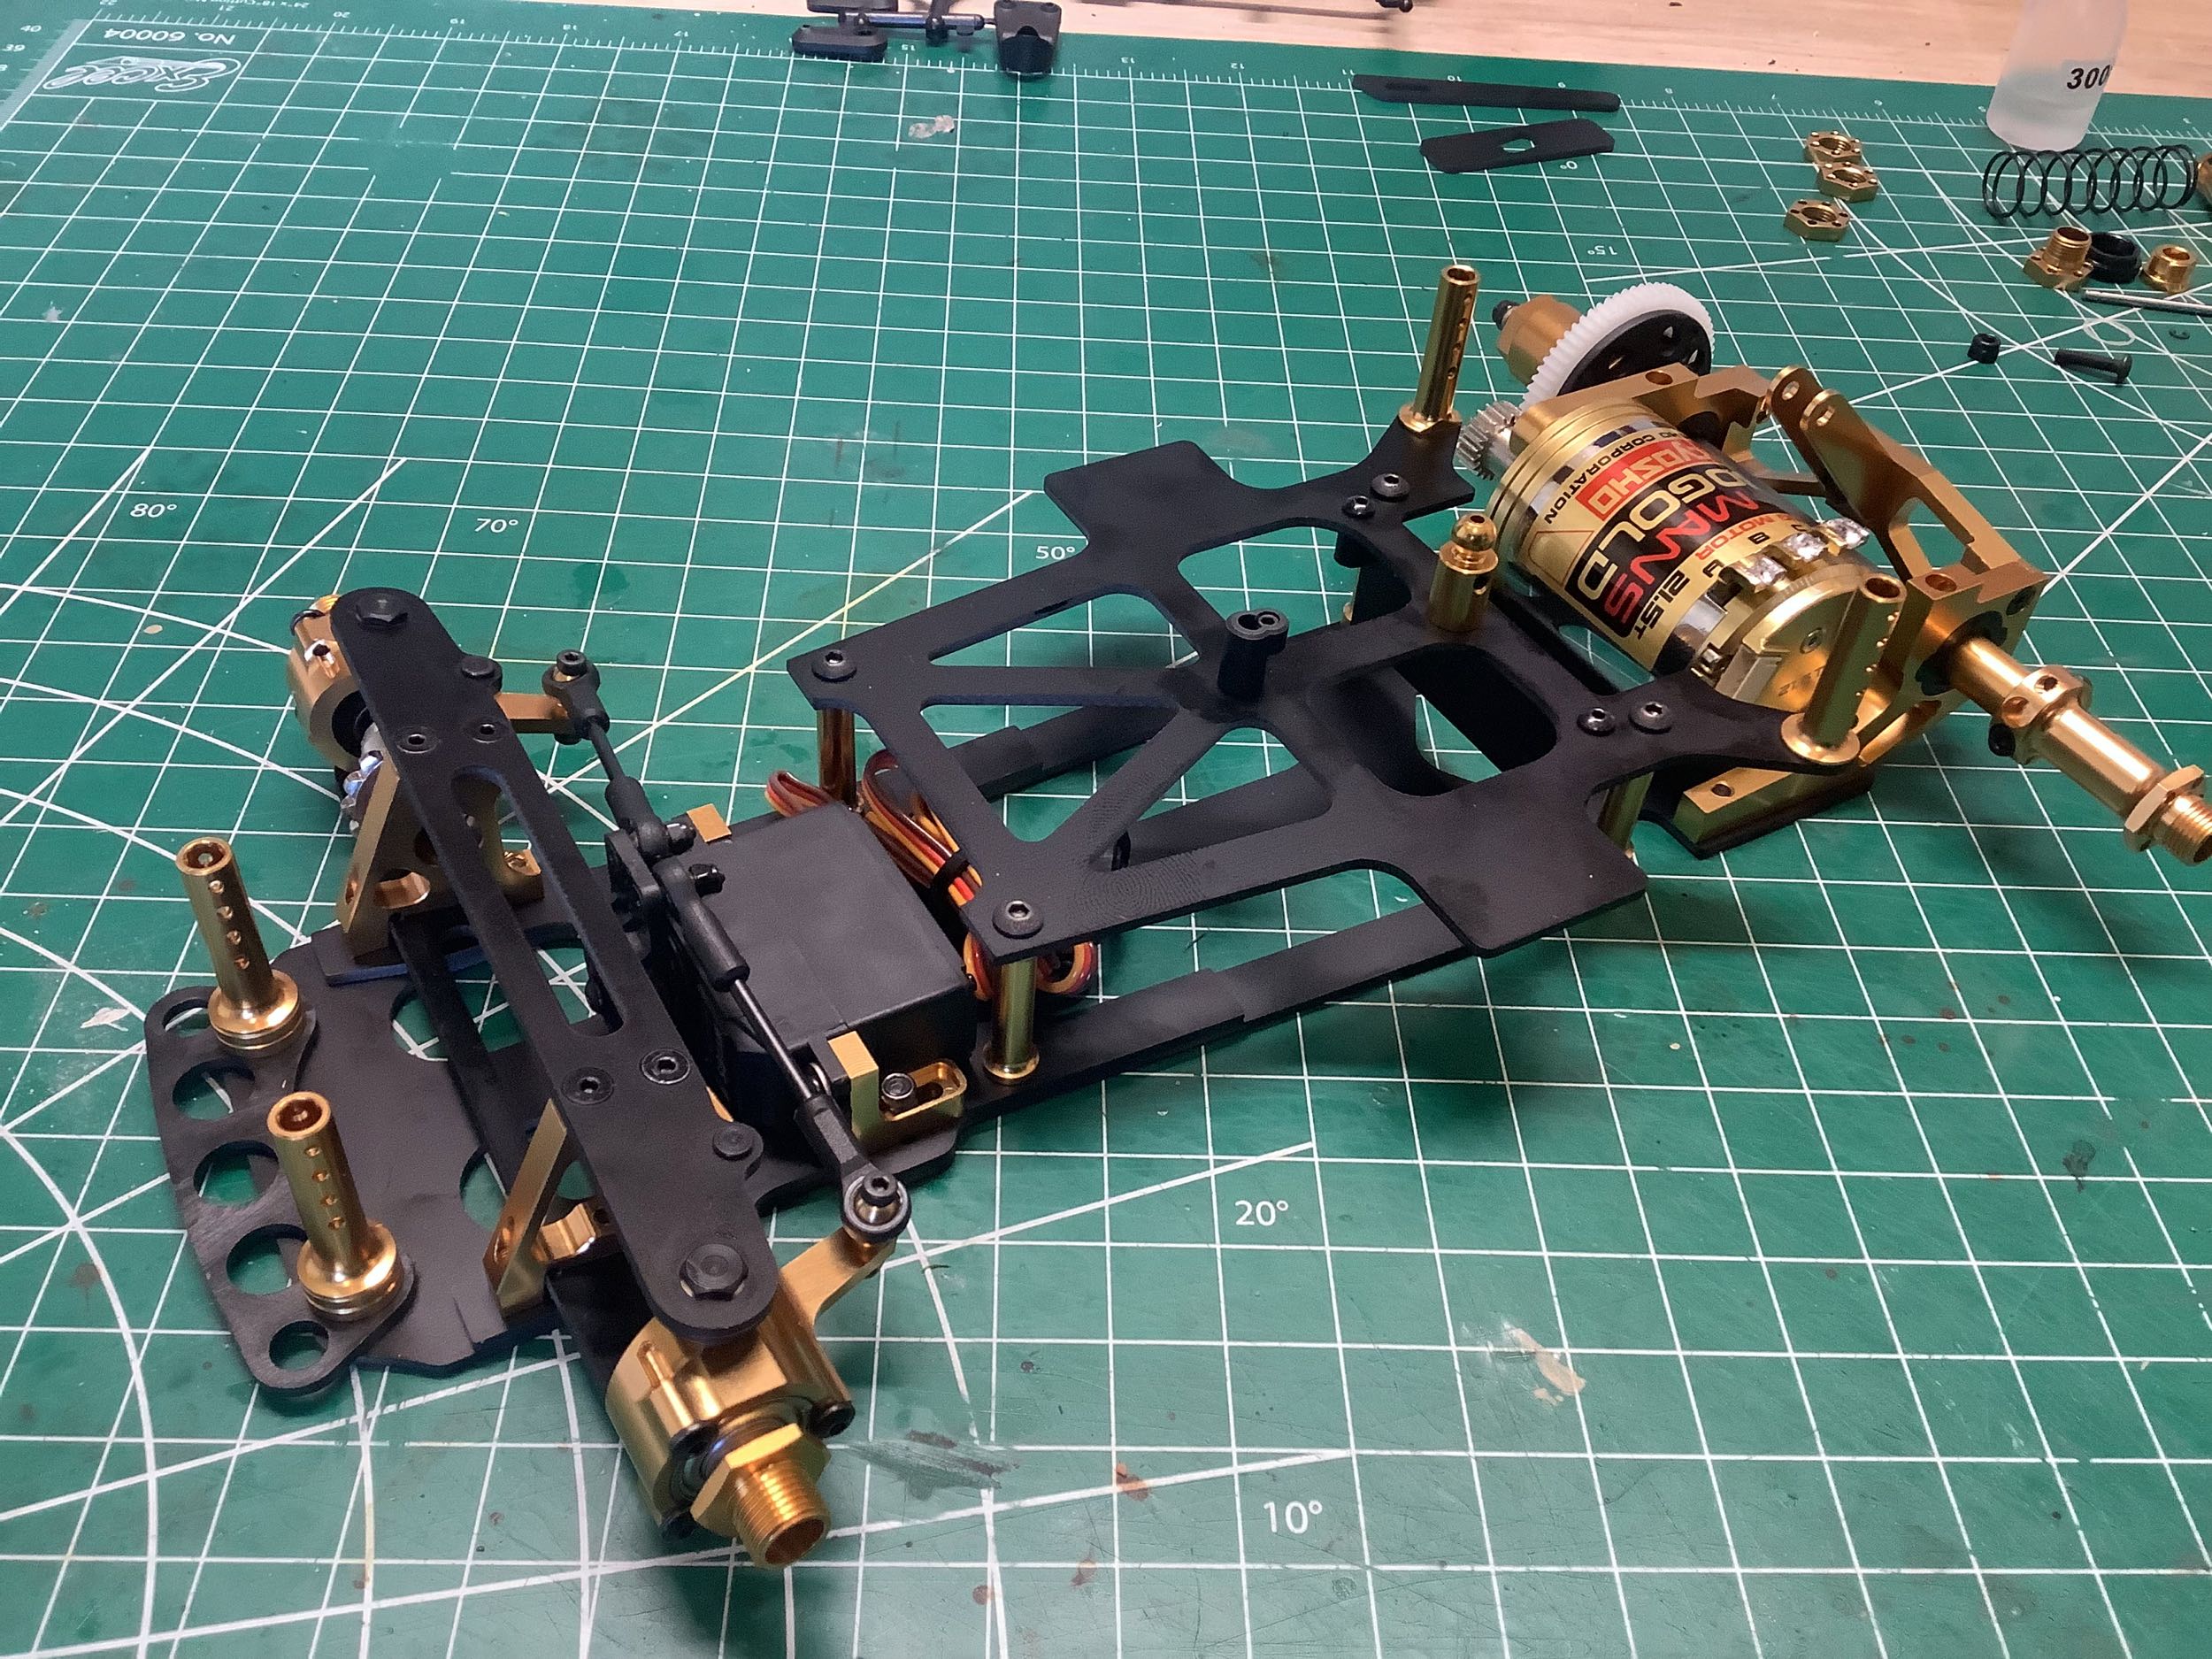
Bag E builds the upper chassis plate as shown. This serves as the rear body mount and a support for the battery.
The last thing to build is the damper which is real gem with a threaded
shock collar. The rear suspension works by flexing the entire
lower chassis plate.
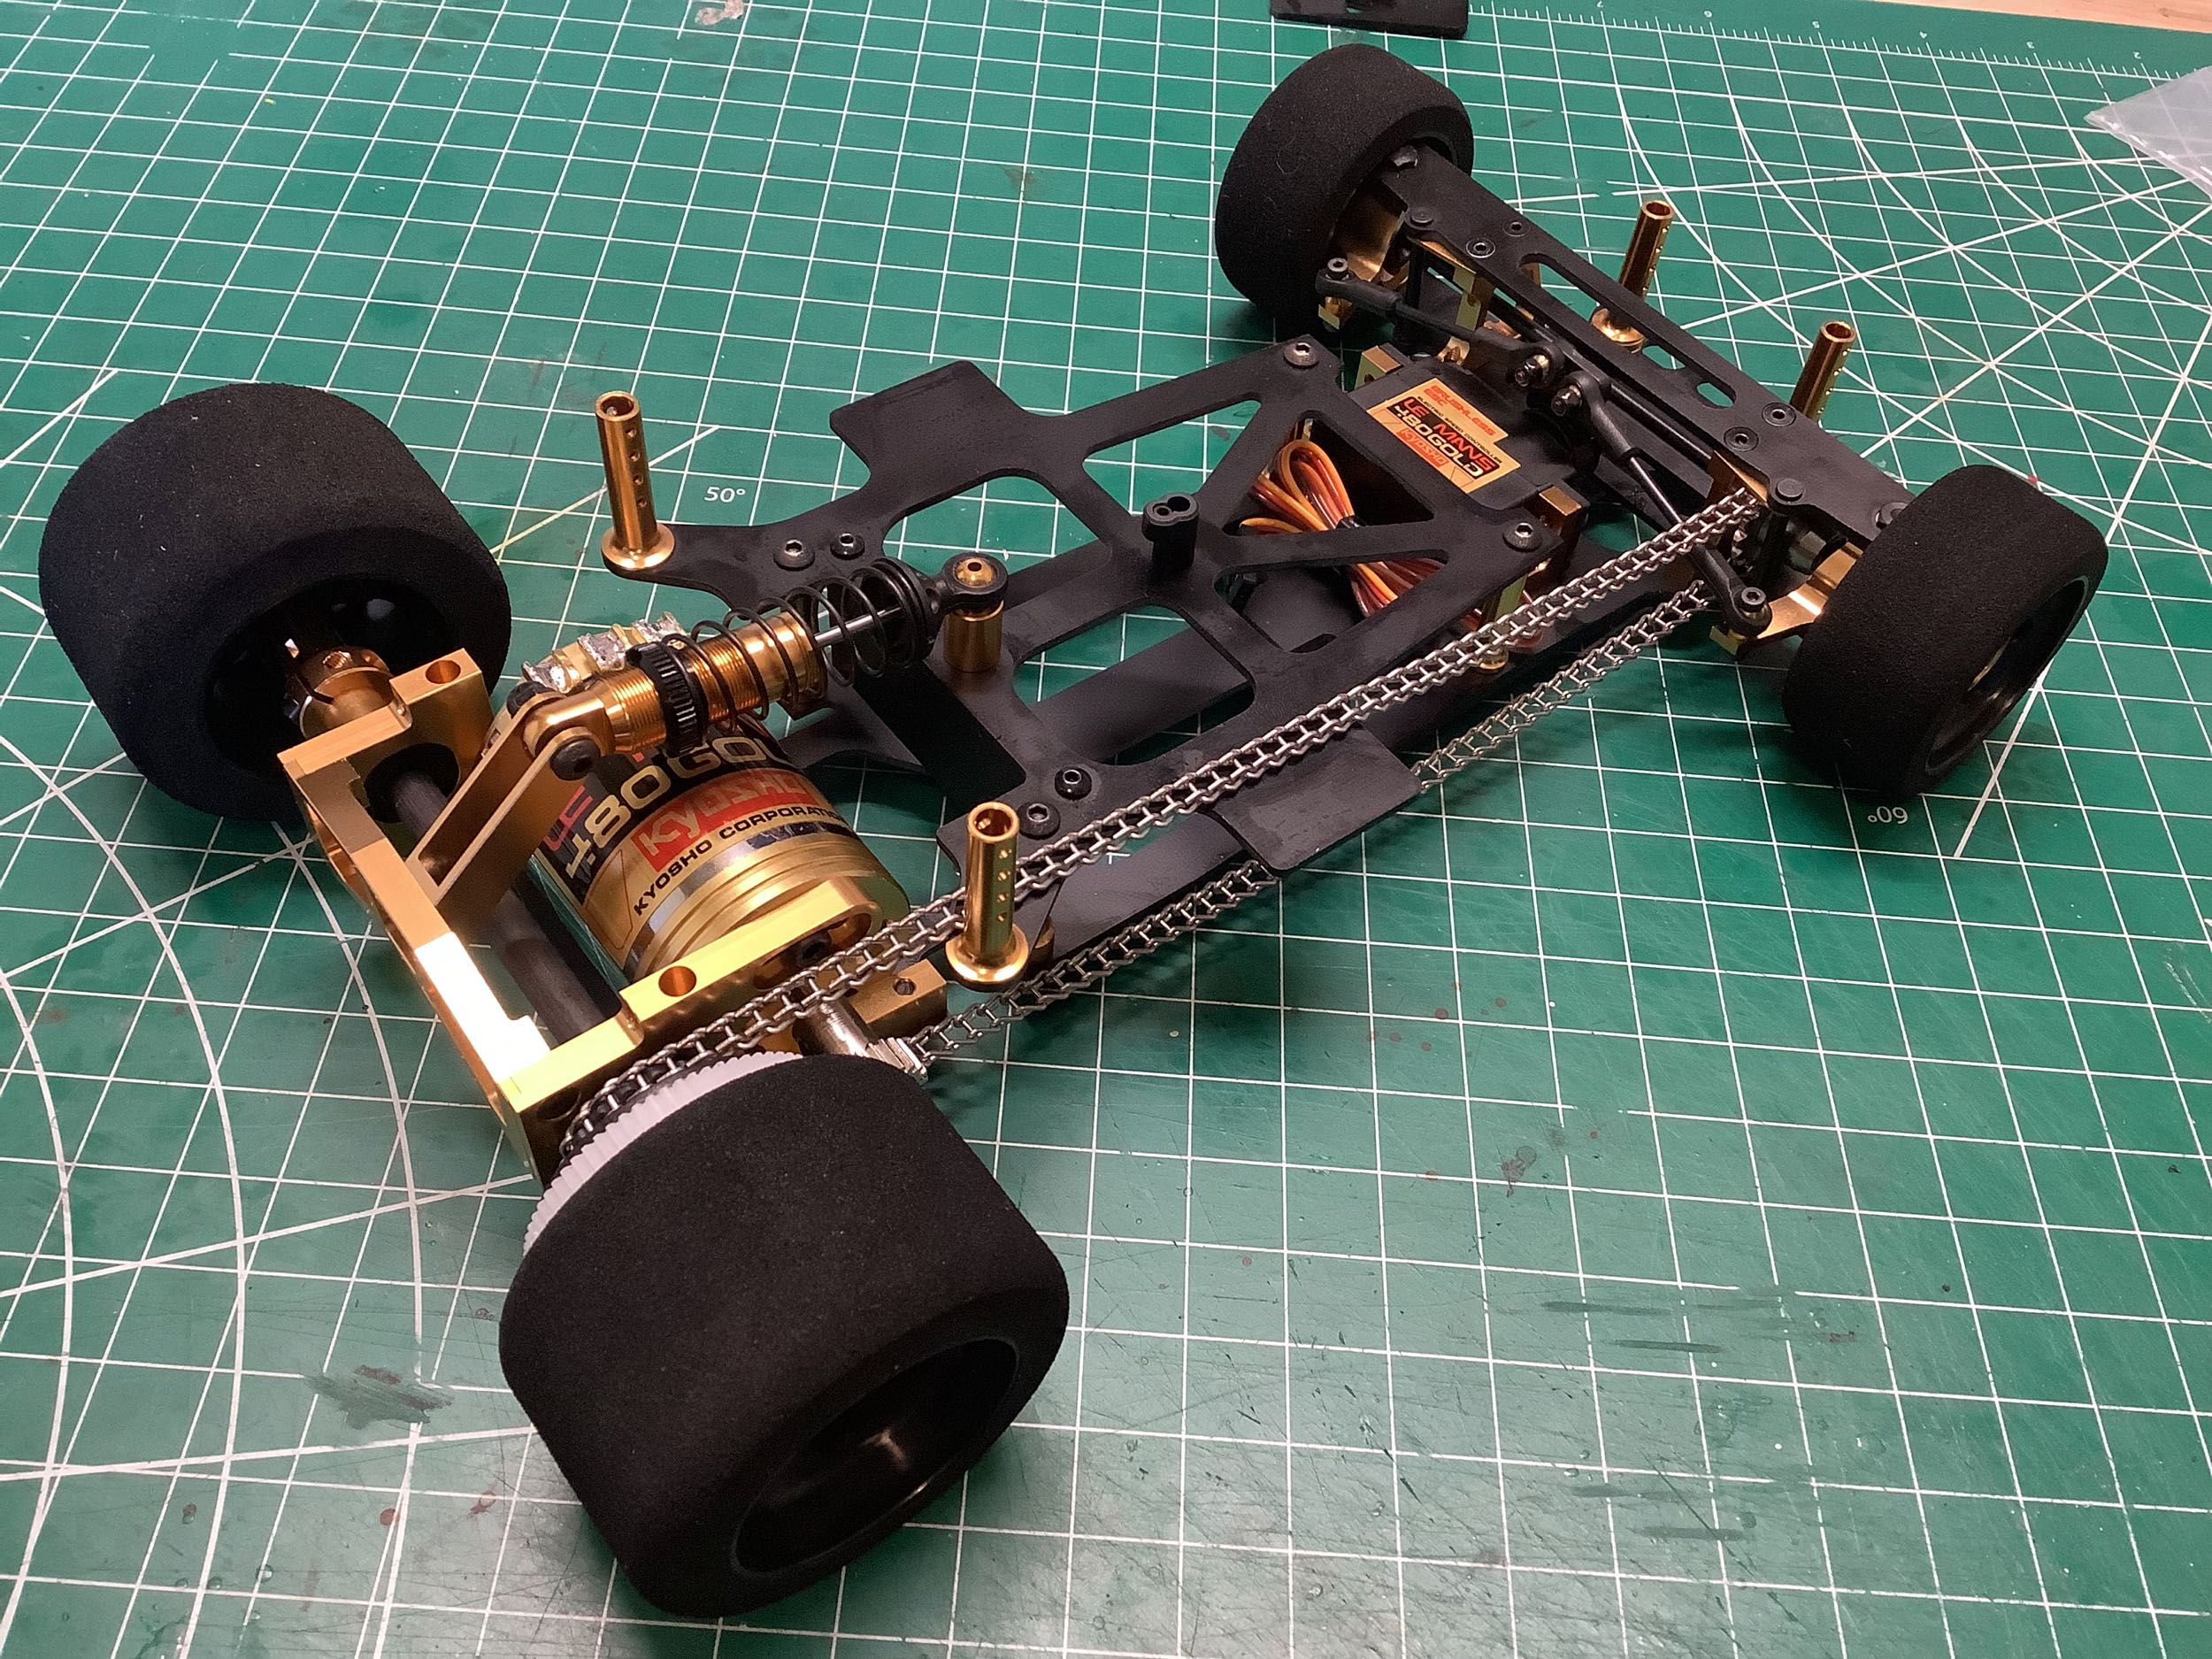
I wasn't quite done, I still had to attach the chain which is just as
much of a pain as the first time, although I got a bit better at it from
the experience.
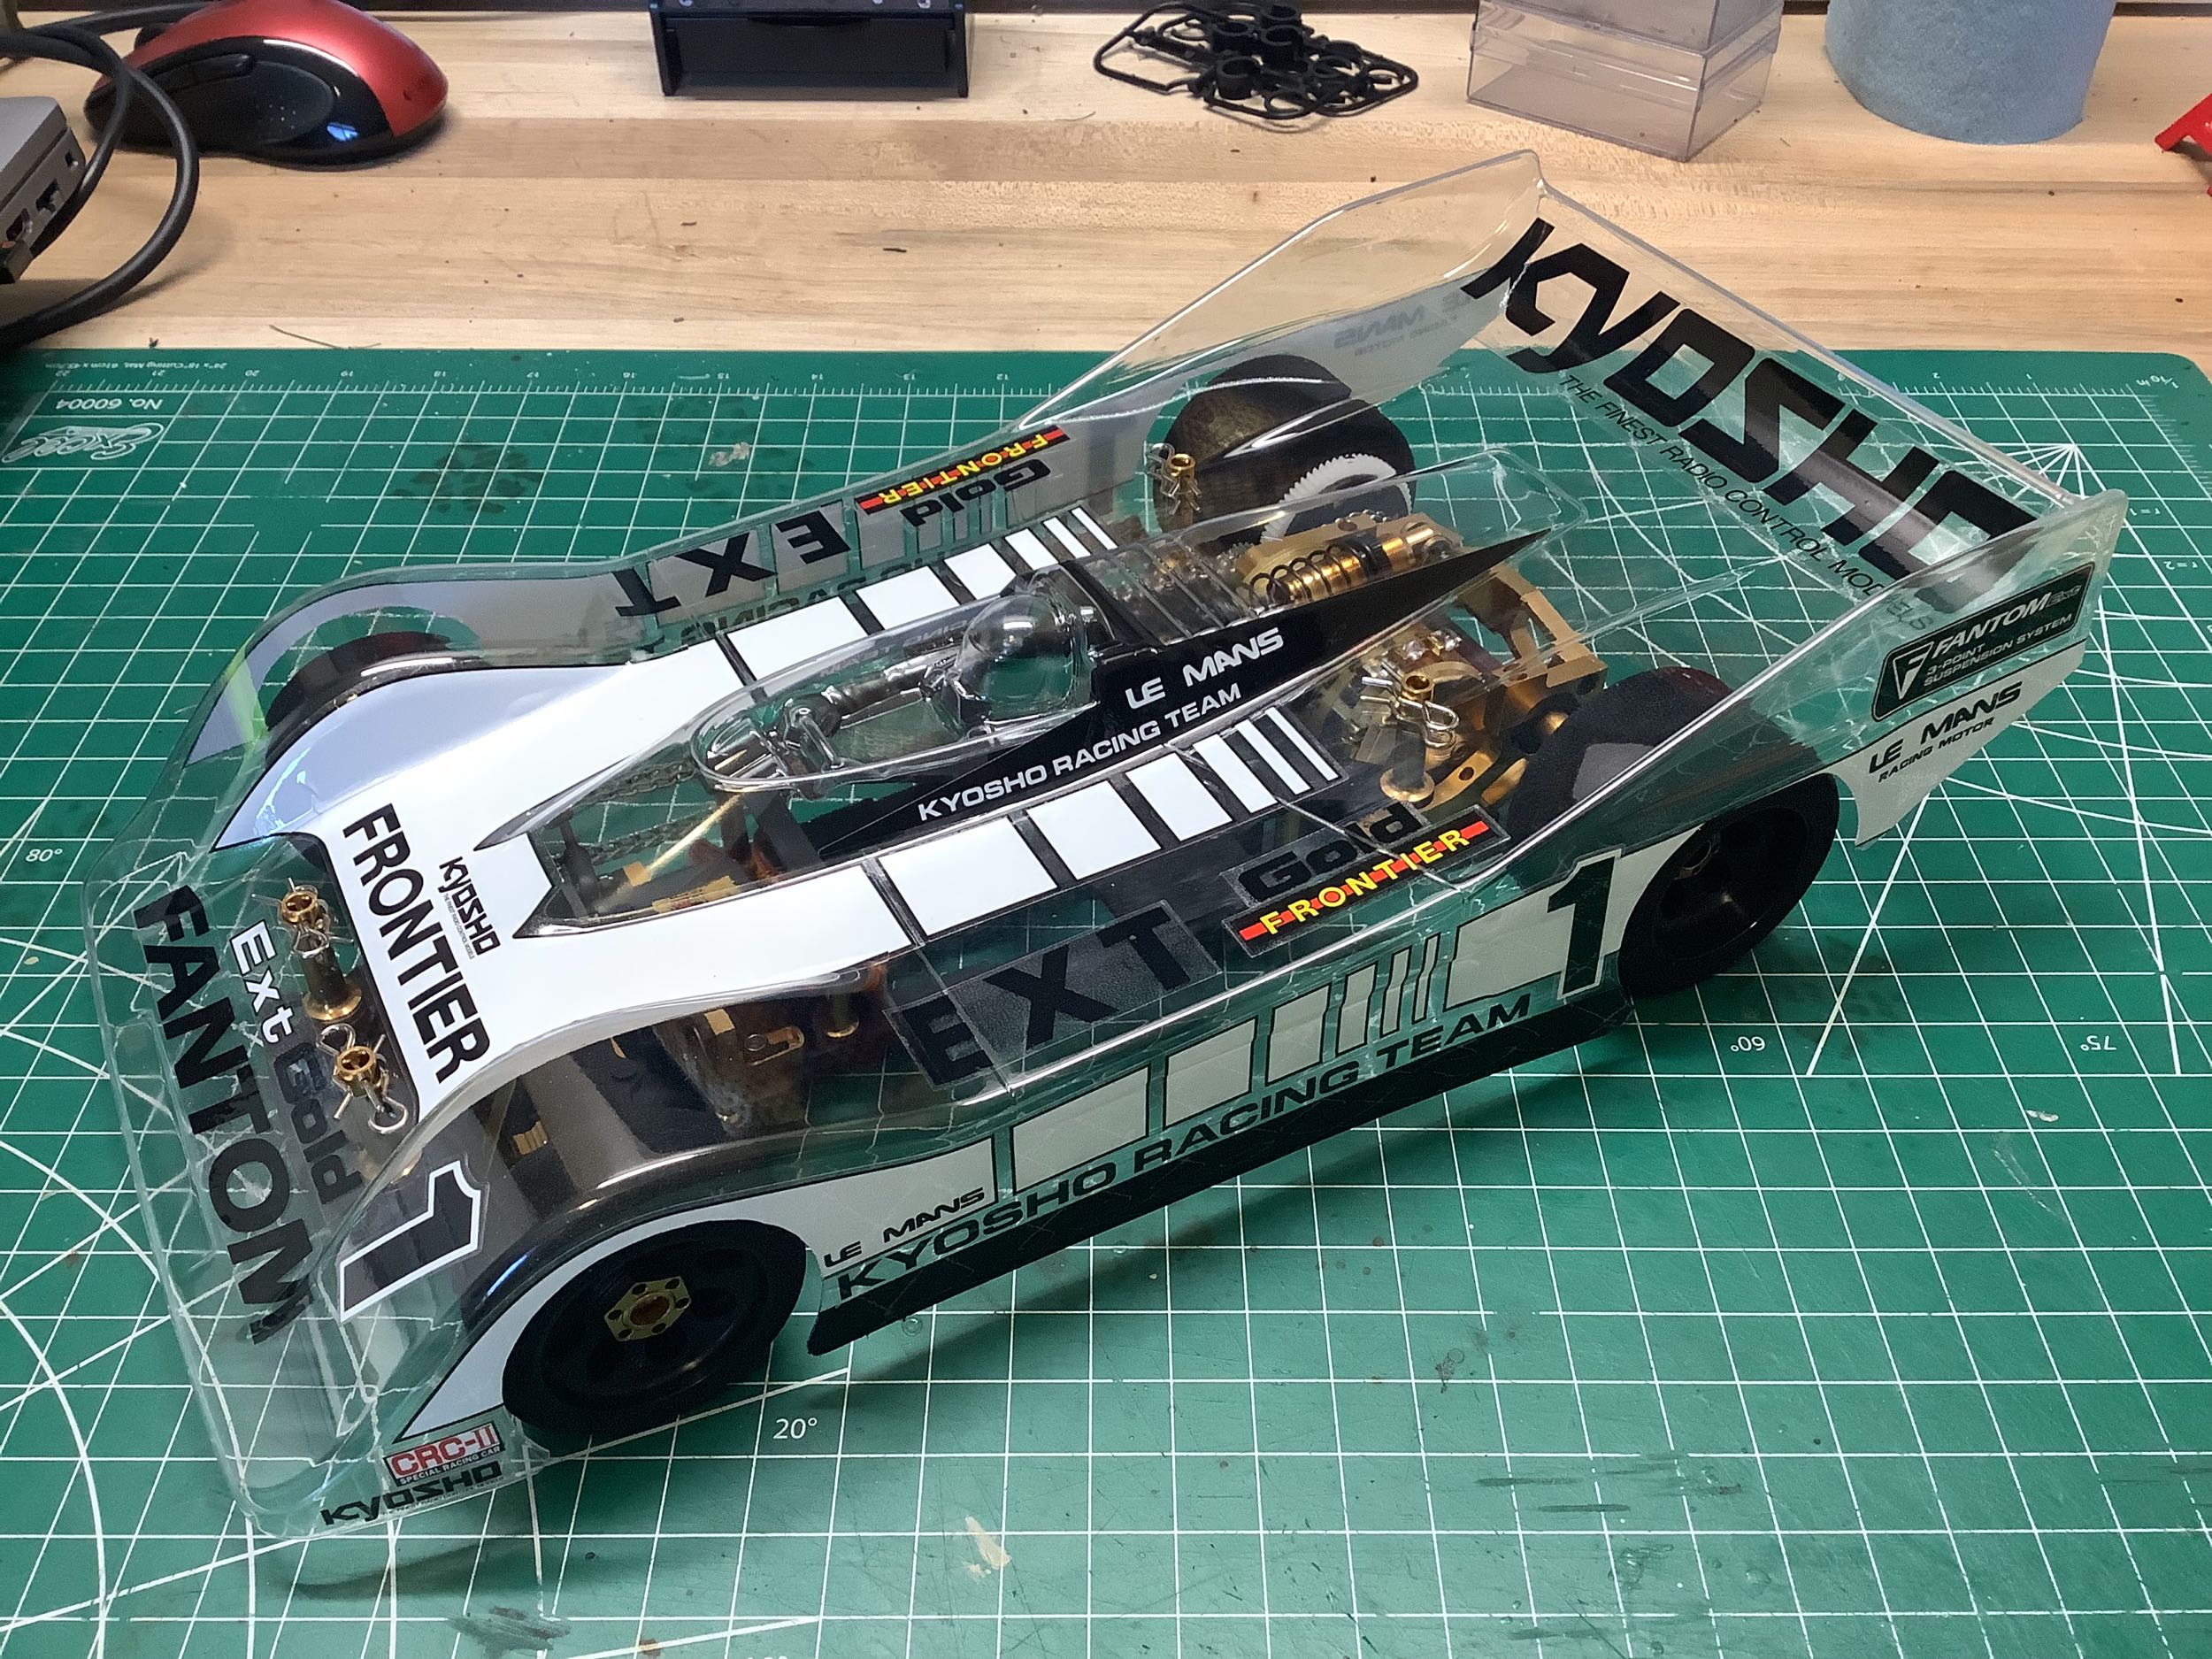
I trimmed out the body, peeled off the protective film, and then
attached the stickers with no paint. This makes a great display
model.
©2026 Eric Albrecht