Tamiya Thunder Dragon Project
Page 1: Assembly
The chassis of the Thunder Dragon is identical to that of the
Thunder Shot which I've already documented in detail. Please see that page for more information. I'll only discuss the relevant differences here.
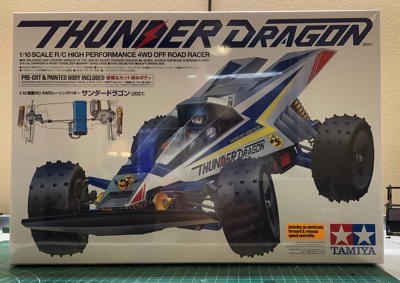
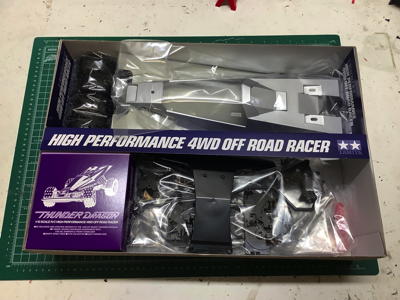
Here is the box of the modern Thunder Dragon re-re. The contents
of the box are shown on the right. Note the painted body included
in the kit.
This picture shows all the parts laid out on my building table.
Everything was very familiar after my build of the Thunder Shot apart
from the brand new TBLE-04s speed controller, my first glimpse of this
ESC.
The next few pictures will show differences between the Thunder Shot and
Thunder Dragon. Note that these differences only occur because I
am comparing the 2008 Thunder Shot to the 2021 Thunder Dragon. The
original chassis released in the 1980's were identical. On the
left you can see the sheet metal motor mount from the older model.
Compare that to the machined aluminum mount of the newer model on the
right. The old model also shows the stock aluminum pinion which I
replaced with steel on the right.
One thing I was smart enough to do during this build was install a steel
reinforcing plate to the A5 part (front lower suspension mount).
On the left you can see my older model which used no support and broke
immediately. On the right you can see the steel support which I
now add to all my Thunder Shot chassis.
Another update to the newer model is to the steering rods. On the
left you can see the older model which just uses threaded rods.
The newer model on the right uses turnbuckles which are slightly harder
to assemble, but much easier to adjust once the model is built.
Here is the completed Thunder Dragon chassis. I installed the
unnecessary MSC cover over the battery just to help tidy the
wires. On the right I directly compare the Thunder Shot and
Thunder Dragon chassis. You can see that they are virtually
identical. A close look will reveal that the front body post is
flipped 180 degrees on the Thunder Dragon chassis. That's
it. Same model, different body.
Have I mentioned that I hate painting driver figures? I gave this
guy a blue helmet to match box art and to distinguish him from the
Thunder Shot driver. The driver part does a good job of covering
the chassis as you can see on the right. He can be removed with
one screw.
The body came trimmed and painted out of the box as you can see on the
left. This is a single color (silver) paint job which I could have
easily done, but I am happy not to have to trim those interior angles
on the back of the body. On the right I've removed the protective
film and applied the stickers which really liven up the body. That
little dragon on the nose is apparently the logo of the manga.
You'll find him on all 4 Dragon bodies.
Here is the final model with the body on the chassis. On the left I
hadn't added the driver yet. It makes a pretty big difference to
the appearance to have him installed.
©2022 Eric Albrecht

