Tamiya TRF419X Project
Page 1: Chassis Assembly
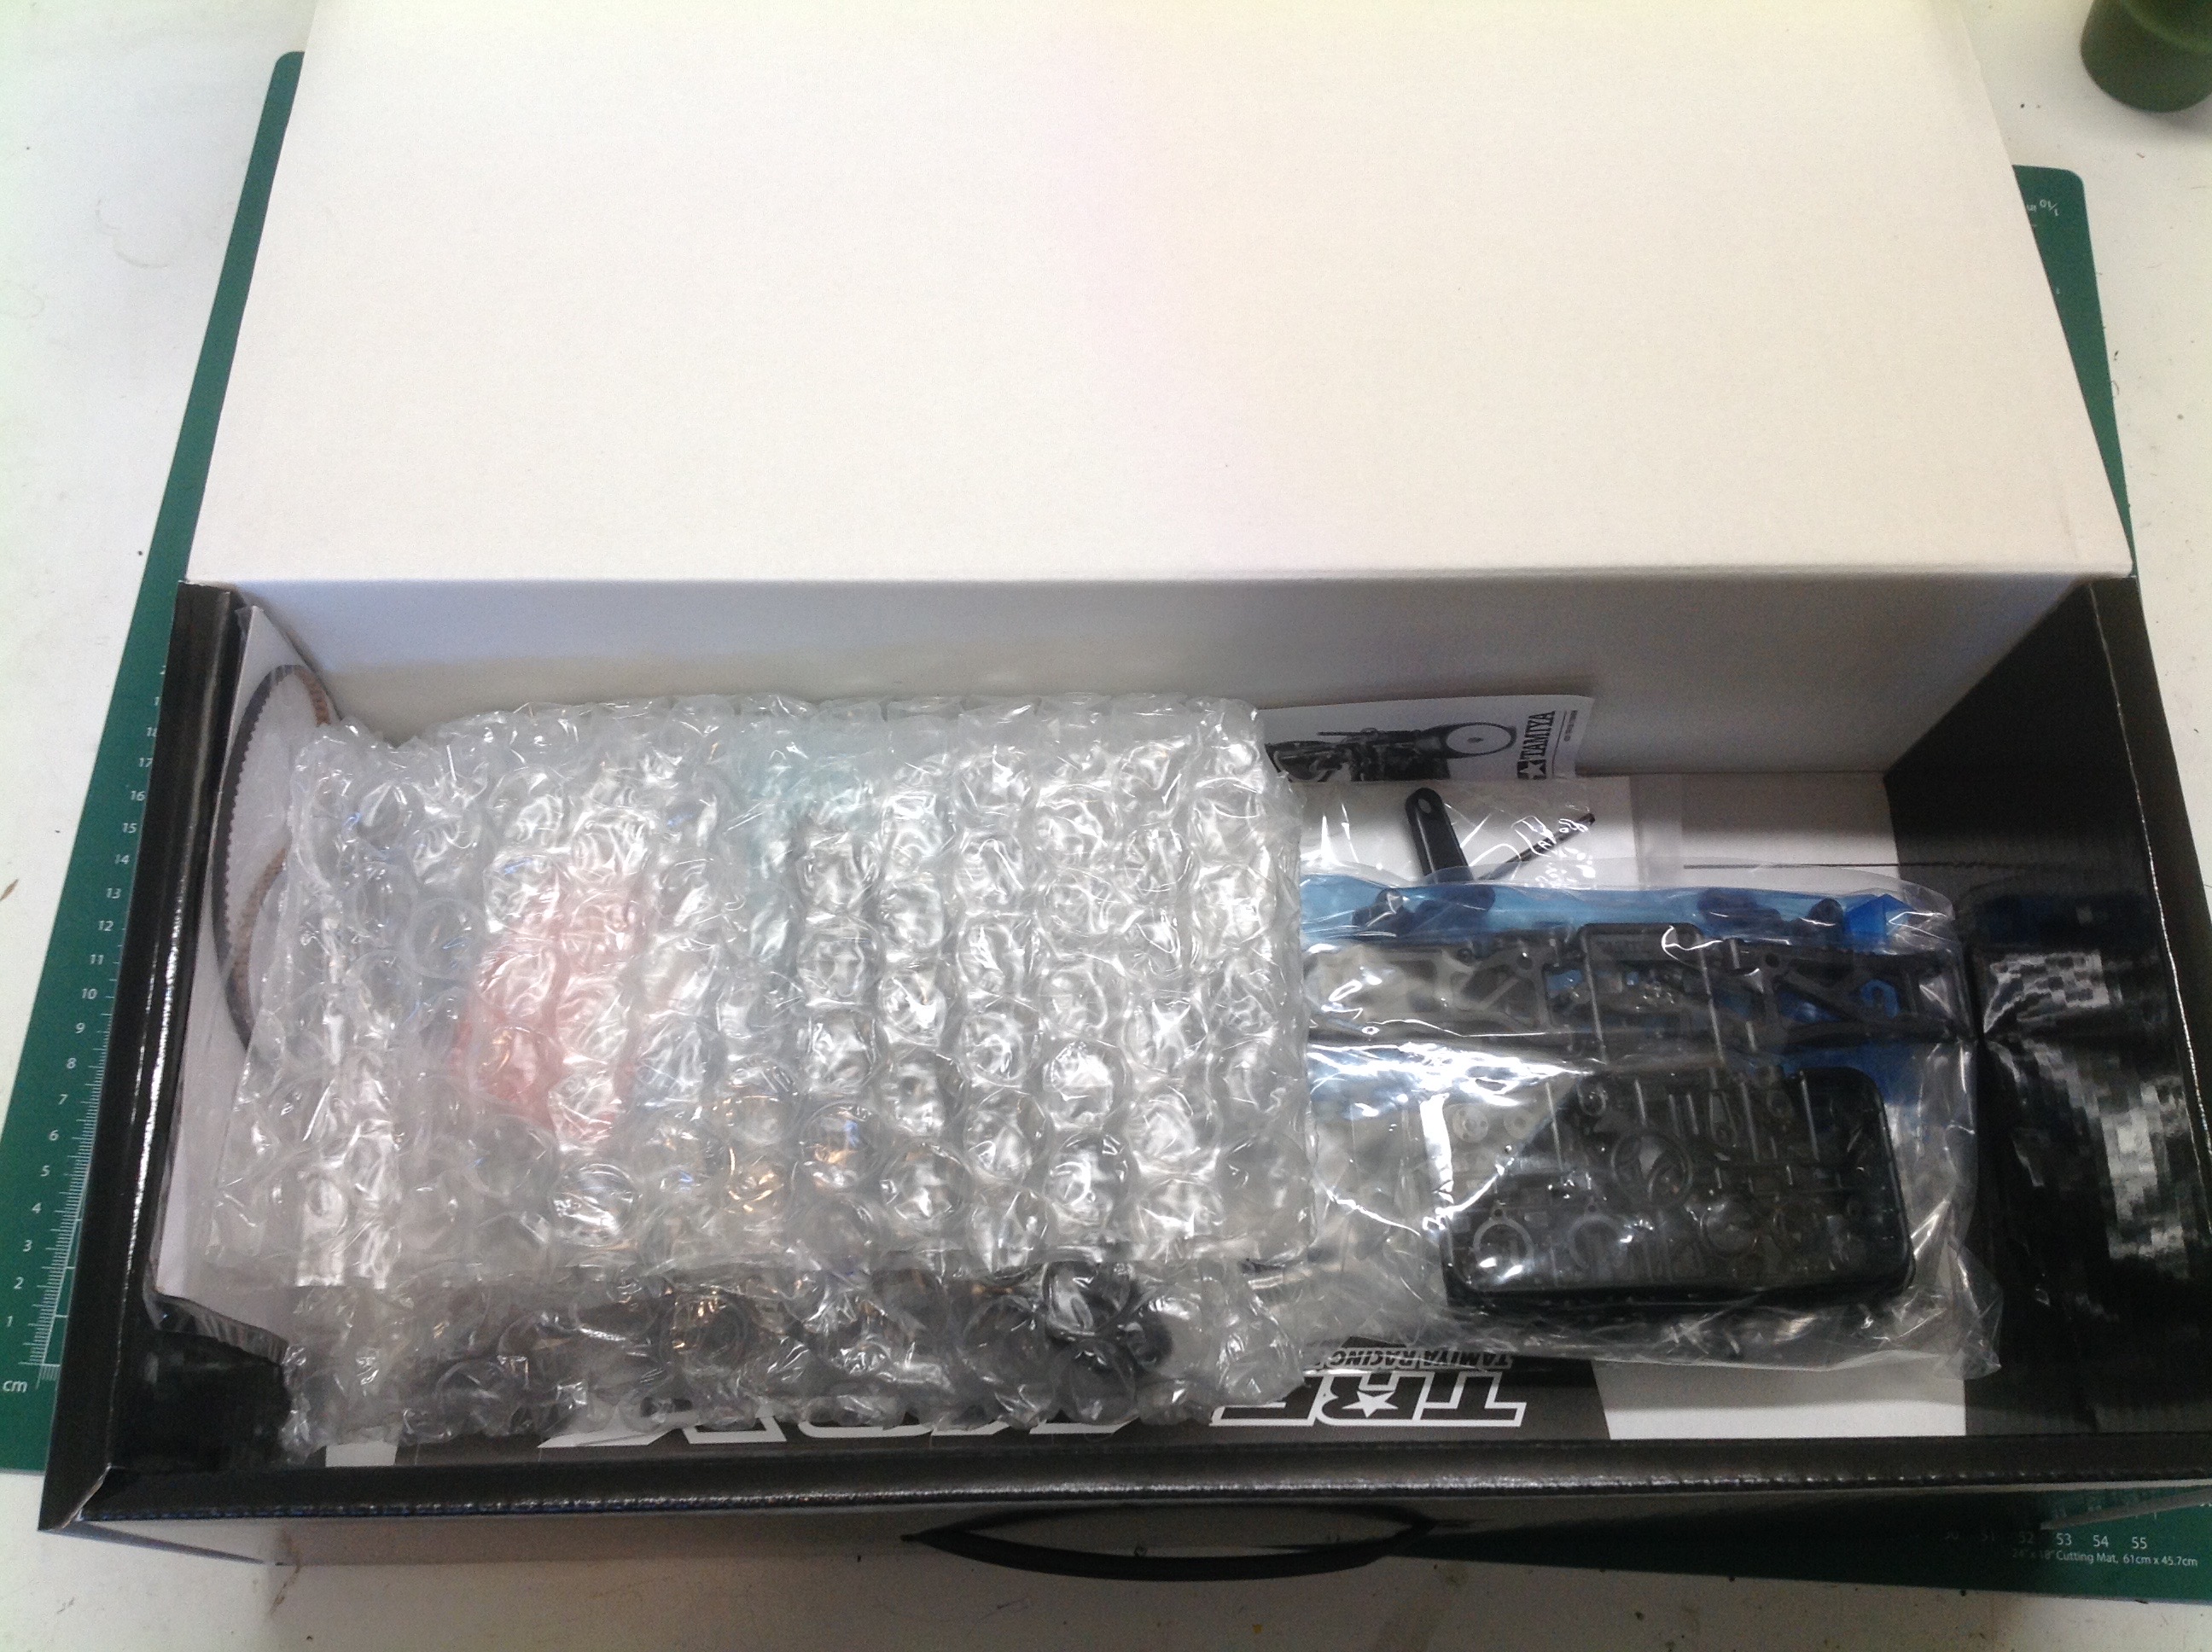
TRF kits come in pretty small, unadorned boxes because they do not
include a body, wheels, tires, or electronics. Even with the small
size of the box, it is about half empty inside.
You can see that there are hardly any plastic parts trees here.
Usually that happens for a very simple chassis, but this is not
simple. Most of the parts are metal or carbon and are contained
within the labeled hardware bags.
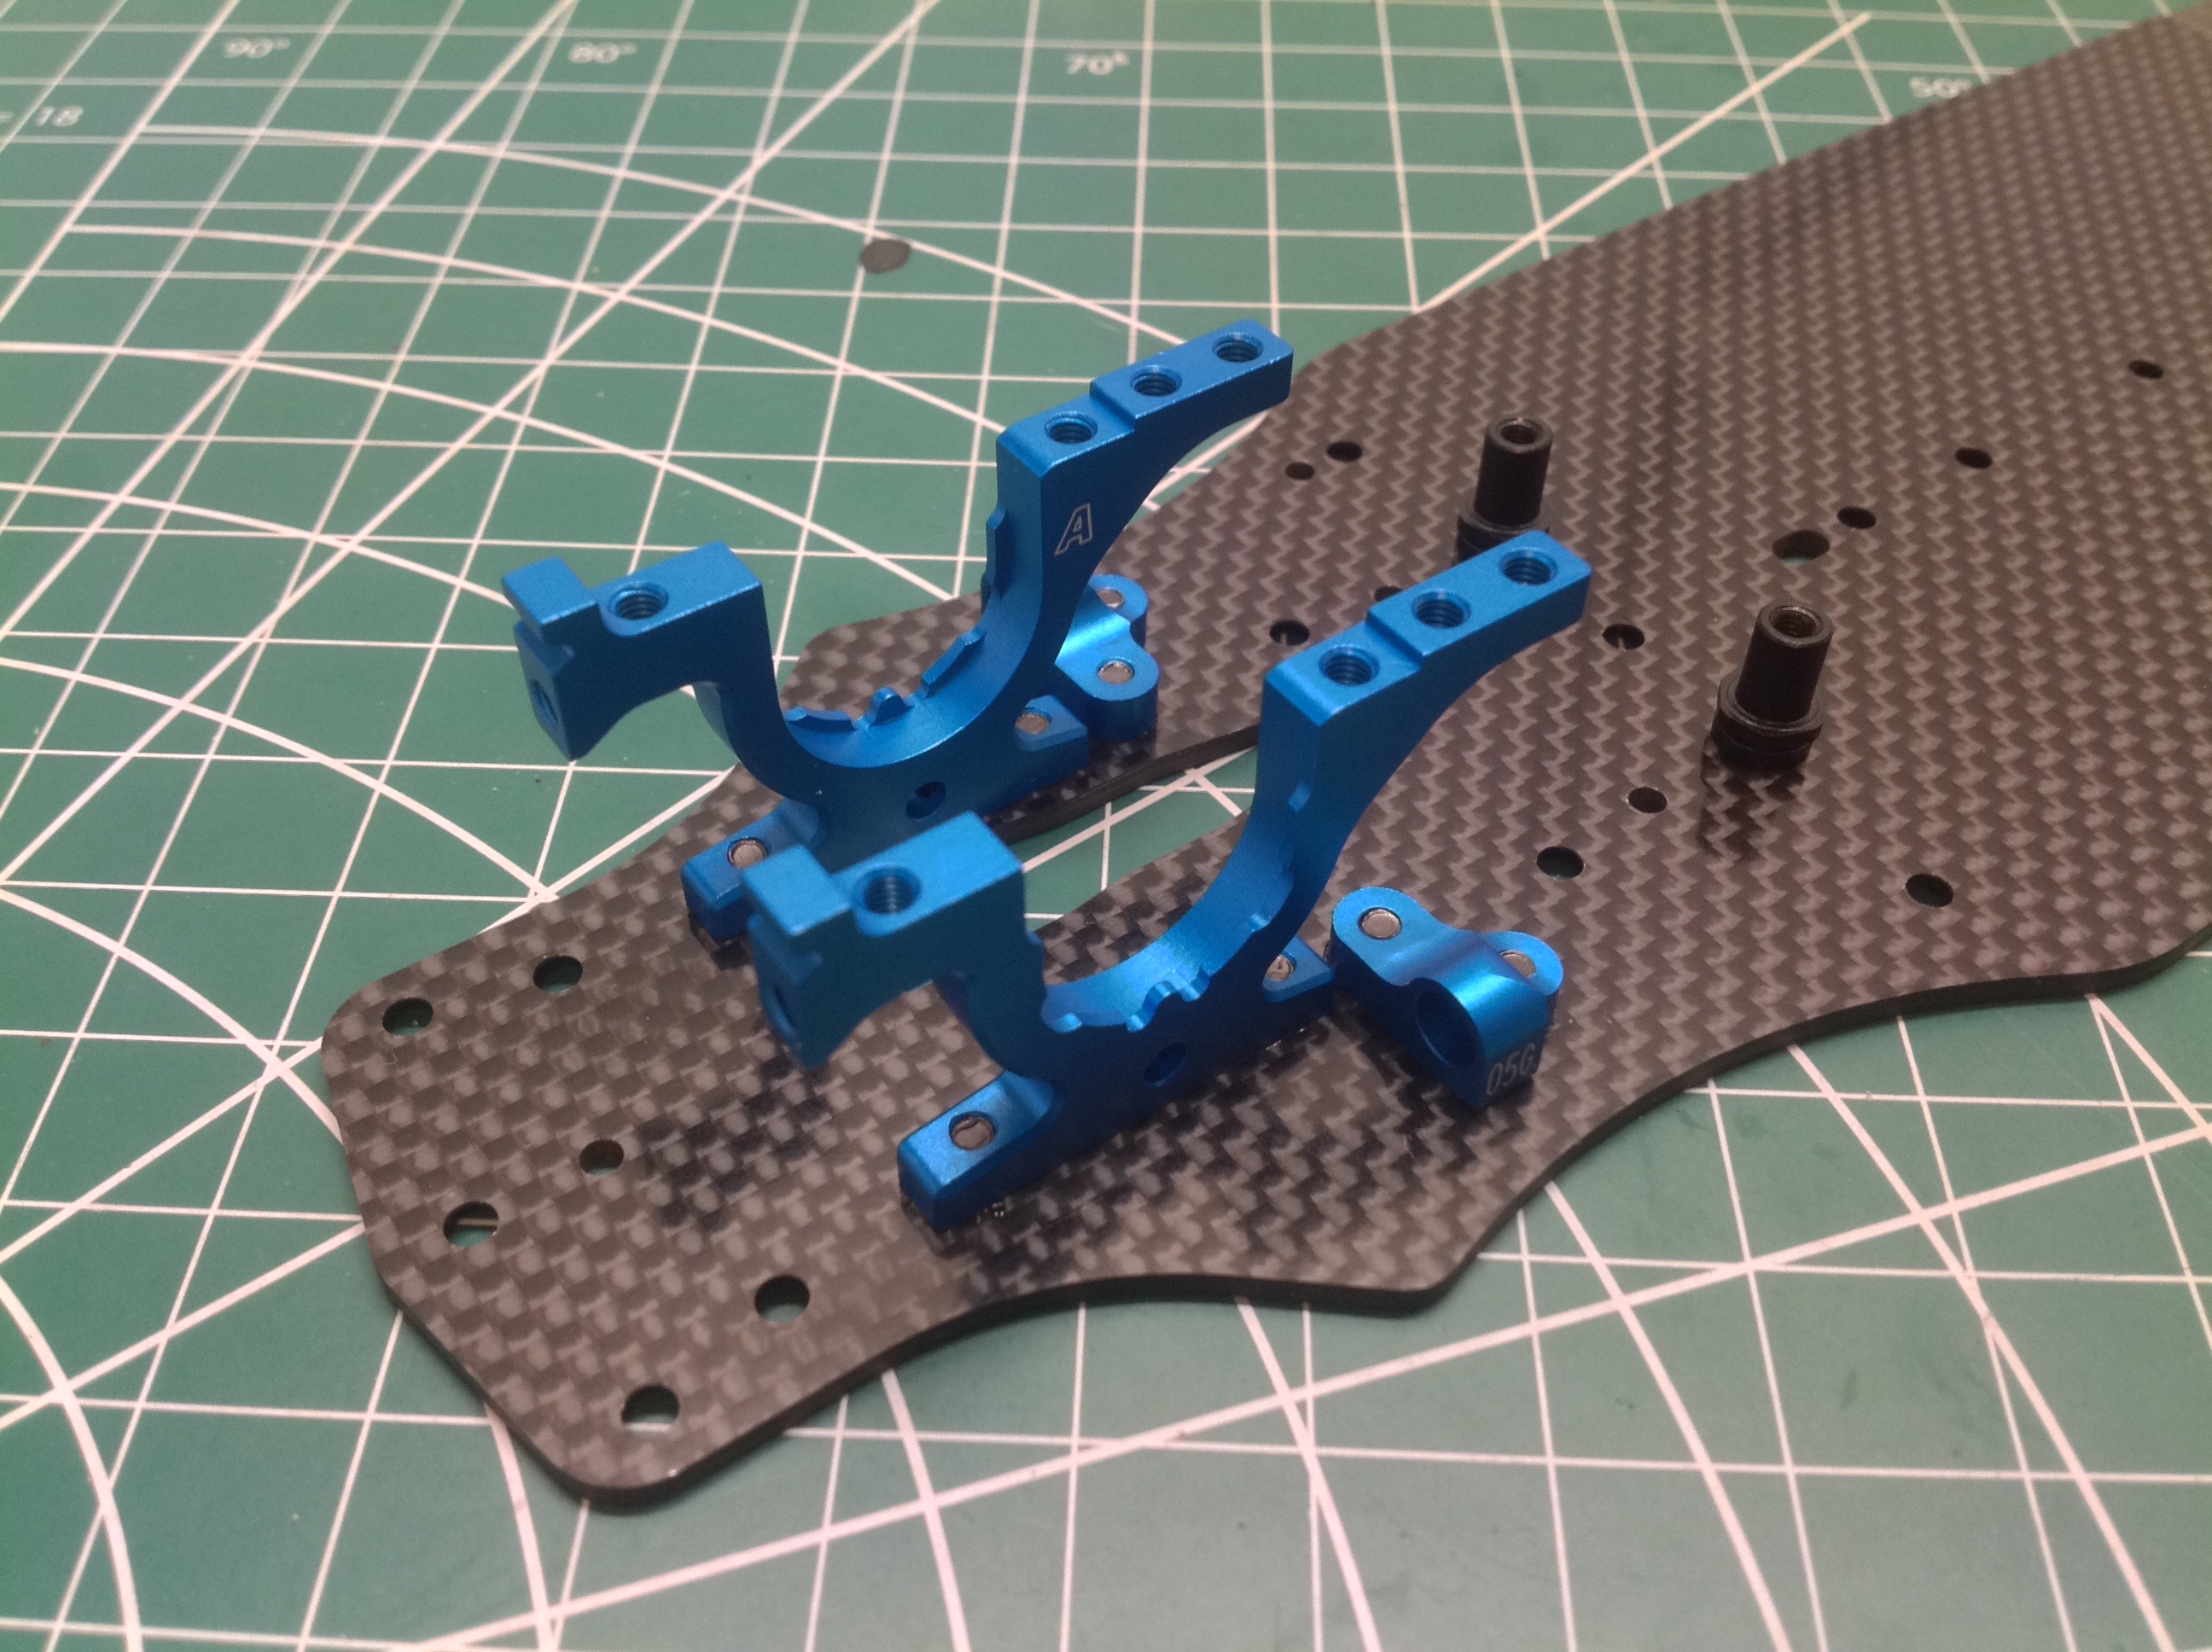
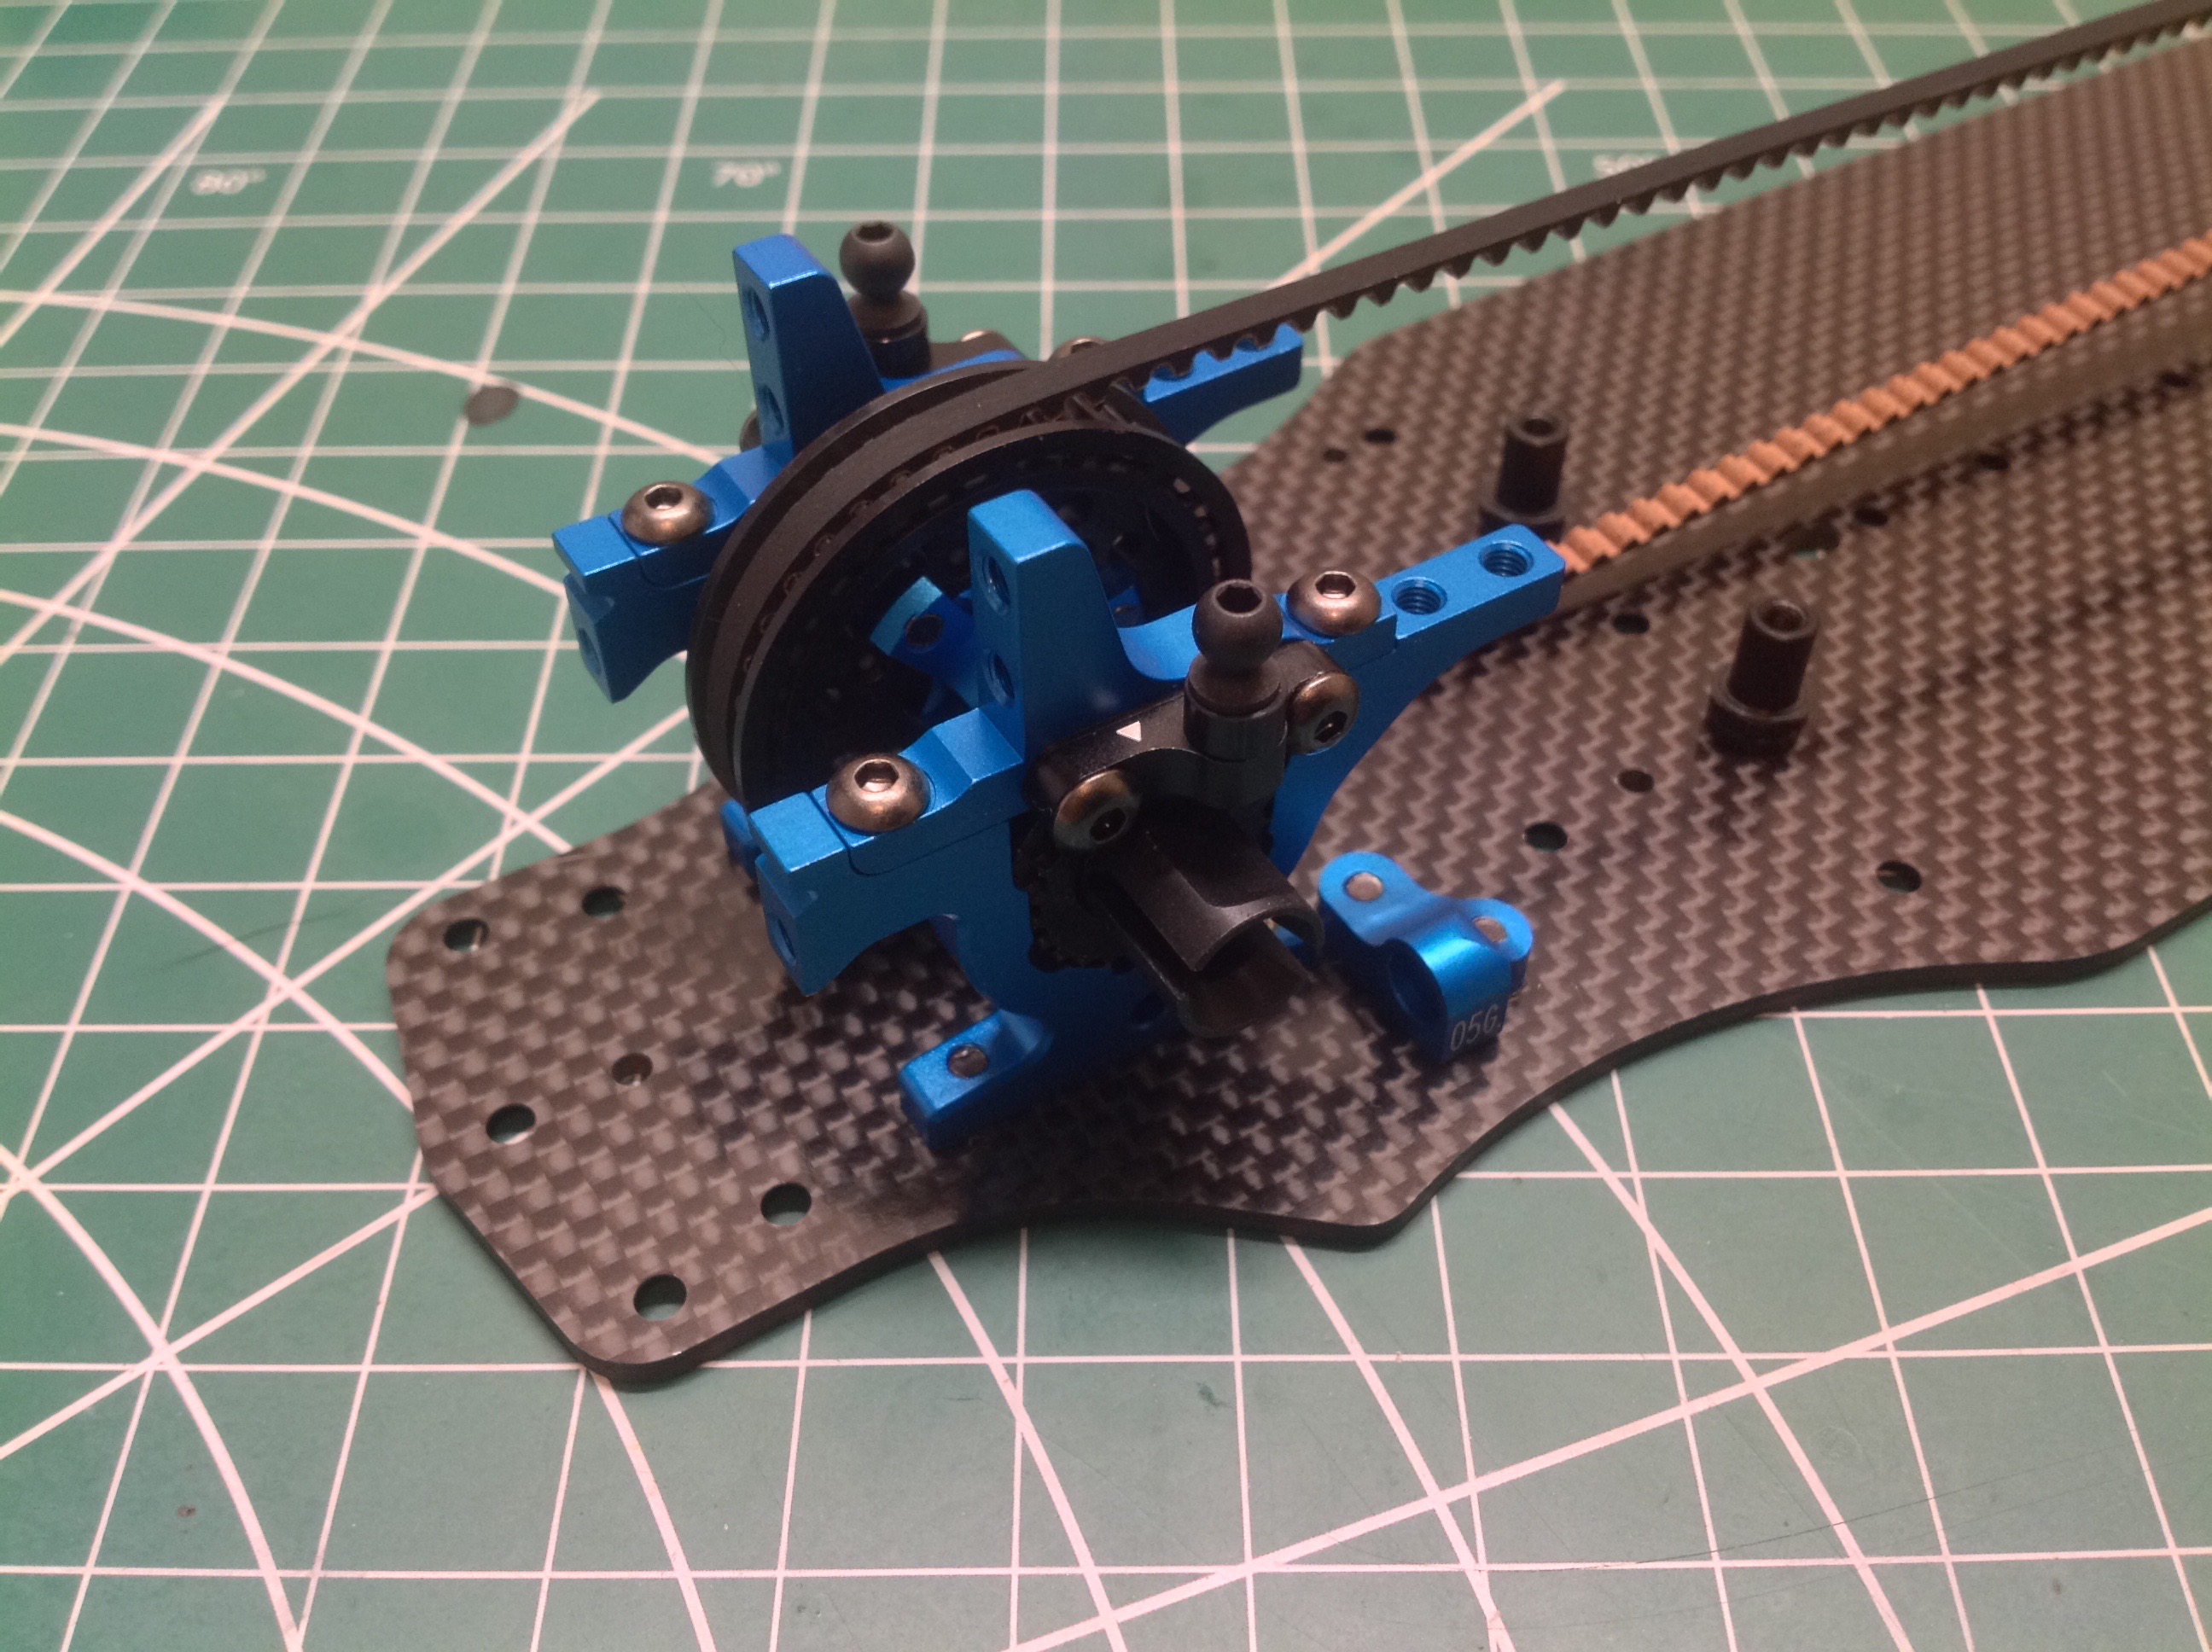
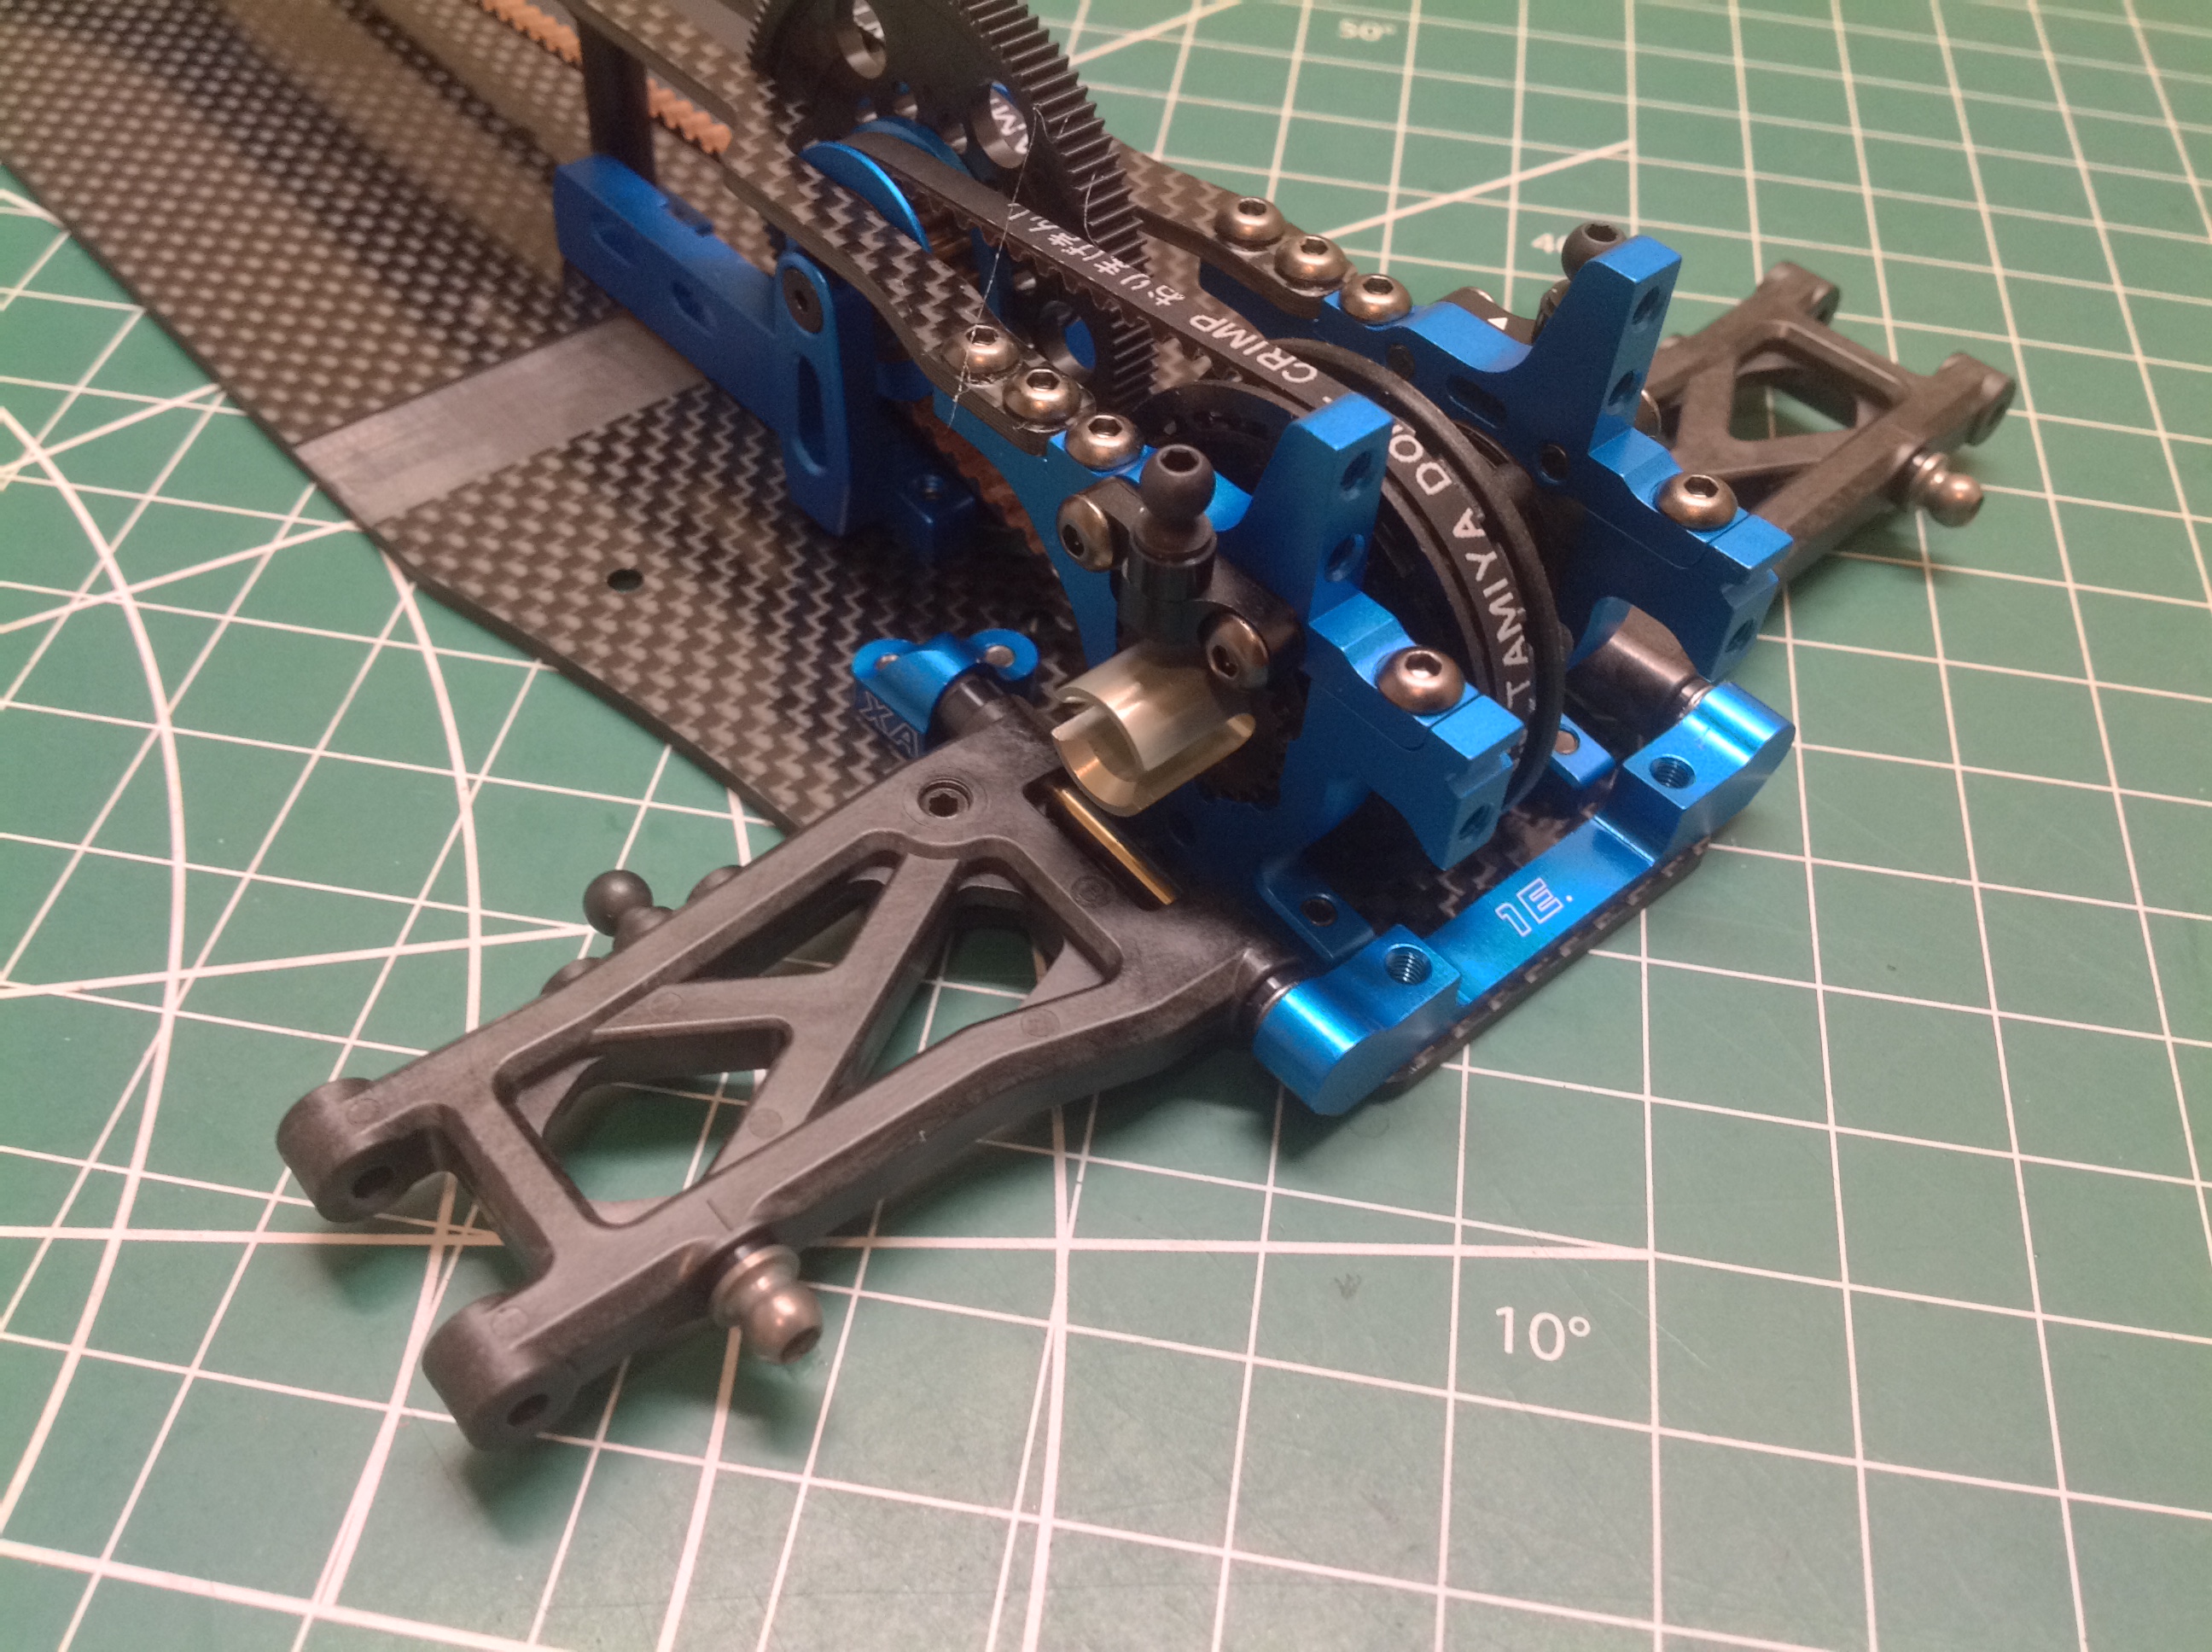
The build starts with the carbon fiber (CFRP) chassis plate and the
anodized aluminum rear bulkheads. This model uses all hex
hardware, and most of the bolts are countersunk to sit flush with the
bottom of the chassis. The left hand picture also shows the
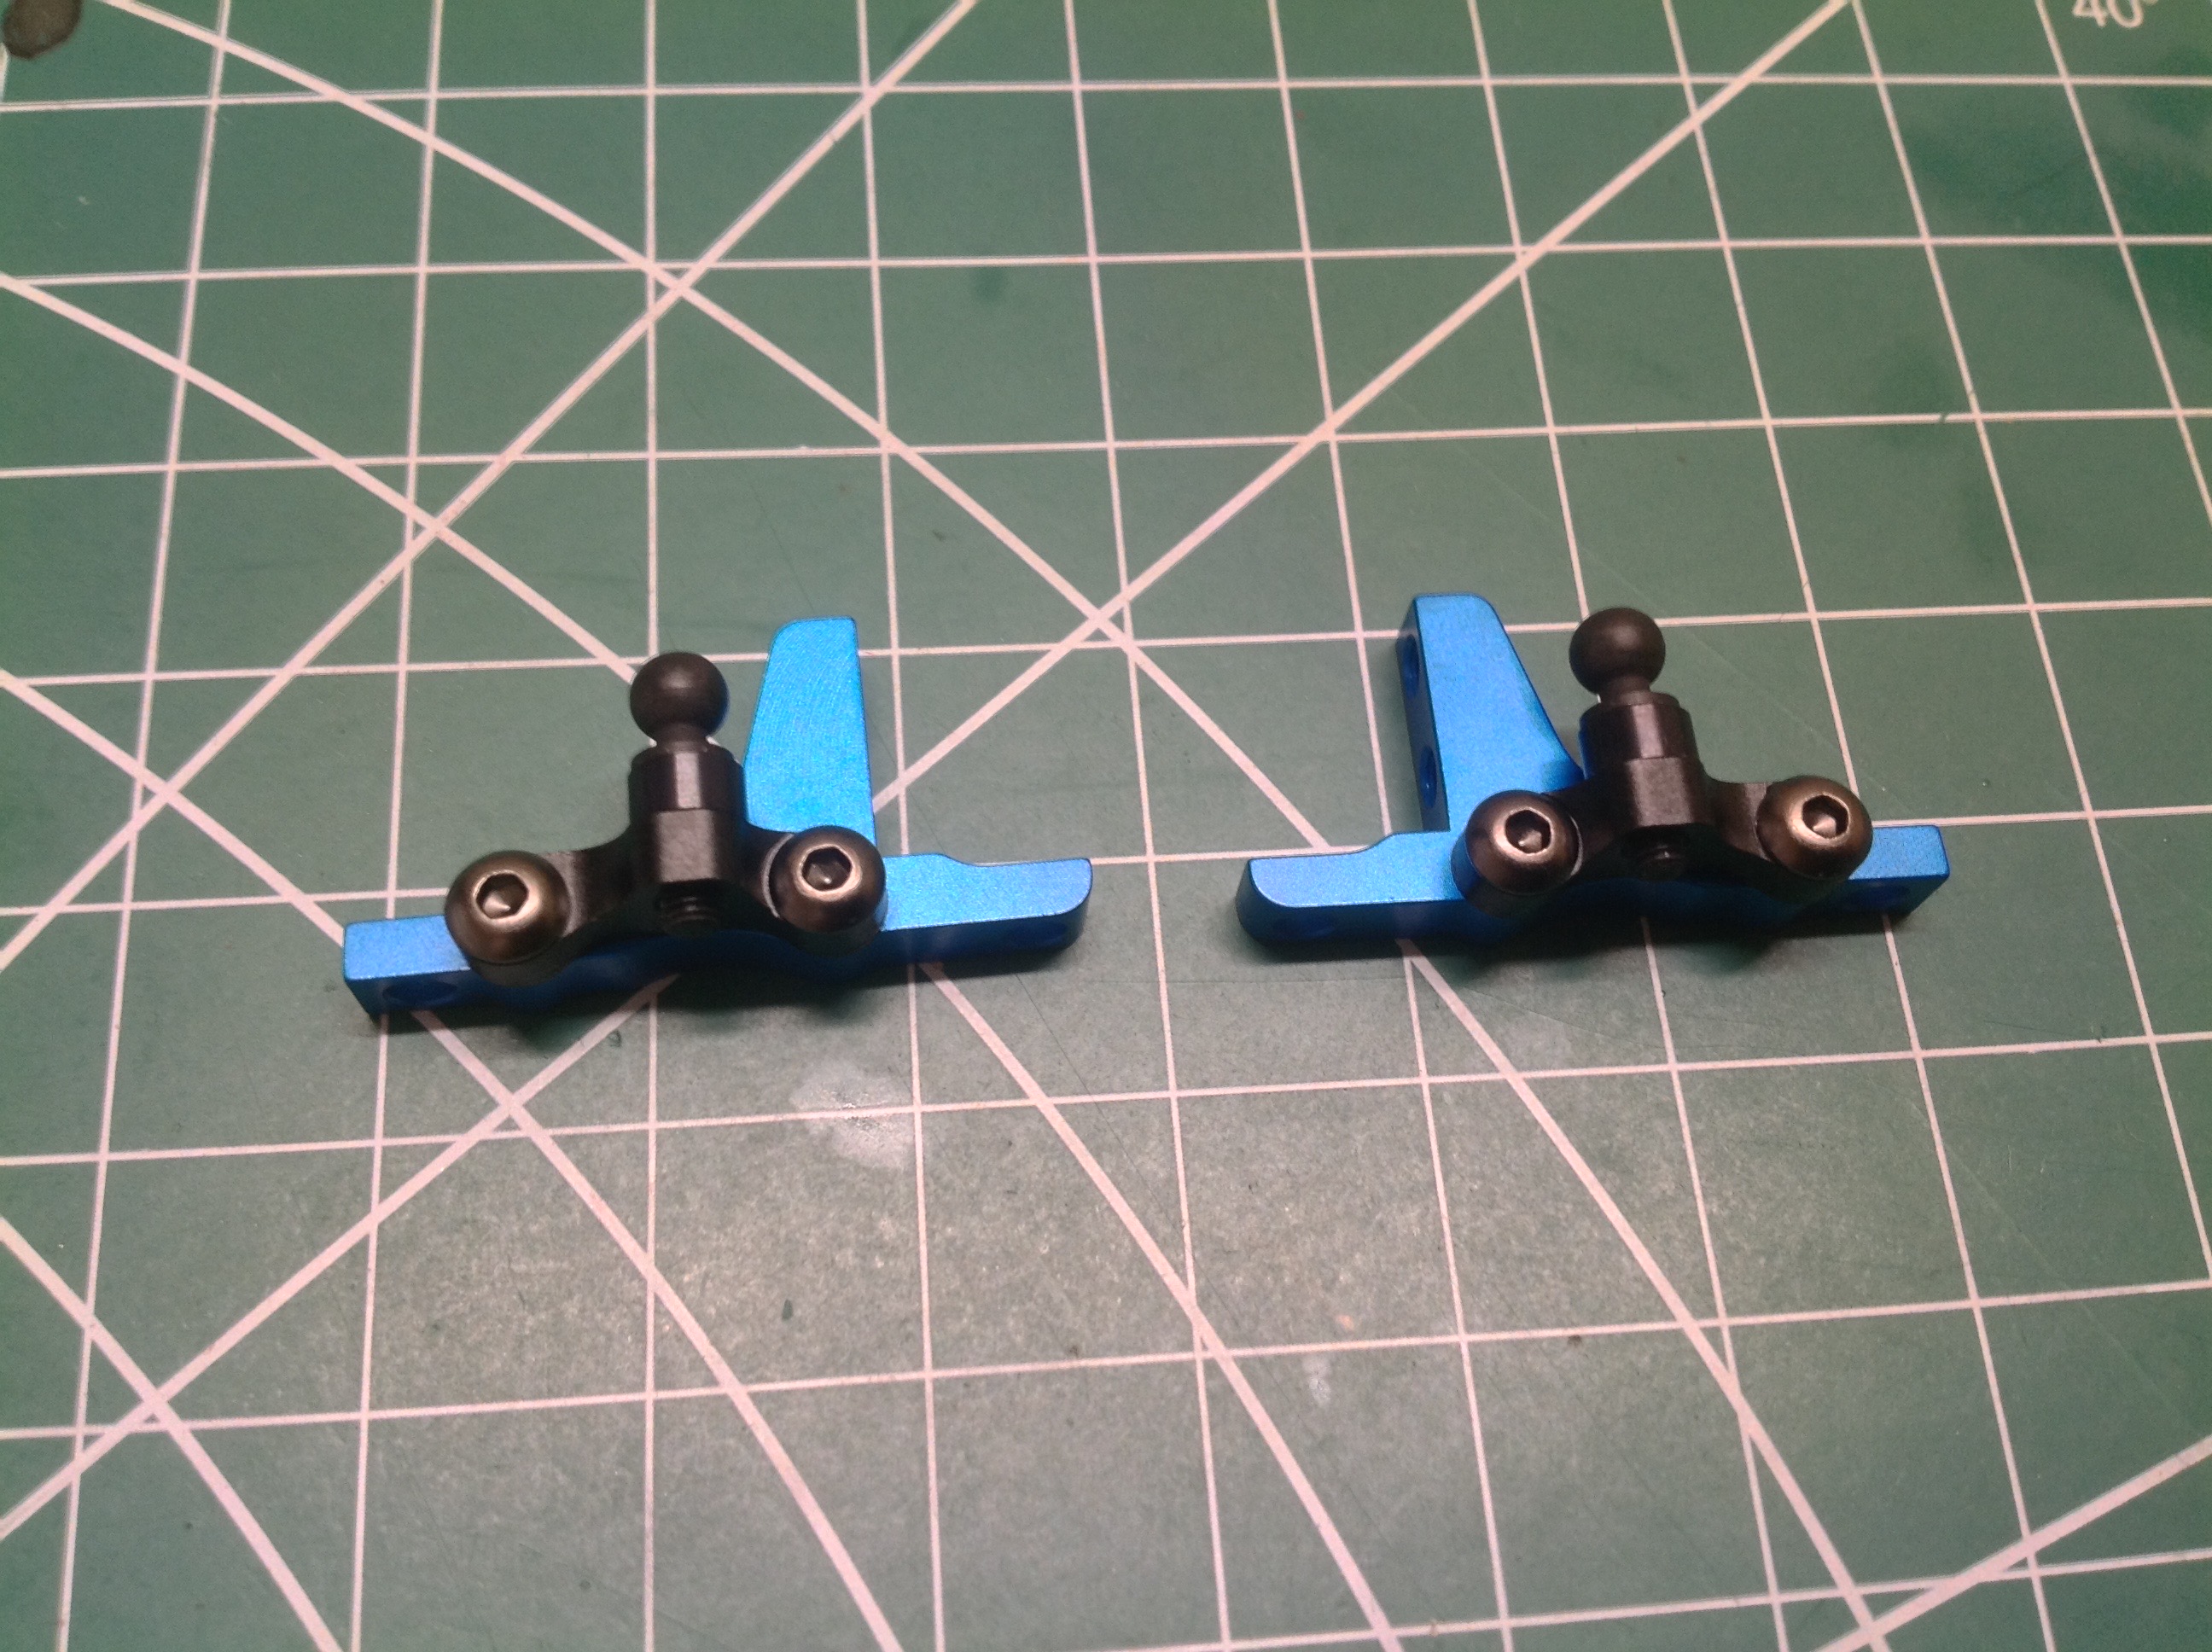
rear-forward suspension mounts which partially control the rear toe
angle. These parts (05g) in combination with rear-aft mount 1E and
the stock 0° uprights result in 3° toe angle. In the right hand
picture I've also added the supports for the rear pulley and spur
gear. Note that everything is carbon or metal at this point.
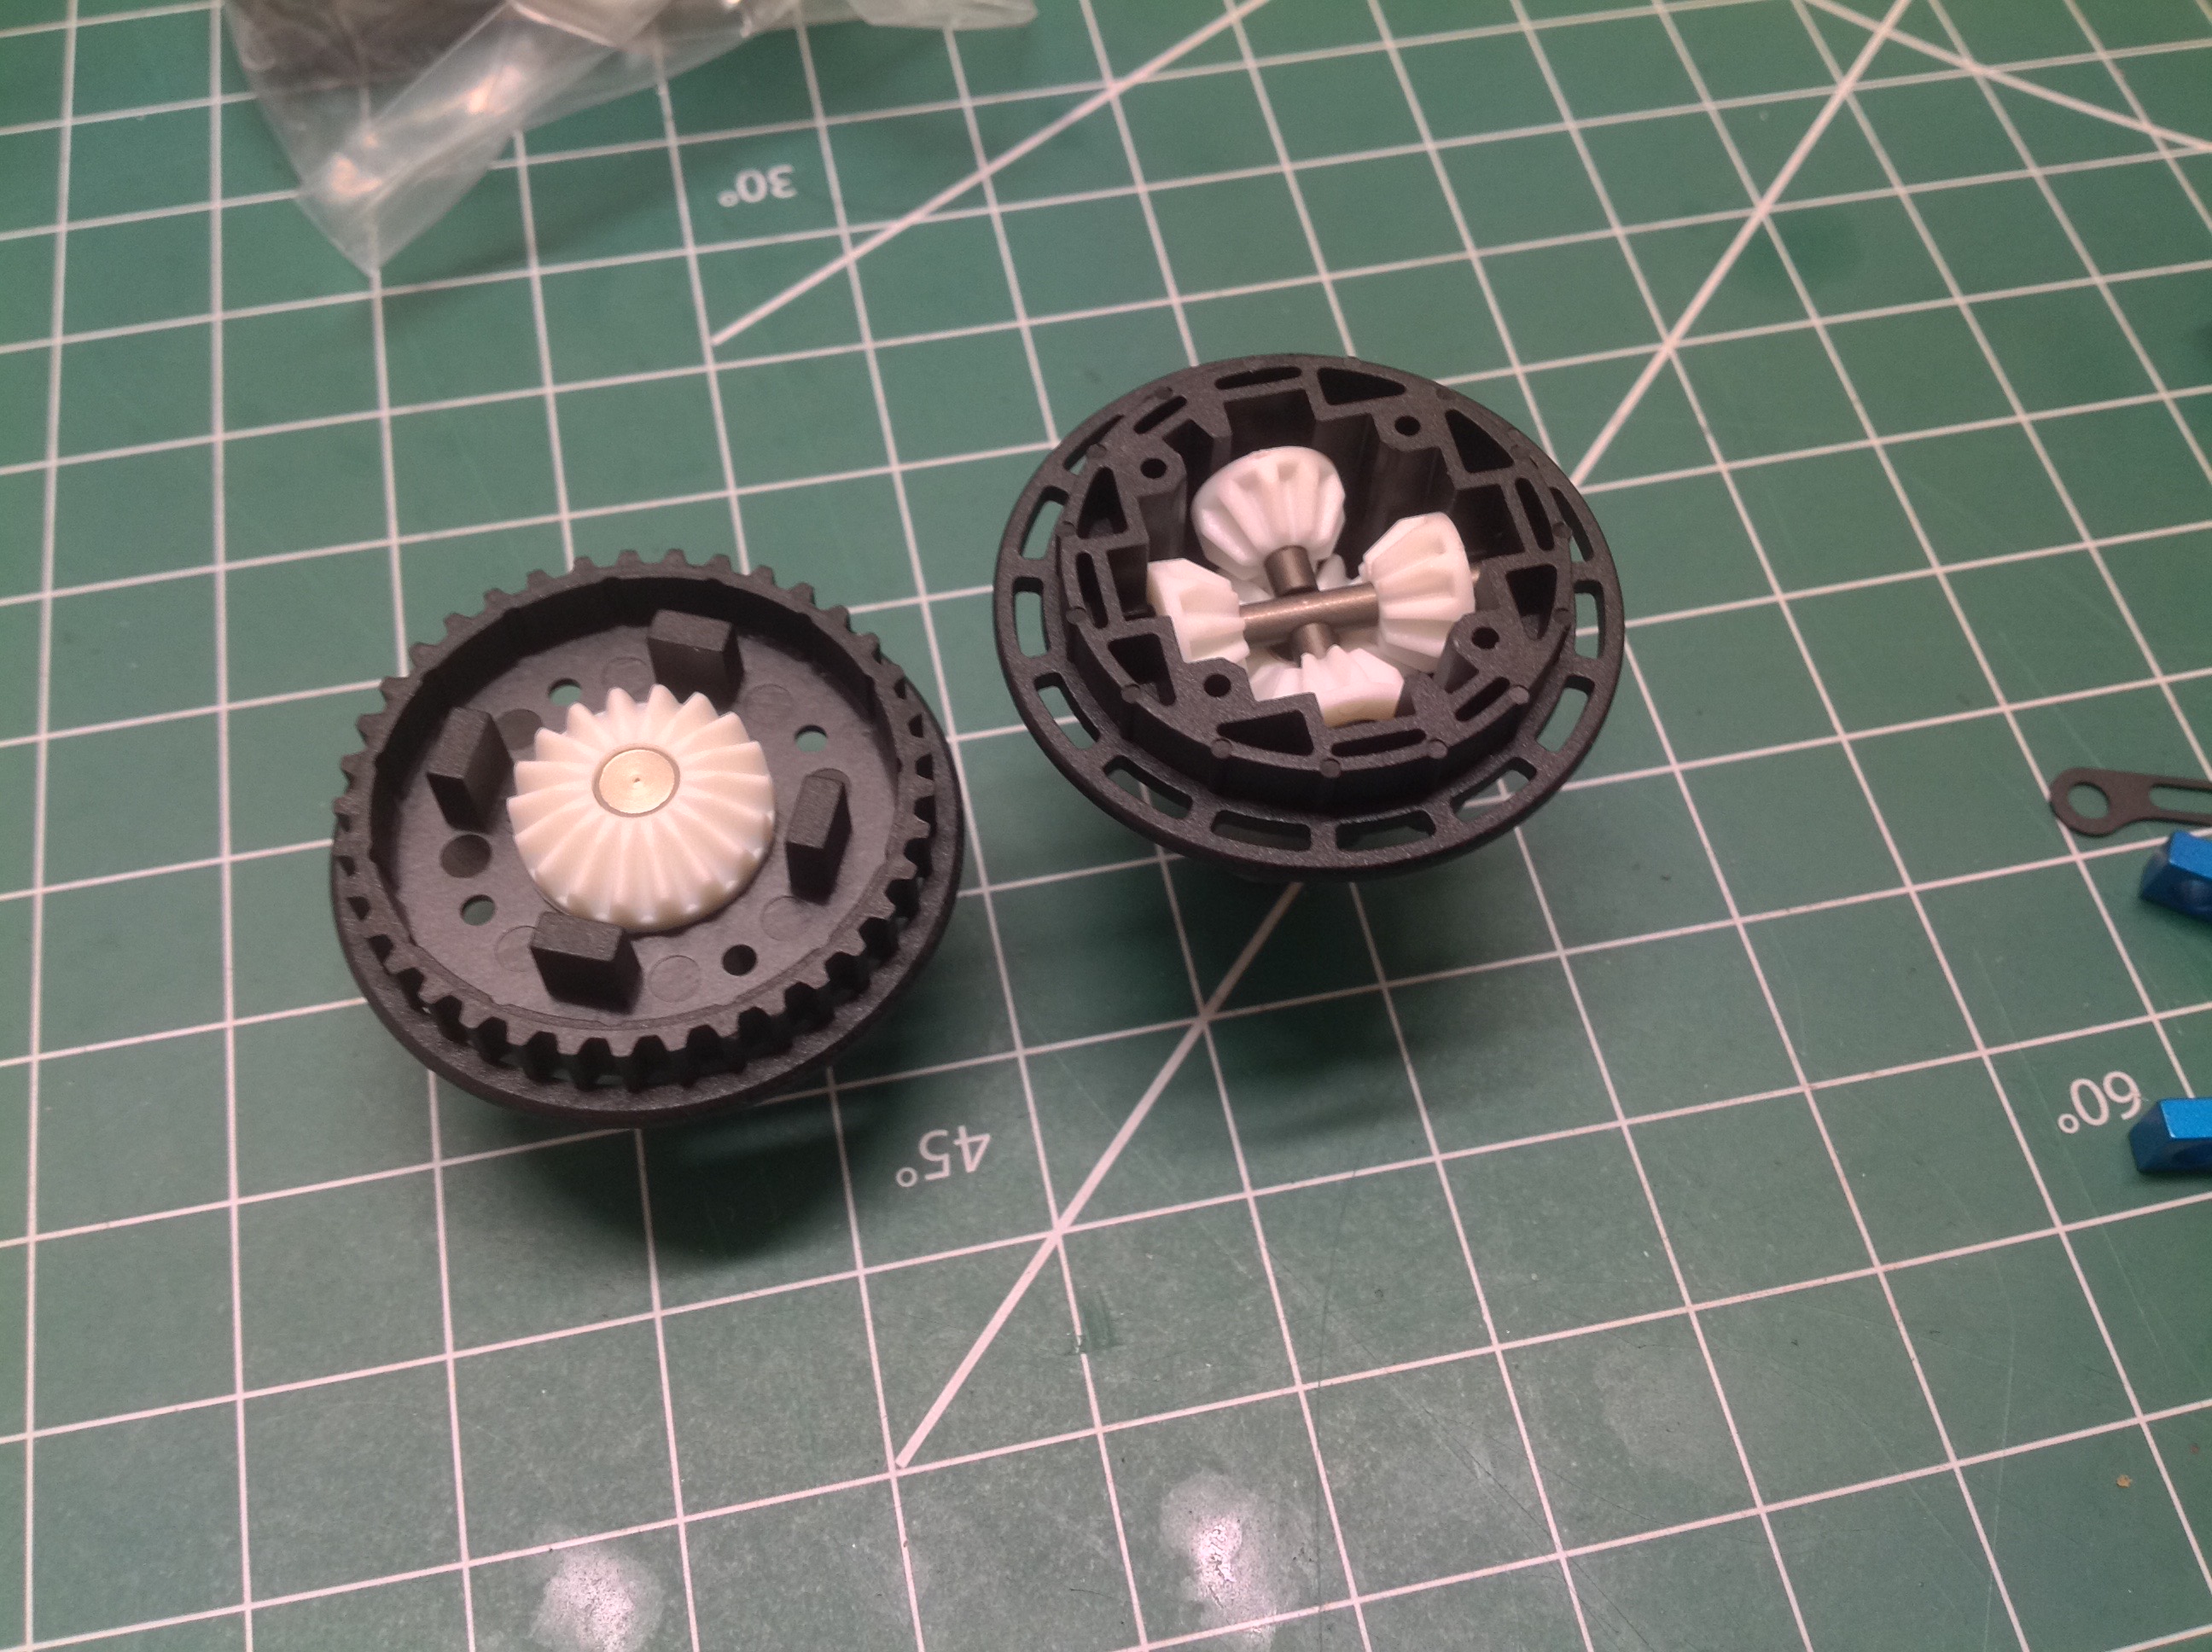
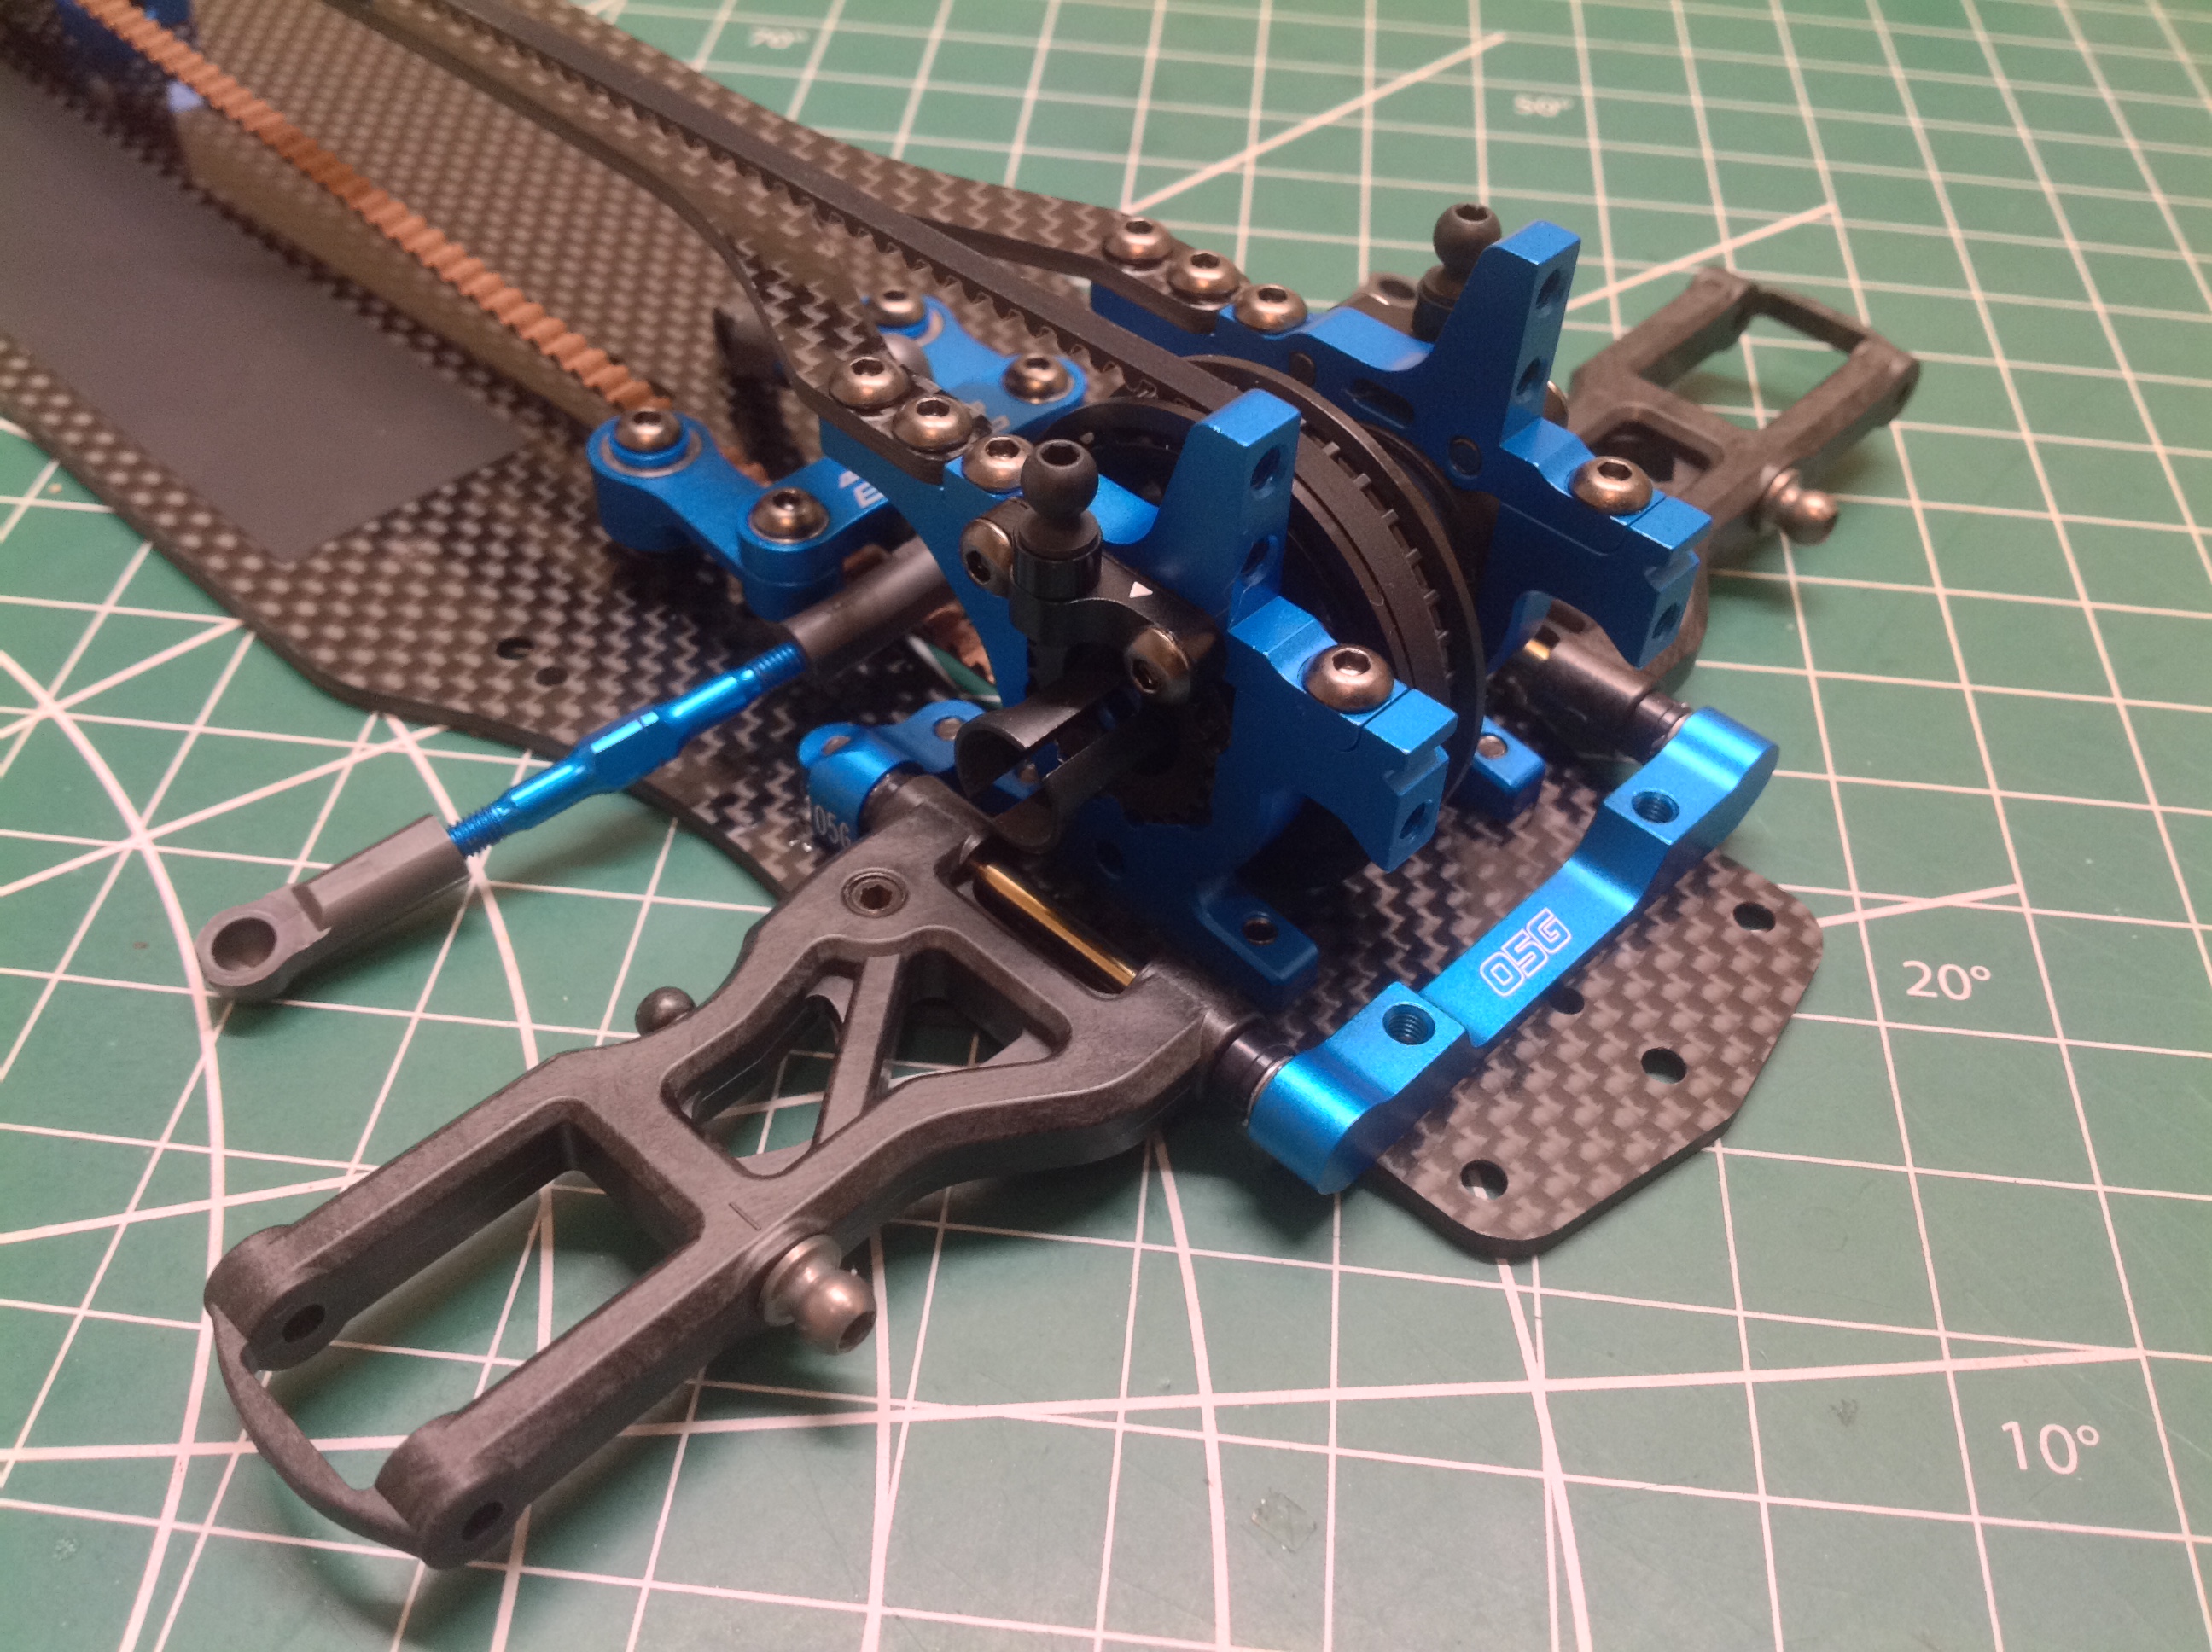
The rear differential uses the first plastic parts. The housing
appears to be glass reinforced. You might be surprised that the
internal gears are plastic, but these run quiet and wear slowly and are
plenty strong for a touring car. They are white but they are not
Delrin. They seem to be something much stiffer. The cross
shafts are metal, possibly titanium. This is a sealed differential
and the kit comes with the clear shock fluid (900cSt kinematic
viscosity) to use for filling. The outdrives appear to be
aluminum. The completed diff is shown on the right.
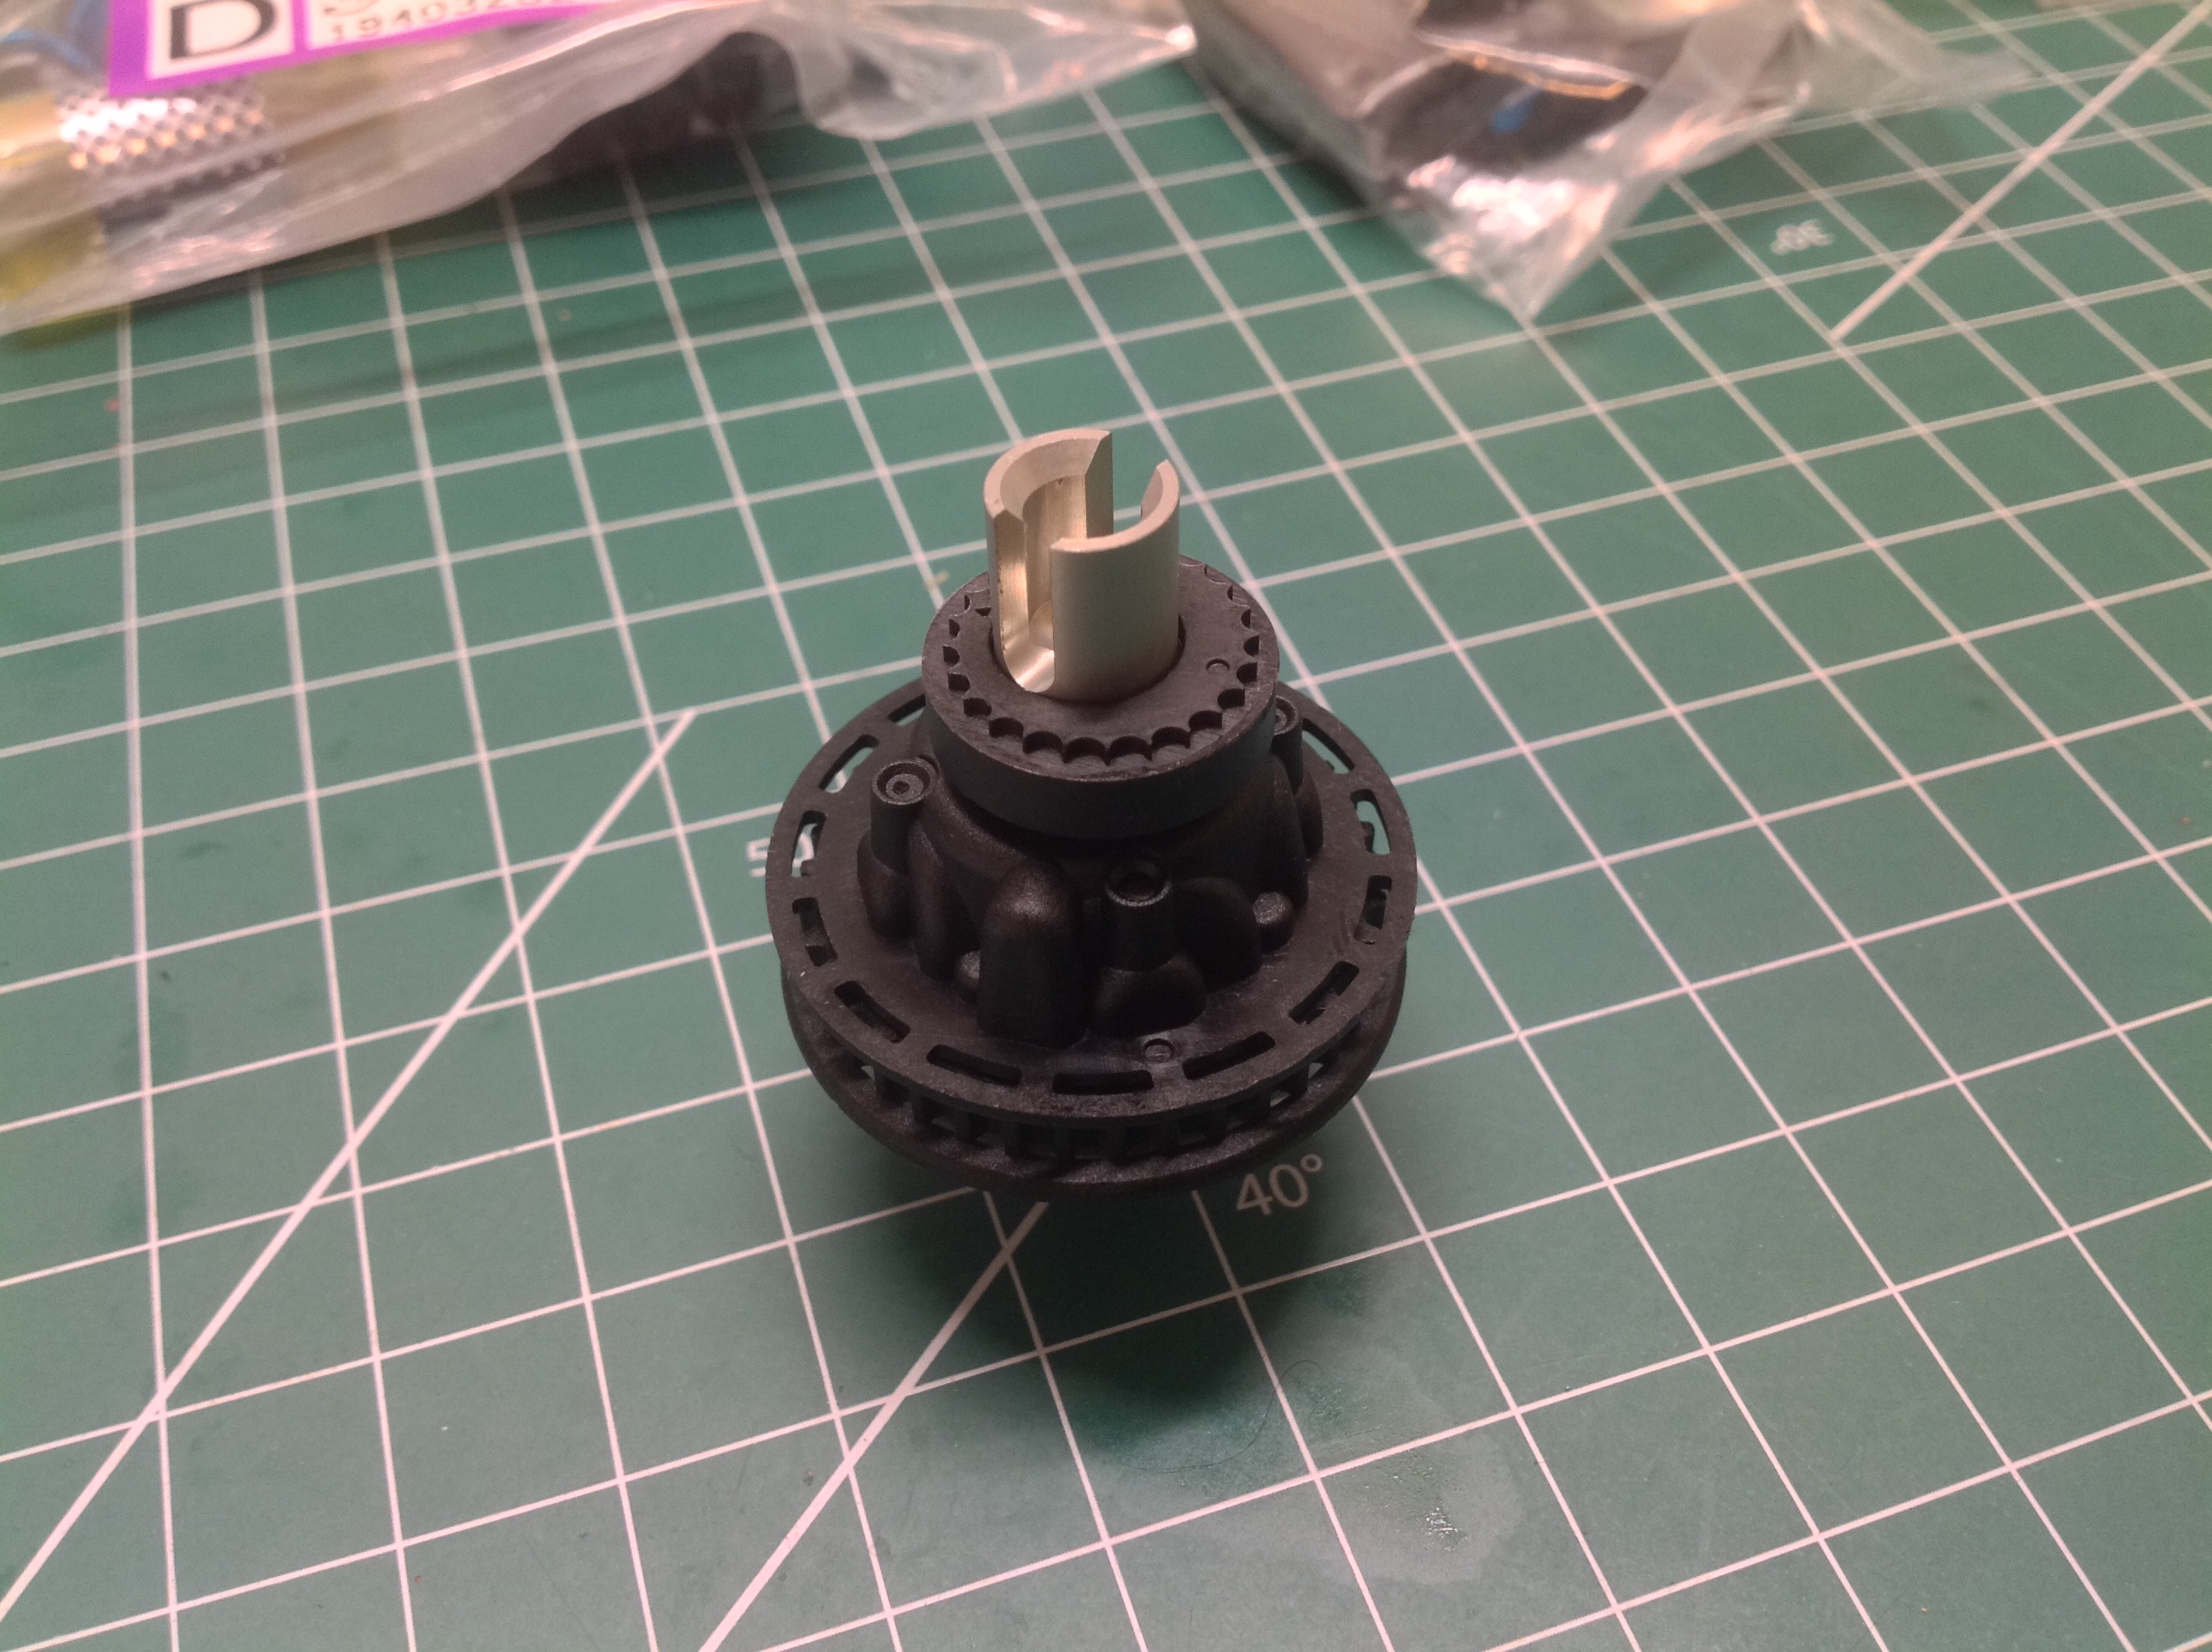
The teeth surrounding the outdrive are eccentric indexes. The
whole diff can be rotated to move the diff back and tighten the belt.
The aluminum caps are used to enclose the bearings which mount the
differential and also contain the ball joints which support the upper
suspension arms. They are shown mounted on the right with the
shorter rear belt installed.
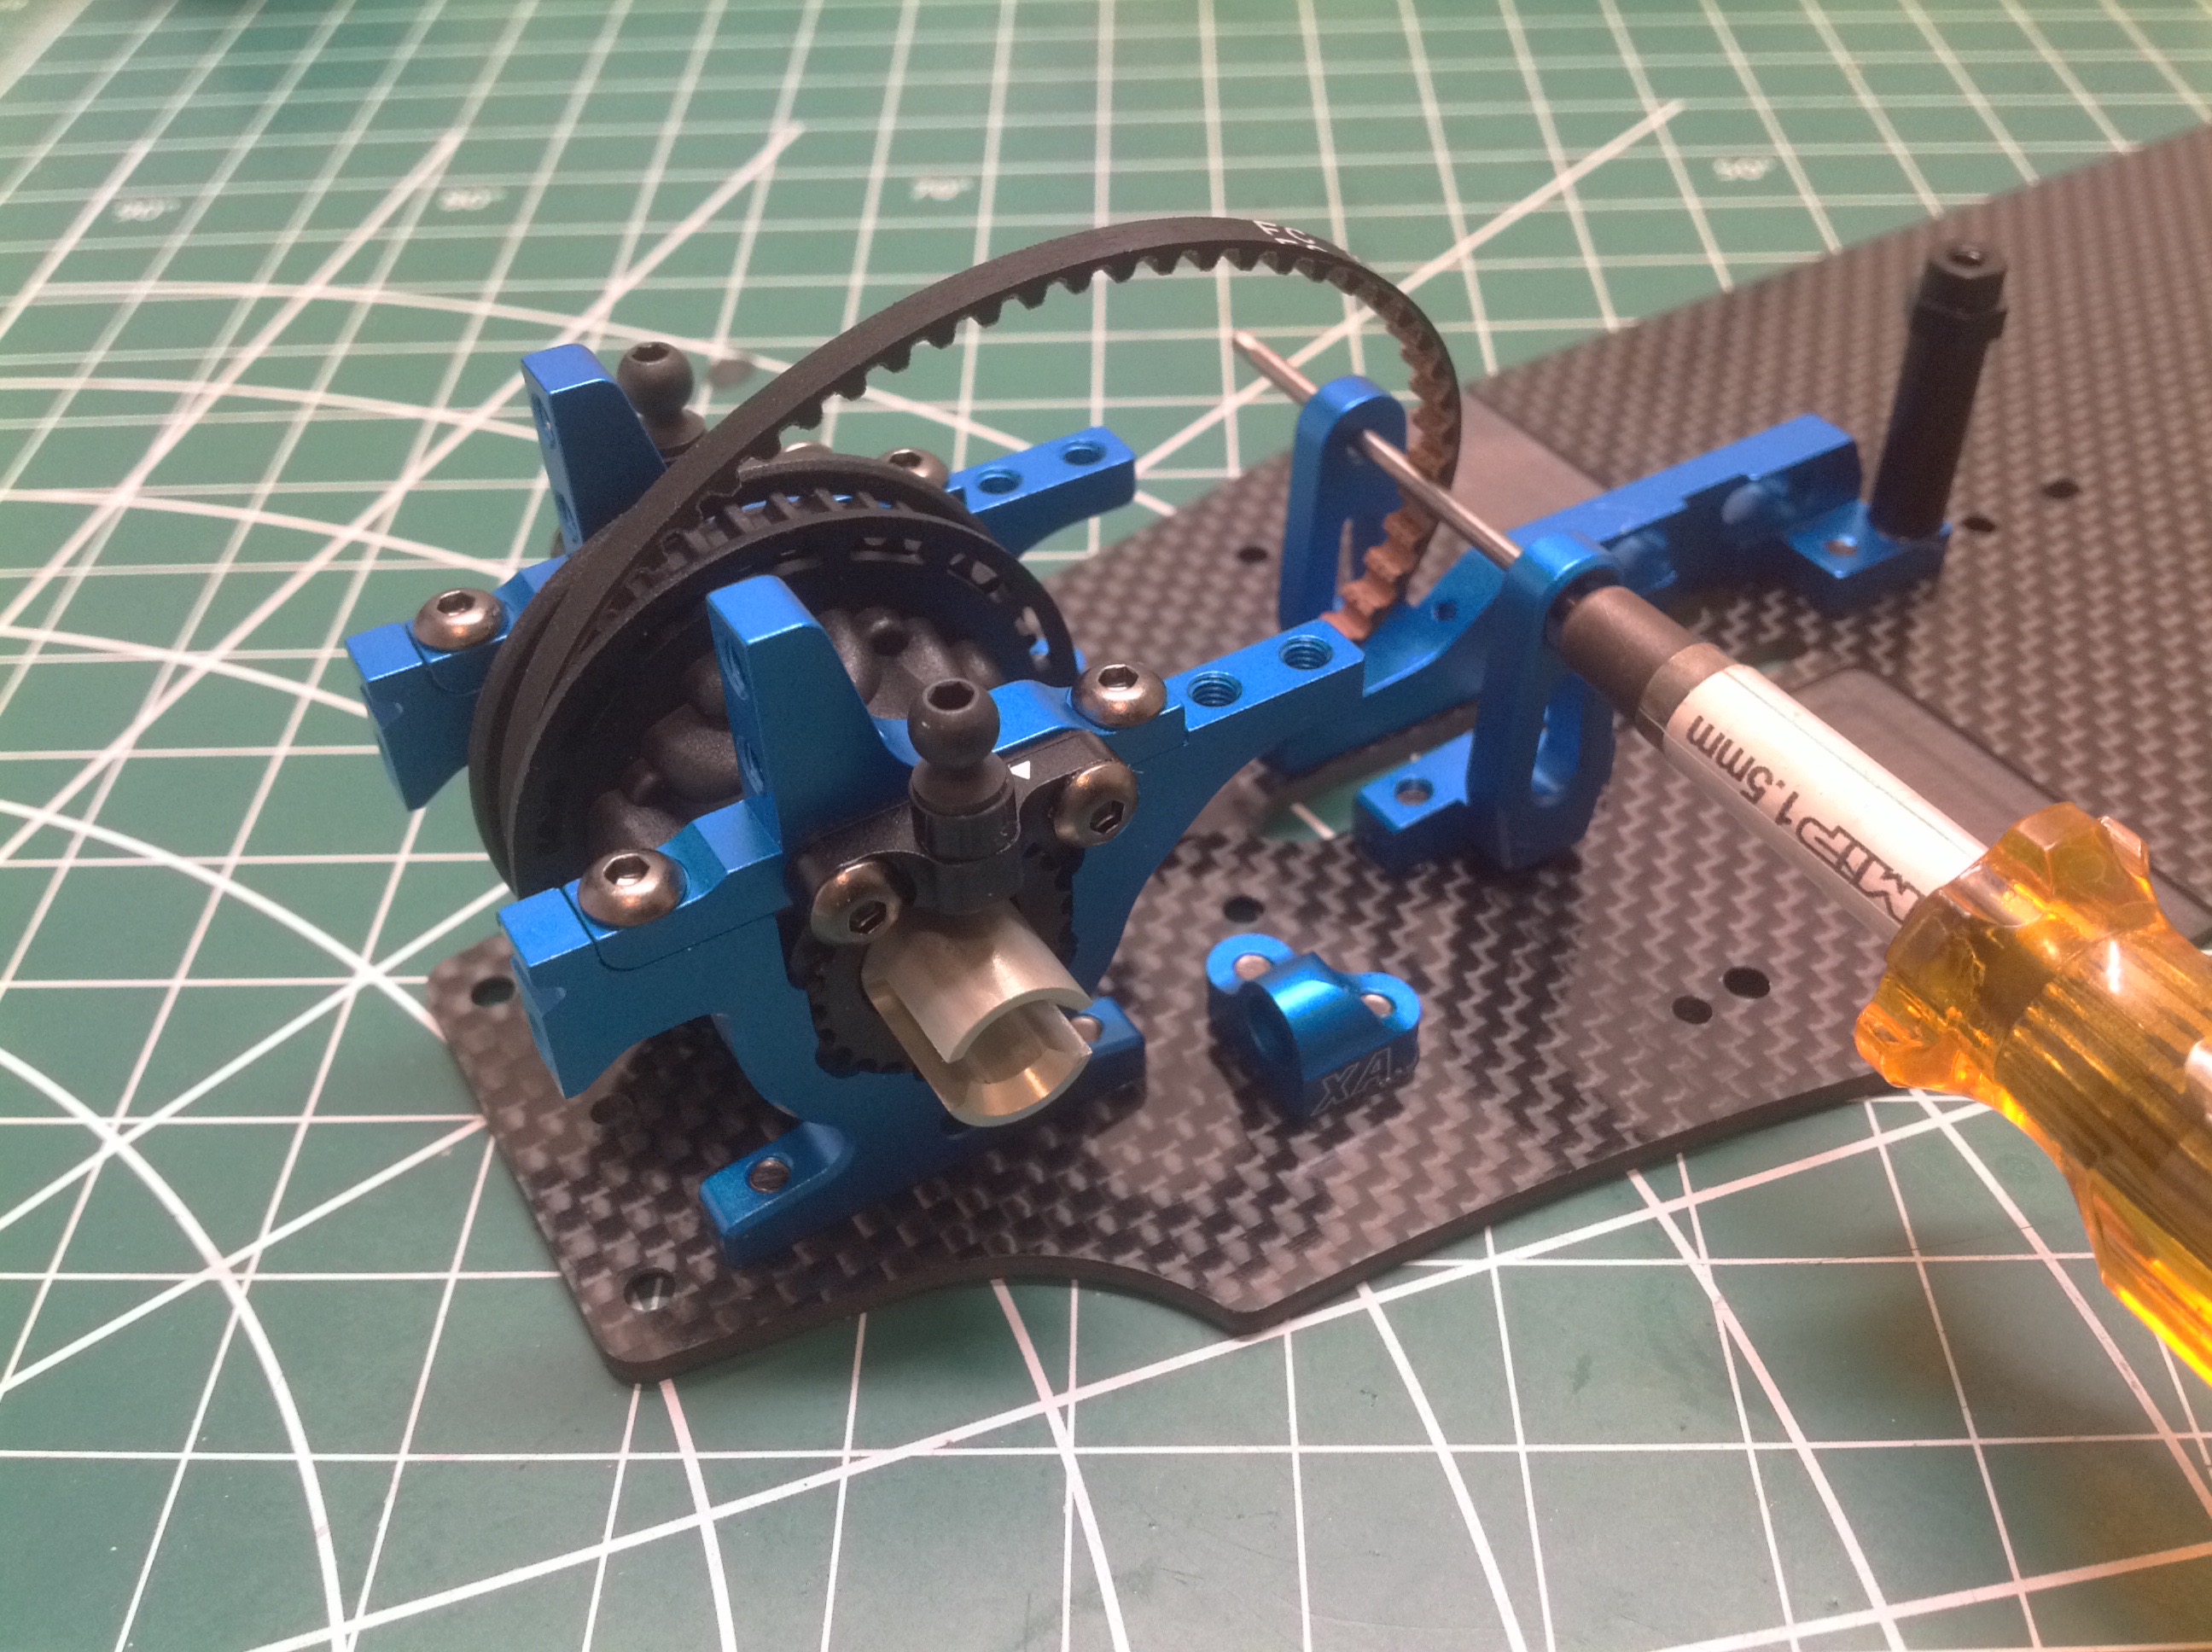
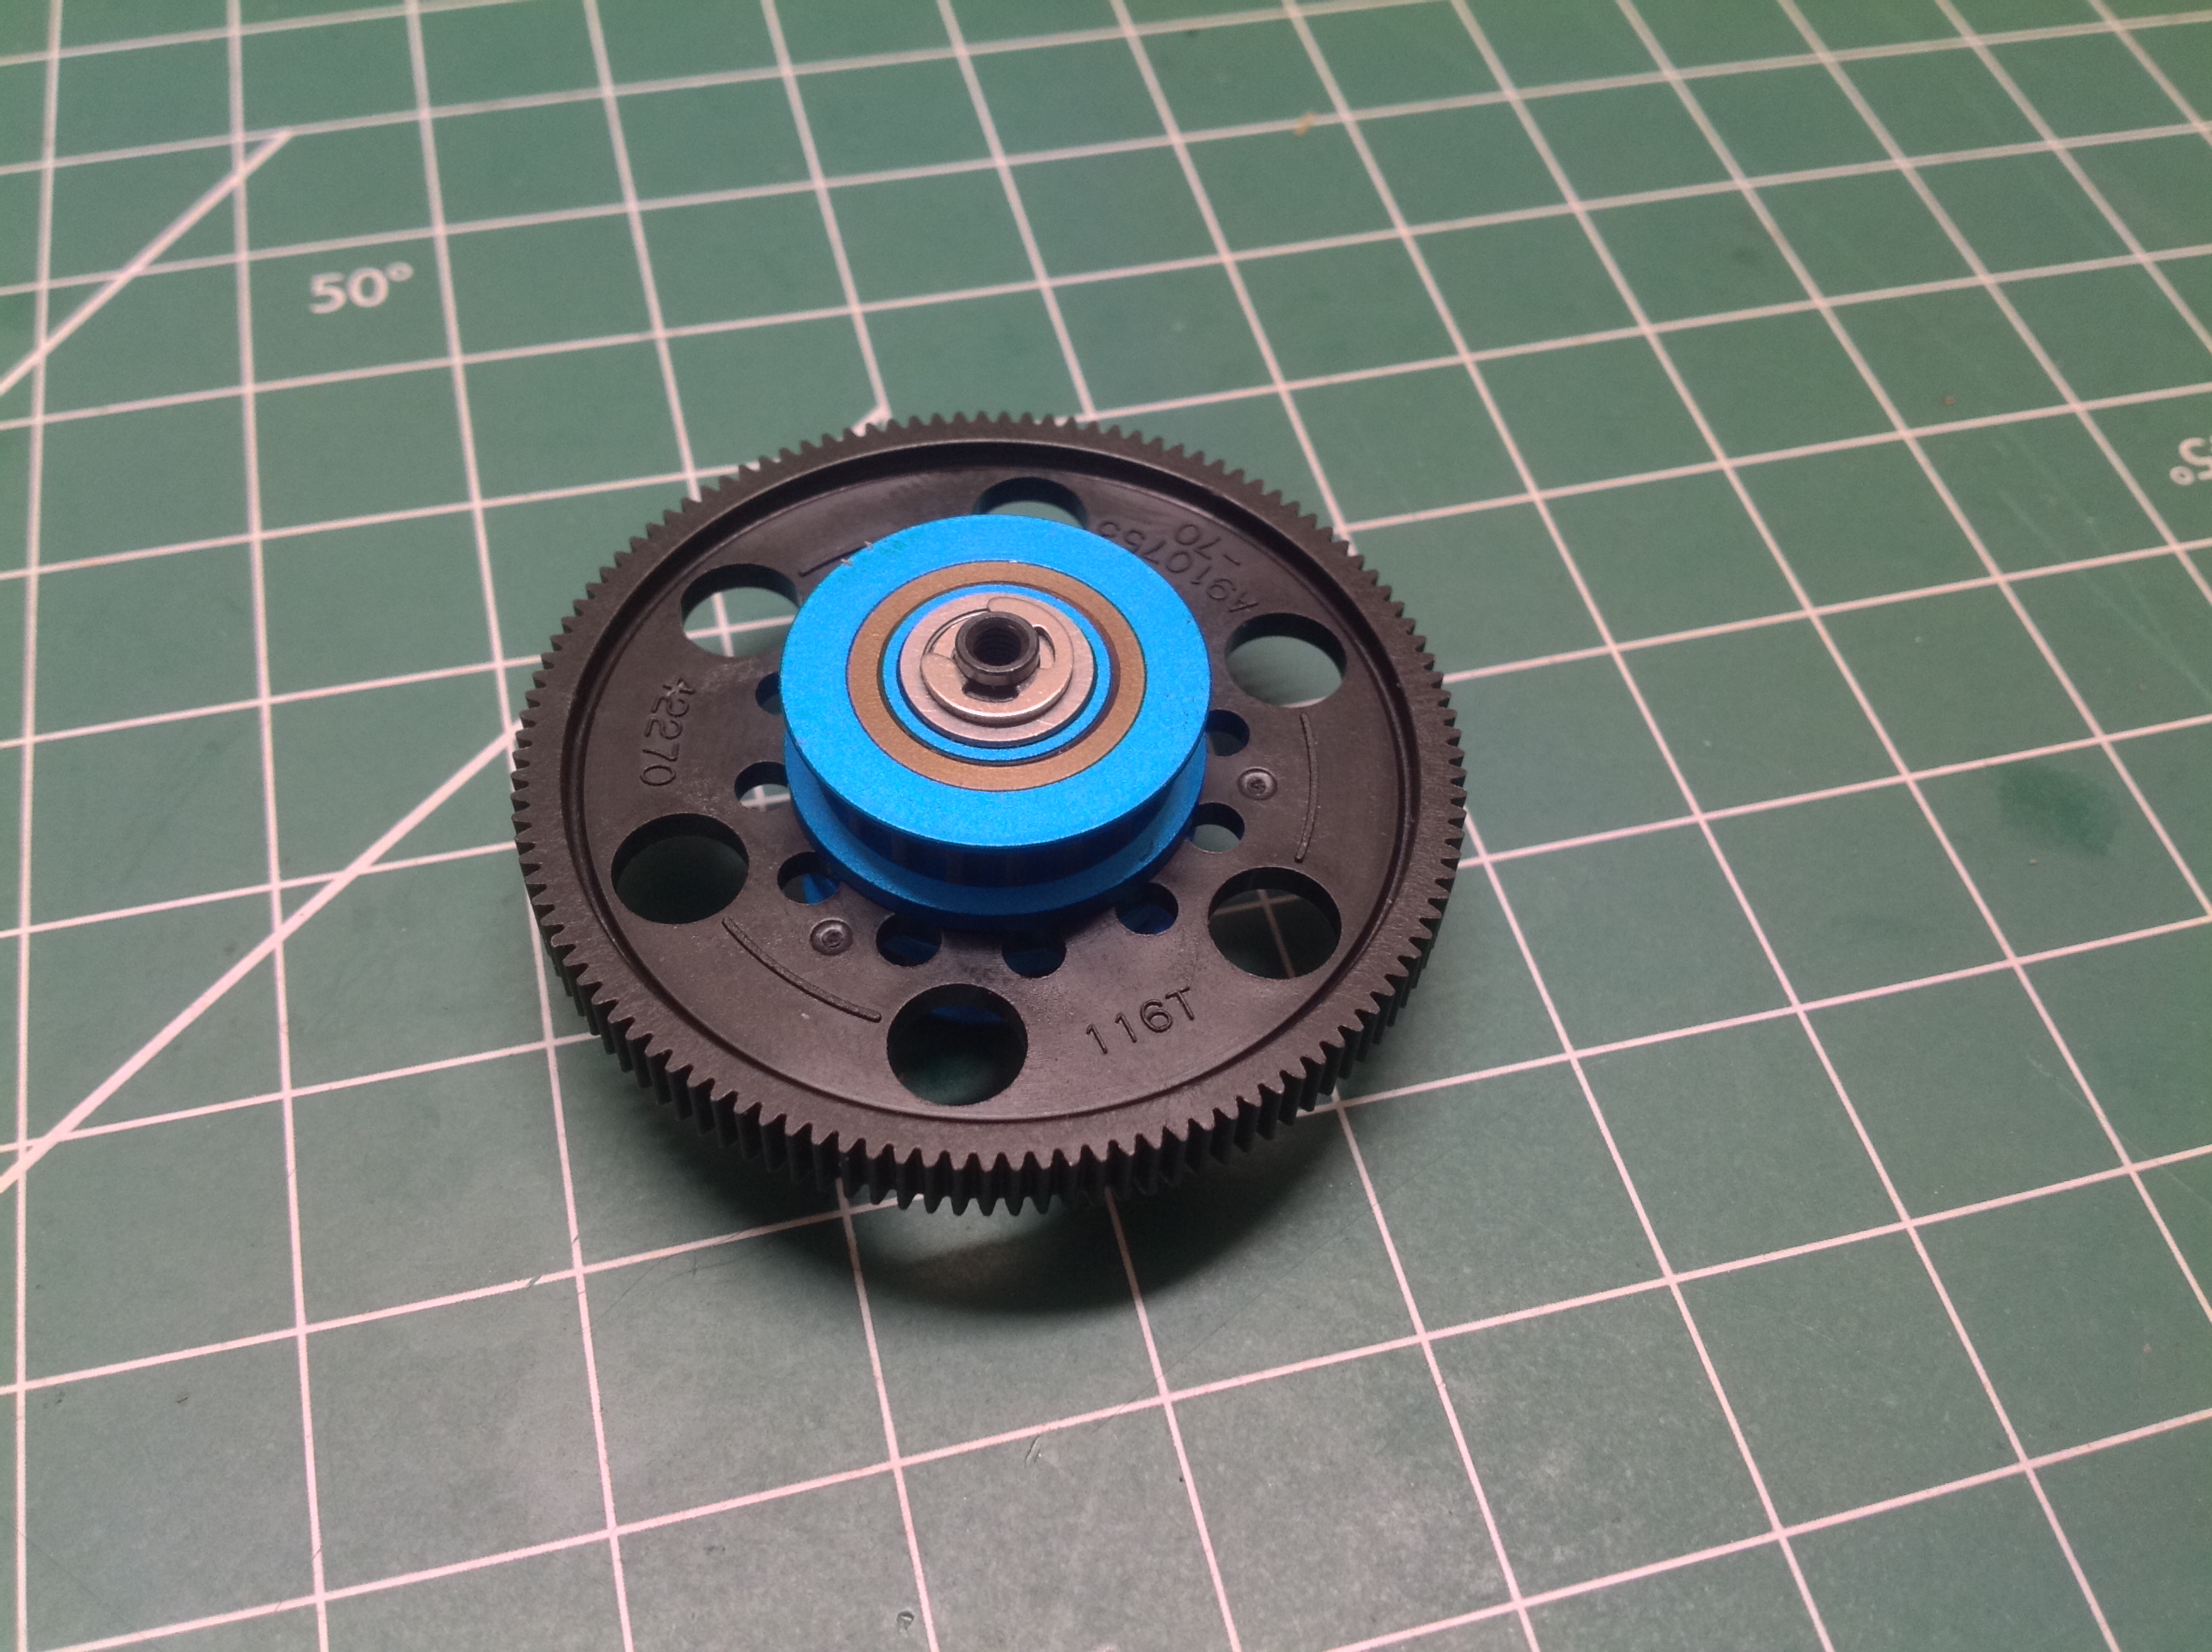
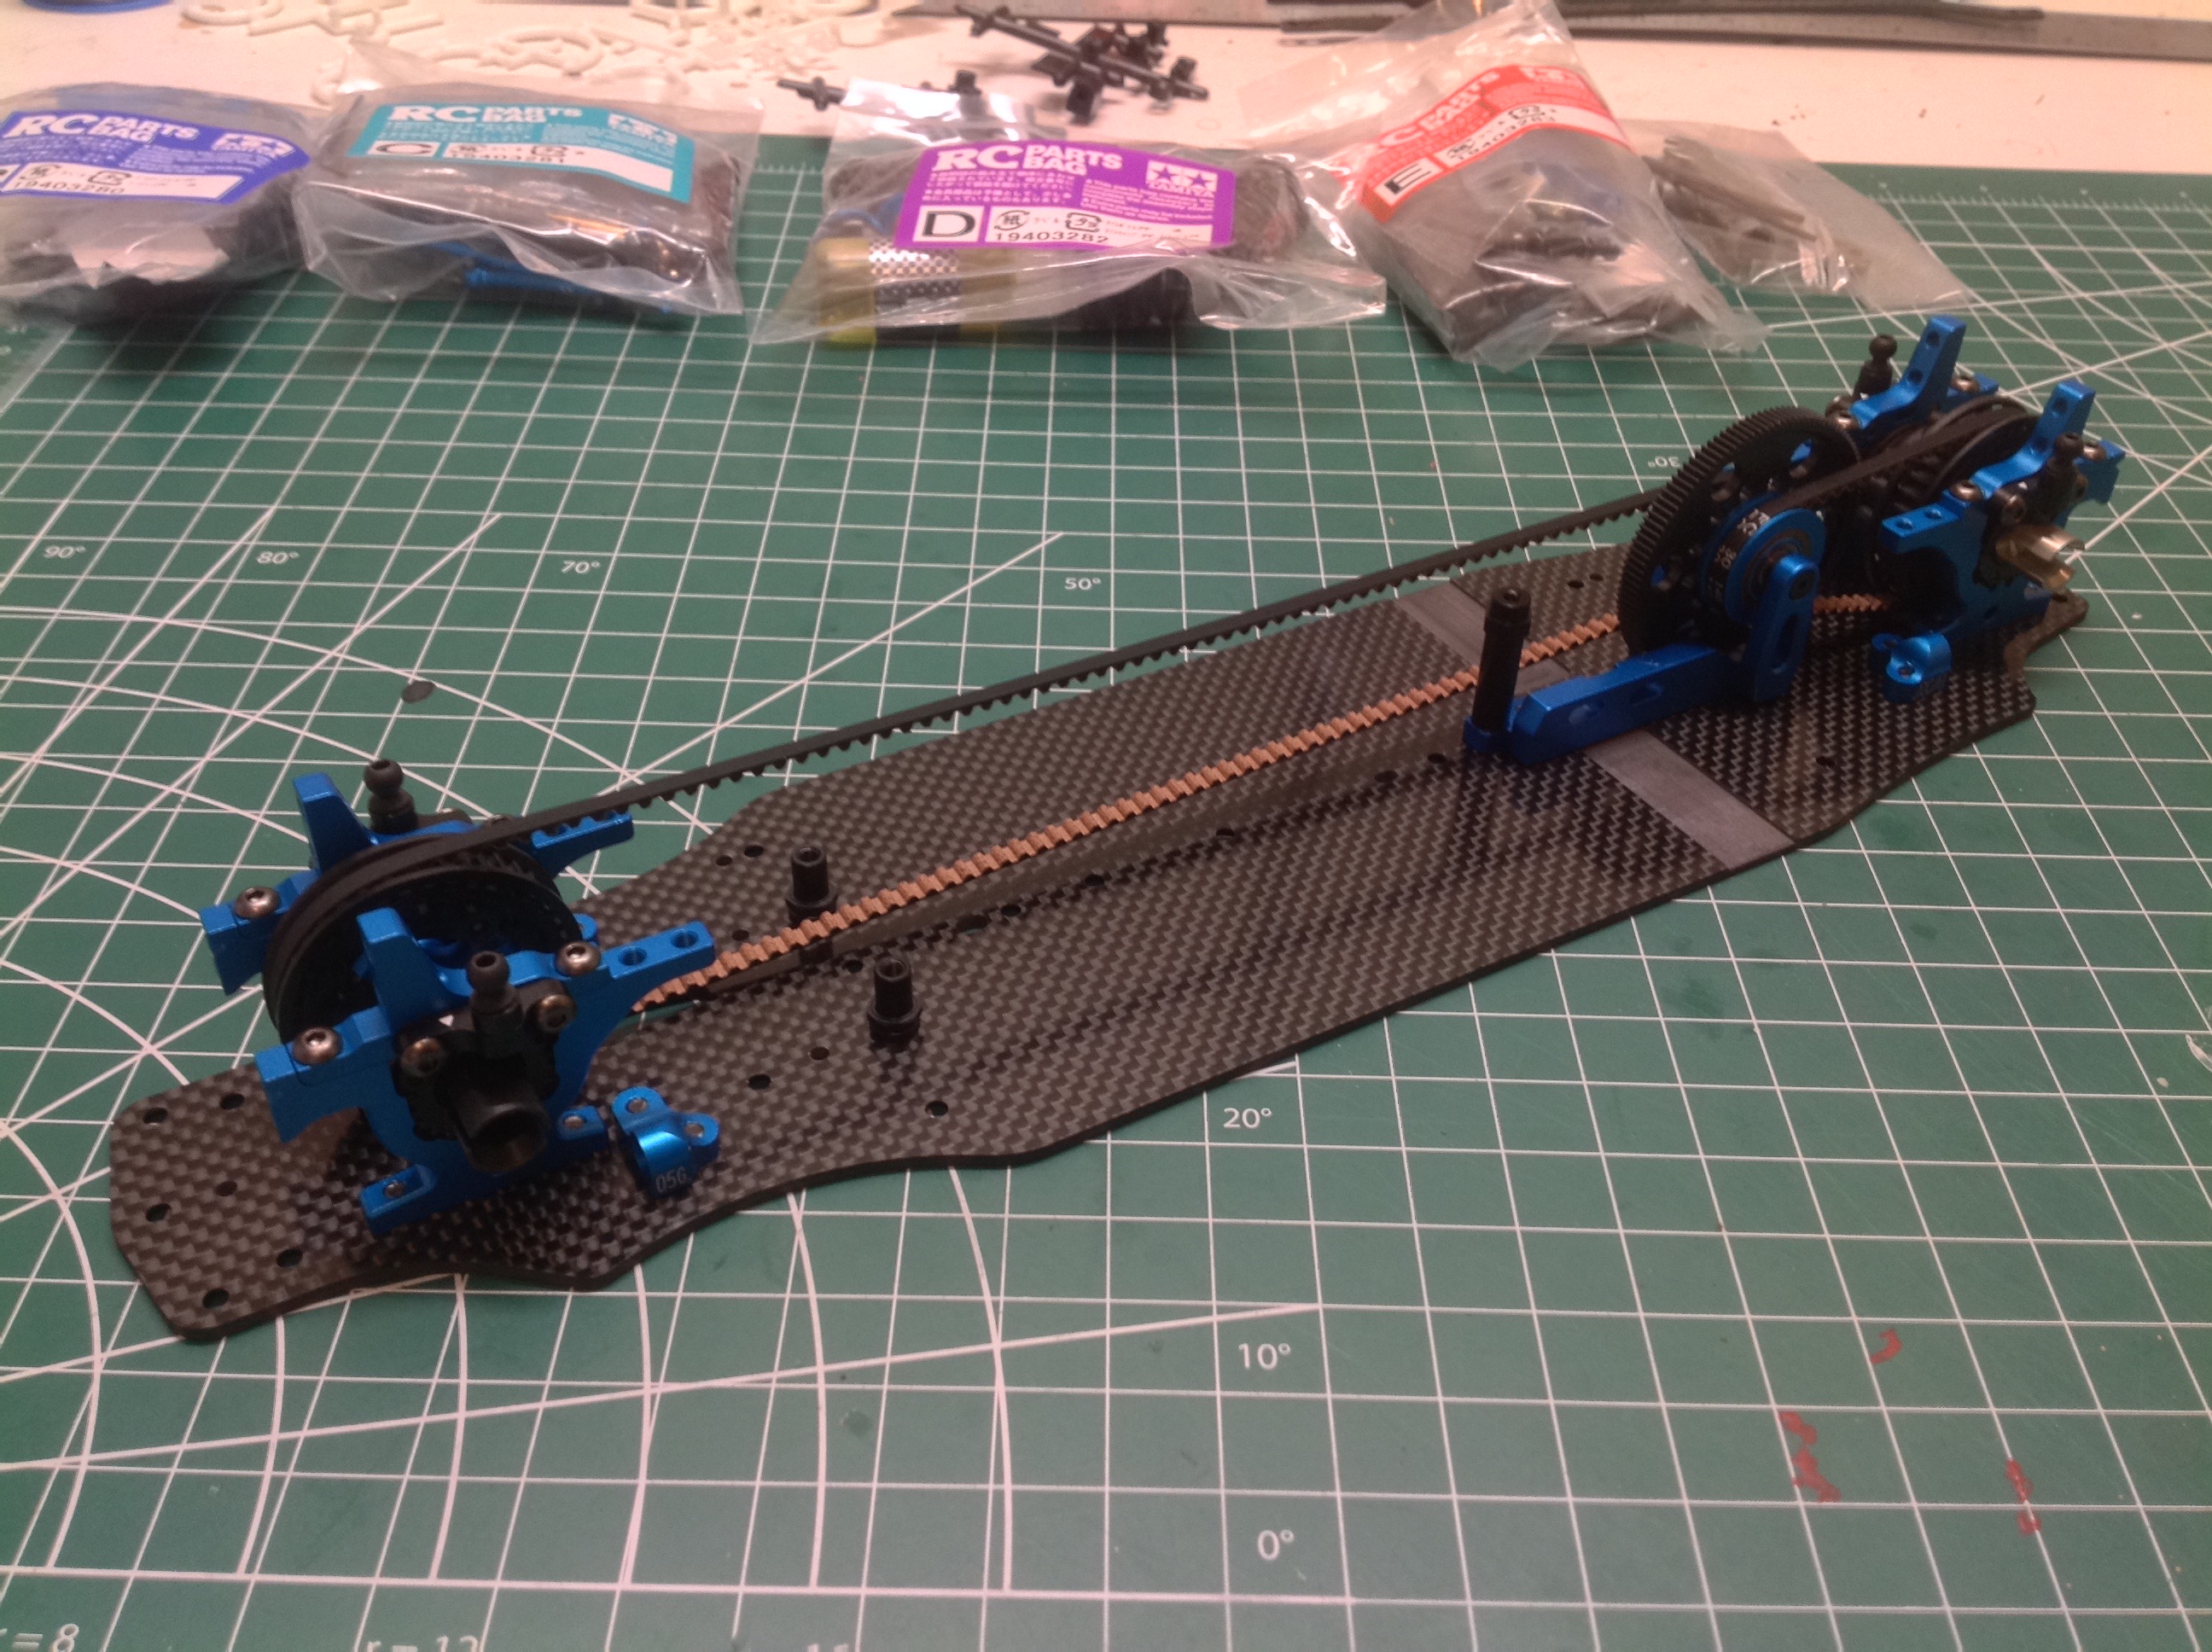
The spur gear is 64 pitch (tiny teeth) and uses 116 teeth. Smaller
113T and 111T versions are available for more top speed. A pulley
is located on either side of the spur to drive the front and rear belts
in parallel.
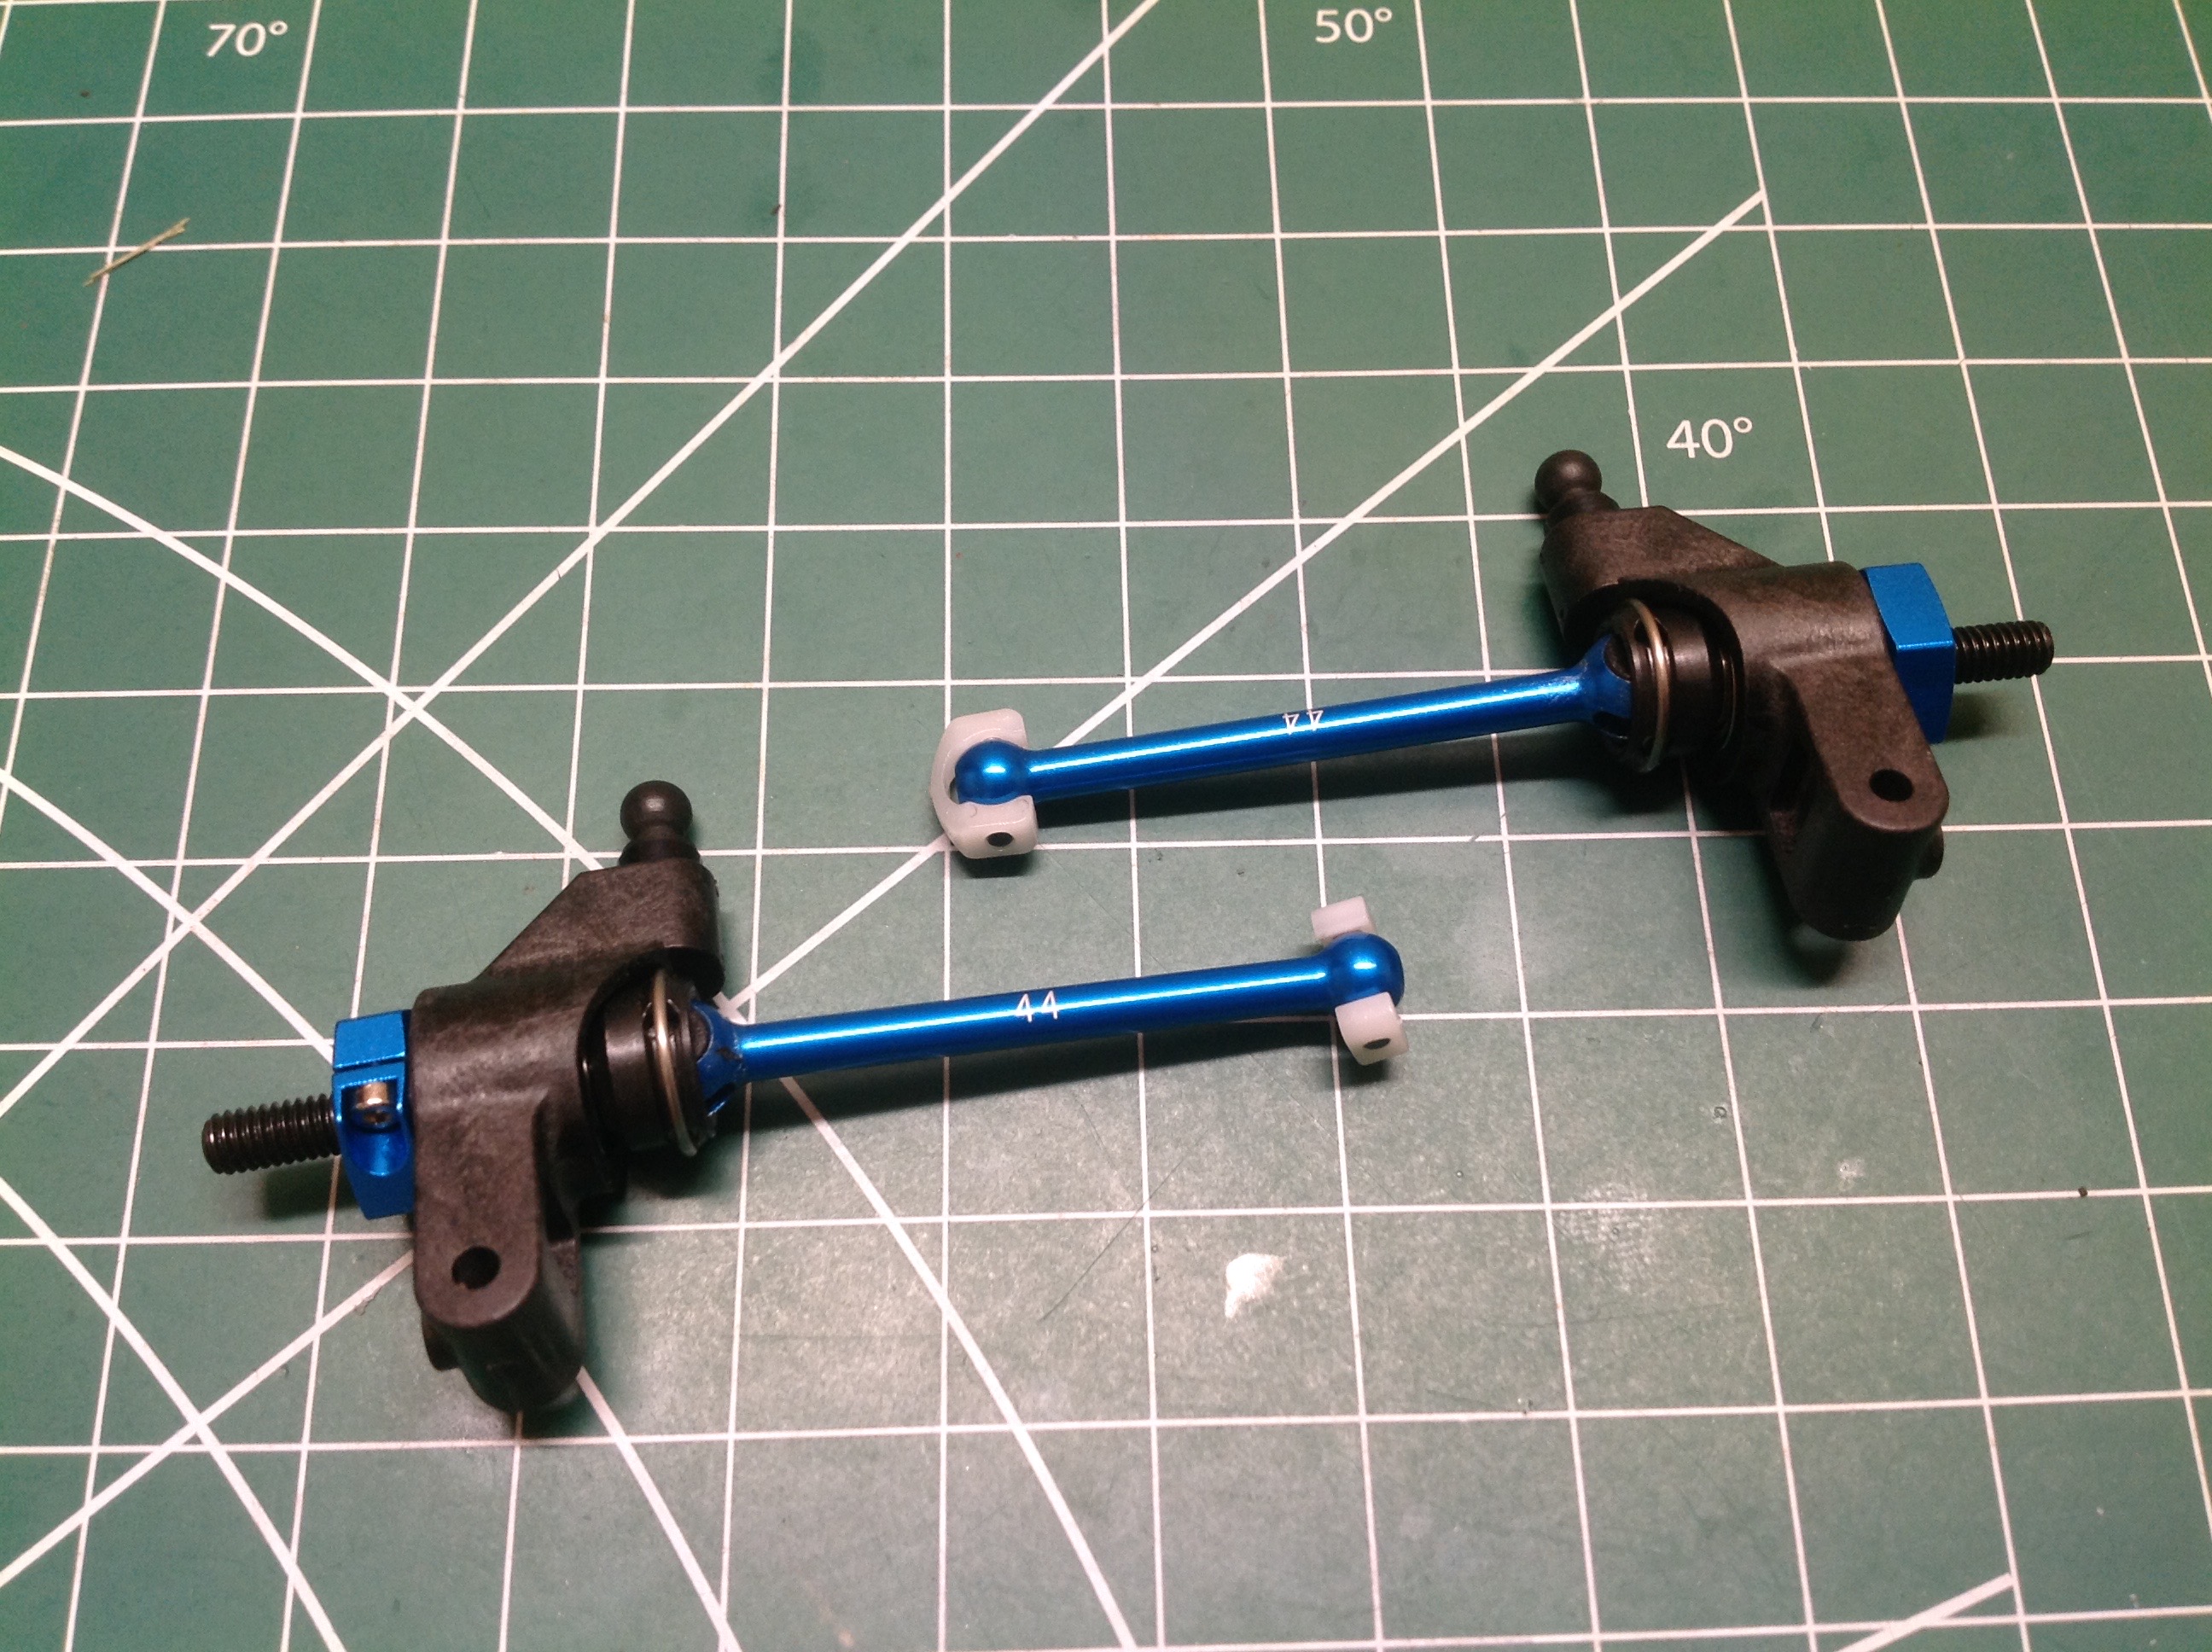
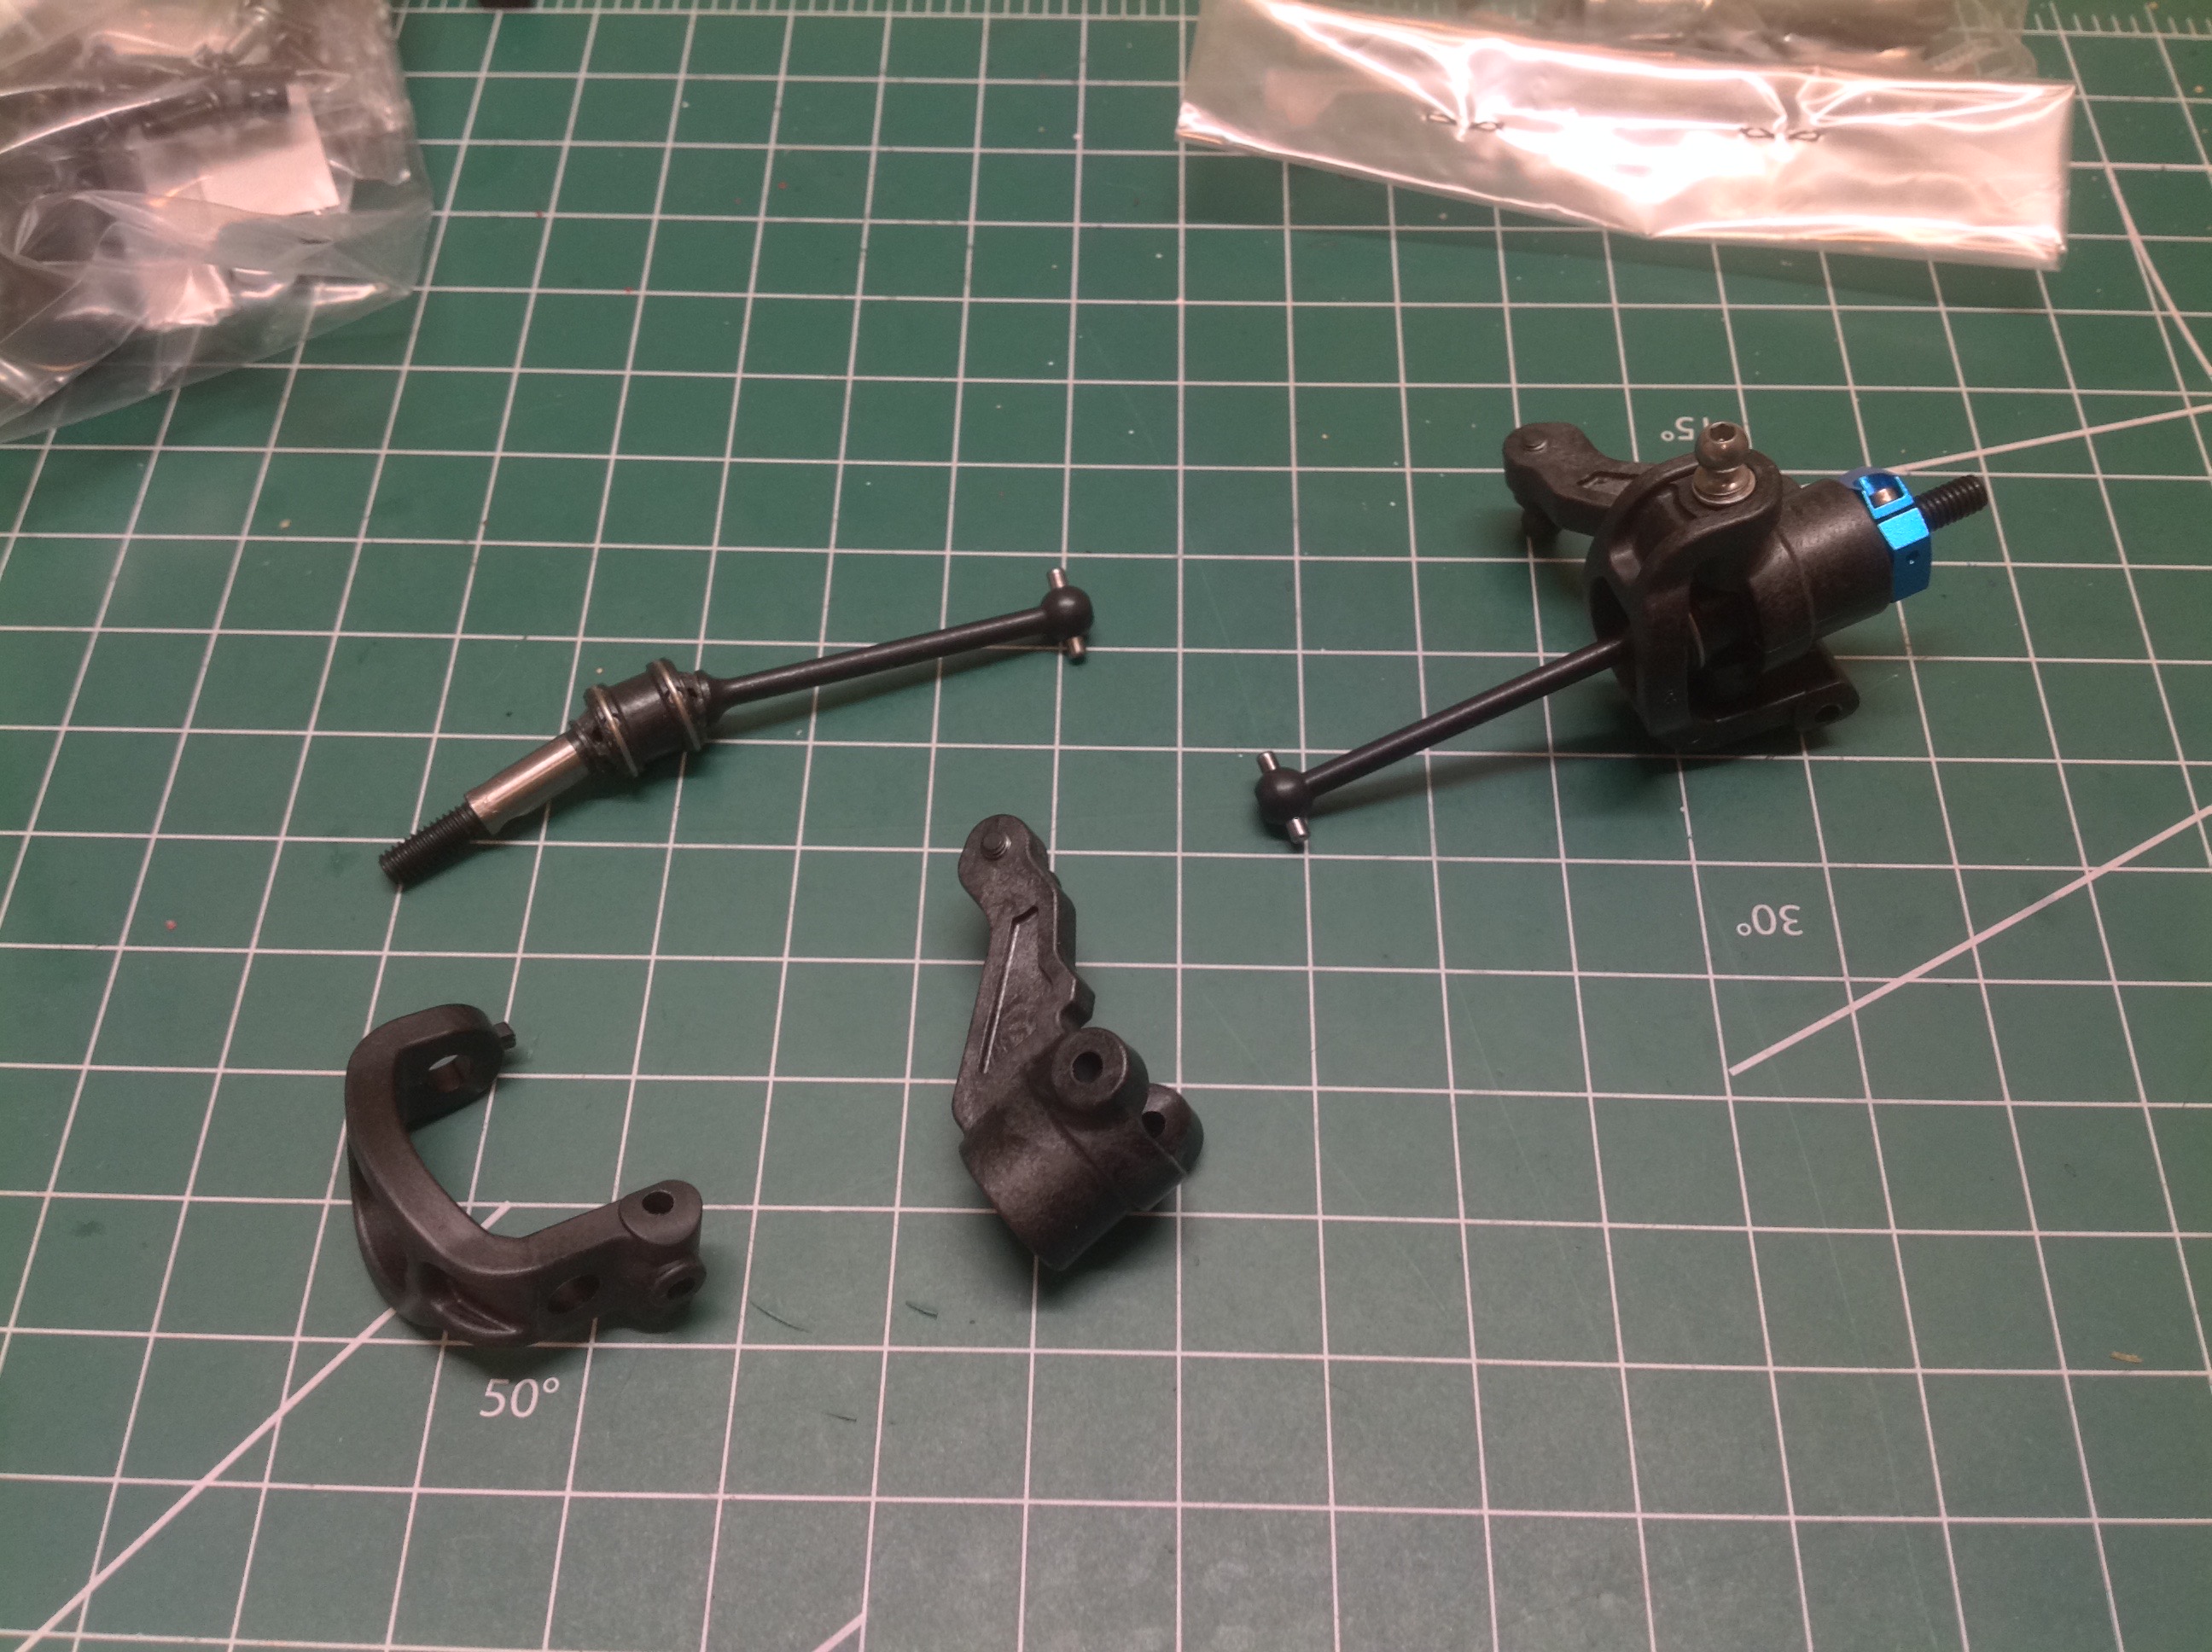
The front uses a solid spool instead of a differential so assembly is
much simpler. The spool just bolts to the front pulley as shown on
the left. Note the toothed cams for tension adjustment just like
the rear. The completed front bulkhead assembly is shown on the
right.
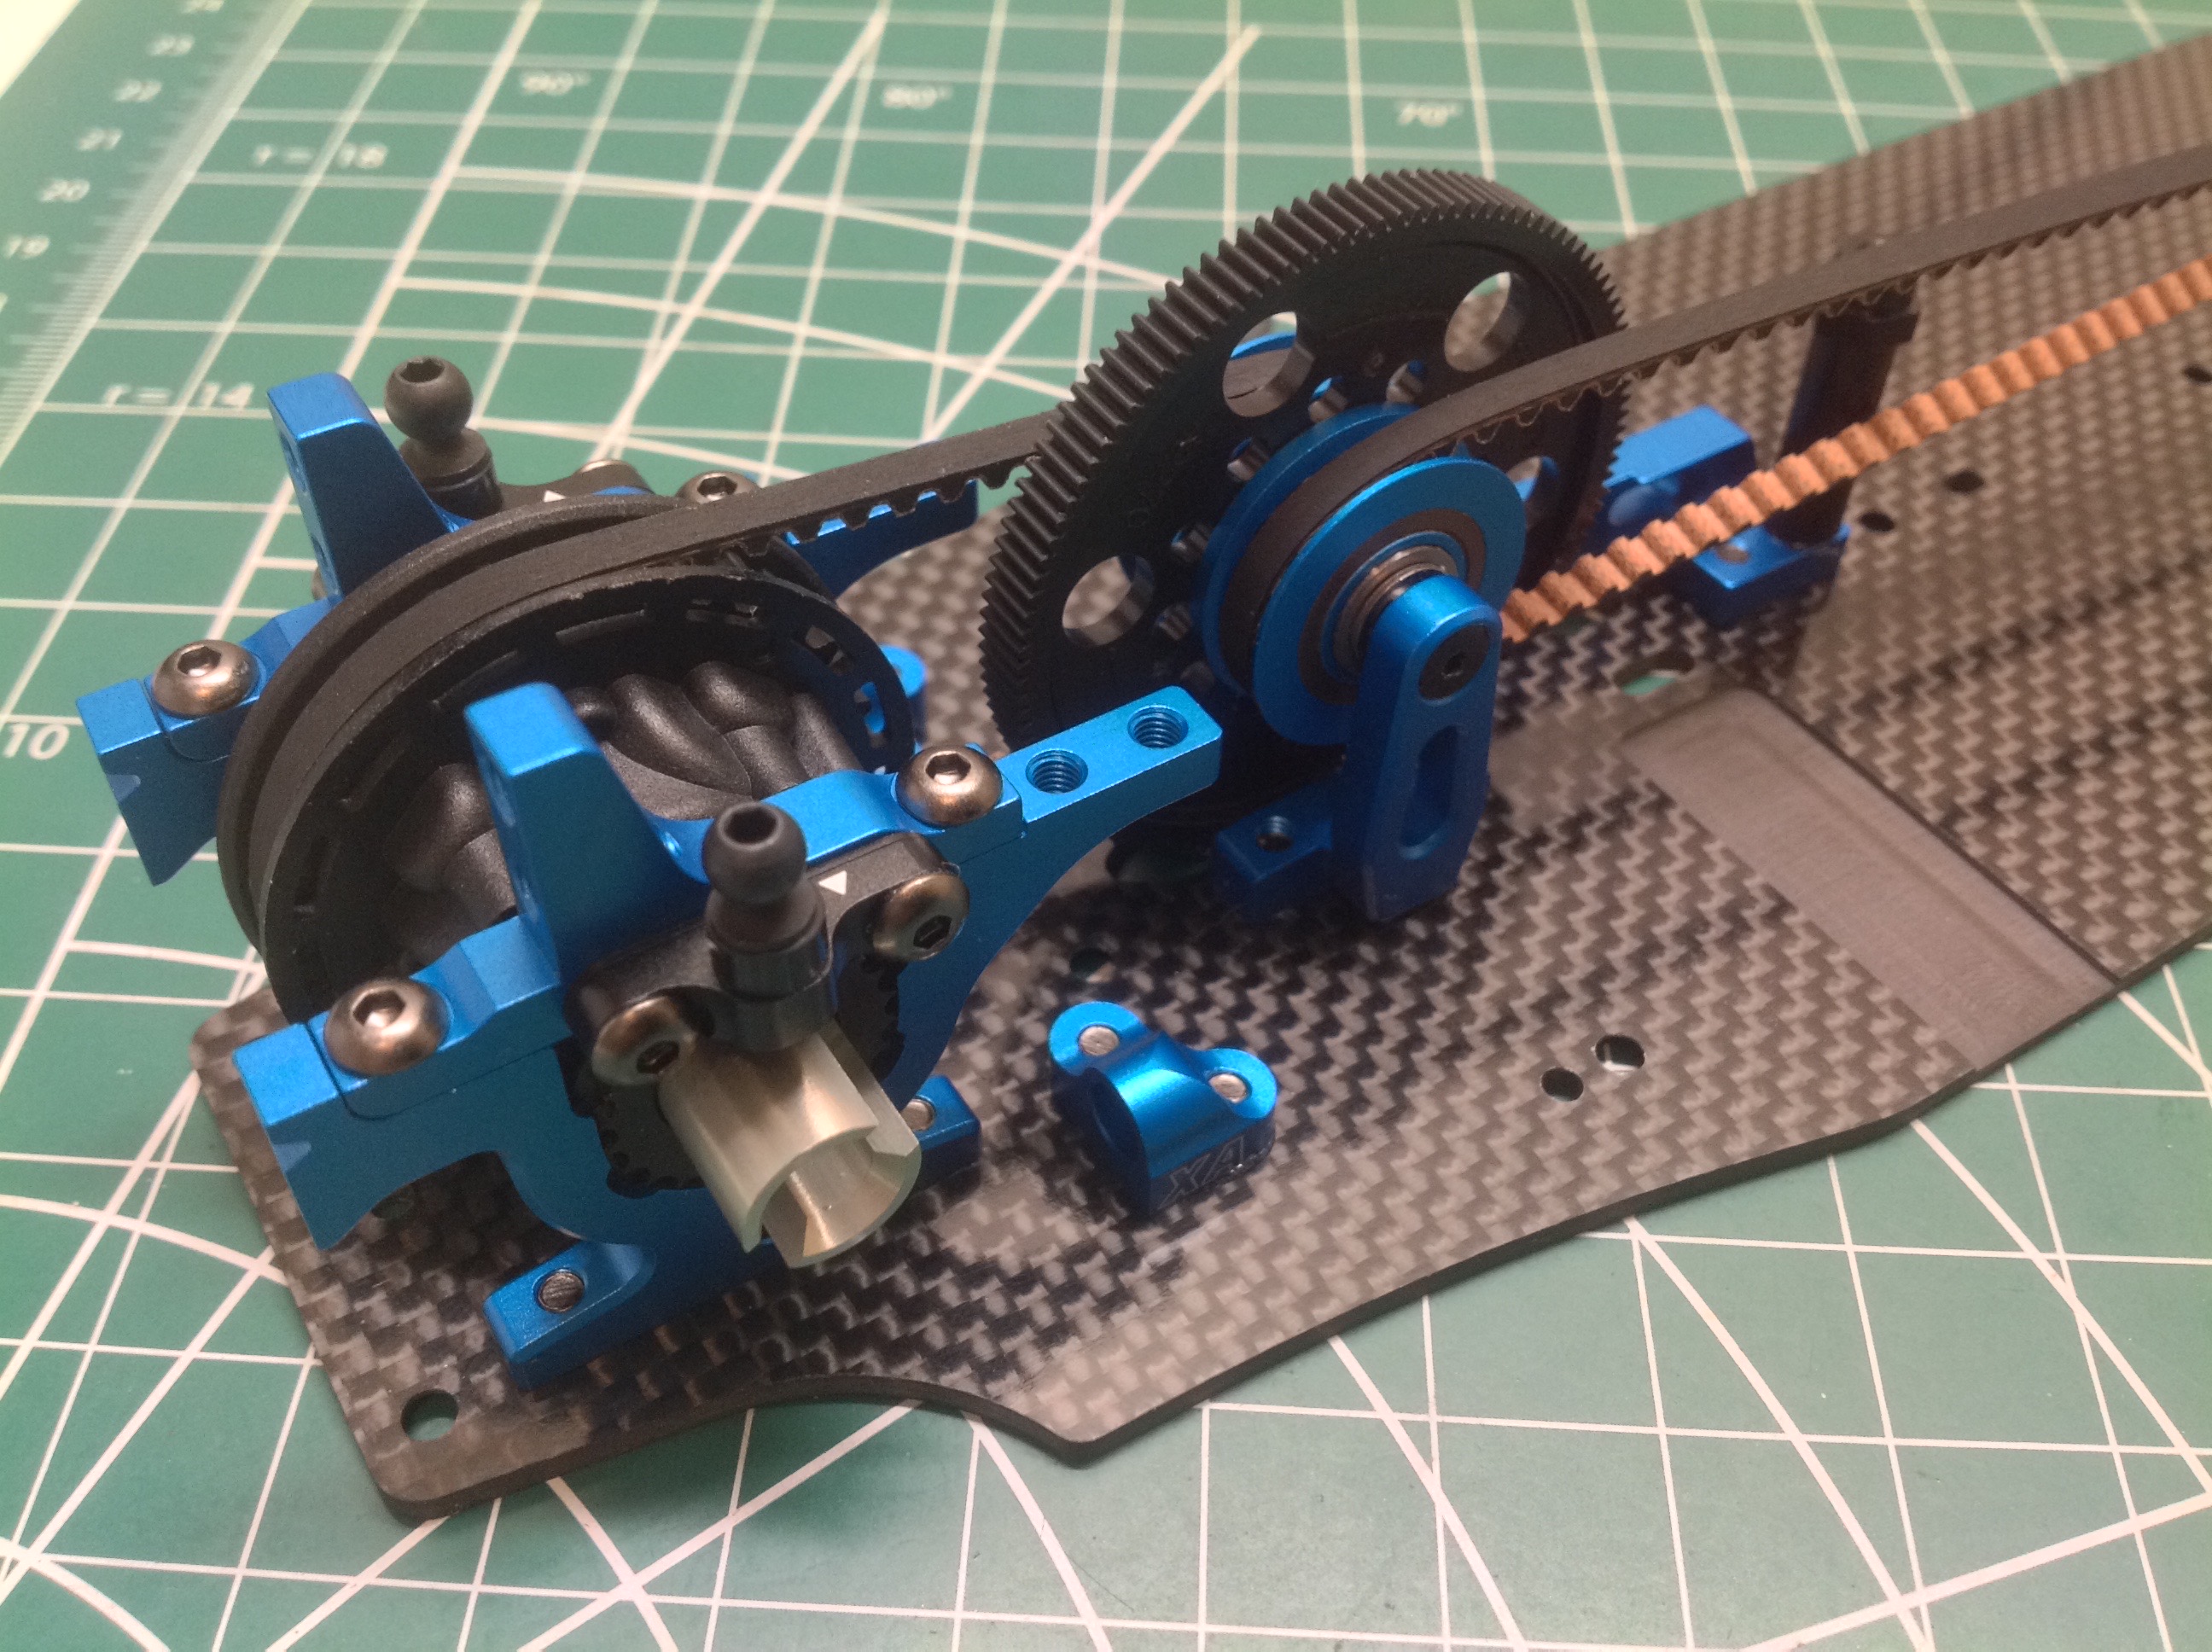
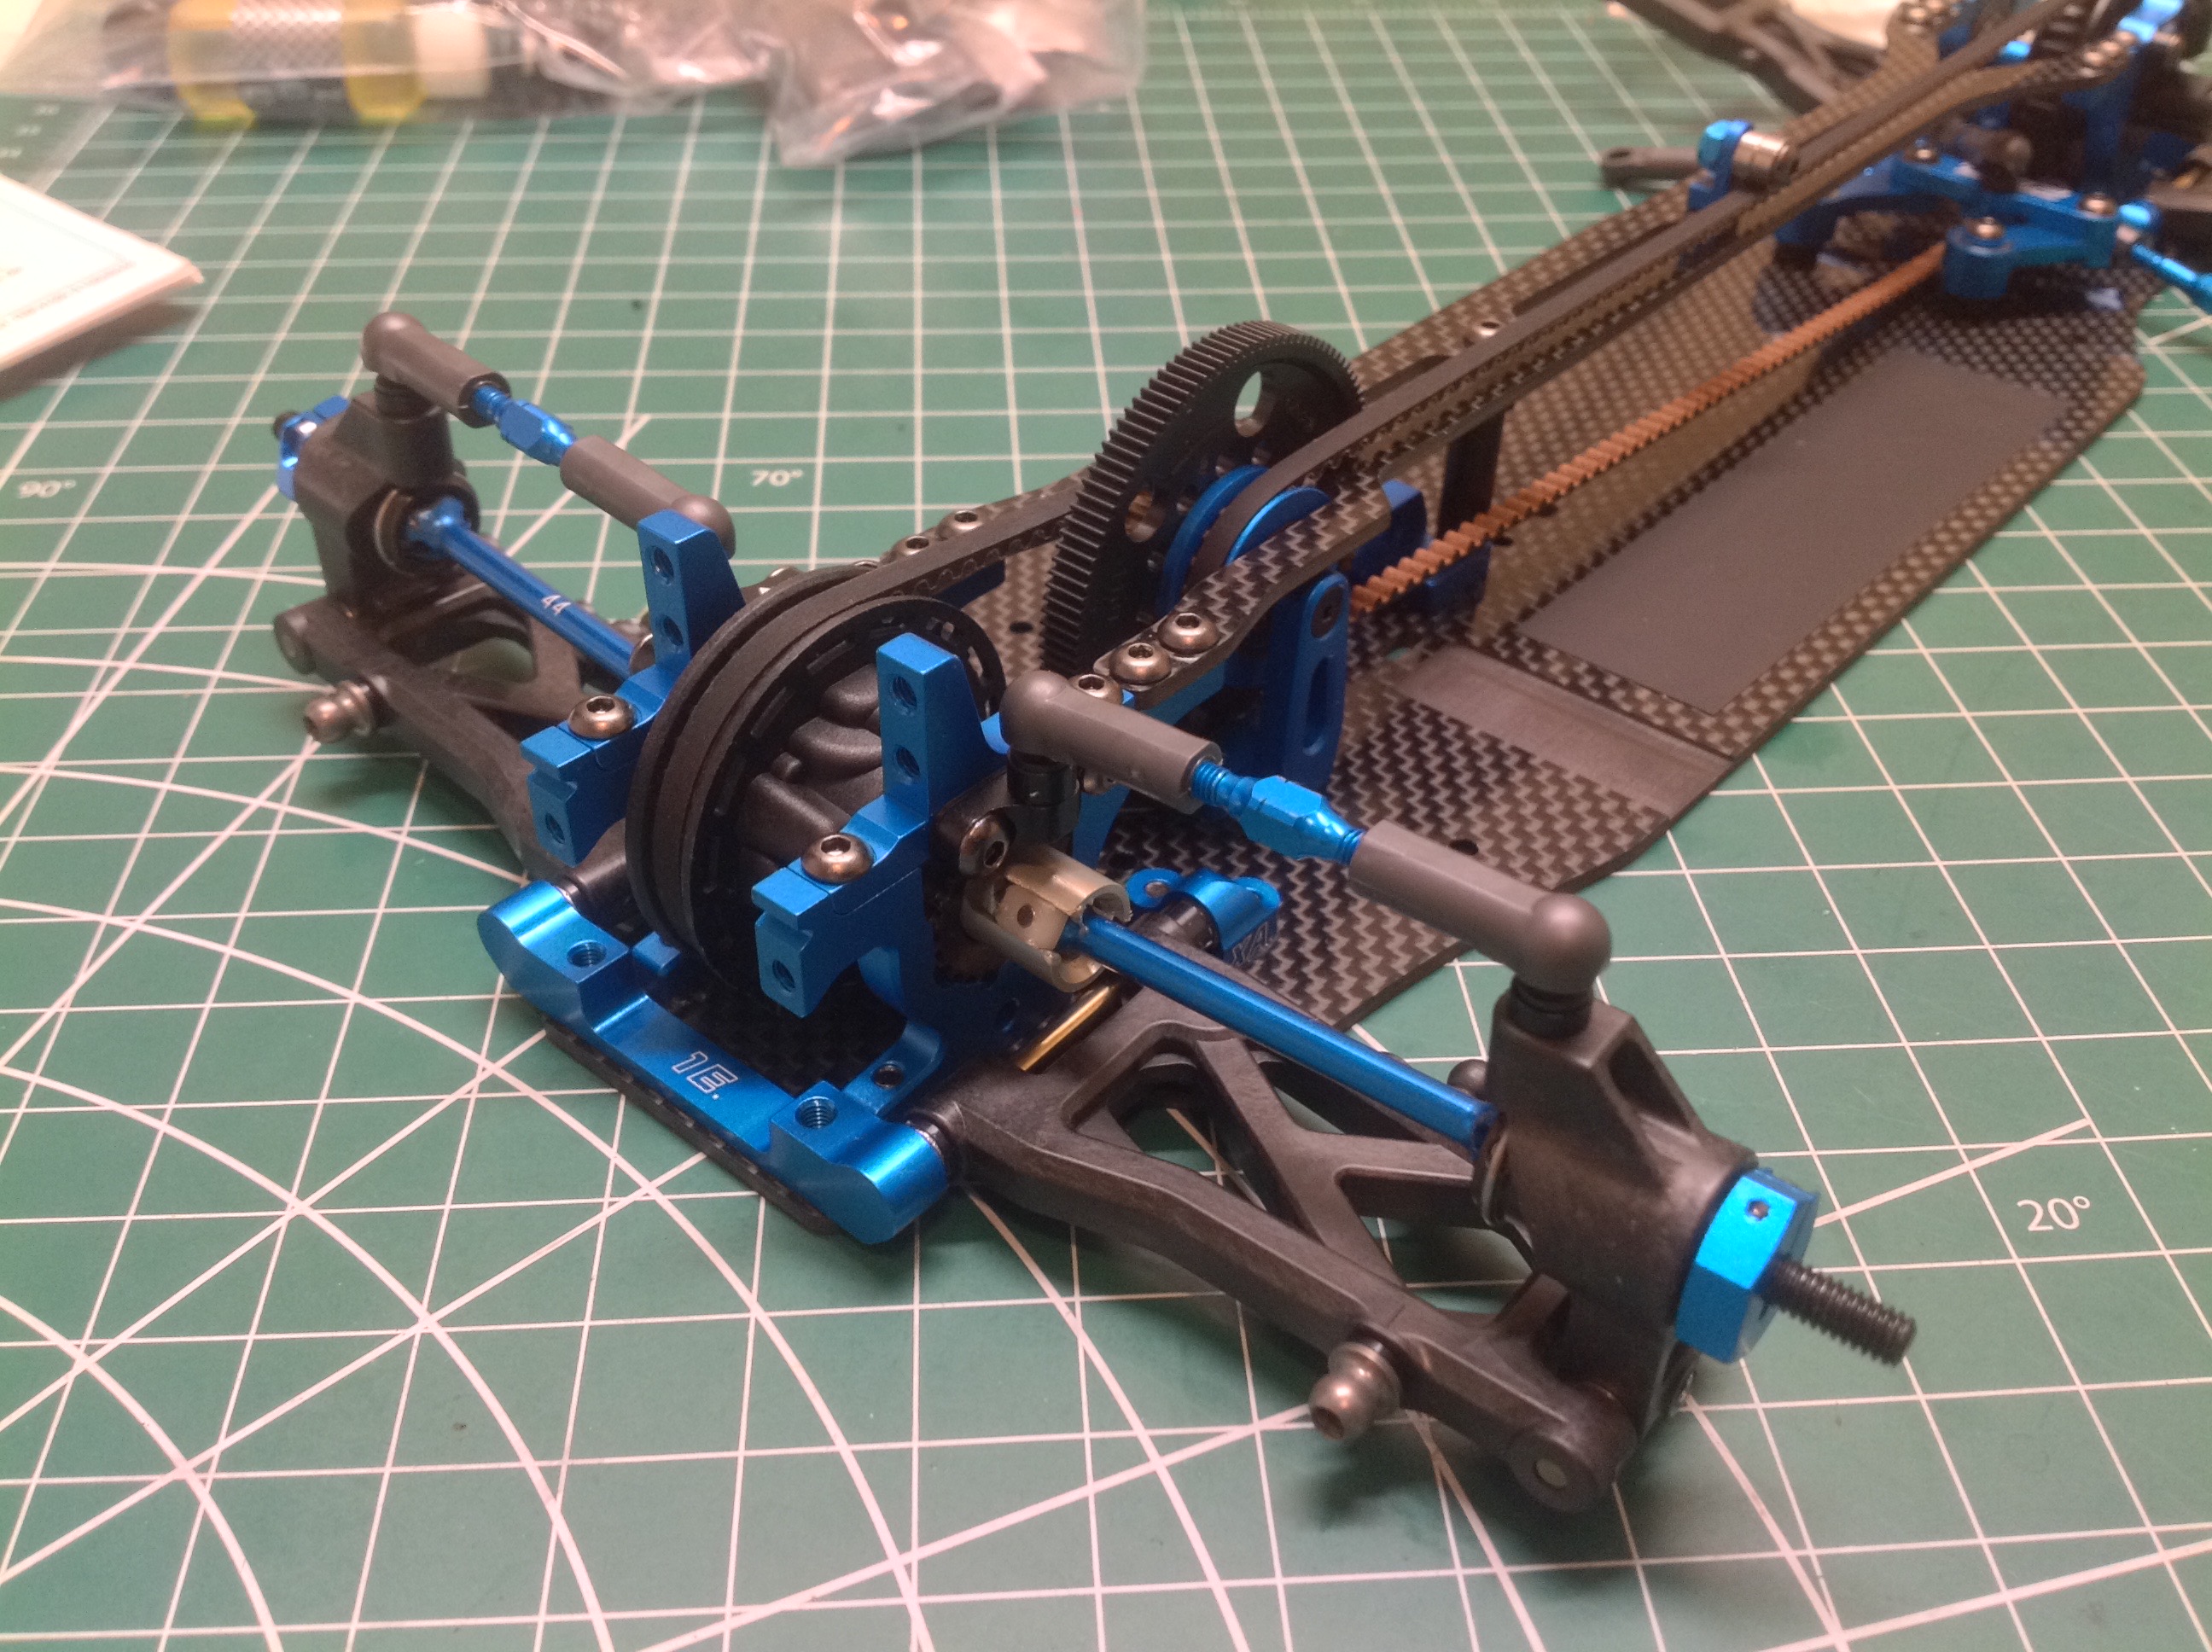
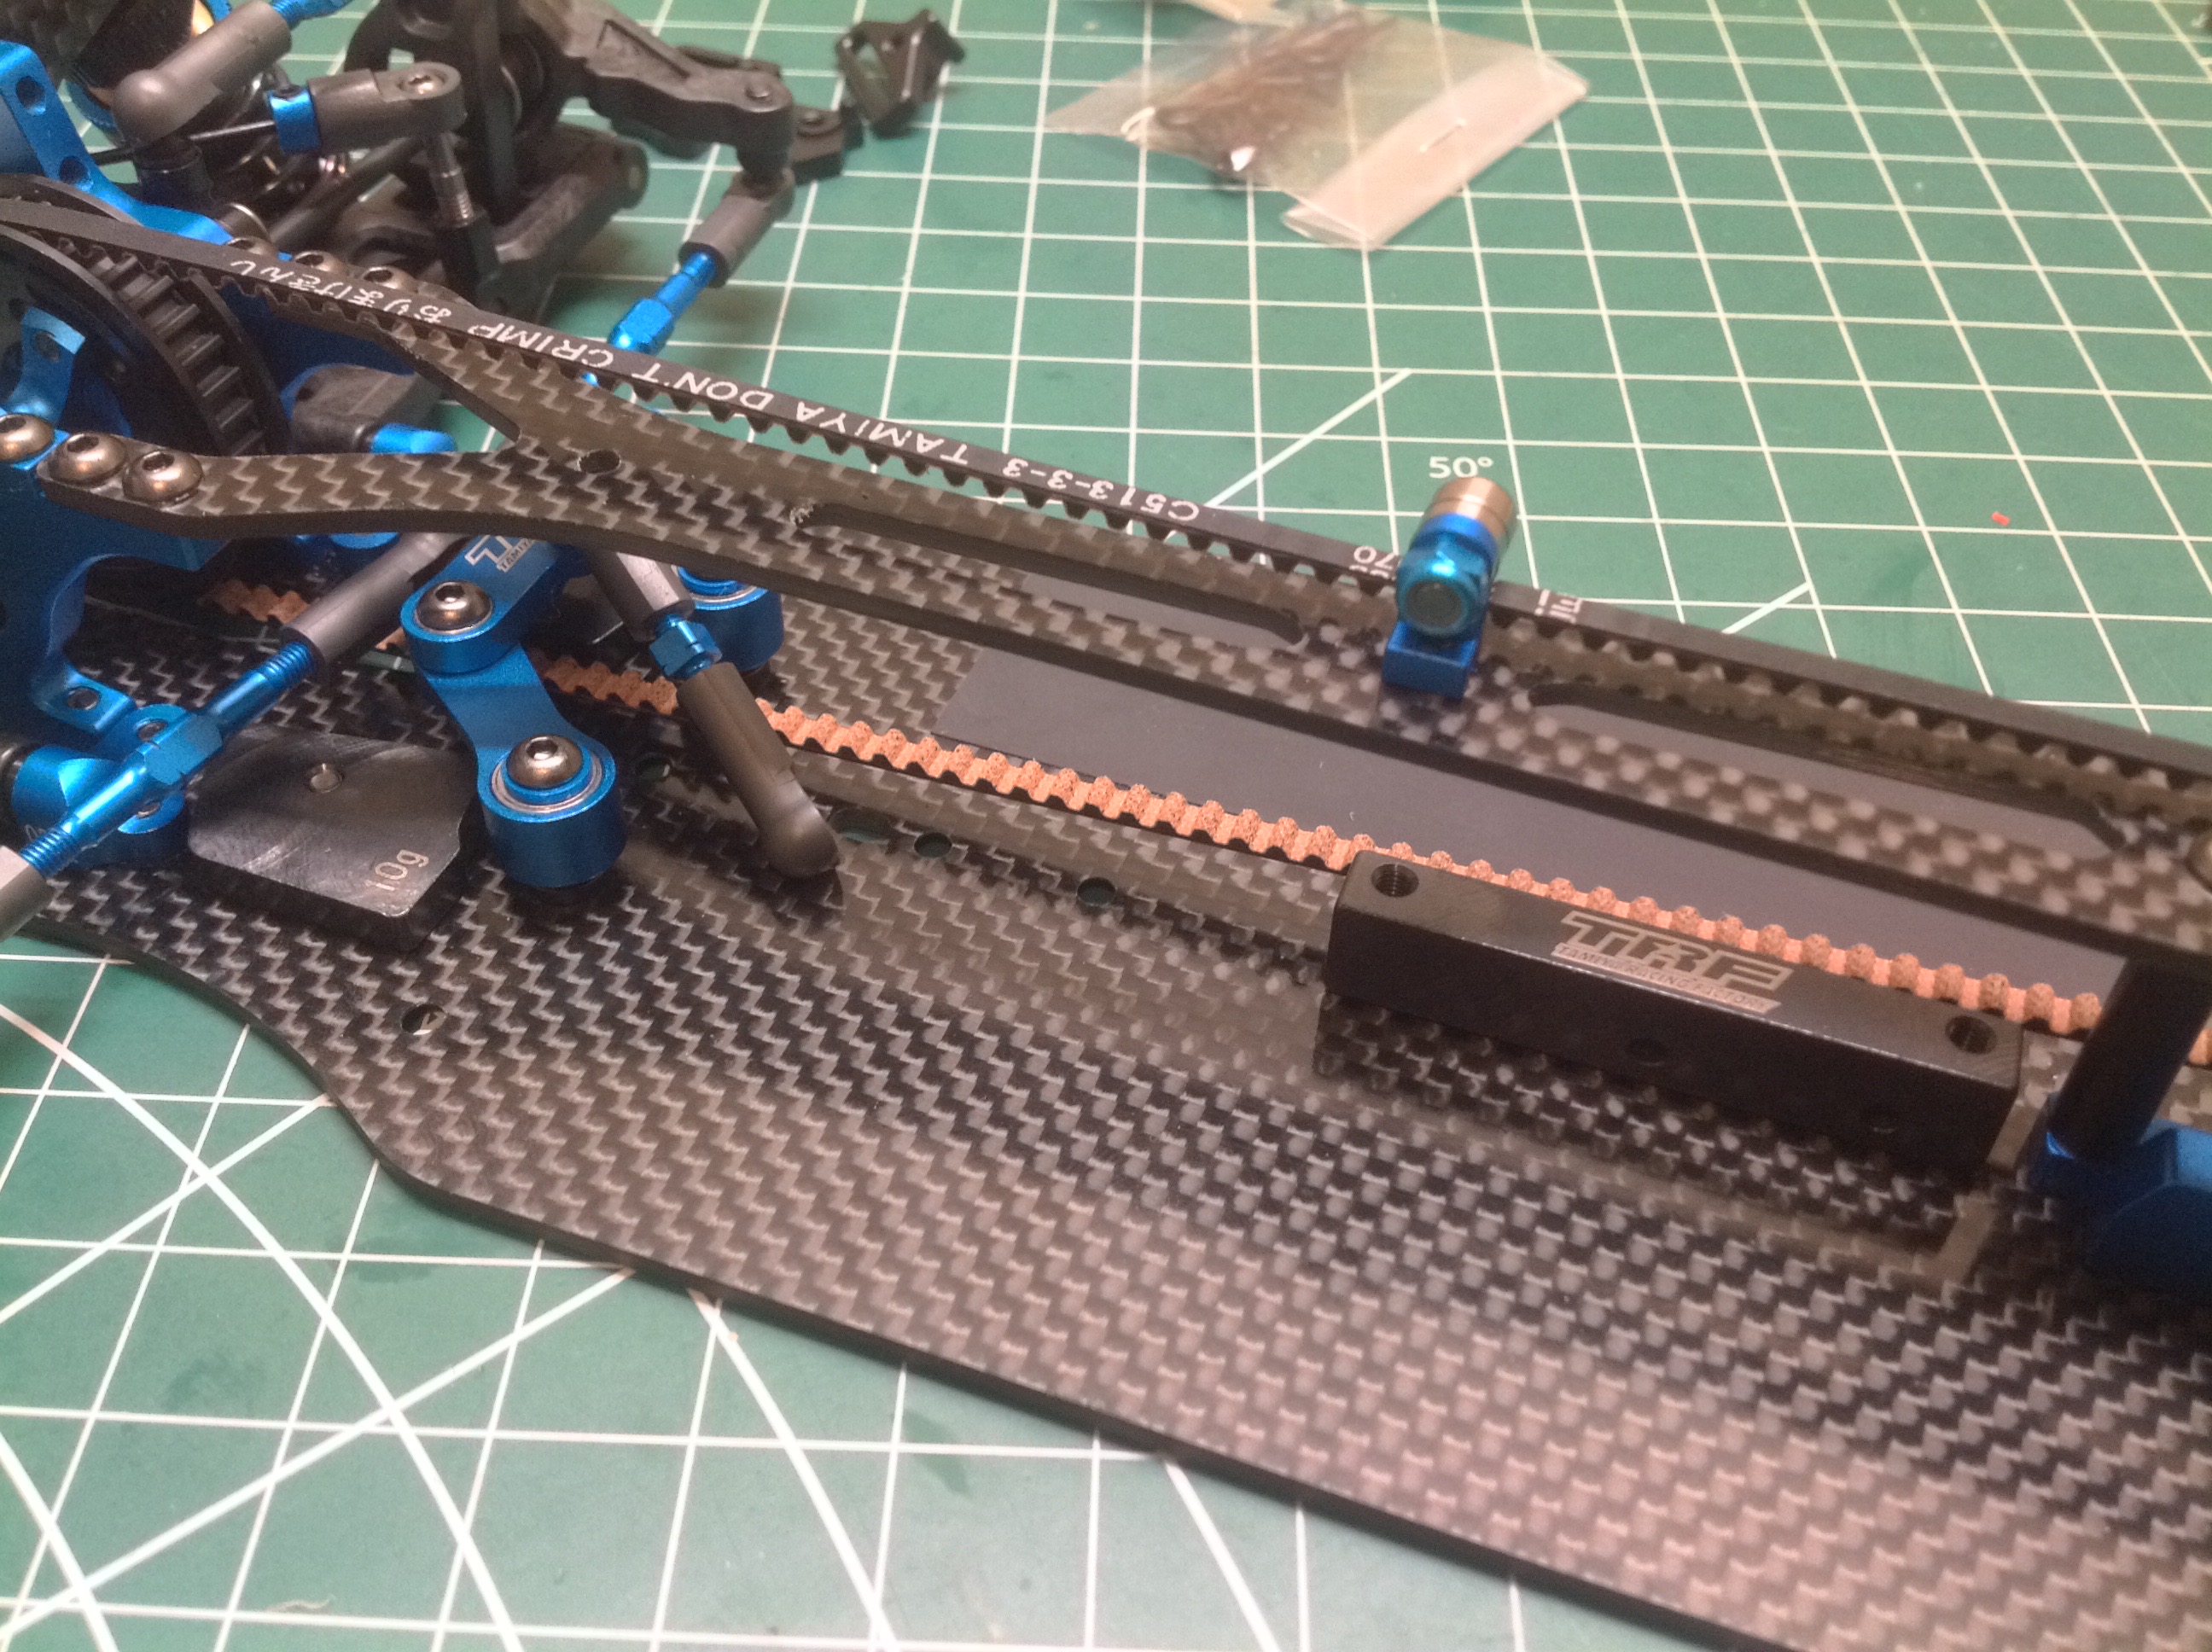
Here's an overall view showing the completed front and rear bulkheads
with both belts installed and tensioned. Belts have a lot of
rolling resistance compared to gears, but they sure are smooth and quiet
and, best of all, have zero backlash. The pockets milled into the
chassis plate are to provide clearance for the motor and make it as low
as possible.
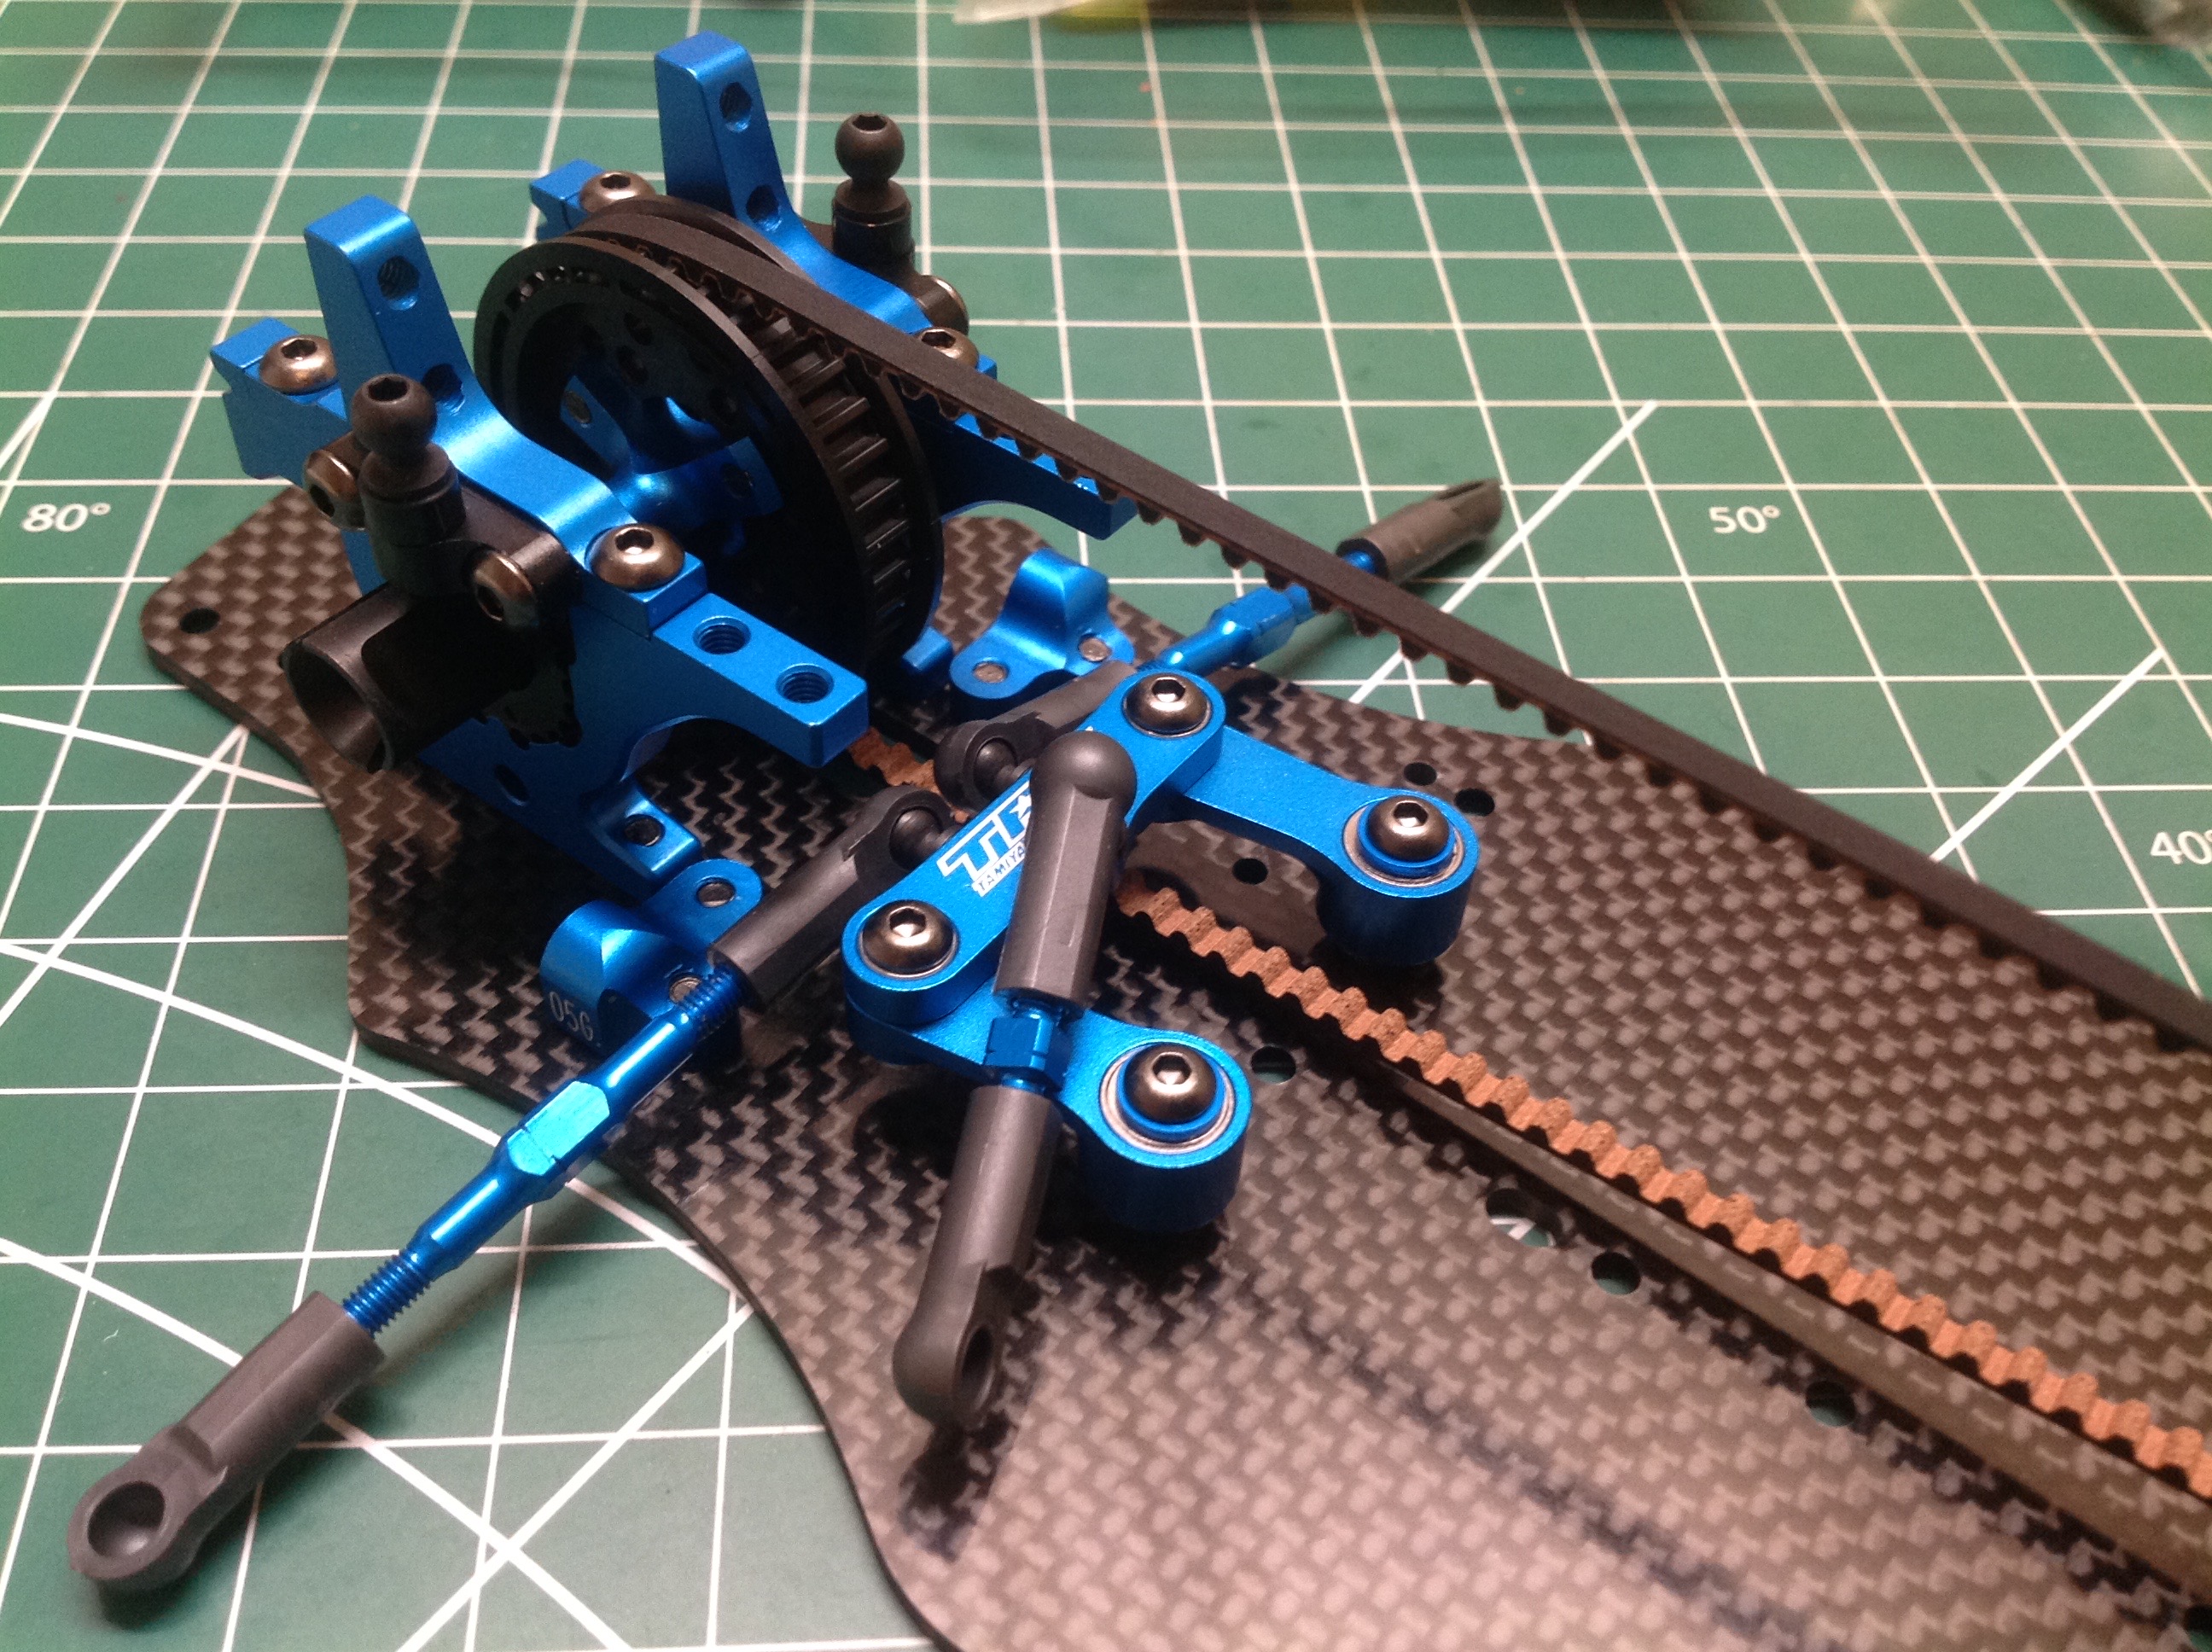
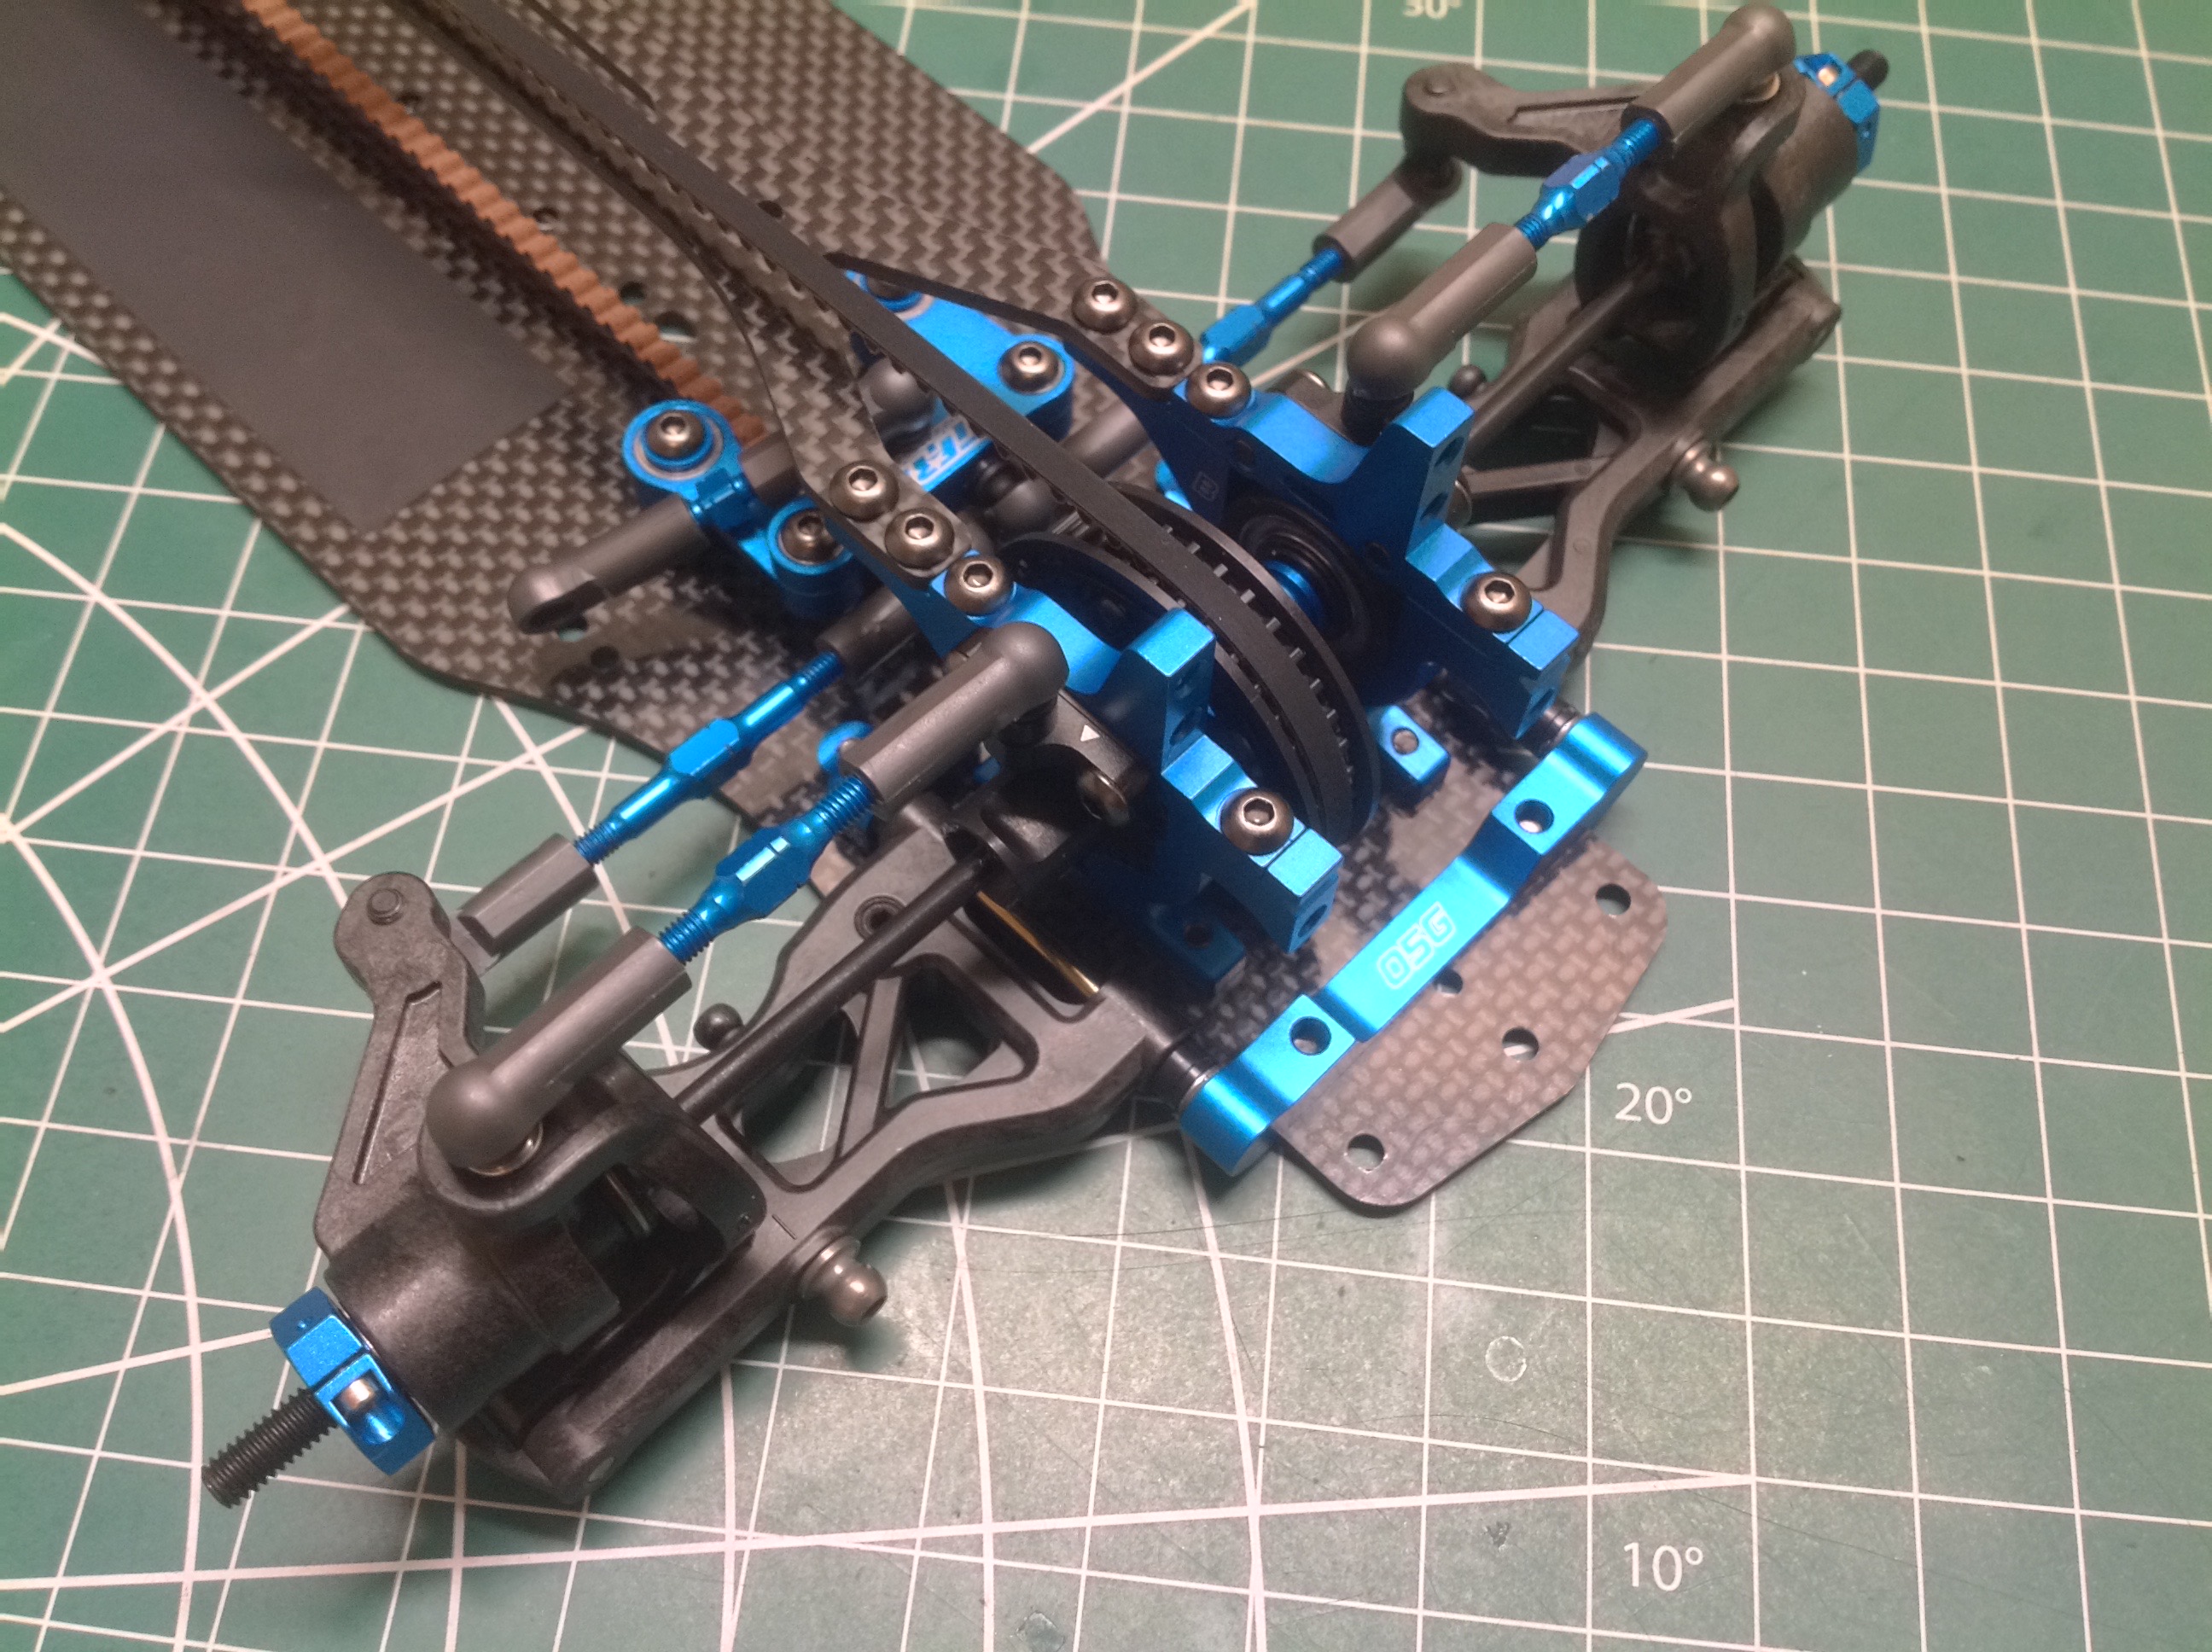
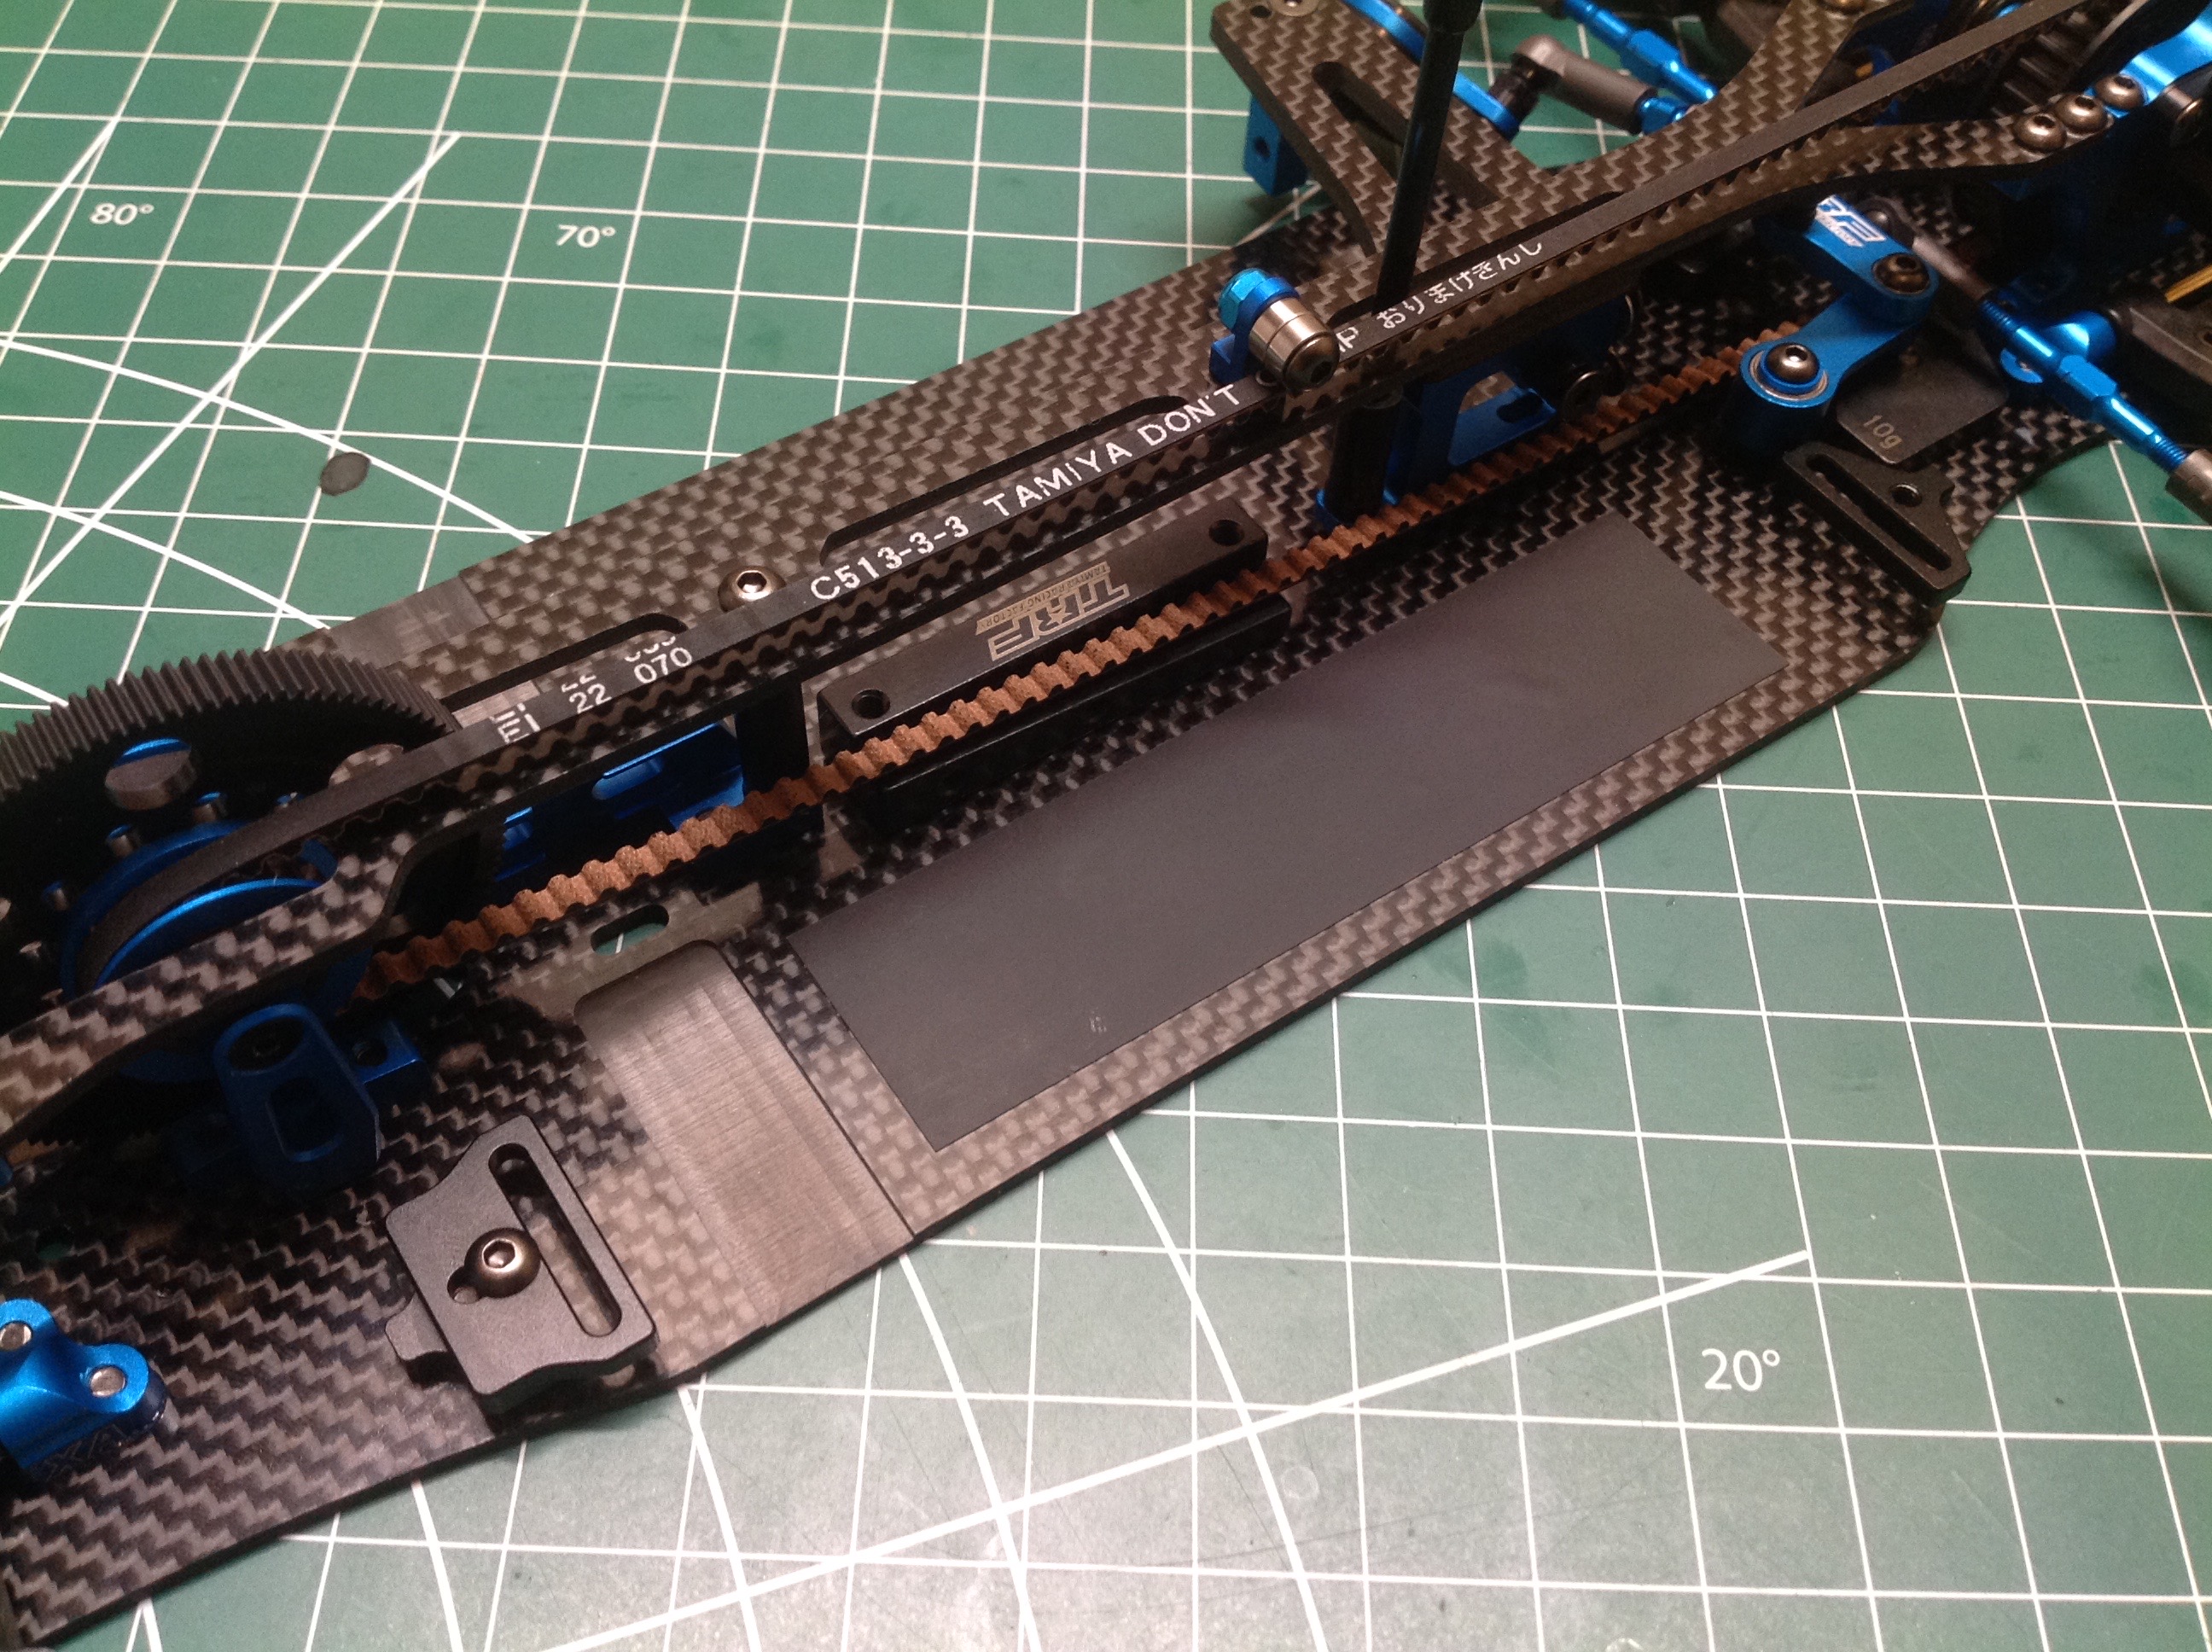
Now we can install the dual bellcrank steering which is all aluminum and
equipped with ball bearings. This is an extremely well made
steering system with virtually no slop. On the right you can see
that the upper carbon chassis brace has been installed. This
significantly increases the stiffness of the whole chassis. It
also supports an idler bearing for the long belt which helps to reduce
slap.
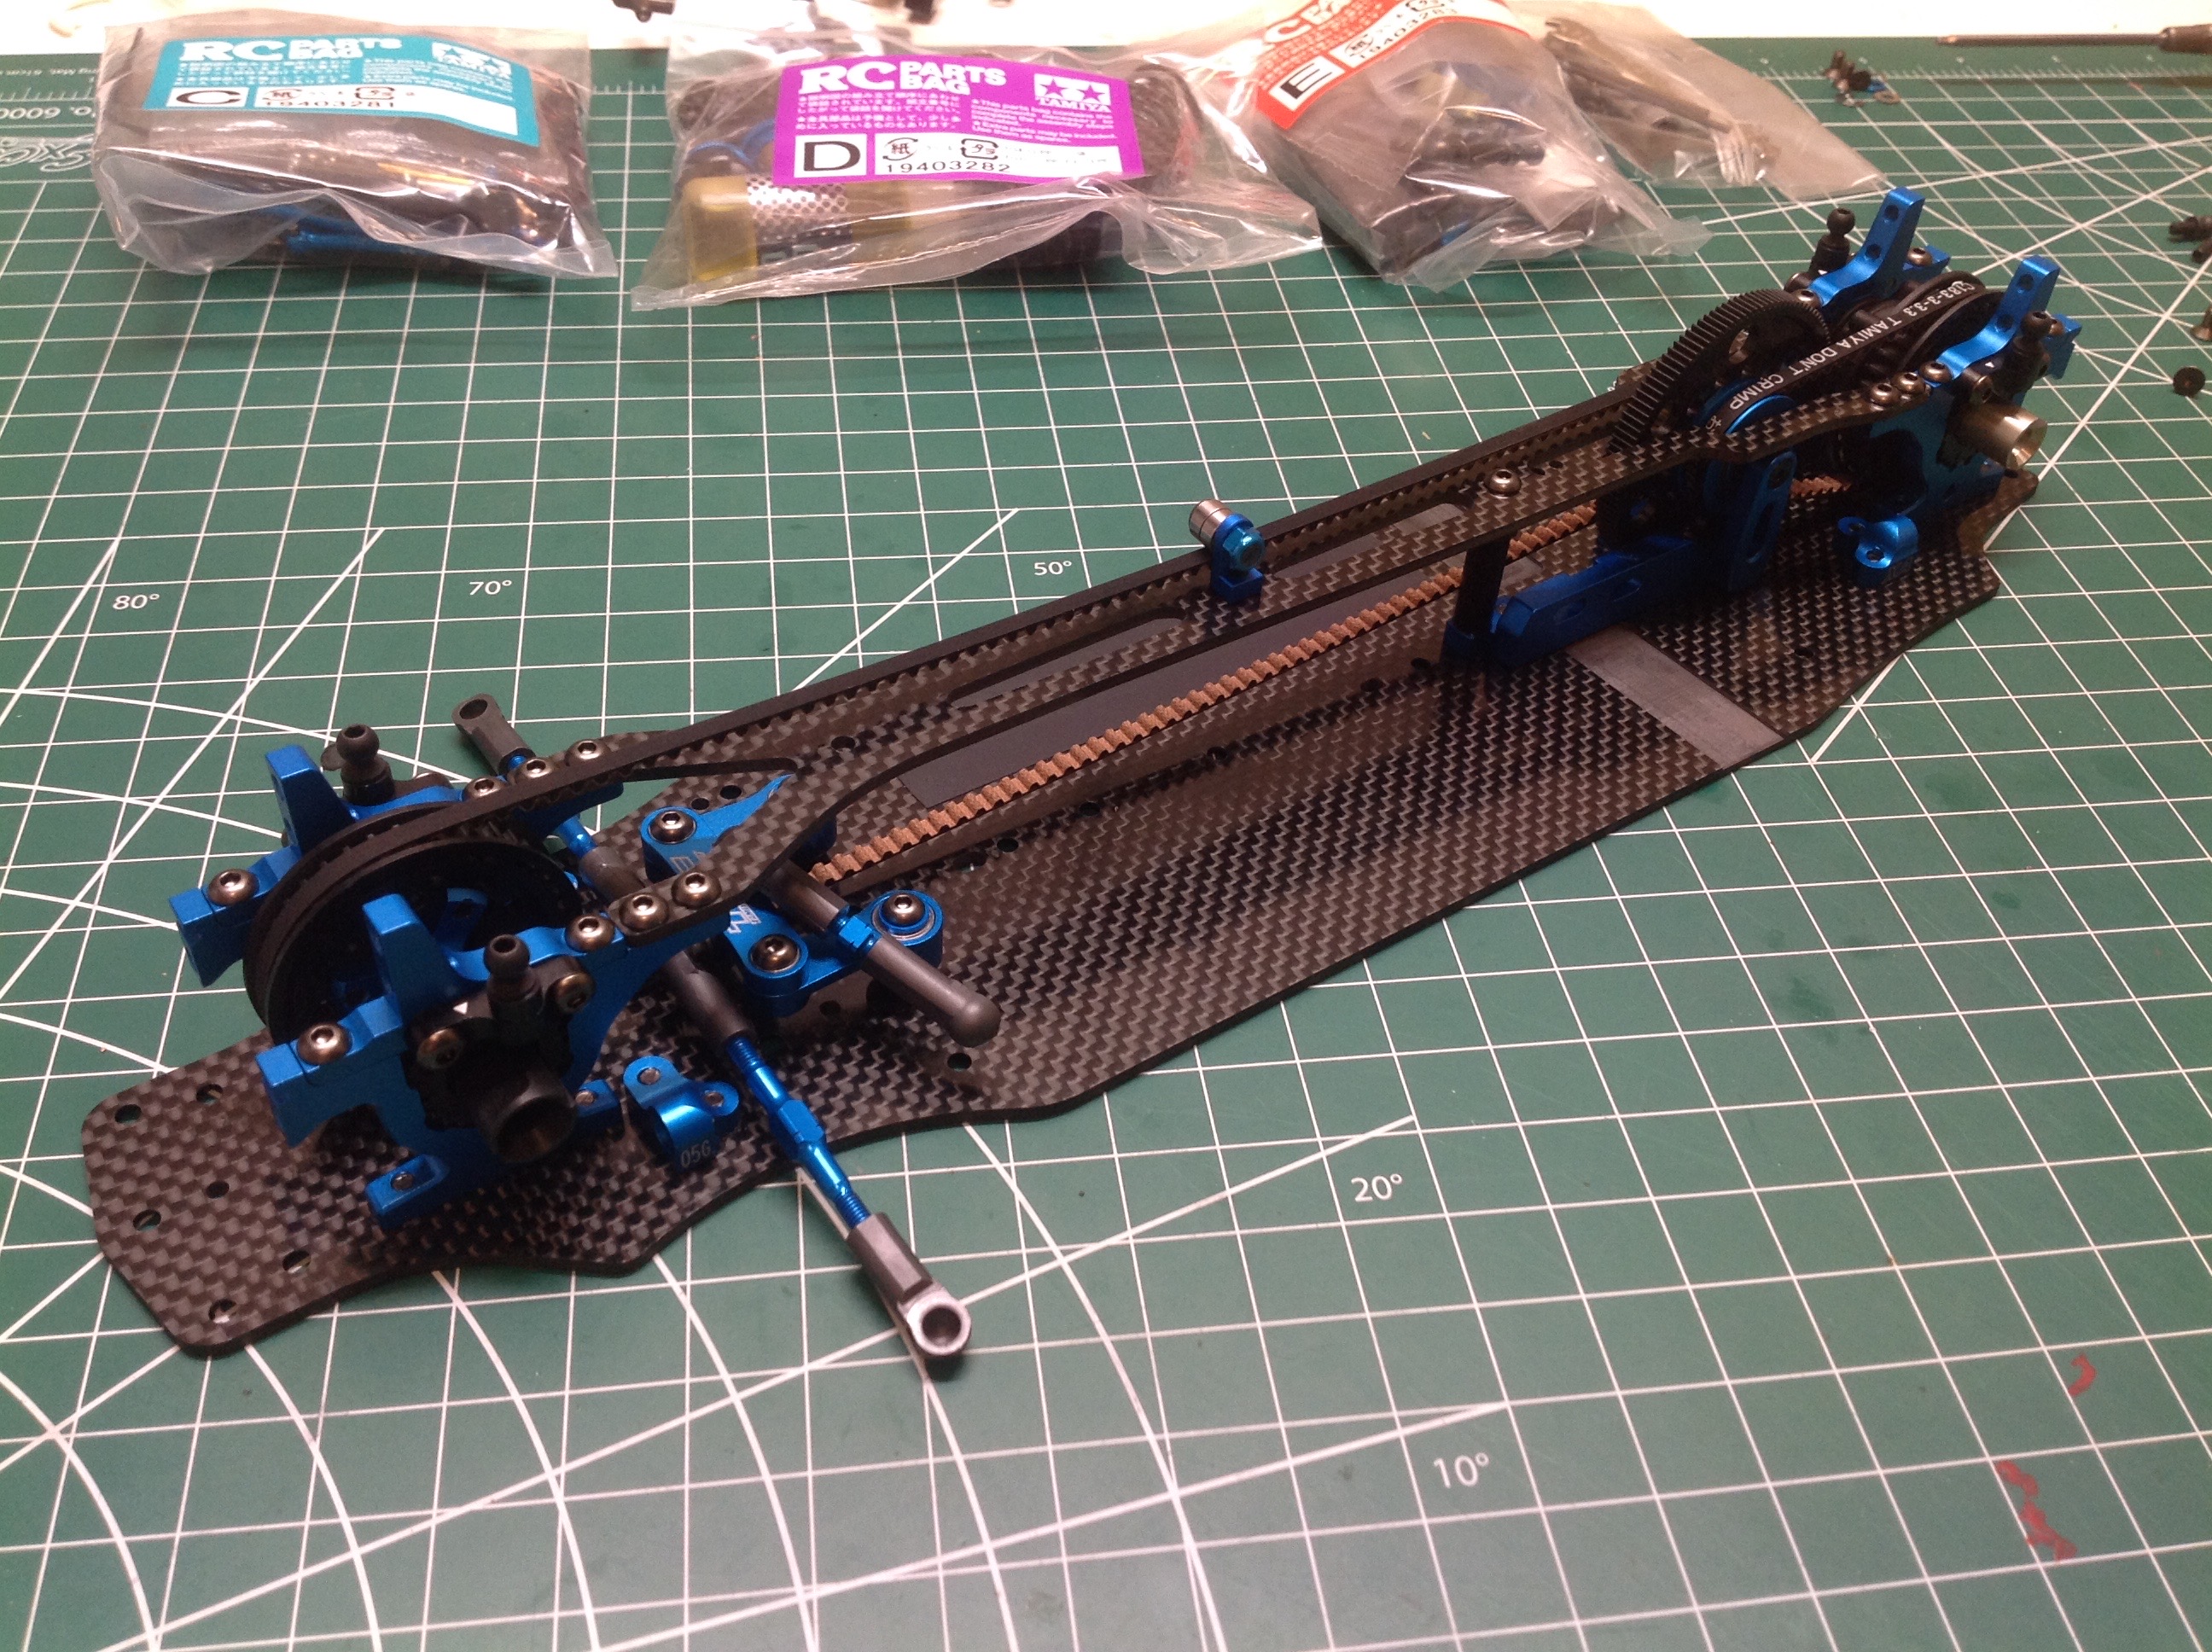
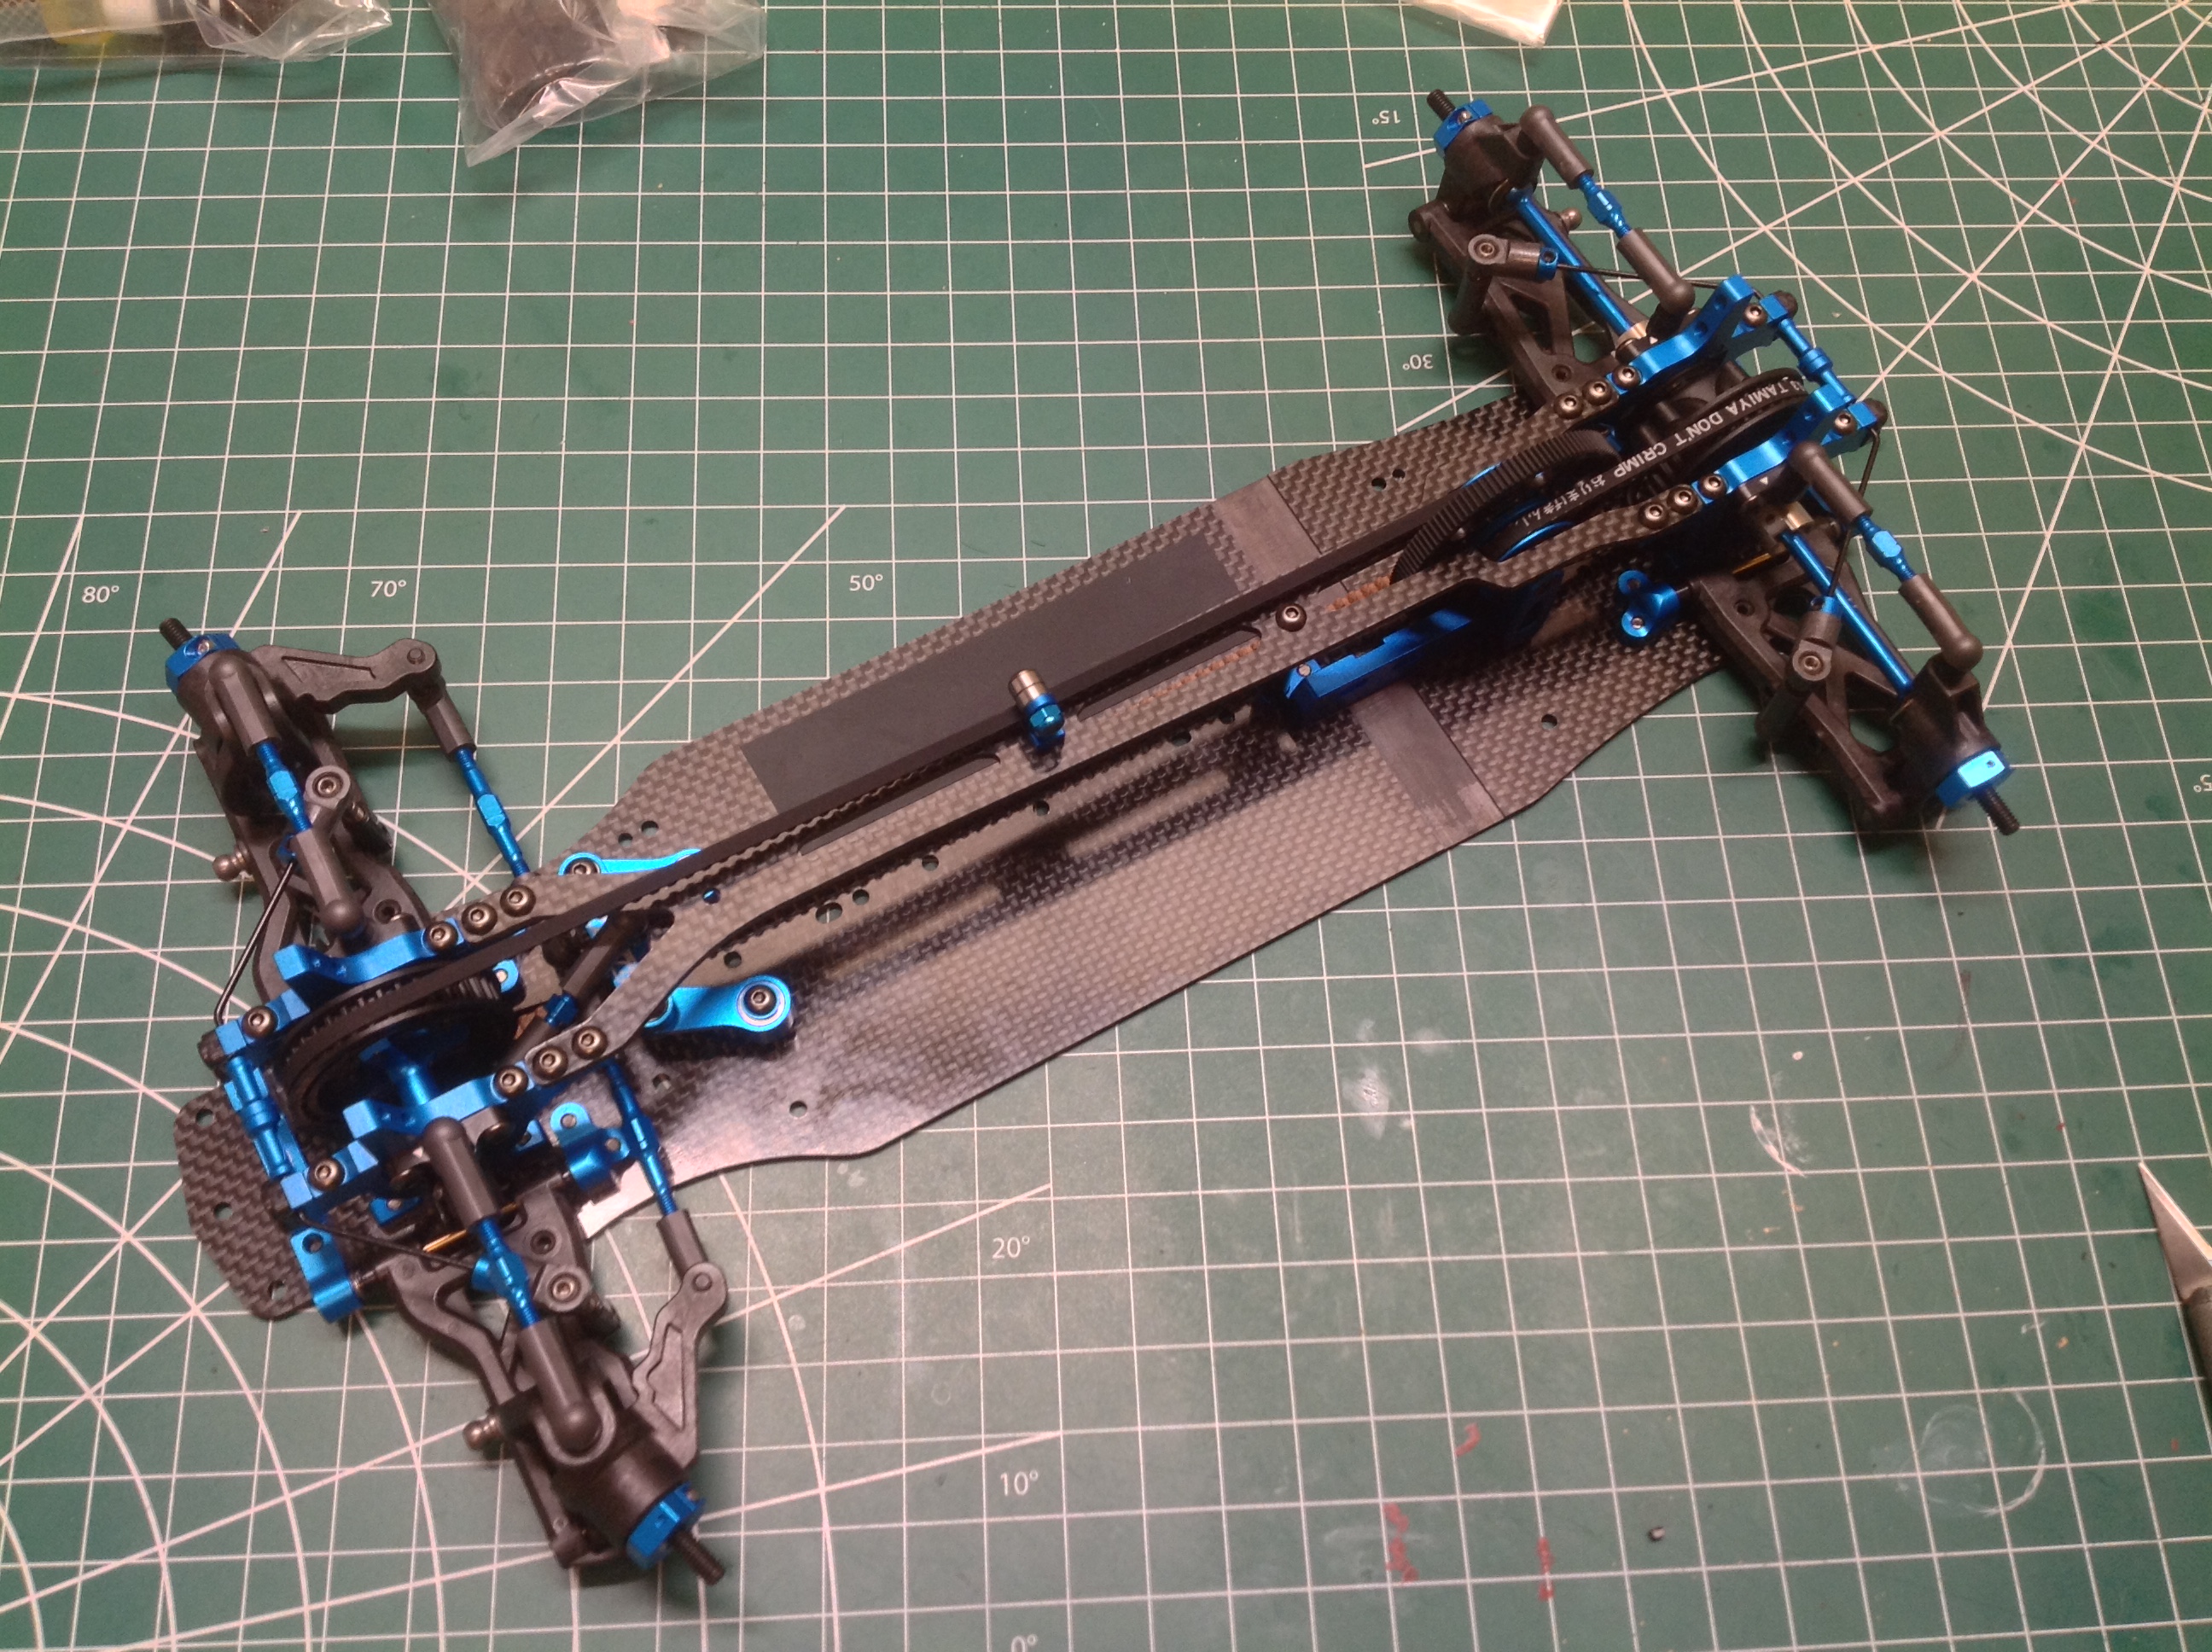
Now the lower glass filled plastic suspension arms can be
installed. The rear is shown on the left and the toe angle can be
seen. There is no toe on the front arms. The aluminum
suspension mounts capture the ball joints which support the arms.
The rear uprights are also plastic and support aluminum CVD axles.
Because the inboard dogbone end mates with an aluminum drive cup, a
Delrin slider sits over the pin to prevent it from digging into the
drive cup. This results in very smooth action with no slop.
The upper suspension arms are turnbuckles which allow easy adjustment of camber angle.
The front knuckles and C-hubs are also glass filled plastic. The
front axles uses a dual cardan design which allows for increased
steering angle without jitter. On the right you can see the
completed front suspension with the upper arms and steering links
attached.
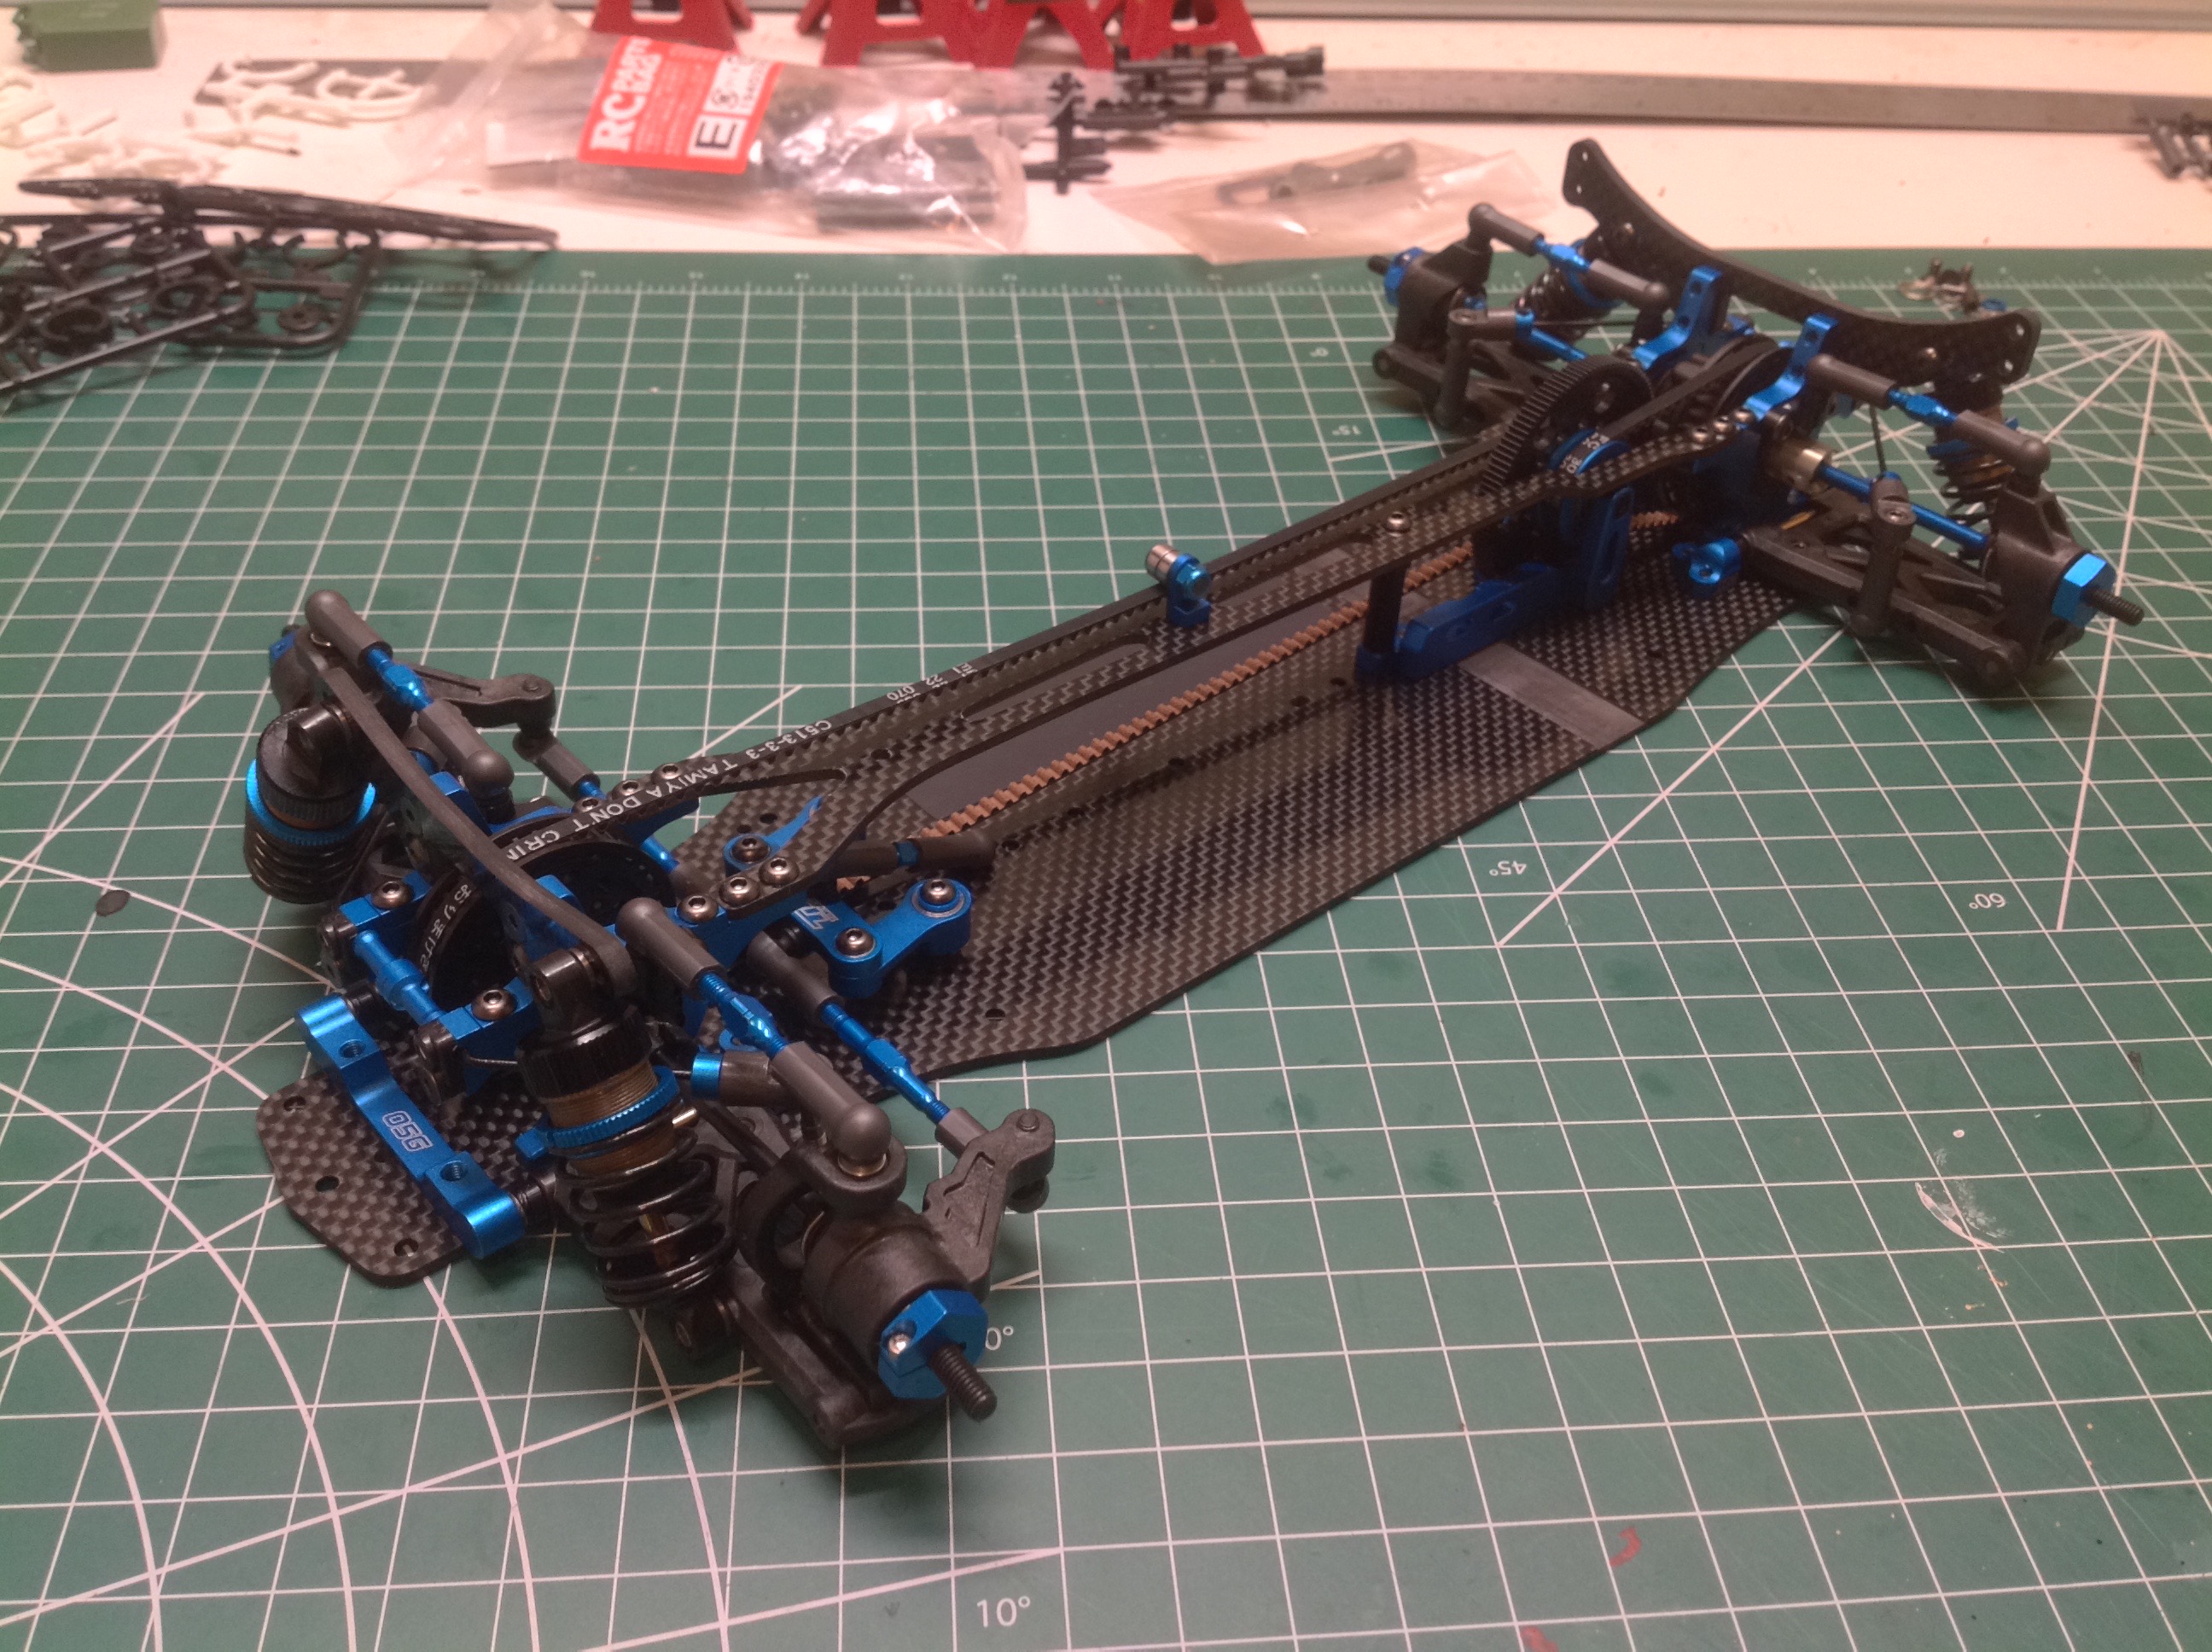
This picture shows the completed front and rear suspension installed on
the chassis. A close look will reveal the stabilizer bars
installed also in both the front and rear.
TRF shocks are always a thing of beauty and these are no
exception. These shocks have very short travel, but that doesn't
change the number of parts. The shock body, both end caps, and
spring perches are all aluminum. The piston head and rod guide
rings are Delrin for smooth action. The picture on the left
compares a completed shock to an exploded view. The shocks are the
same at all four corners. They are shown installed on the right
which completes the suspension entirely. Note the thick carbon
shock towers.
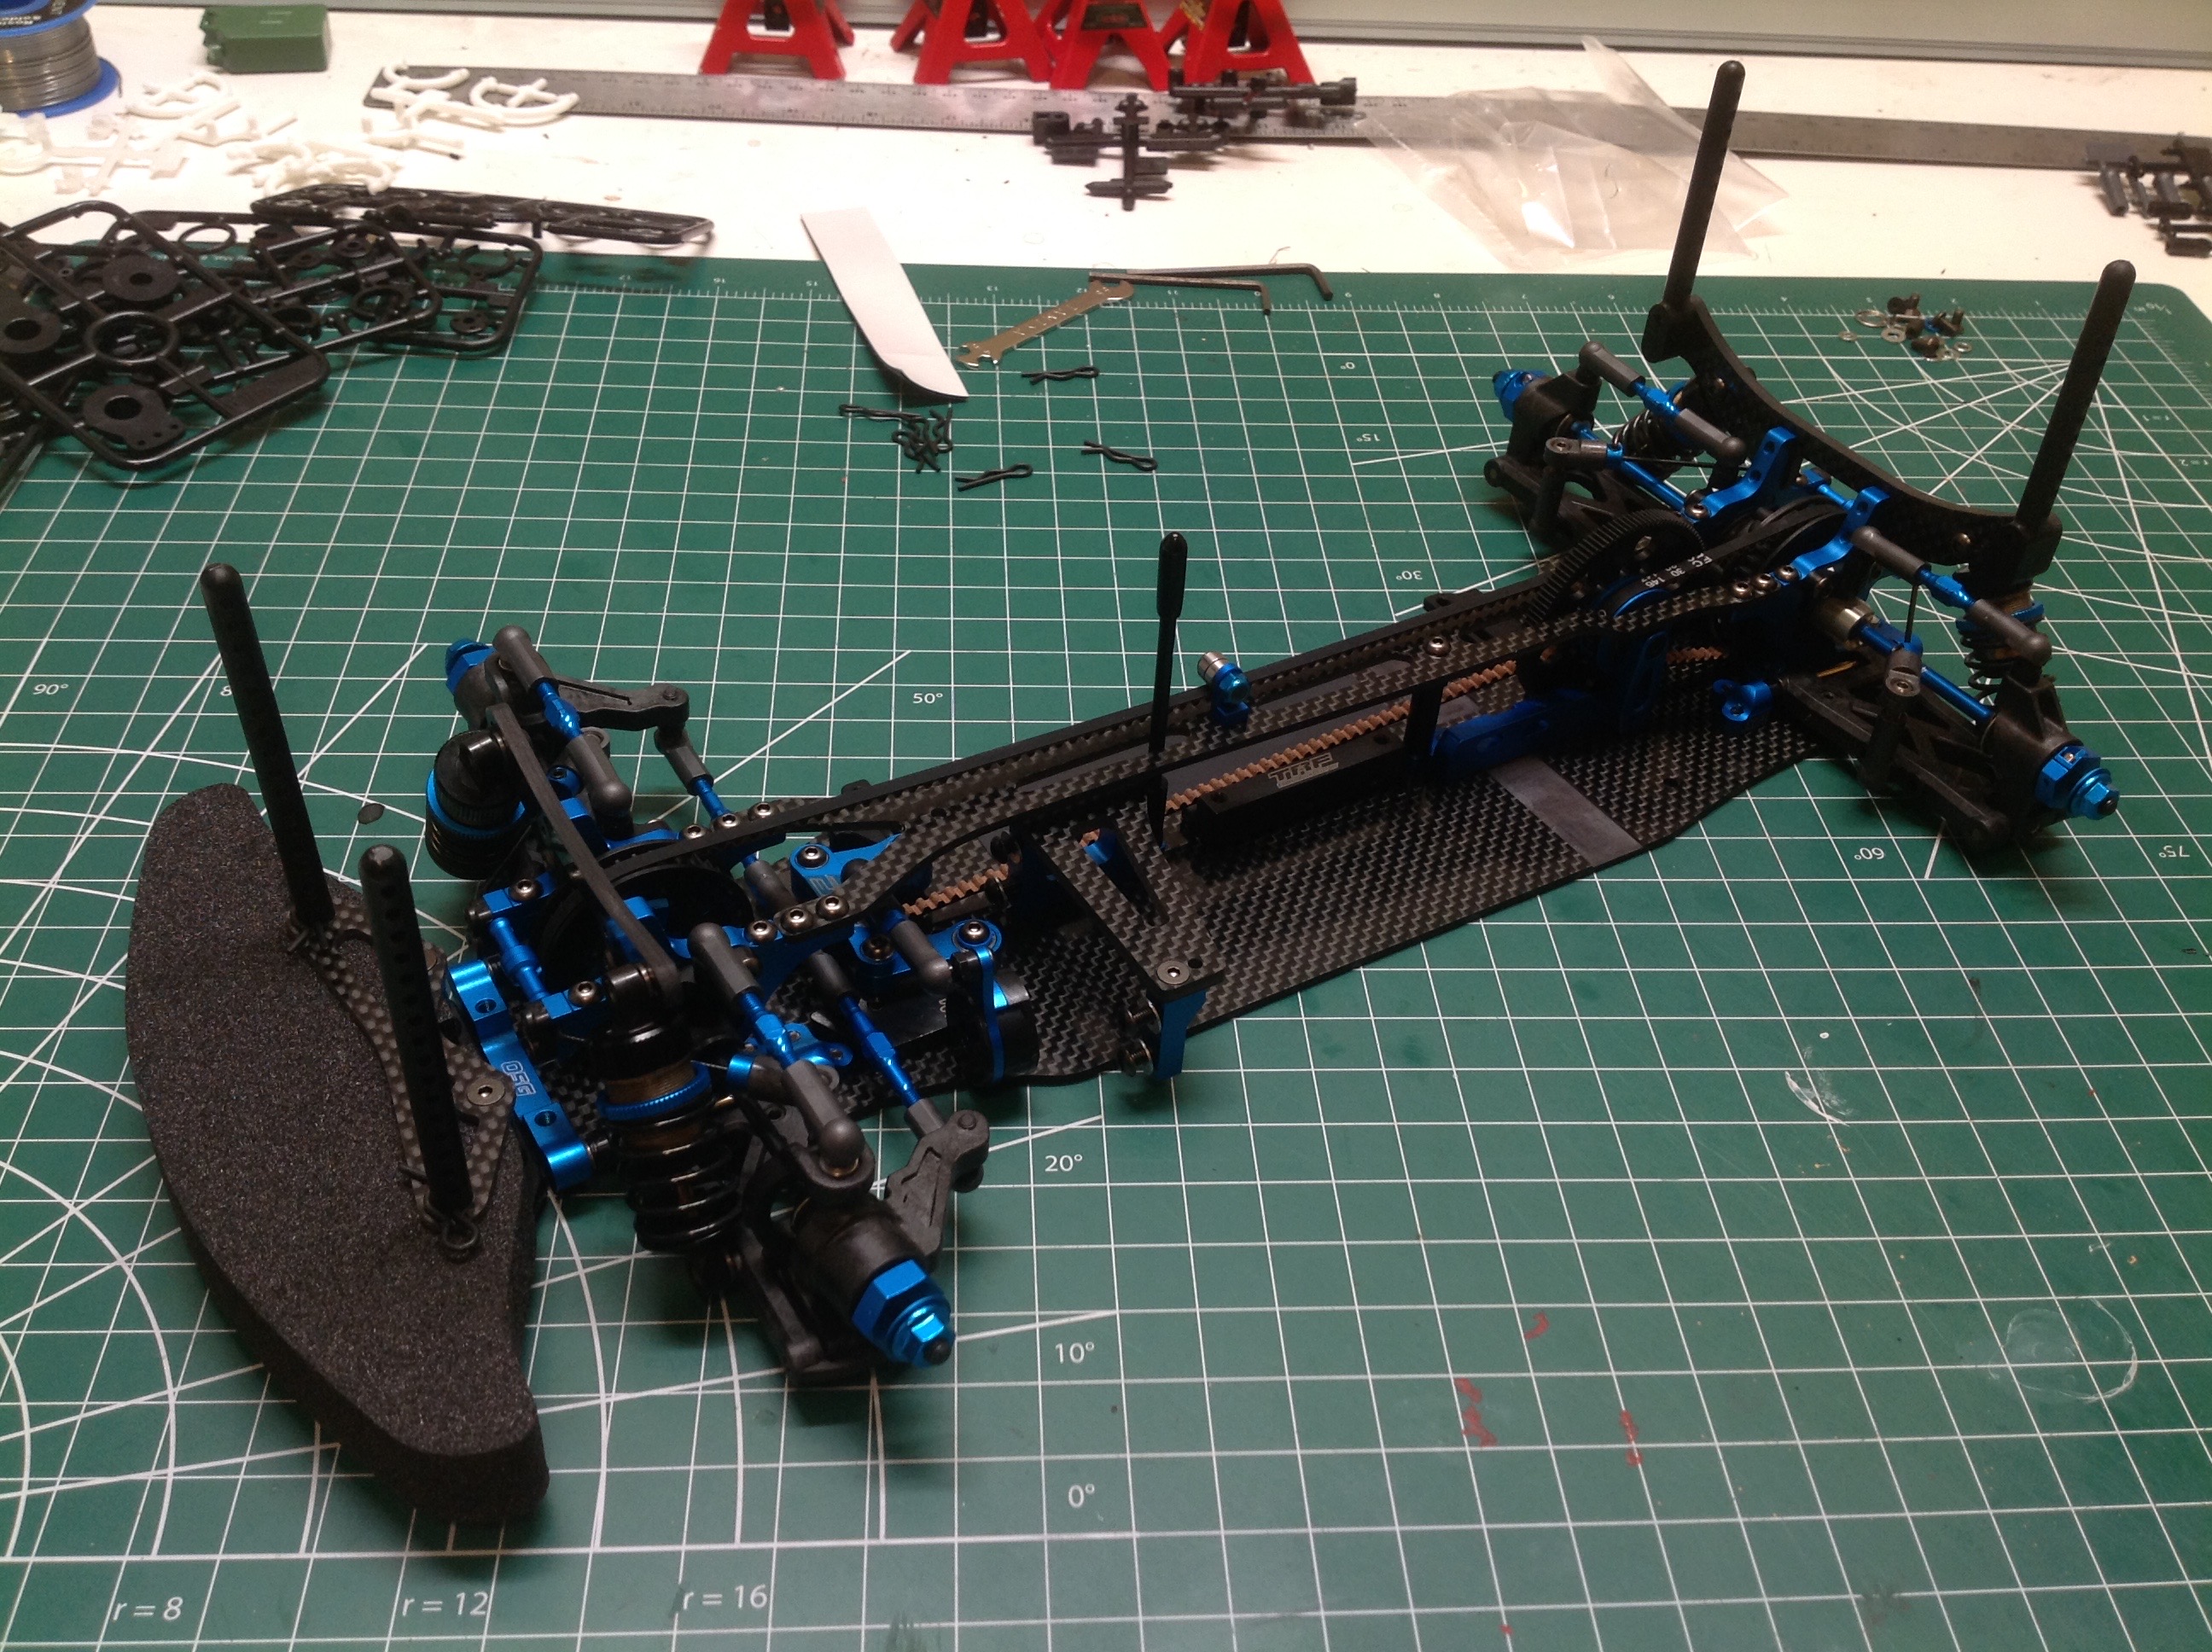
The kit comes with a couple of front and a single center ballast weight
which I installed as shown on the left. On the right I've
installed the foam front bumper which will help protect the body.
Note that even the bumper support is made from carbon fiber and also
supports the front body posts.
This rubber sheet cushions the battery. Unlike most Tamiya kits,
this one is intended to use a rectangular Li-Po race pack. I quite
hate the method for securing the battery though. The slots shown
are for adhesive glass tape which much be replaced every time. I
don't really see what this buys you in a race setting. I just use a
duct tape strap I made.
On the left the last few parts have been installed including the carbon
steering servo holder and the antenna tube. The kit thankfully
comes with a high torque servo saver, but I also added an aluminum
horn. On the right all the electronics have been installed. I
used a Hobbywing sensored brushless motor and ESC with a blue Protek
steering servo. Note that even the wheel hexes and lock nuts are
blue anodized.
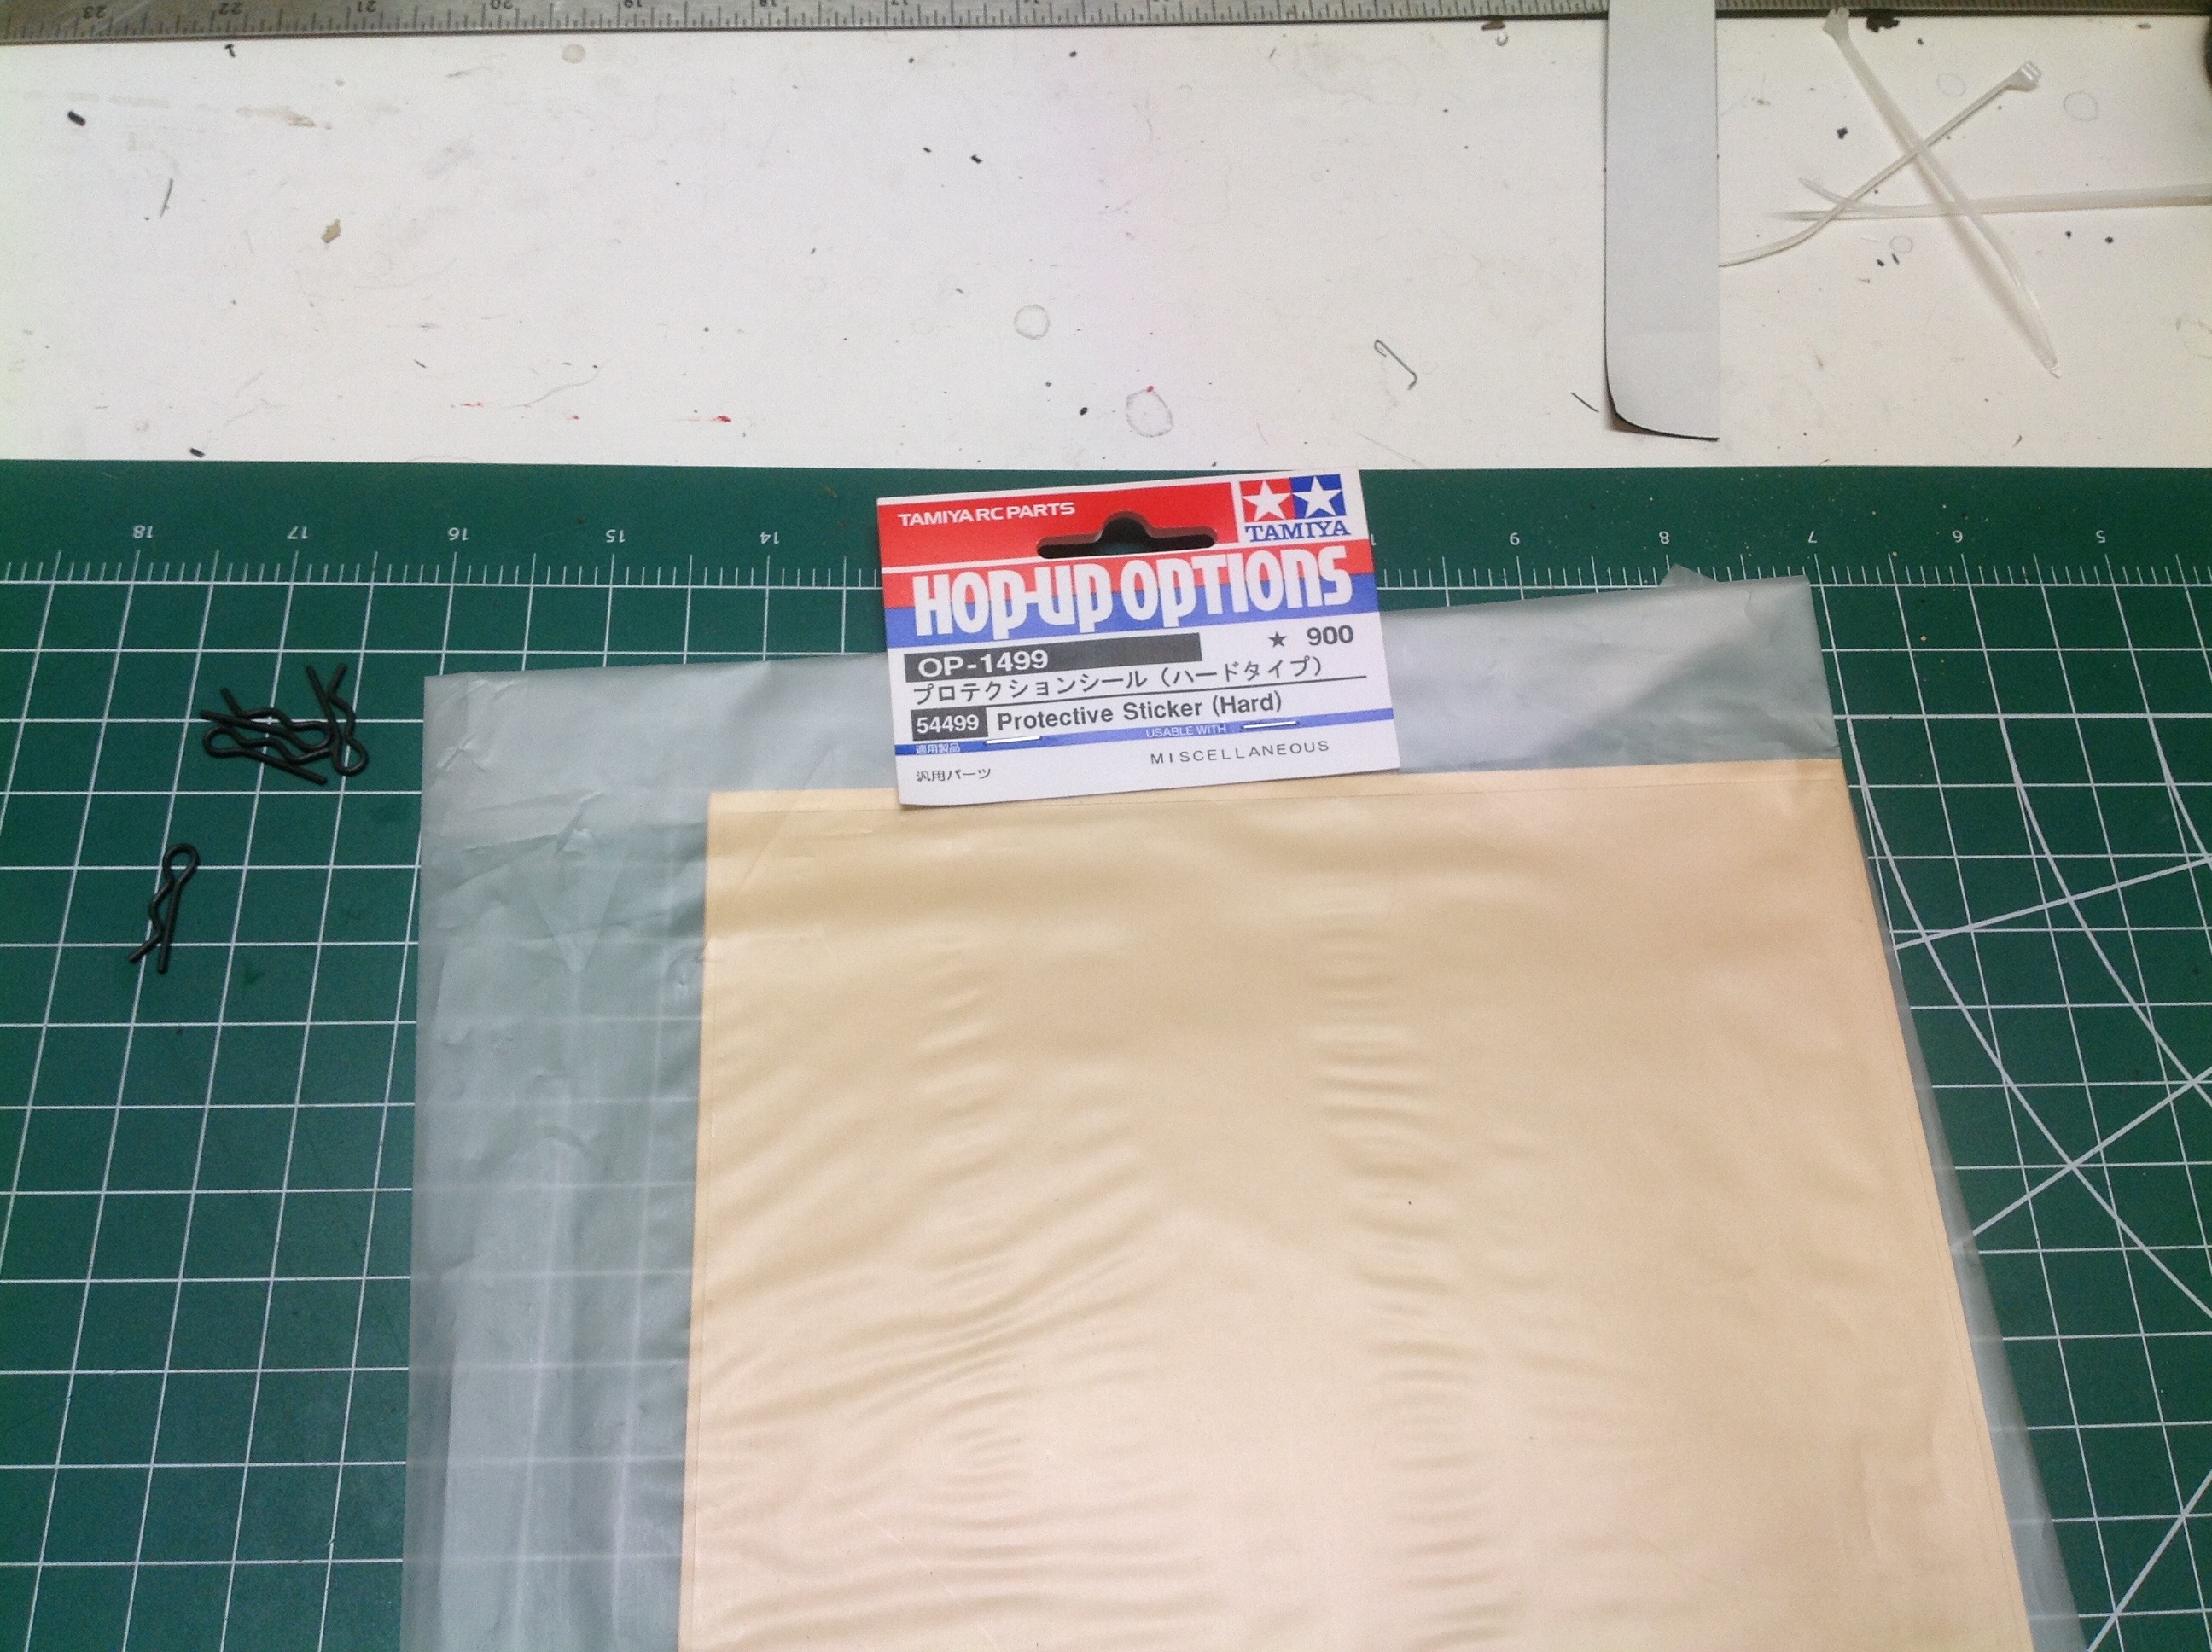
As a final detail, I installed this hard, clear adhesive sheet to the
bottom of the chassis. It will serve to protect the carbon from
minor scrapes and gouges.
©2021 Eric Albrecht