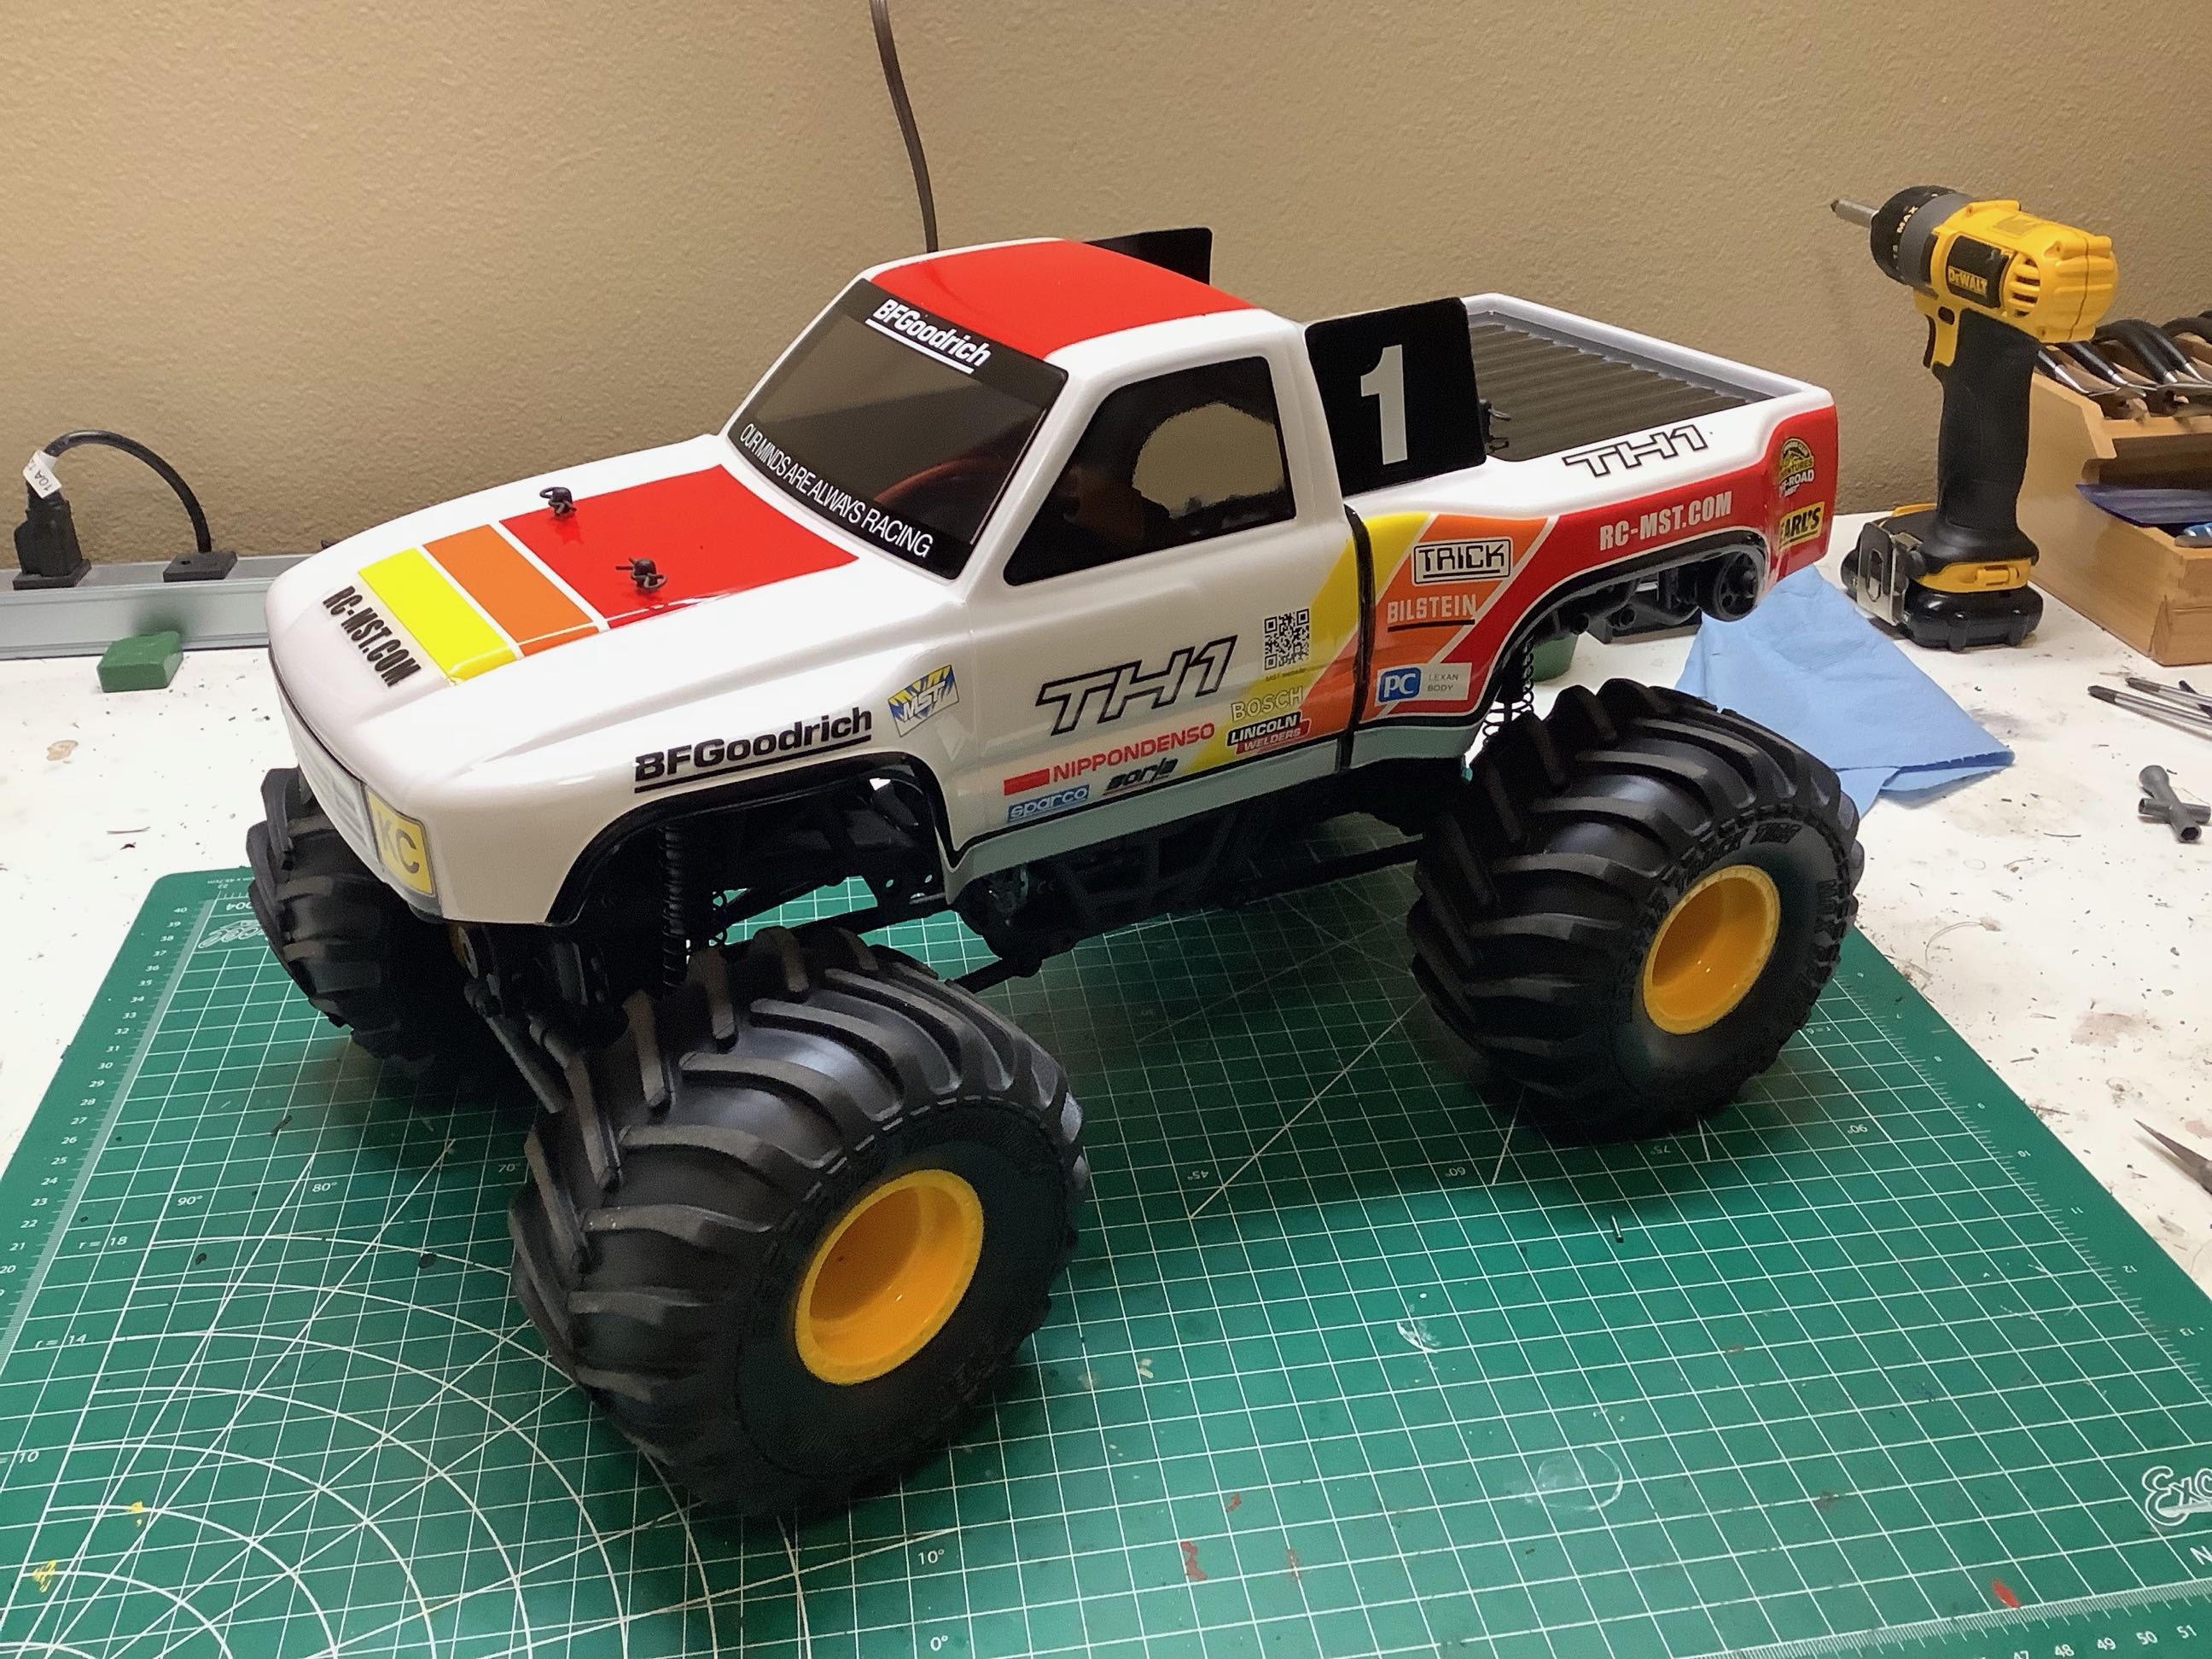
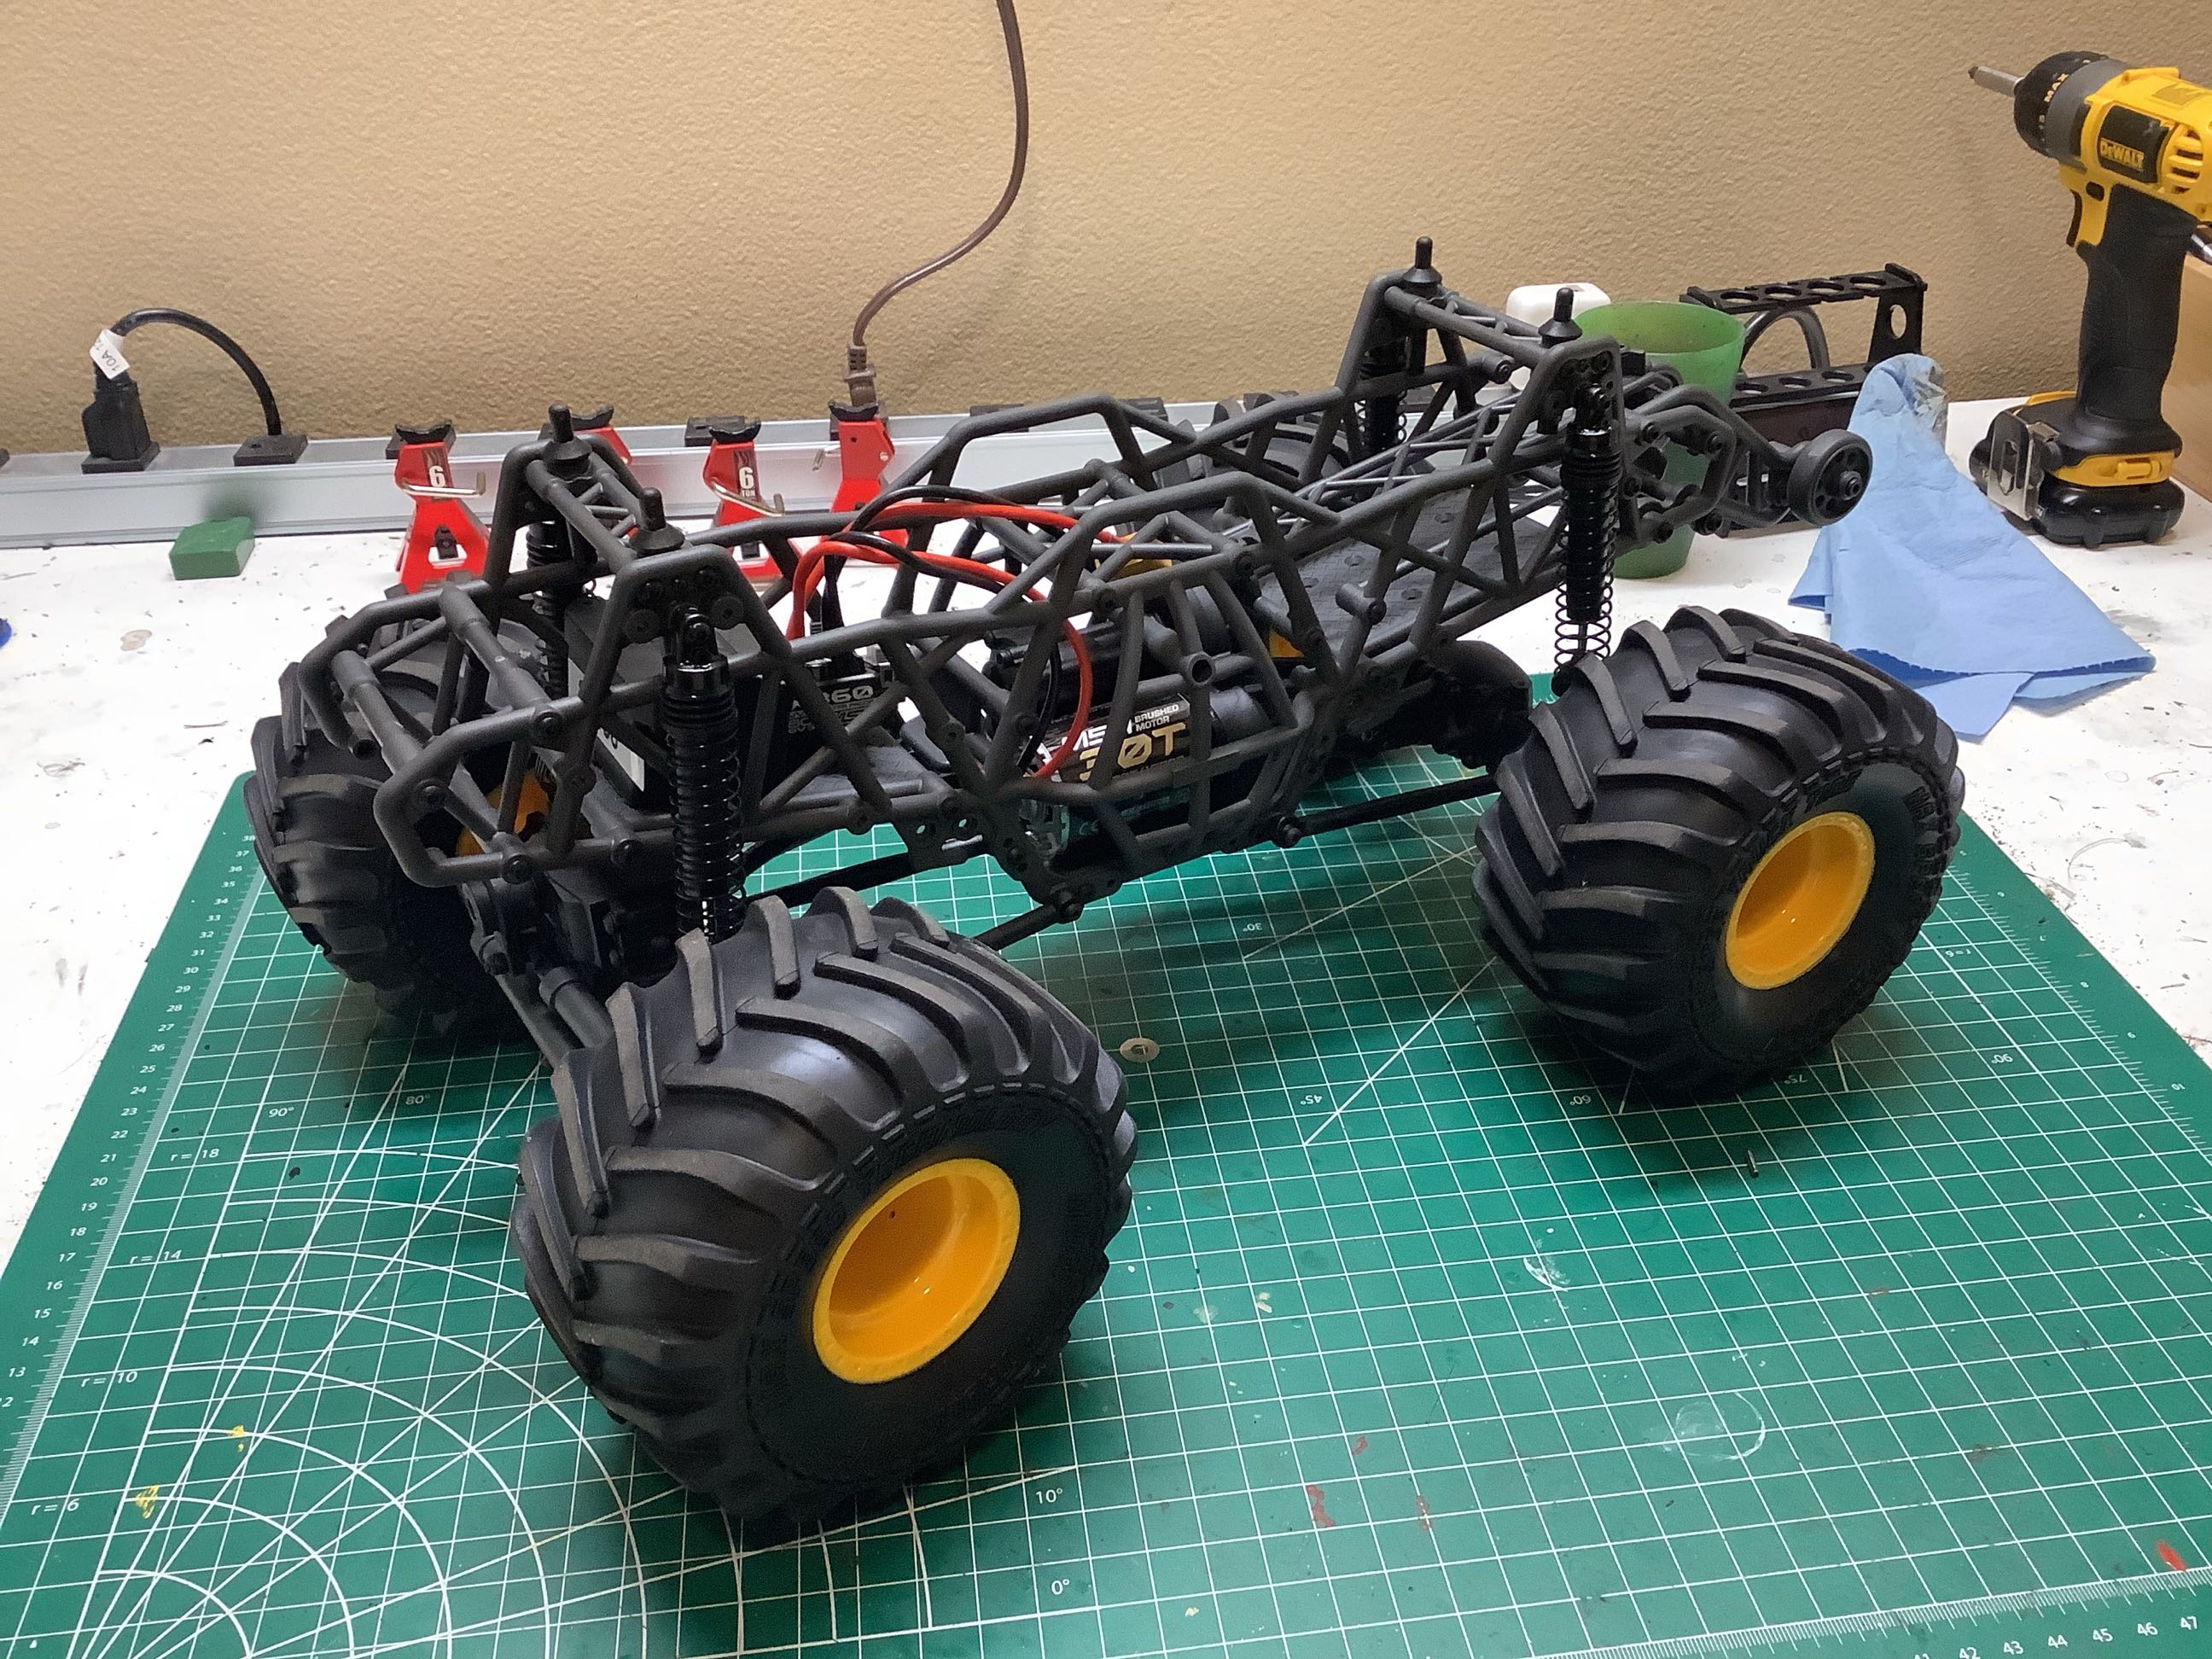
Here is the RTR truck as it came out of the box. Everything is very well done as you can see. The naked cage chassis is shown on the right.
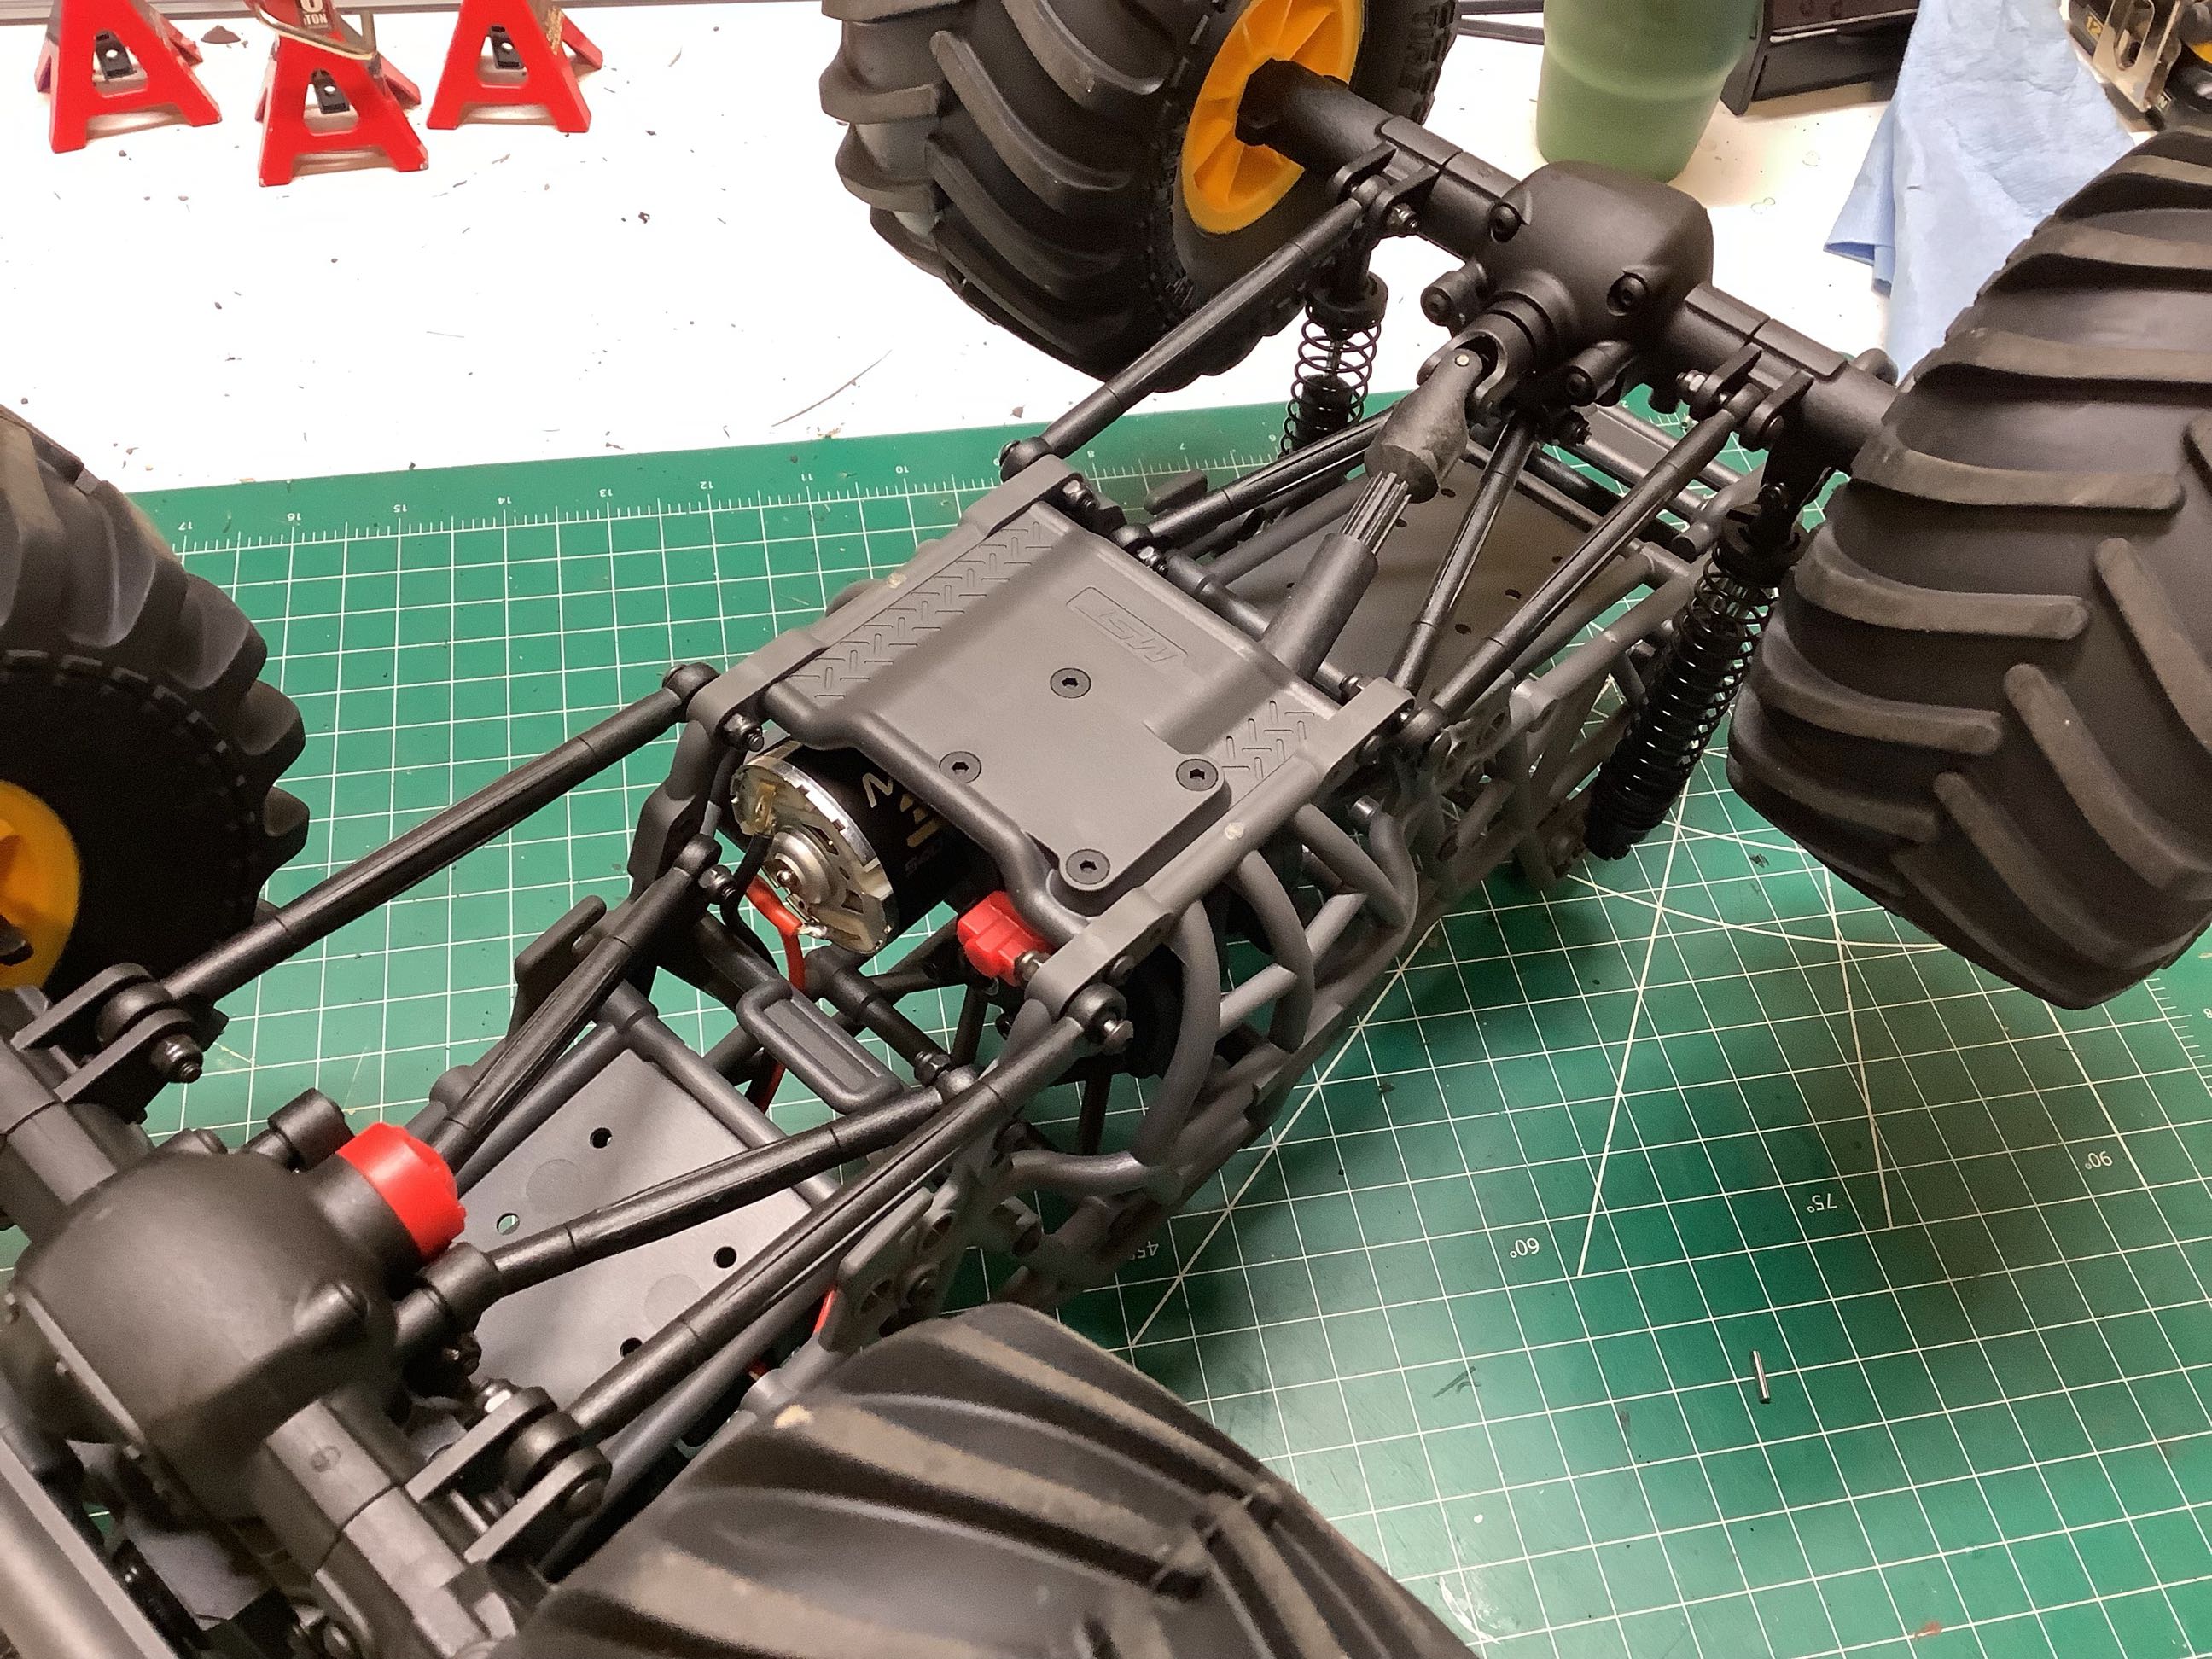
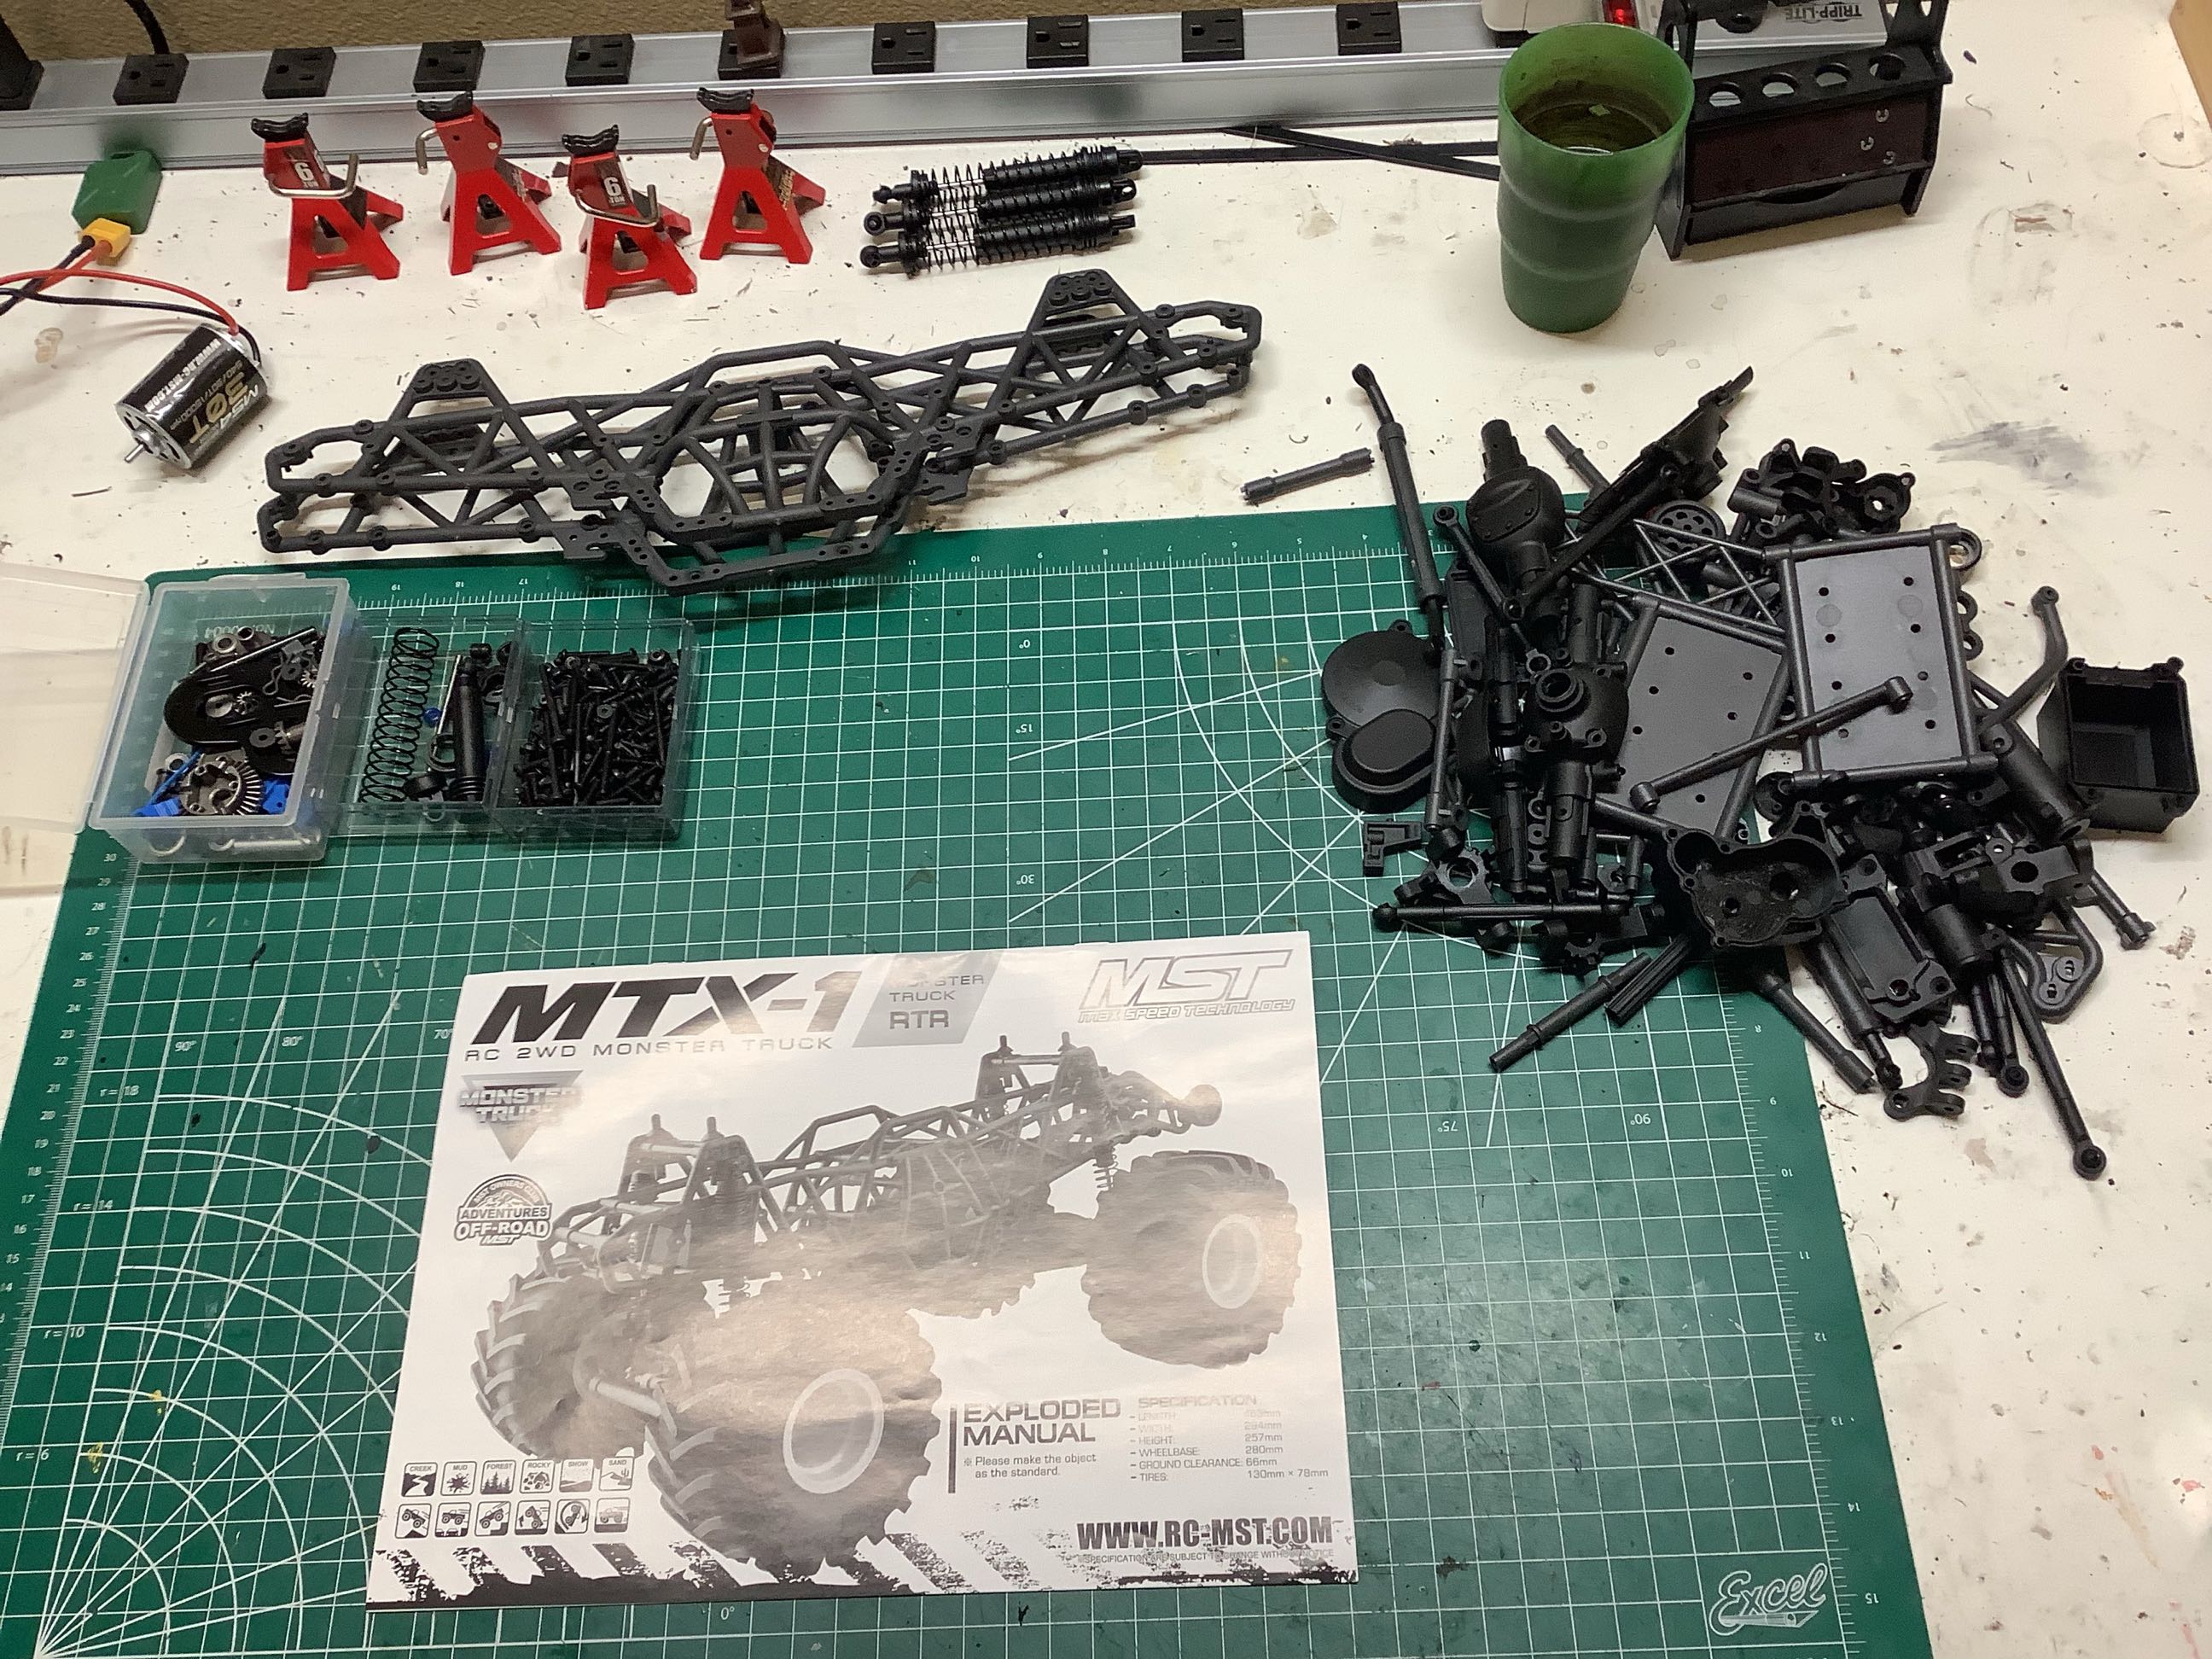
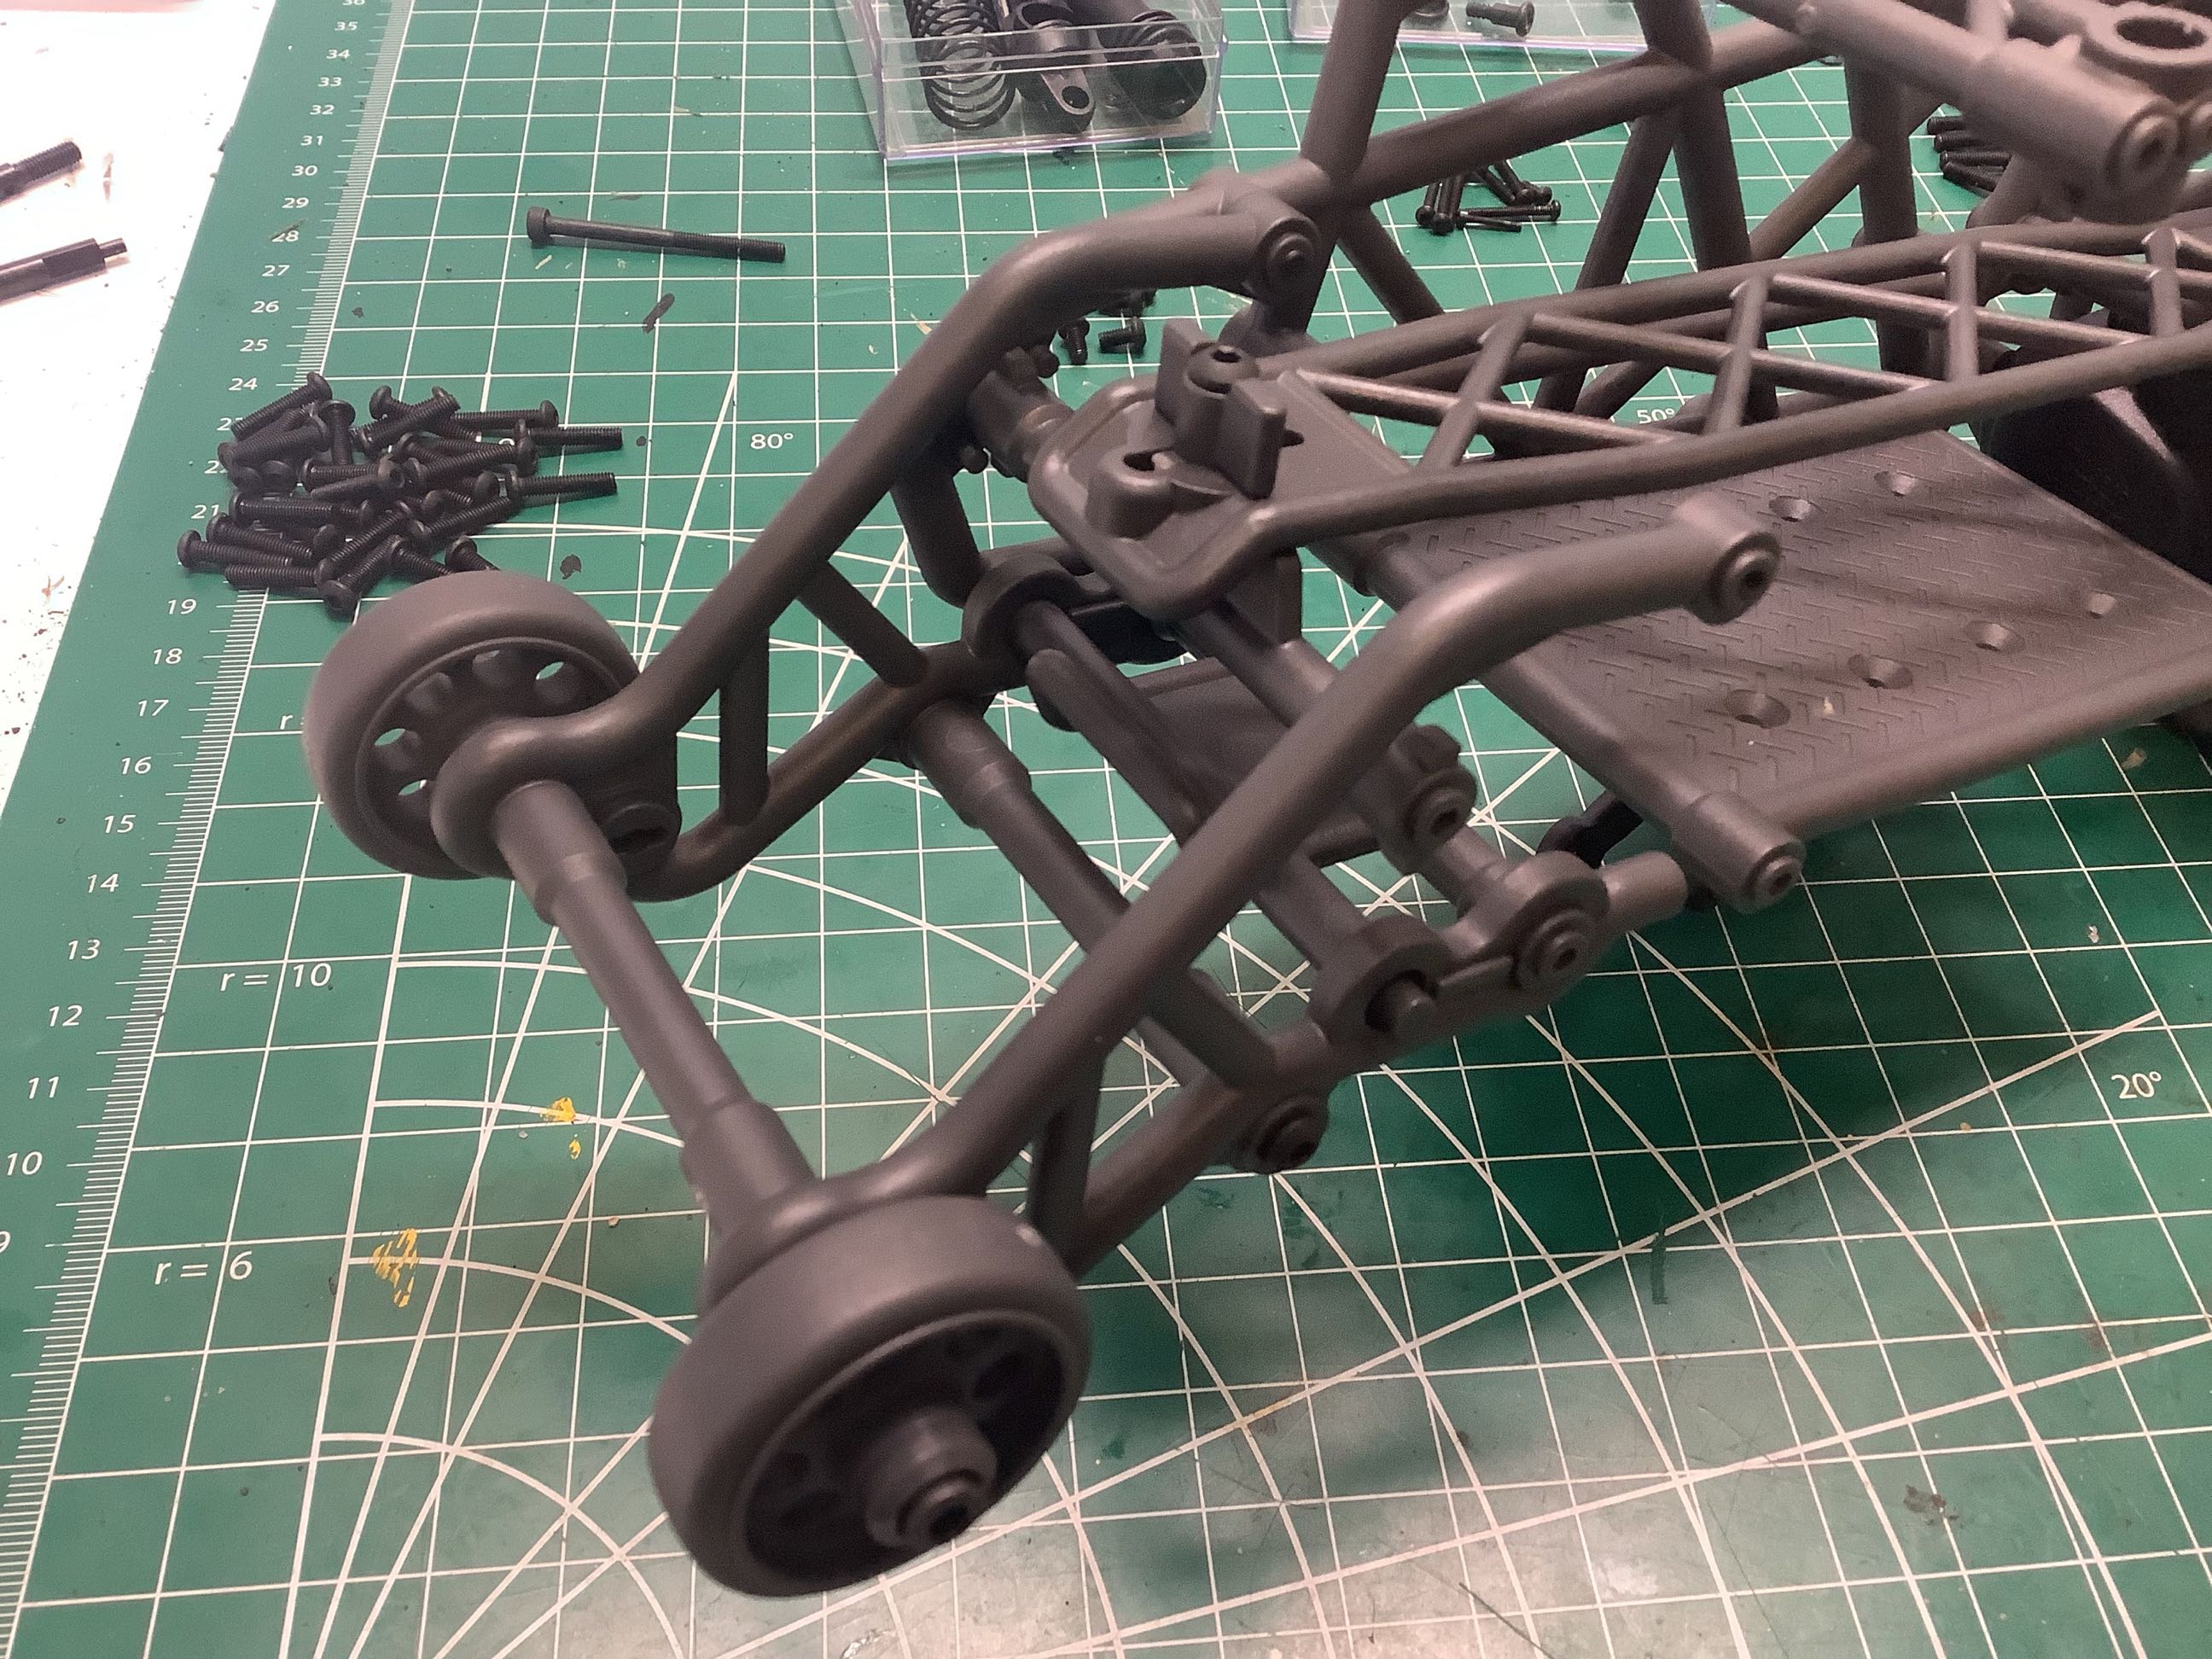
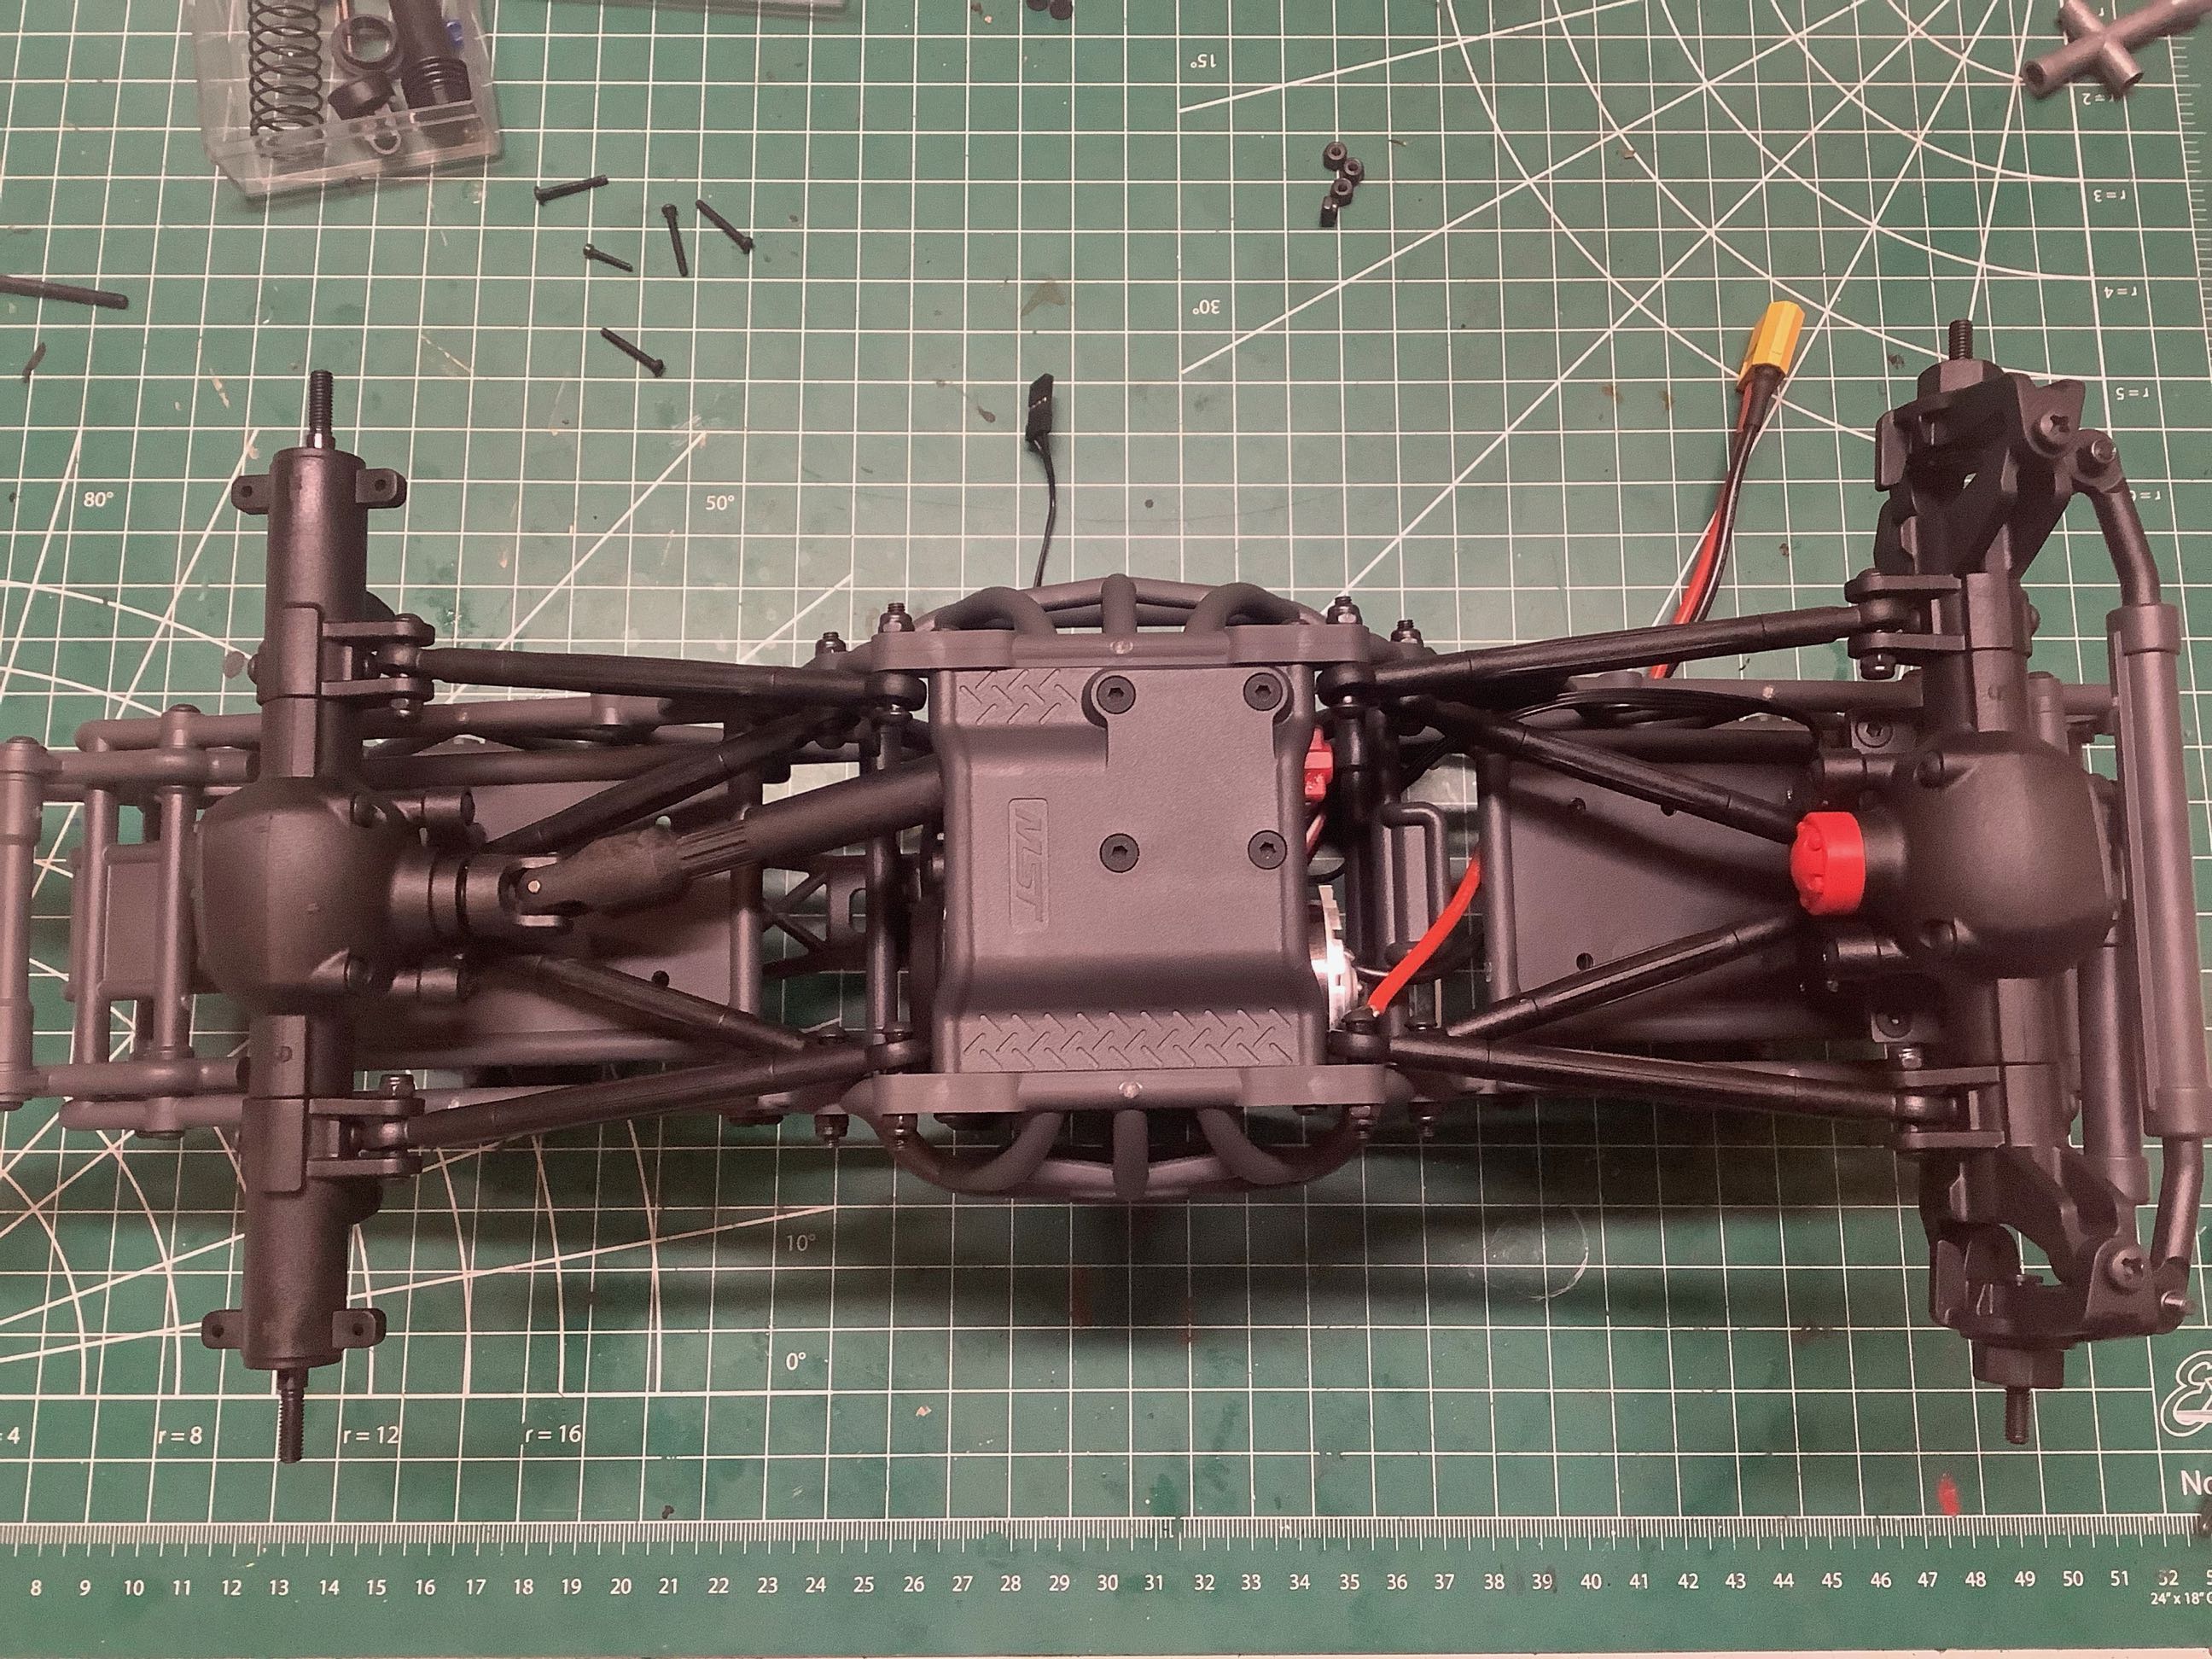
From the bottom you can see the skid plate, the front and rear 4-link suspension, and the solid axles. Note that out of the box this is a 2WD model. My new strategy with RTR models is to immediately tear them down to kit form and rebuild them from scratch. This way I get the enjoyment of building and learning about the model and end up forming an attachment to it. On the right is the pile of parts after the teardown.
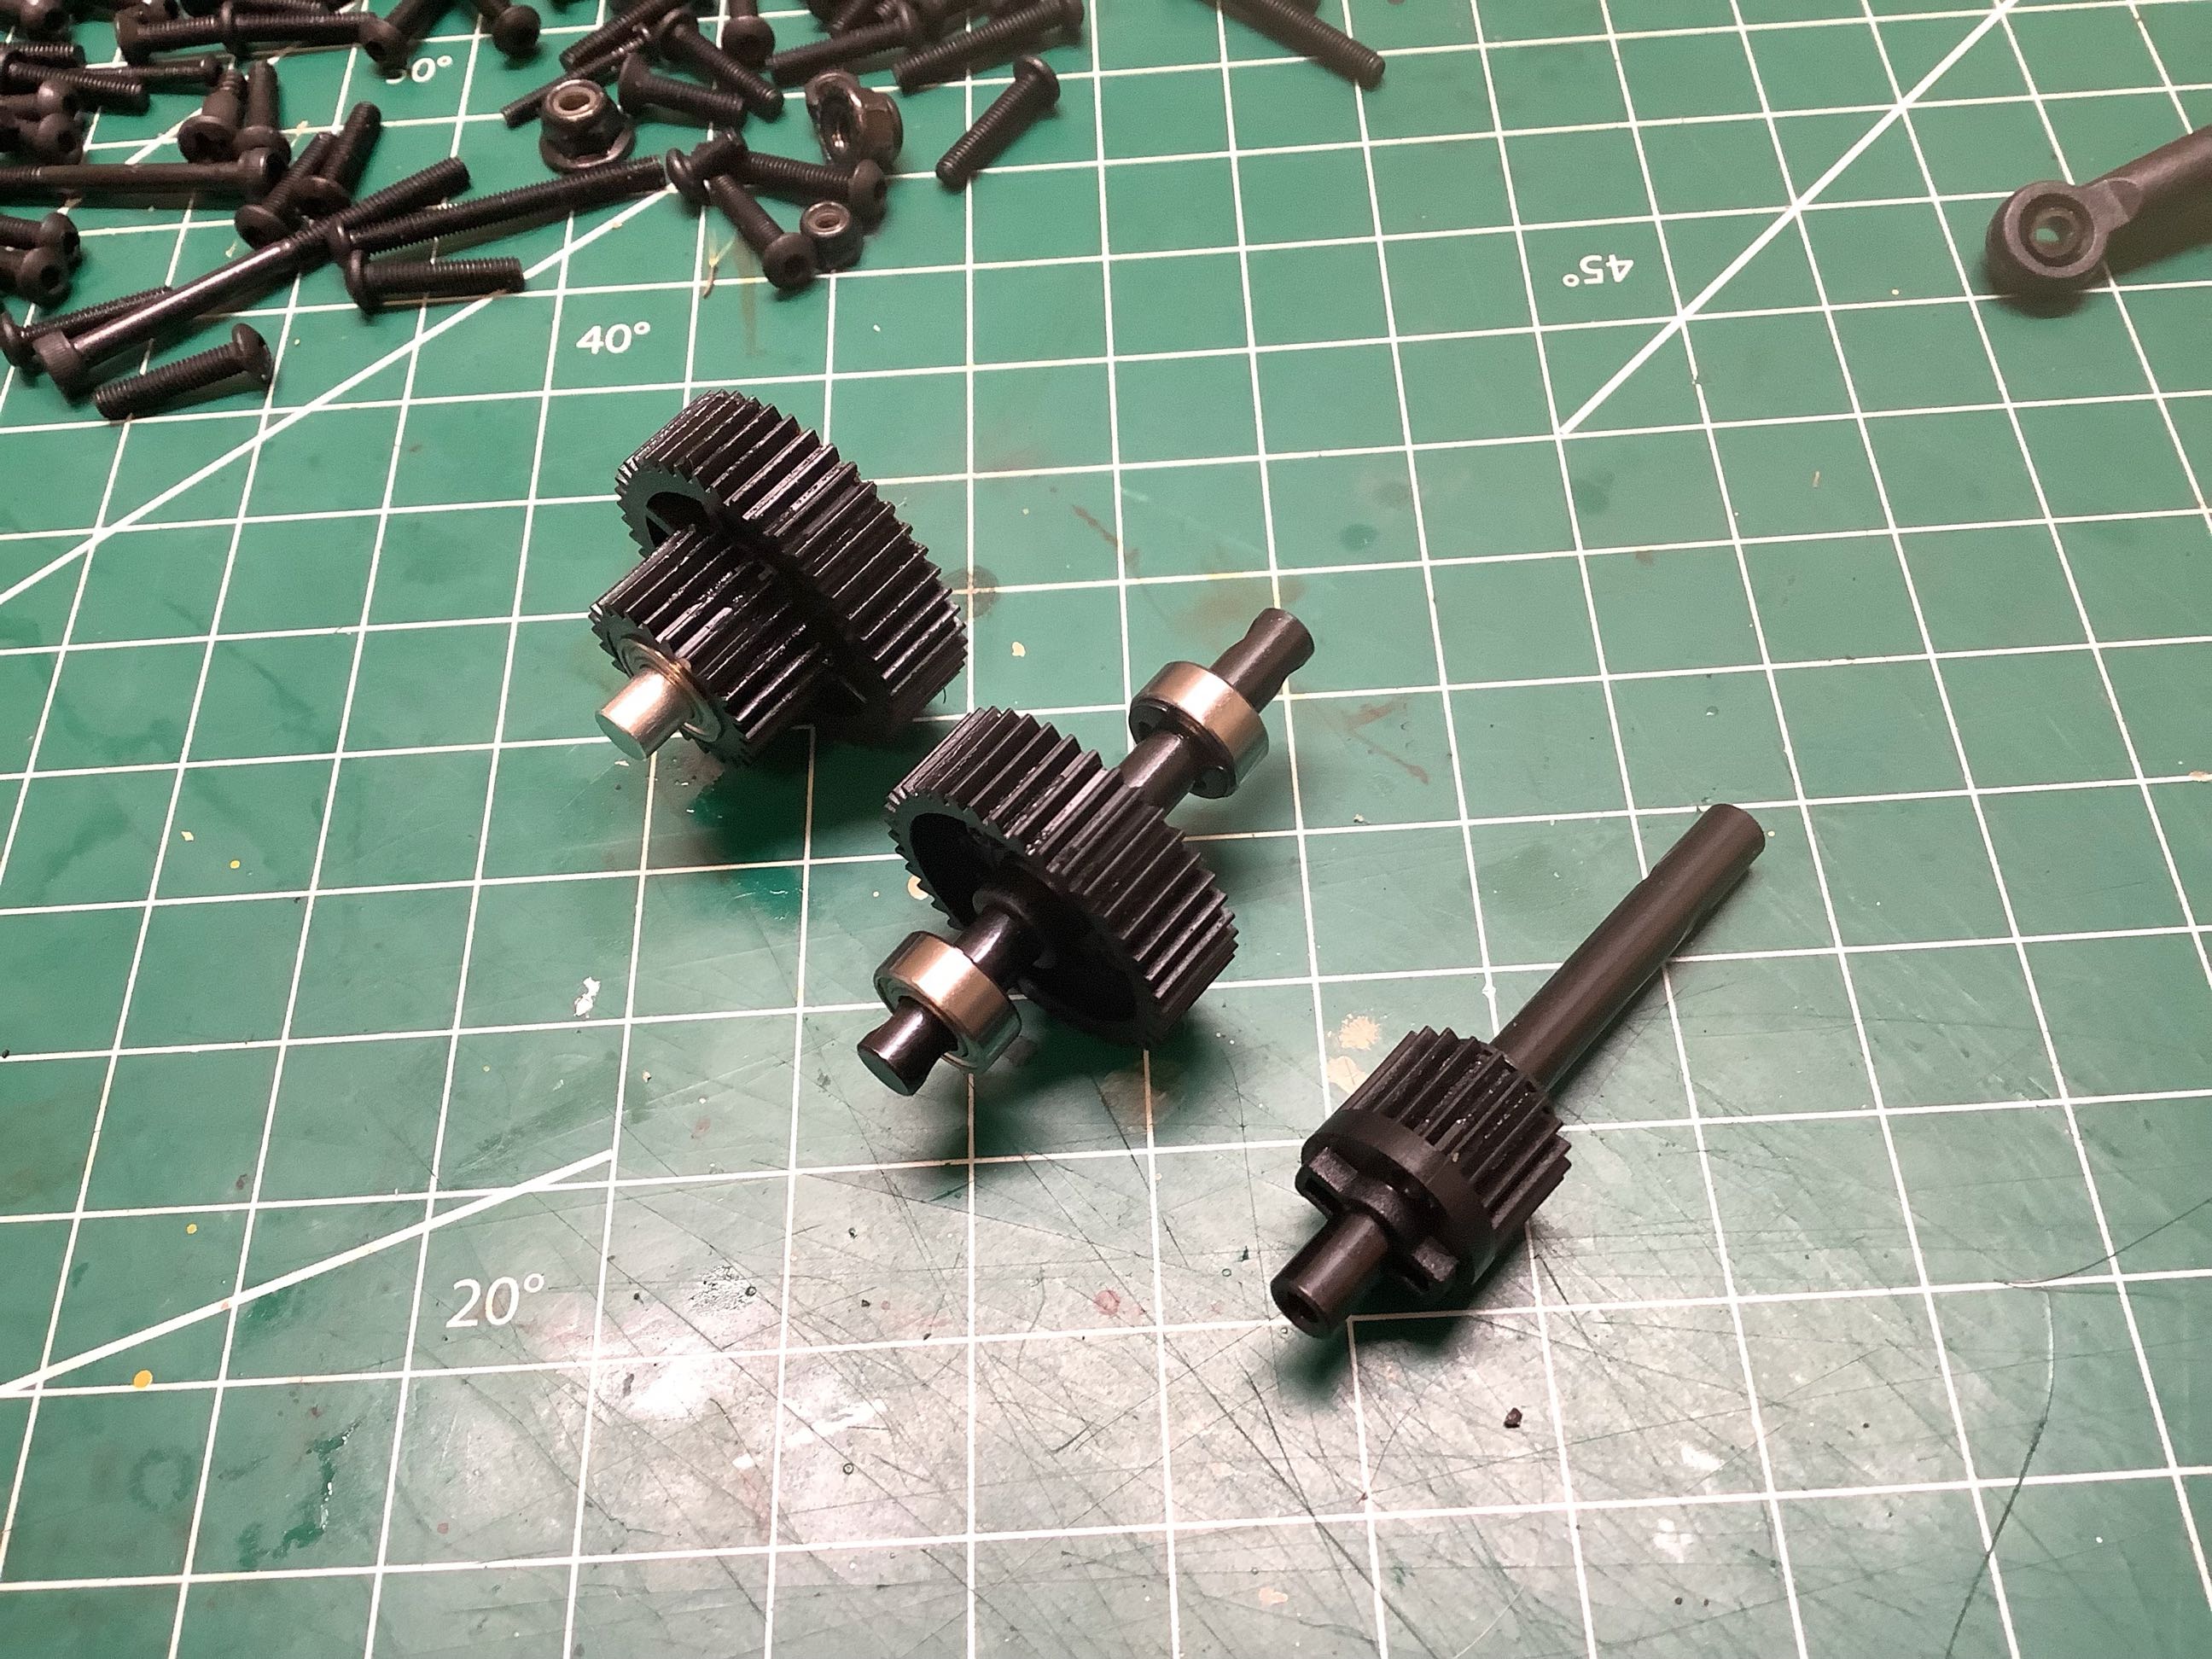
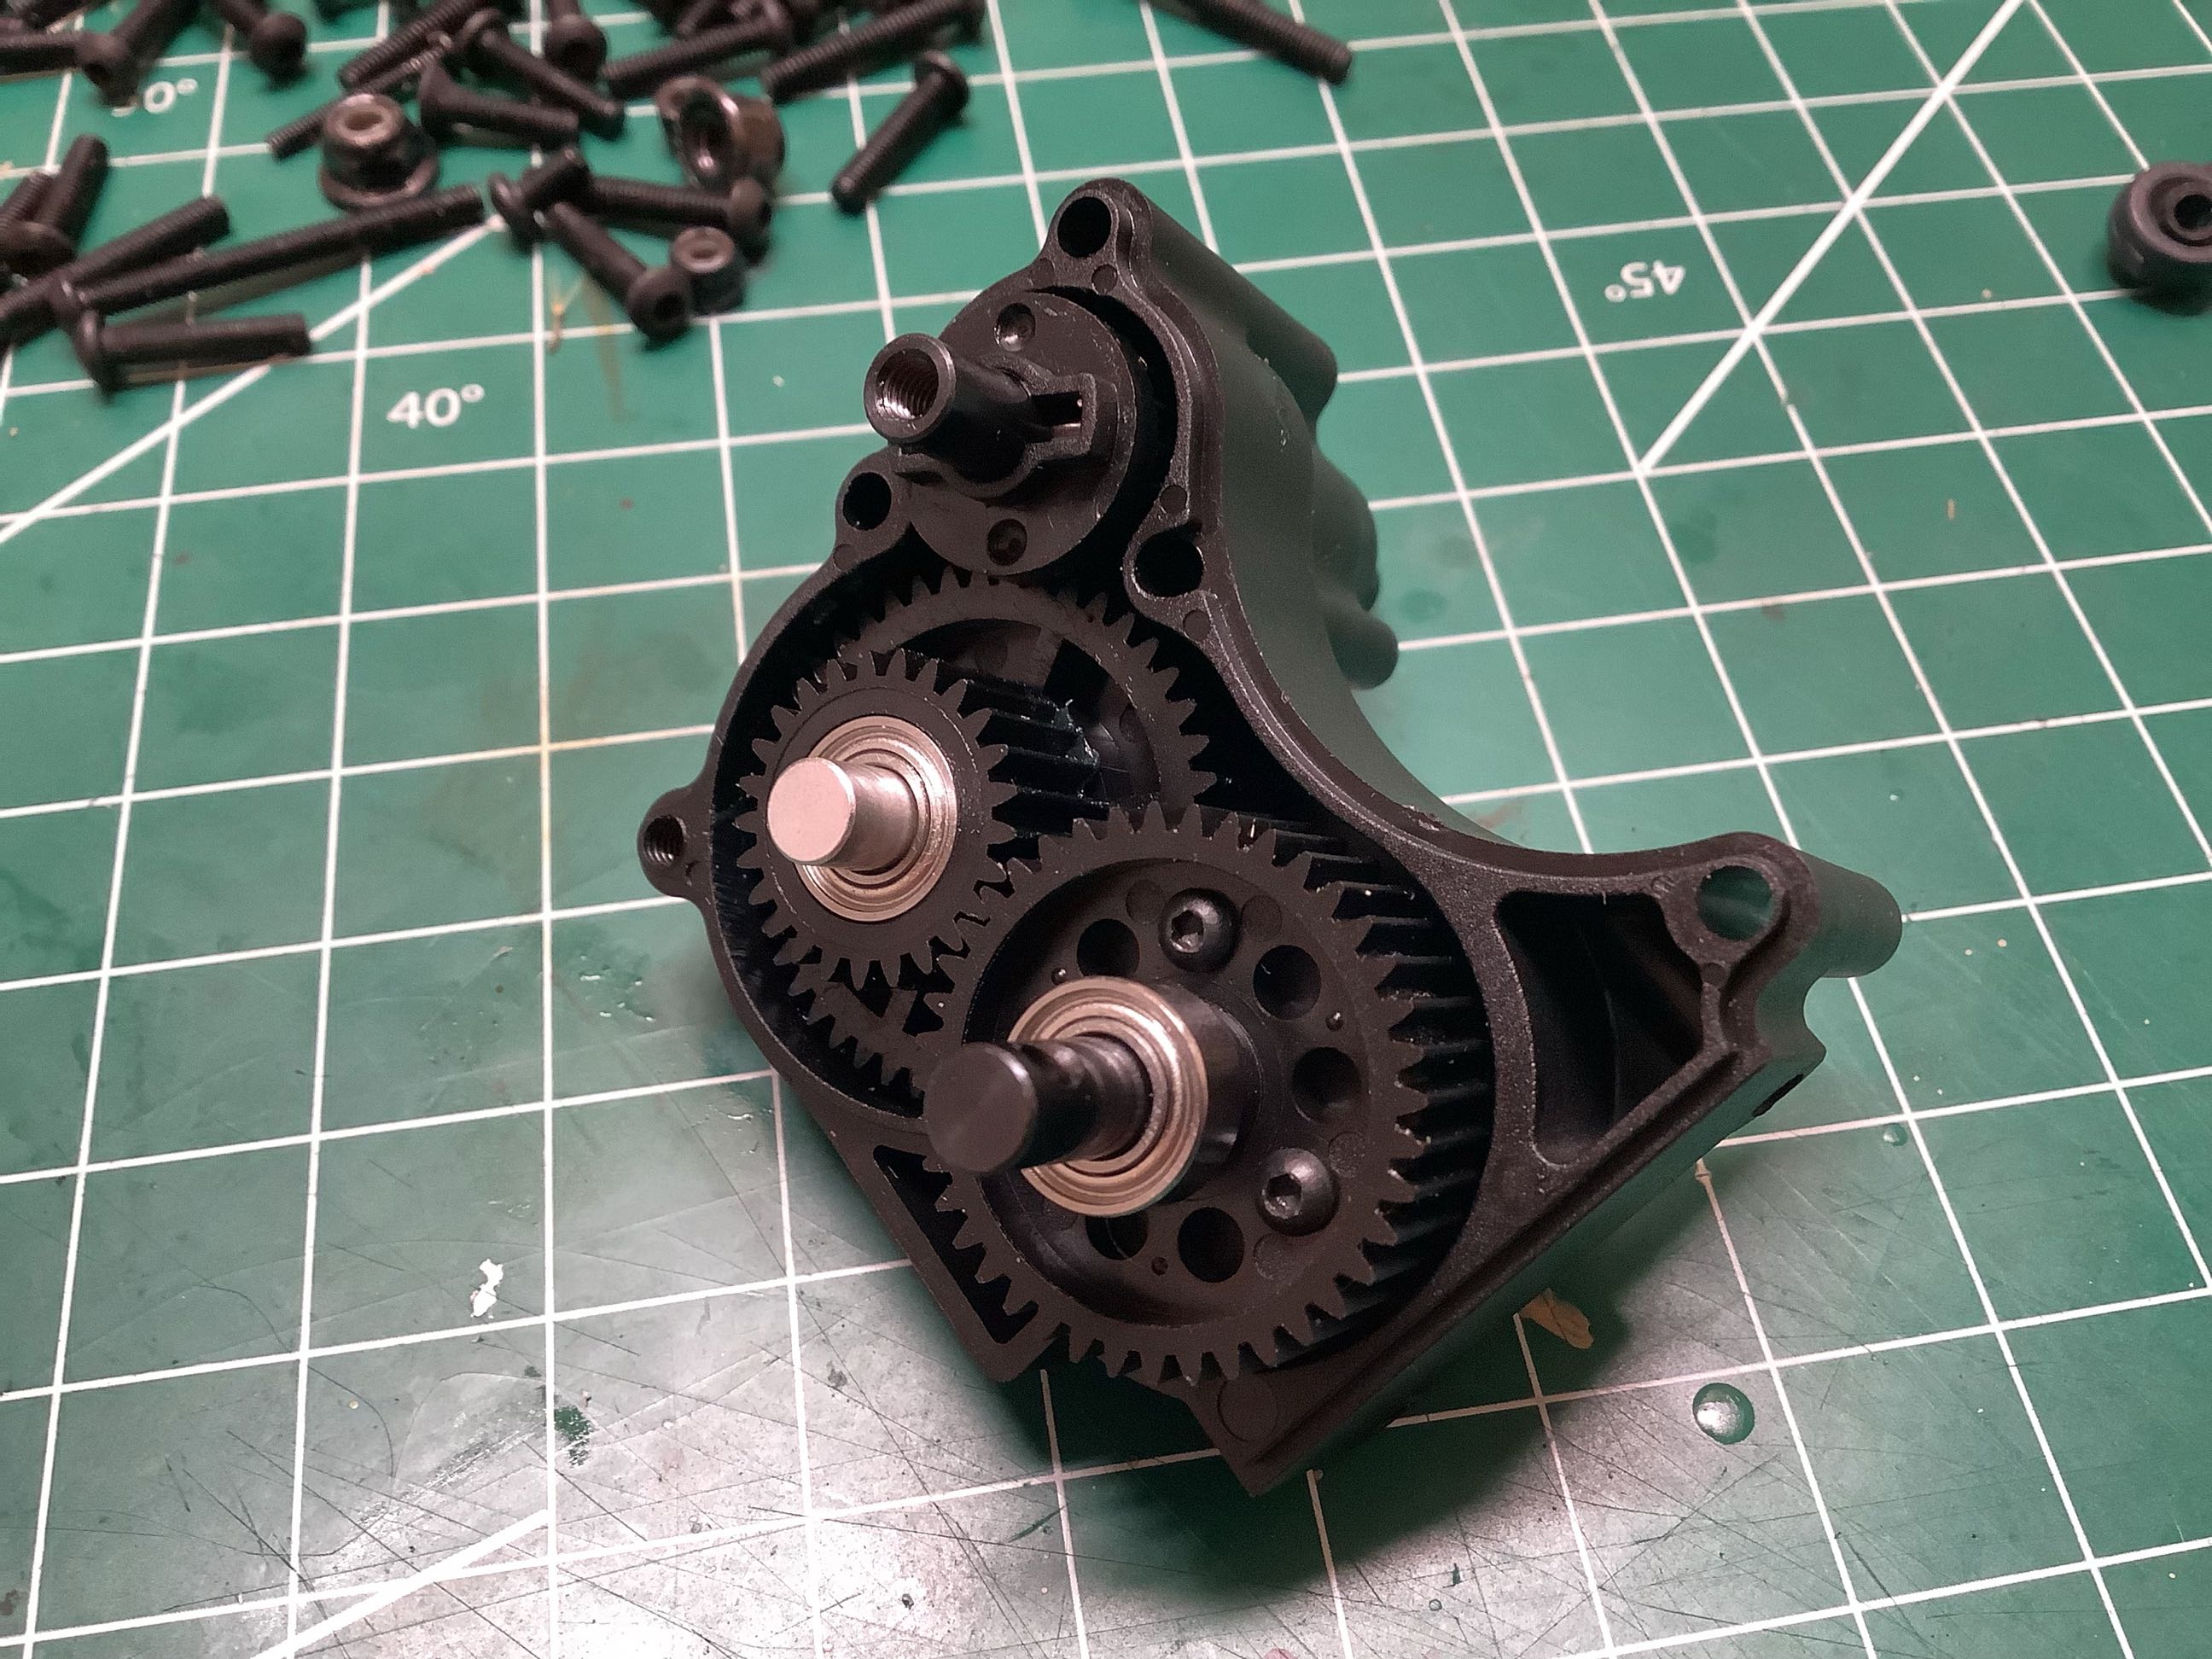
The stock transmission gears are plastic but they ride on steel shafts with ball bearings as shown on the left. This is a 3-gear, 2-stage transmission. On the right I've installed the gears into the transmission housing. The upper left gear will connect to the spur gear and be driven by the motor pinion.

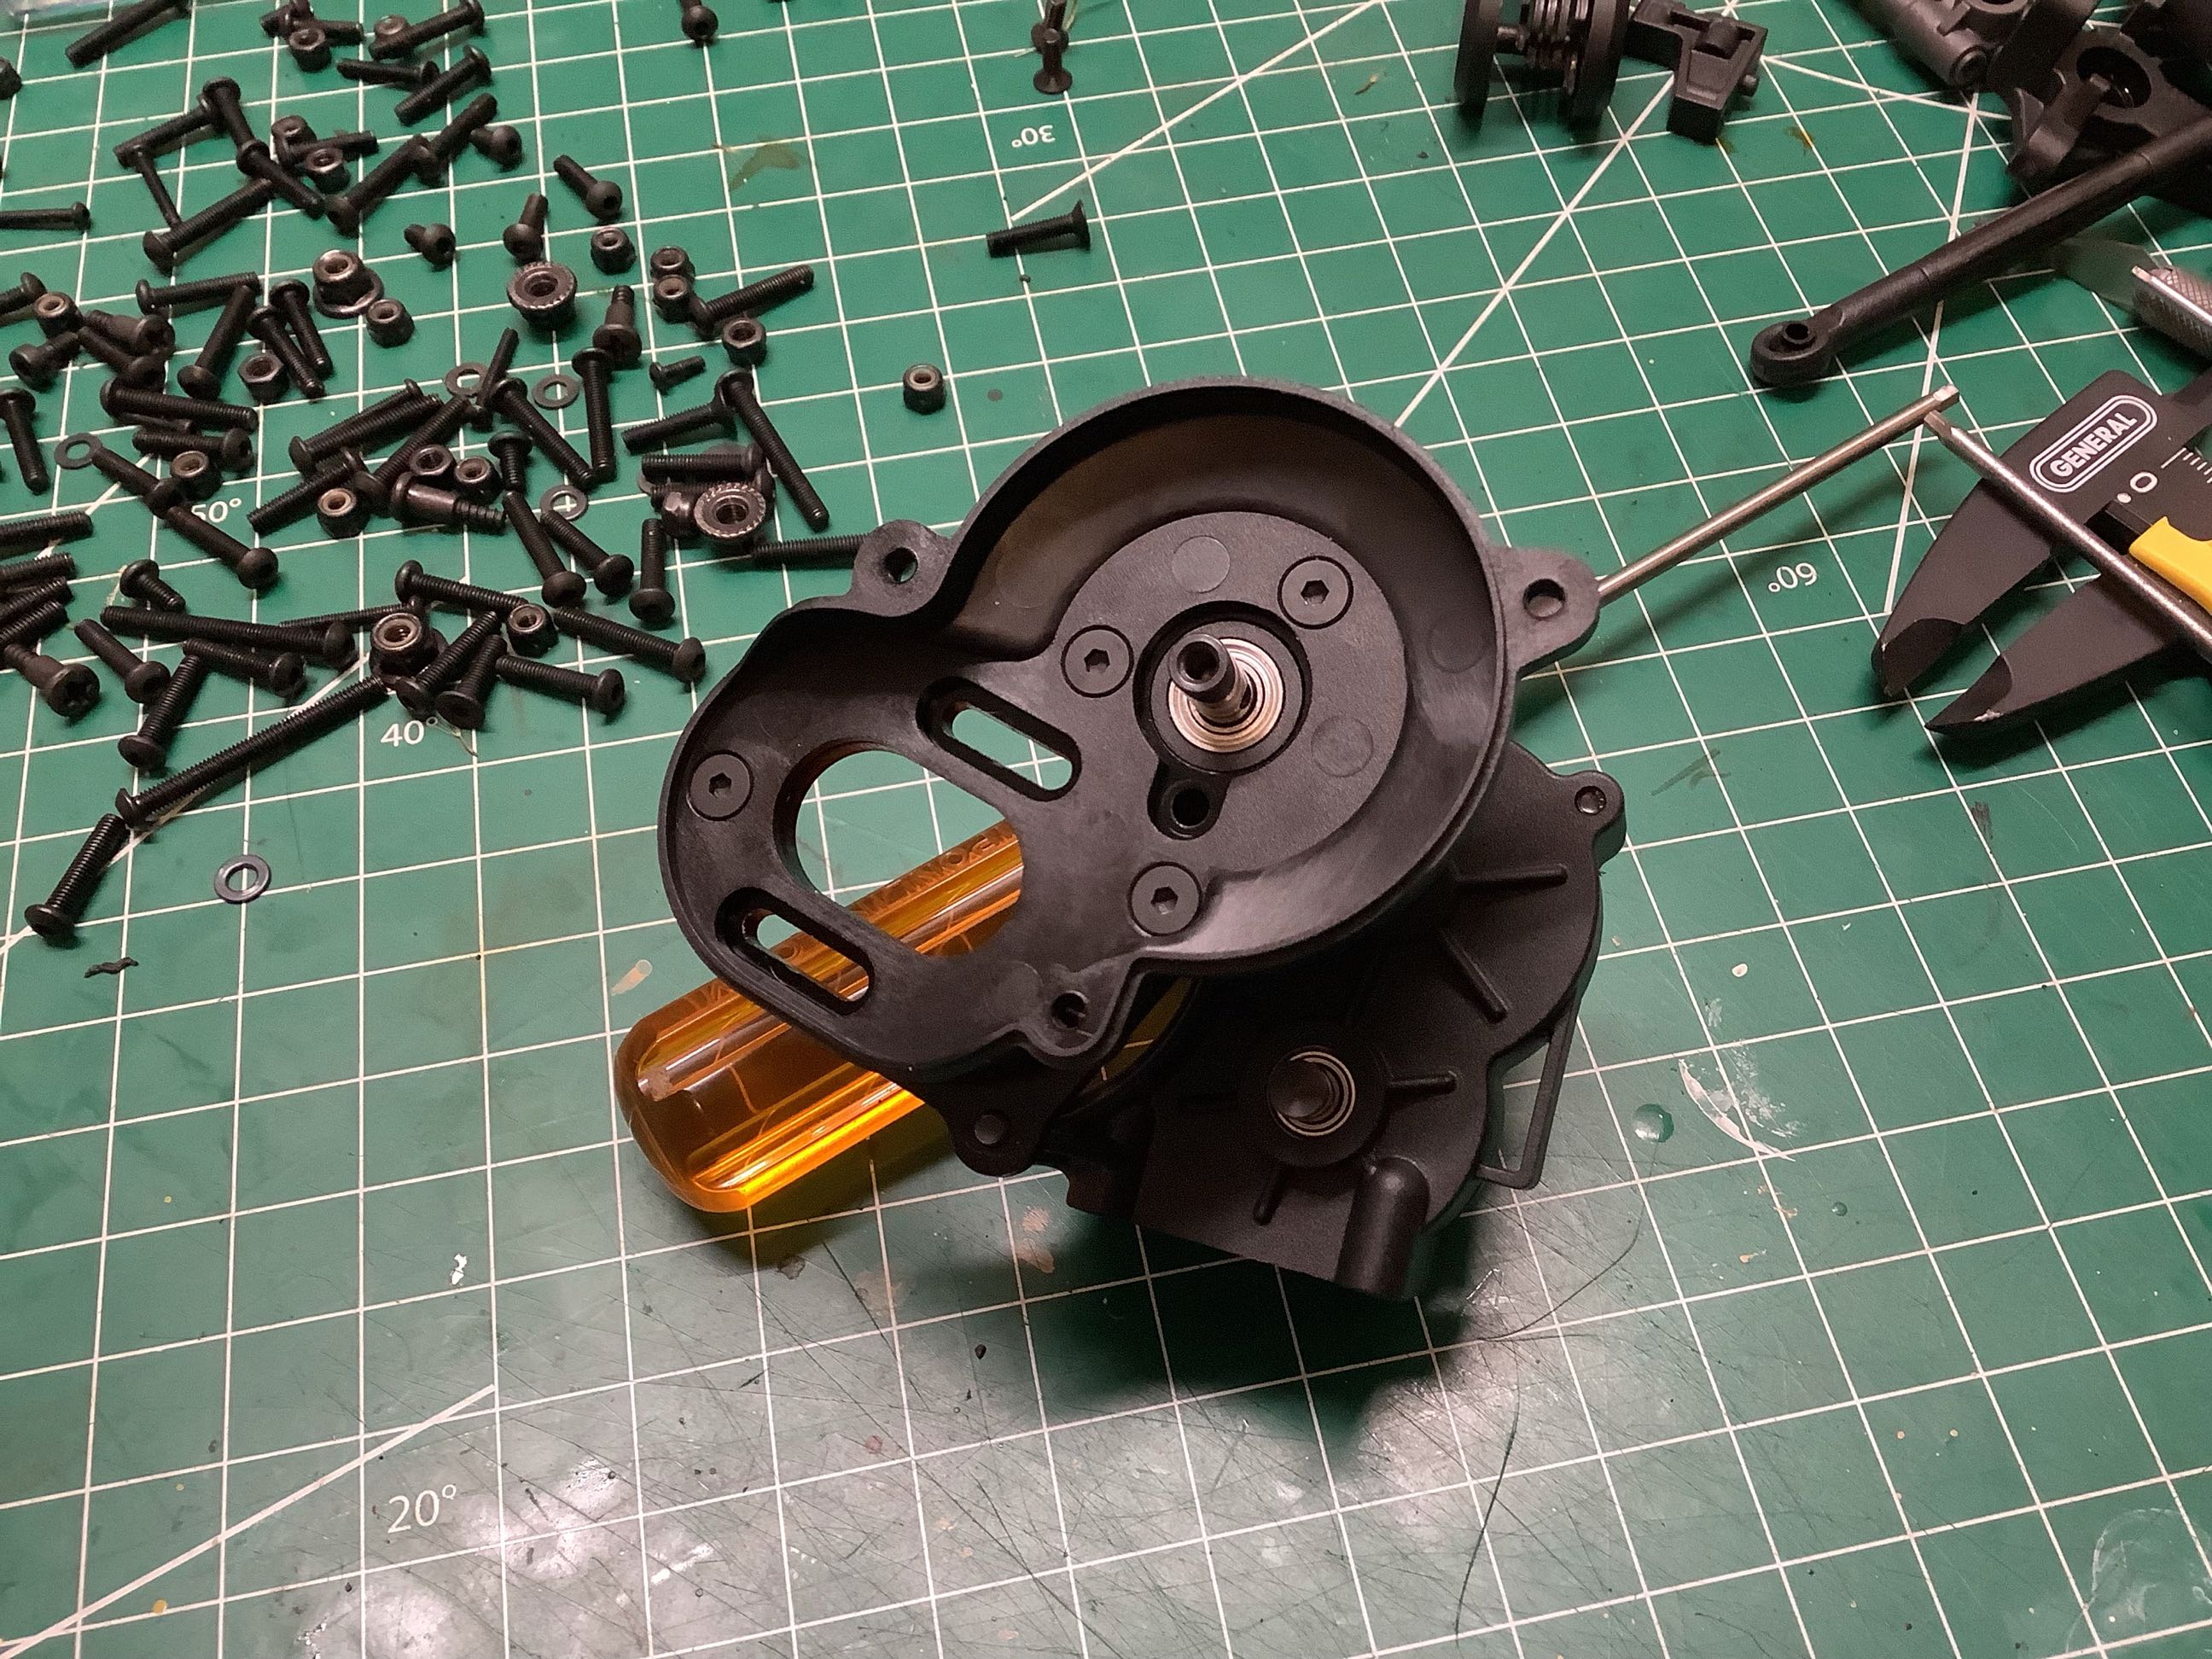
Here I've closed up the gearbox housing and attached the metal motor mount plate. On the right I've also attached the shield which will protect the primary gear mesh.
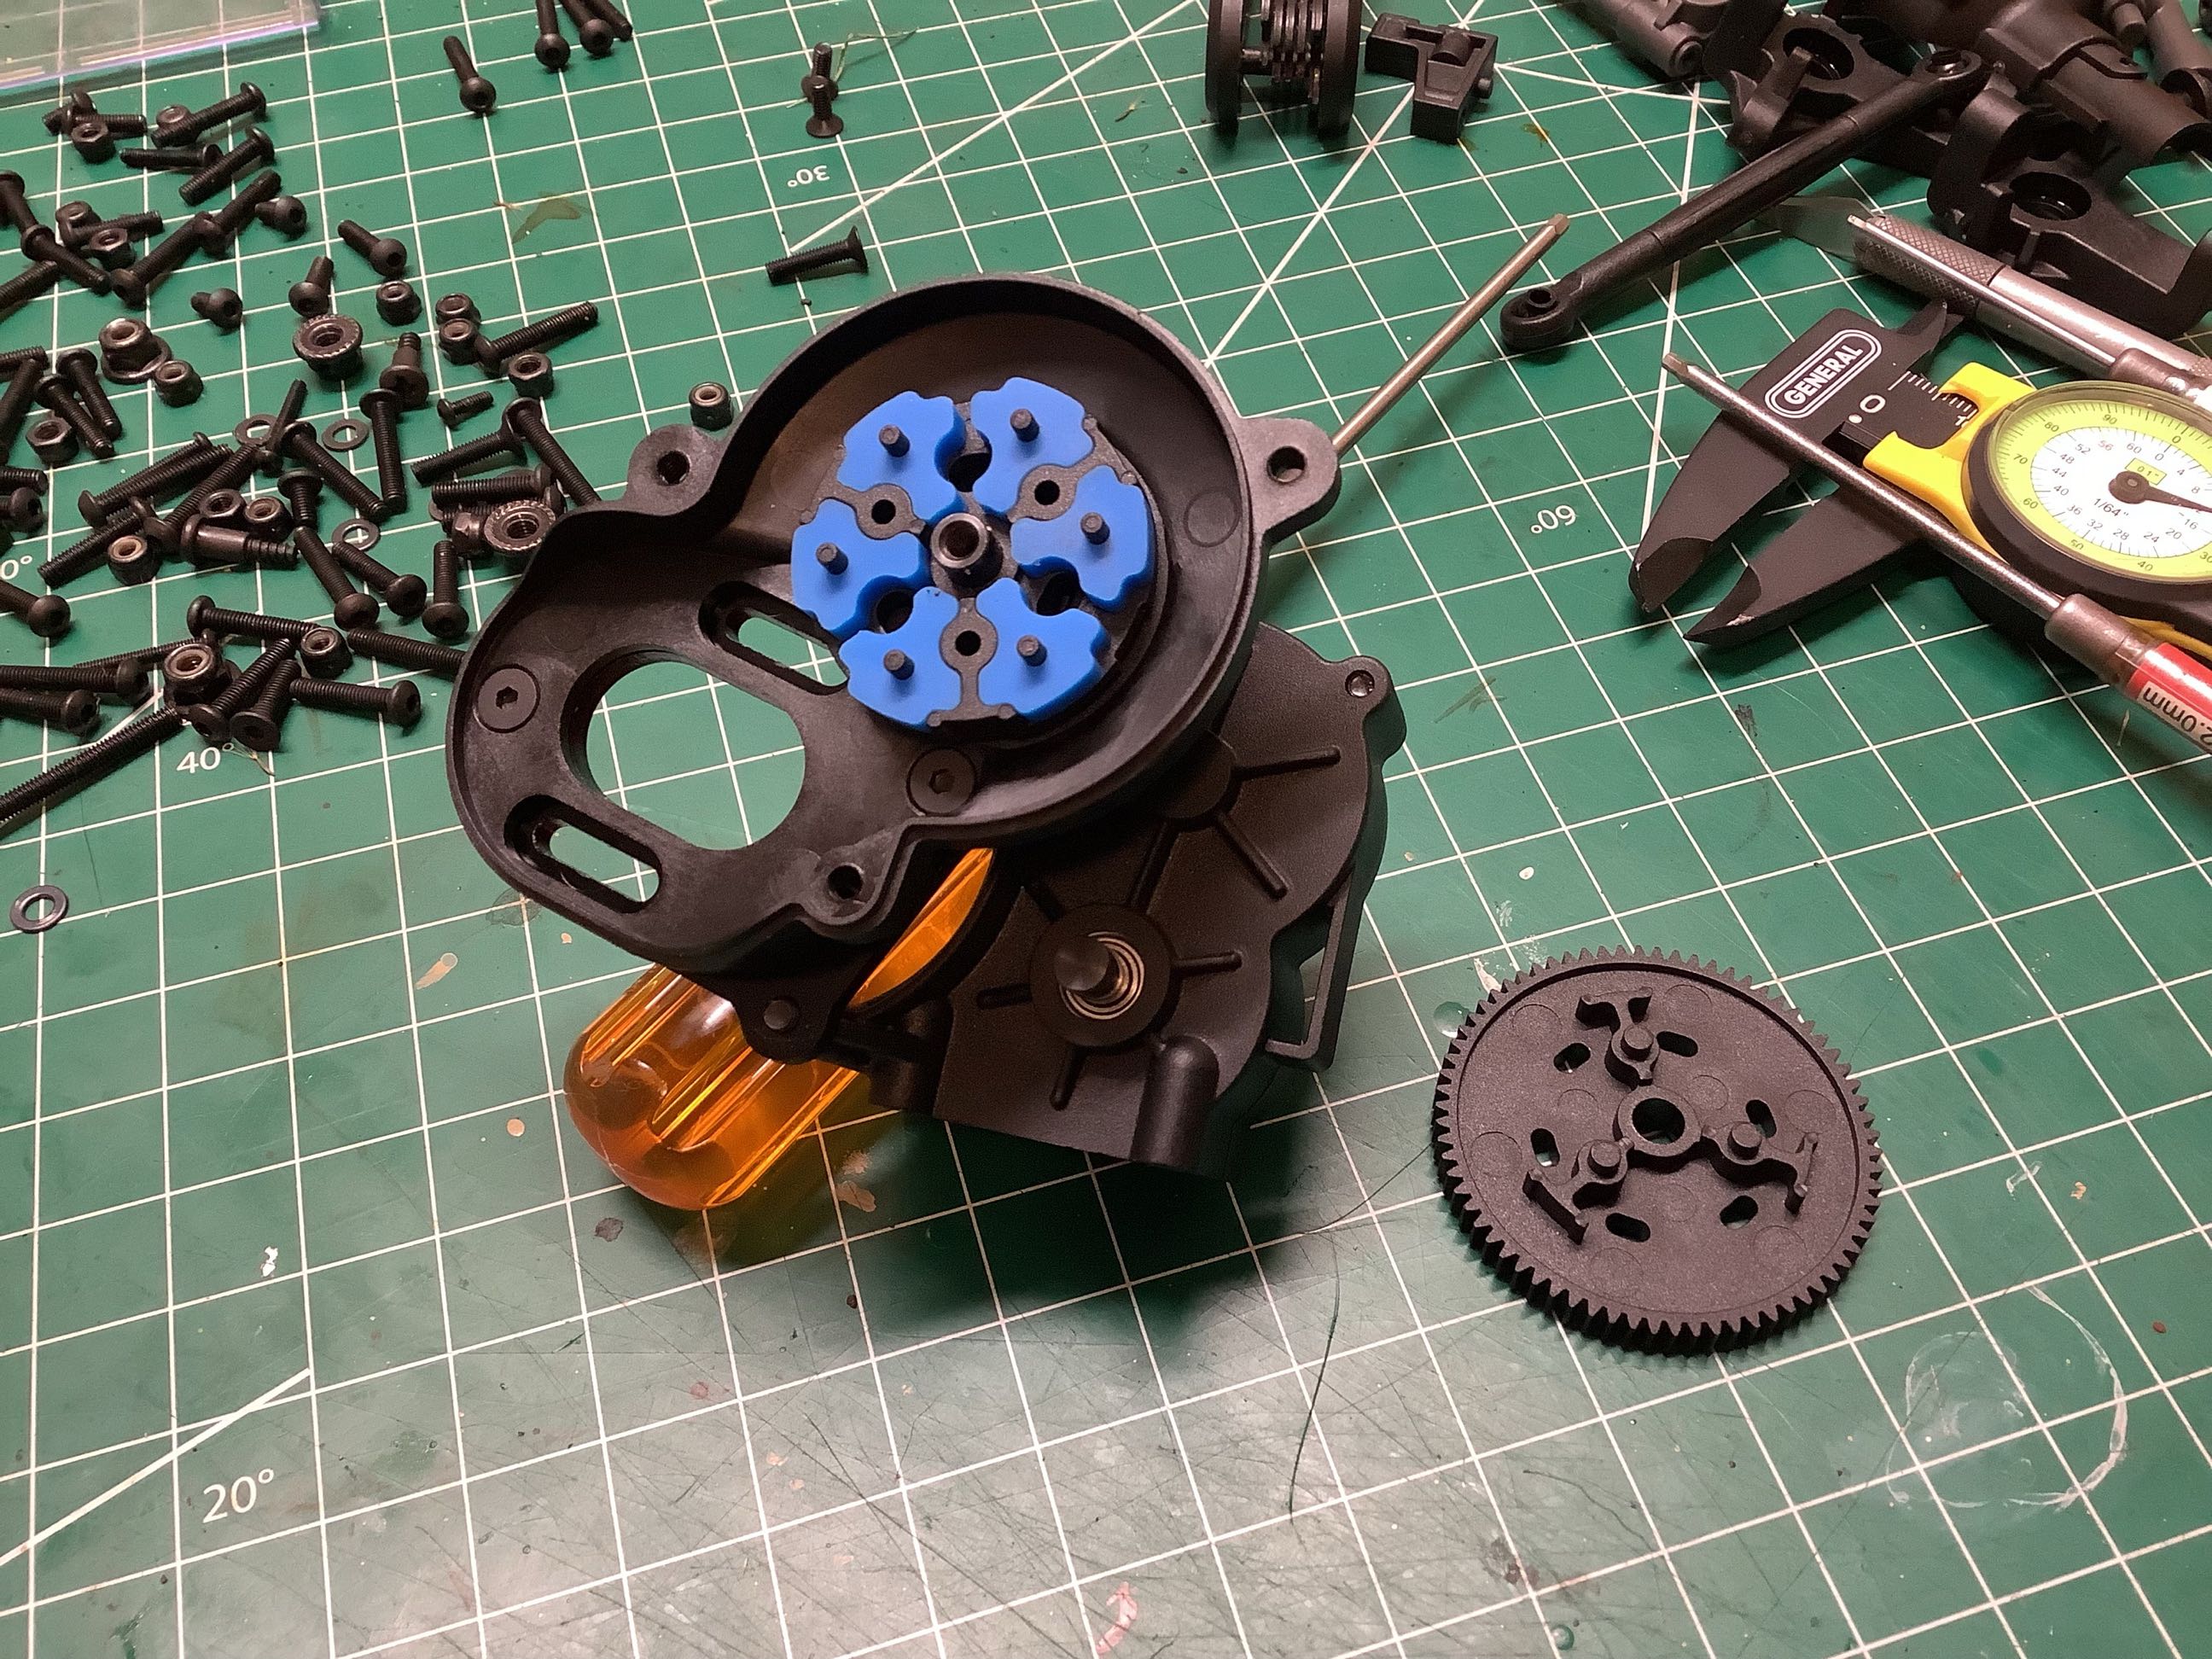
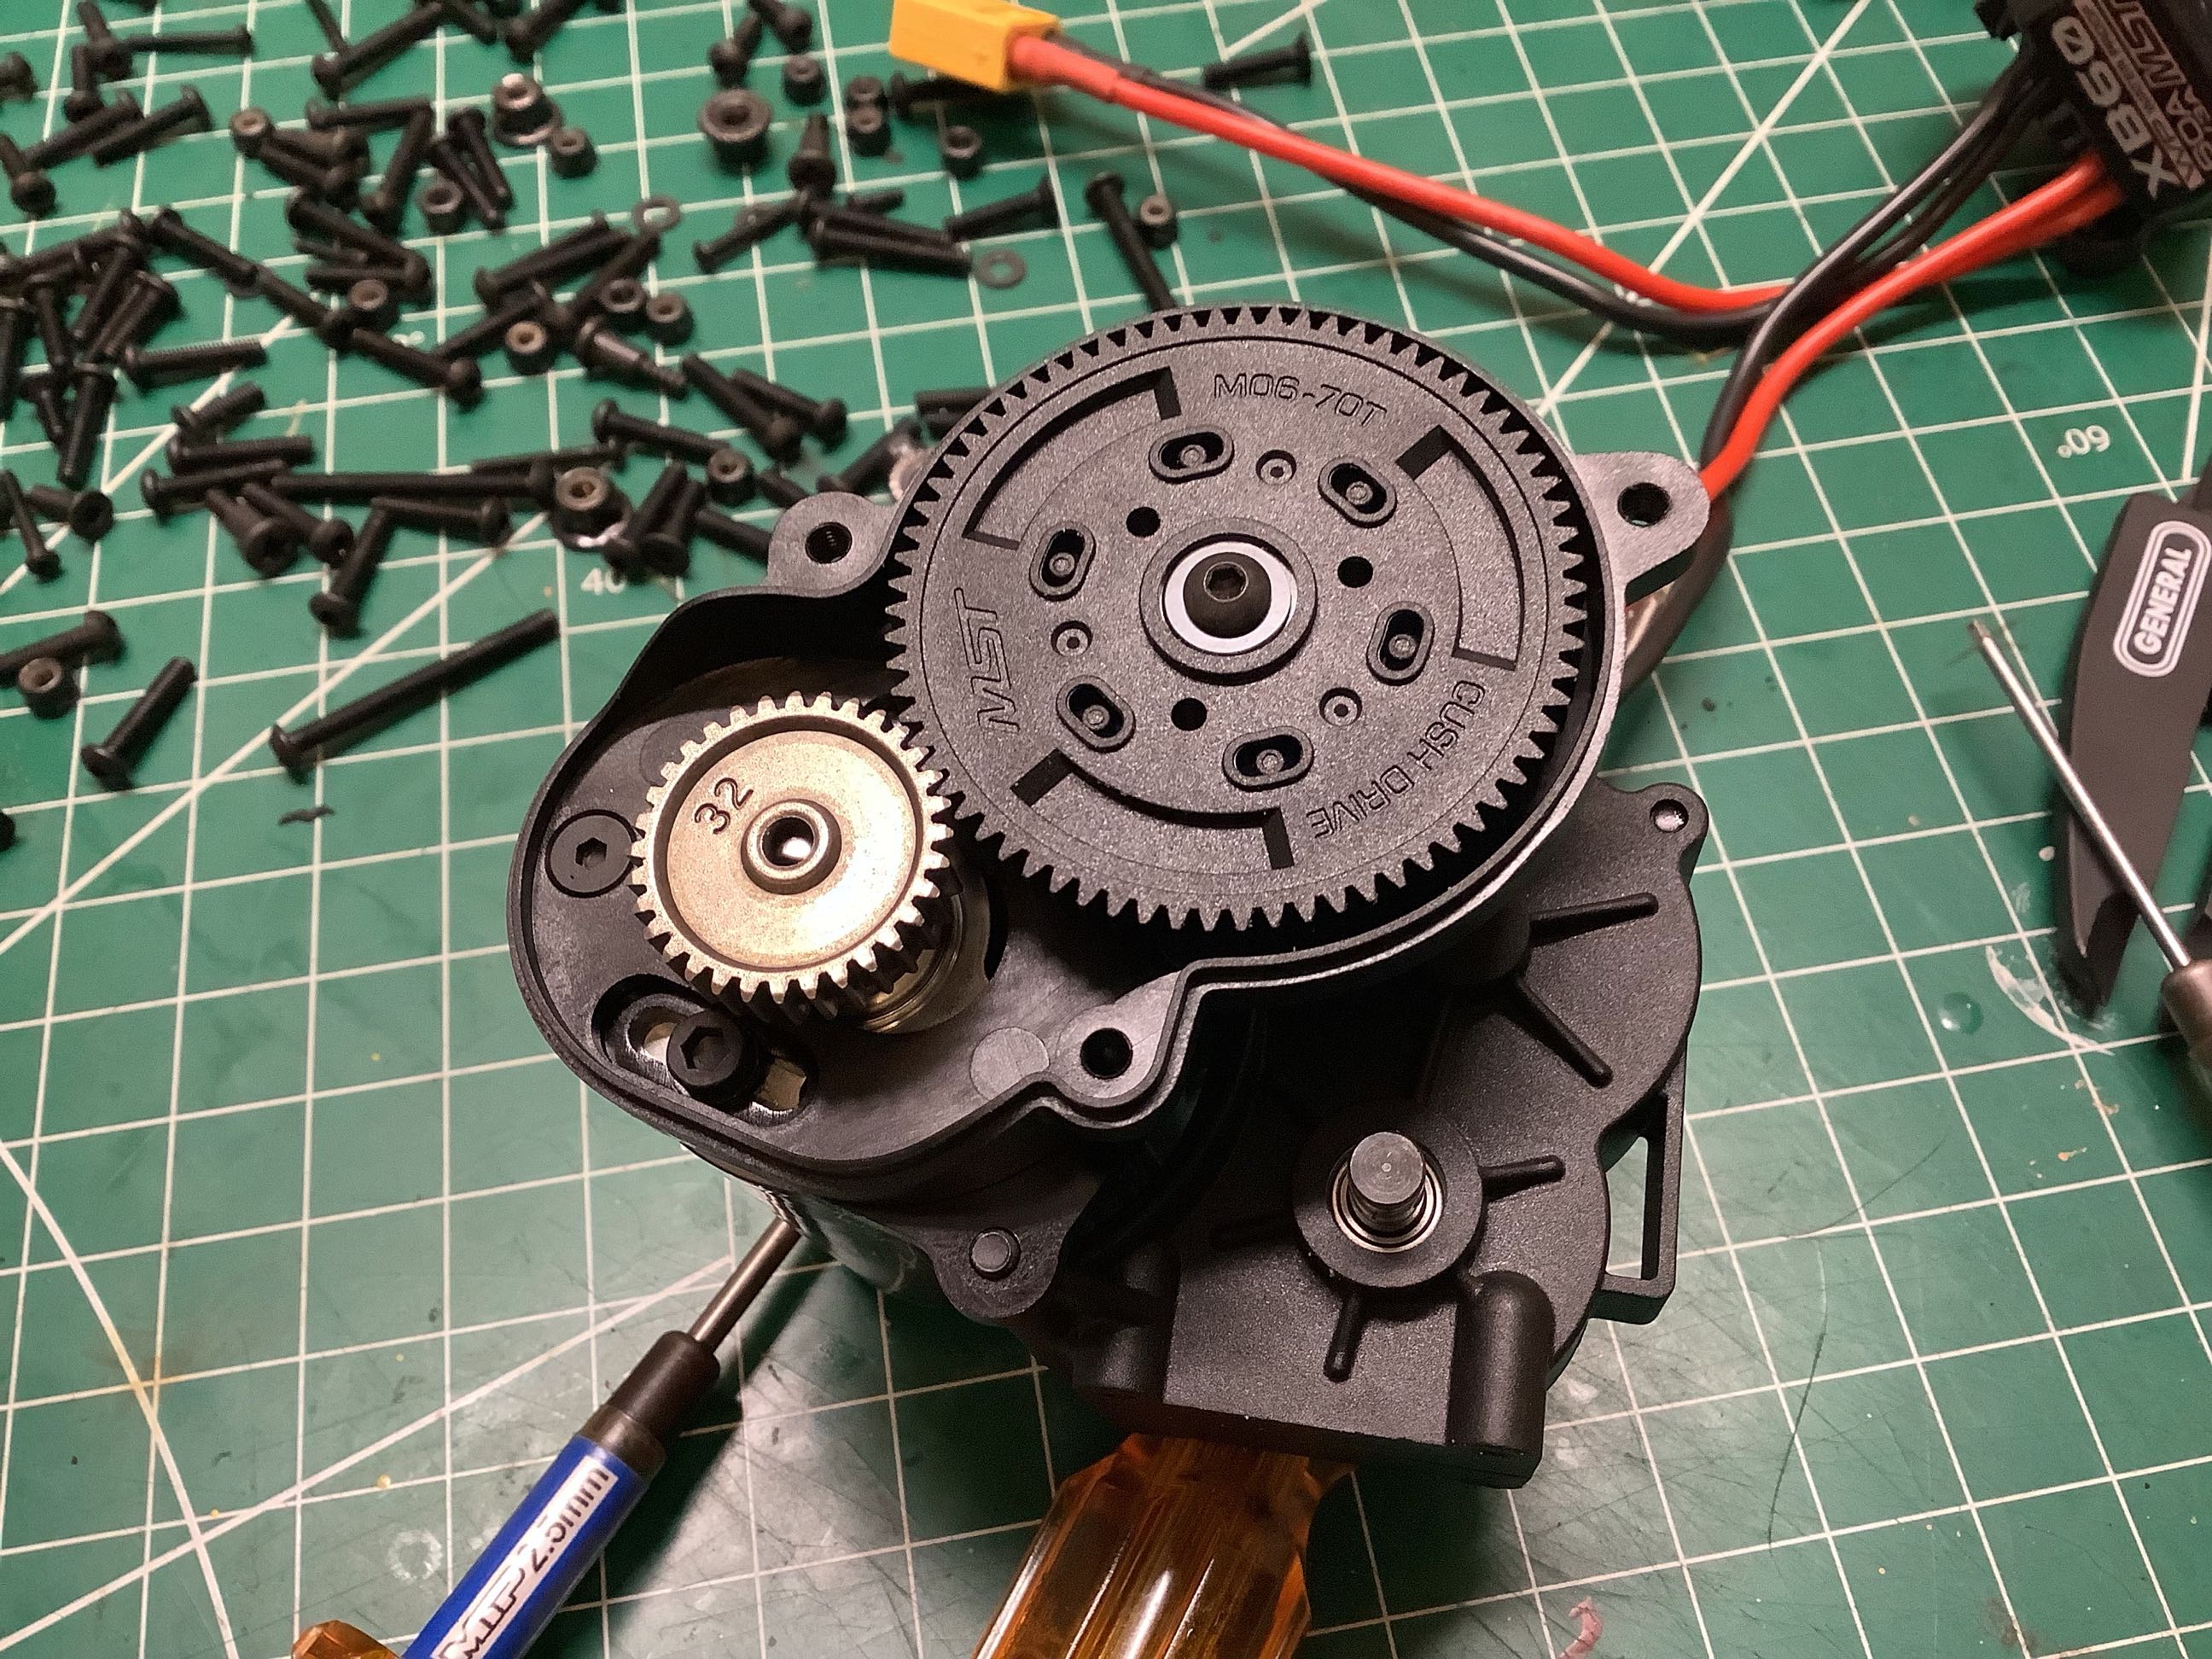
This model uses an interesting cushioning clutch system. The six blue segments shown on the left are soft, rubbery plastic. On the right you can see the plastic spur gear which sits over them. Looking closely, you can see the six small slots arranged radially around the central bearing. These allow the spur to rotate slightly relative to the gearbox shaft and thereby absorb impacts and reduce dynamic loading. This is not a slipper clutch since it can't move more than a couple of degrees and therefore won't protect from the stall torque of the motor, but it will cushion impacts. This model uses a 0.6 mod gear pitch which is pretty fine for a truck like this. 32p (0.8 mod) probably would have been more appropriate. With that said, I haven't had any problems.

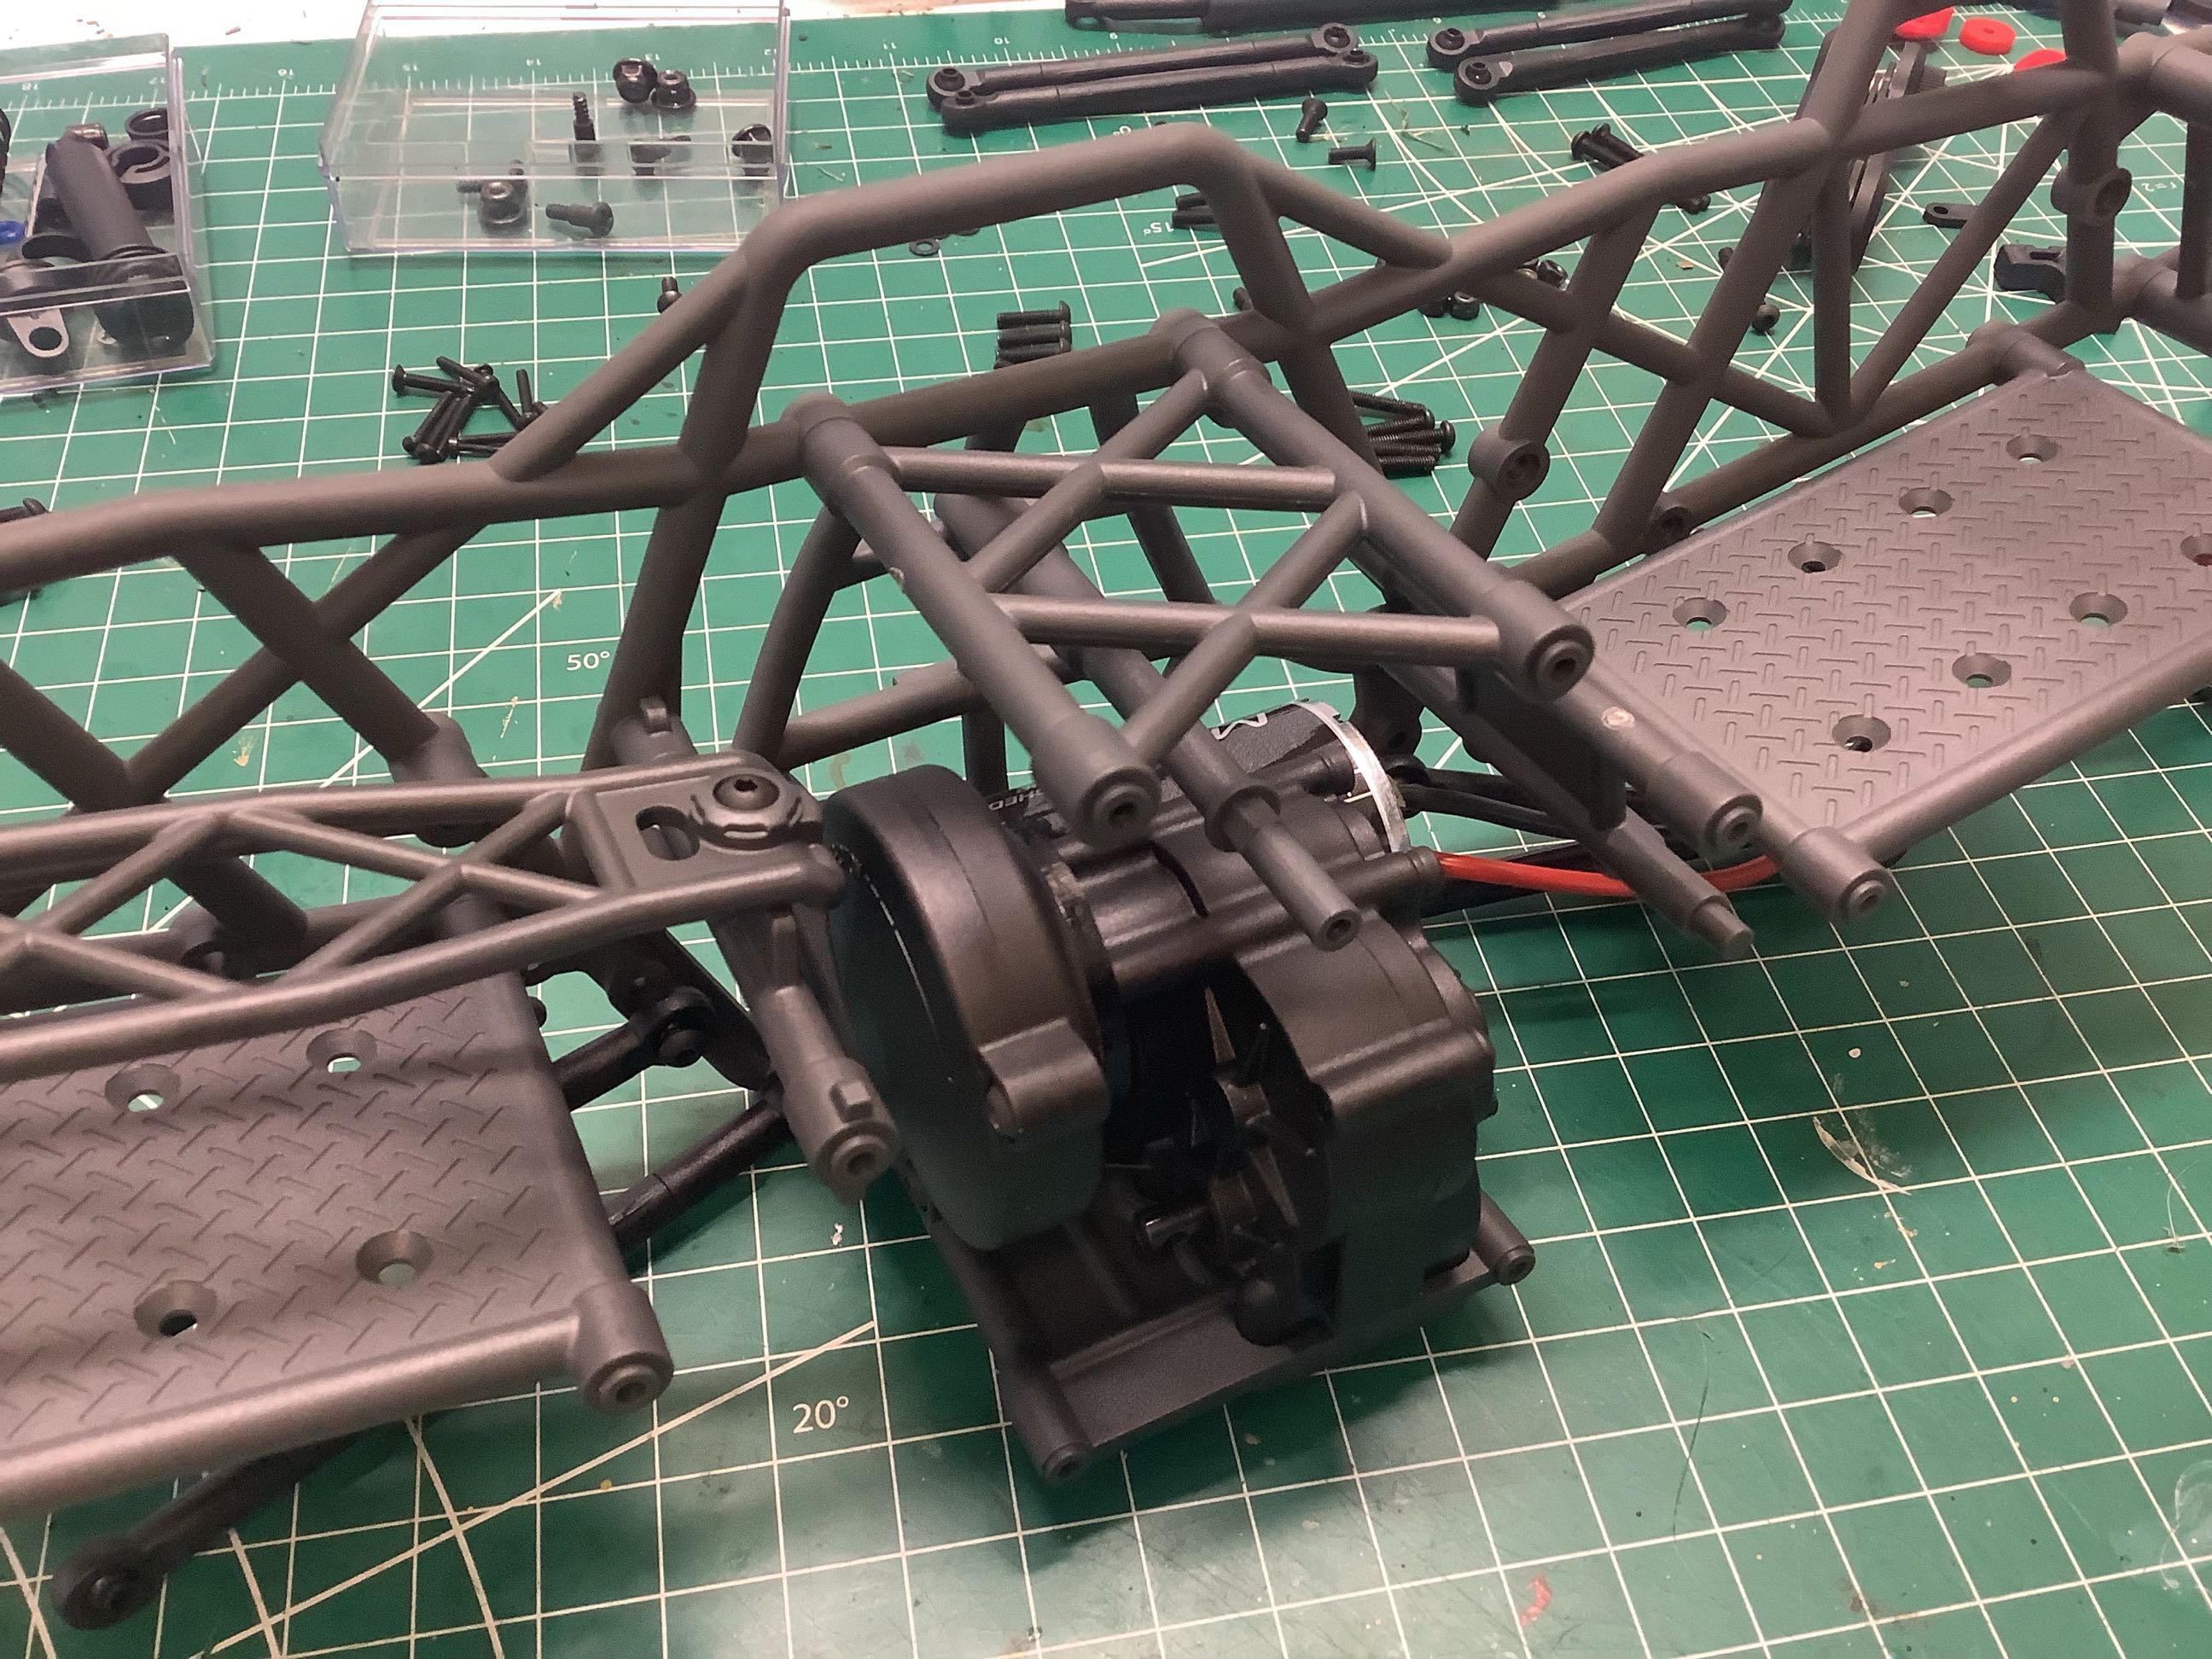
The gearbox has now been completed and attached to the skid plate. The gear cover is closed and everything is contained and protected. There are front and rear outputs from the gearbox even though the model is currently 2WD.

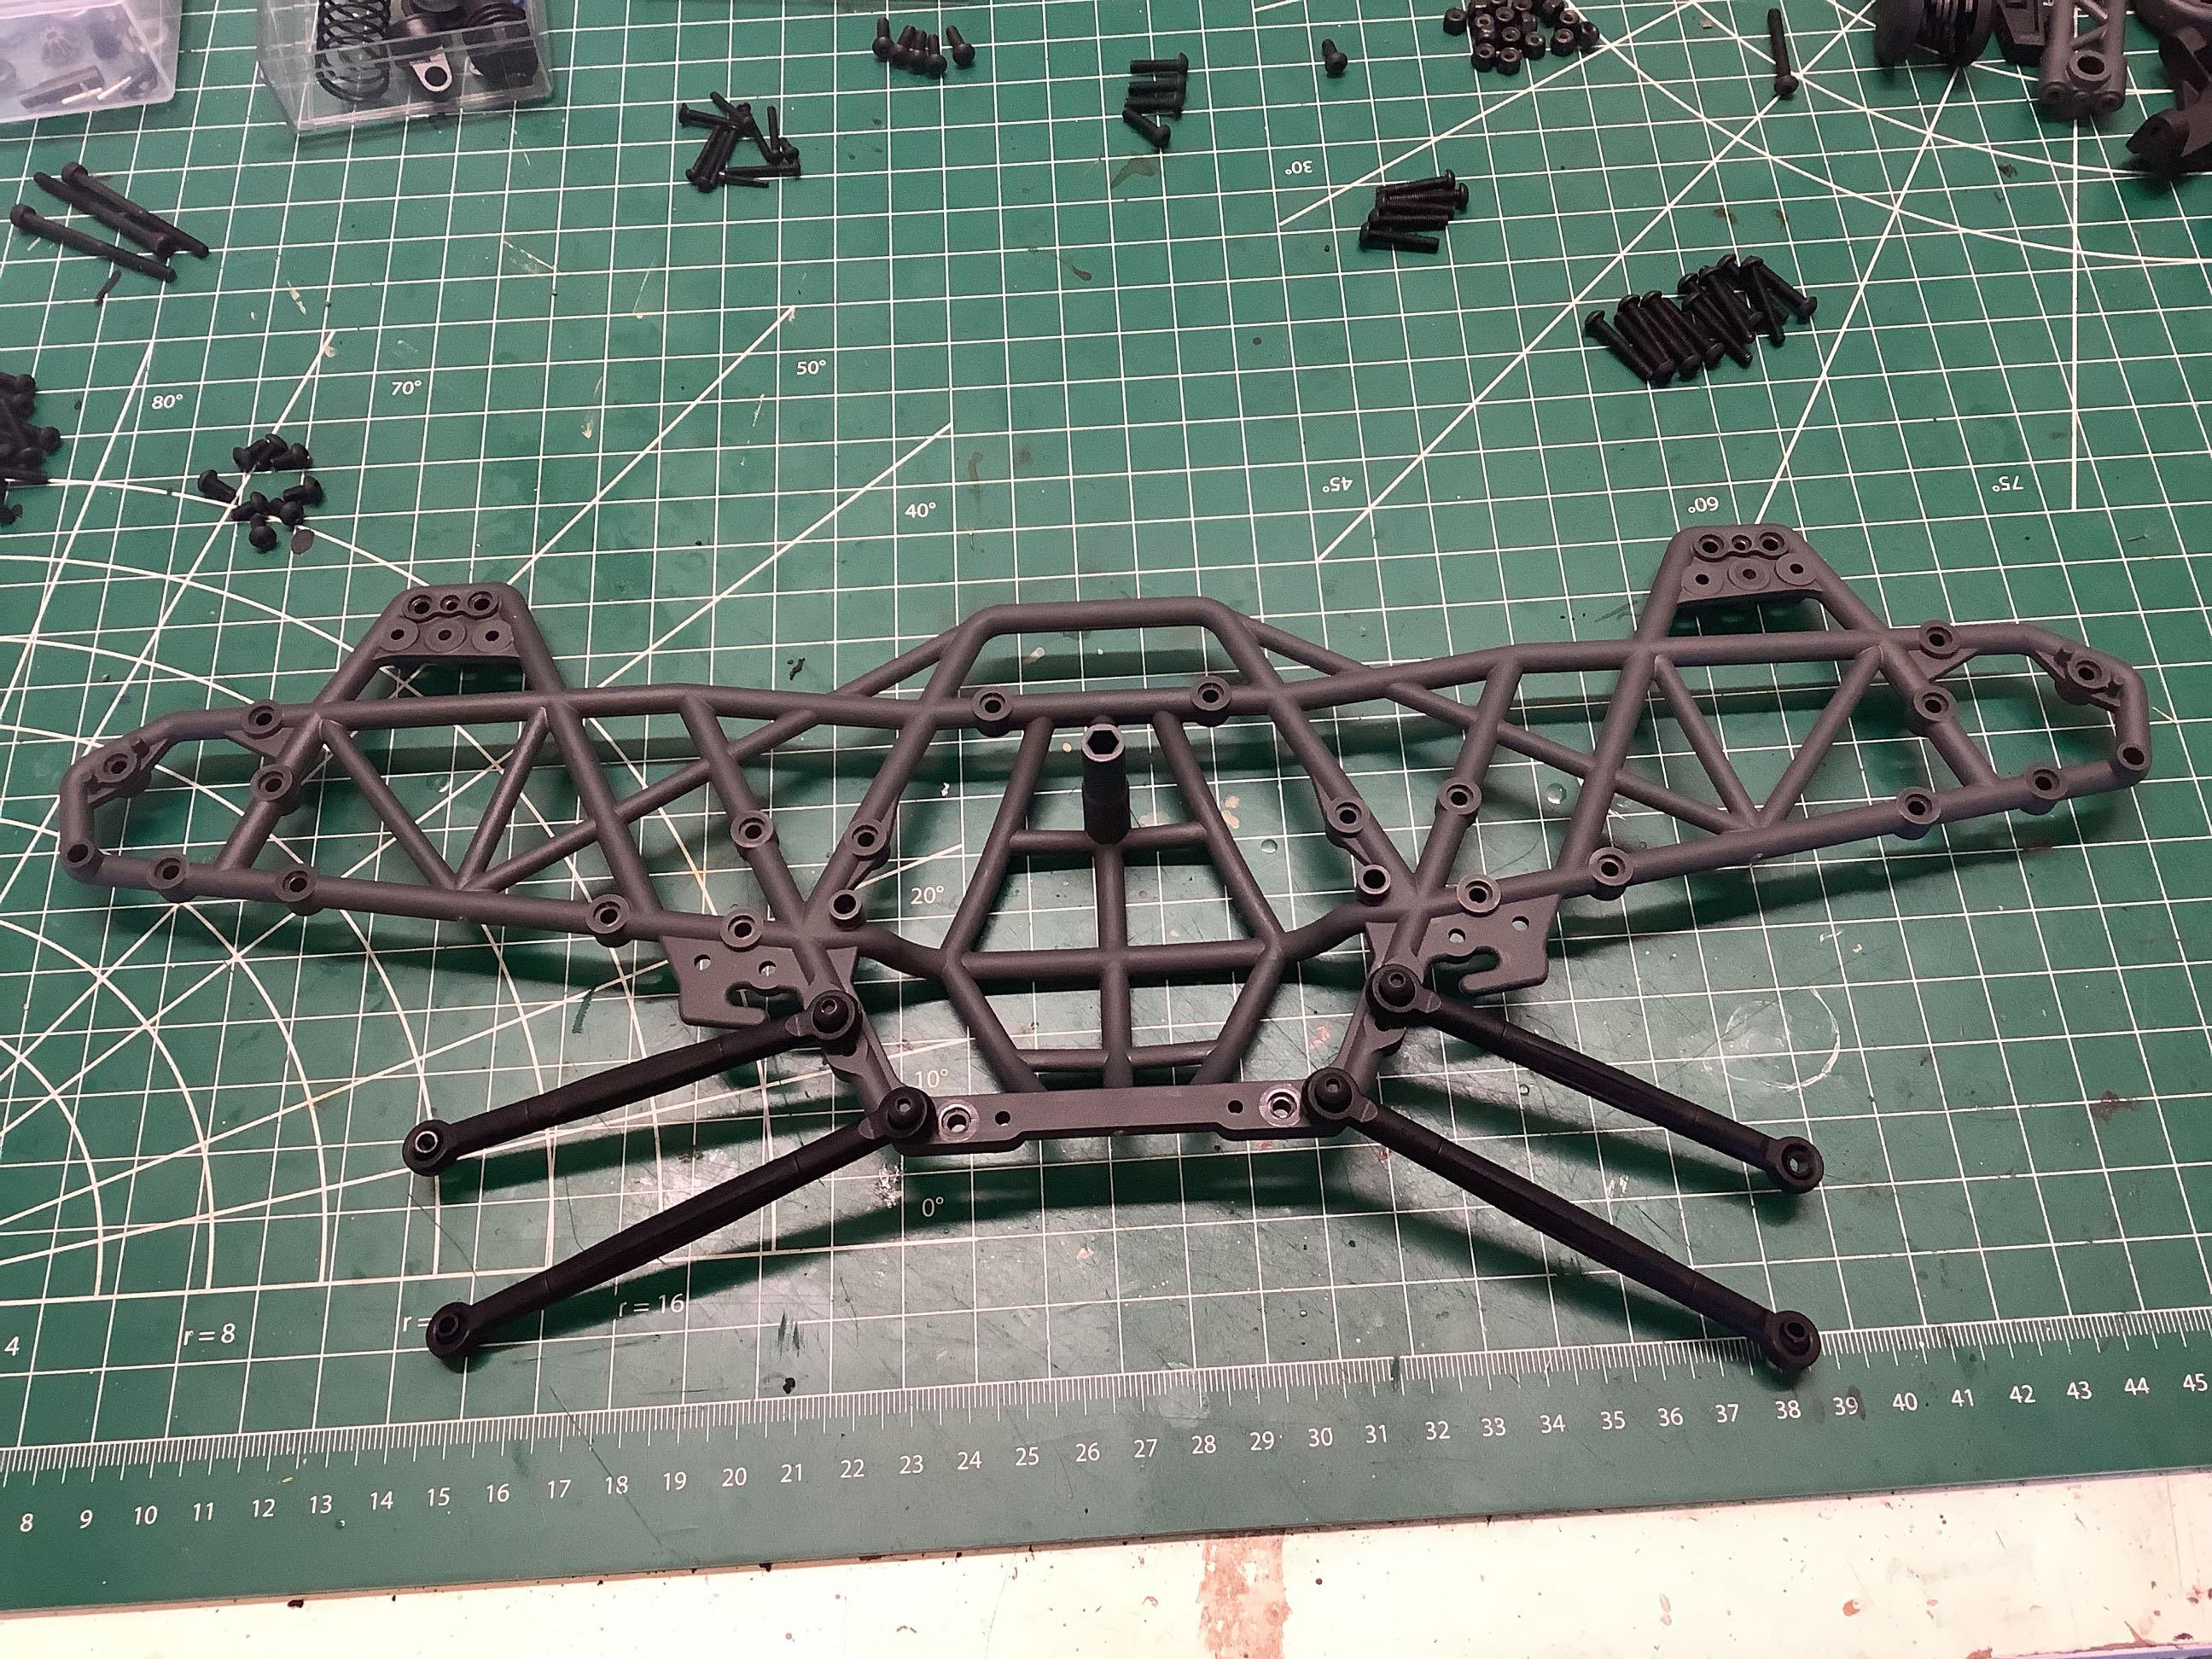
I didn't bother taking the links apart so these 10 links are ready to go. There is no panhard bar because this is a servo on axle configuration. The frame consists of two single piece side cages, one of which is shown on the left with the links attached.
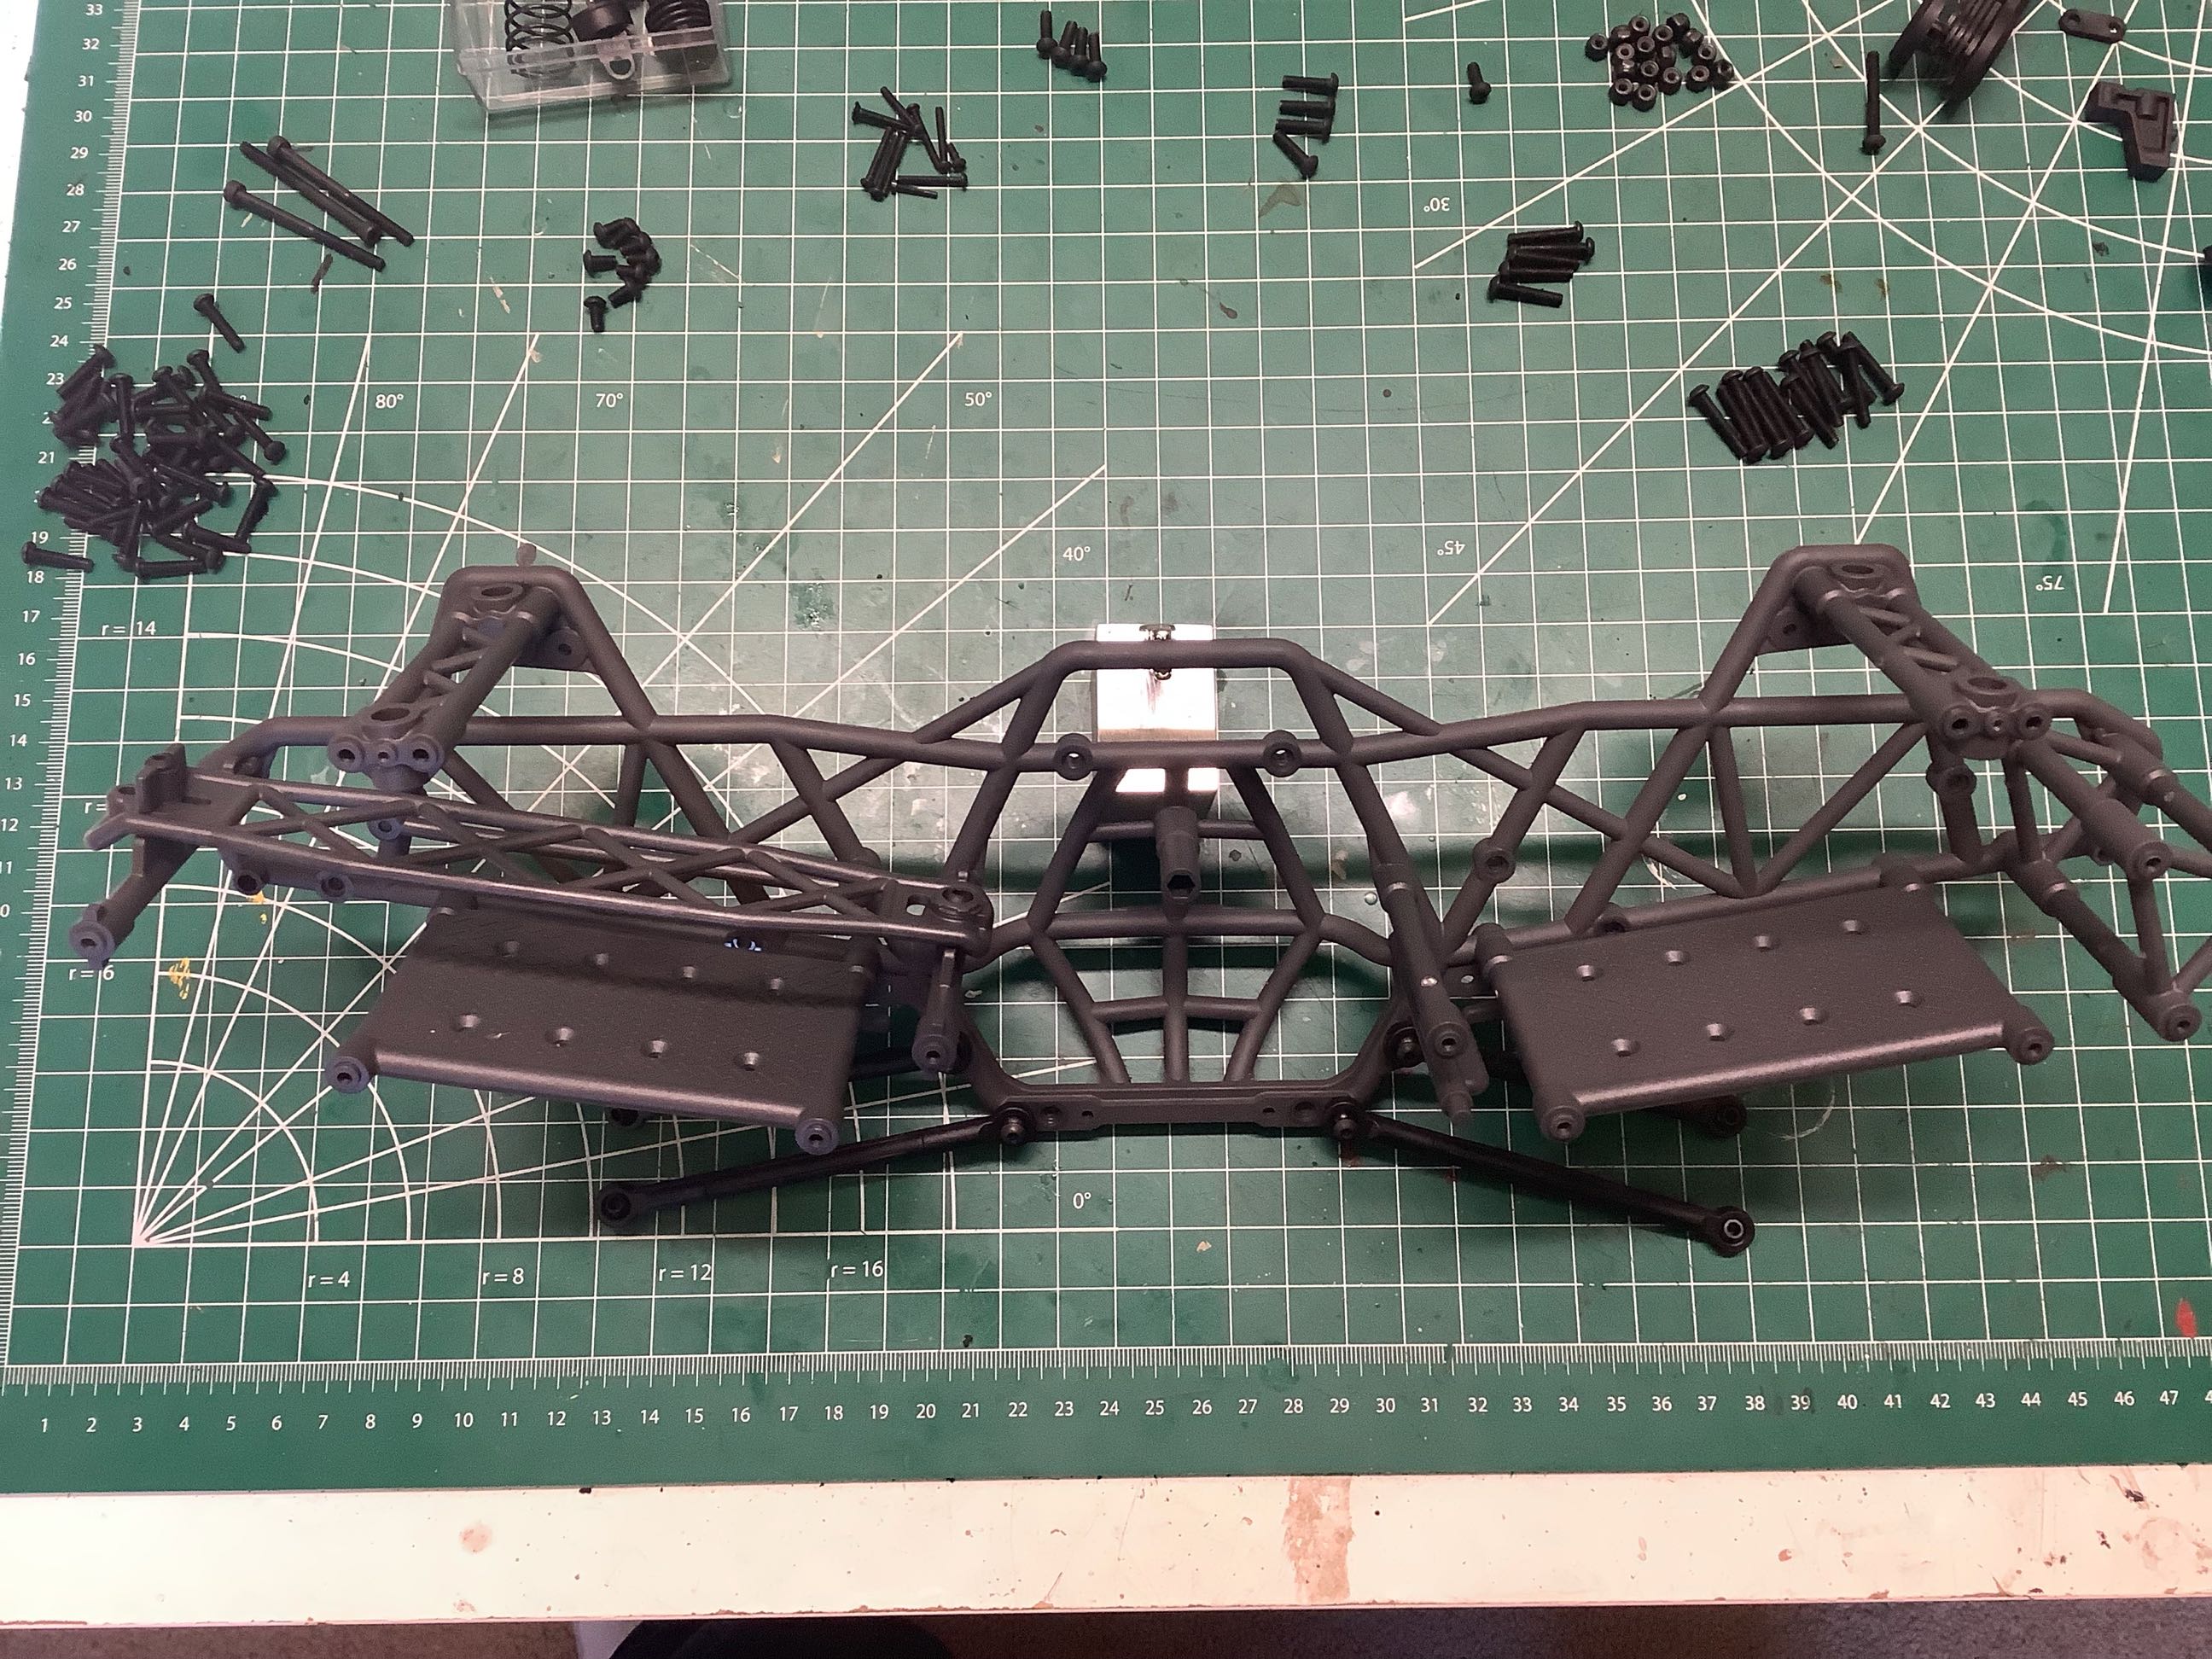
This is a symmetric frame both front-rear and left-right. The same tray is used both in the front and rear, but in the rear it is a battery tray while in front it is an electronics tray. The battery hold down bar is only in the back. On the right the skid plate and transmission have been installed.
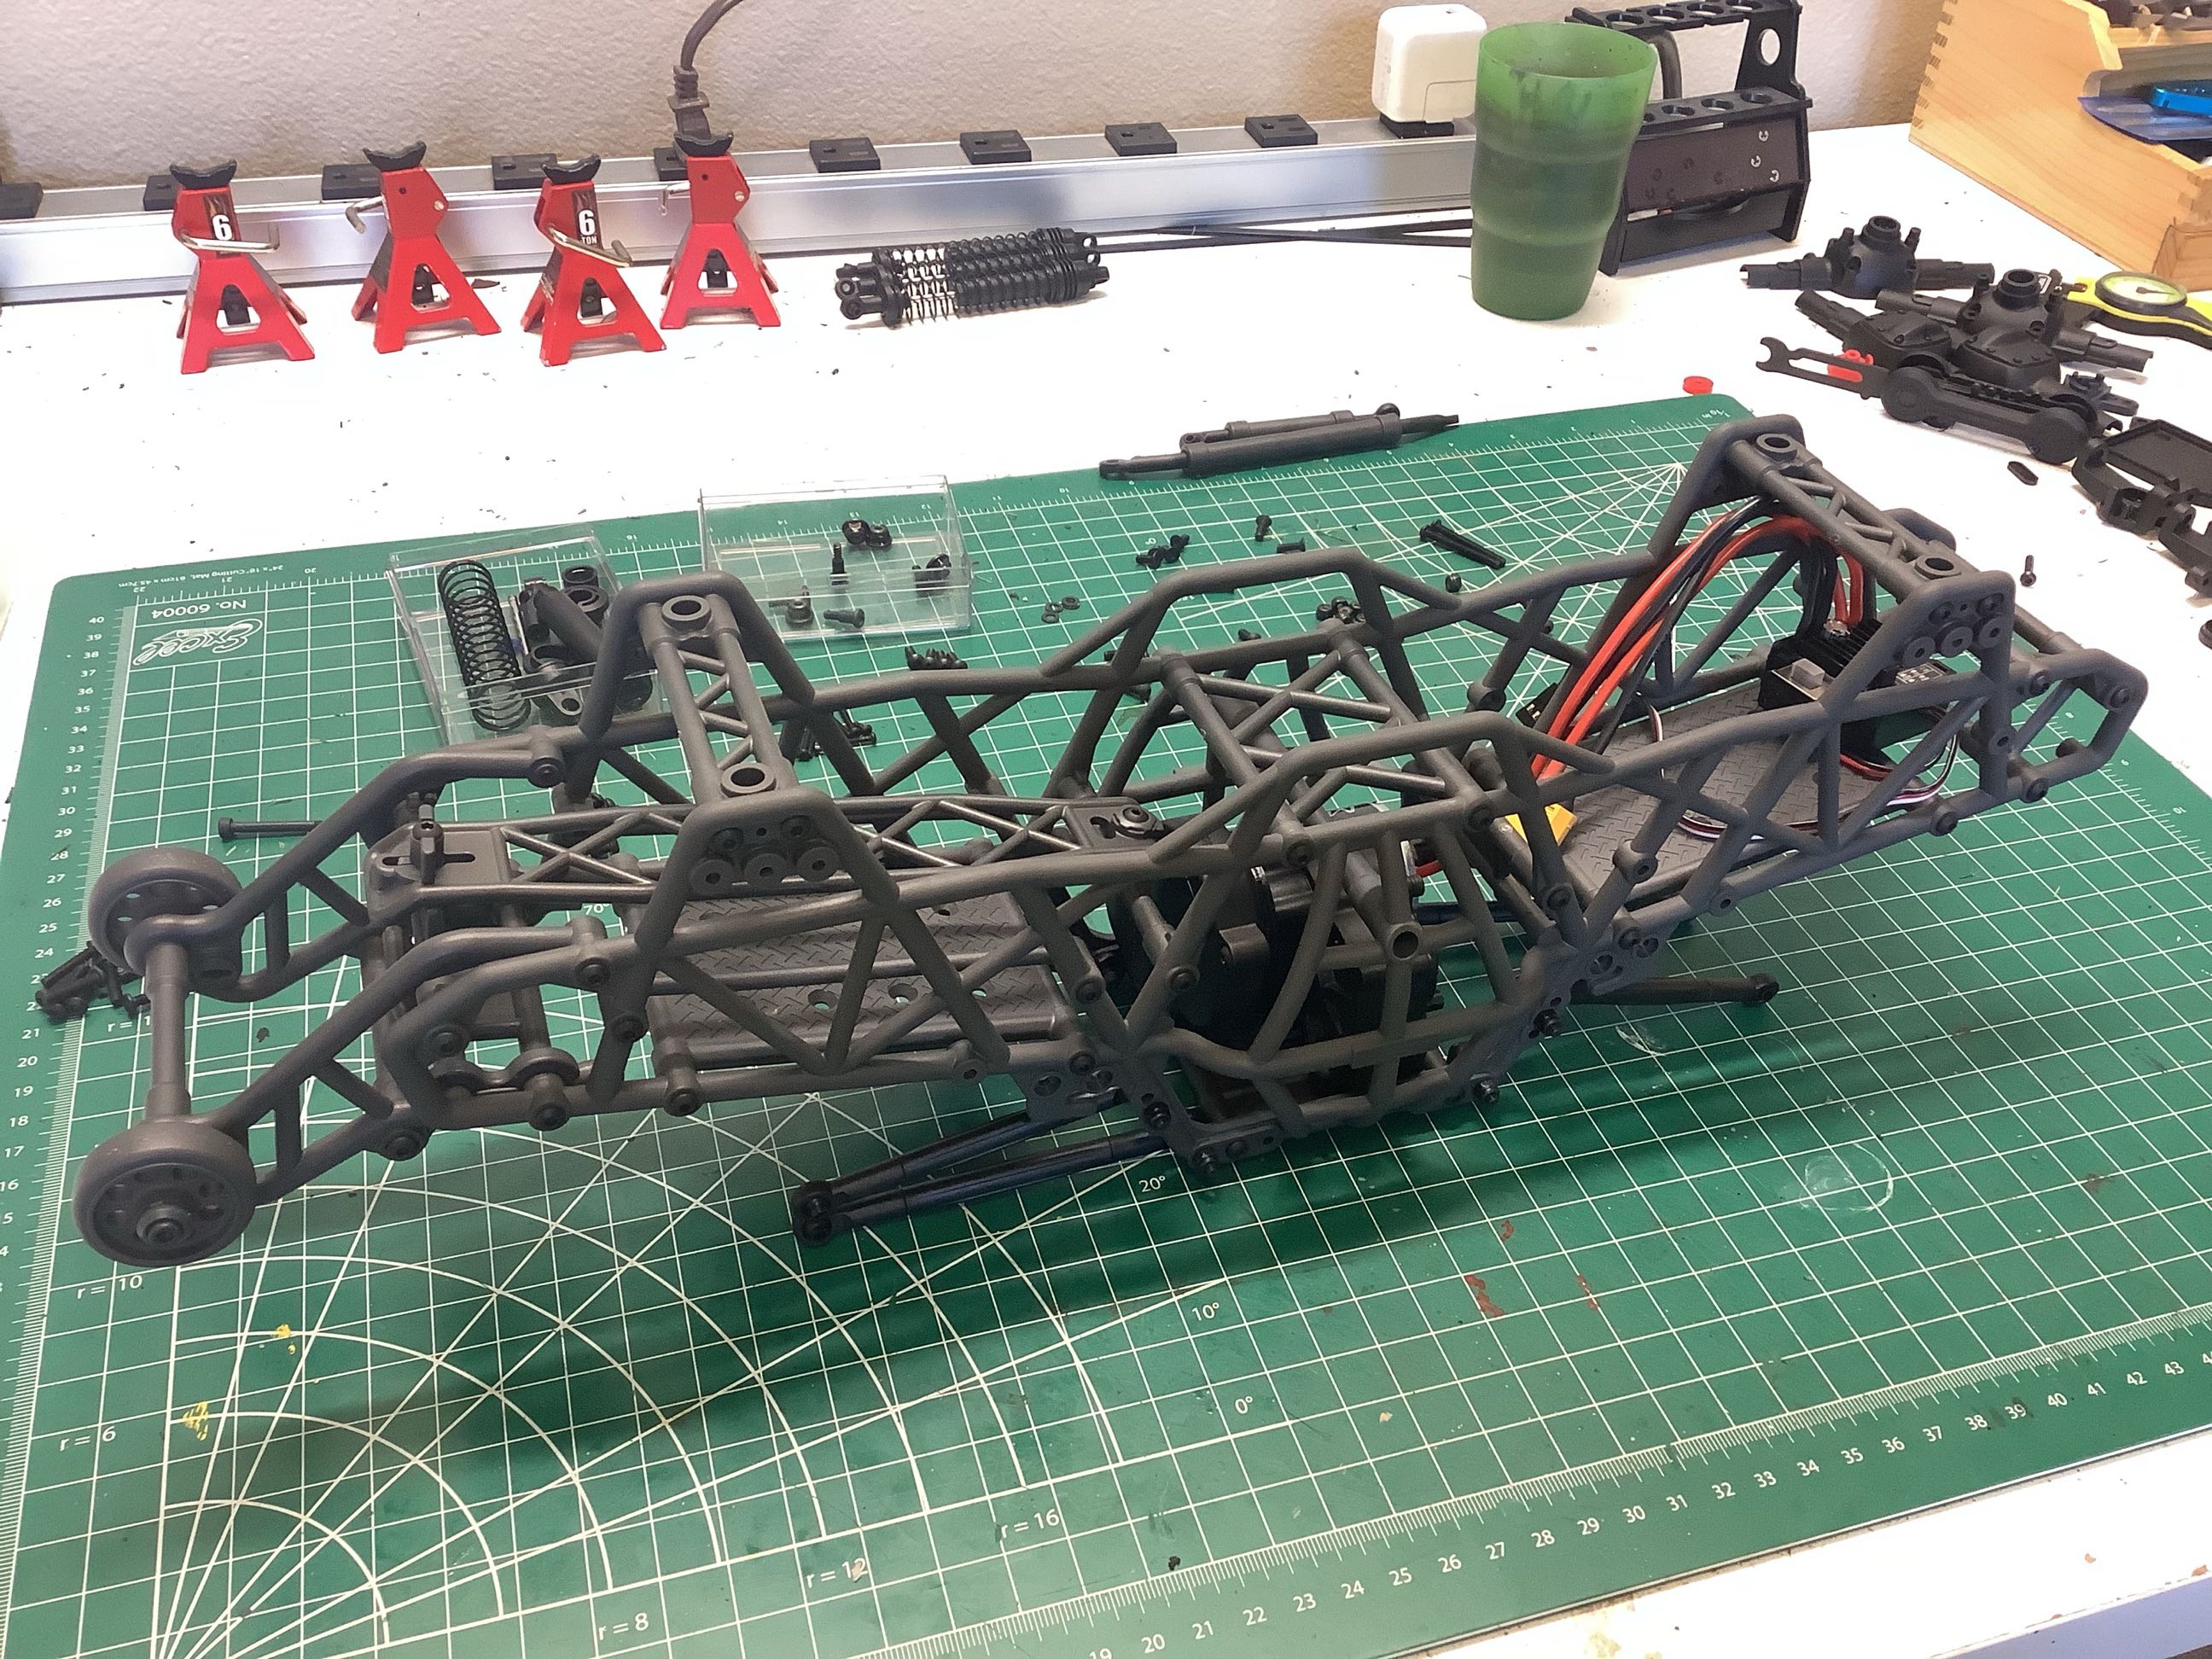
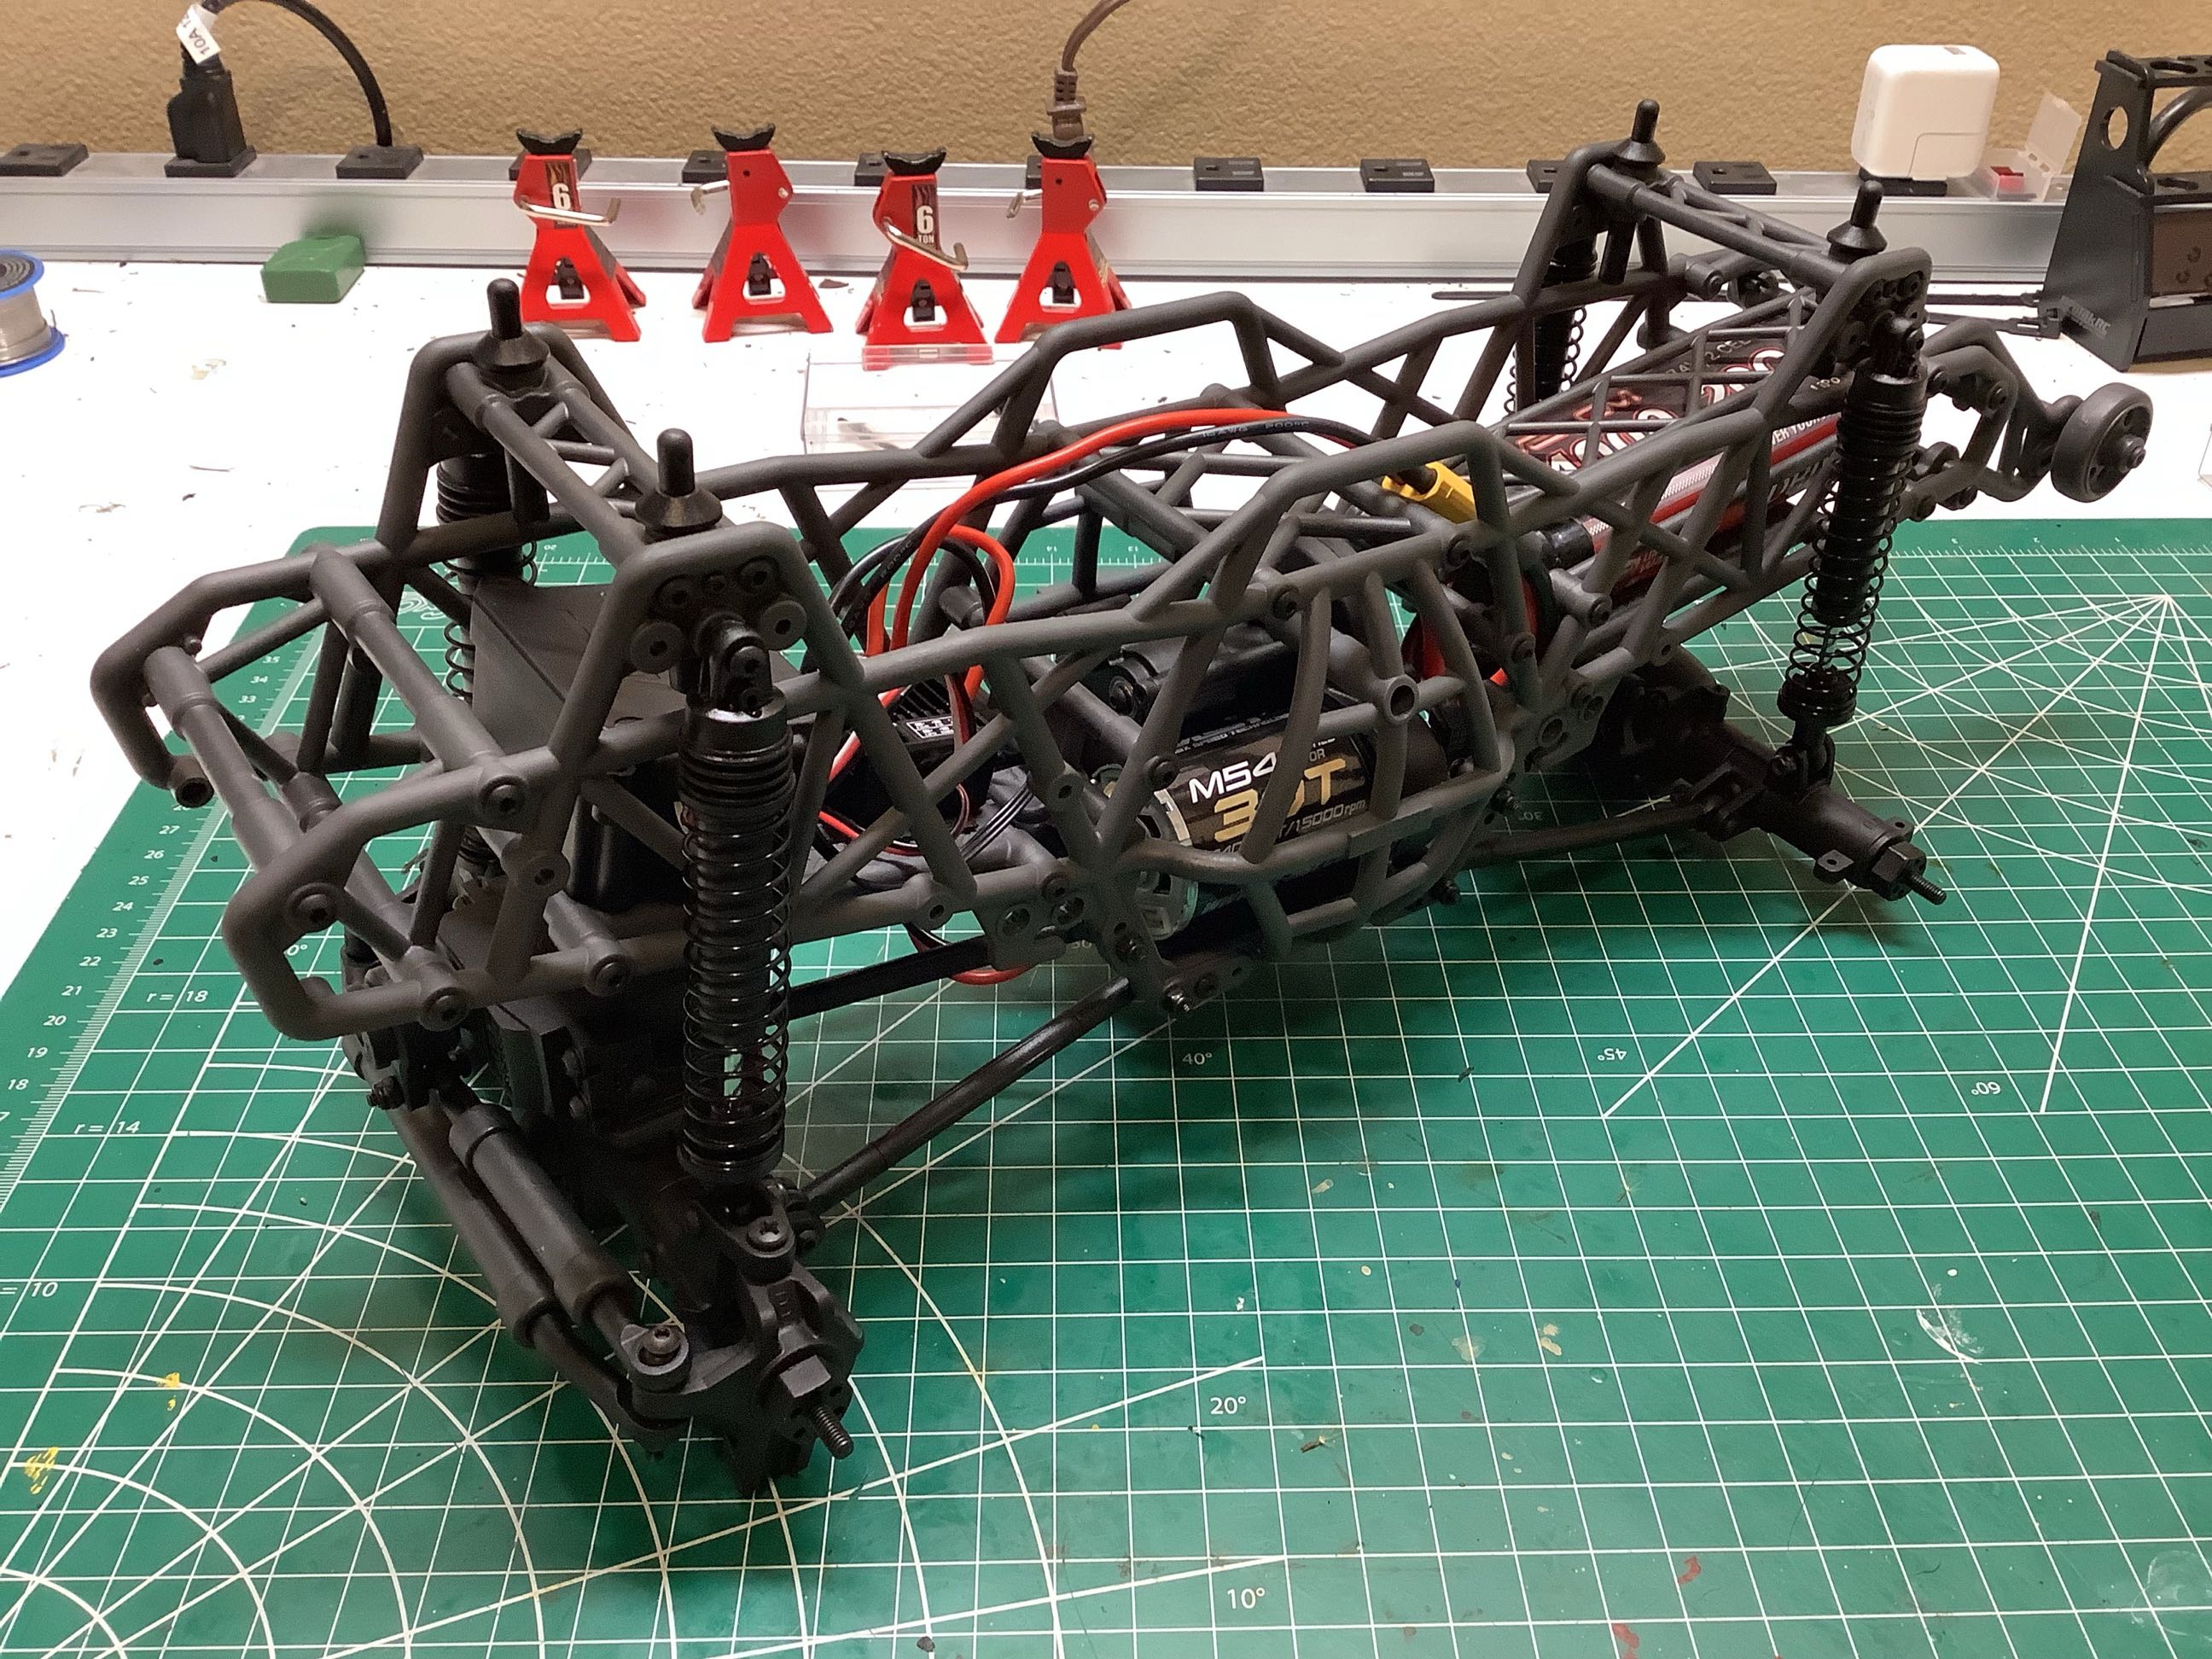
Here I've installed the wheelie bar which finally makes it pretty clear which end is the rear. On the right you can see the completed chassis frame.
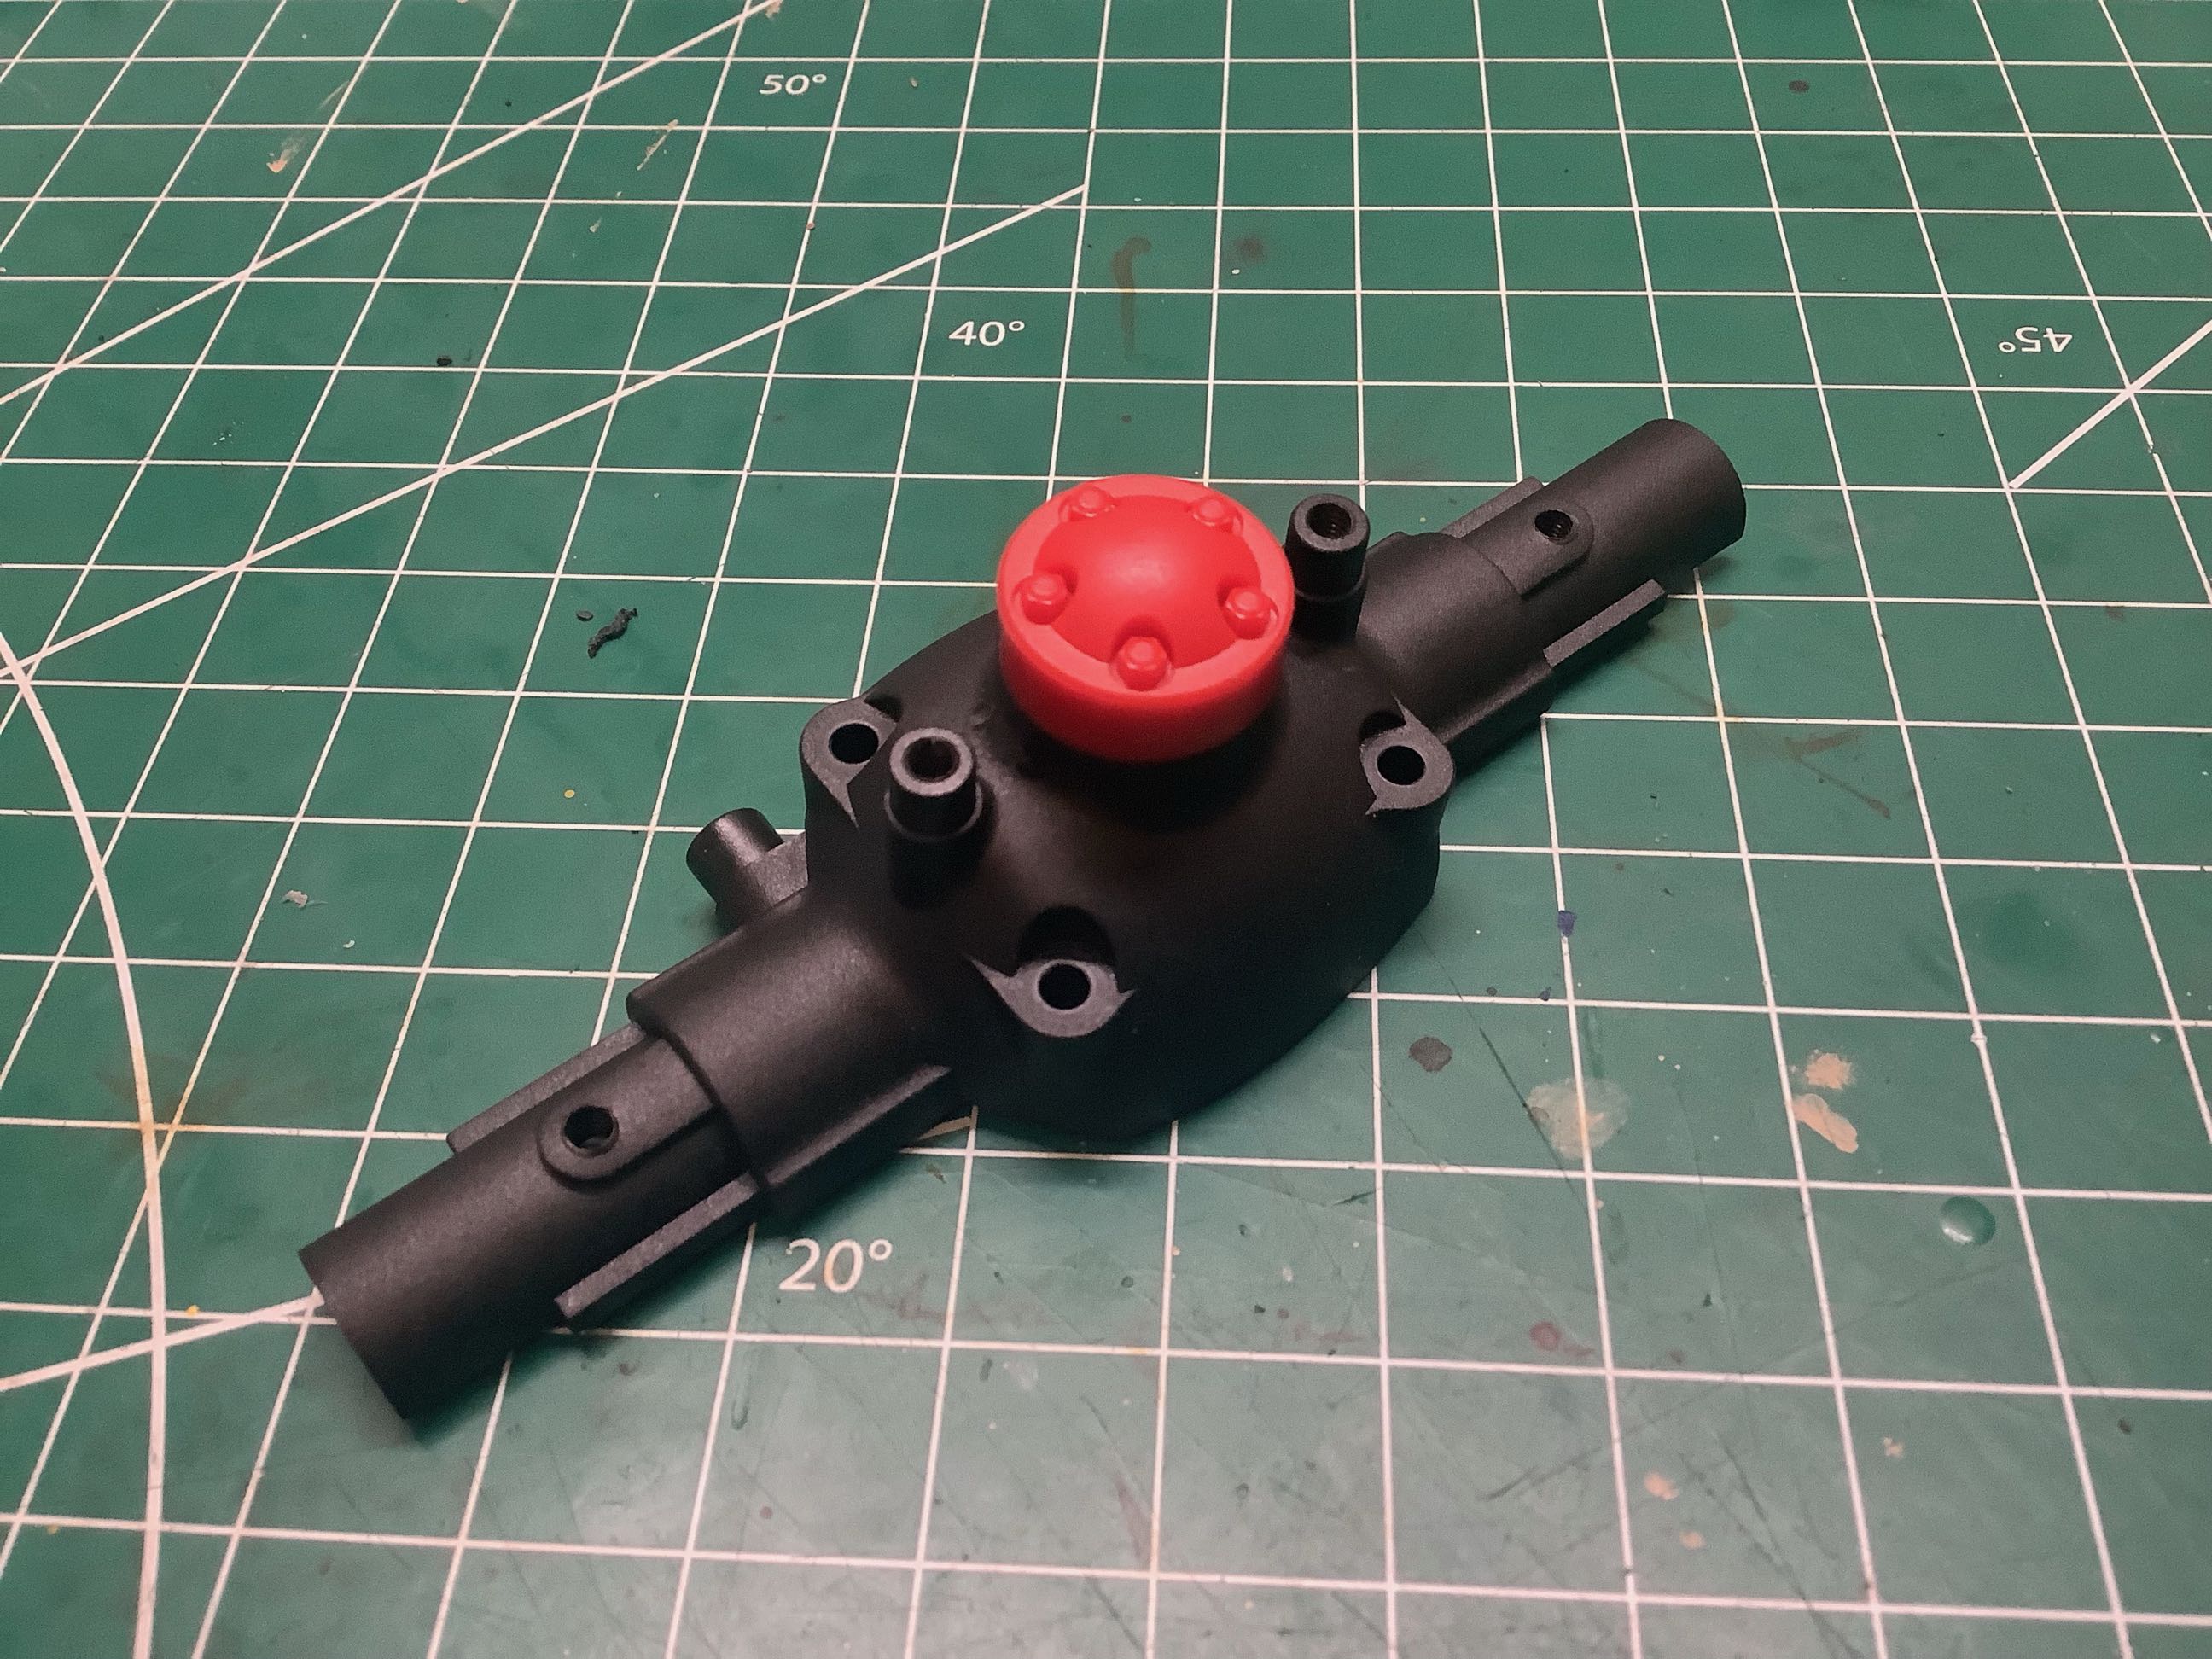
Time to do the axles. The front axle is just an empty housing. It is provisioned for 4WD, but there is nothing inside. The red cap covers the unused pinion input. On the right you can see the C-hubs attached.
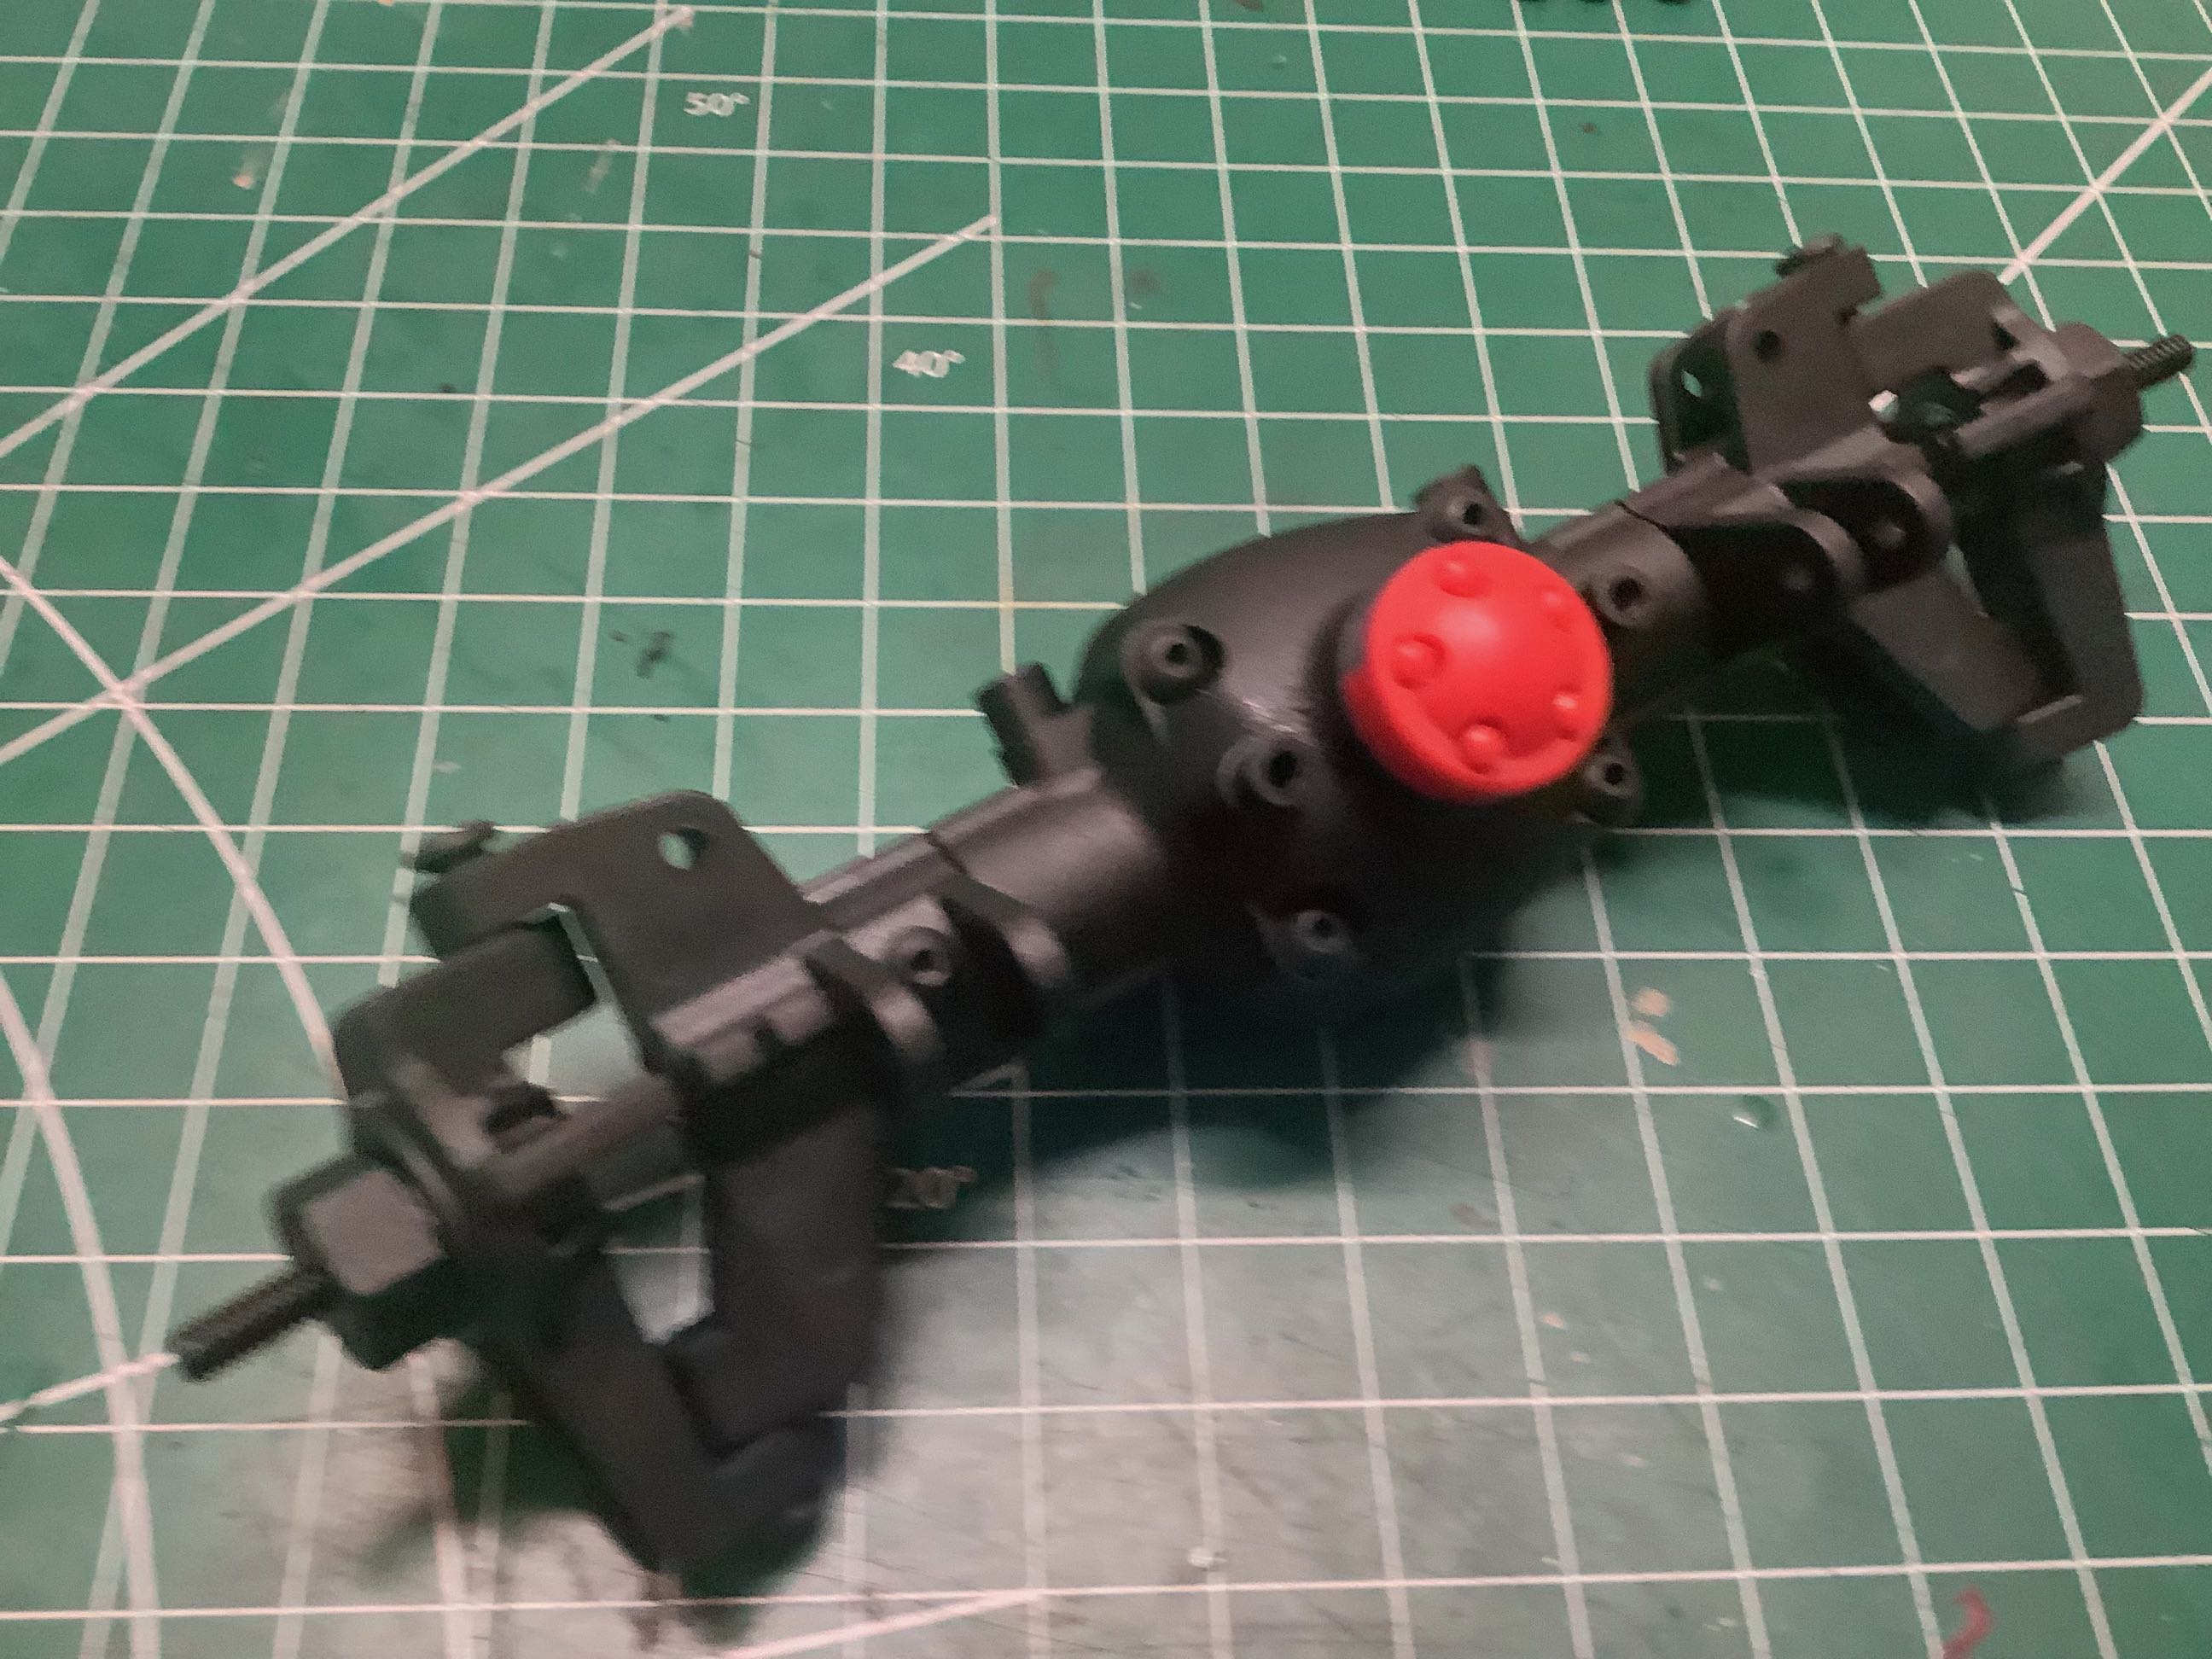

Here I've added the steering knuckles as well as the link brackets. On the right I've also installed the steering servo tray.
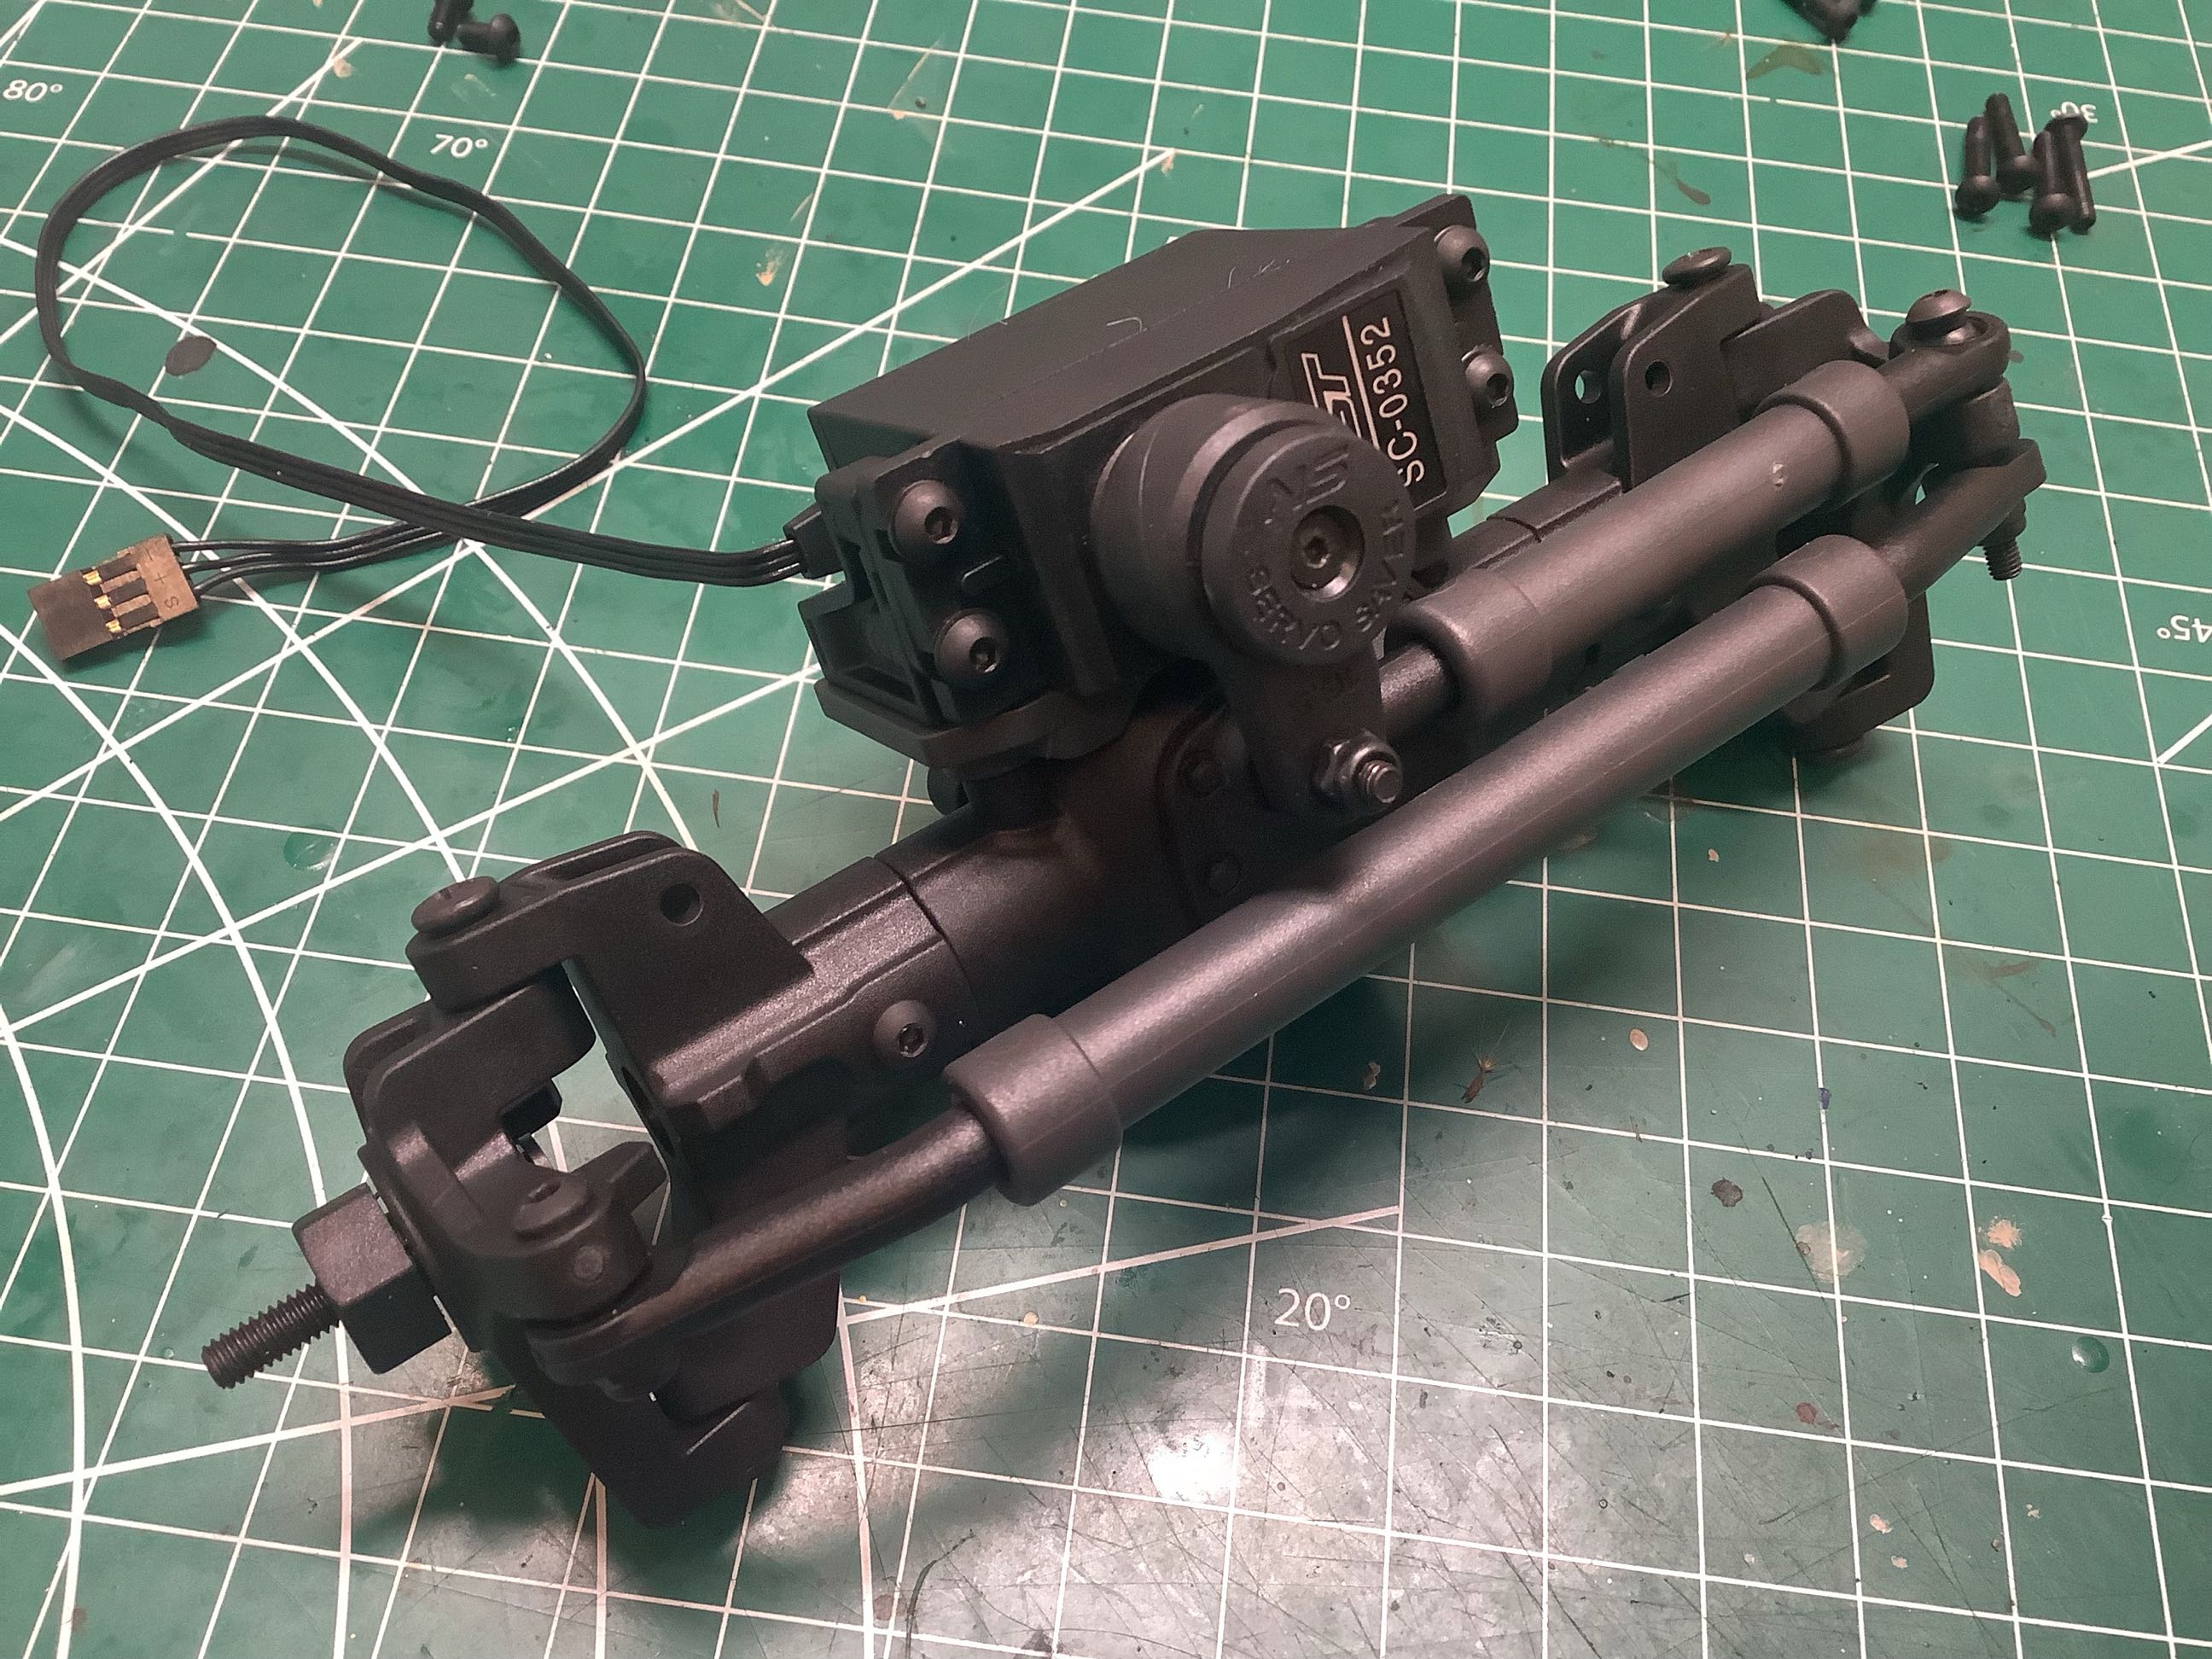
Now the stock servo has been installed along with the useless servo saver. The steering links look like telescoping units, but they are actually solid.
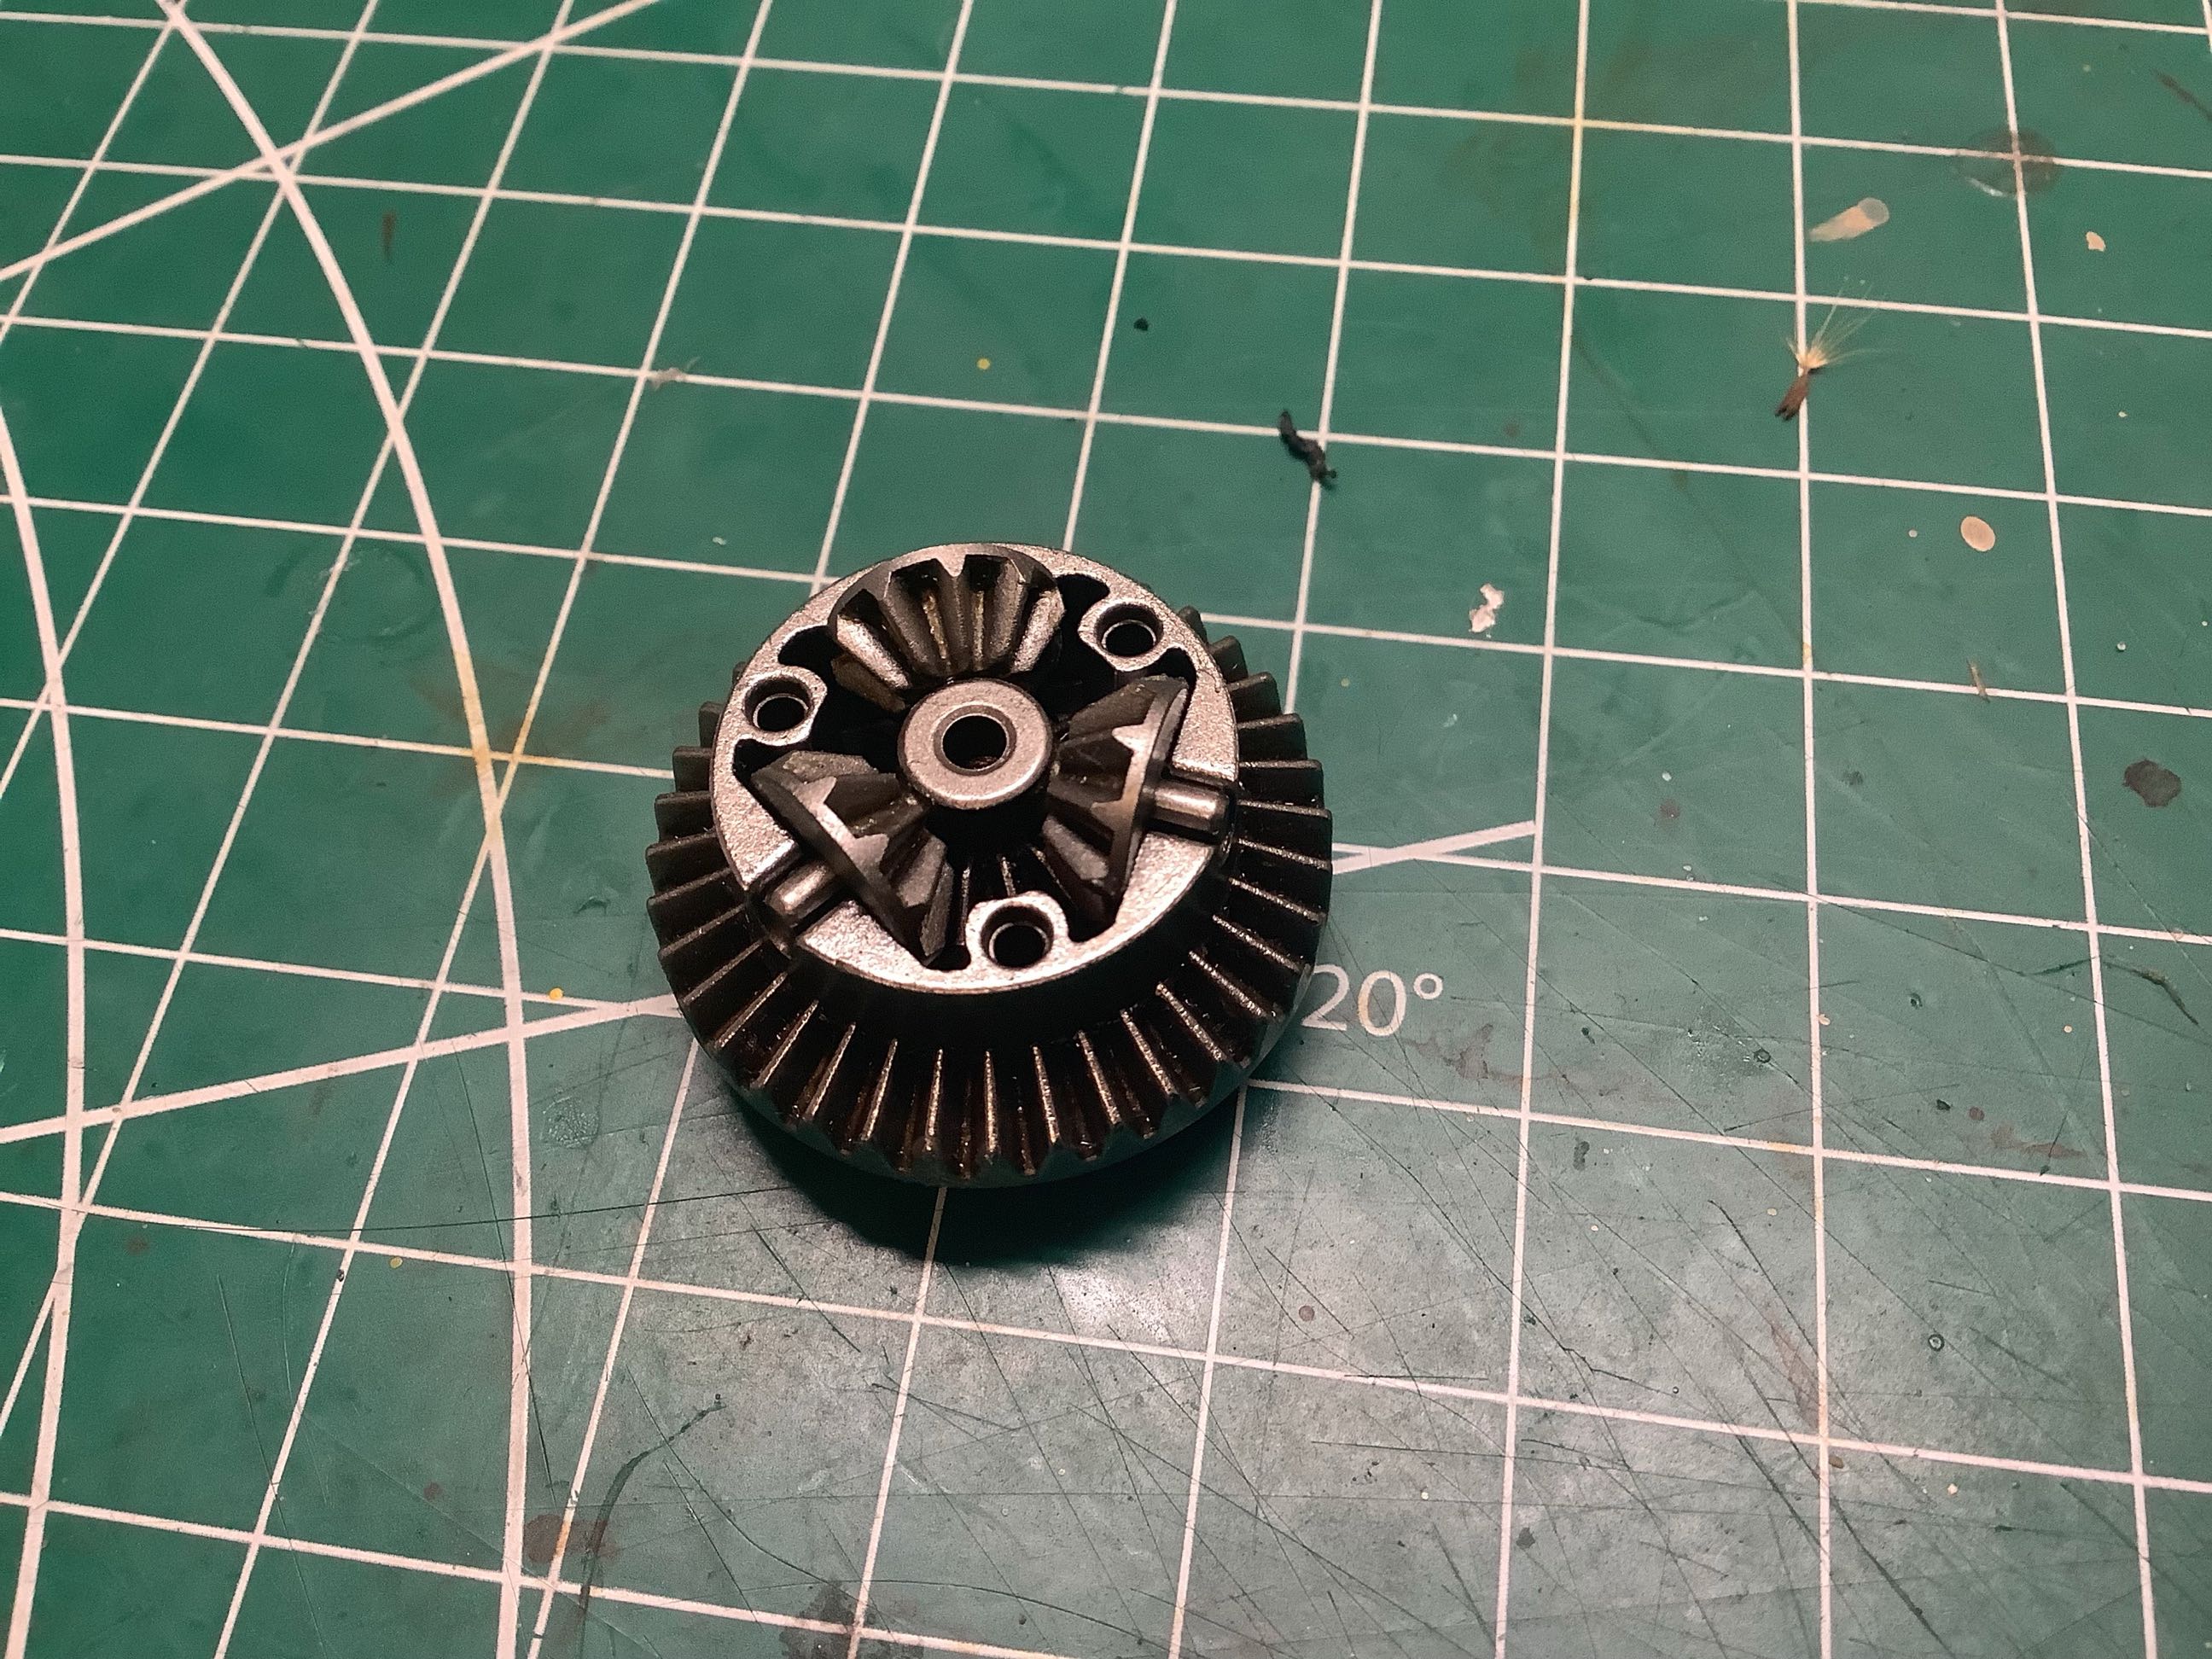
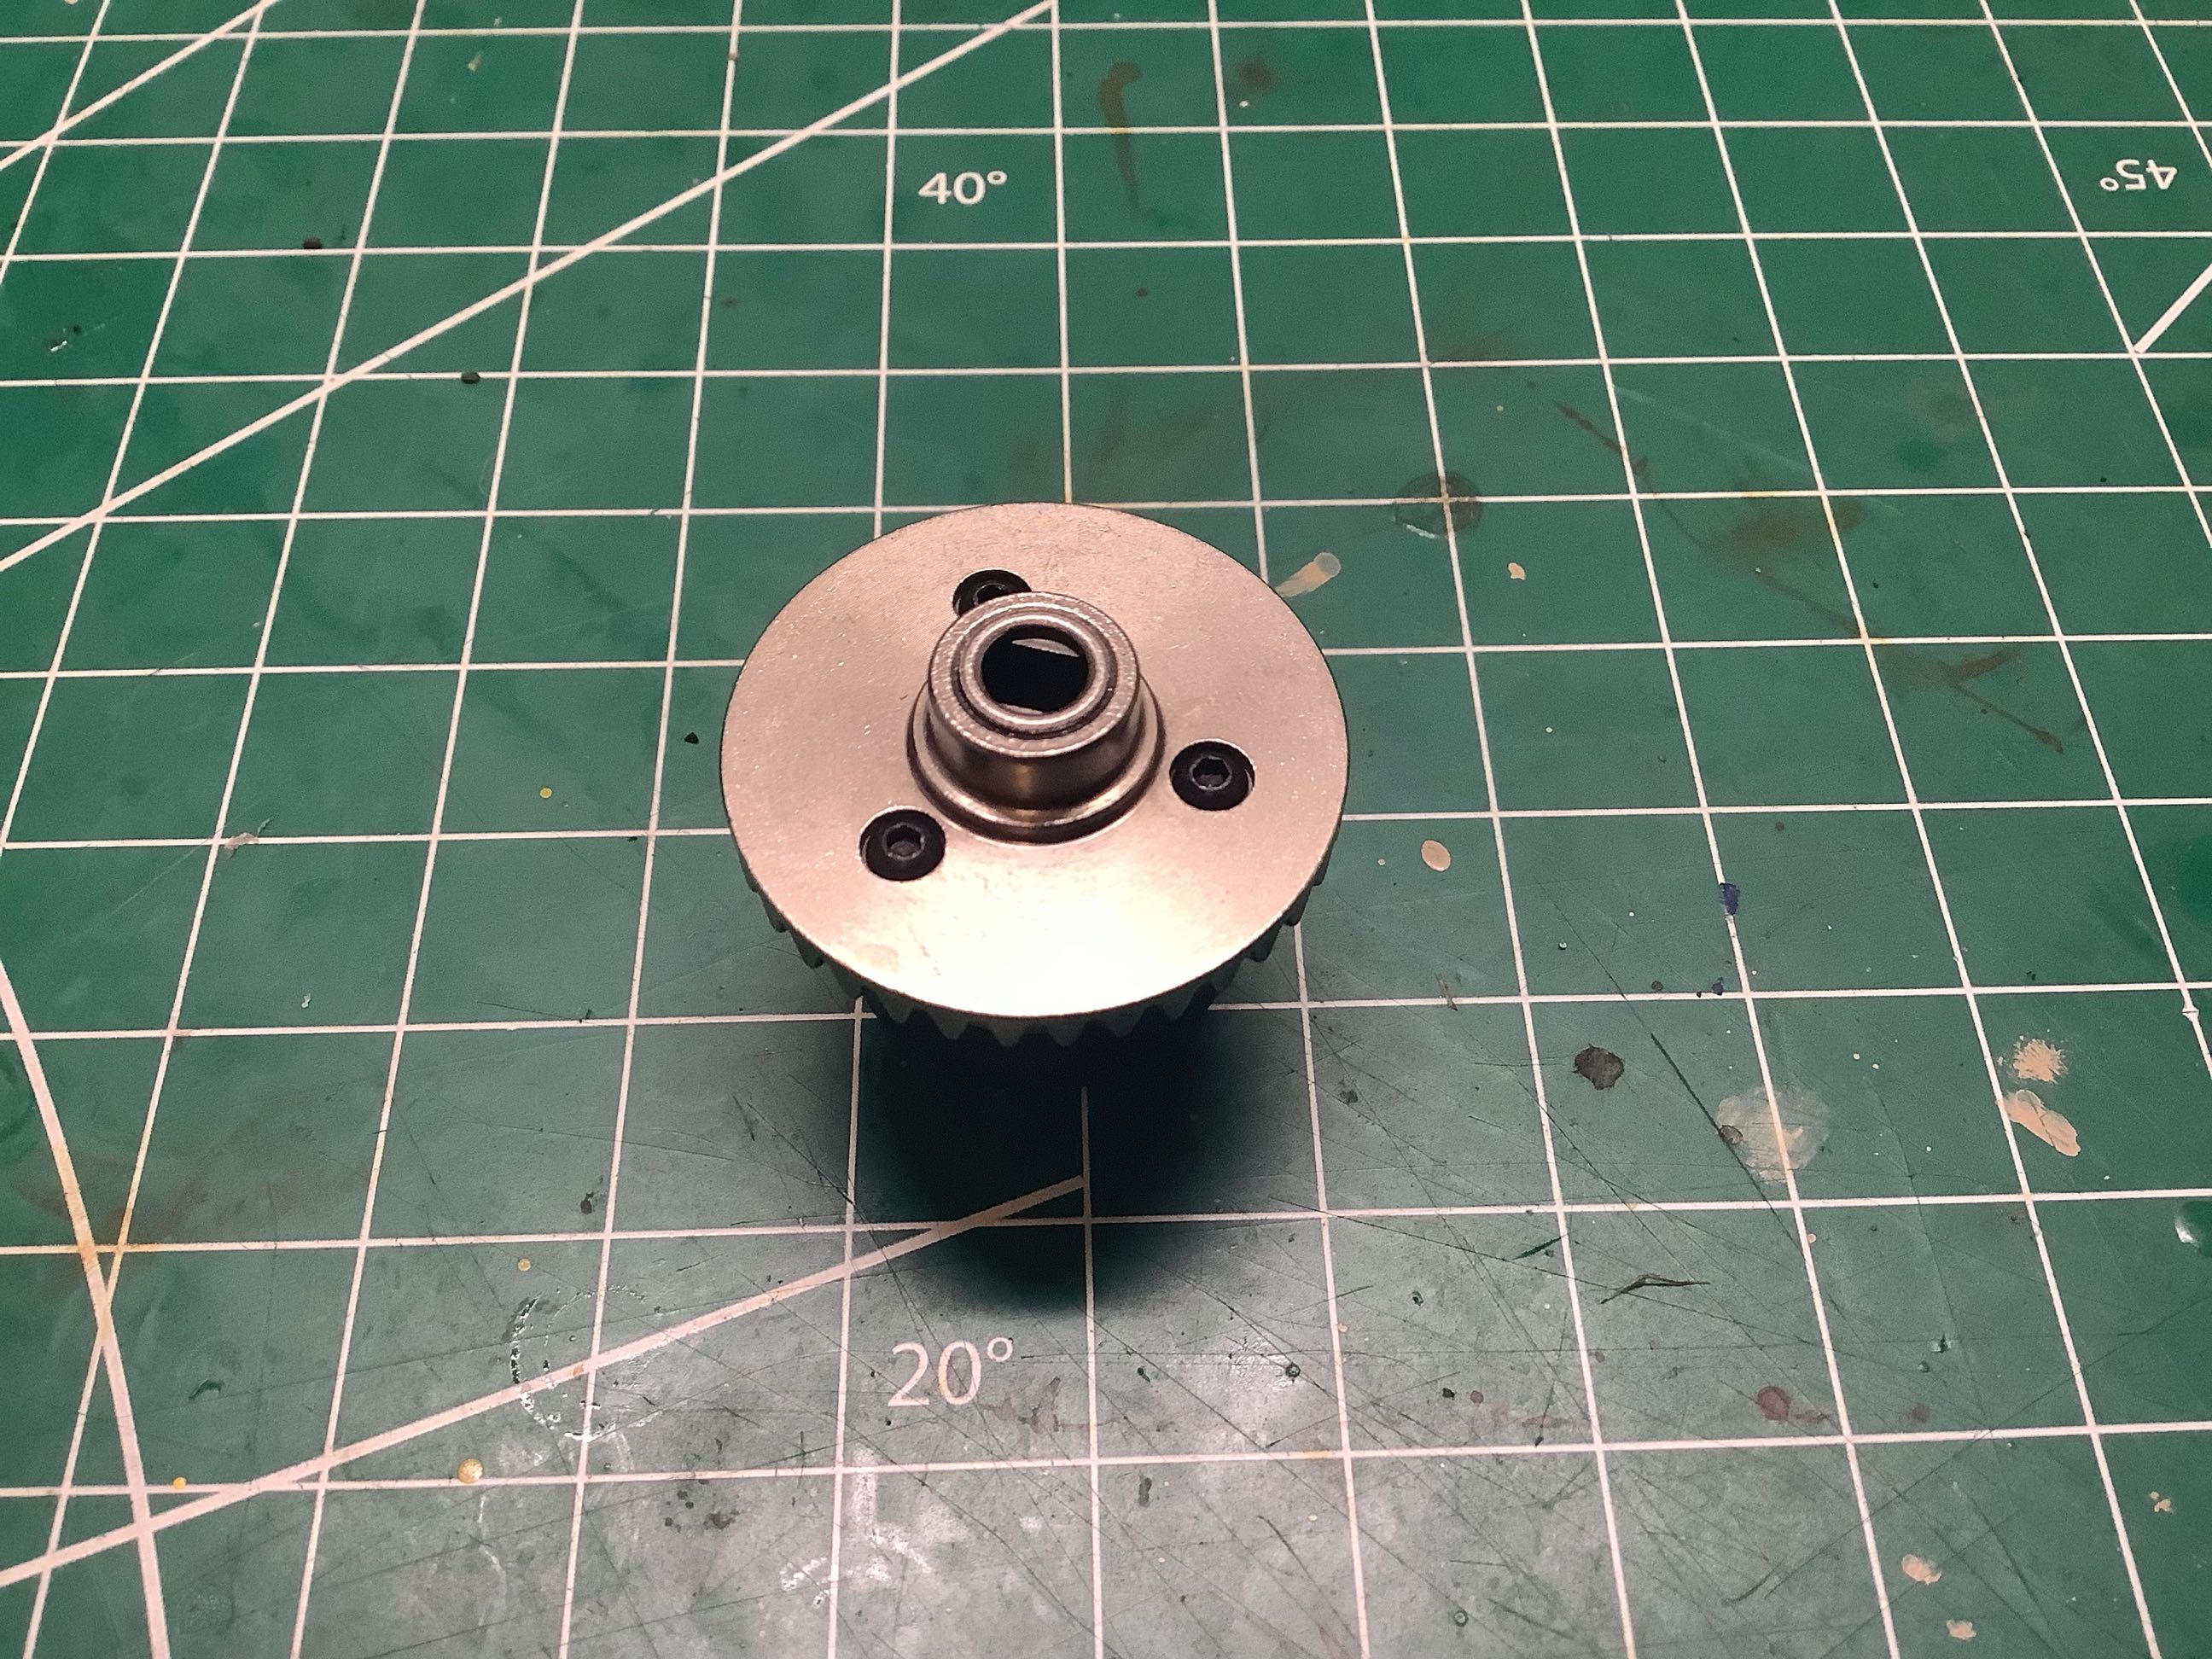
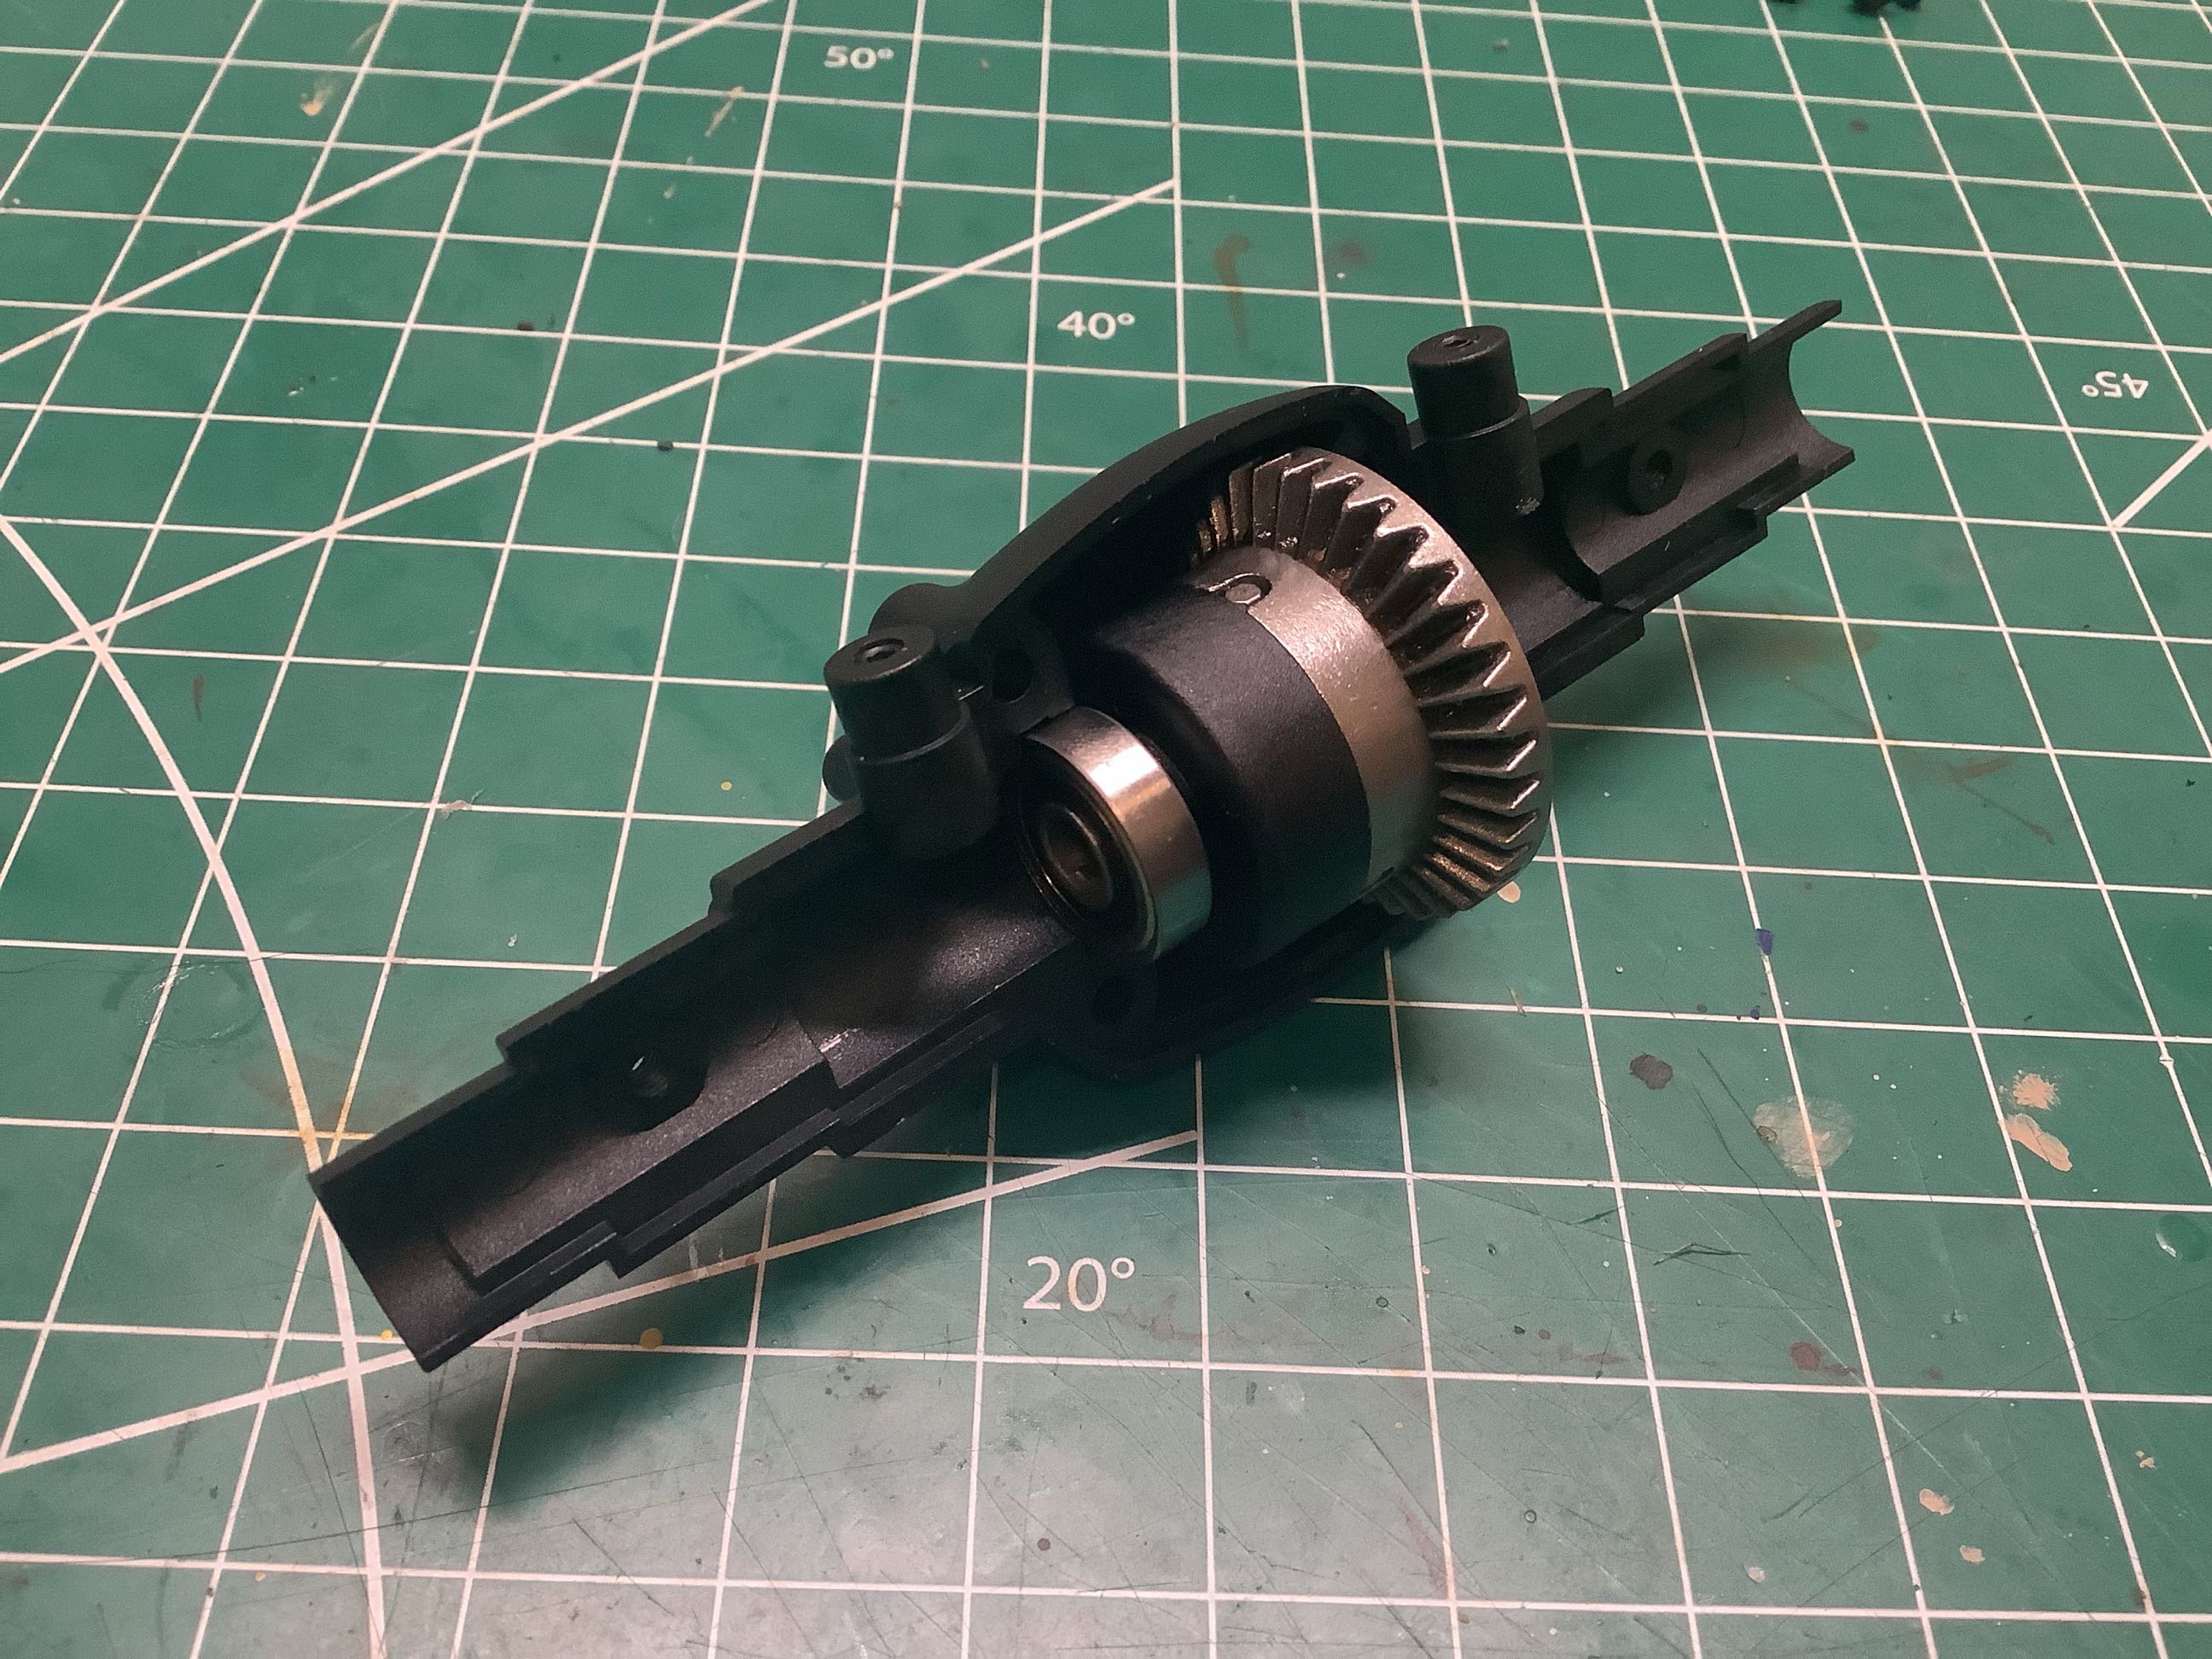
The rear differential consists of a nice steel ring gear housing and three internal spider gears. On the right I've closed up the diff housing after greasing the gears.
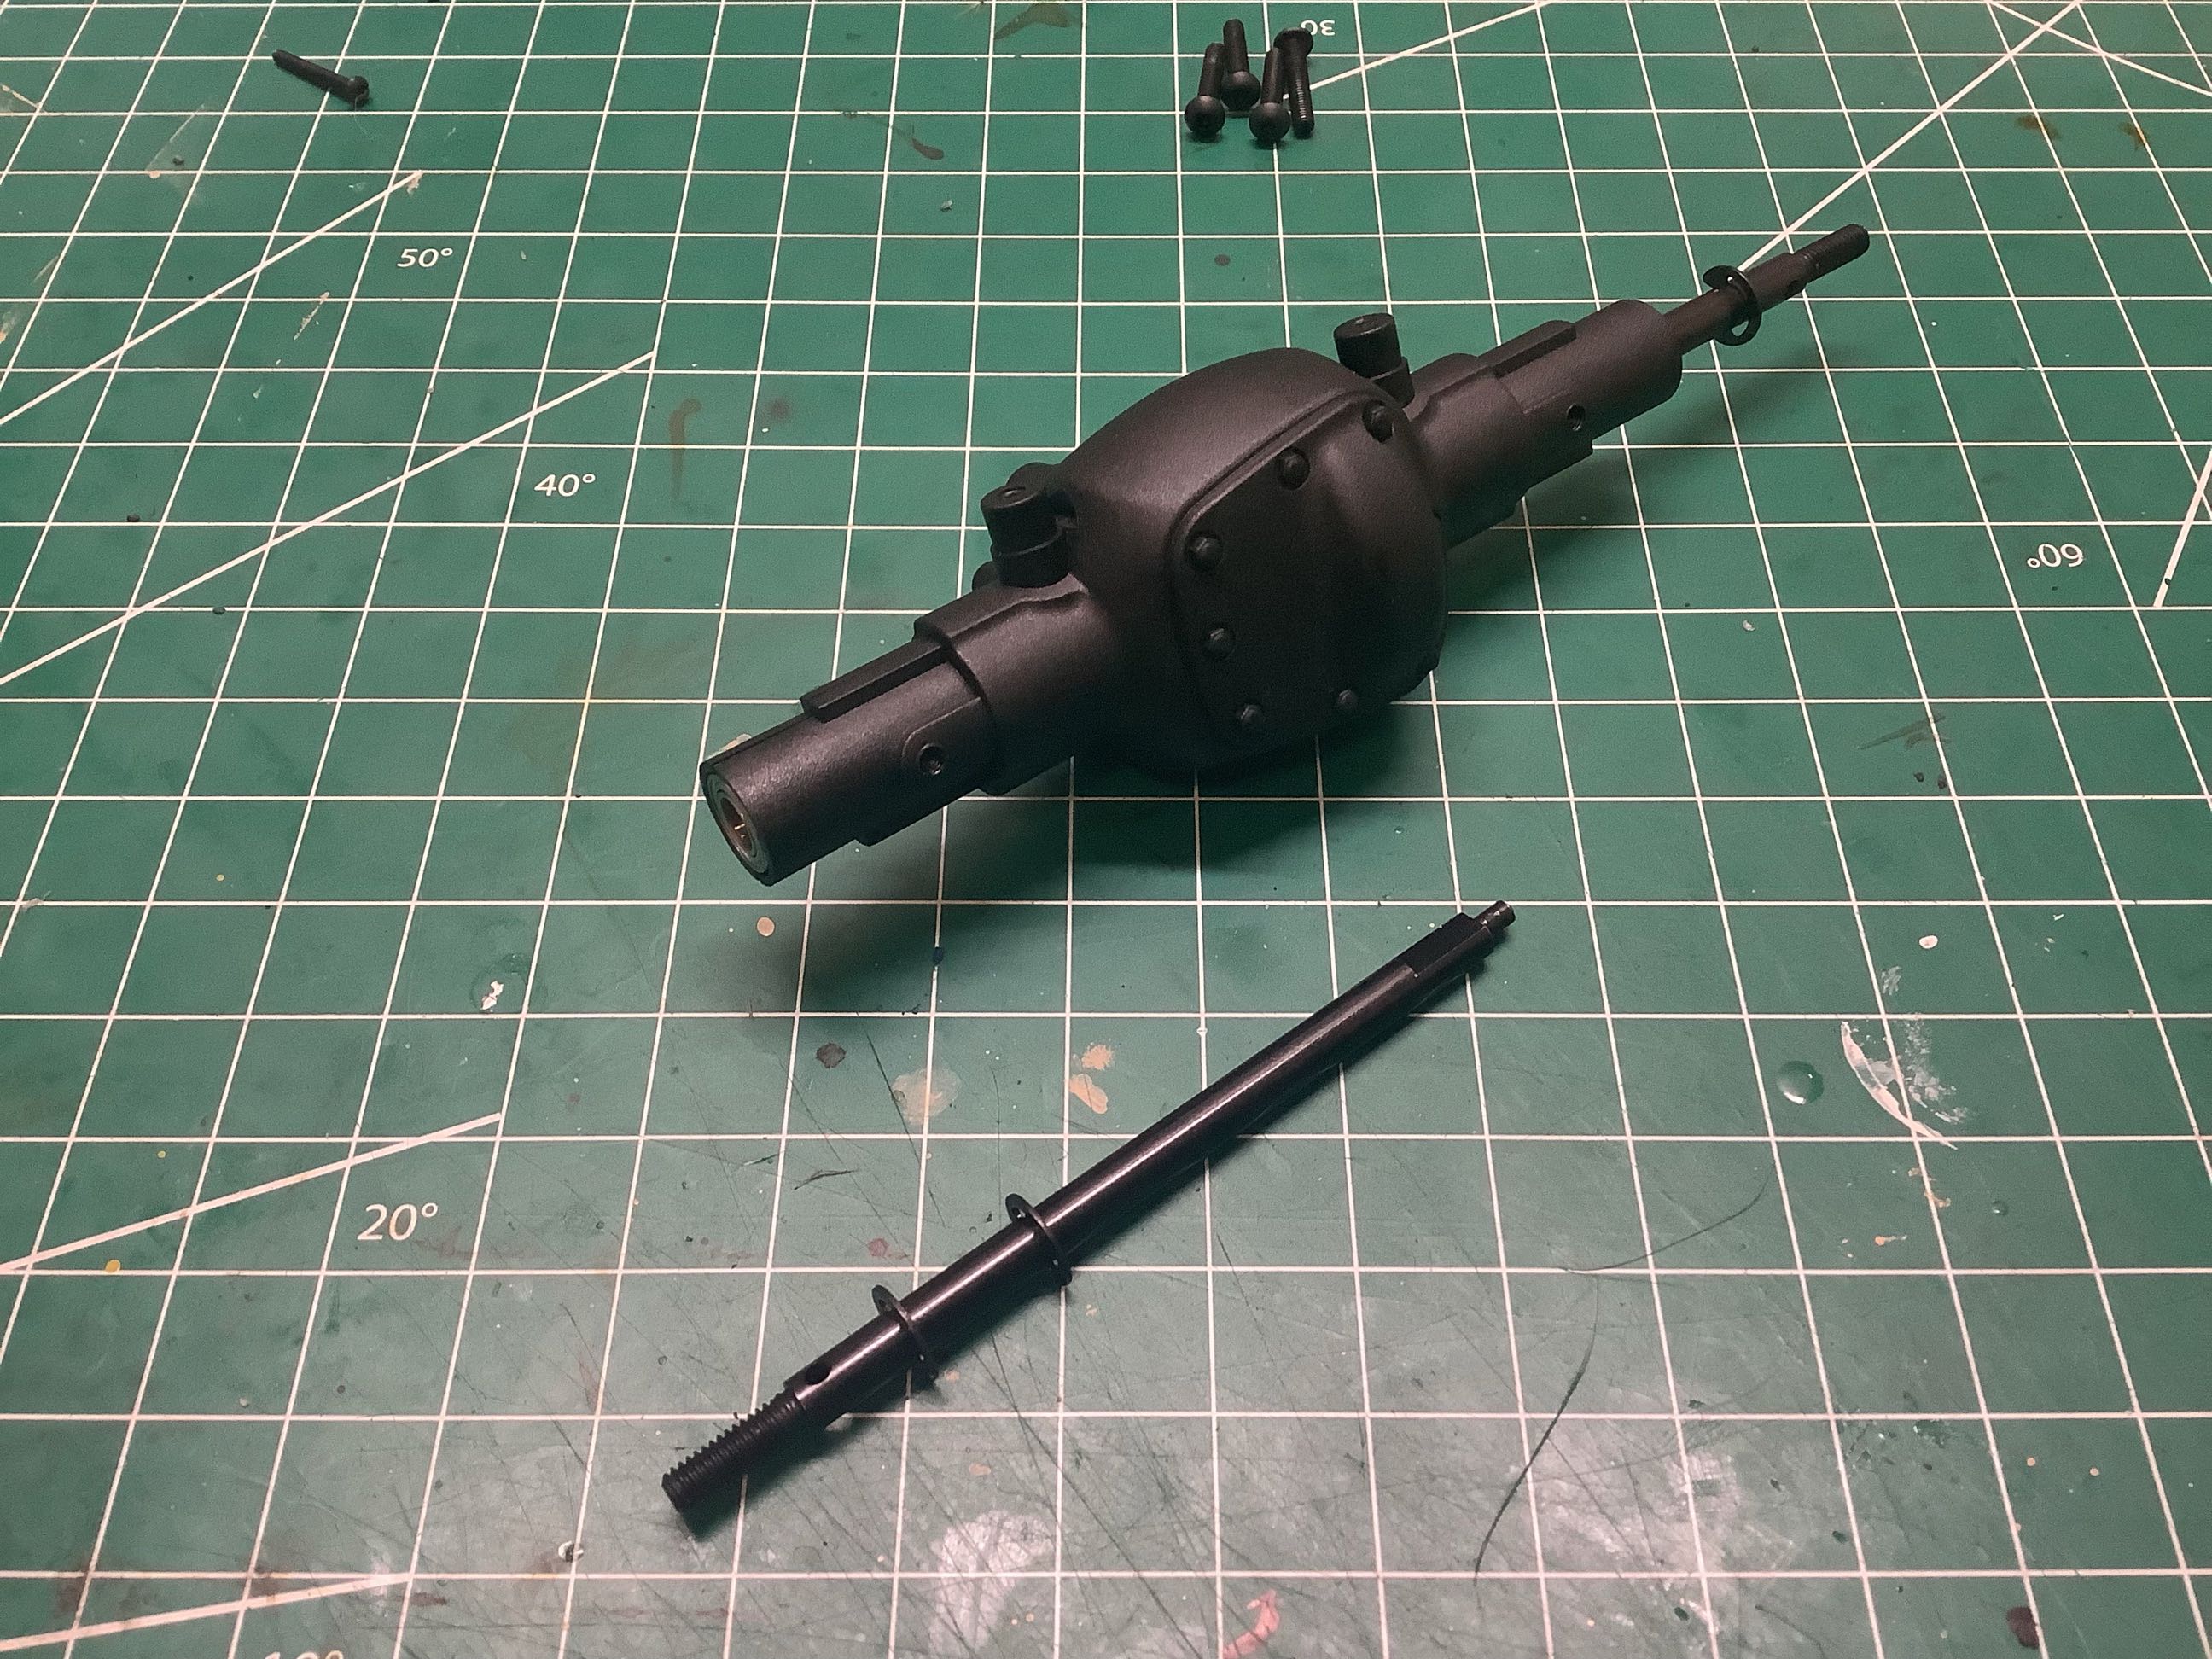
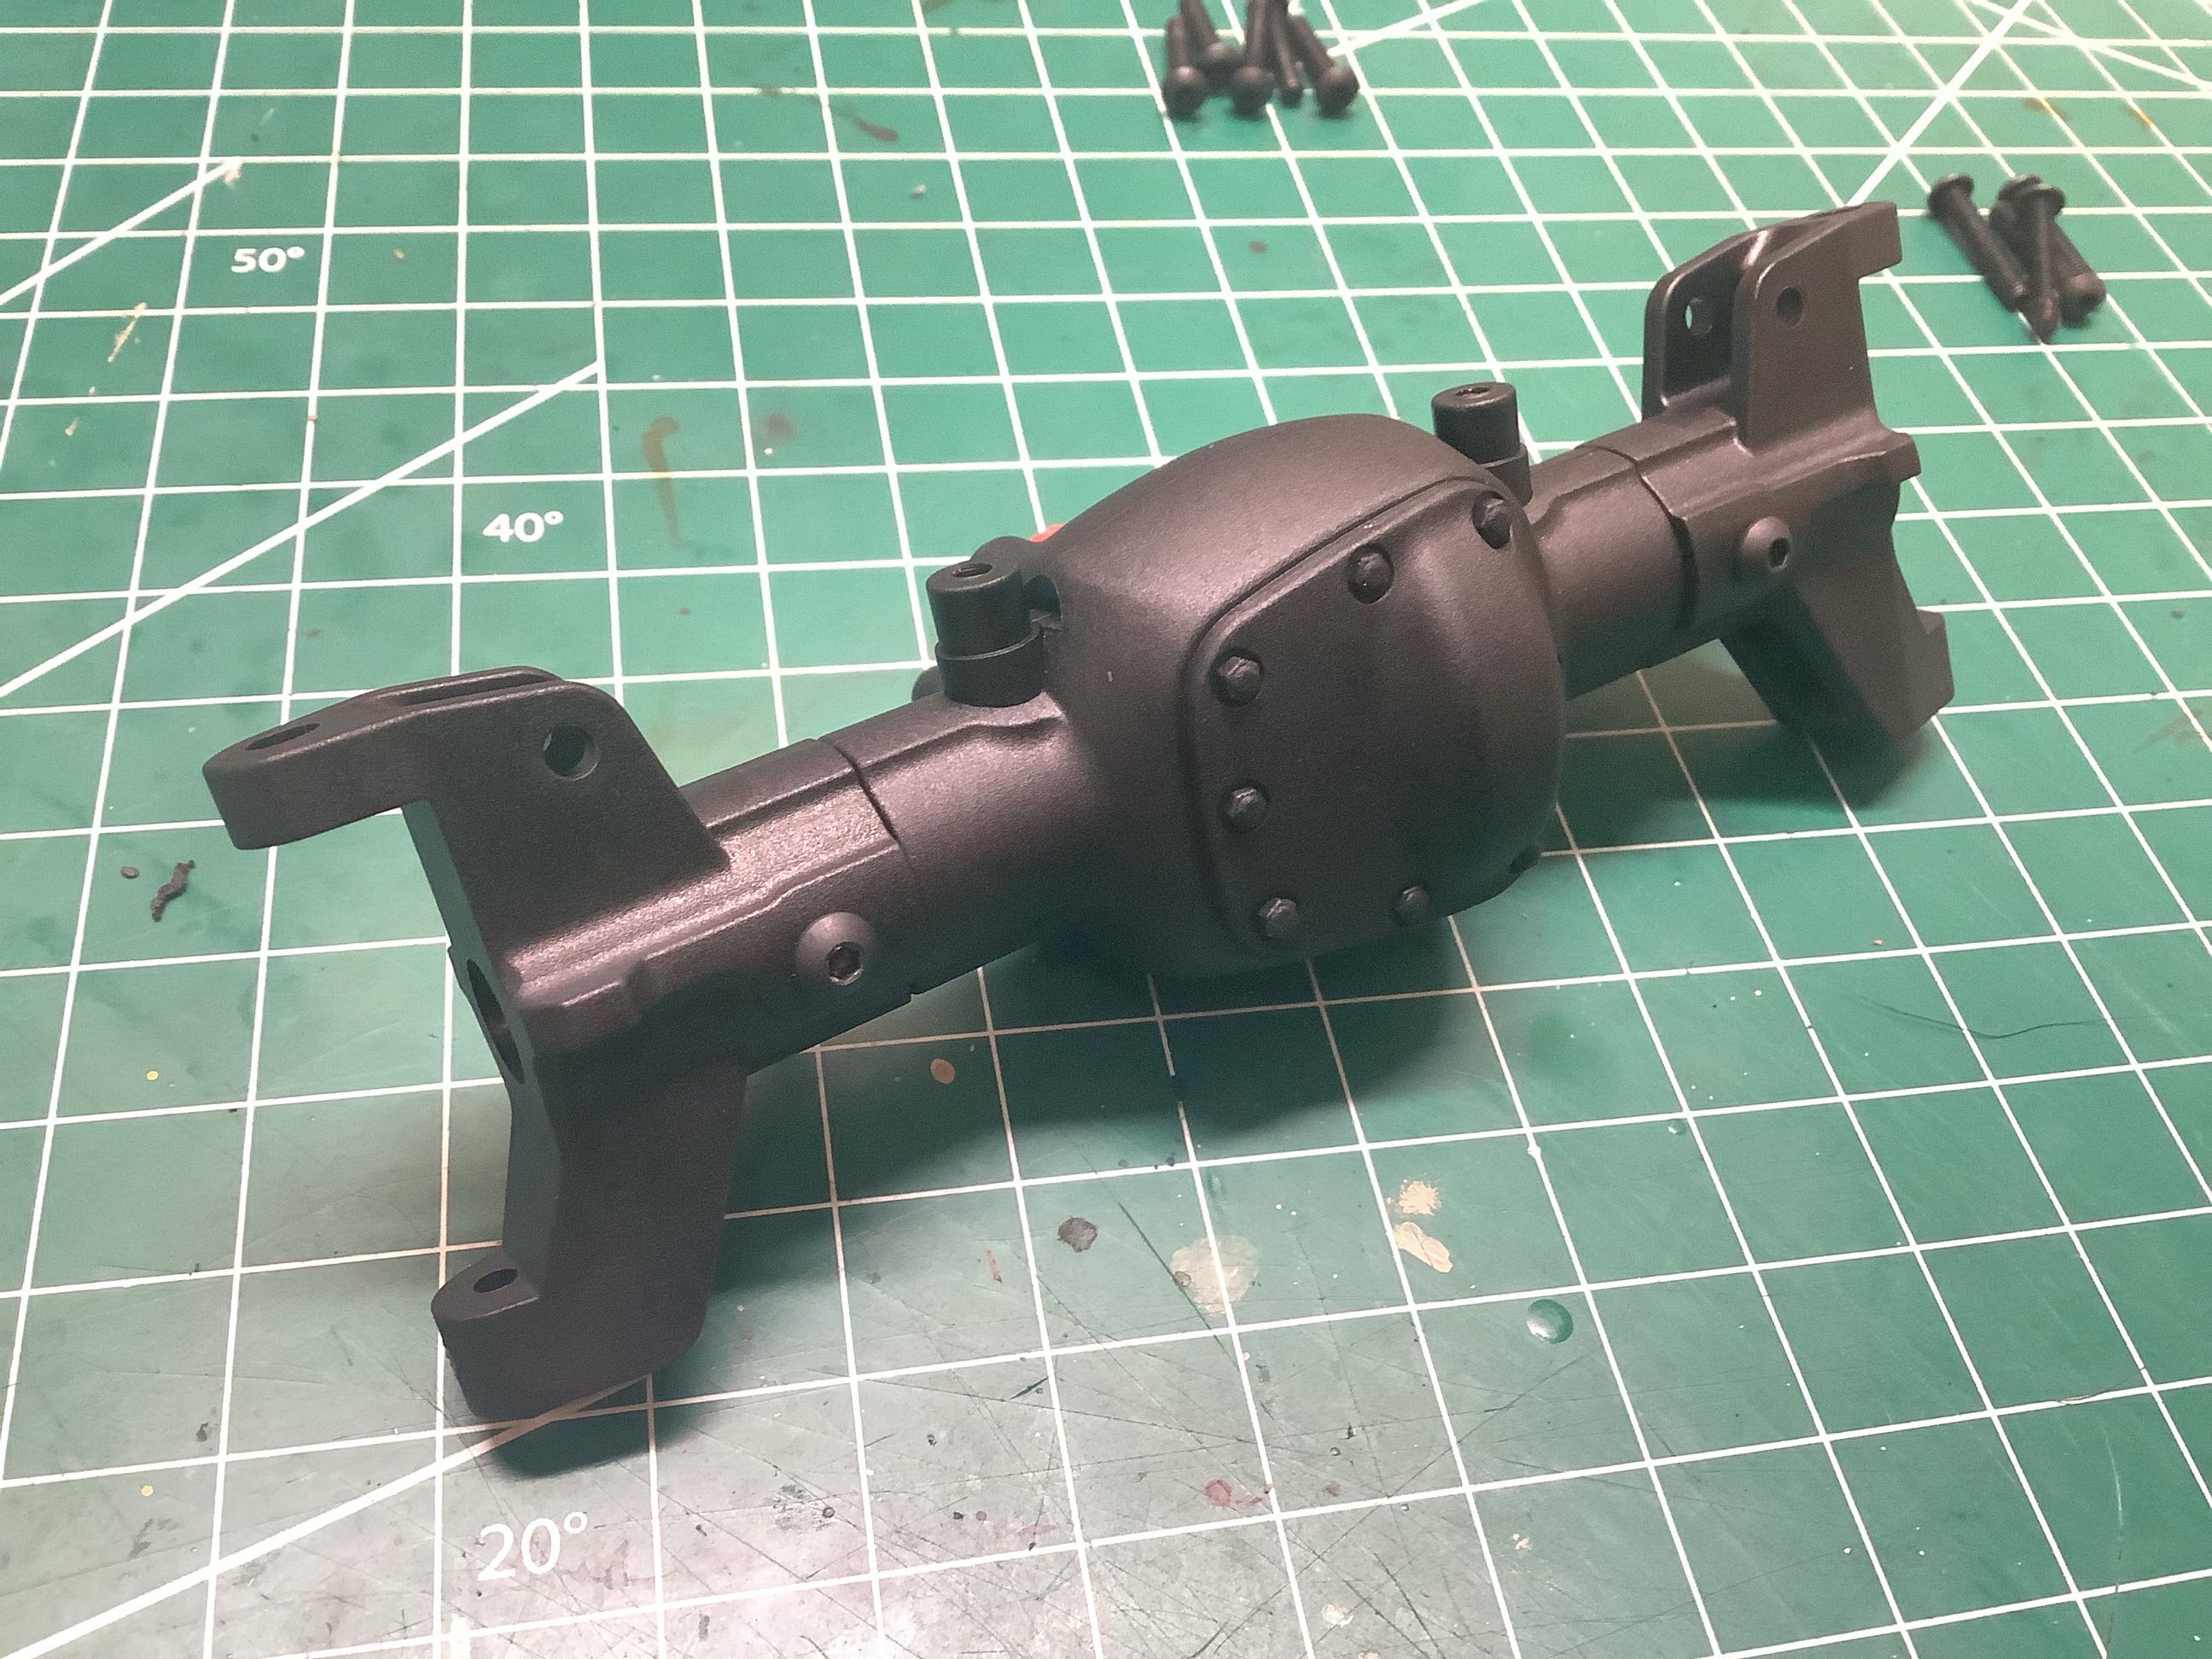
The differential fits into the rear axle housing as shown on the left, then the straight steel axles shown on the right can be installed. The rear axle housing is exactly the same as the front until the extensions are installed.
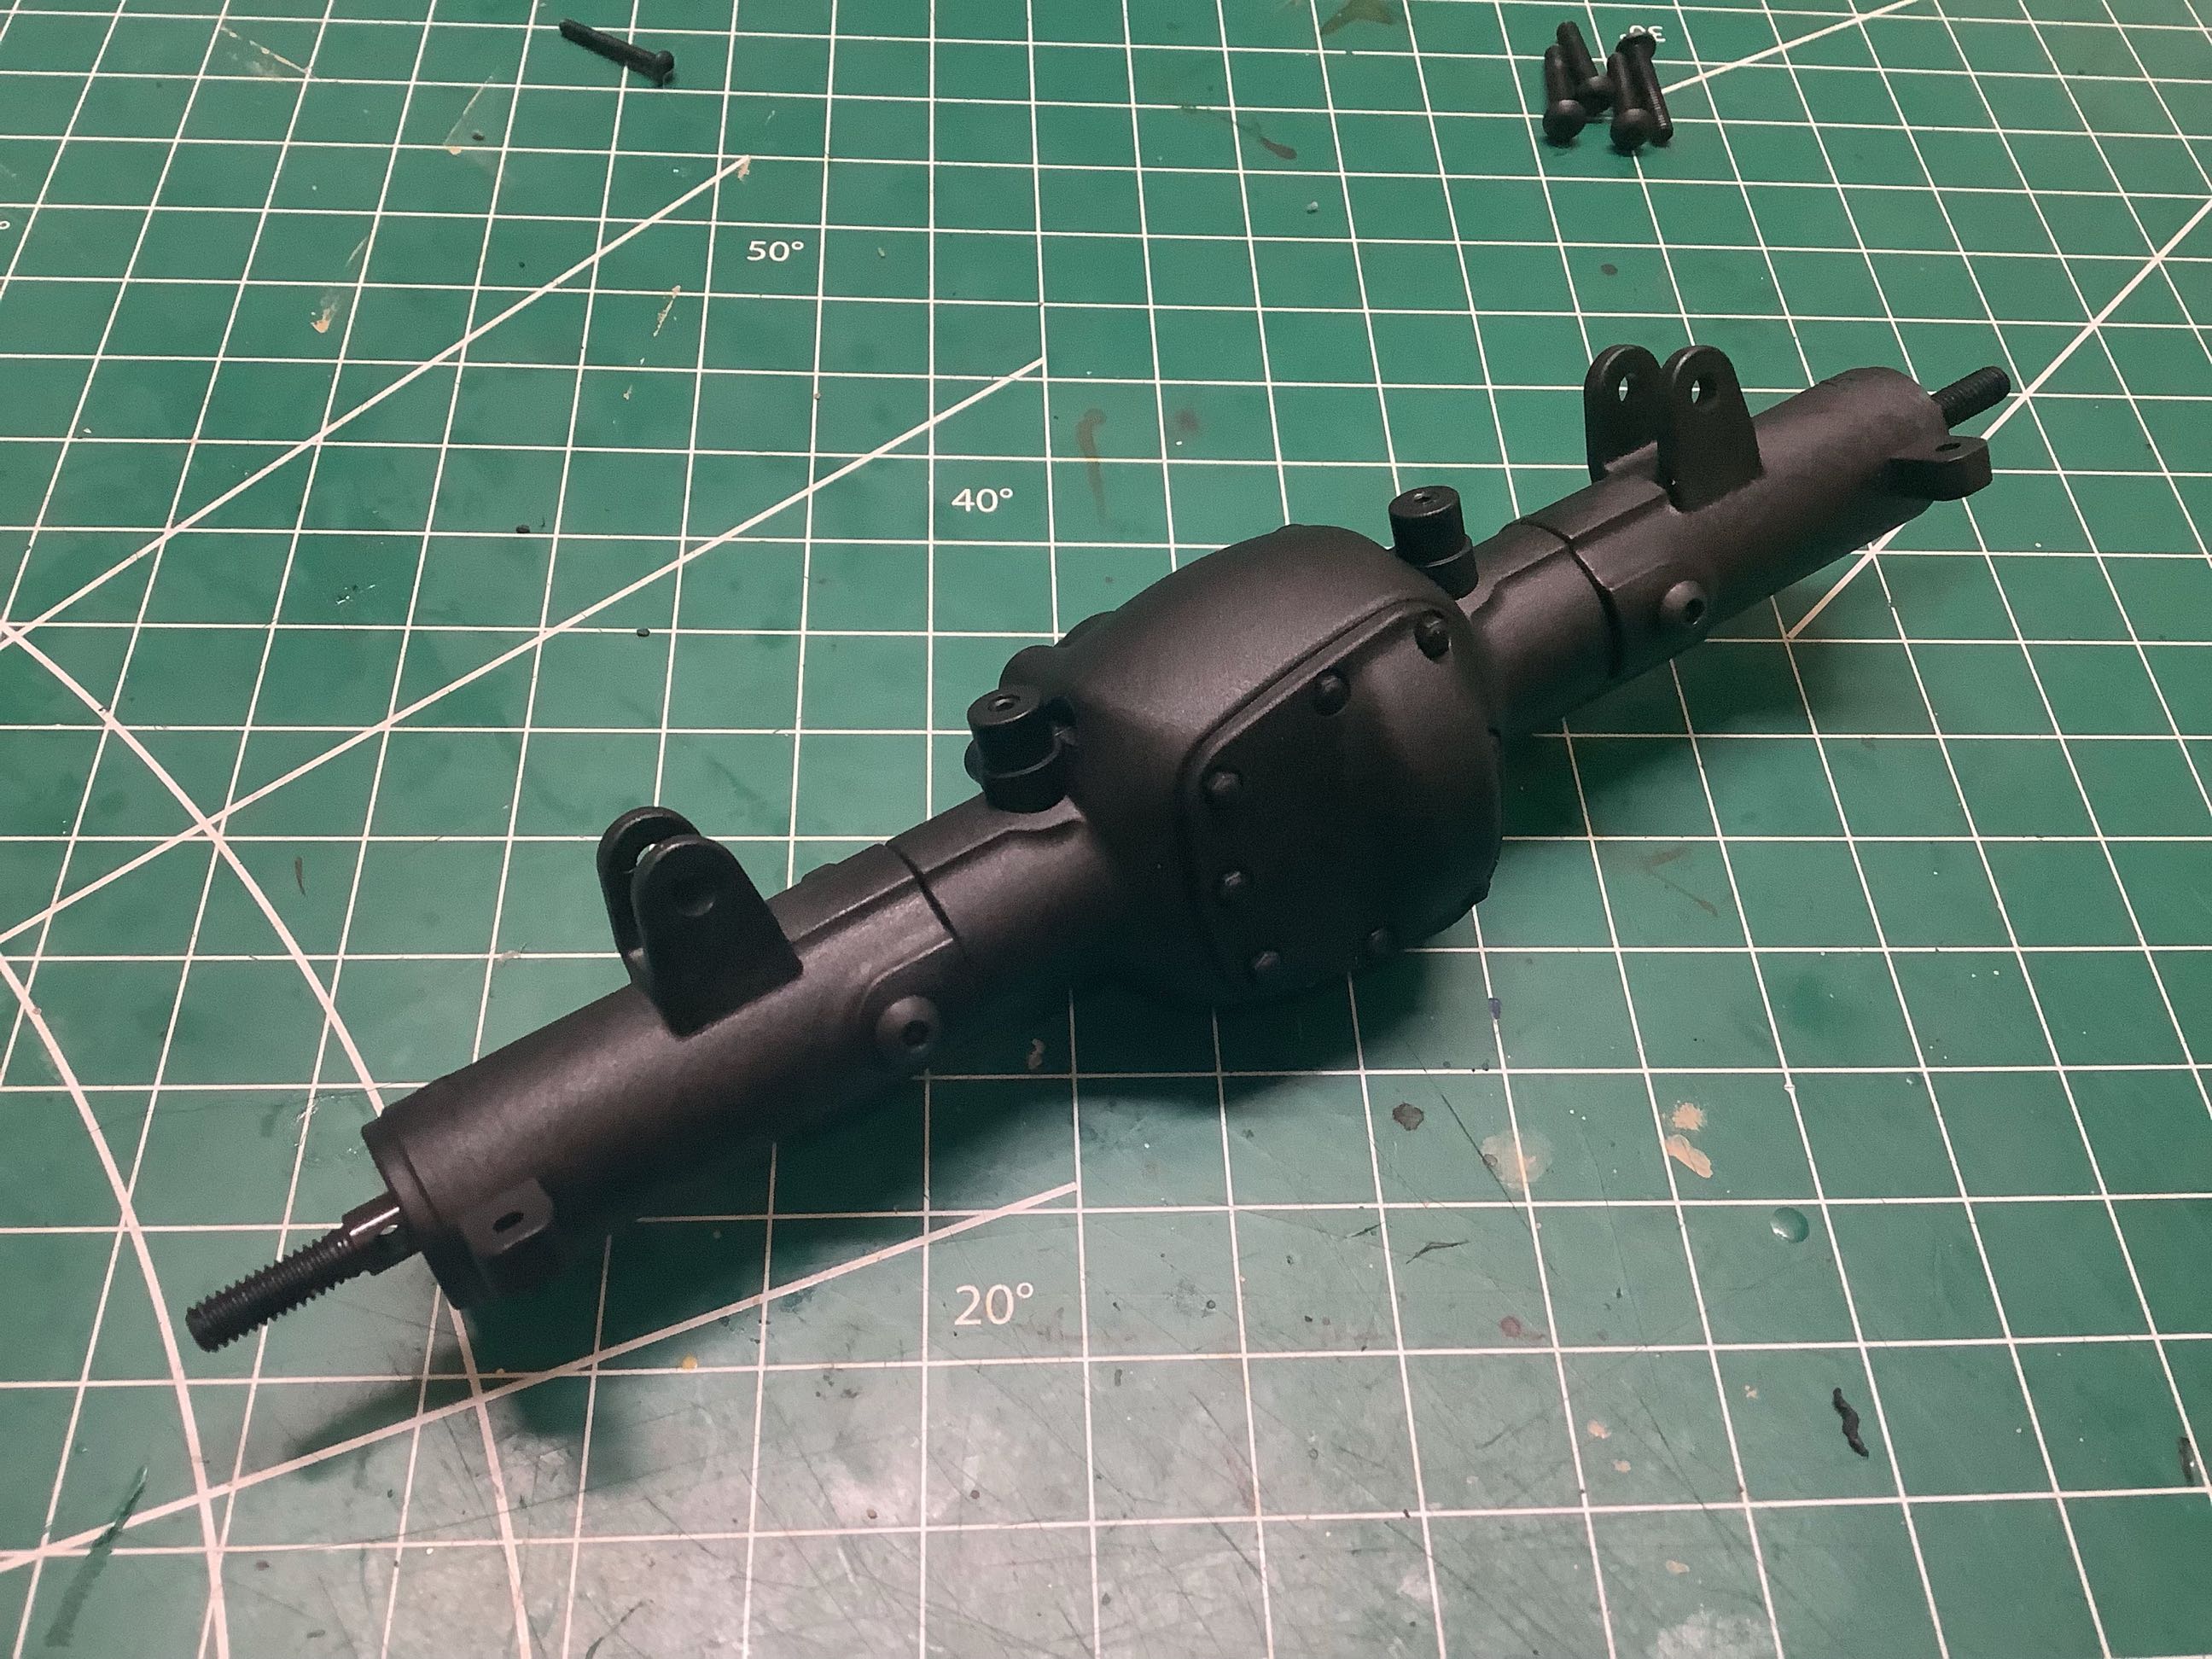
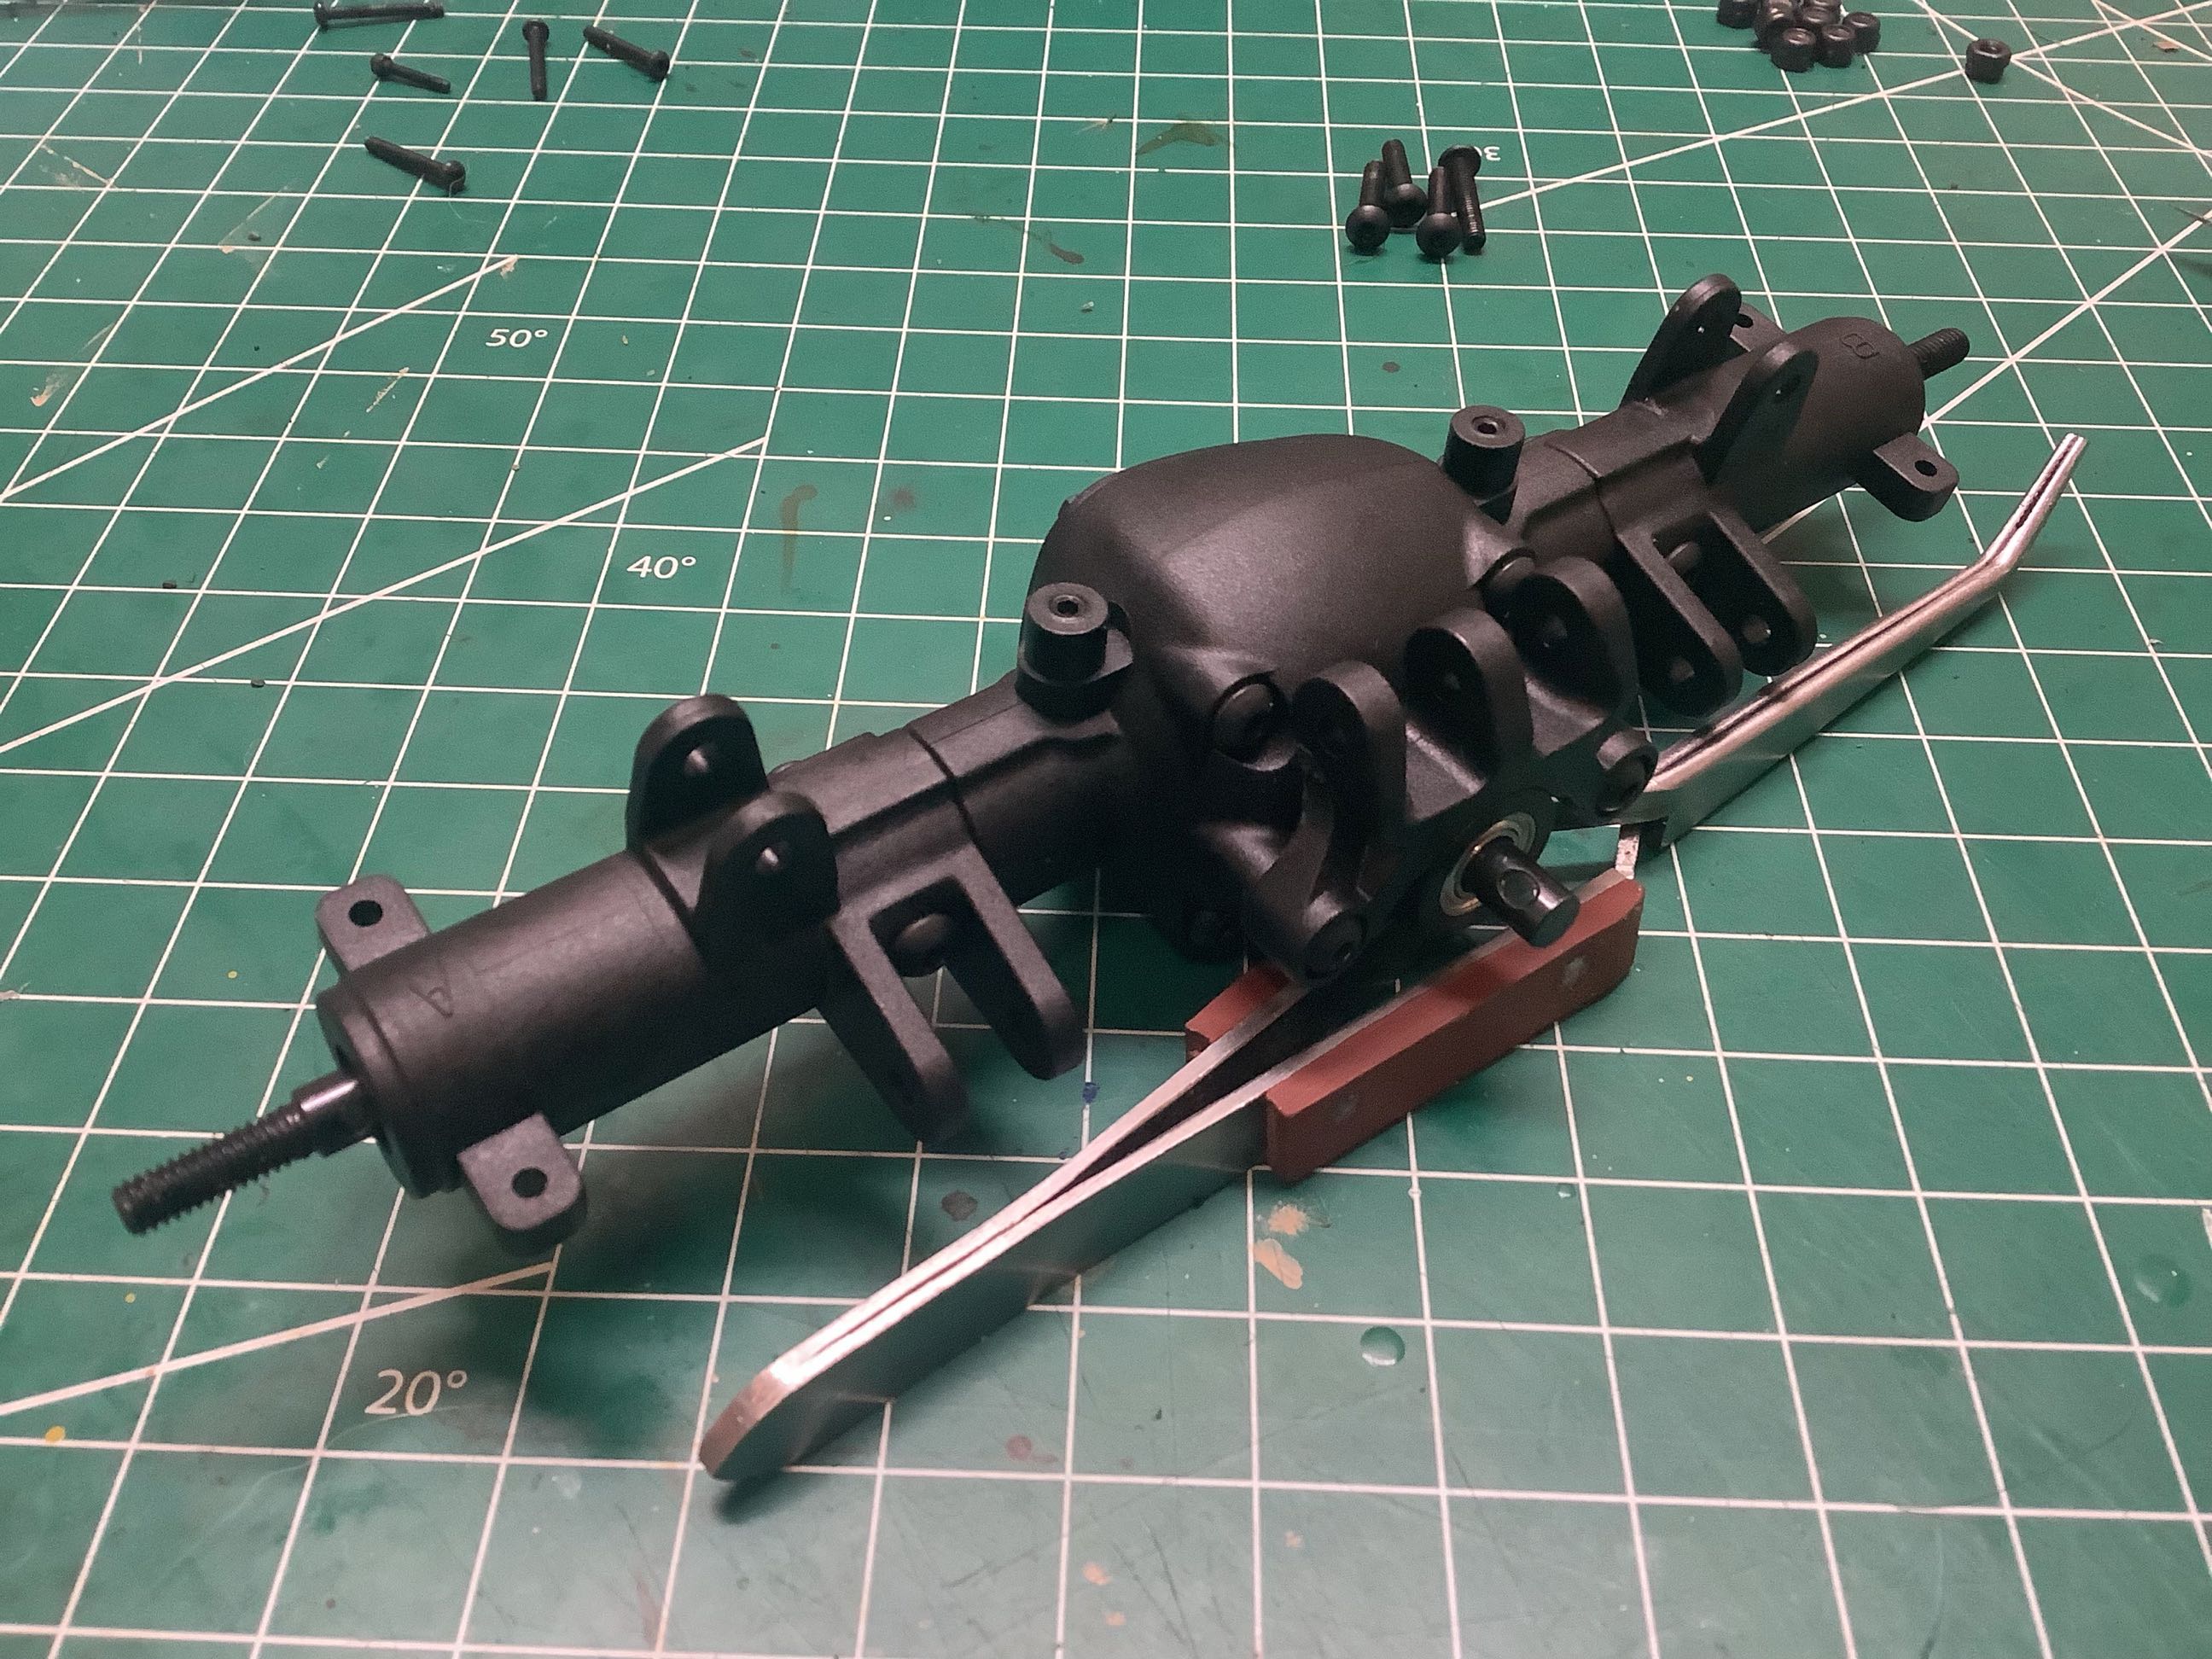
The axle extensions have now been installed followed by the link mounts.
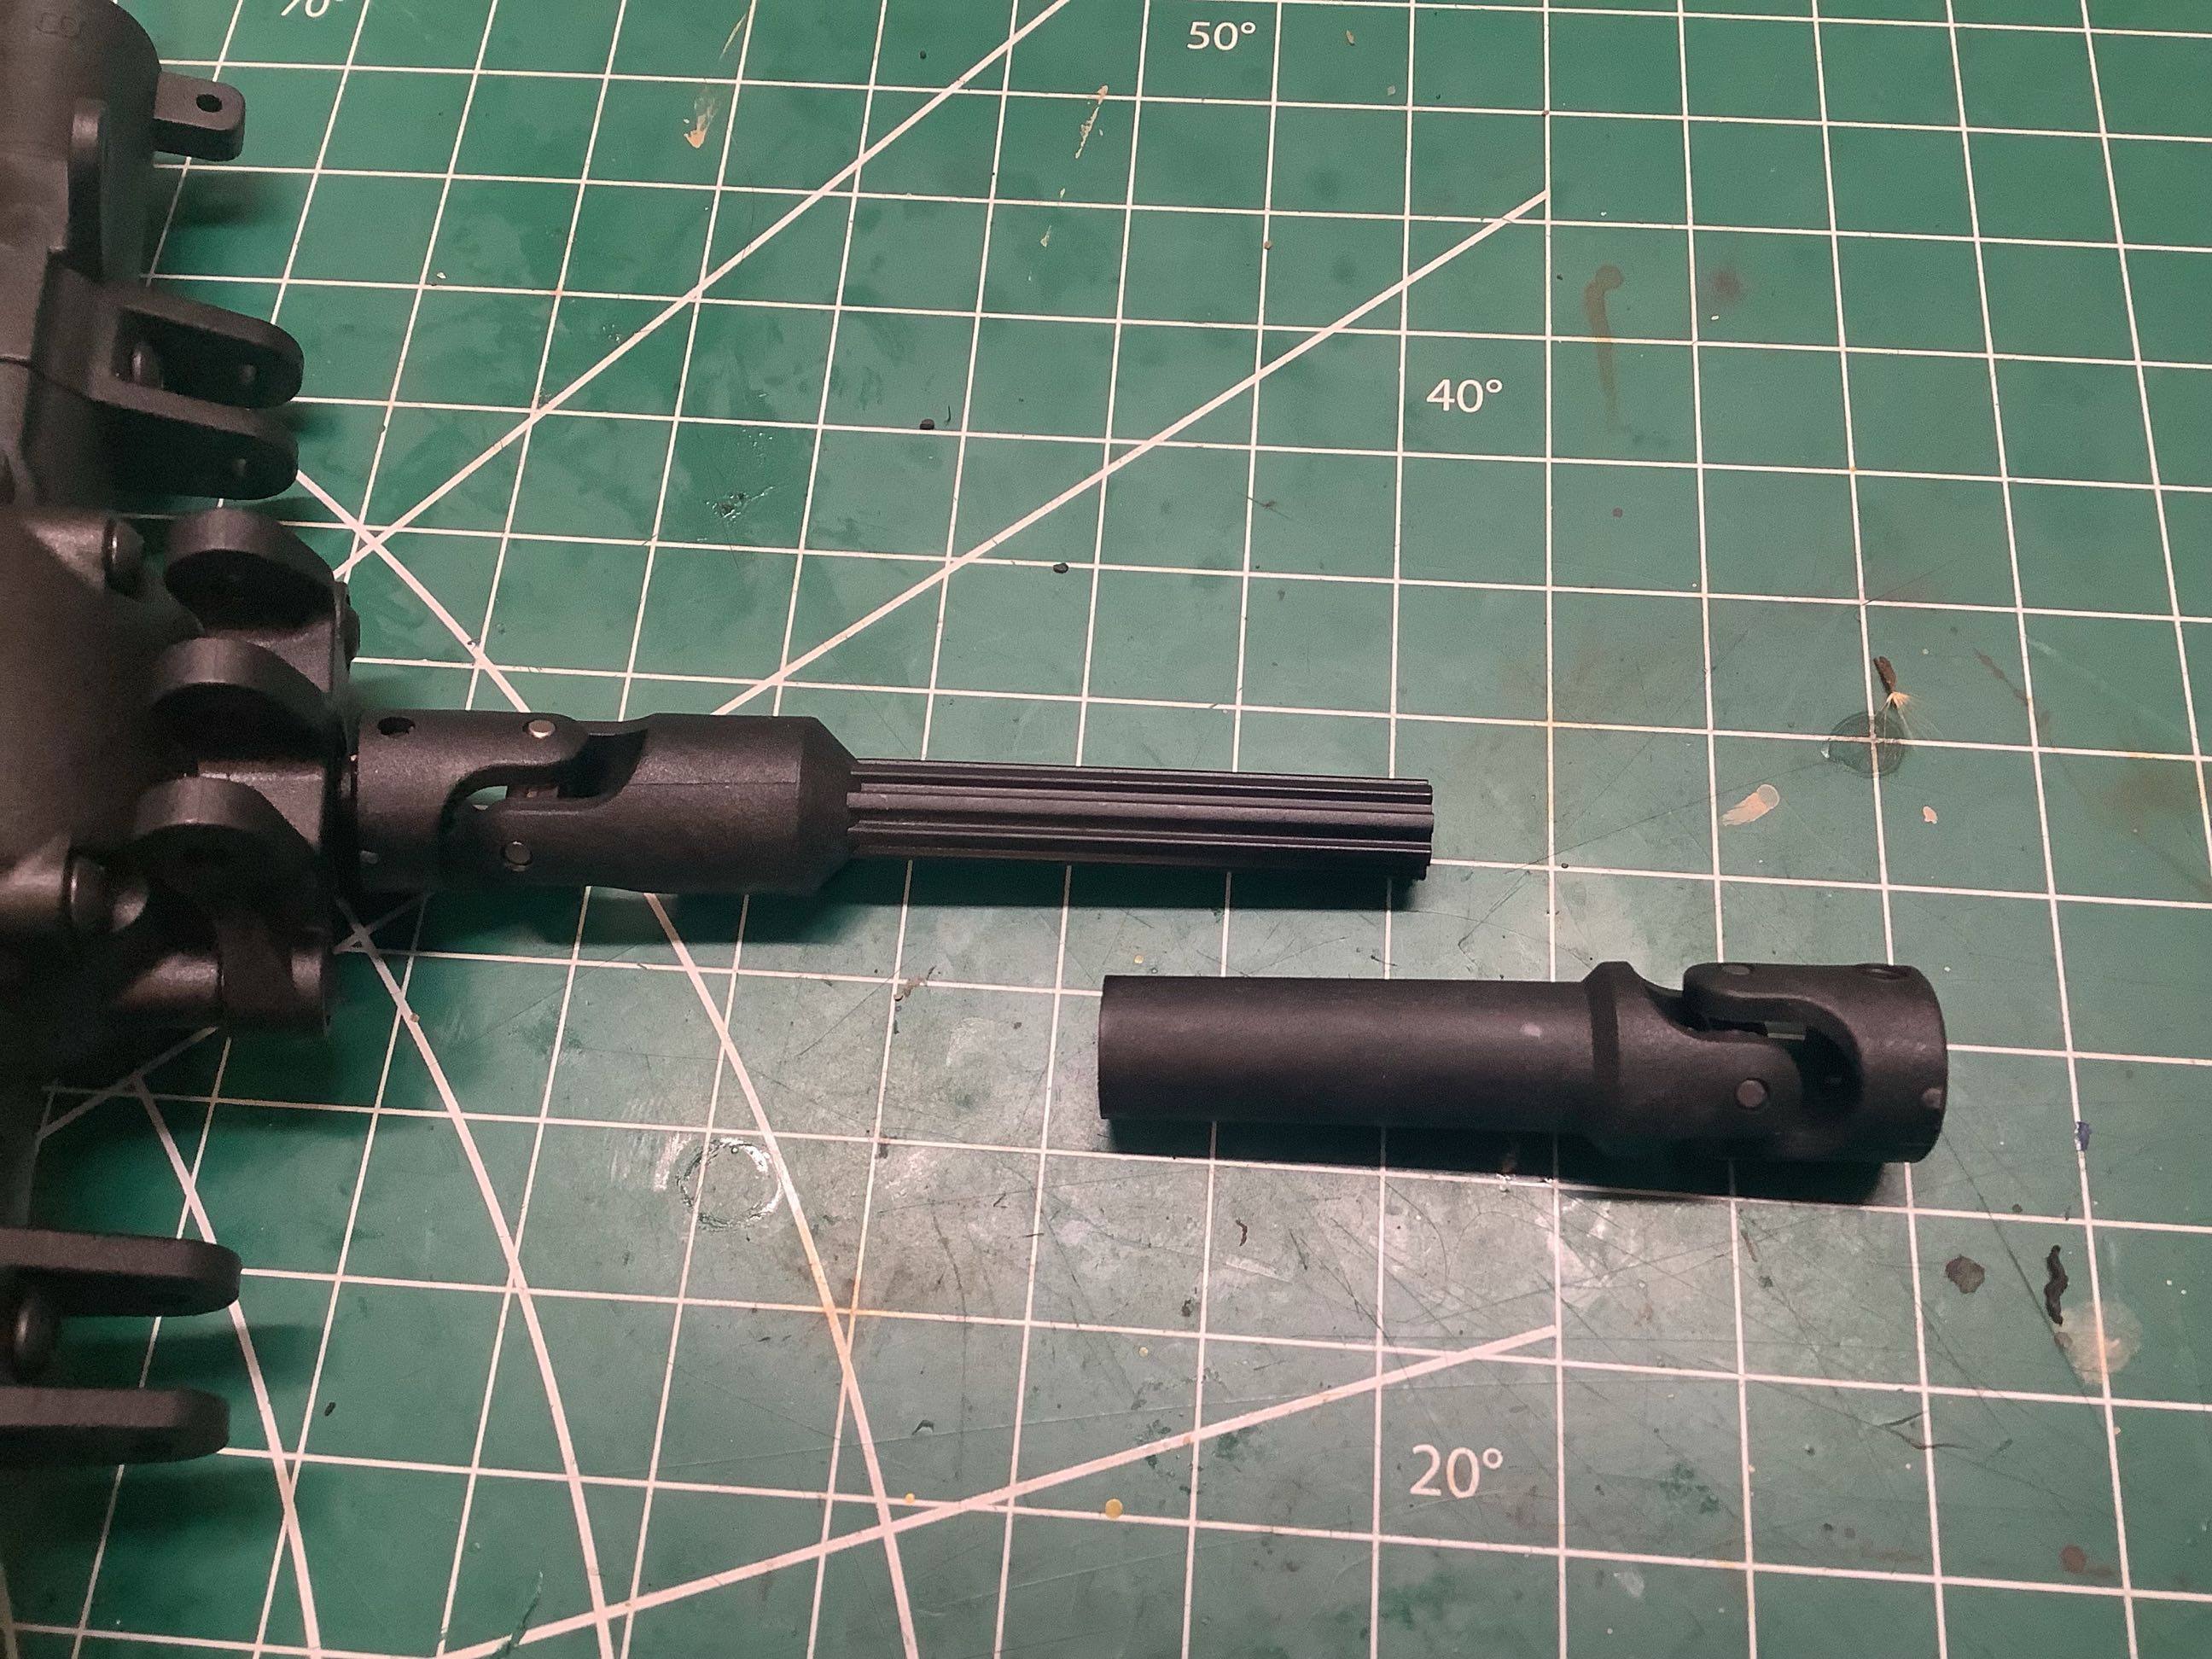
The stock drive shafts are splined, glass-reinforced plastic. On the right both axles have been attached to the links as seen from below.
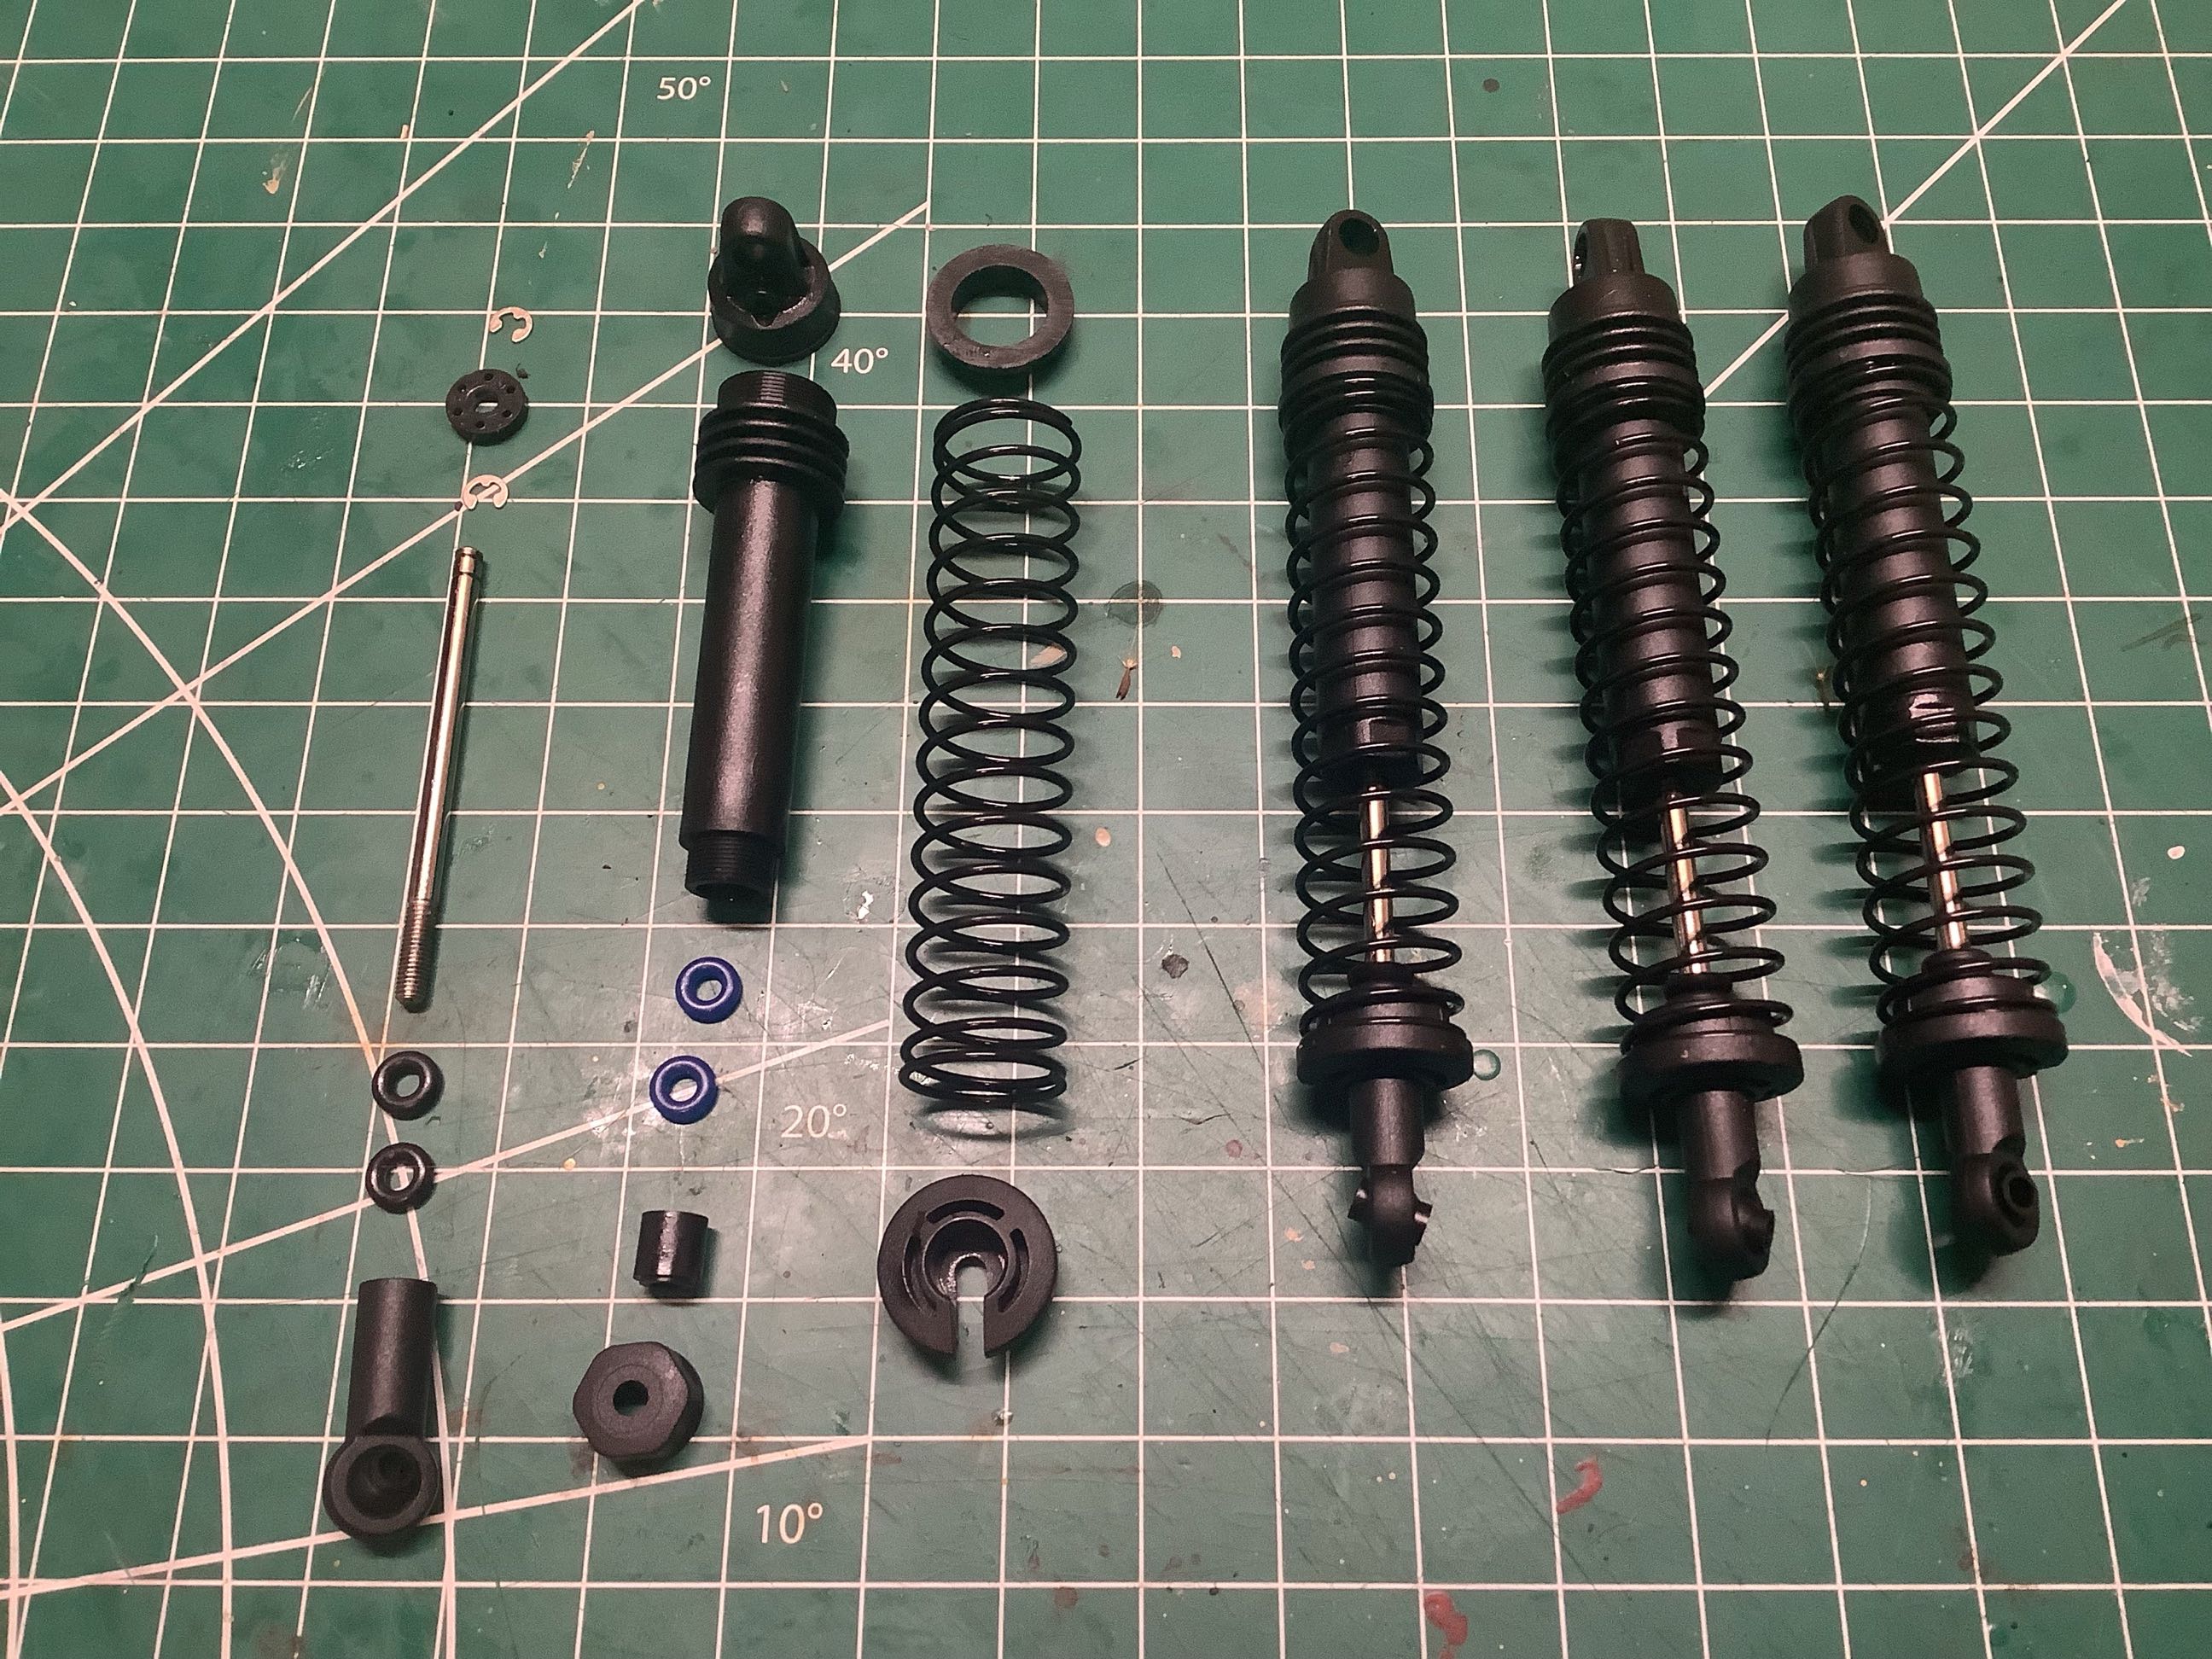
The coilover shocks are small diameter, oil filled units built as shown on the left. They have a very long stroke for this scale of truck, but that makes sense for a Monster Jam style truck.
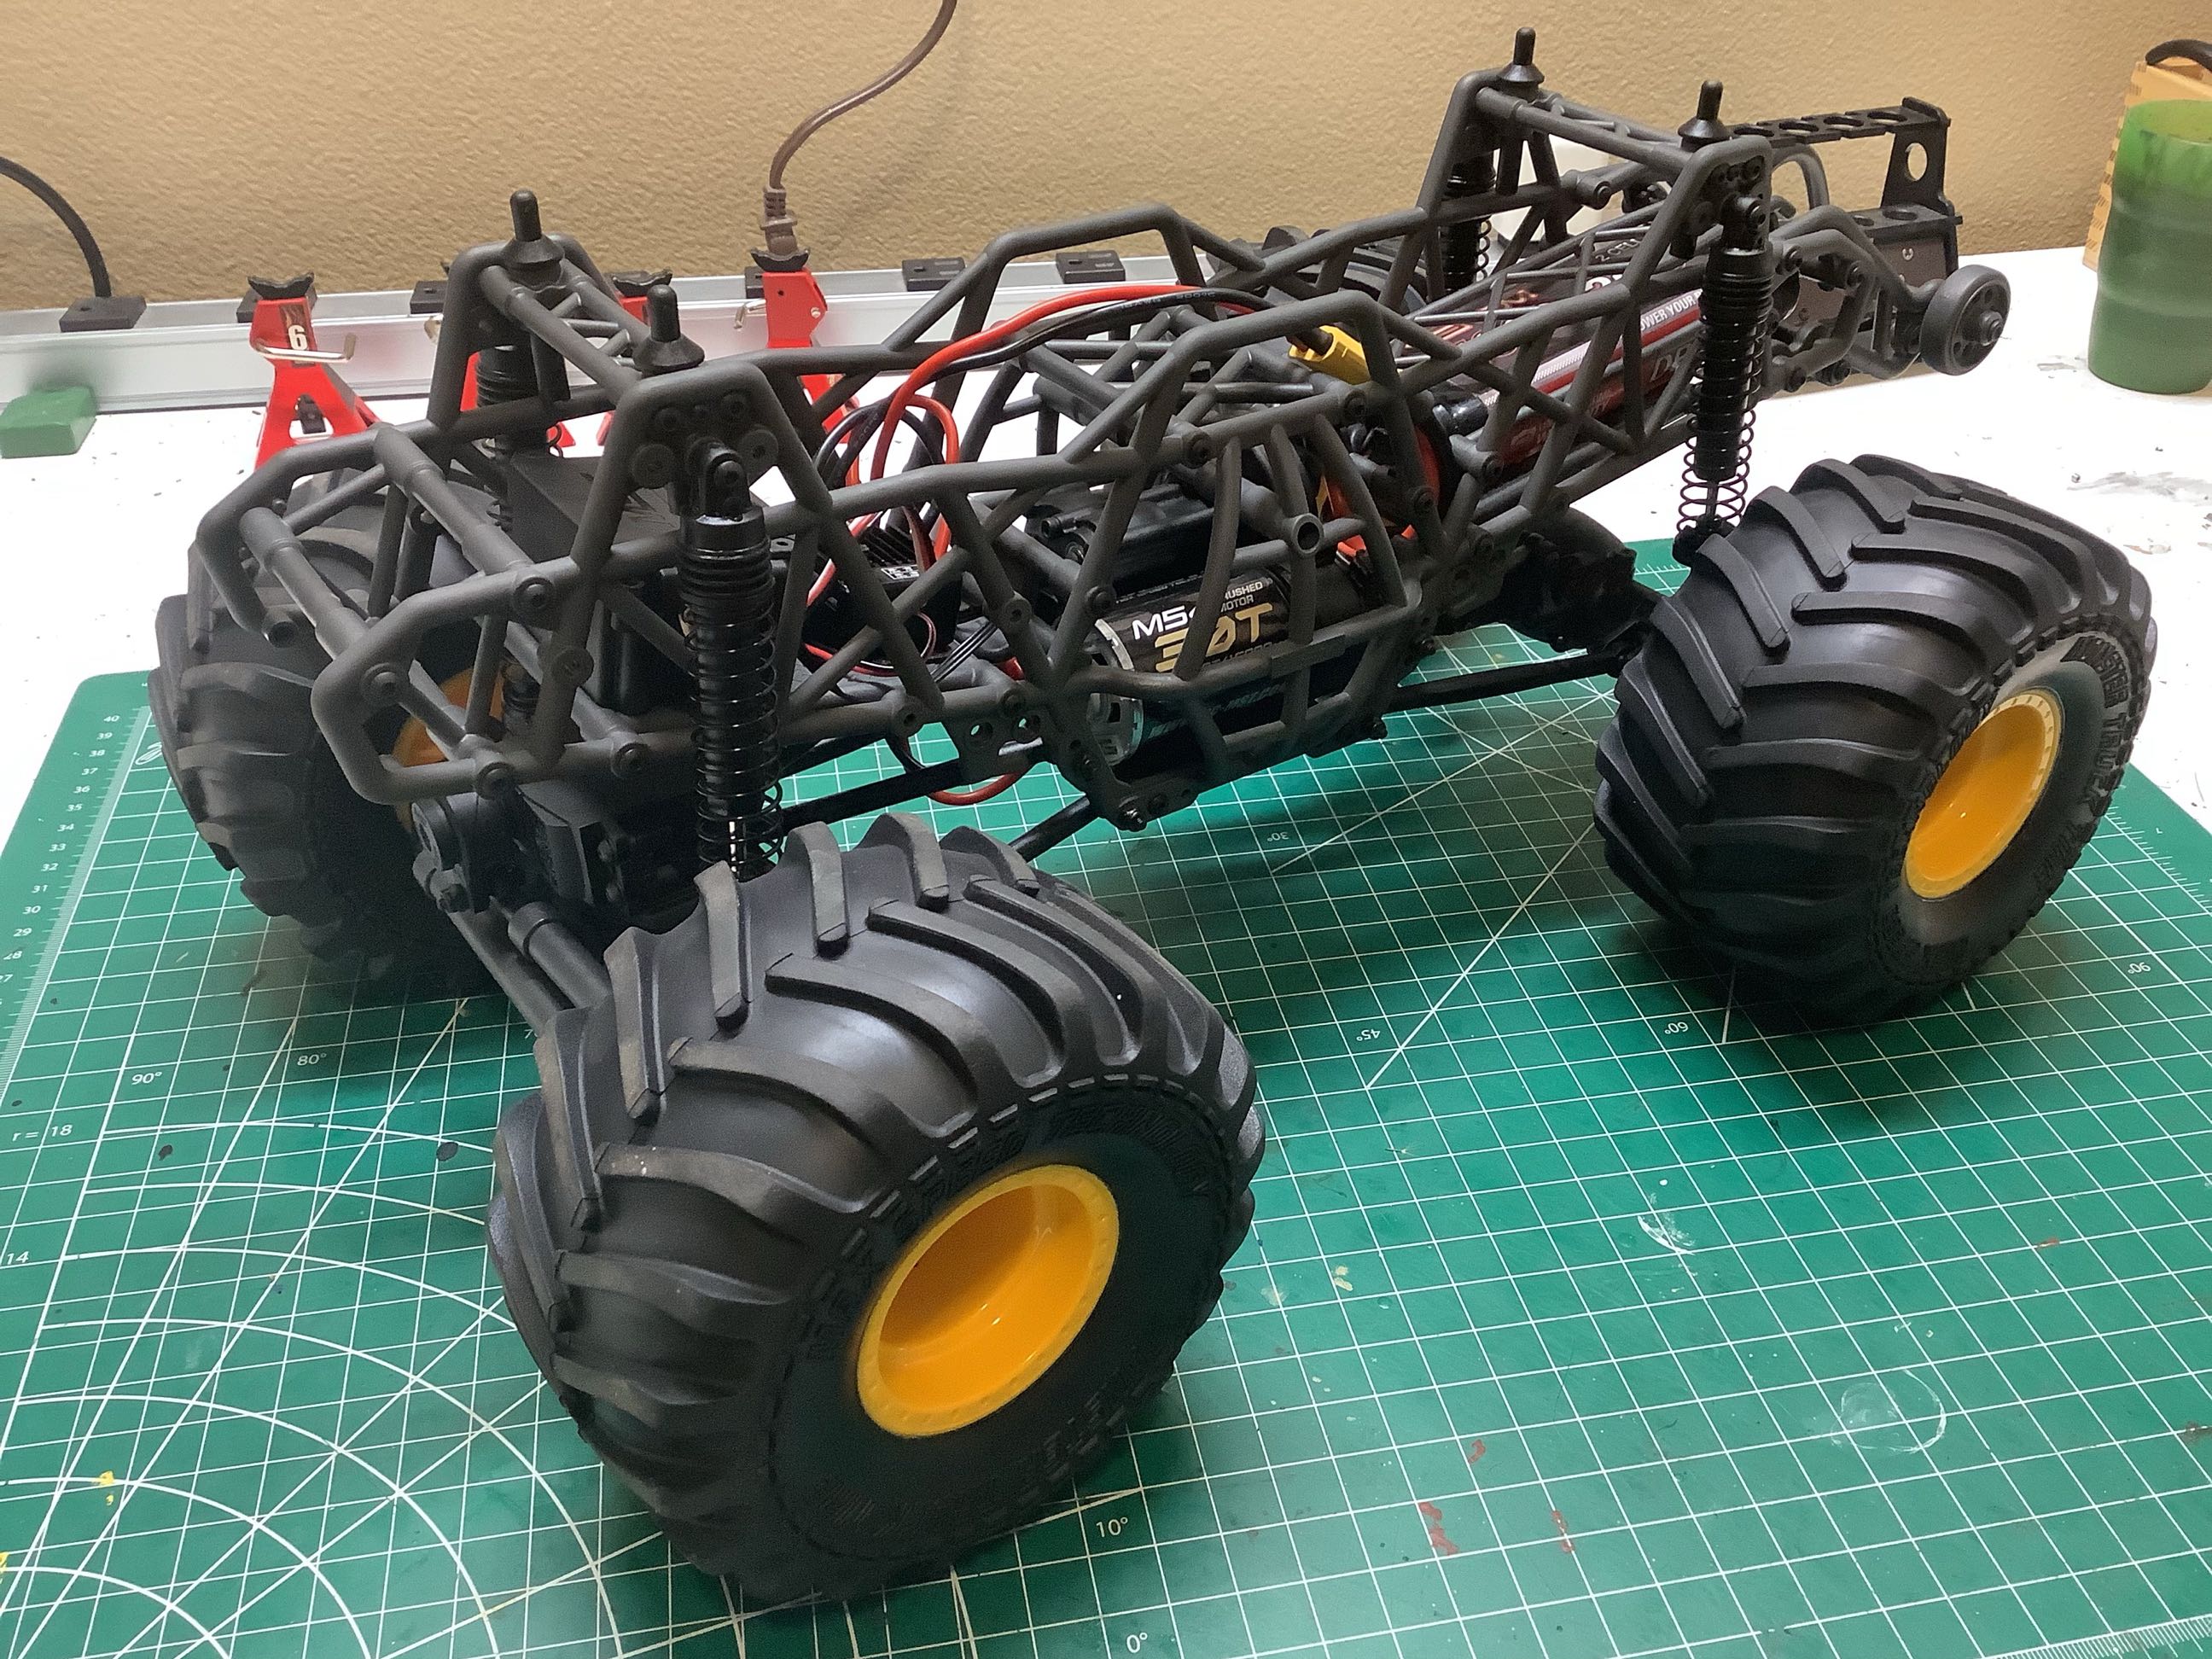
The installation of the wheels and tires completes the rolling chassis. It feels so much better now that I built it myself.
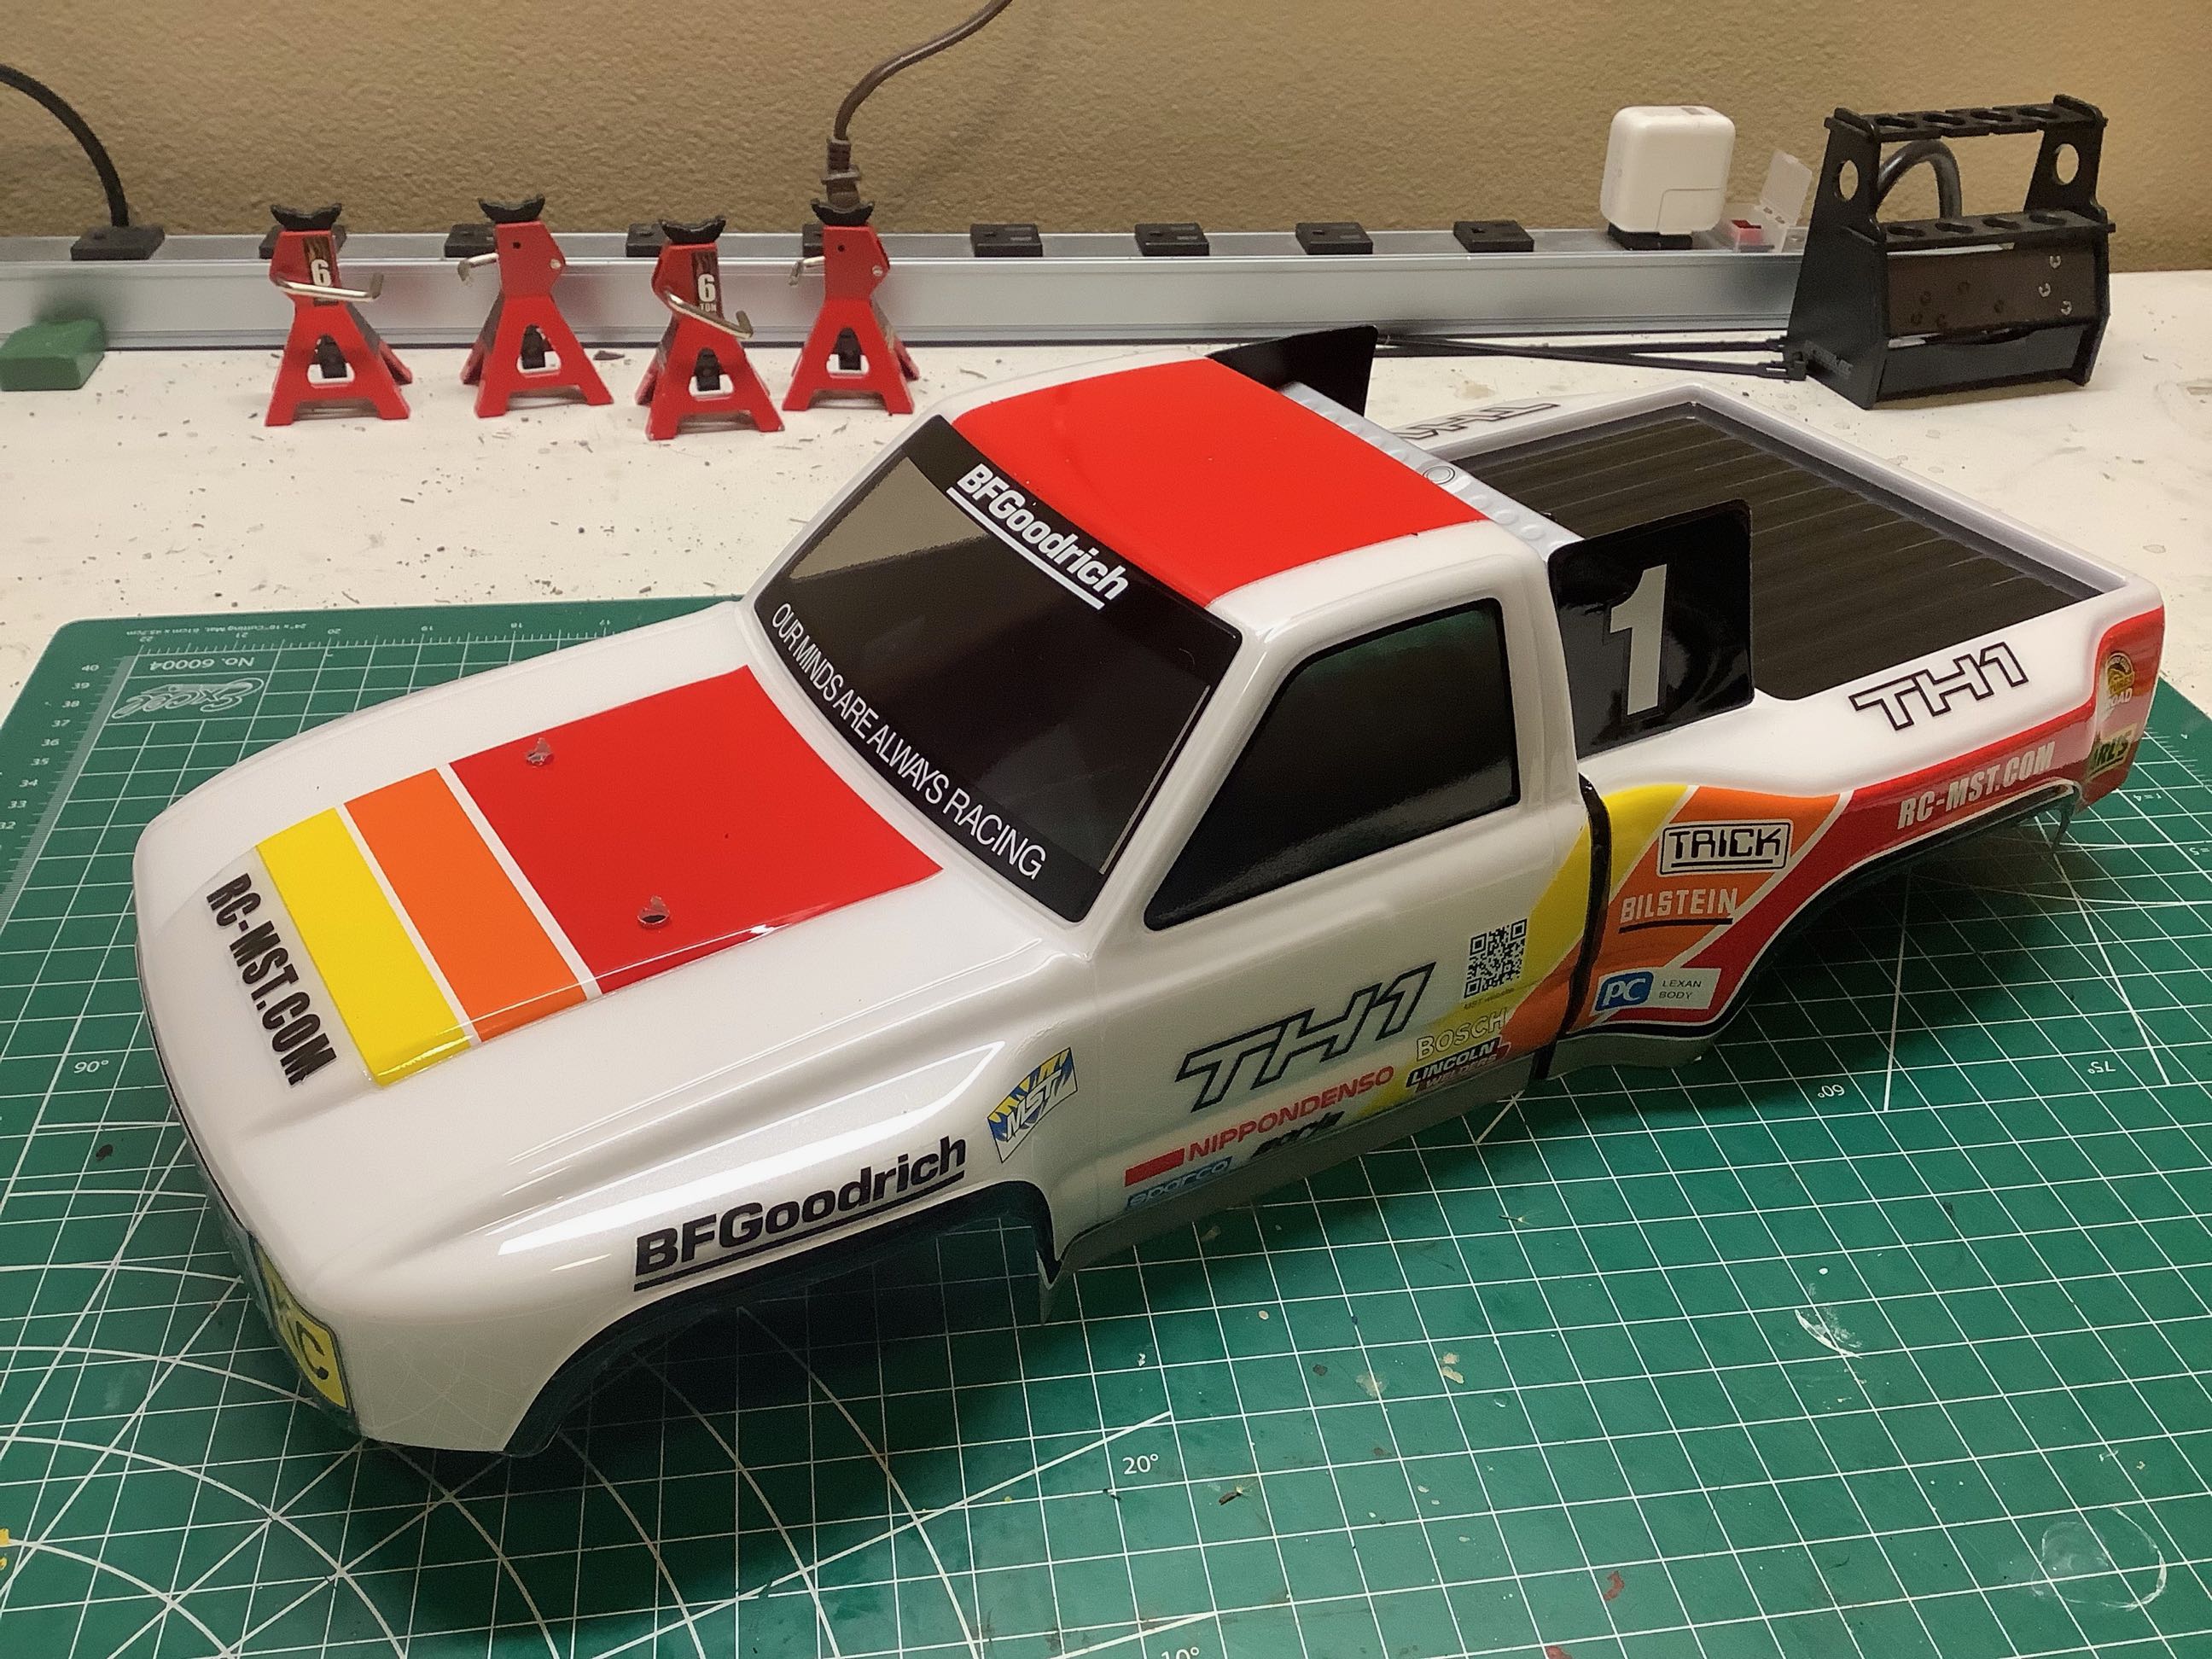
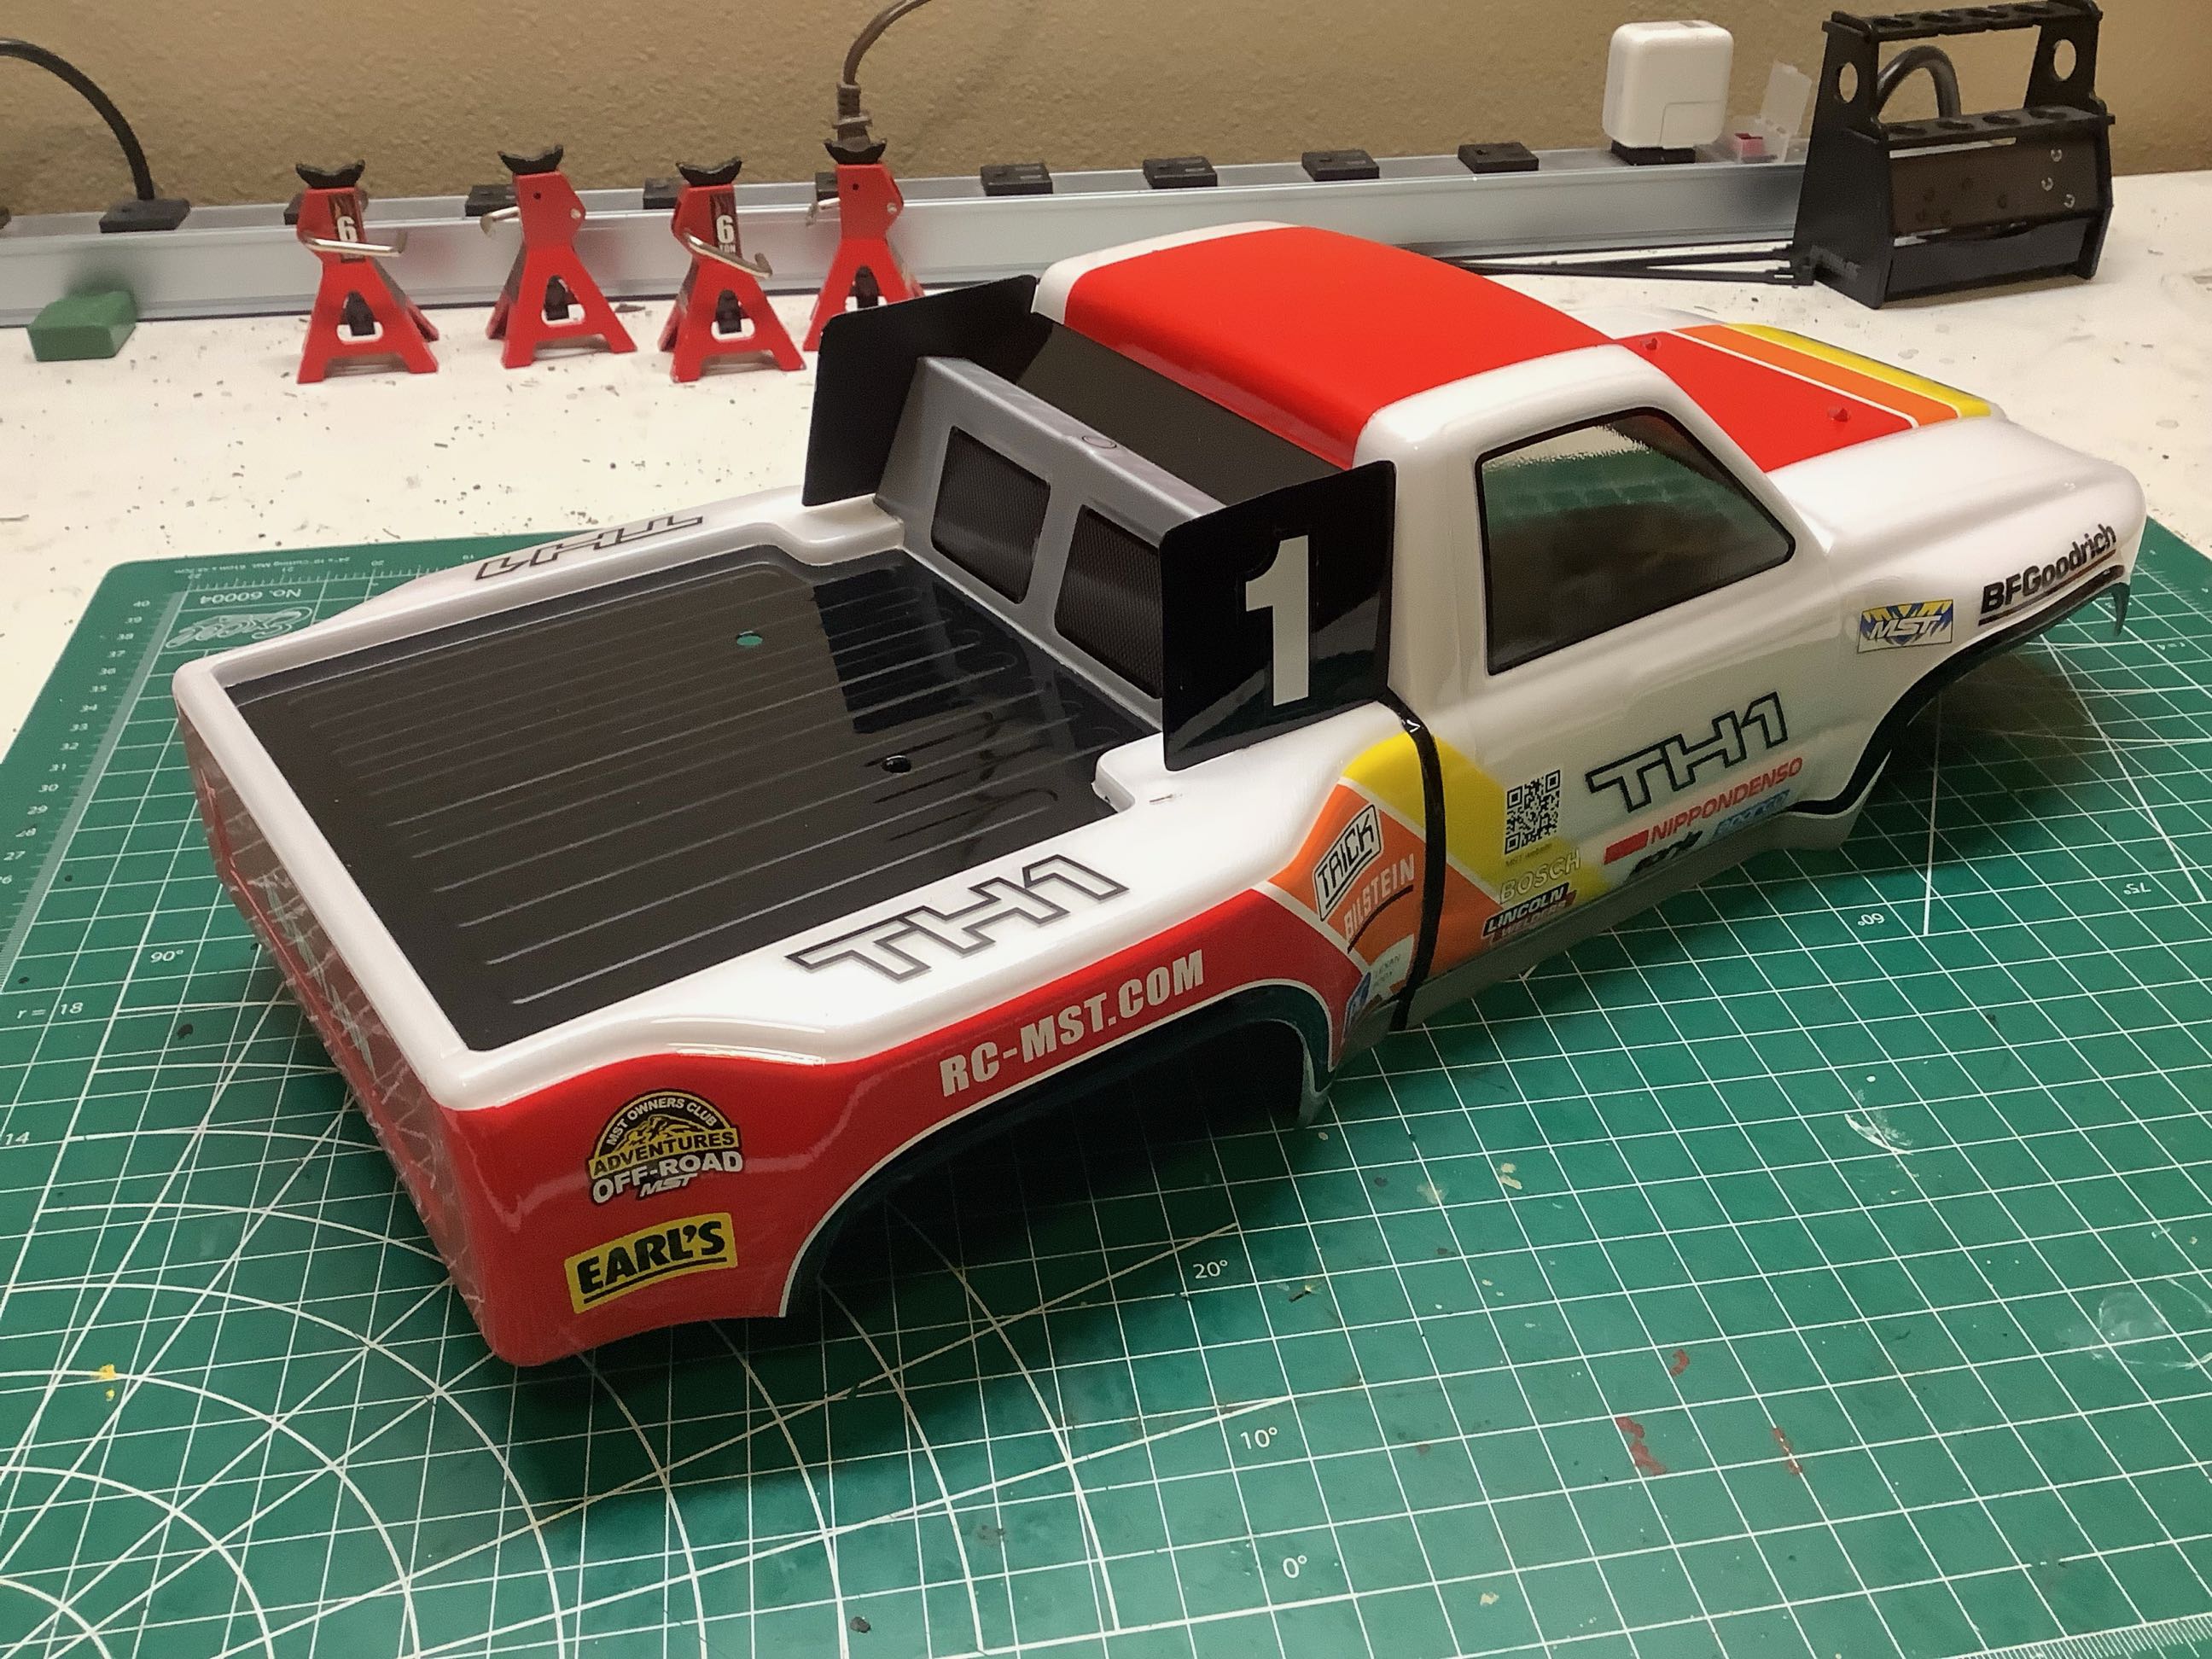
I figured I should add a couple pictures of the beautifully painted body. I'm glad I didn't have to deal with masking this one. MST did a great job.